At the moment, Apple released the last update of Apple operating systems about a week ago. If you haven't noticed yet, we specifically saw the release of iOS and iPadOS 15.4, macOS 12.3 Monterey, watchOS 8.5 and tvOS 15.4. So you can now download and install all these new operating systems on your supported devices. In our magazine, we have been focusing on the new features of these systems since they were released, but we also show how you can speed up the device after the update, or extend its battery life. In this article, we will cover speeding up your Mac with macOS 12.3 Monterey.
It could be interest you
Limit visual effects
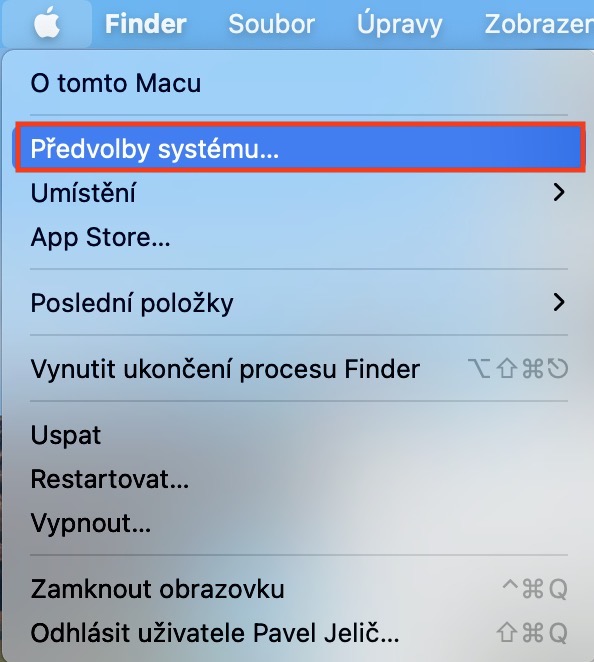
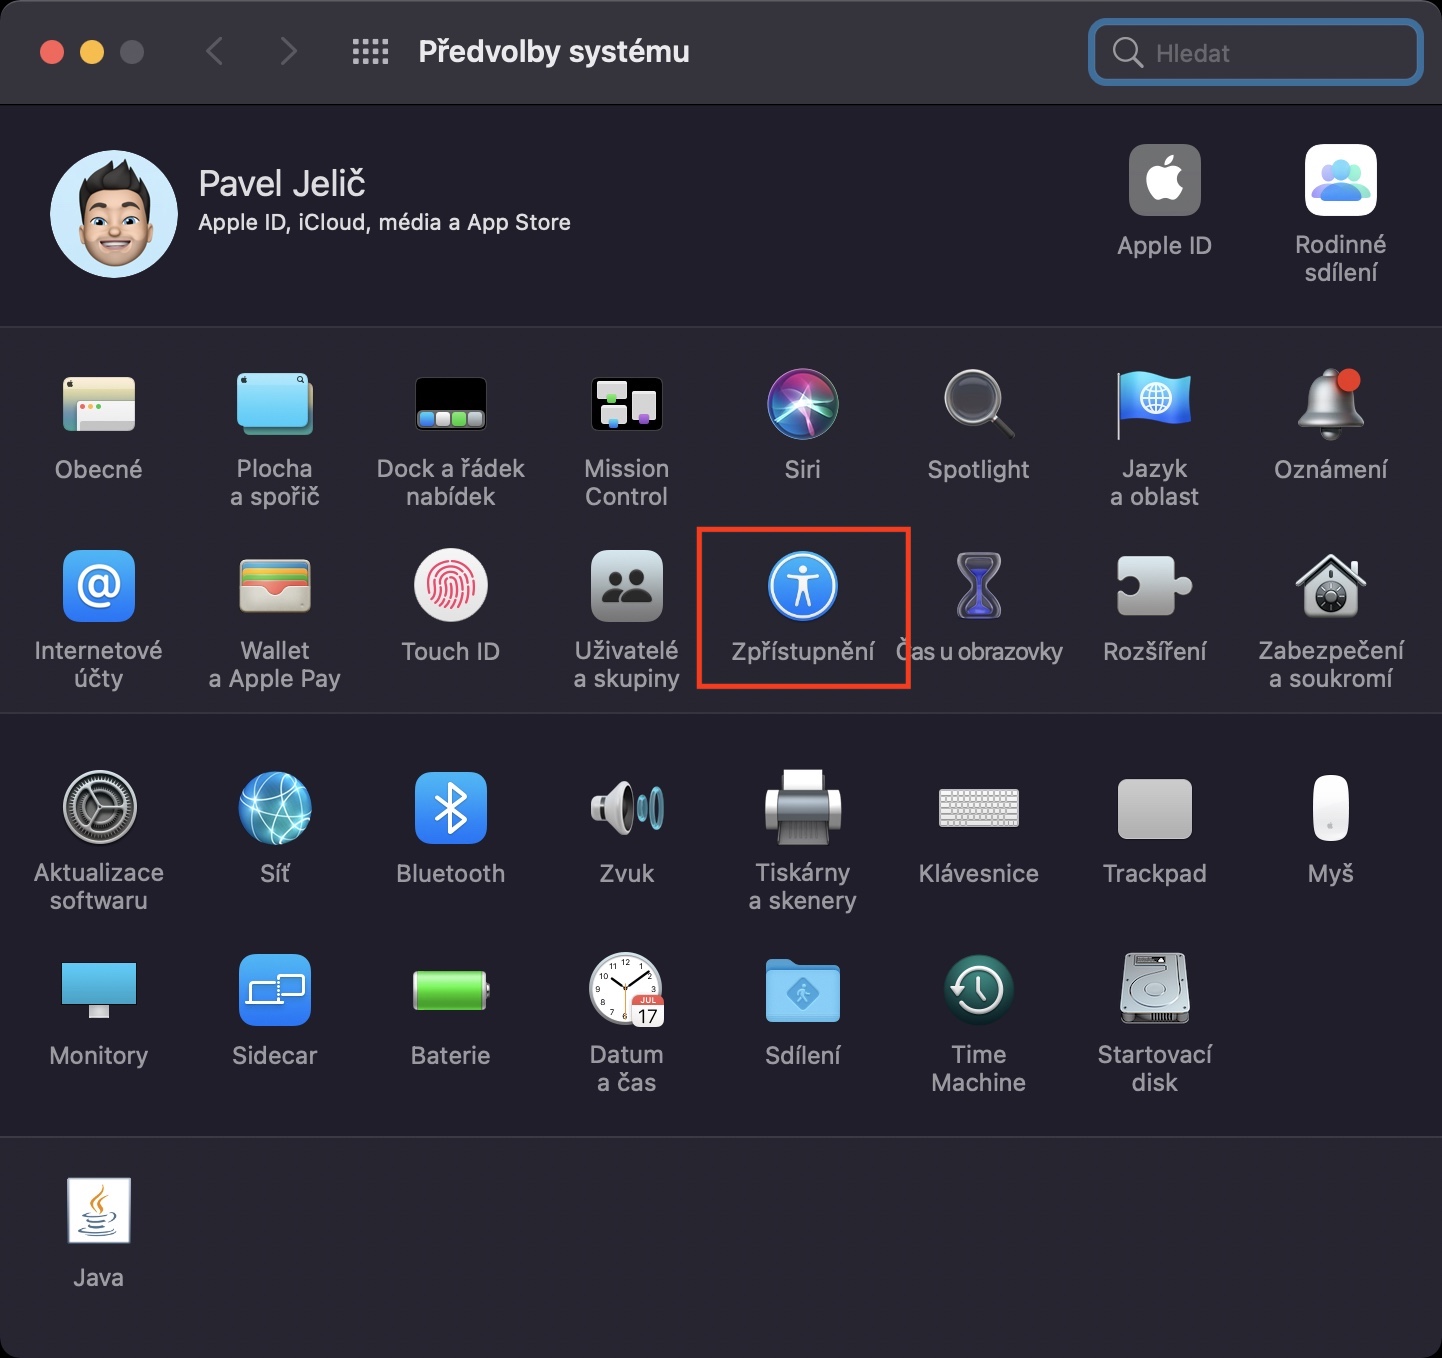
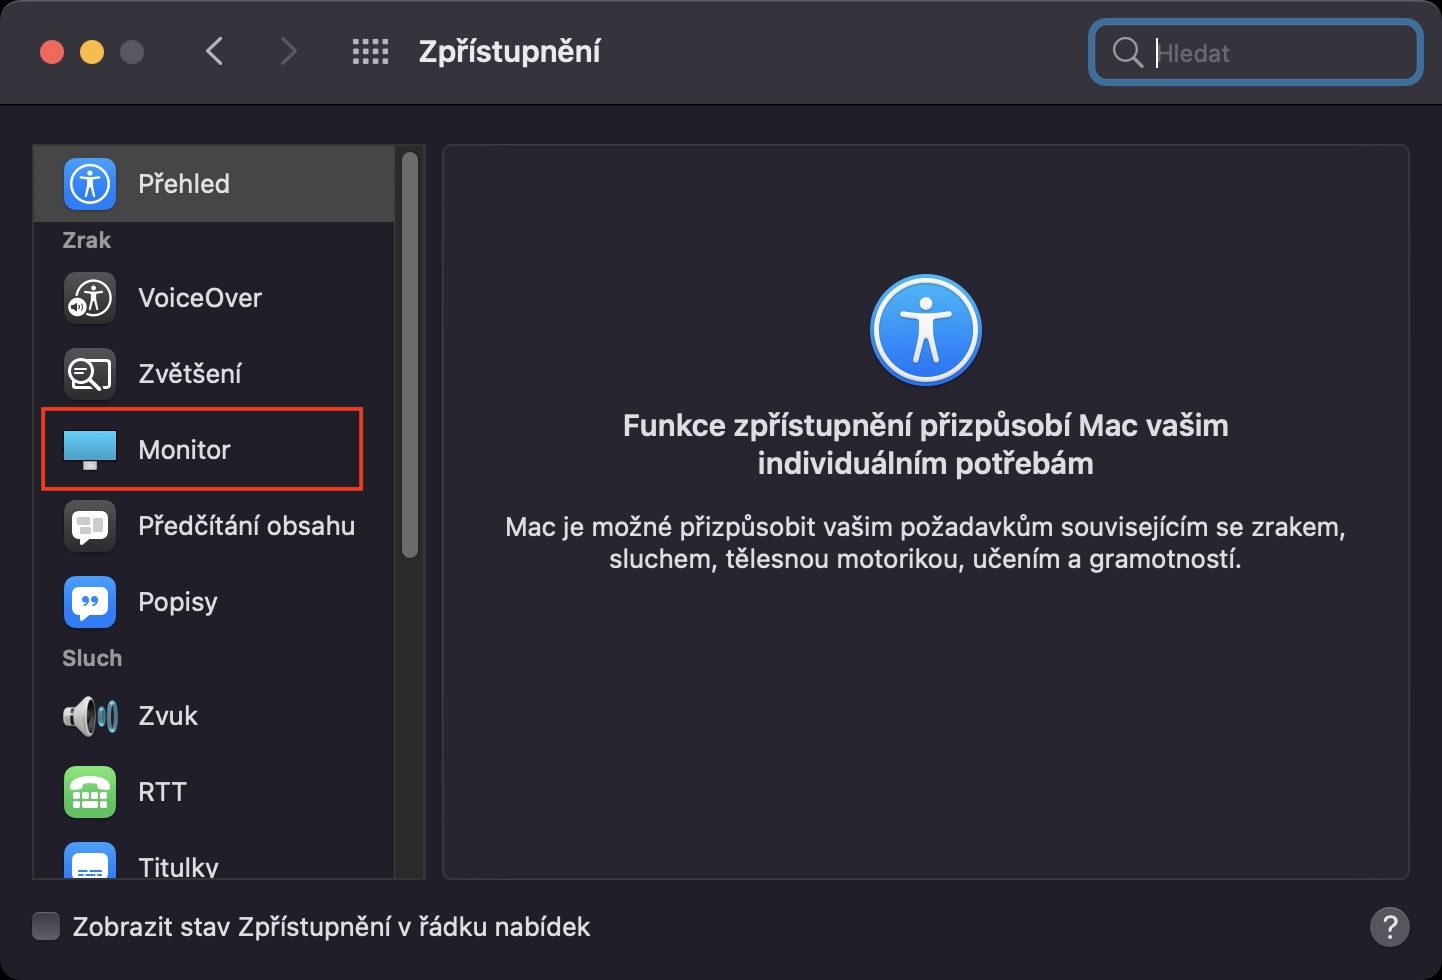
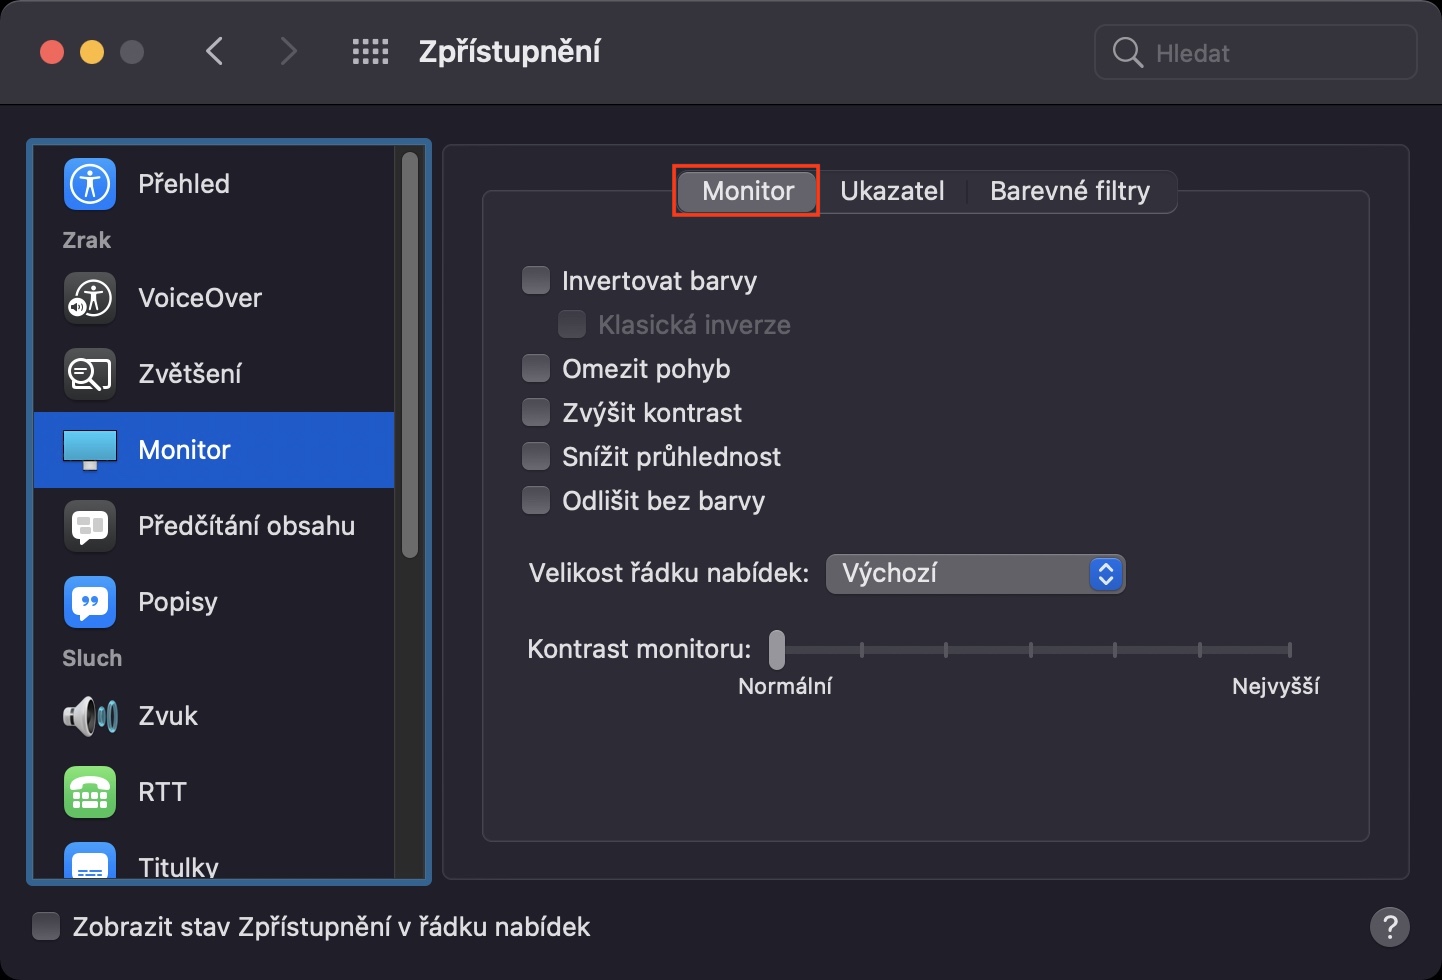
In practically all operating systems from Apple, you can encounter various visual effects that make them more pleasant, modern and simply nicer. In addition to the effects as such, for example, animations are also displayed, which can be followed, for example, when the application is opened or closed, etc. However, rendering these effects and animations requires a certain amount of performance, which can slow down the system. In addition to that, the animation itself takes some time. The good news is that in macOS, visual effects can be completely reduced, which will noticeably speed up the system. You just need to go to → System Preferences → Accessibility → Monitor, where activate Limit movement and ideally Reduce transparency.
Monitor hardware usage
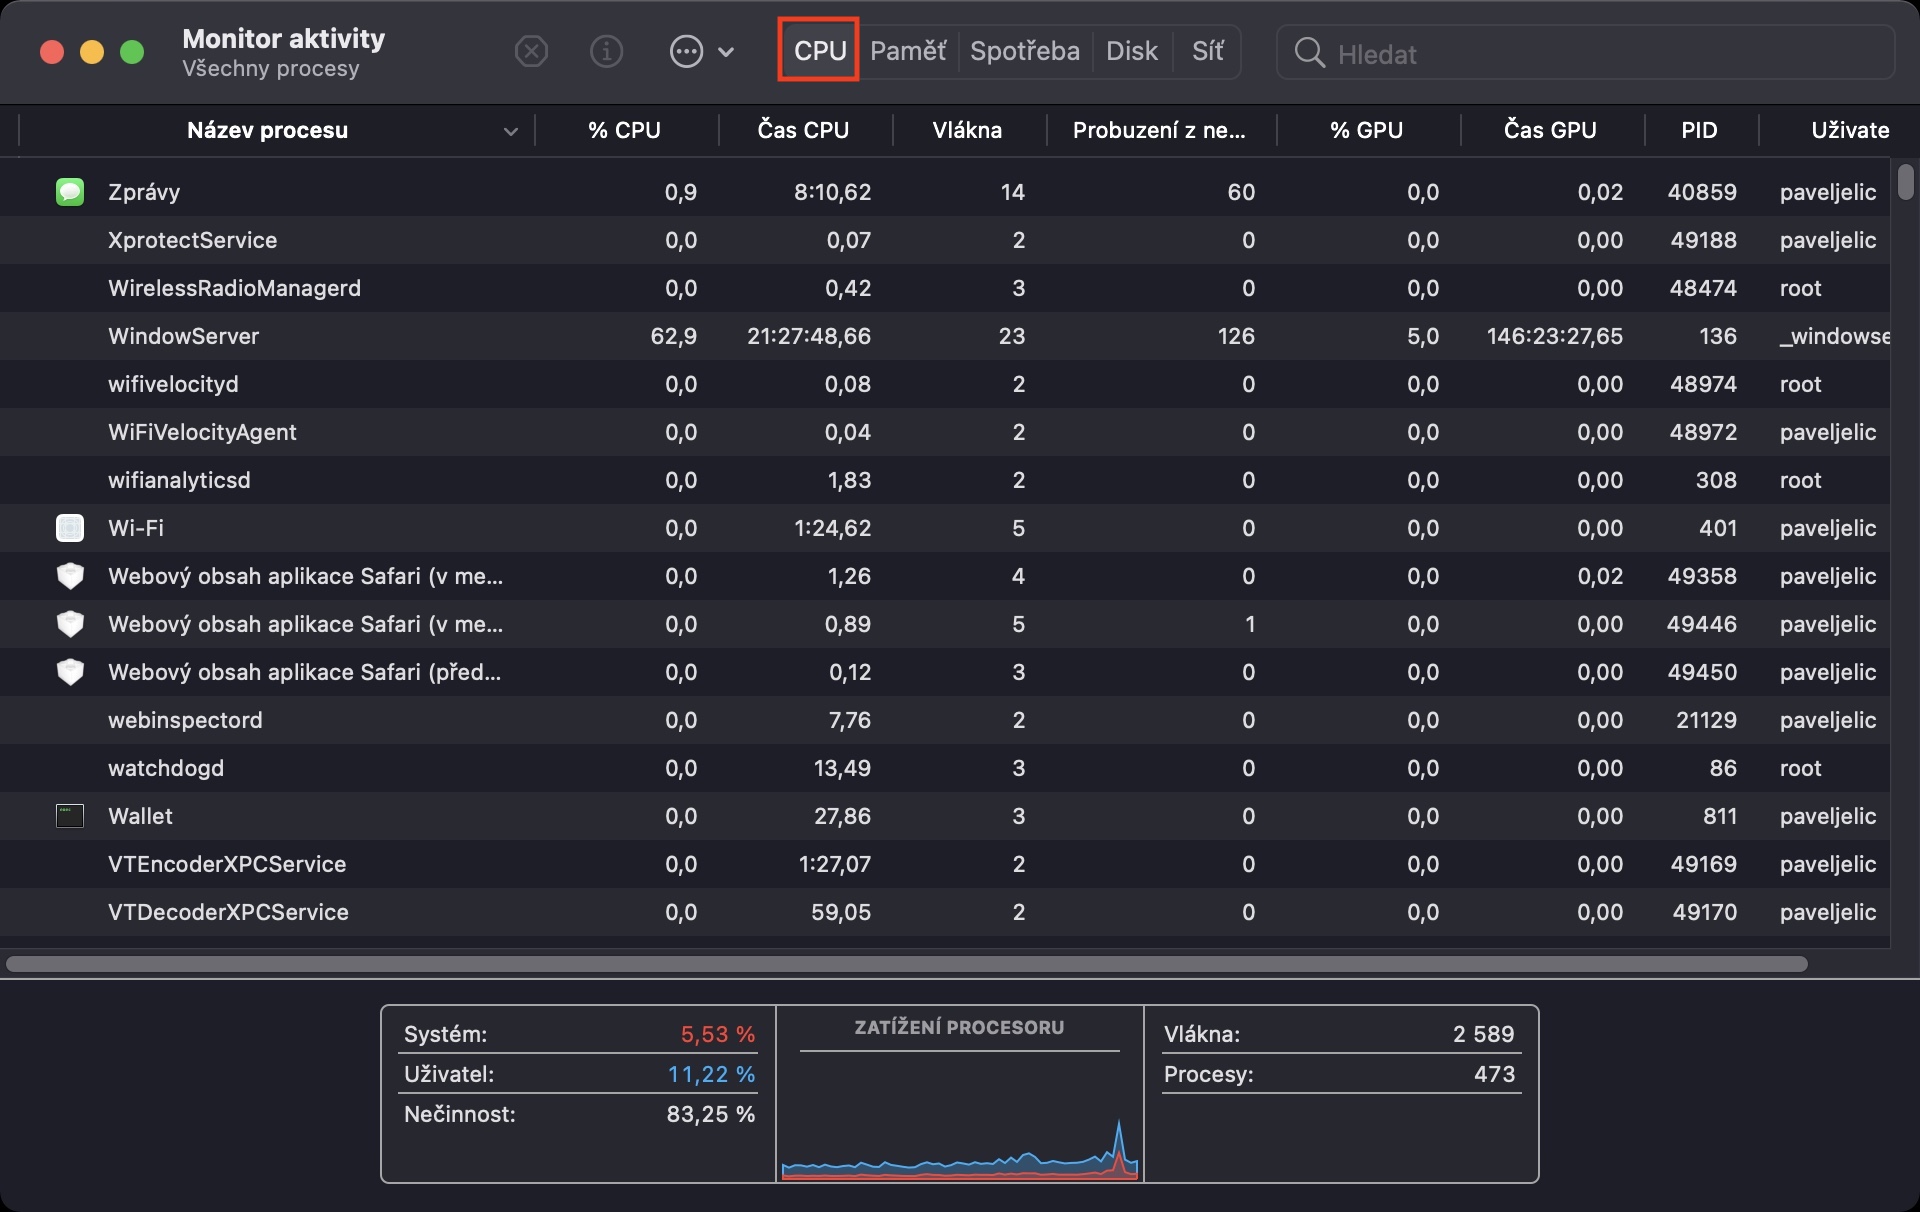
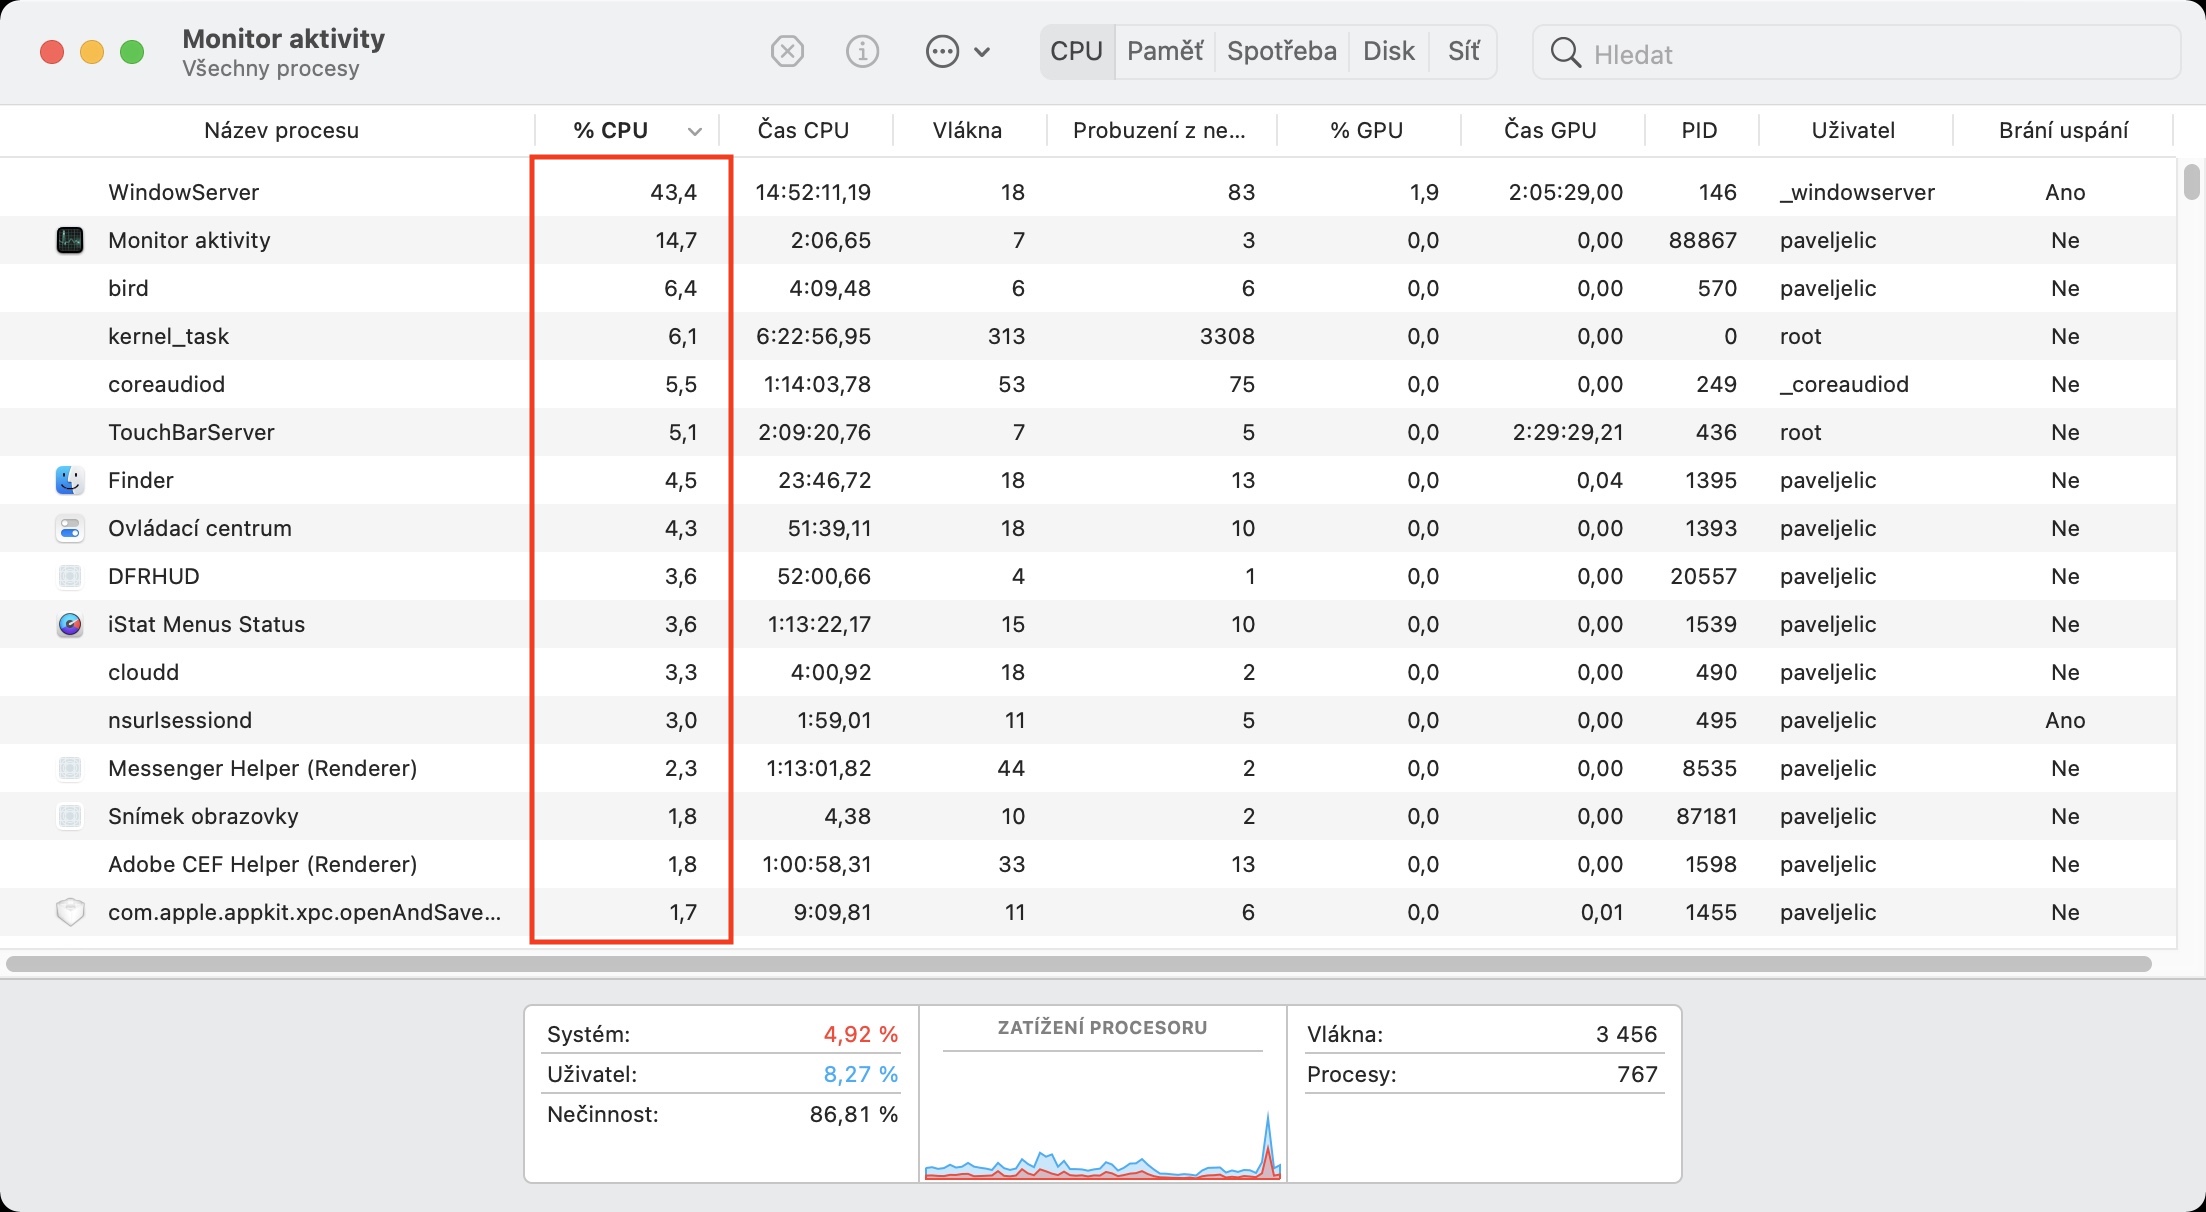
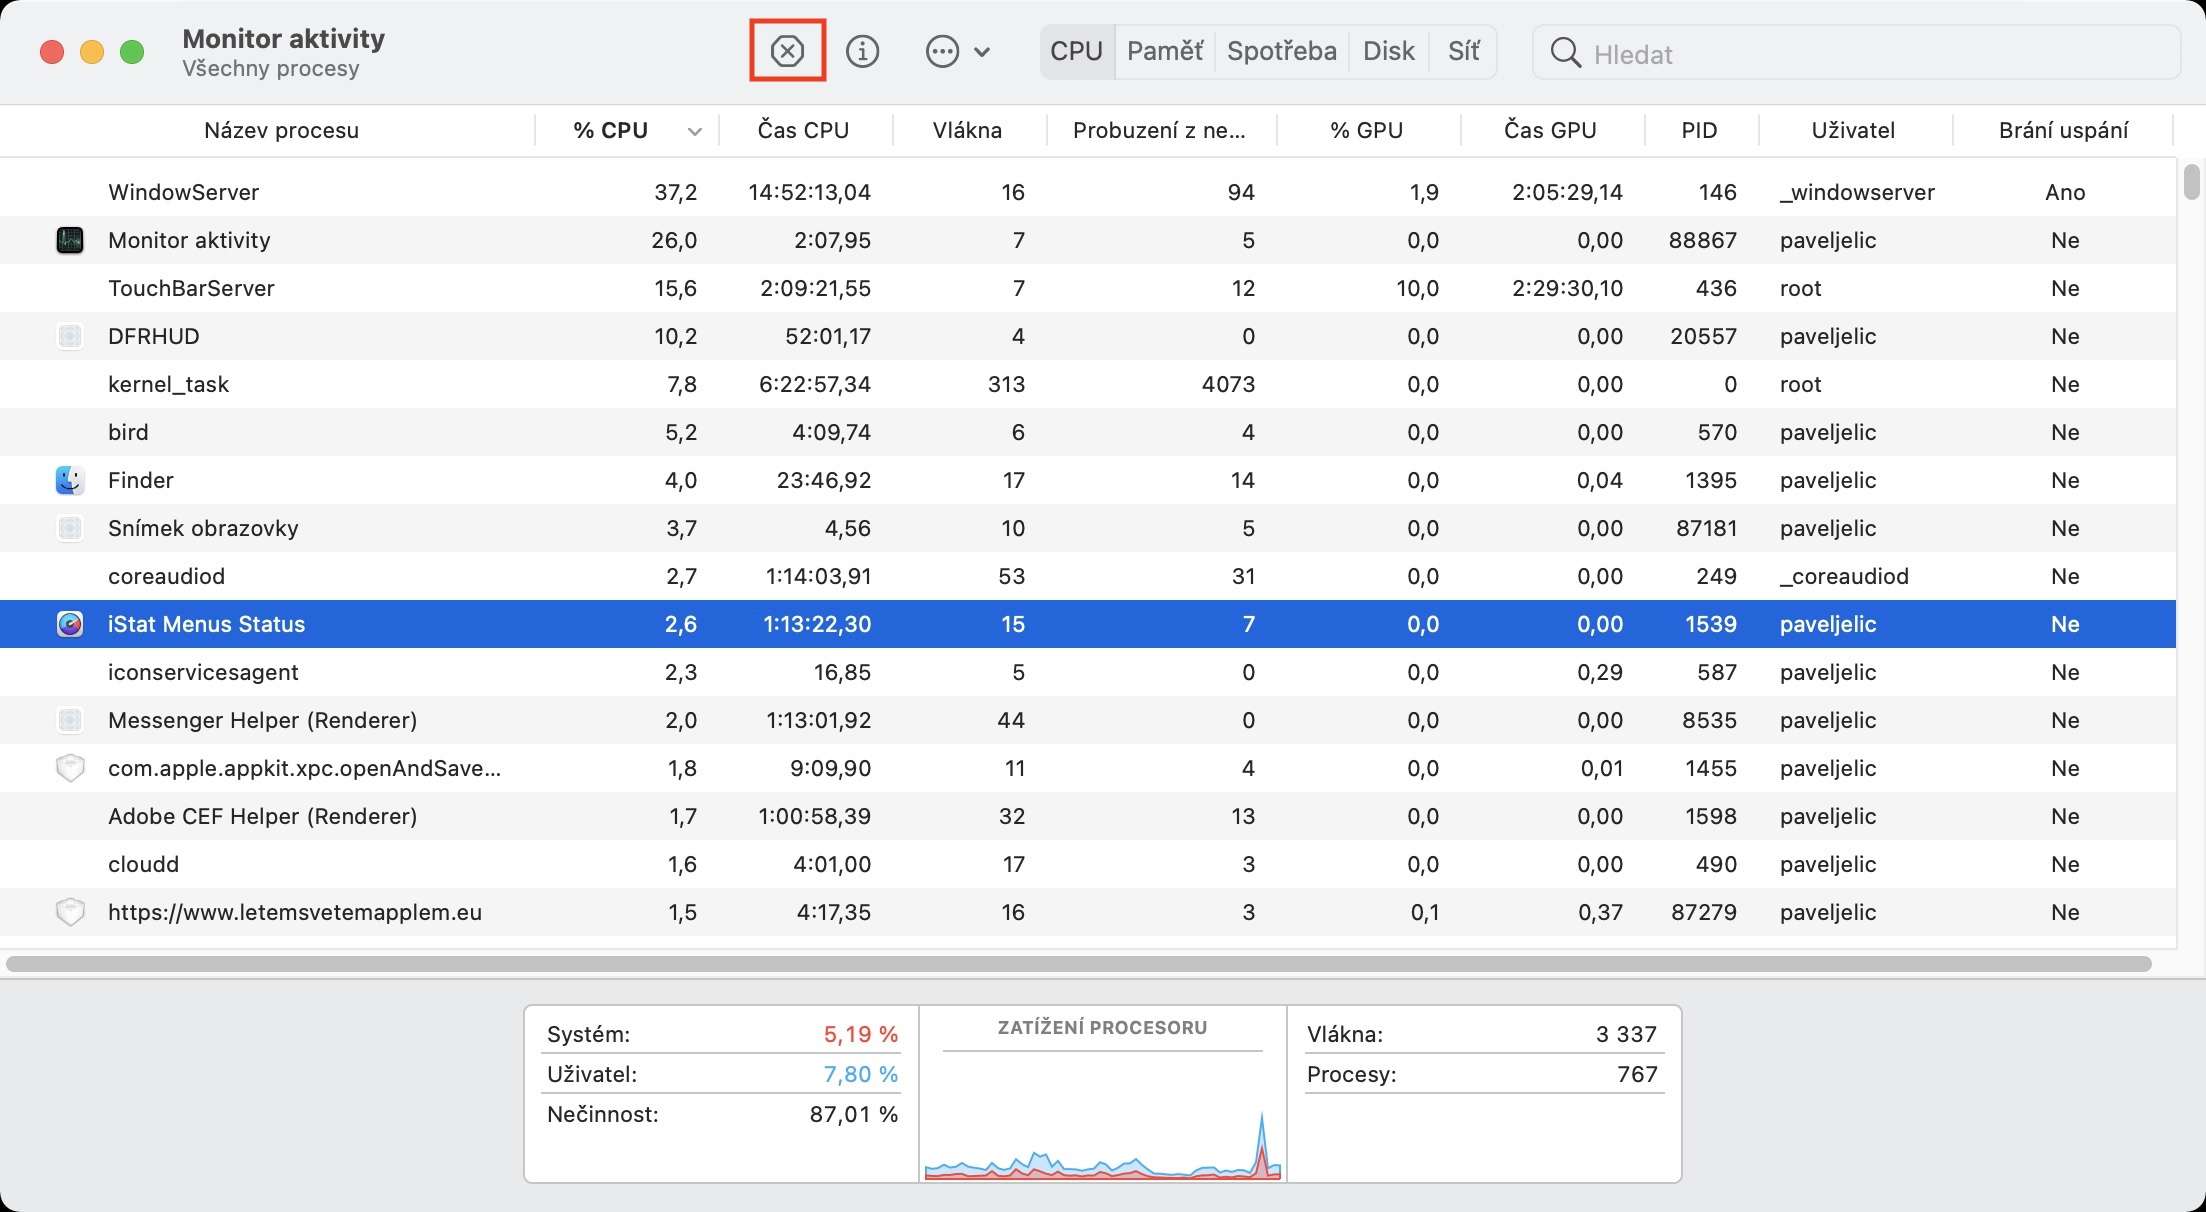
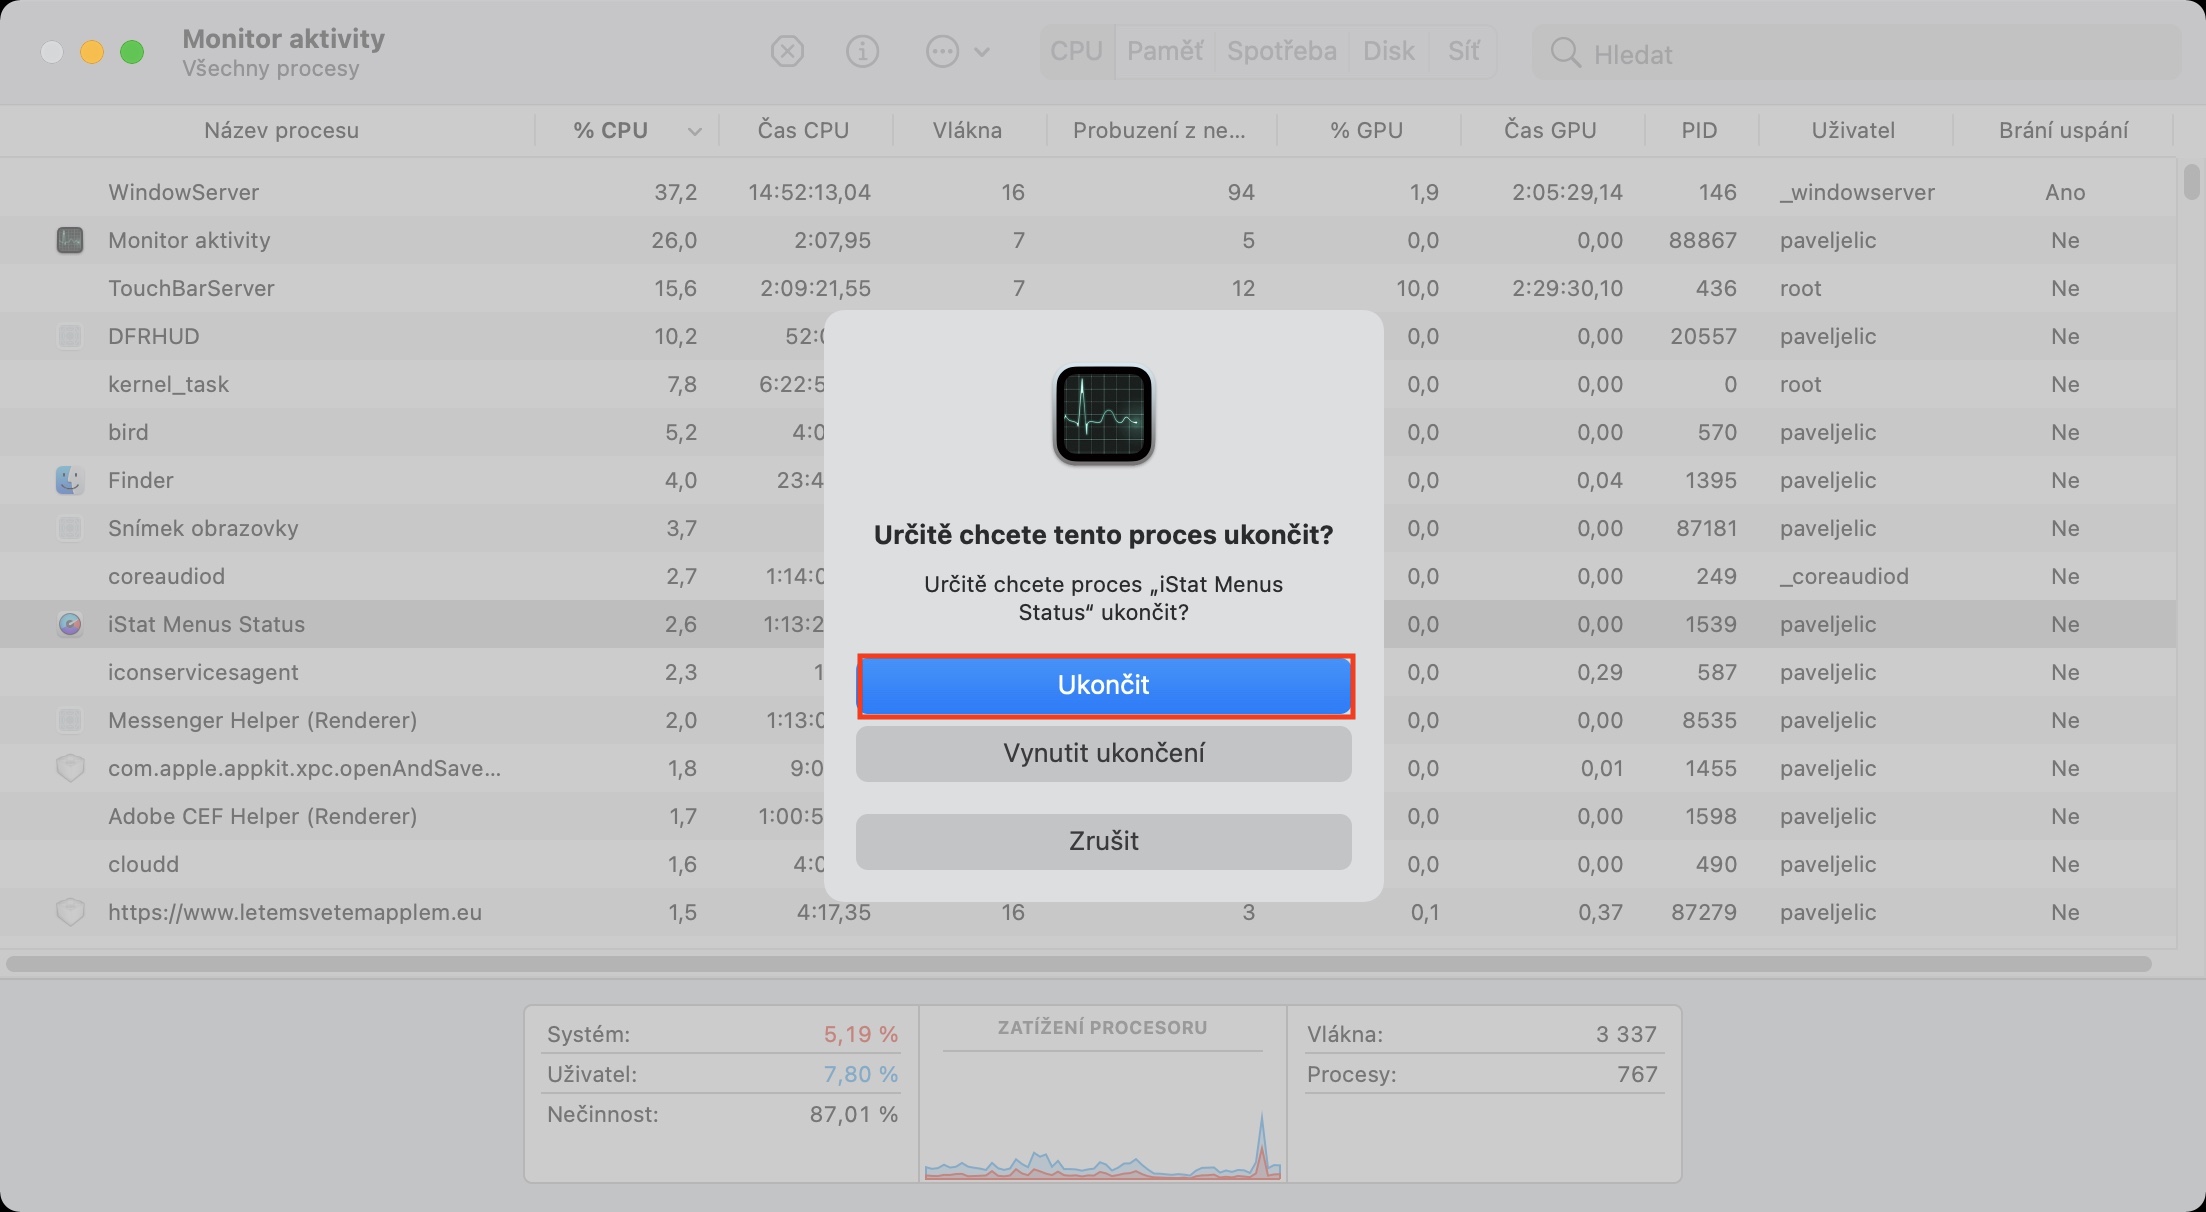
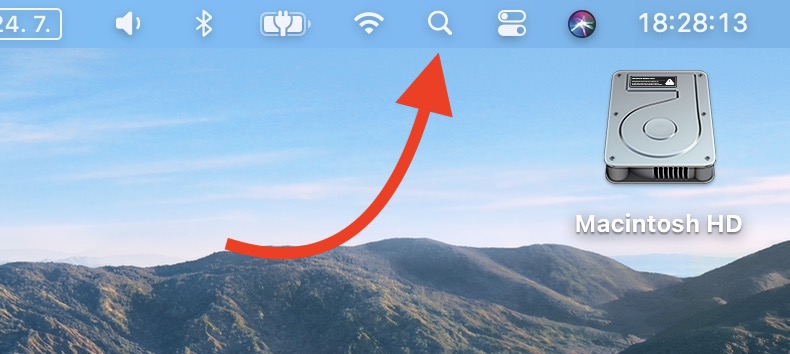
In order for the applications you have installed on your Mac to run correctly after the system update, it is necessary for the developer to check them and possibly update them. In most cases, application problems do not appear after minor updates, but there may be exceptions. This can cause an application to hang or loop and then start using hardware resources, which is obviously a problem. The application causing this can be easily identified and terminated. So on a Mac, open it through Spotlight or the Utilities folder in Applications activity monitor, and then move to the tab in the top menu CPU. Then arrange all the processes descending according to CPU% a watch the first bars. If there is an app that is using the CPU excessively and for no reason, tap it mark then press the X button at the top of the window and finally confirm the action by pressing End, or Force Termination.
Repair the disk
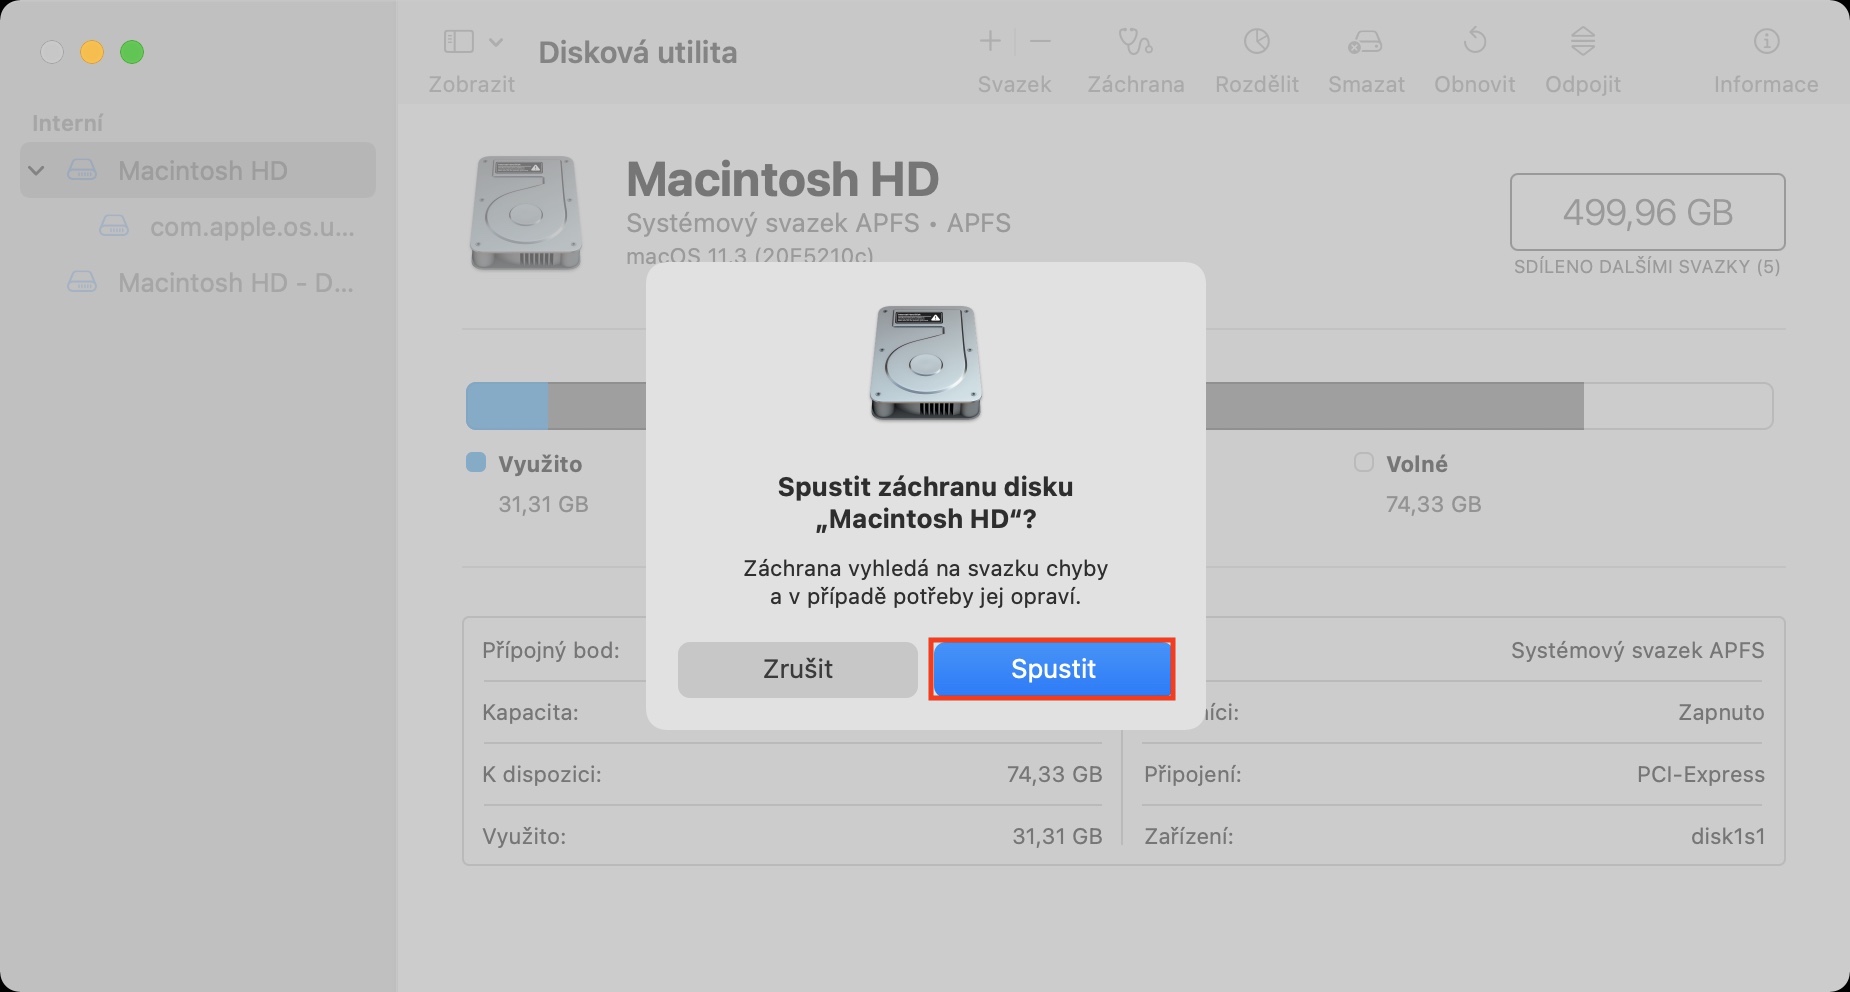
Does your Mac occasionally shut down by itself? Or does it start to jam significantly? Are you having any other problems with it? If you answered yes to even one of these questions, then I have a great tip for you. This is because macOS includes a special function that can check for errors on the disk and possibly repair them. Errors on the disk can be the cause of all kinds of problems, so you certainly won't pay anything for a test. To perform a disk repair, open an application on a Mac through Spotlight or the Utilities folder in Applications disk utility, where then in the left part by tapping label your internal drive. Once you've done that, press in the top toolbar Rescue a go through the guide. When it's done, any disk errors will be fixed, which can improve the performance of your Mac.
Check the auto-launch of applications after startup
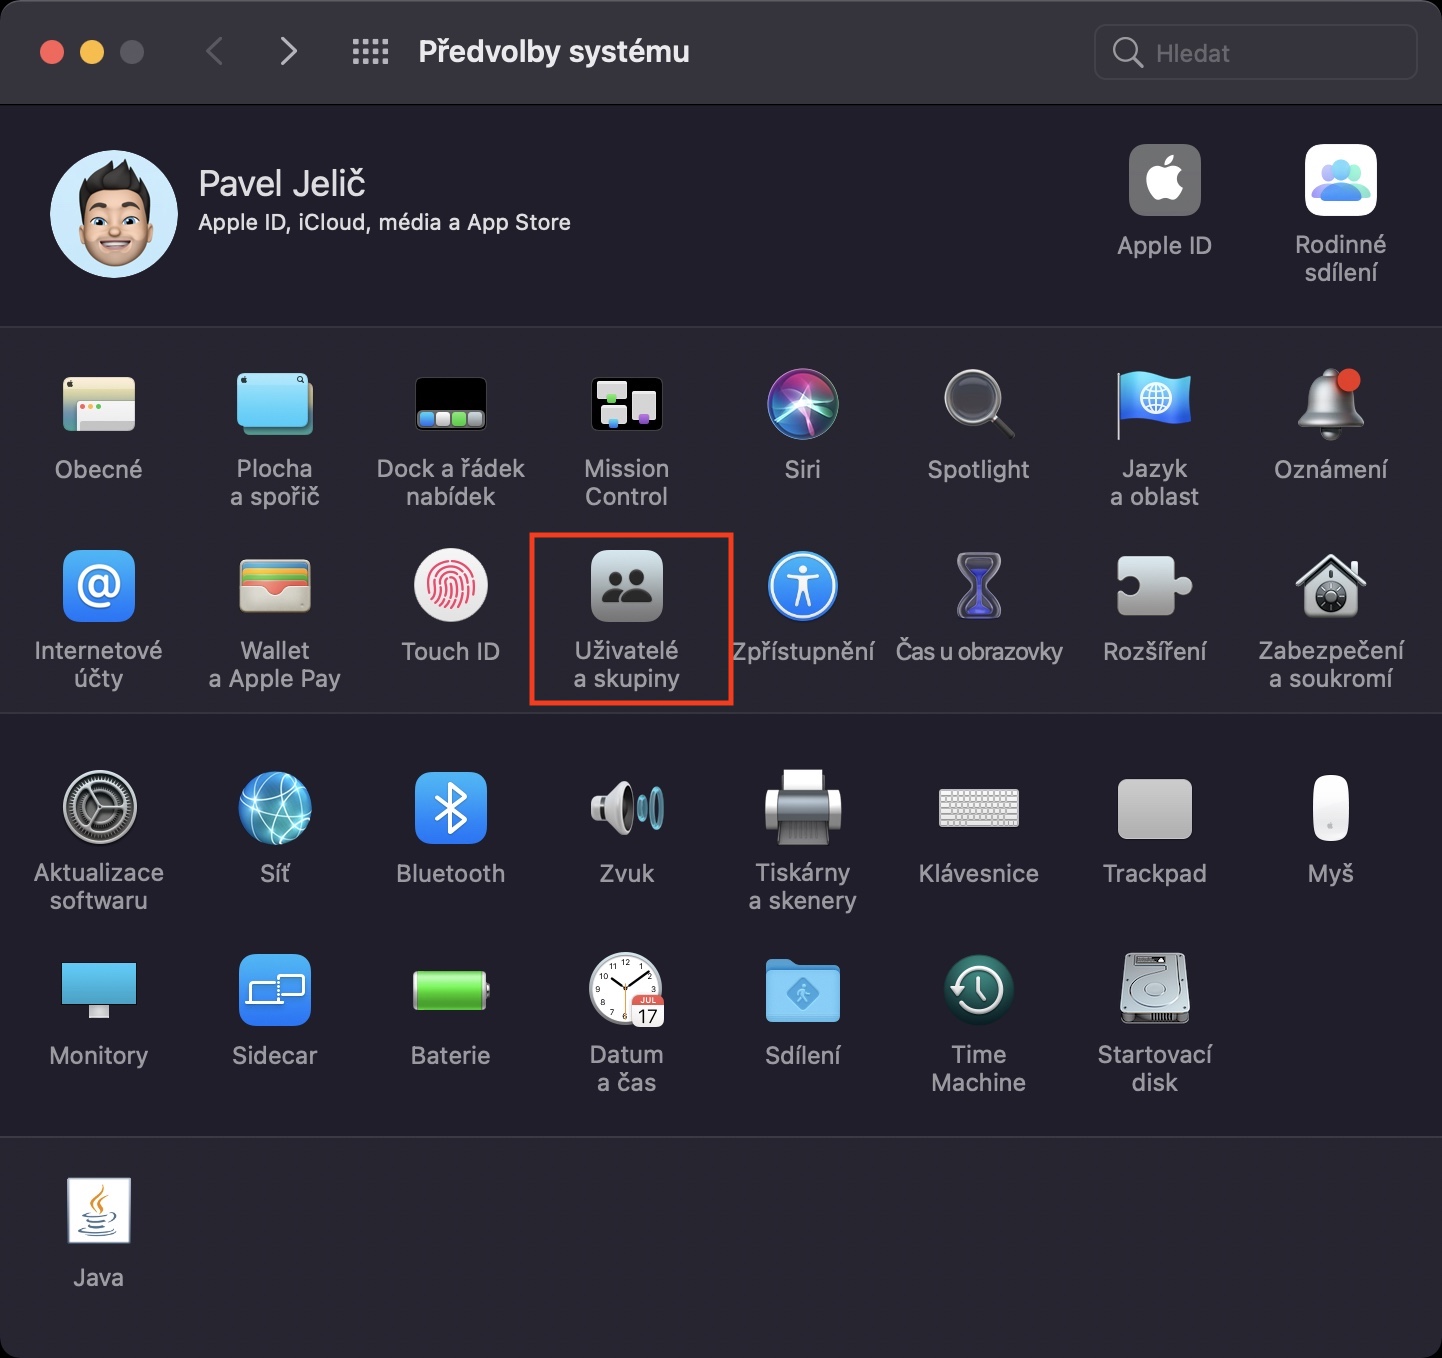
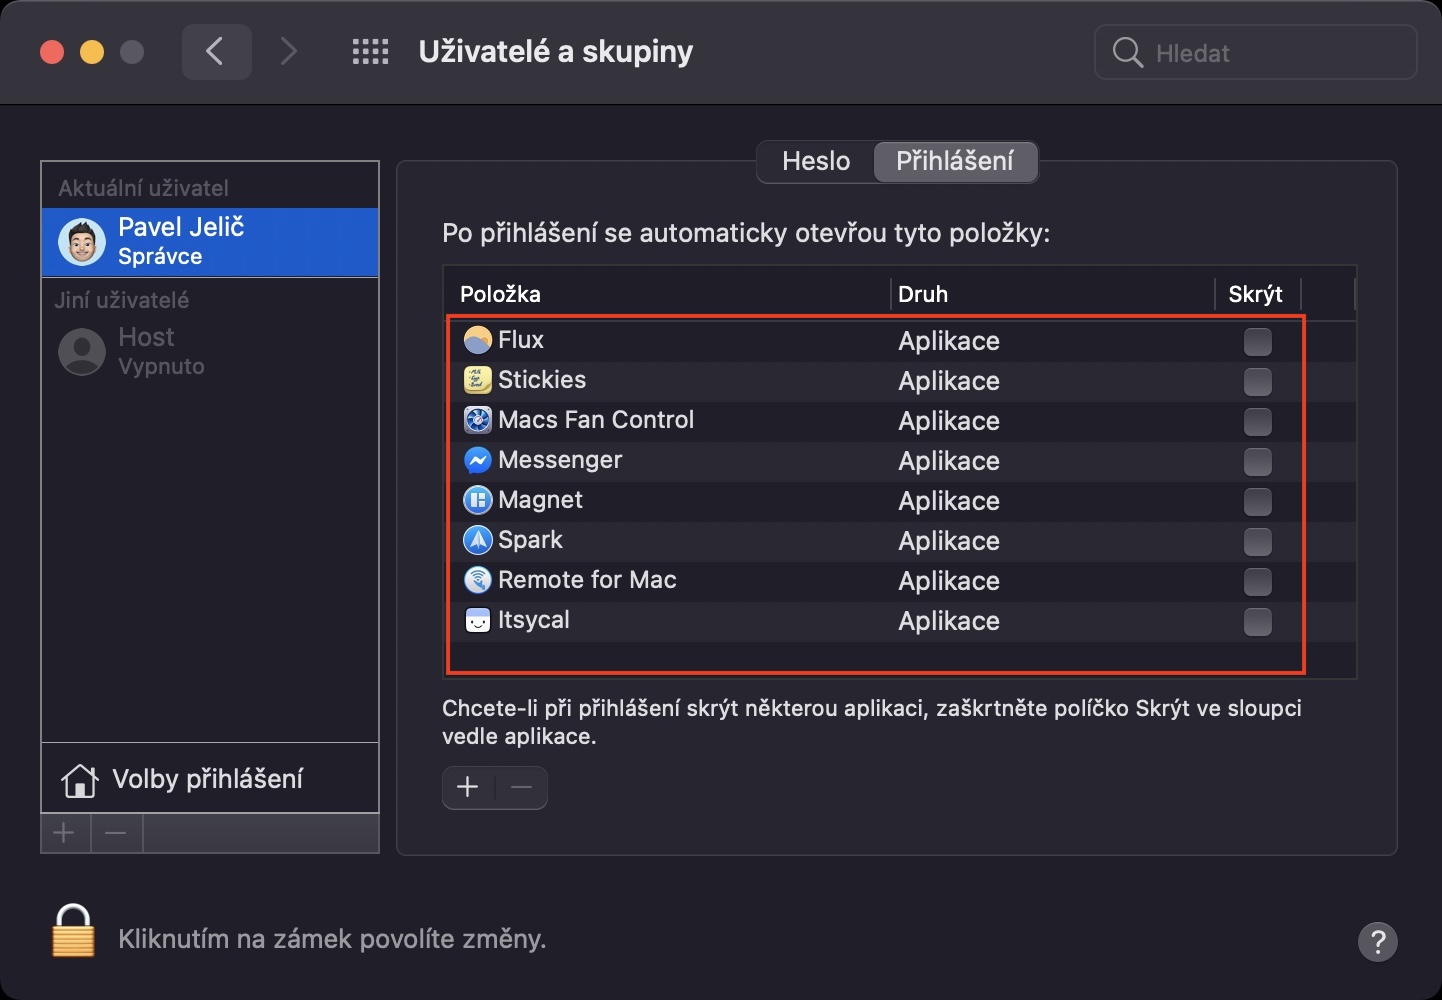
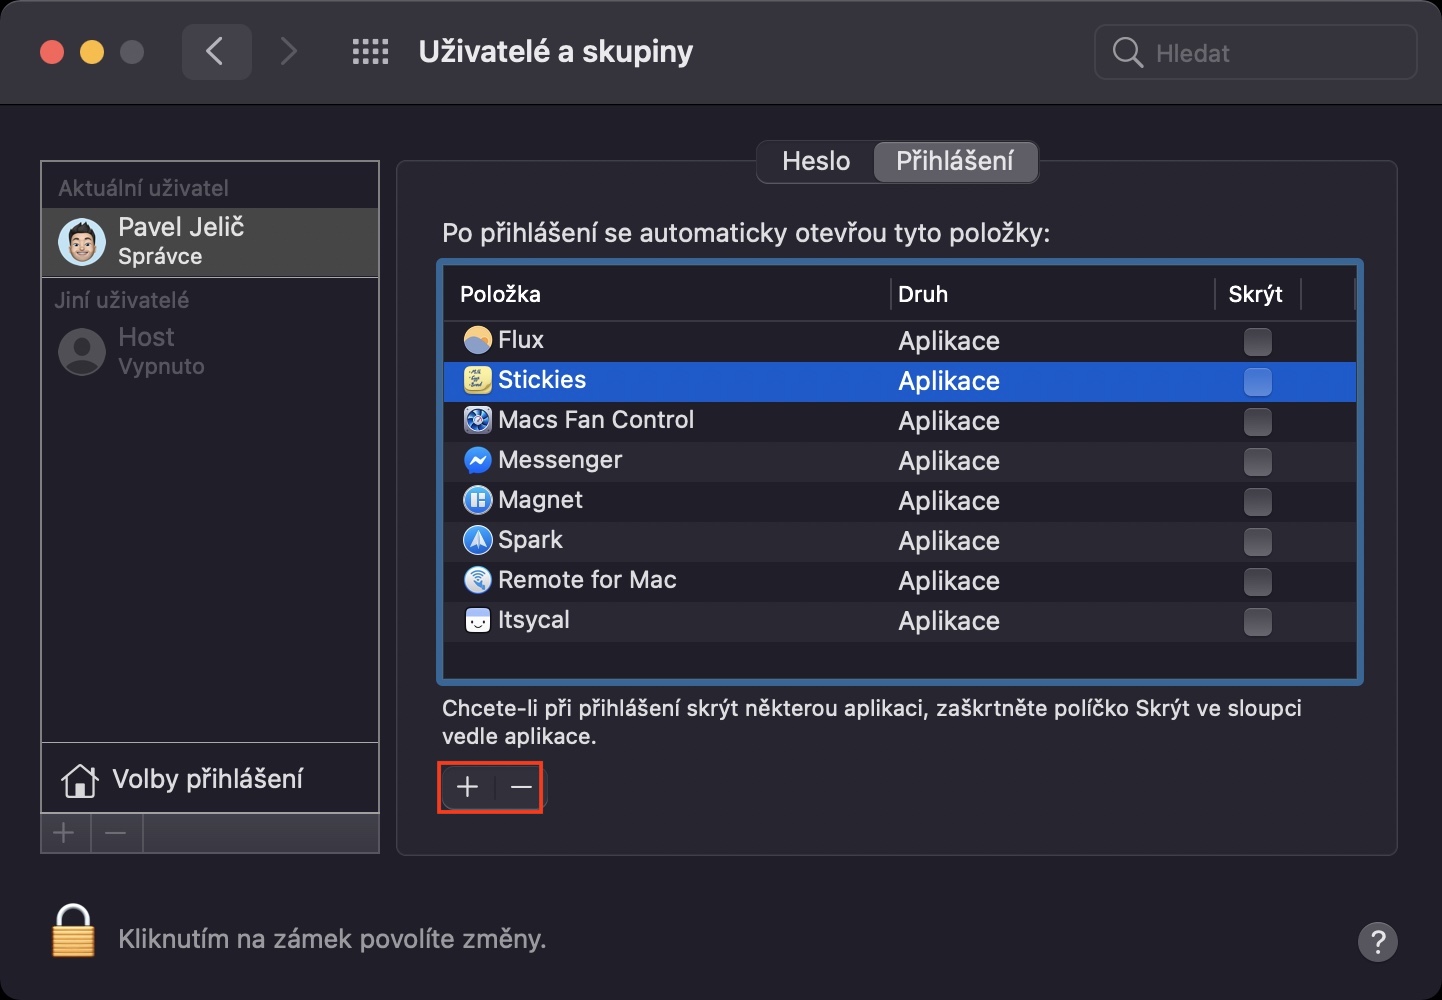
When macOS starts up, there are countless things going on in the background that you don't even know about - and that's why the first few seconds after booting up your device can be slower. Some users have various applications start automatically immediately after startup, so that they can access them as quickly as possible. However, what are we going to lie to ourselves about, we don't need most of the applications at all right after the start, so this only unnecessarily overloads the system, which has enough to do with itself after the start. If you would like to check the applications that start automatically after system startup, go to → System Preferences → Users and Groups, where on the left click on Your Account, and then move to the bookmark at the top Login. Here you will see a list of applications that start automatically when macOS starts. If you want to delete an application, delete it tap to mark and then press icon - in the lower left part. In any case, some applications are not displayed here and it is necessary to deactivate their automatic launch directly in the preferences.
Correct removal of applications
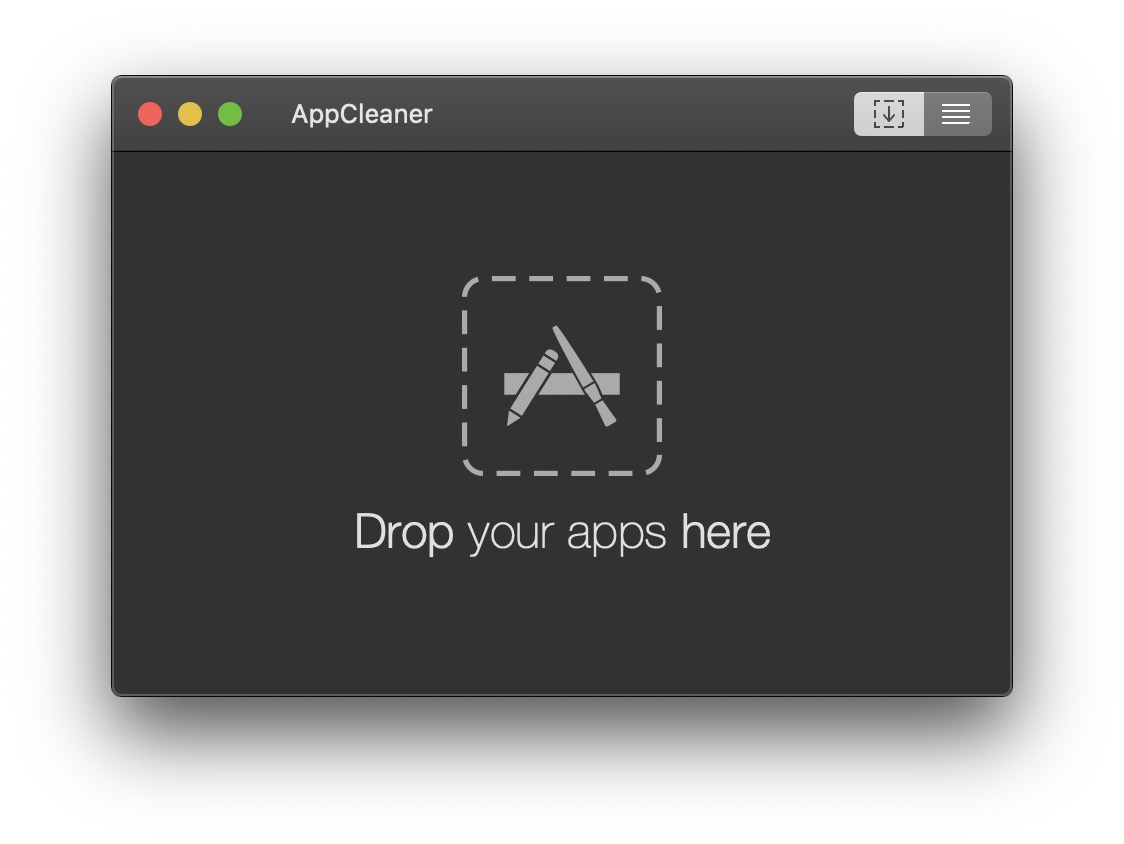
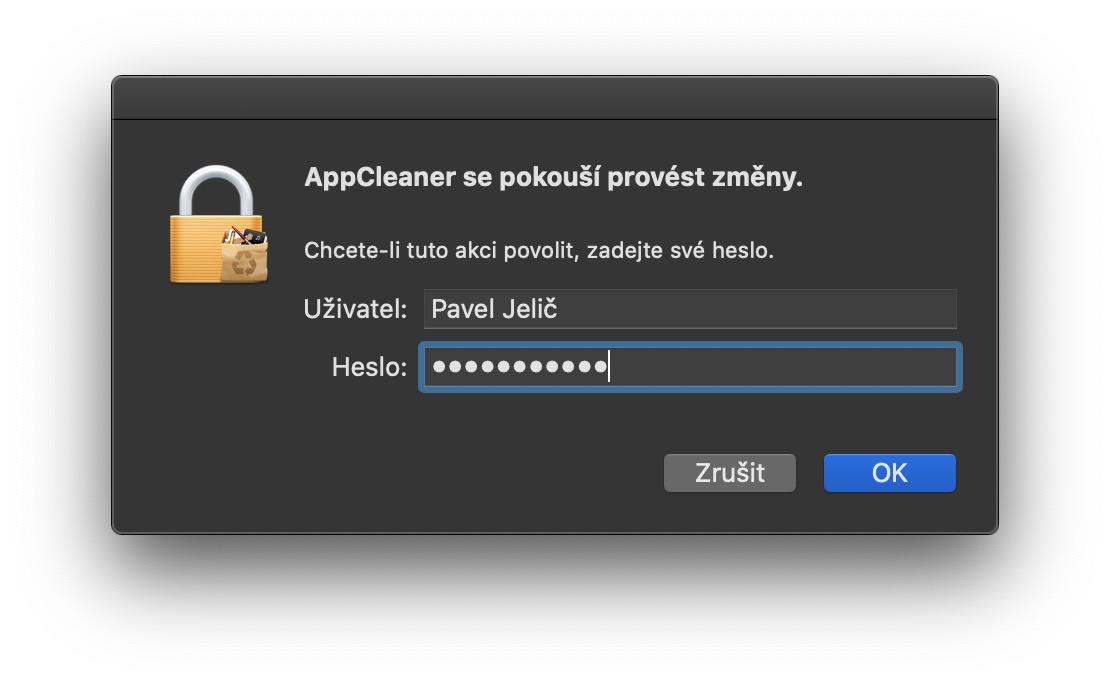
As for removing applications on a Mac, it's not difficult - just go to Applications and simply throw the selected application into the trash. But the truth is that this is definitely not an ideal way to remove applications. In this way, you only delete the application itself, without the data it created somewhere in the bowels of the system. This data then remains in storage, takes up a lot of space and is never found again. This is of course a problem, as data can gradually fill up storage, especially on older Macs with small SSDs. With a full disk, the system gets stuck a lot, and may even fail. If you would like to remove apps properly, you just need to use the app AppCleaner, which is simple and I have personally been using it for several years. Otherwise, you can still wipe the storage in → About This Mac → Storage → Manage… This will bring up a window with several categories where storage can be freed up.
