Should you choose to perform a clean install of the macOS operating system on your device, you can do so via macOS Recovery mode. This is a very simple process that practically everyone can do. However, some users, especially those more proficient in information technology, may appreciate the option to create a bootable installation disk for the latest version of macOS 11 Big Sur. This is especially useful if you need to install the macOS operating system on multiple computers without having to download it again each time.
It could be interest you
What do you need to prepare before installation?
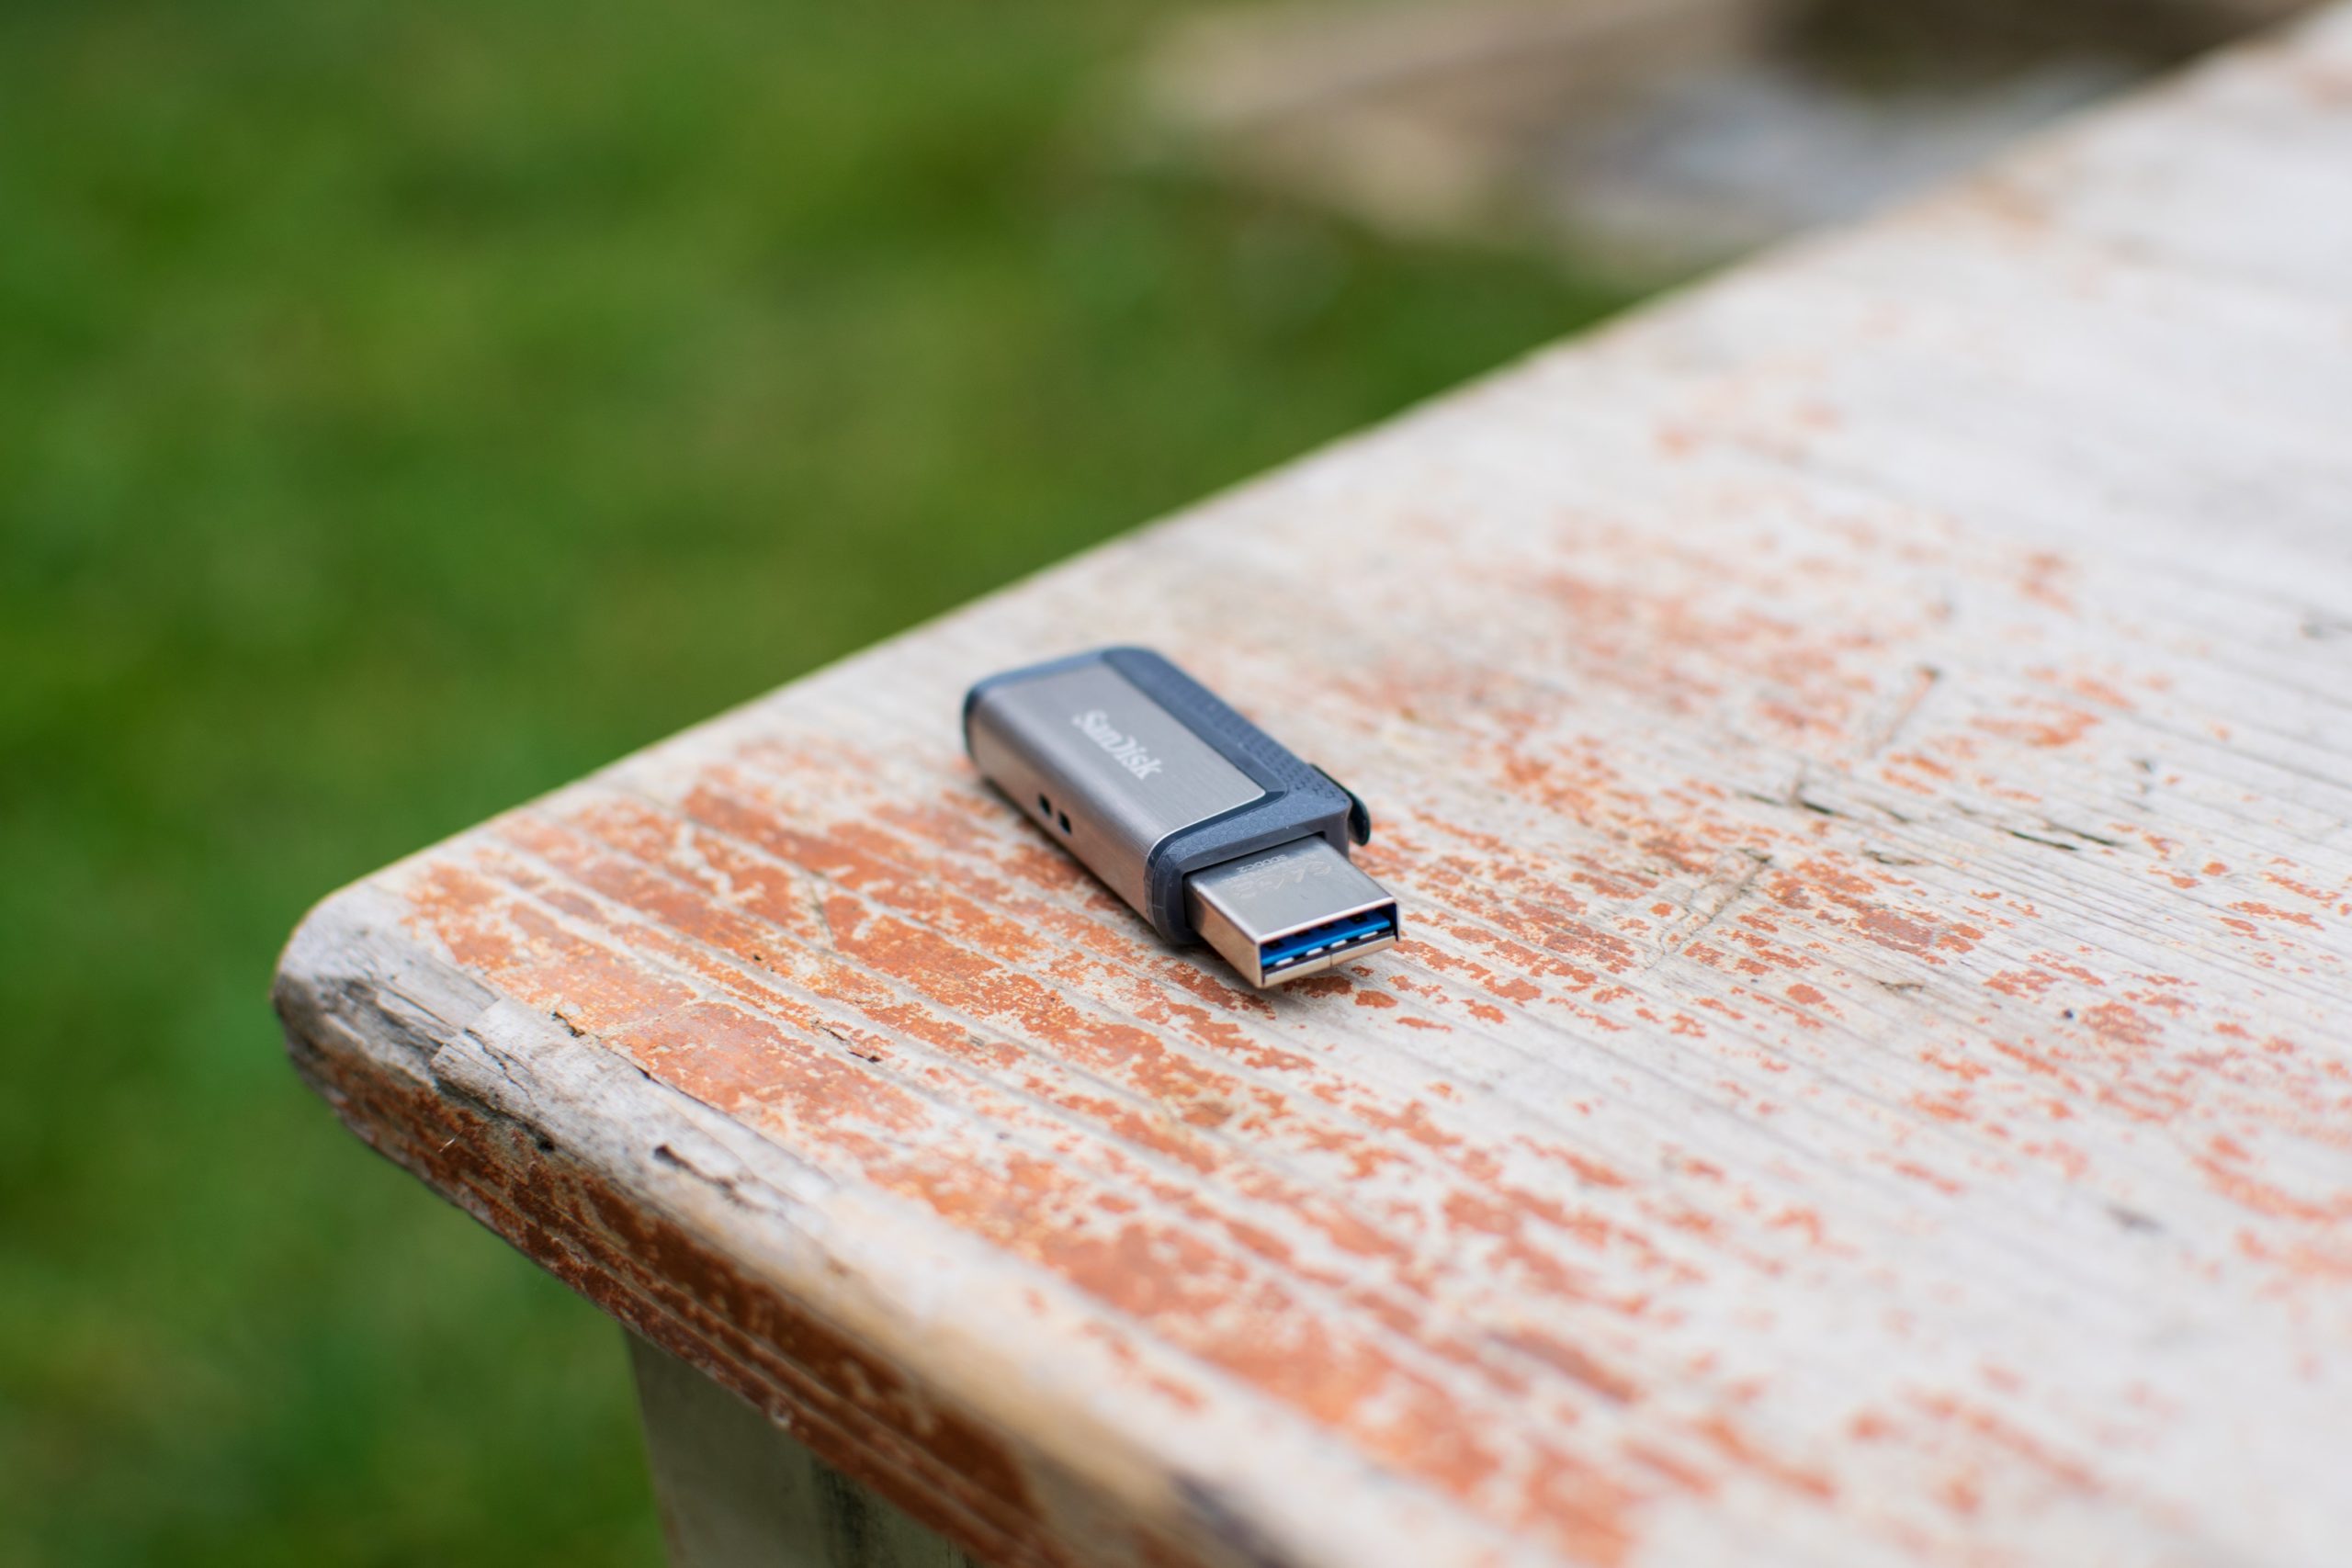
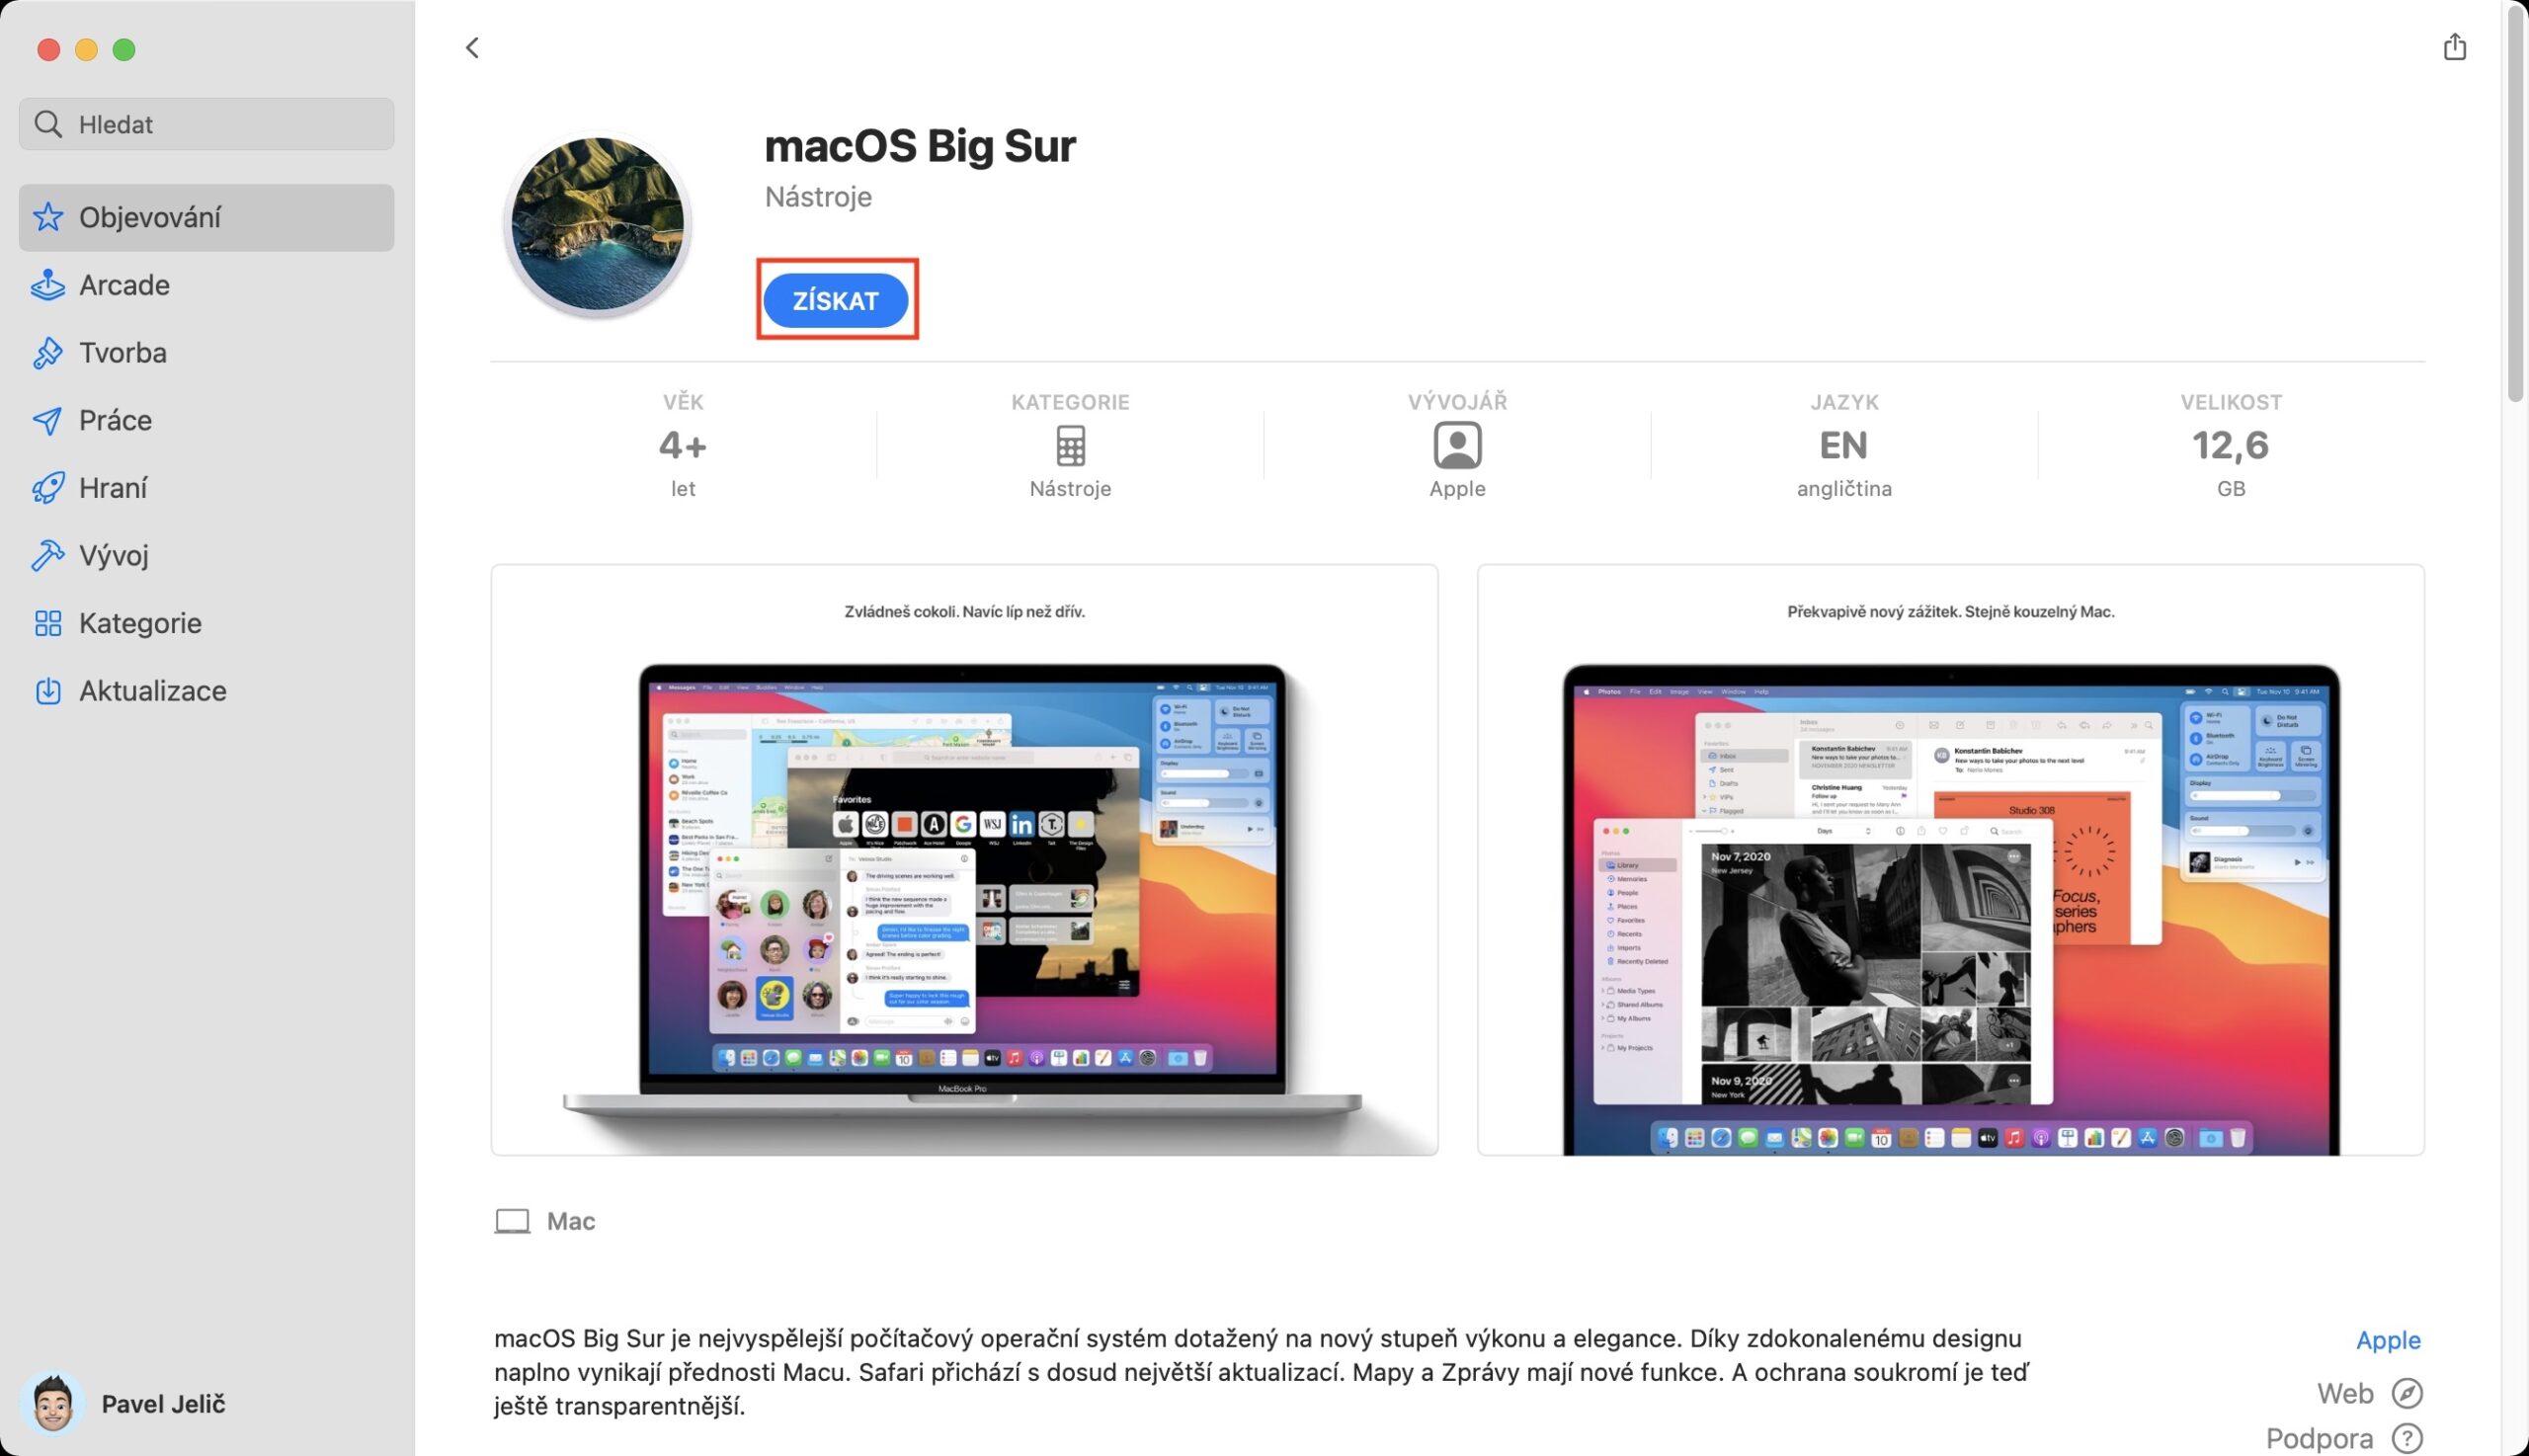
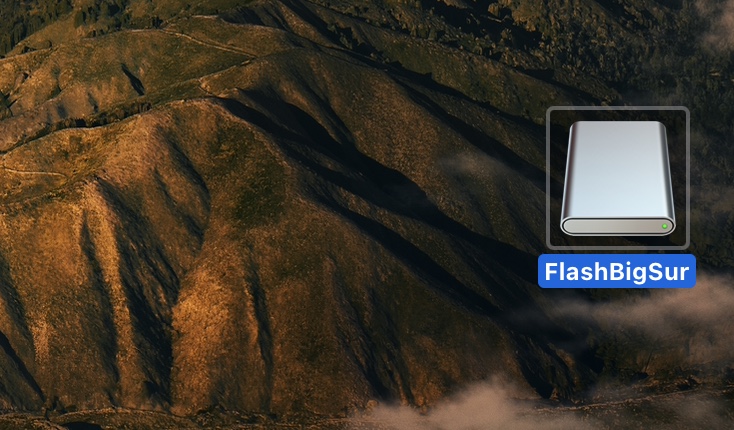
Before the actual installation, you need to prepare three necessary things. First, it is necessary that you have downloaded macOS Big Sur application, which will be used to create a startup disk. You can download it easily via the App Store - just tap <a href="https://cdn.shopify.com/s/files/1/1932/8043/files/200721_ODSTOUPENI_BEZ_UDANI_DUVODU__EN.pdf?v=1595428404" data-gt-href-en="https://en.notsofunnyany.com/">here</a>. In addition to the downloaded application, you also need the (flash) disk itself with a size of at least 16 GB, which must be formatted to APFS – this process can be done in Disk Utility. At the same time you this disc name it aptly without diacritics and spaces. In addition, it is of course necessary that you install macOS 11 Big Sur on one A Mac that supports this version.
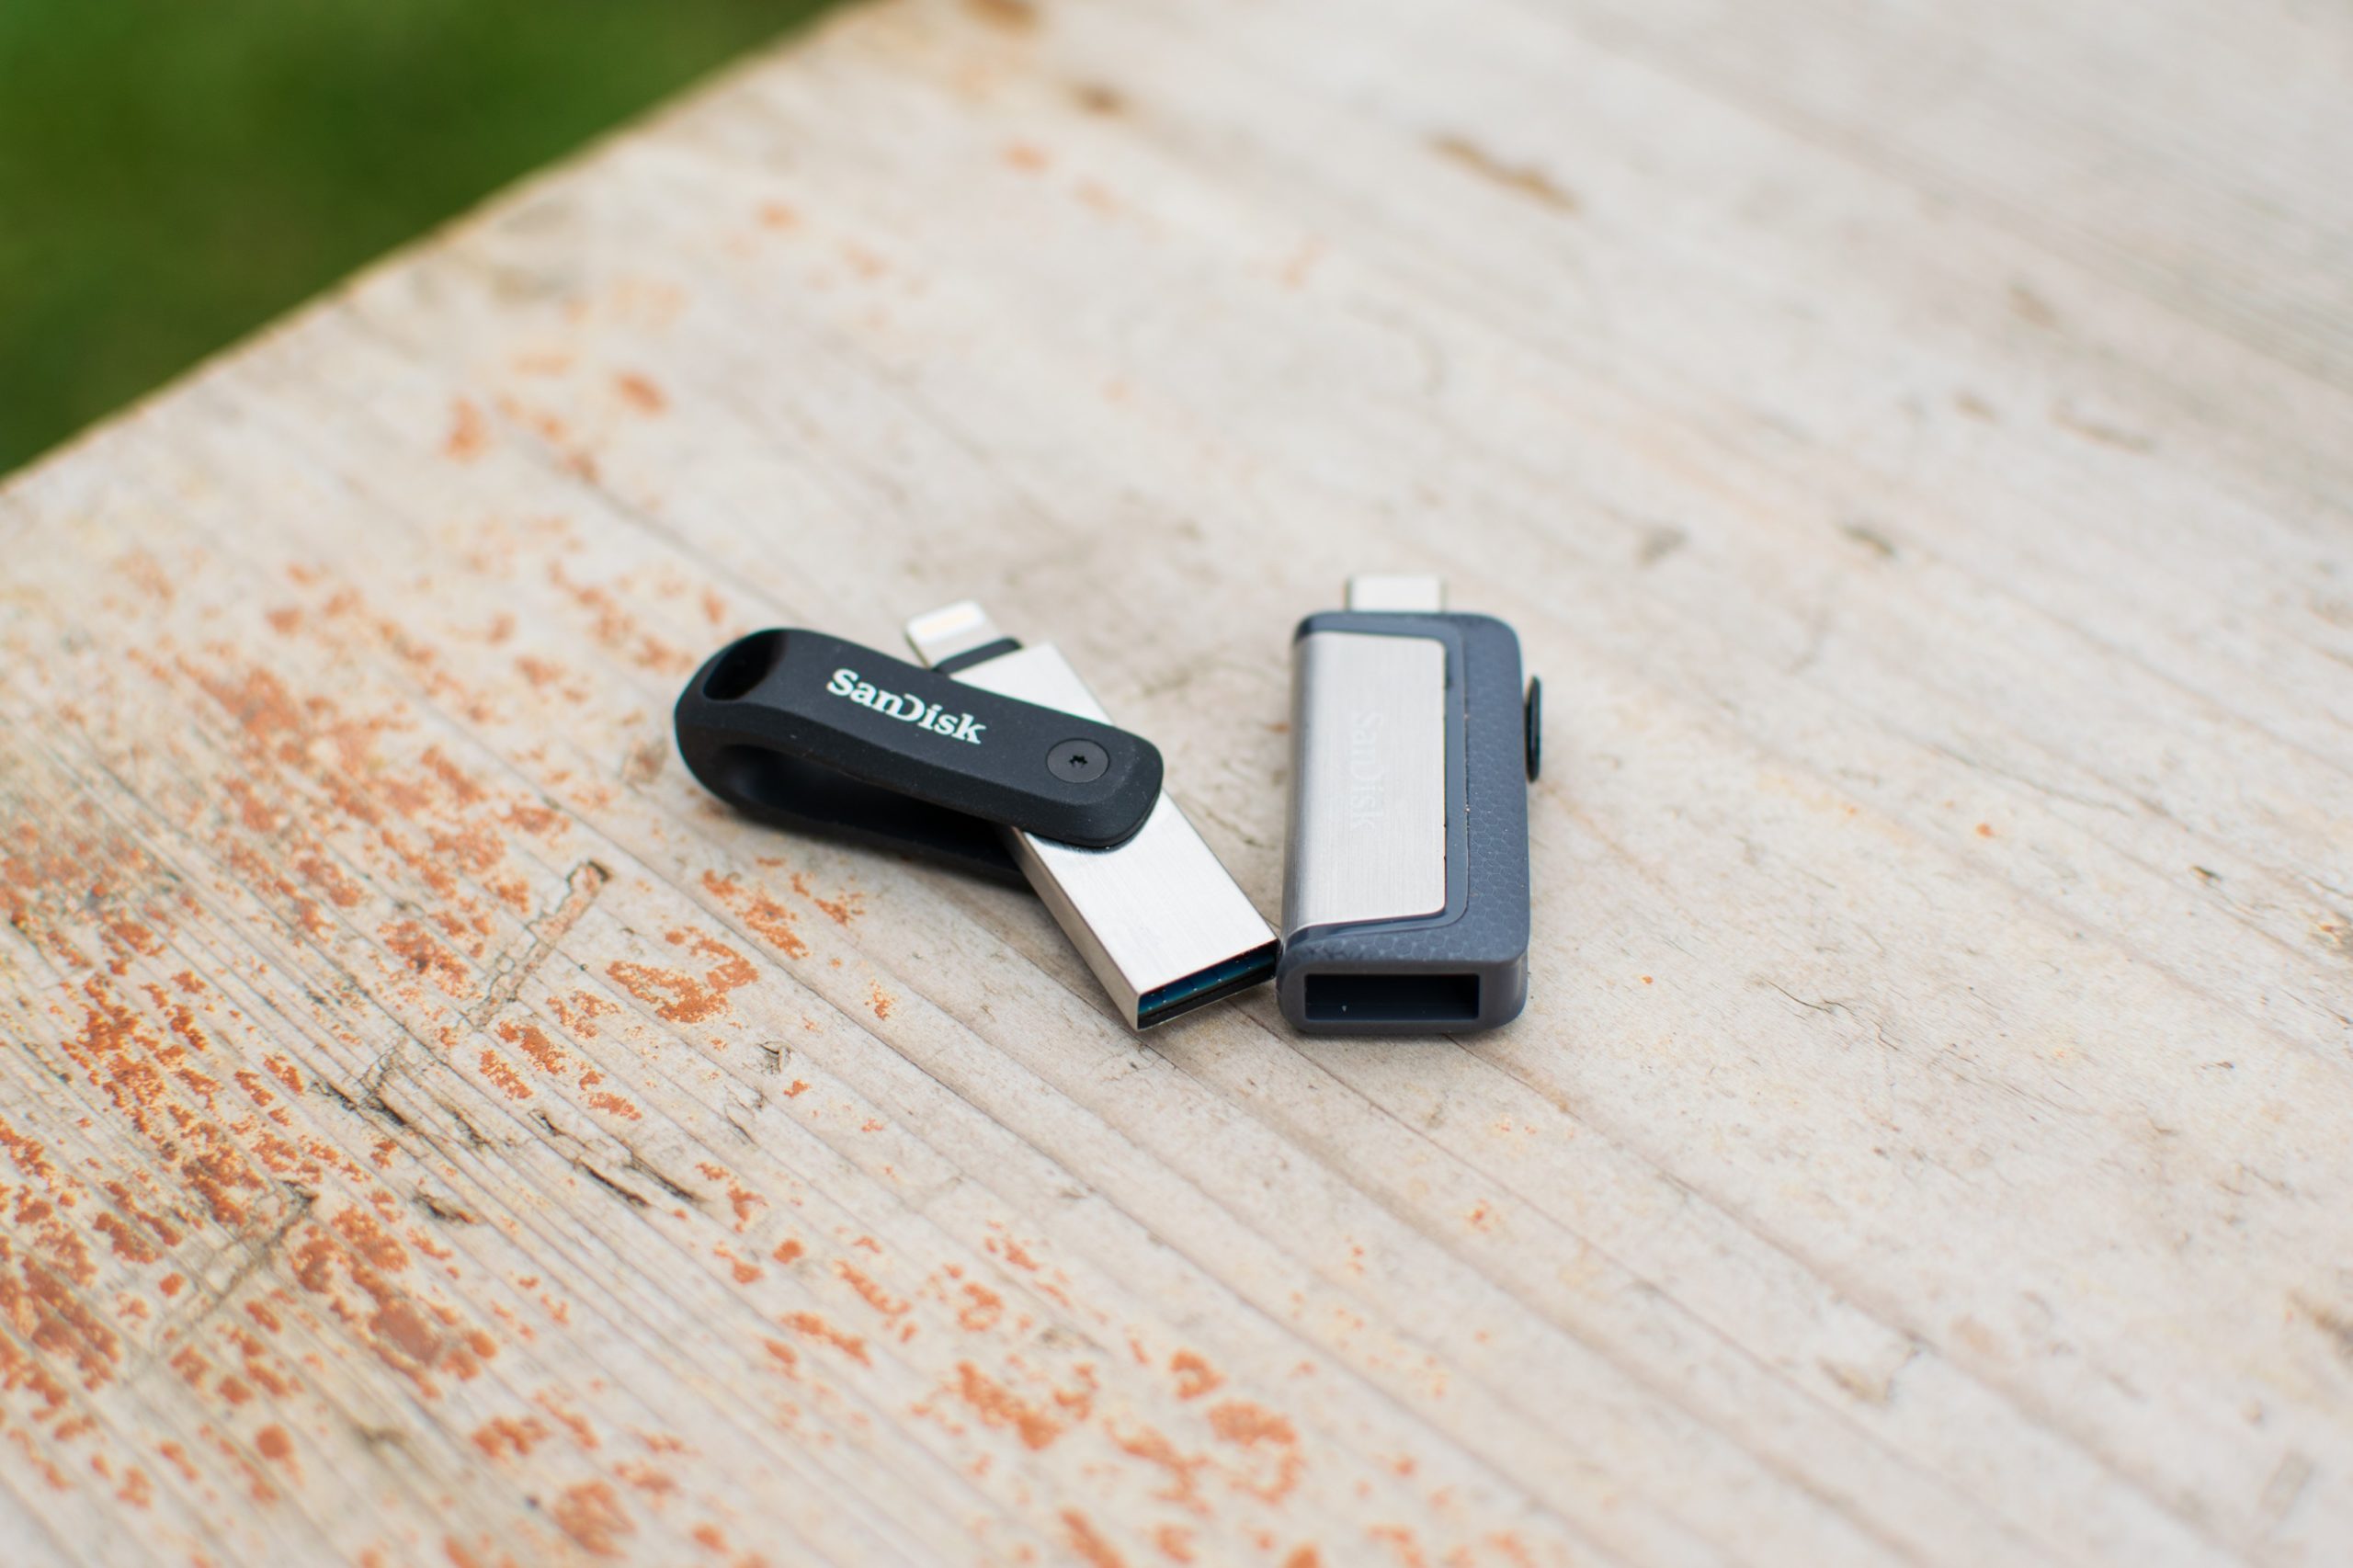
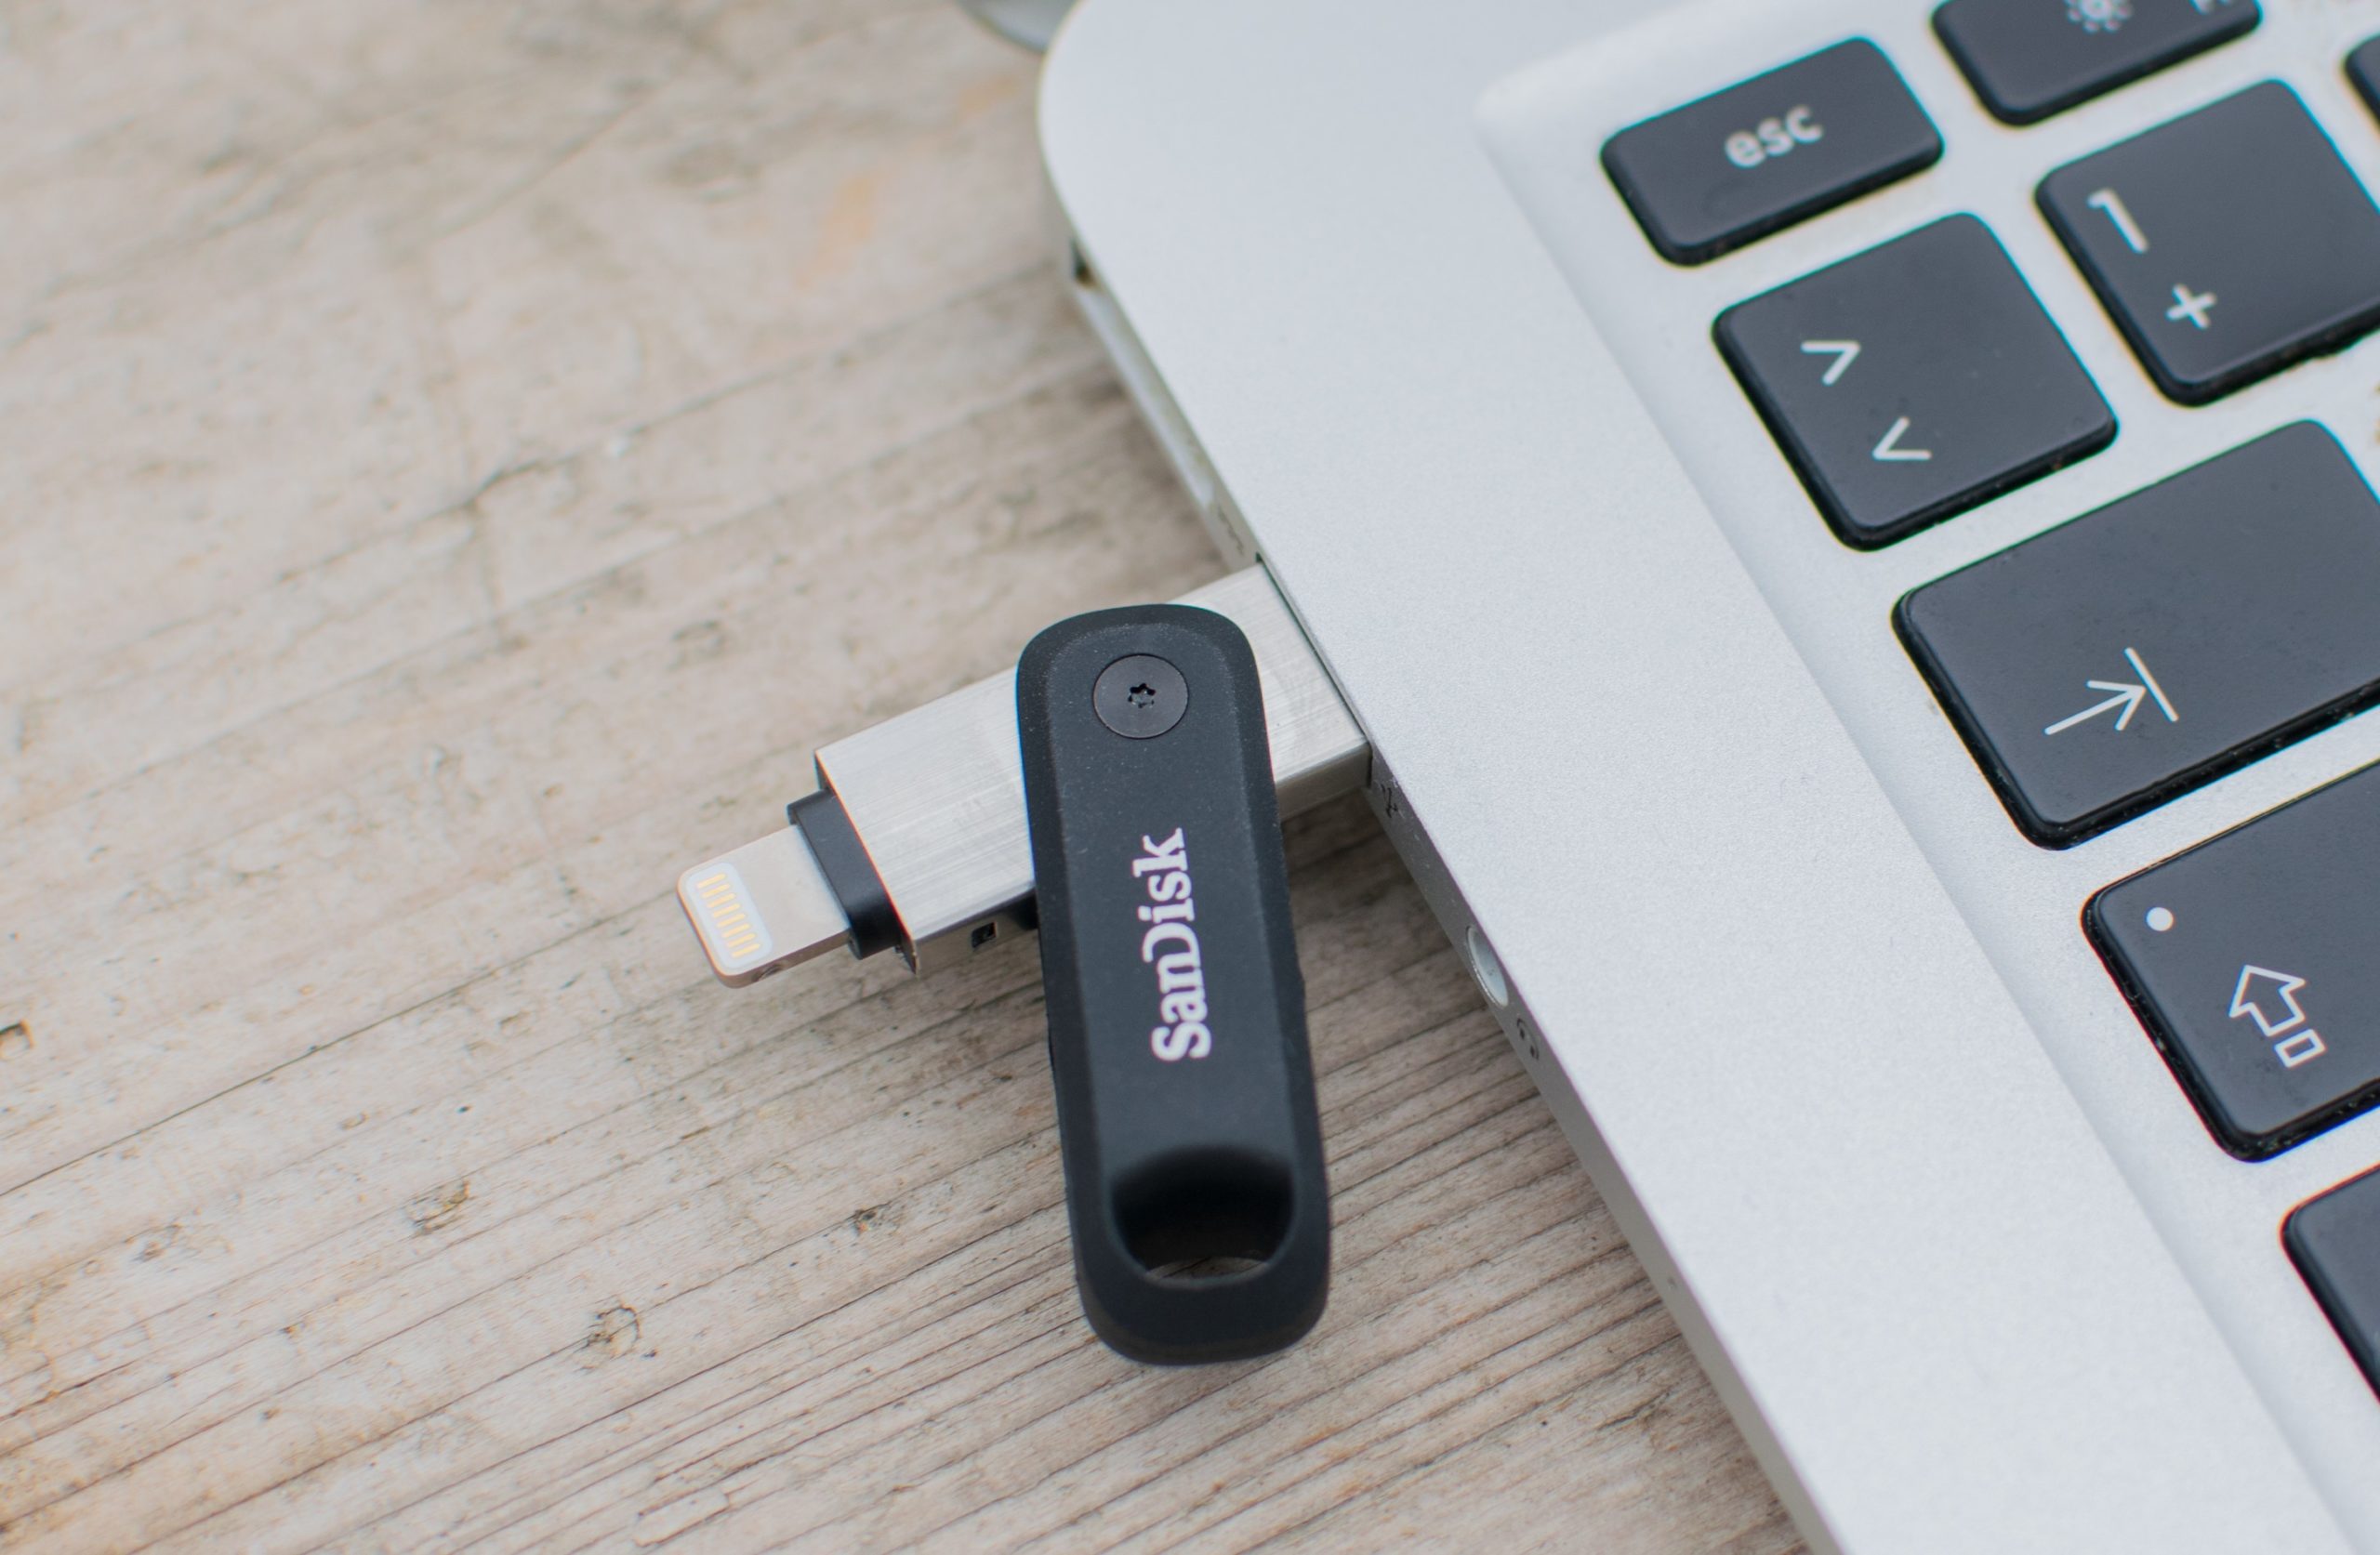
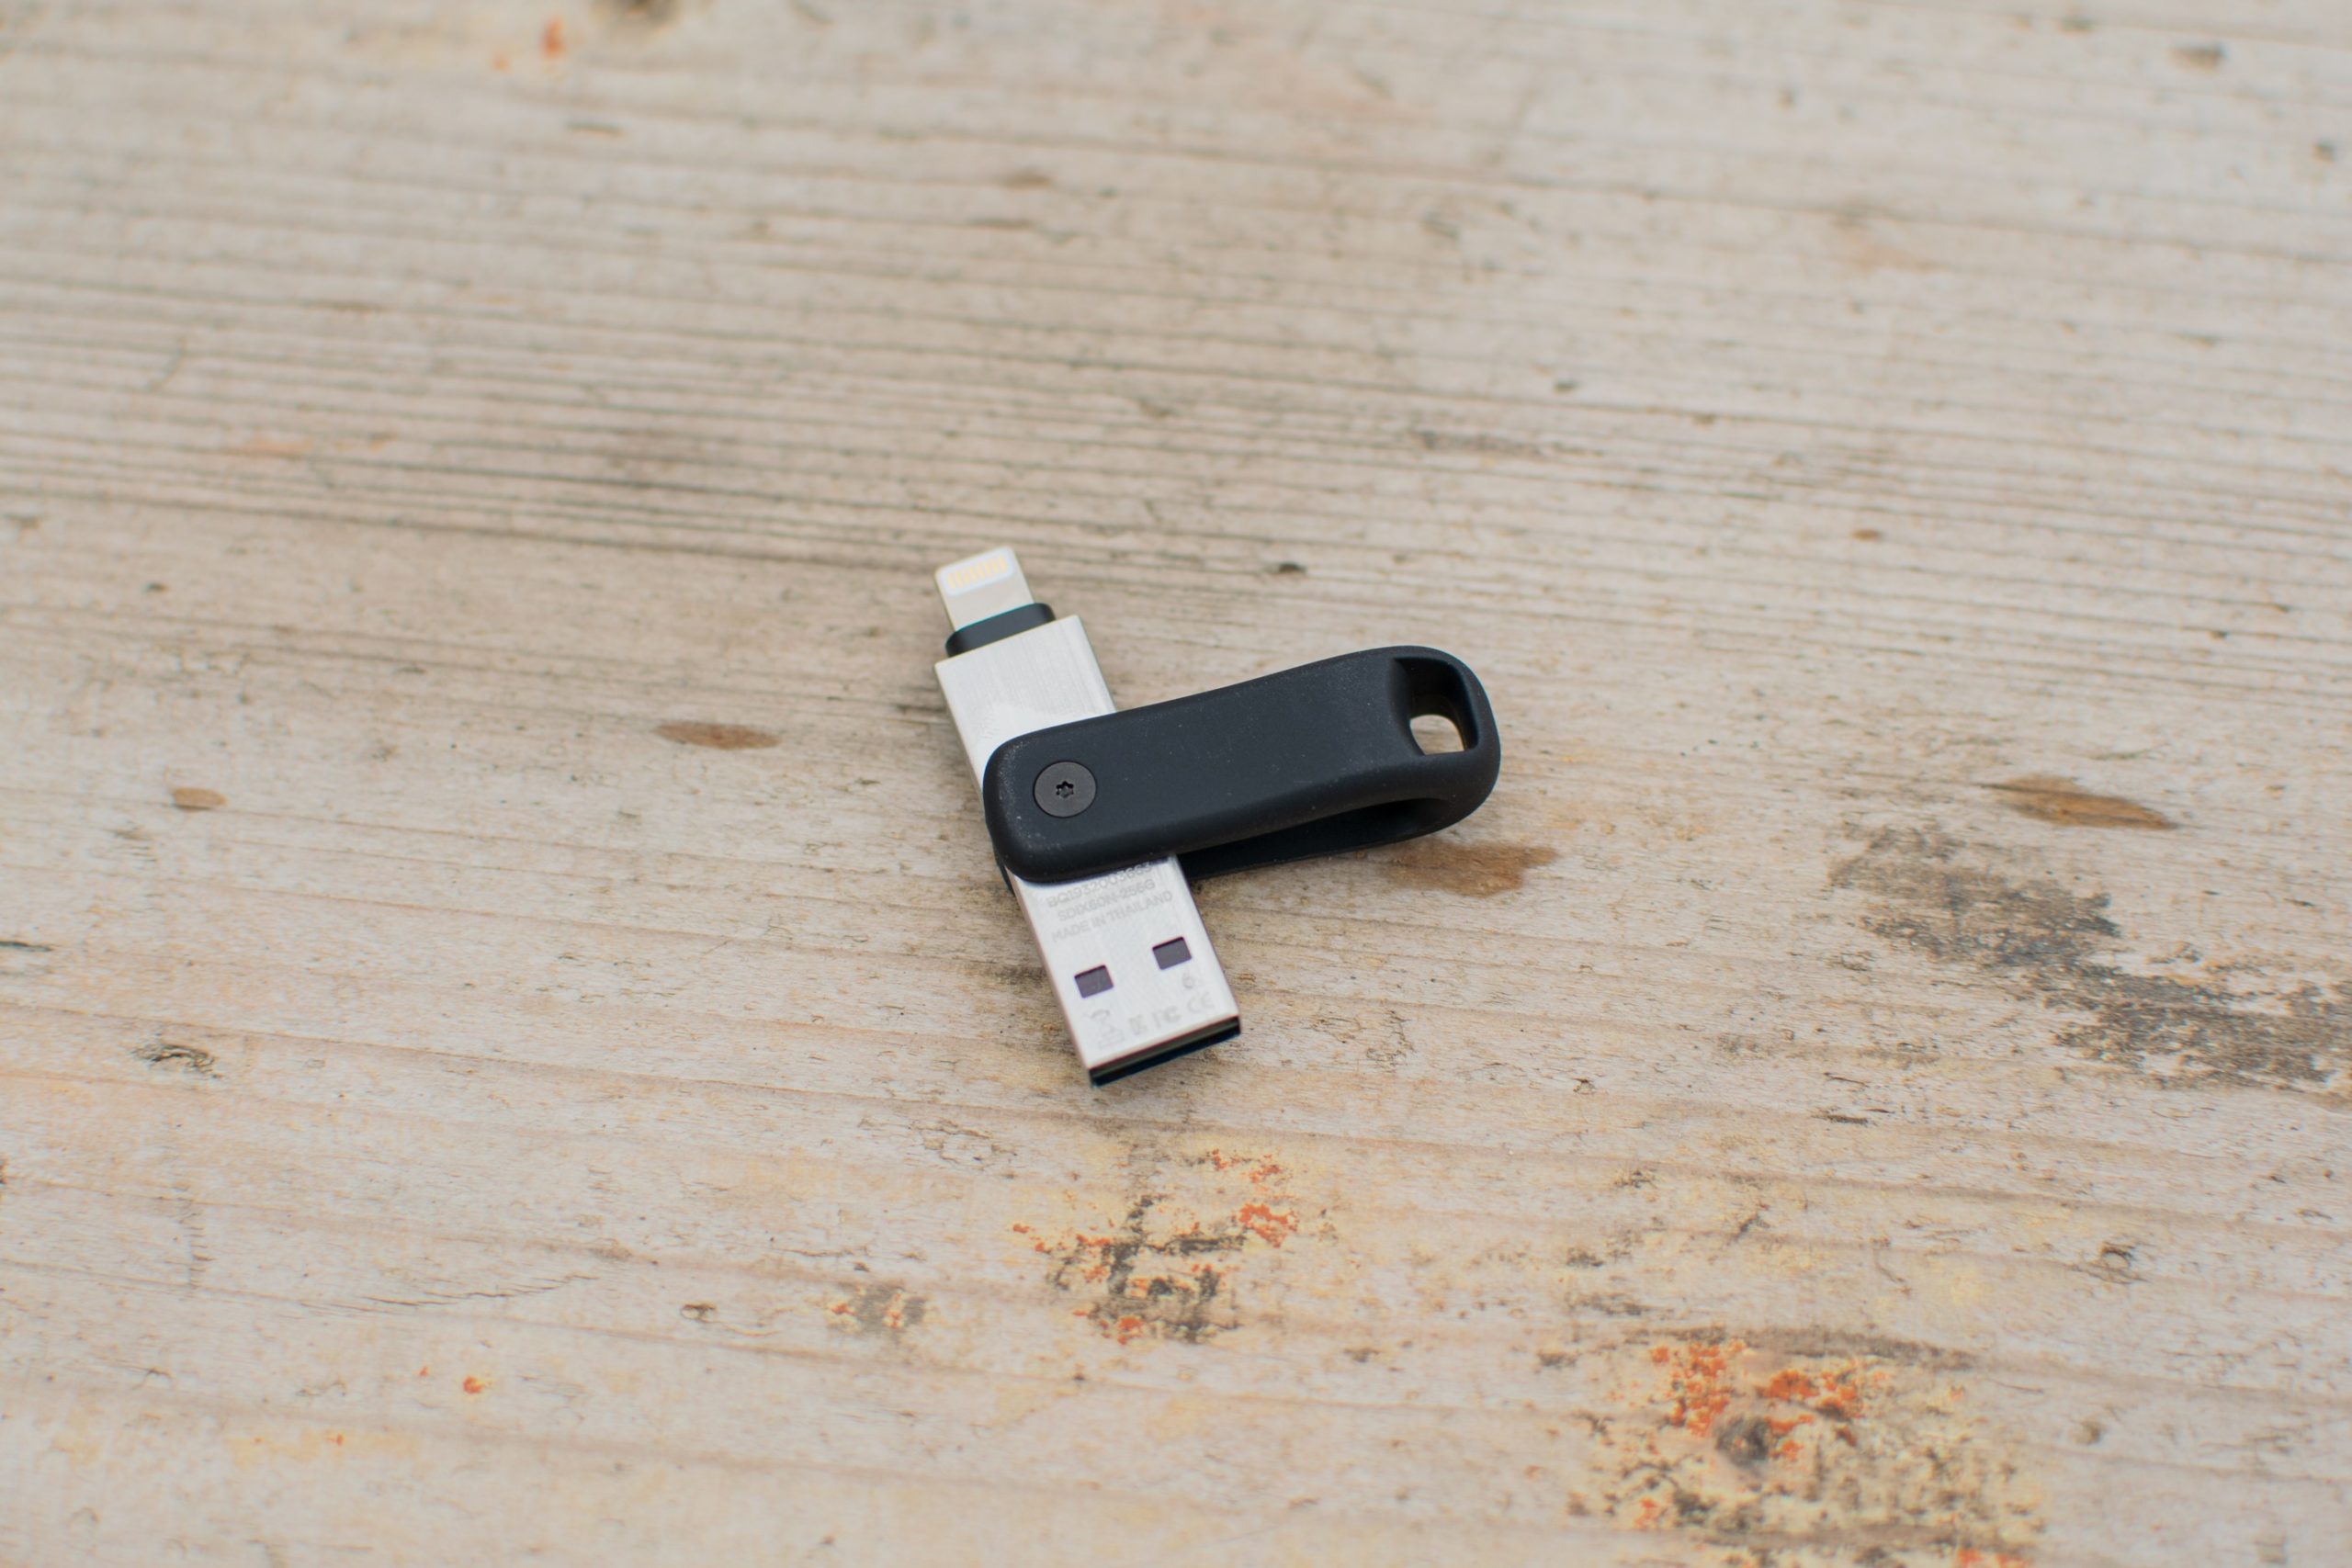
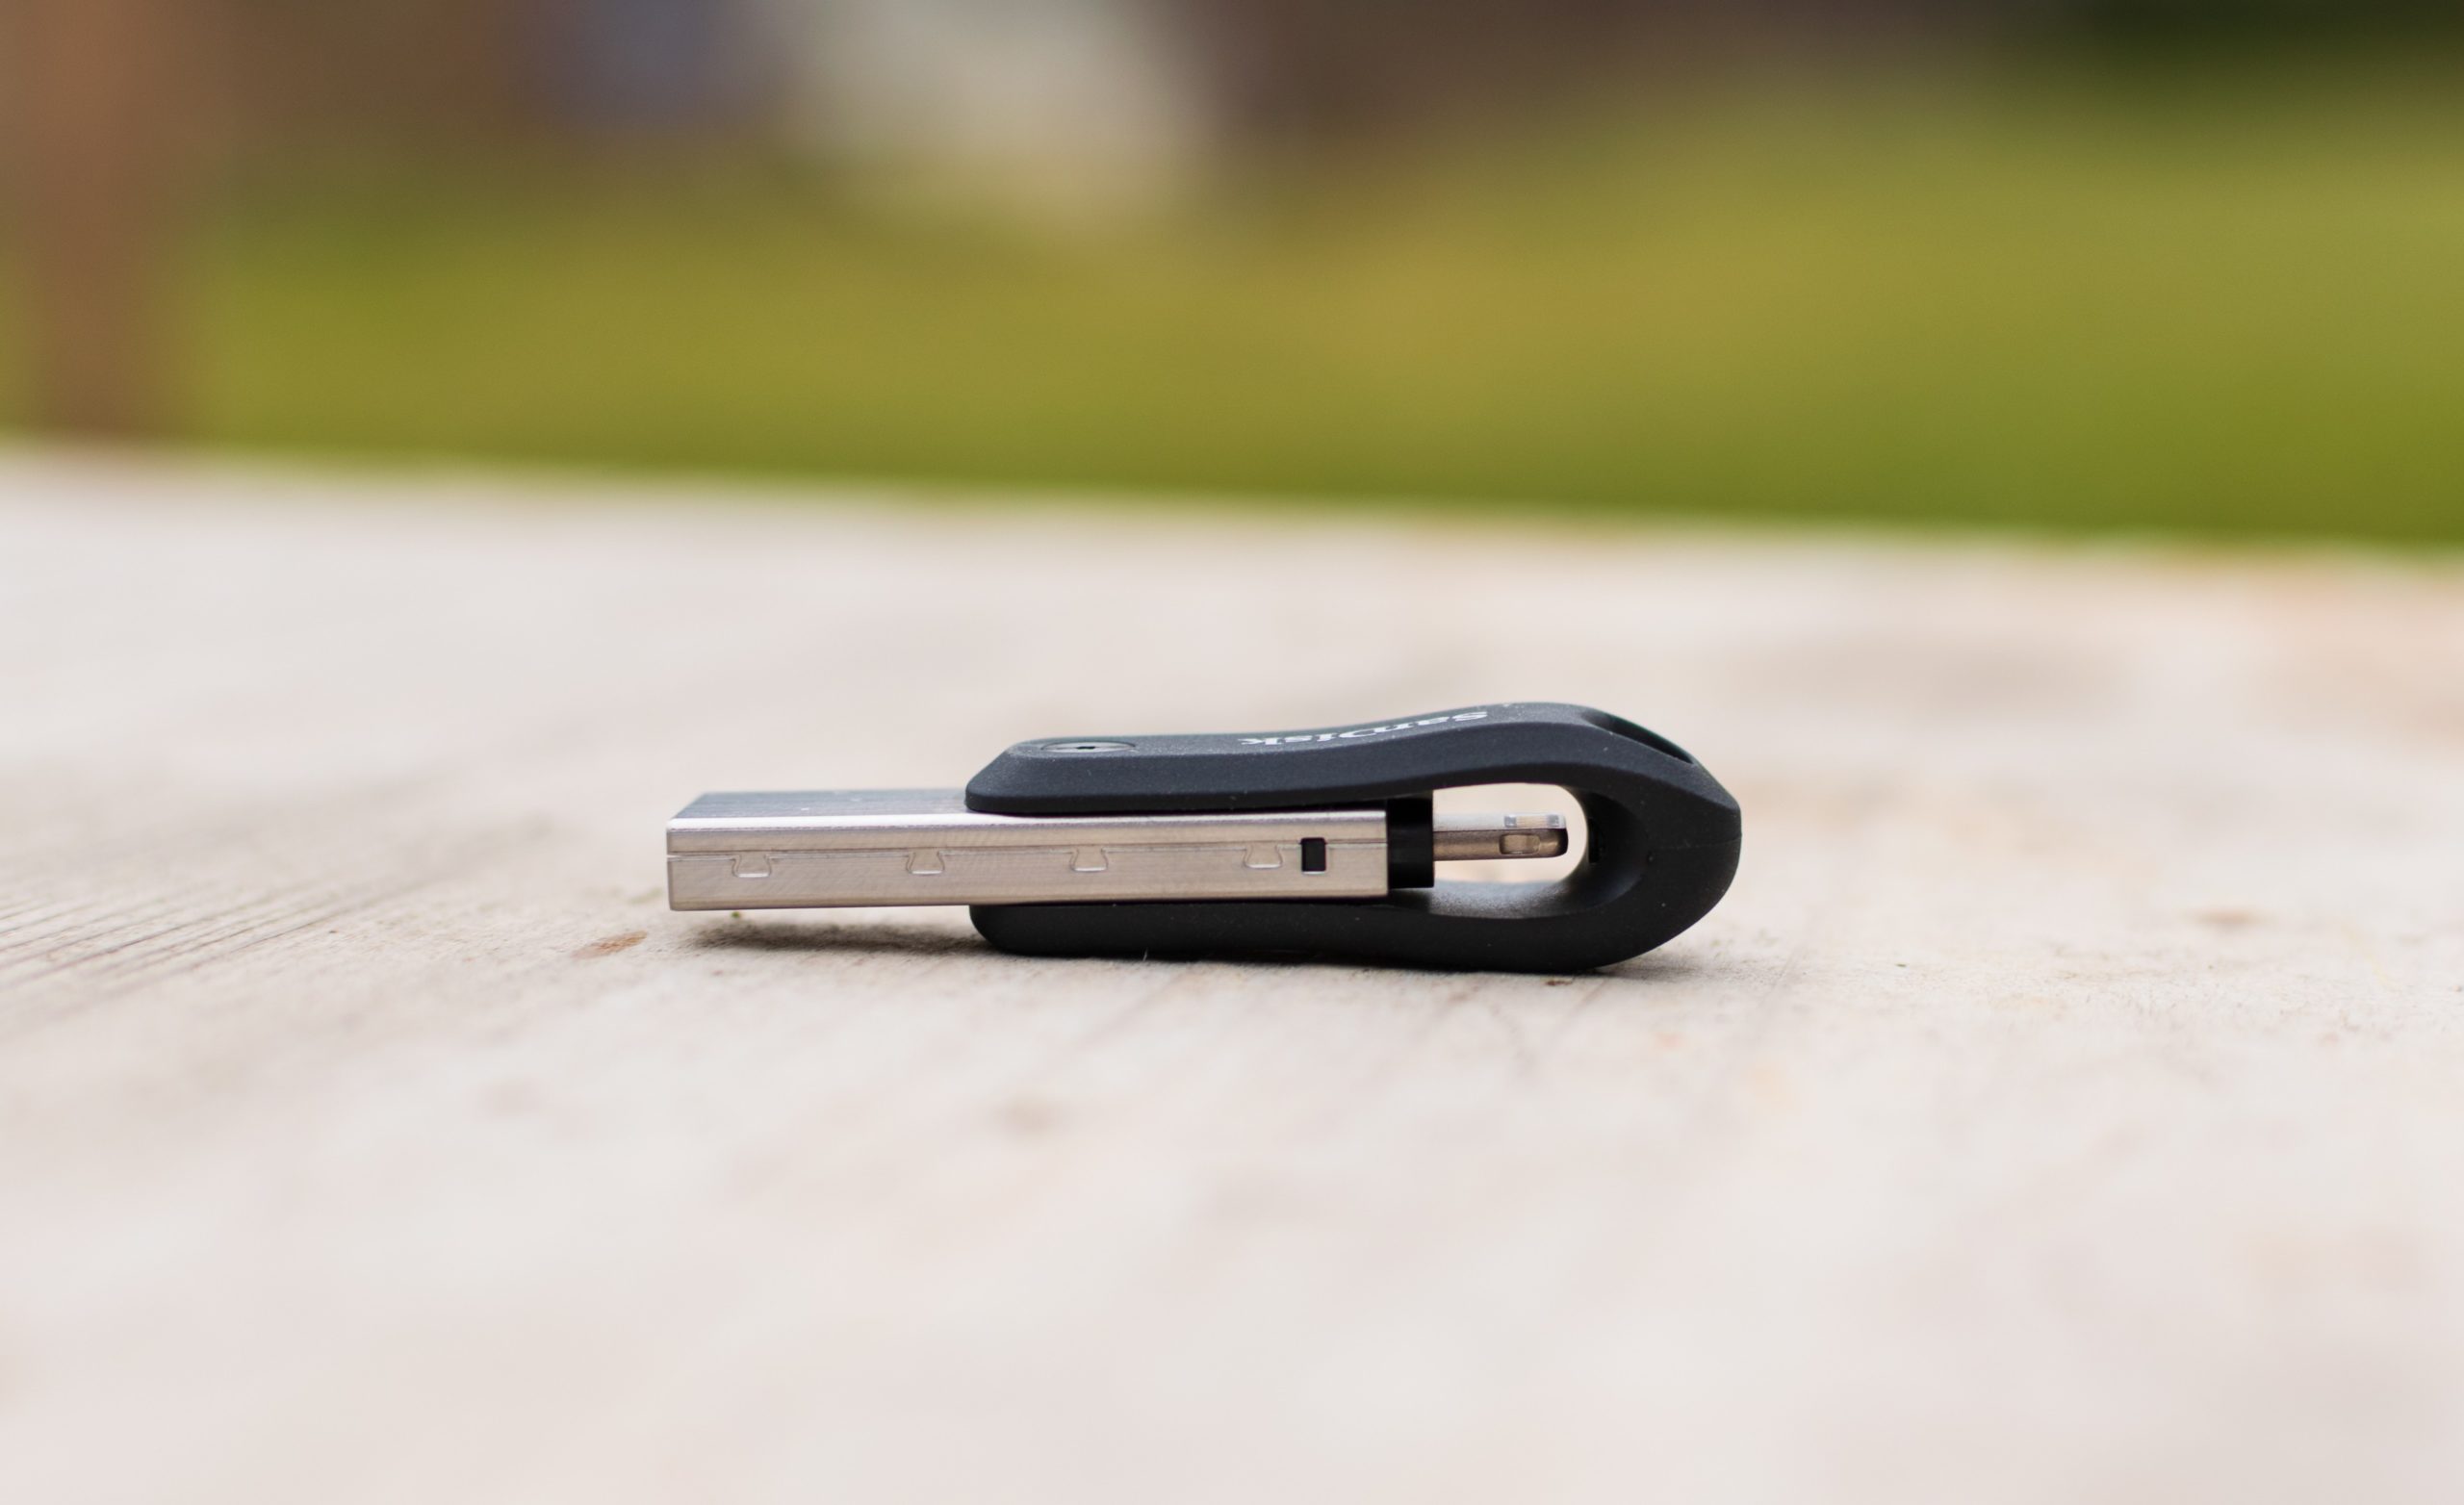
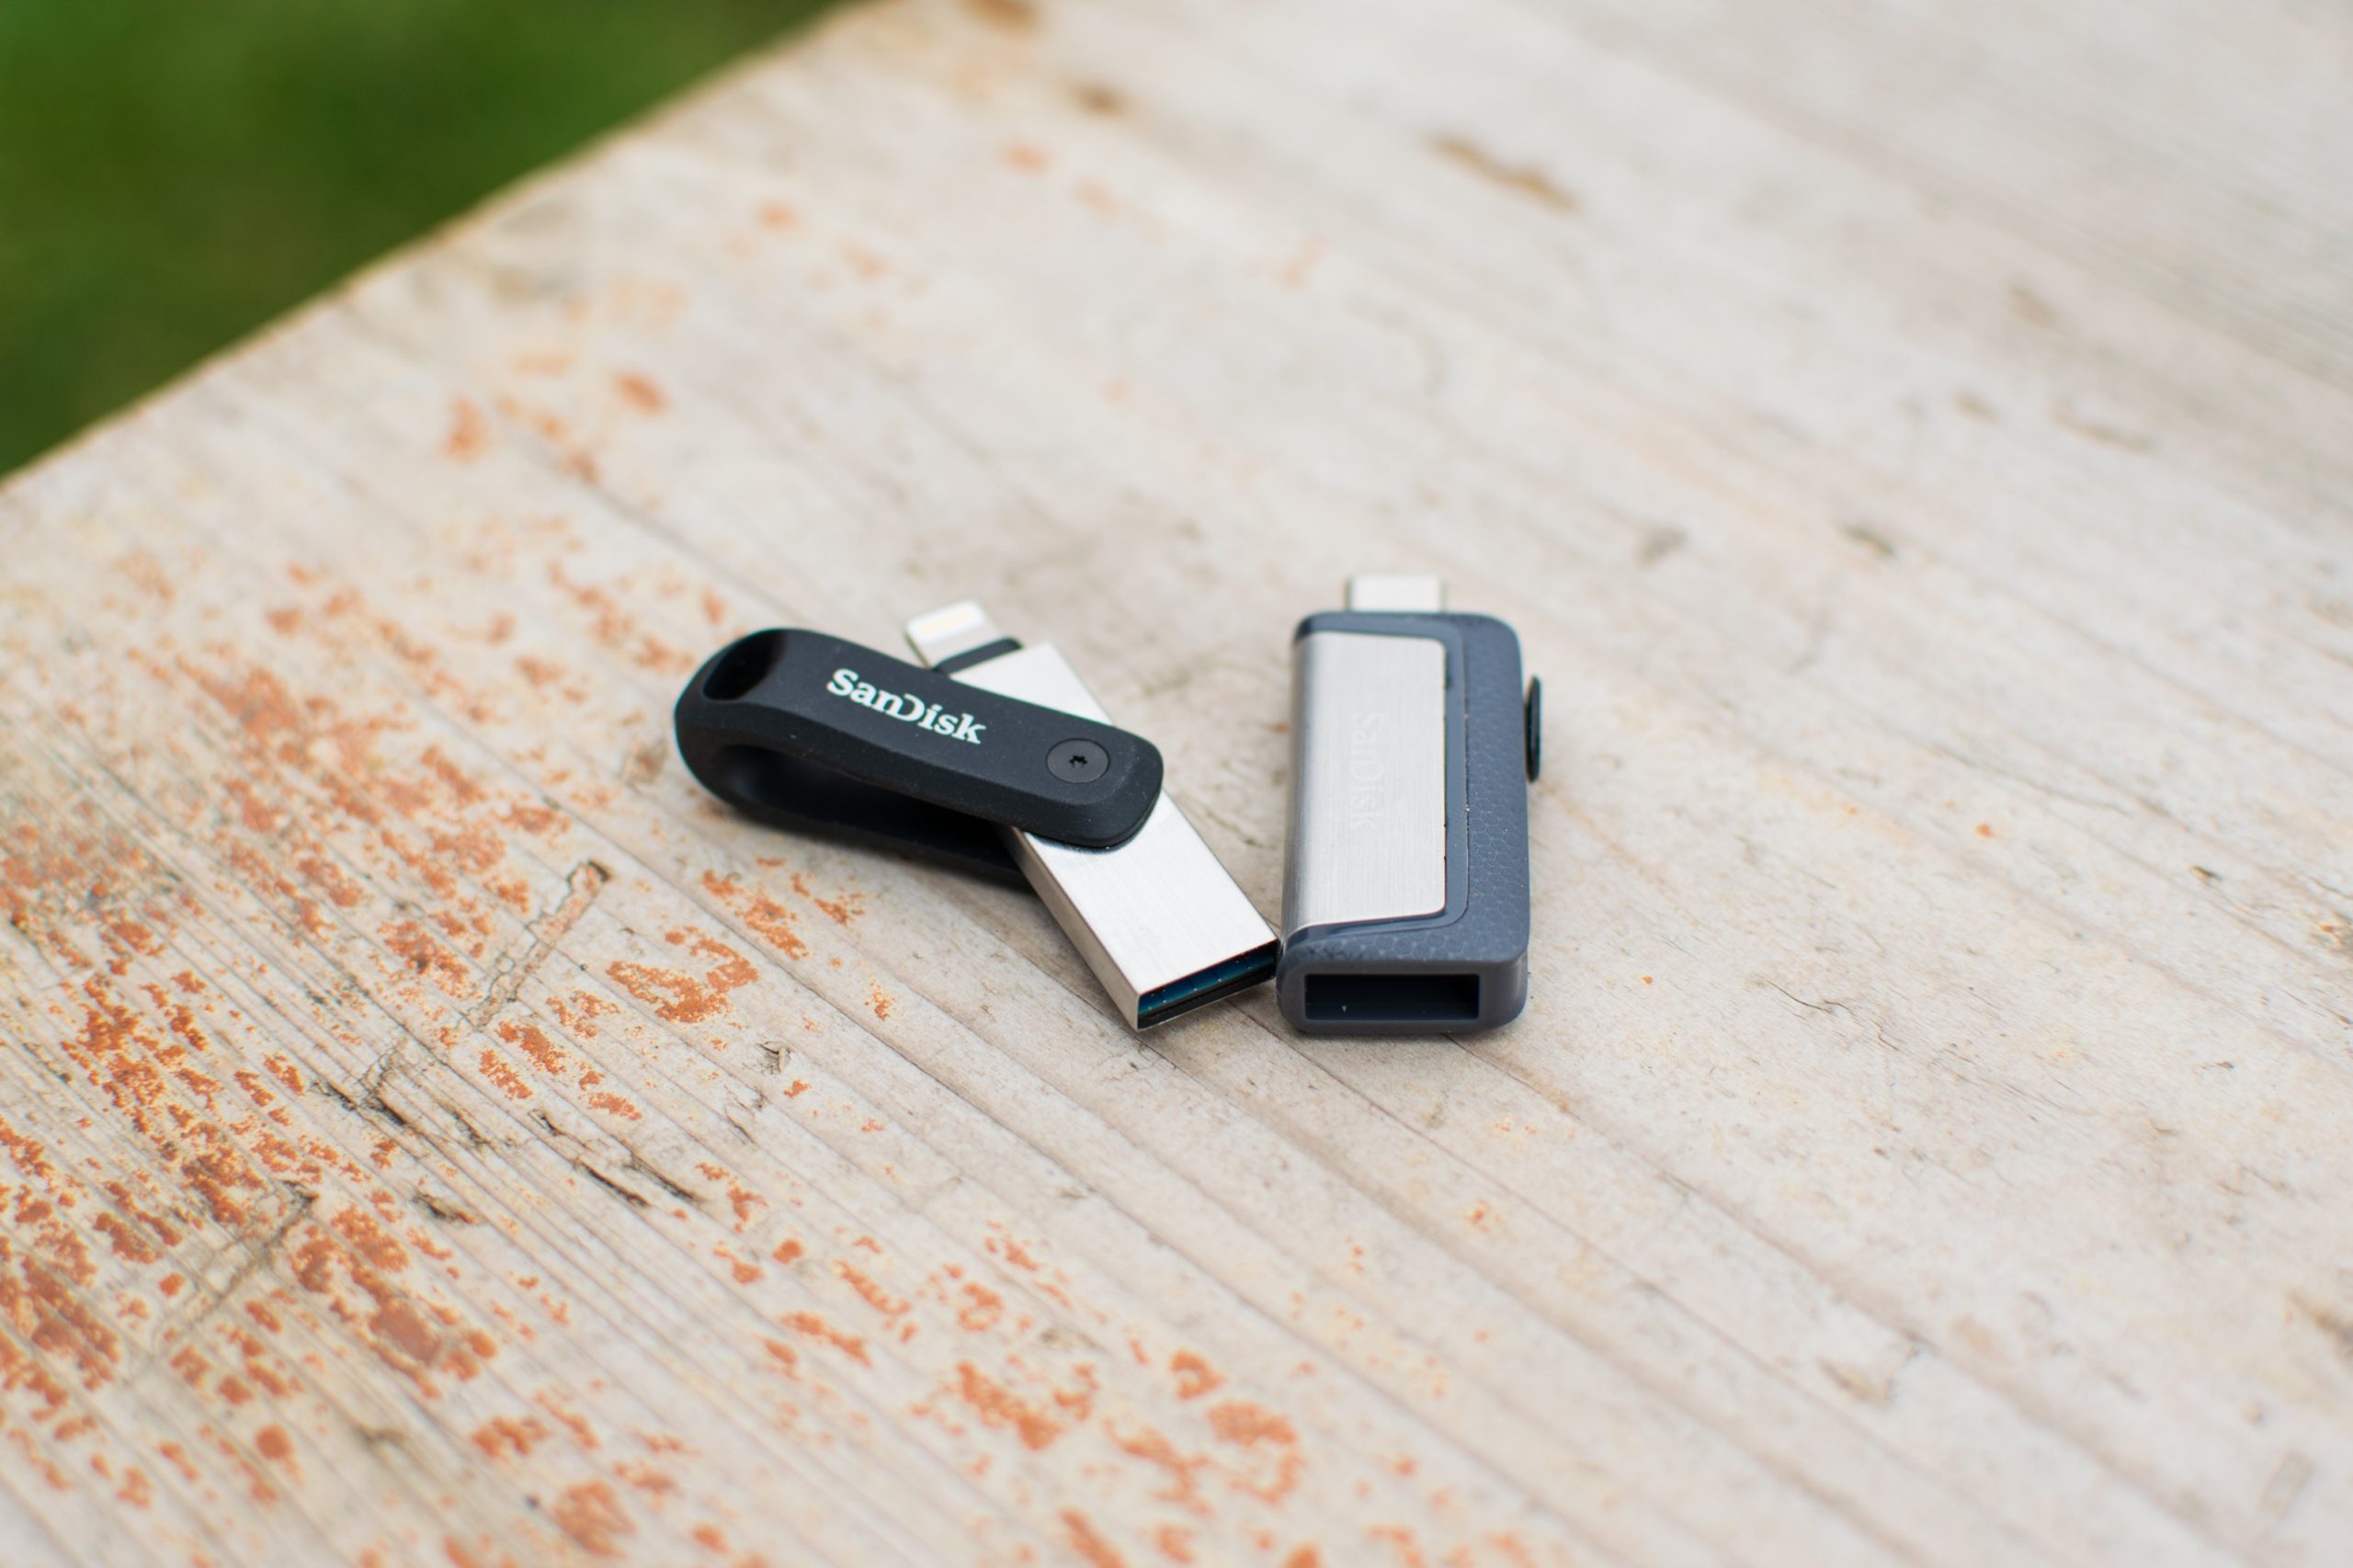
You can buy a flash drive for creating bootable media with macOS here
How to create a bootable installation disk with macOS 11 Big Sur
If you have everything ready, then you can jump into the actual process of creating the macOS 11 Big Sur installation disc:
- If you haven't already, do so connect the prepared disk to your Mac.
- Once connected, you need to move to the native app Terminal.
- You can find the terminal in Applications -> Utilities, or you can run it via Spotlight.
- A small window will open in which commands are entered.
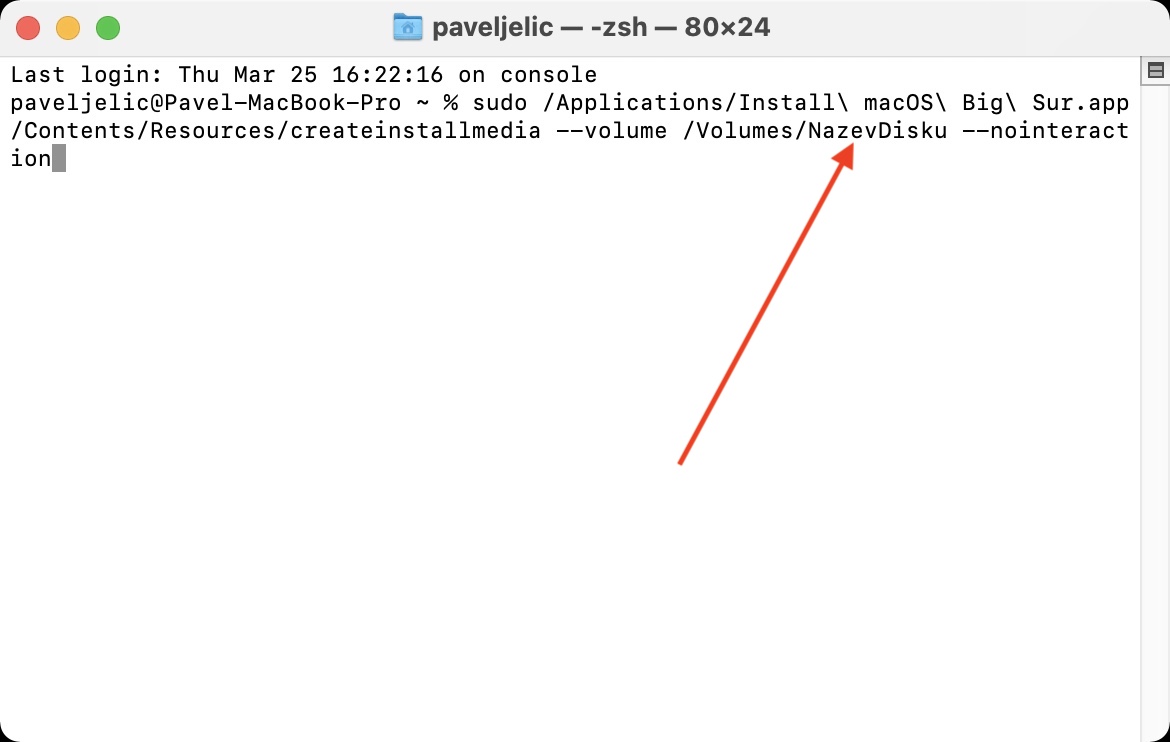
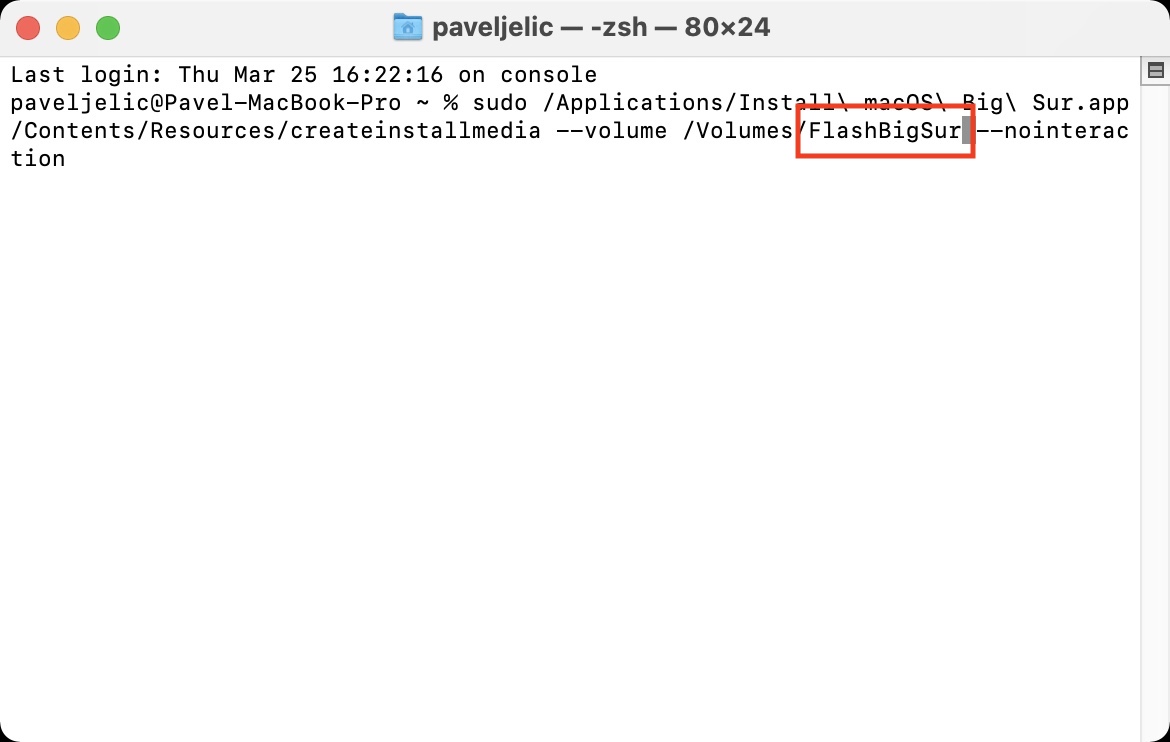
- Now it is necessary that you copied the command which I am attaching below:
sudo /Applications/Install\ macOS\ Big\ Sur.app/Contents/Resources/createinstallmedia --volume /Volumes/Disk Name --nointeraction
- At the same time, before confirmation, it is necessary that you part of the command Disk Name replaced with the name of the connected media.
- After replacing the name, press a key on the keyboard Enter.
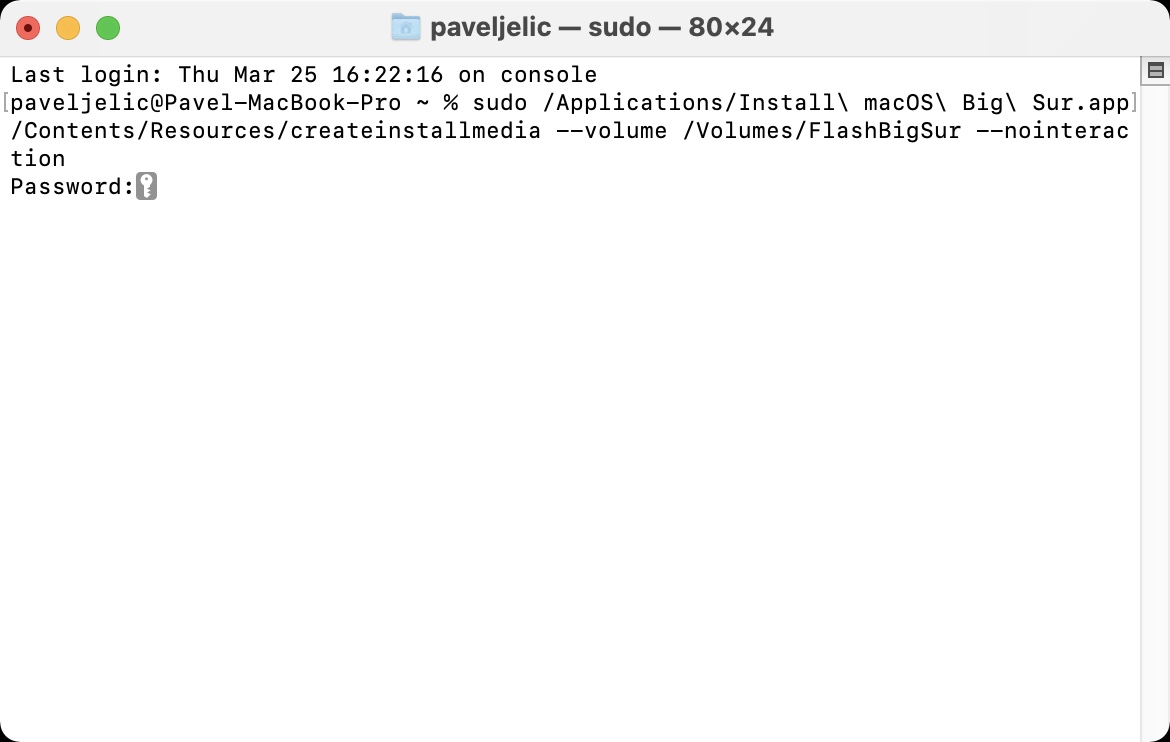
- The terminal will now follow you require a password to the administrator account which write "blindly".
- After entering the password in the Terminal window, press the key again Enter.
The creation of the startup disk itself can take several (dozens) of minutes, so definitely be patient and let the whole process take place until the very end. As soon as the startup disk is ready, an indicator will appear in the Terminal to let you know about it. If you would like to use the created startup disk and run macOS from it, the procedure differs depending on whether you have a Mac with an Intel processor or an M1 chip. In the first case, turn on your Mac, hold down the Option key, and then select your drive as the startup drive. On a Mac with an M1, press and hold the power button until the pre-boot options appear where you can choose your startup disk.
 Flying around the world with Apple