Most of us use a Mac or MacBook for classic work. The content of such work can be, for example, administration or creative work. However, many people still cannot imagine that the Mac can be used as a professional tool for every "kid". Proof of this is, for example, advanced Wi-Fi network settings that you can't even find in the competing Windows operating system. Let's take a look together at what's in these settings and how you can access them.
It could be interest you

How to view advanced Wi-Fi network settings in macOS
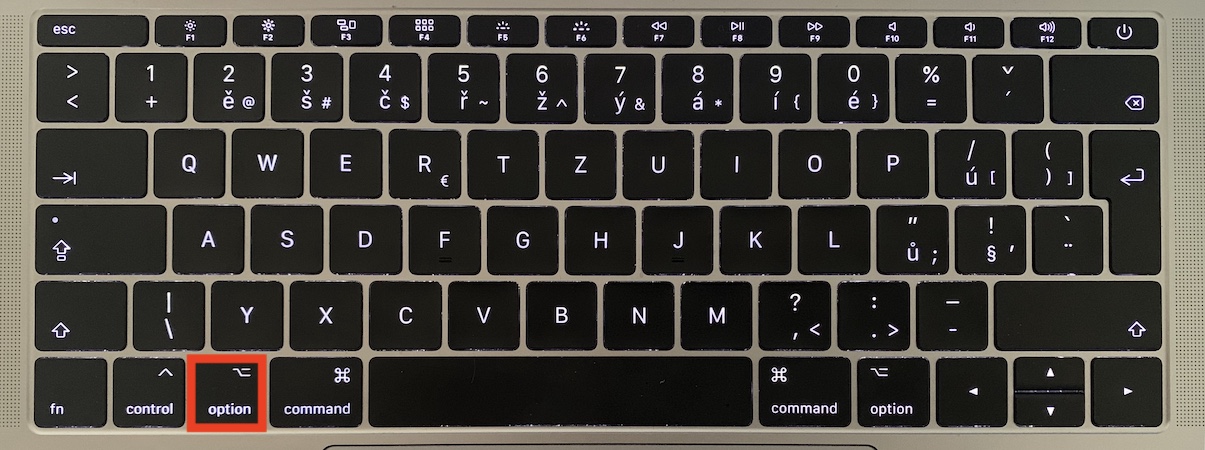
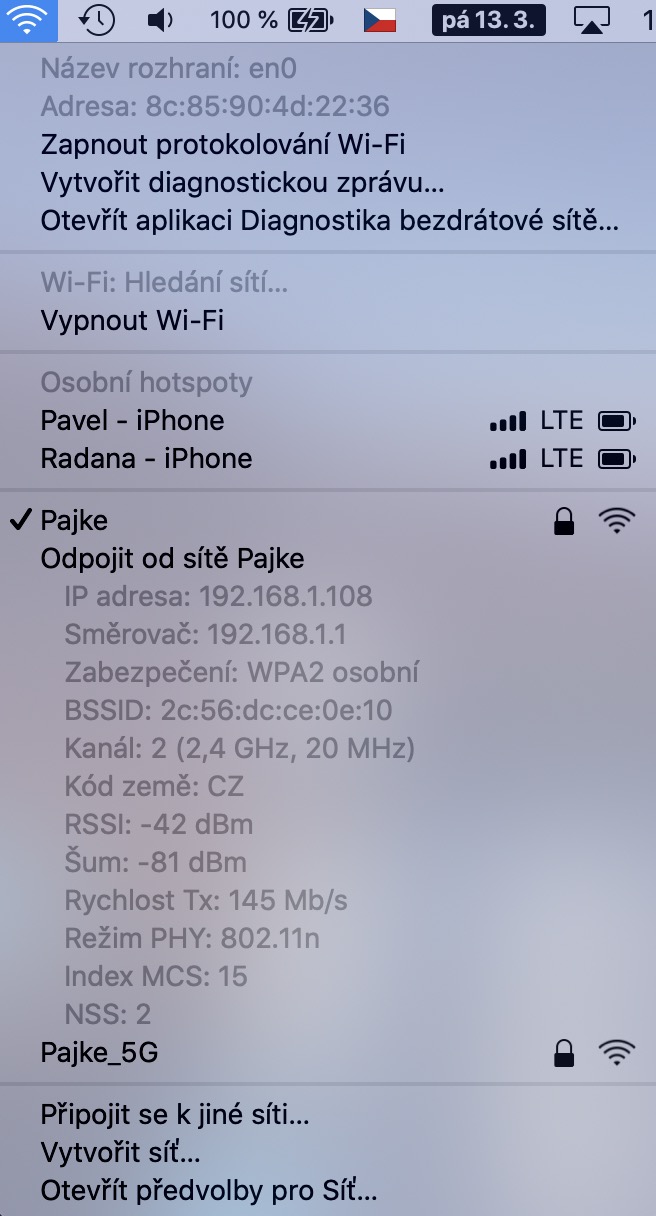
If you want to view advanced Wi-Fi network settings on your Mac or MacBook, the procedure is practically very simple. All you have to do is hold down a key on the keyboard options, and then click the cursor on the top bar Wi-Fi icon. After displaying this menu, you can key Release option. In this extended menu, you will find very useful information that will be used especially by IT lovers. Among the most useful lines are, for example, IP routers, IP devices, MAC address, type of security, or, for example, the channel used. However, there is also other information about speed, RSSI, country code and noise.
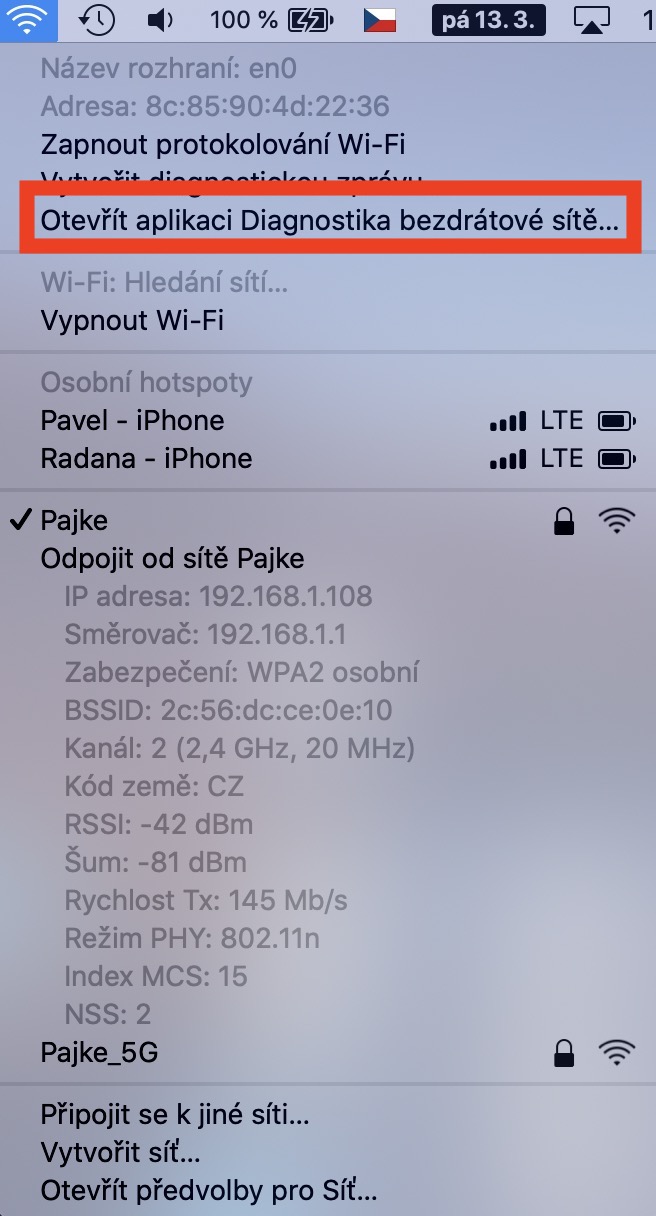
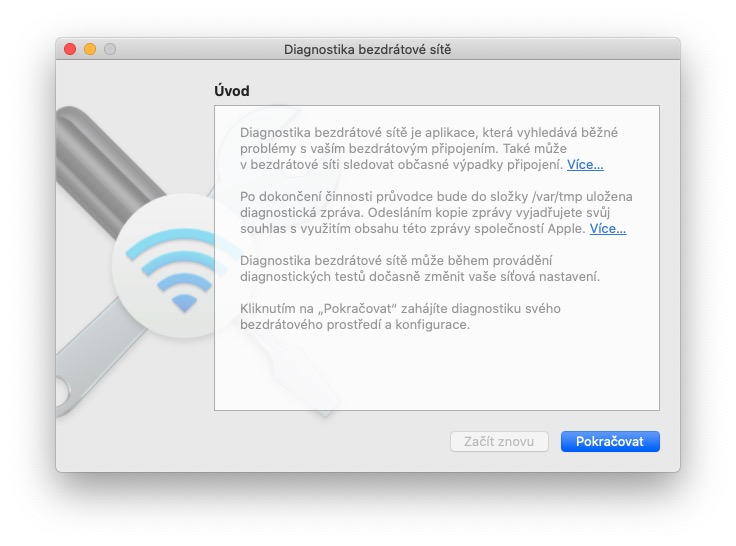
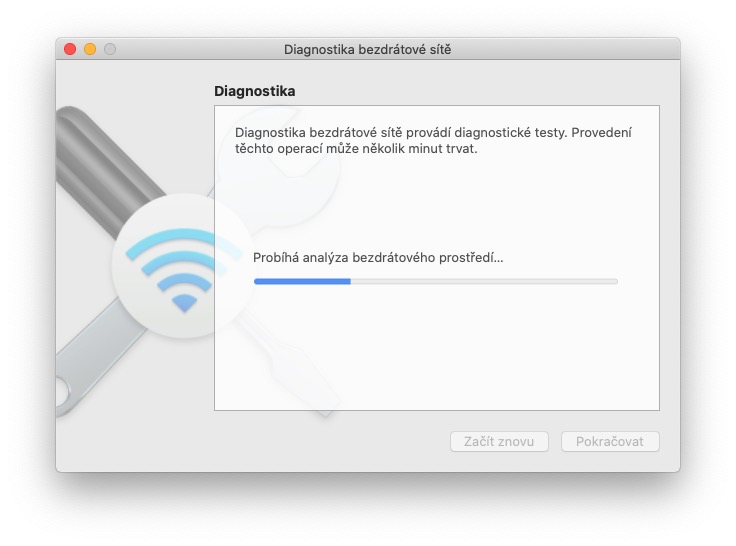
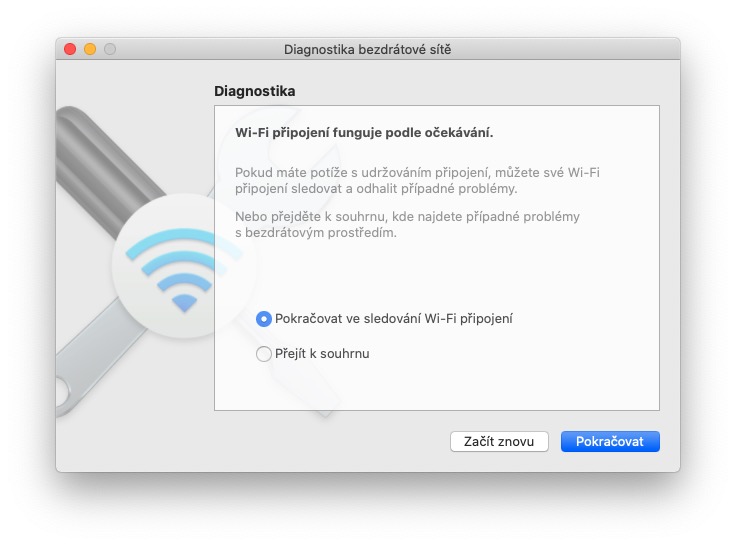
Also very interesting is the function, i.e. the tool you get to by clicking on the option Open the Wireless Network Diagnostics application. When you open this tool, a small window will appear that will diagnose your network and look for errors or connection problems. In addition, it also shows you, for example, the channels that use the networks around you, so that you can choose the least busy one yourself. So if you have problems with Wi-Fi, or you want to find out which channel is best for you, you can use this tool.

