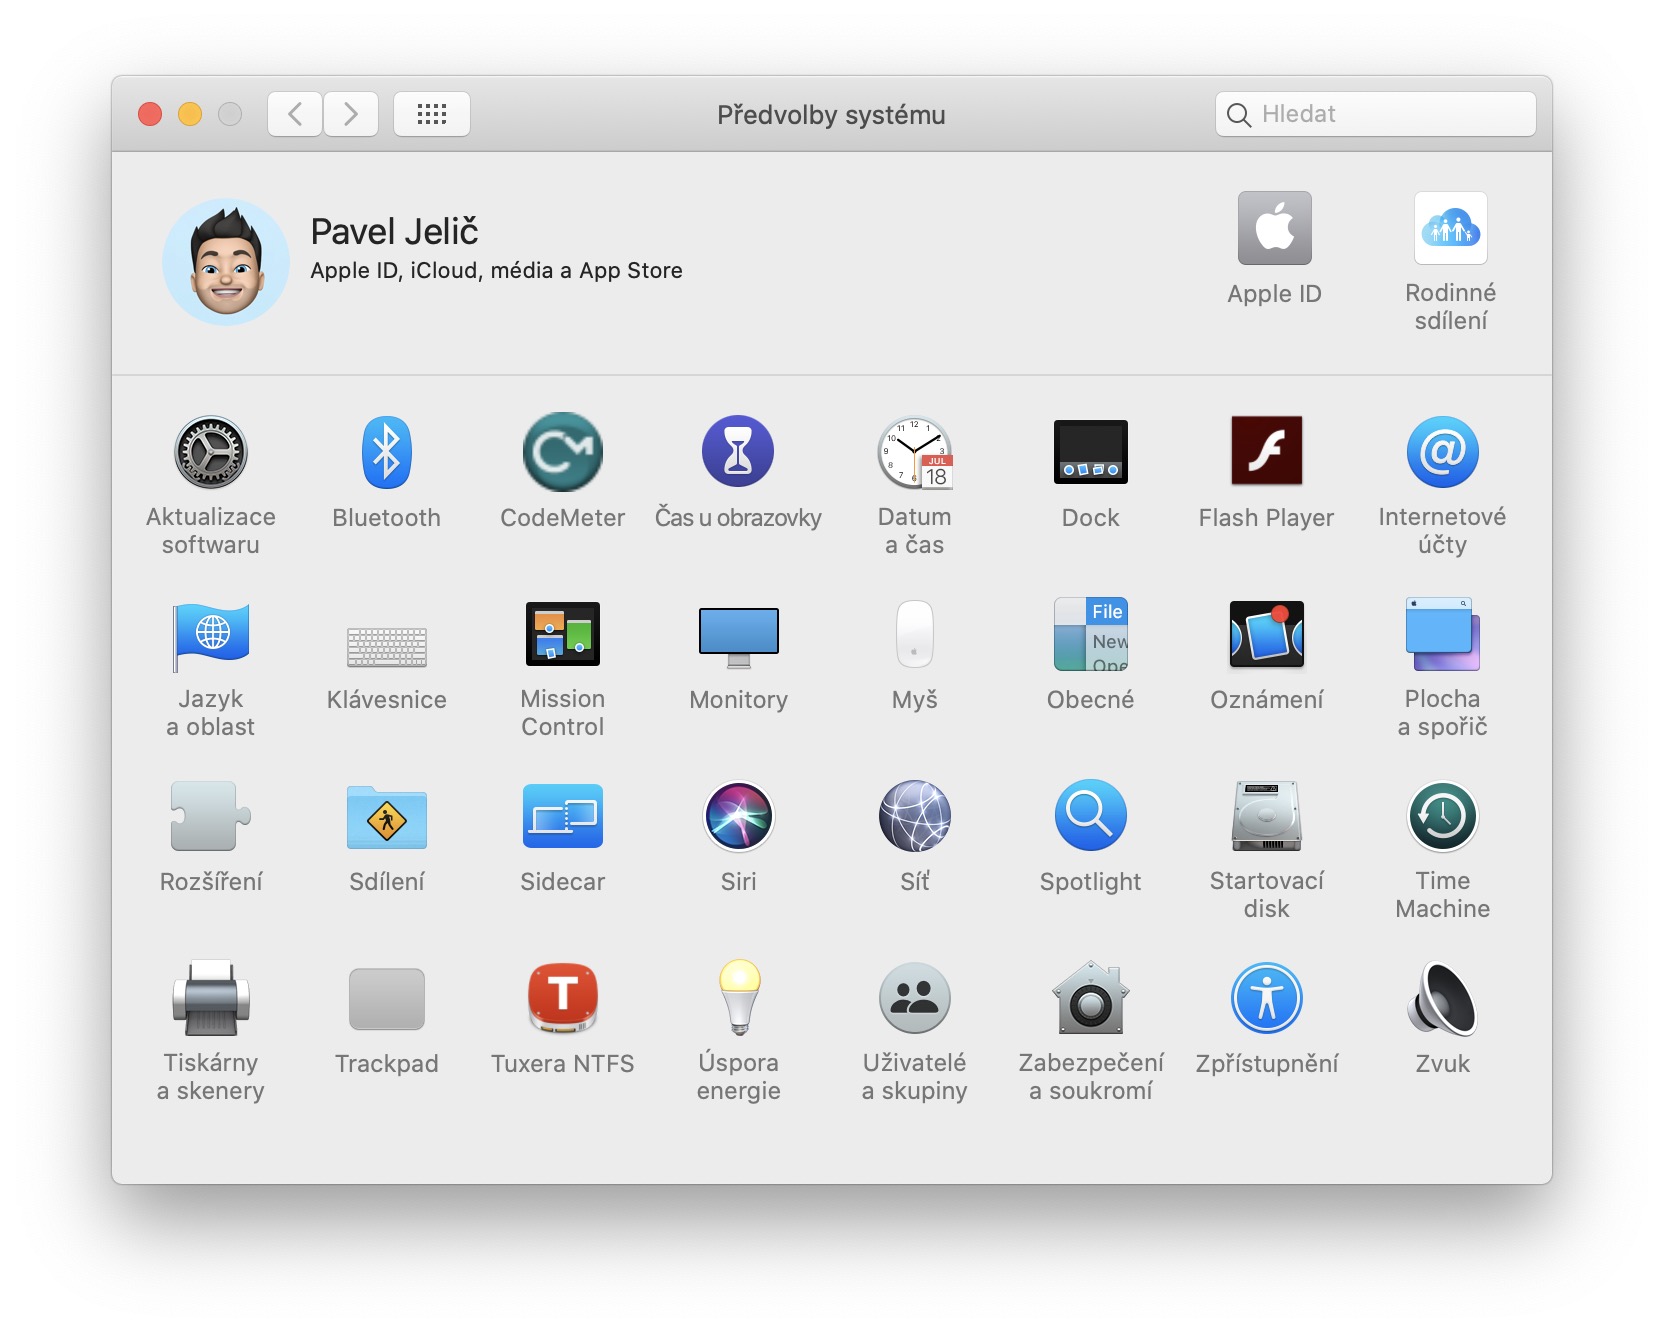
Every Mac or MacBook user knows this - you simply need to set something, for example according to one of our tutorials, and you are looking for a certain section in which that setting or function is located. Several tens of seconds often pass before you find the section you are looking for in the system preferences. For most users, the placement of individual sections in the preferences simply does not make sense. Apple is probably aware of this, which is why they added a feature to macOS that allows you to sort the system preferences section alphabetically. In this tutorial you will find out how.
It could be interest you

How to change the order of sections in system preferences in macOS
If you want to change the order of sections in system preferences on your Mac or MacBook, move the cursor to the upper left corner of the screen, where you click icon . Once you've done so, select an option from the drop-down menu System Preferences… You can also get to System Preferences by clicking on settings icon in the dock, or using Spotlight. Once you are in the System Preferences window, click on the tab with the name in the top bar Display. From the drop-down menu that appears after that, just tap on the option Arrange alphabetically. Immediately after that, all sections in the System Preferences window will be sorted alphabetically.
In addition to the fact that in this setting you can have all the sections in the system preferences arranged alphabetically, you can also set here which specific sections you want to be displayed. You can do this by clicking on the View tab Own… (fourth option from the top). It will then be displayed for individual sections checkboxes. If you want any of the System Preferences items hide, just a check box tick off.


