If you want to share a large number of files at once, you should always use compression, thanks to which all files are stored in one. In the end, you don't have to share dozens, hundreds or thousands of files, but only one. This is more pleasant both for you and especially for the recipient of an email with a large number of attachments. In addition to all this, the use of an archive has one more advantage - the resulting file is often significantly smaller, so it is uploaded faster and takes up less space on the disk. ZIP files can be created by highlighting, right-clicking, and selecting Compress.
It could be interest you
How to Encrypt ZIP on Mac
If you create a ZIP on a Mac using the above method, the system will not ask you anything and will start working immediately. You can then immediately start working with the resulting ZIP file. In certain situations, for example when sharing personal files, an option to encrypt the ZIP would be useful. Through the graphical interface, macOS does not give you this option at all, but luckily there is a simple procedure that can be used to encrypt a ZIP on Mac without using third-party applications:
- The entire procedure is carried out in the application Terminal – so run it on your Mac.
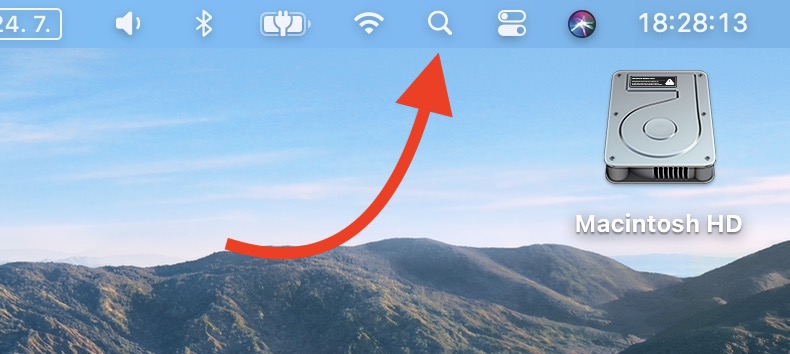
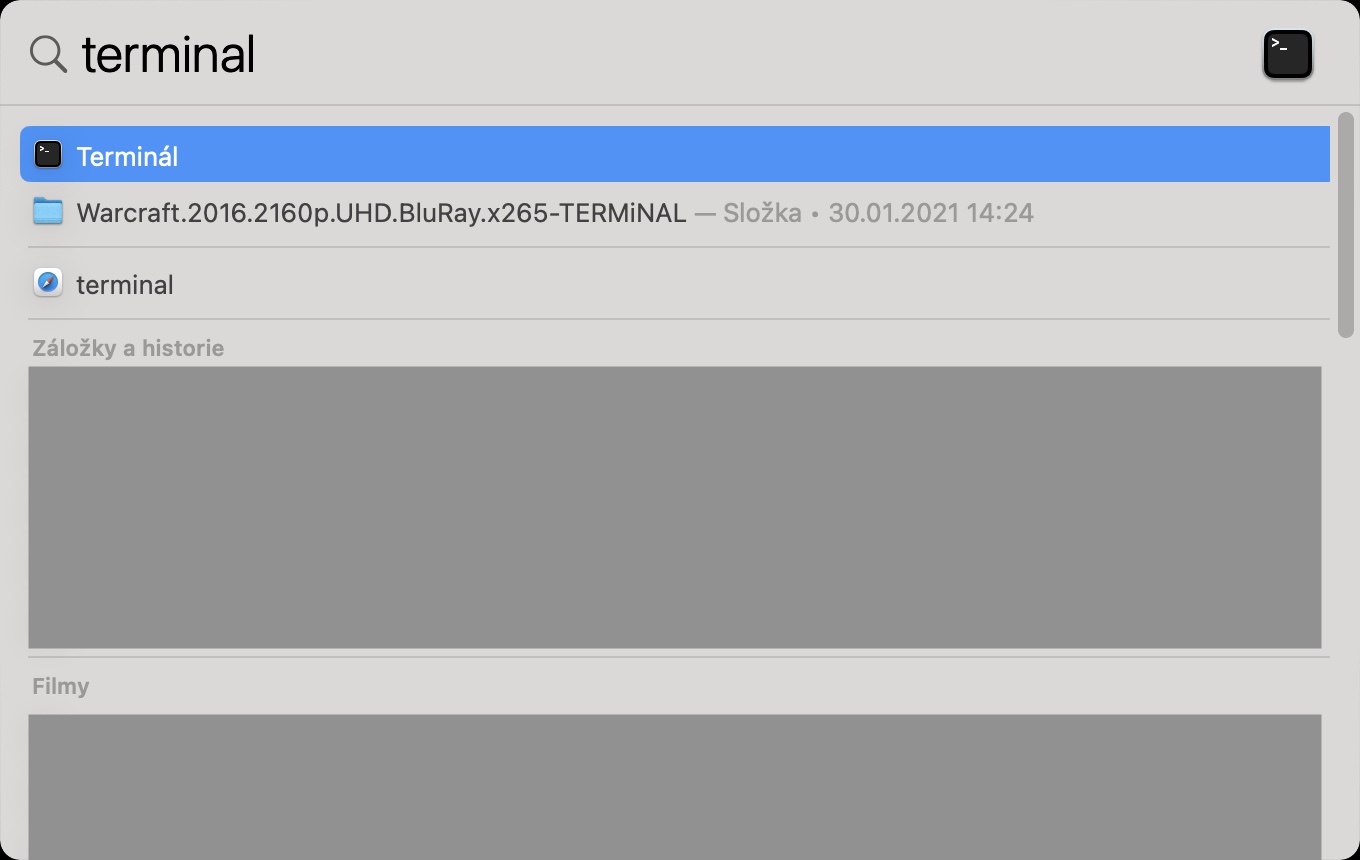
- You can find the terminal in Applications in the folder utilities, or run it via spotlight.
- After starting, a small window will appear, which is used to execute commands.
- Now it is necessary that you copied the command which I am attaching below:
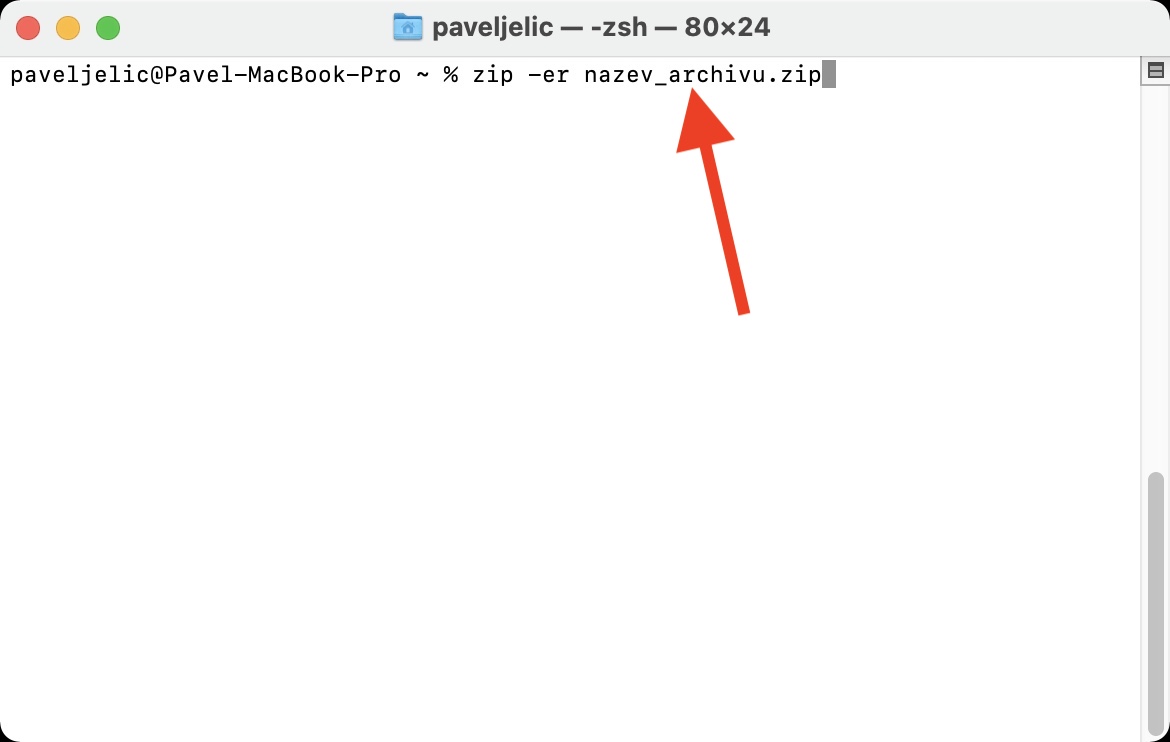
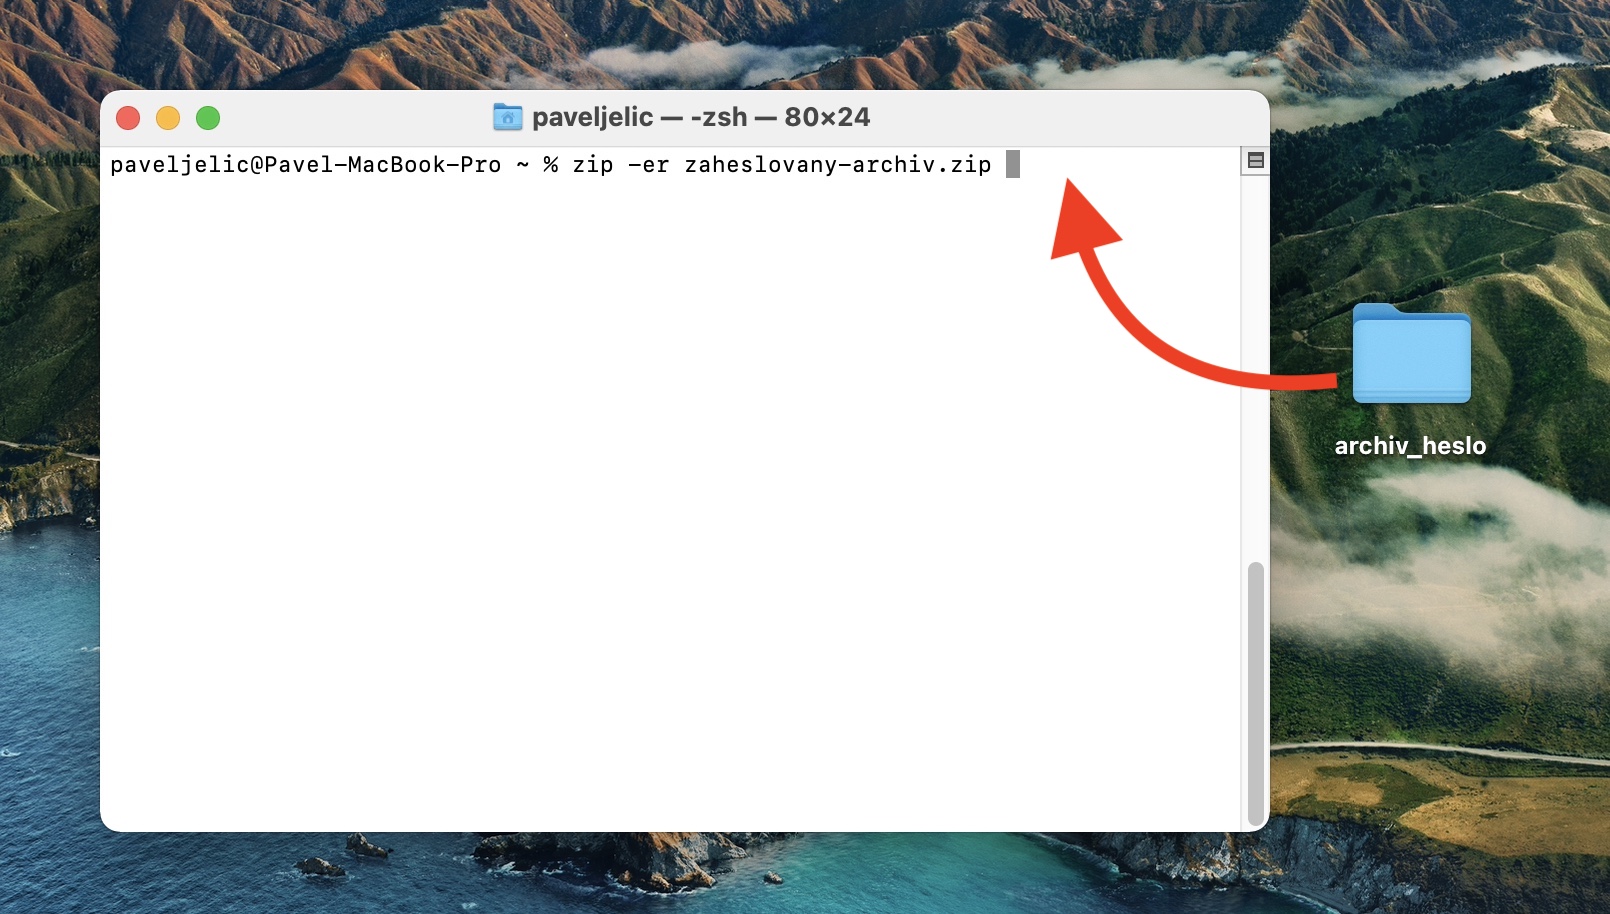
zip -er name.zip
- Once you've copied the command, paste it into the Terminal window simply insert
- After embedding, you can output the file rename – is enough in the command overwrite name.
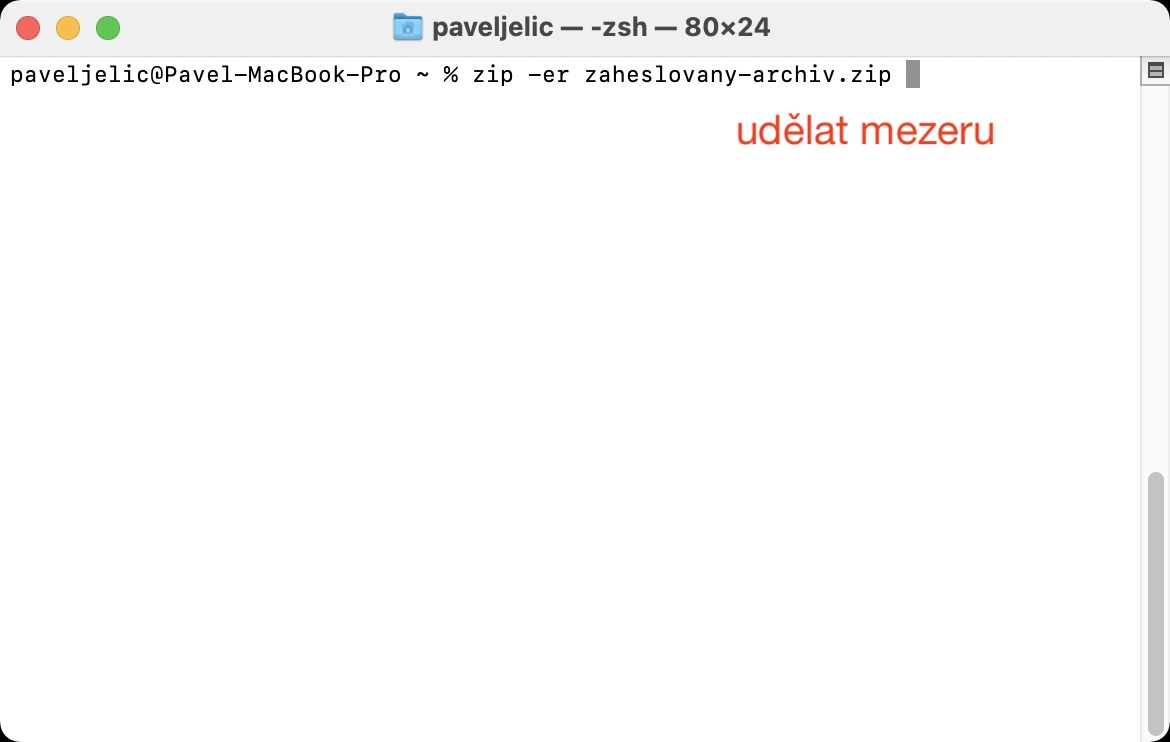
- Now after the entire command do gap and find file folder, which you want compress and encrypt.
- This folder then grab and drag it to the Terminal window with the cursor with command.
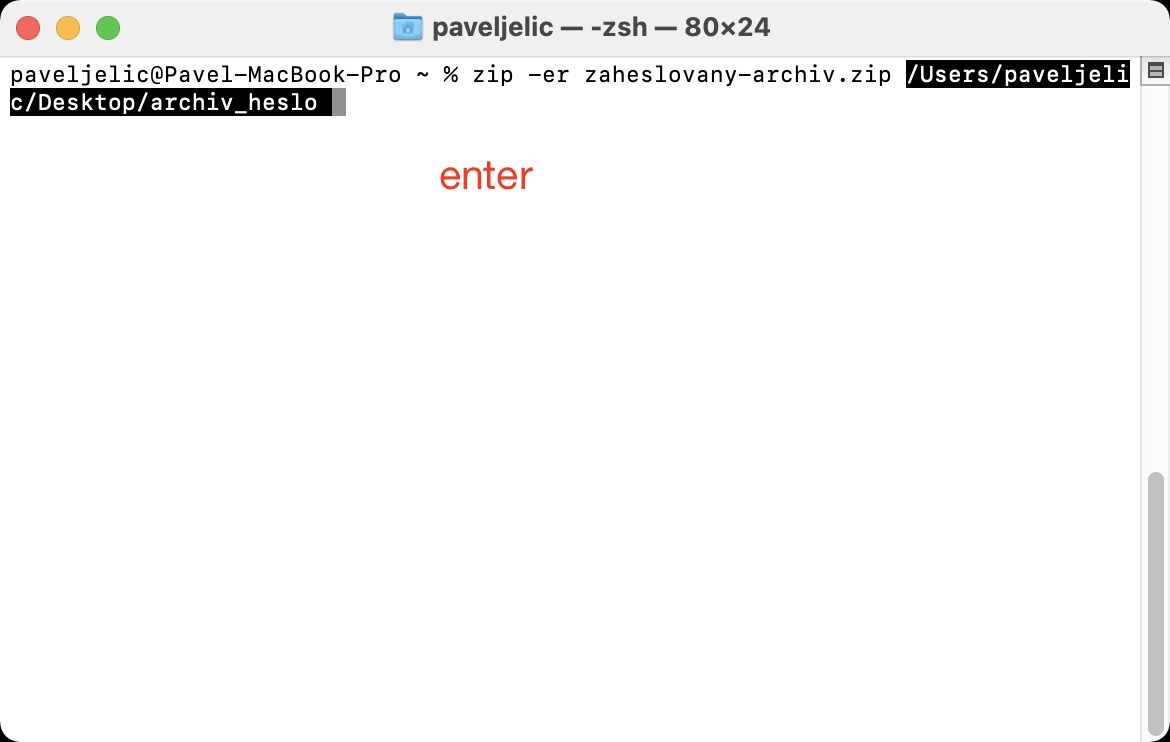
- This will make it automatic adding the path to the command.
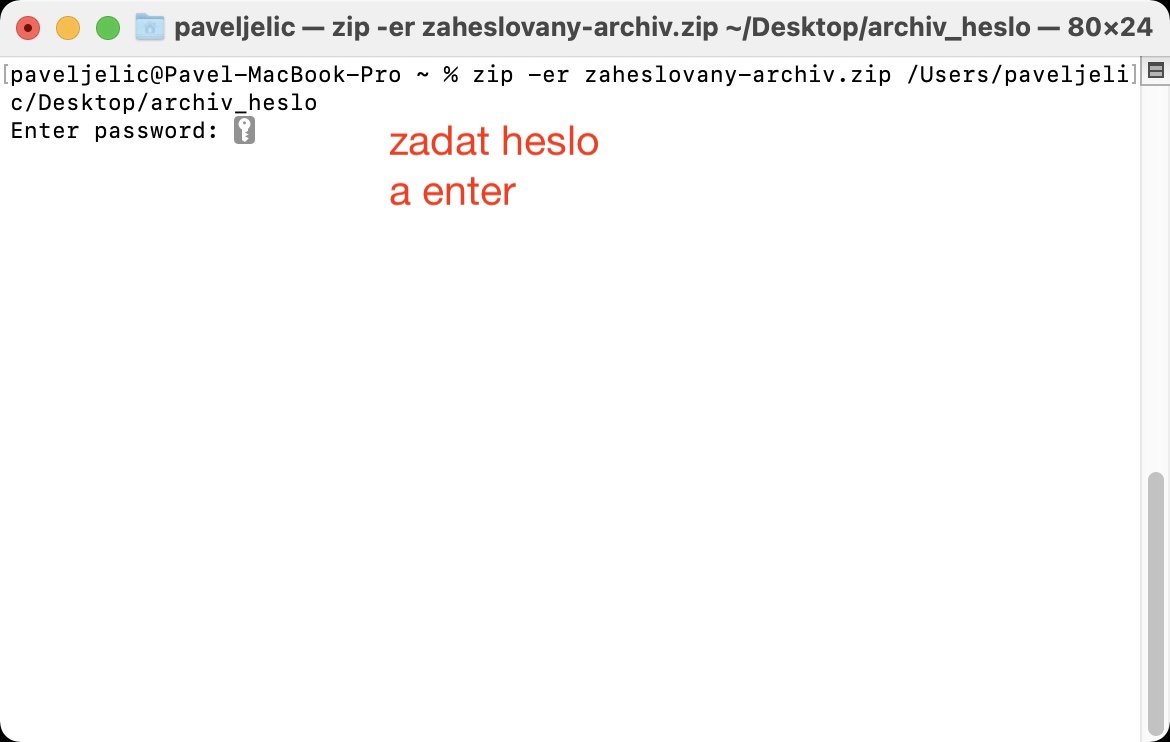
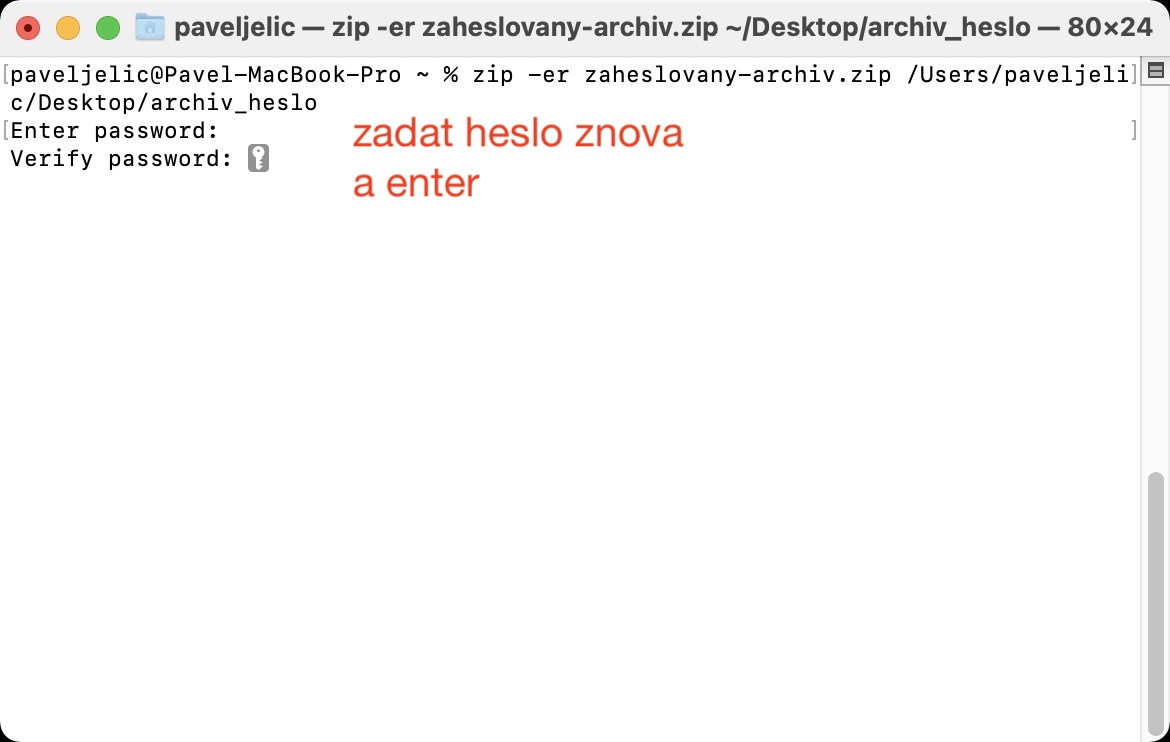
- Finally, you just need to tap on Enter, and then twice they entered after each other password, with which to lock the ZIP.
- Note that when typing the password in the Terminal, no wildcards are displayed and you are typing the password blindly.
After entering the password, an encrypted ZIP will be created. You can then find it simply by going to Finder, where in the sidebar click on the name of your internal disk (most often Macintosh HD), and then navigate to the folder Users. Open your profile here, where you can find the encrypted ZIP file itself. As soon as you try to open this ZIP, you will see a text field in which you must enter the password. If you forget the password, you will no longer be able to access the files.
