In addition to the fact that a few months ago, Apple introduced and subsequently released the latest operating systems, it also came up with the "new" iCloud+ service. There are several security features included in this service that are definitely worth it. Among the biggest features from iCloud+ are Private Relay, along with Hide My Email. Let's take a look together in this article at what Hide My Email can do, how you can set it up, and how you can start using it. This is a very interesting feature, thanks to which you can feel even more secure on the Internet.
It could be interest you
How to use Hide My Email on Mac
Already from the name of this function, one can deduce in a certain way what it will actually be able to do. To be more specific, you can create a special cover email address under Hide my email that can mask your real email. Once created, you can subsequently enter the mentioned cover e-mail address anywhere on the Internet, knowing that the operator of the specific site will not be able to find out the wording of your real e-mail address. Whatever comes to your cover e-mail will be automatically forwarded to your real e-mail. Cover e-mail boxes thus serve as a kind of anchor points, i.e. intermediaries who can protect you on the Internet. If you would like to create a cover e-mail address under Hide my e-mail, proceed as follows:
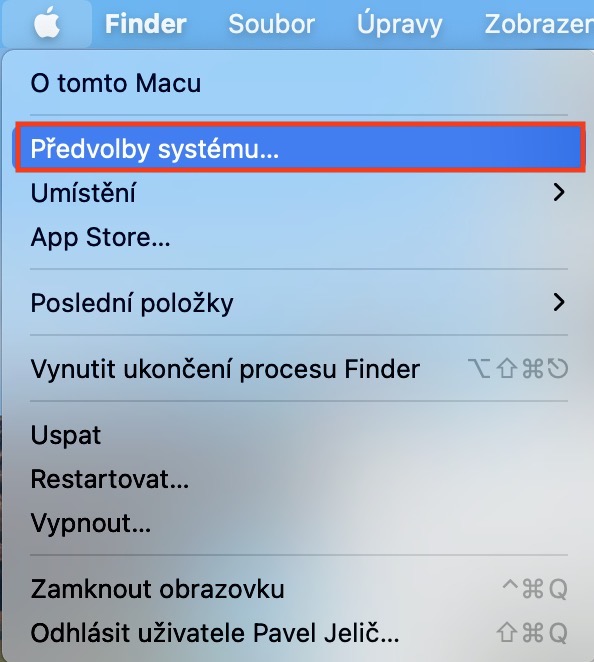
- First, on your Mac, in the upper left corner, click icon .
- Once you do so, select an option from the menu that appears System Preferences…
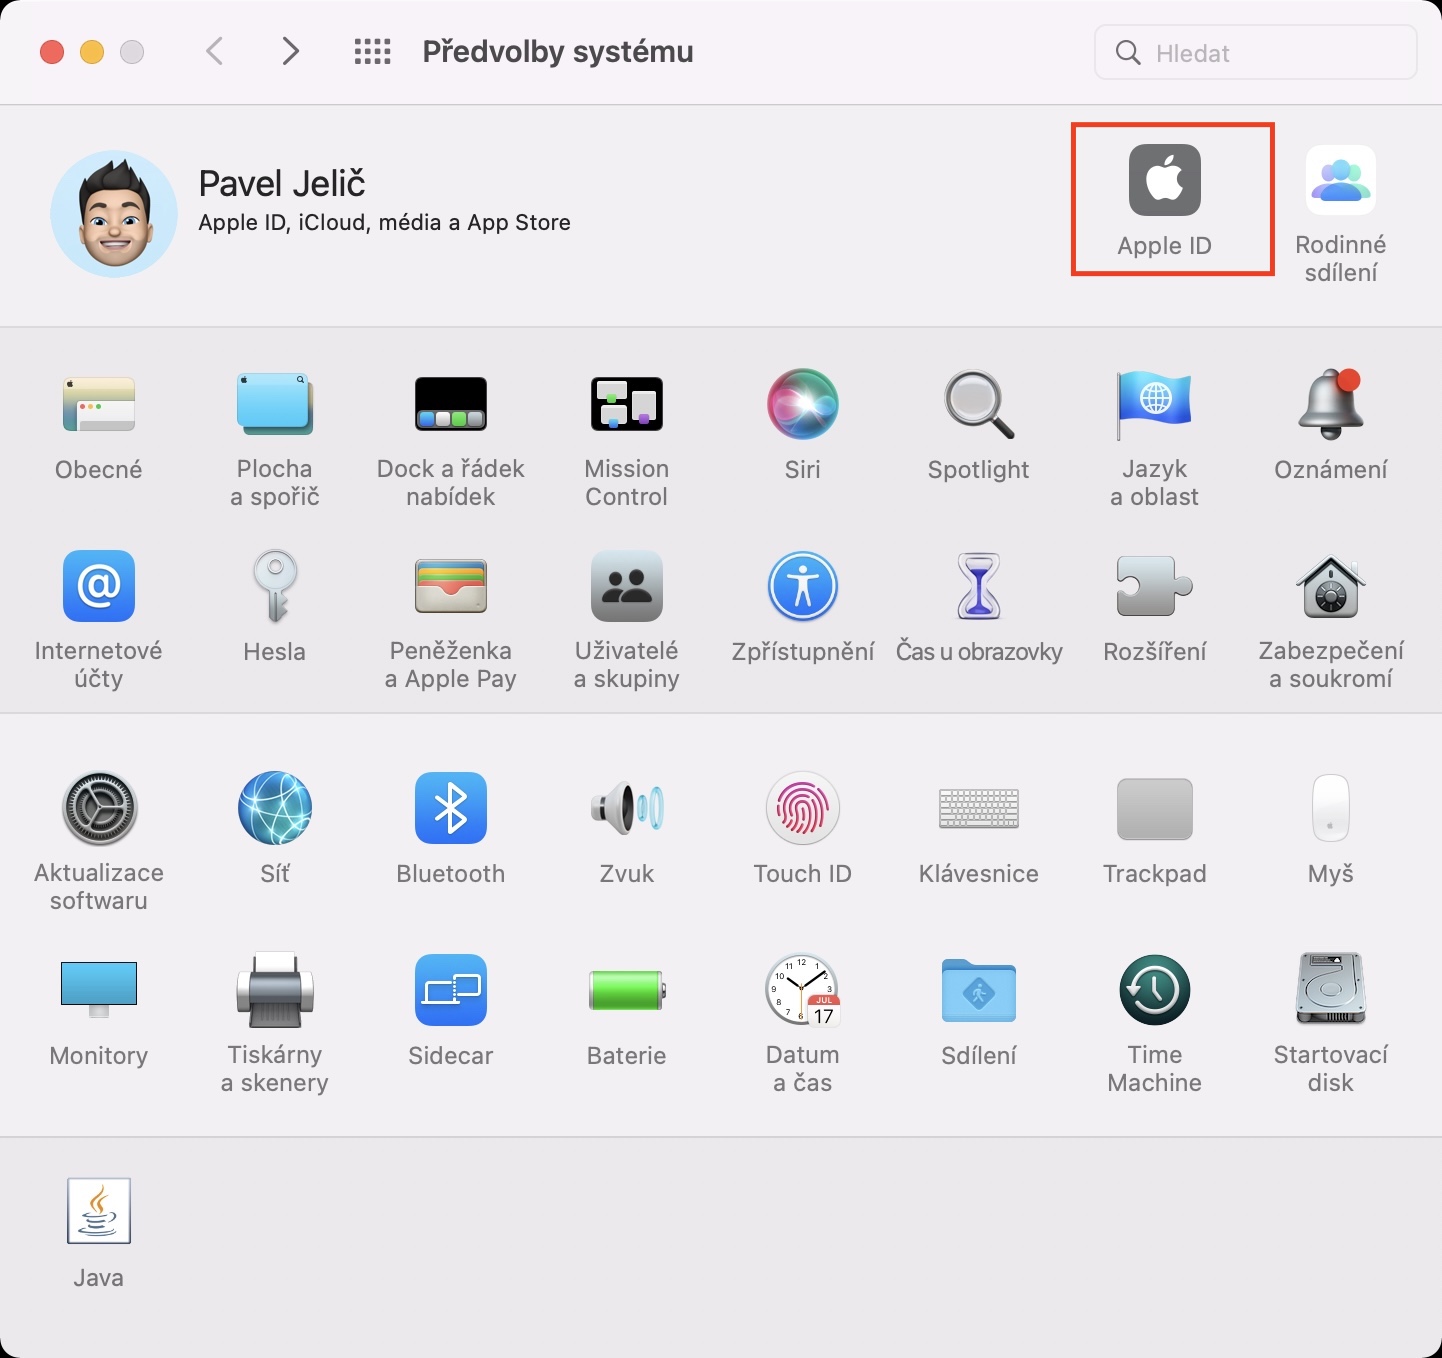
- A new window will then appear with all available sections for managing preferences.
- In this window, locate the section named Apple ID, which you tap.
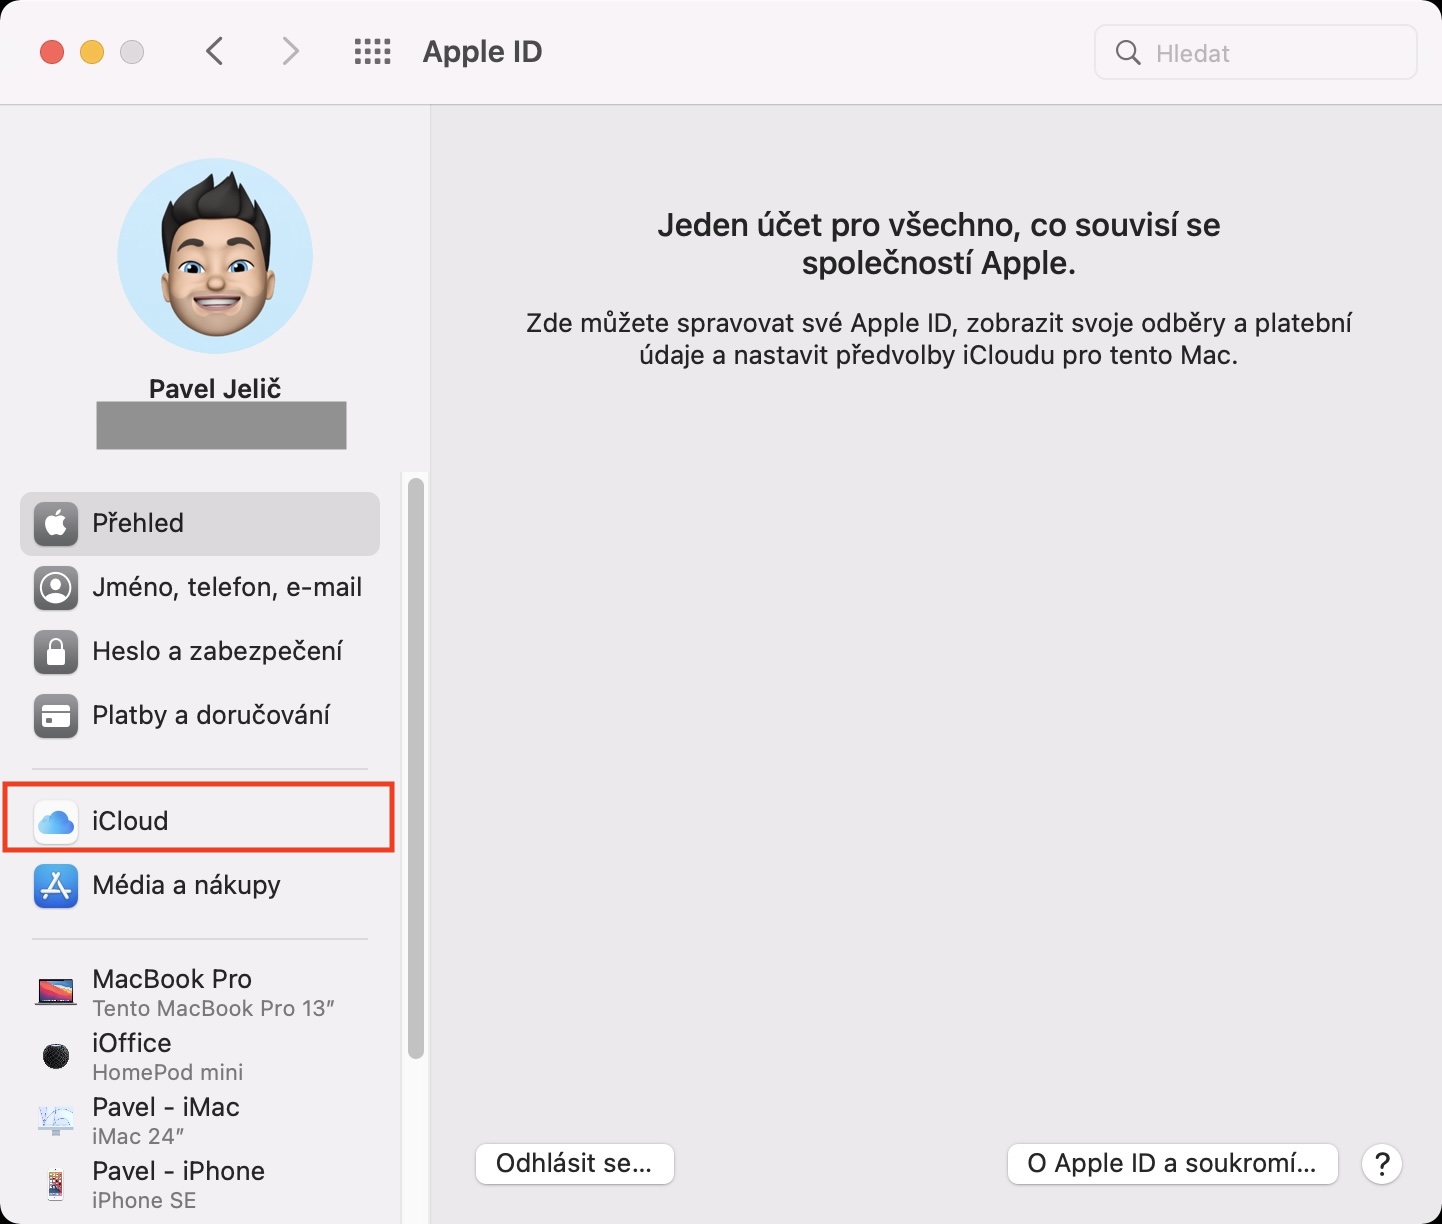
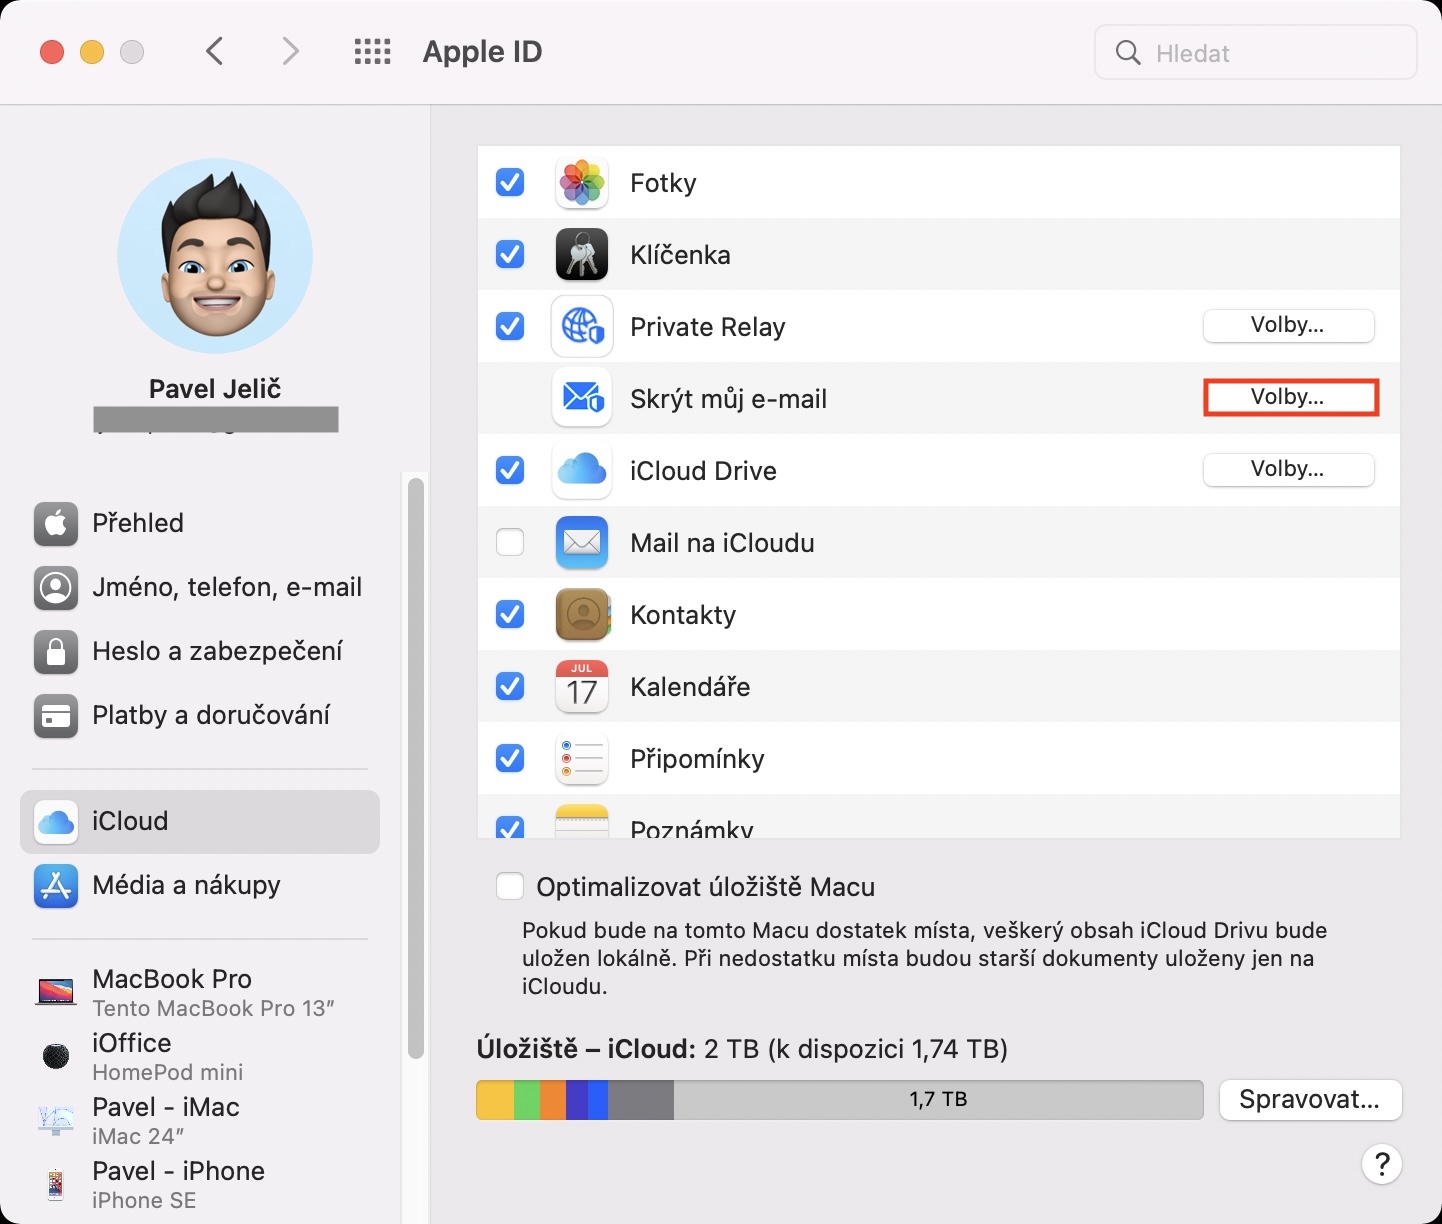
- Next, you need to find and click on the tab in the left menu iCloud.
- Find here in the list of features Hide my email and click the button next to it Elections…
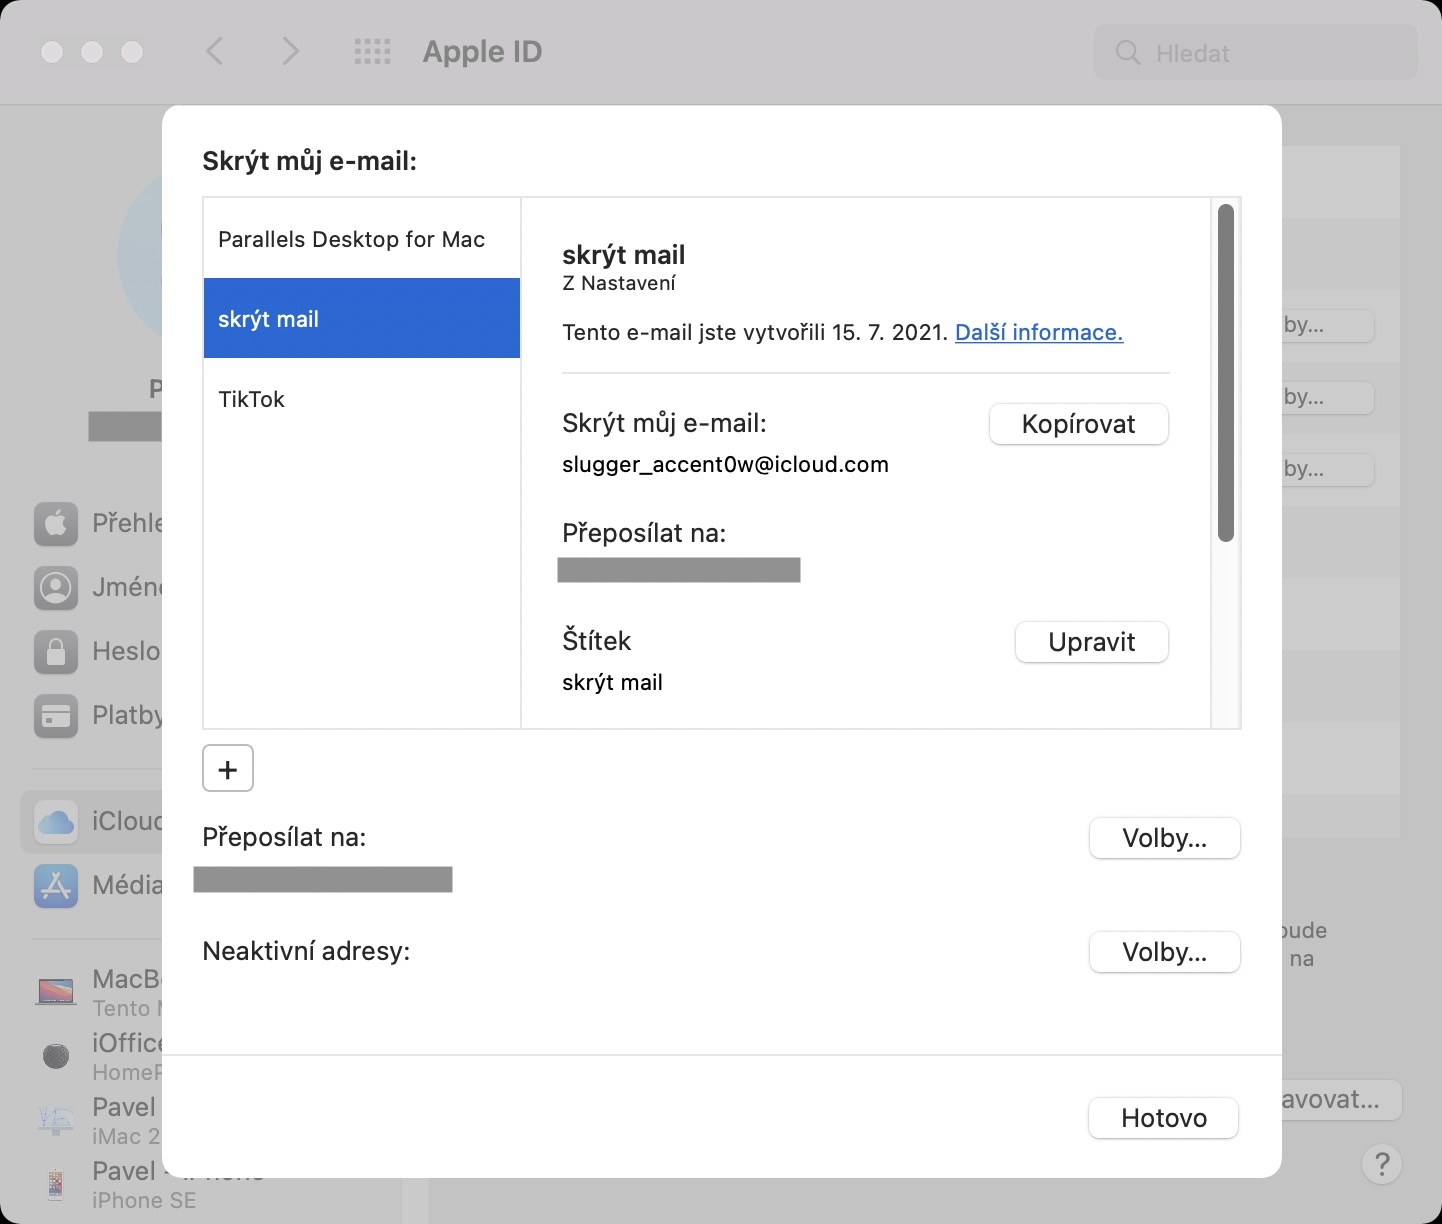
- After that, you will see a new window with Hide My Email interface.
- Now, to create a new cover email box, click on the bottom left the + icon.
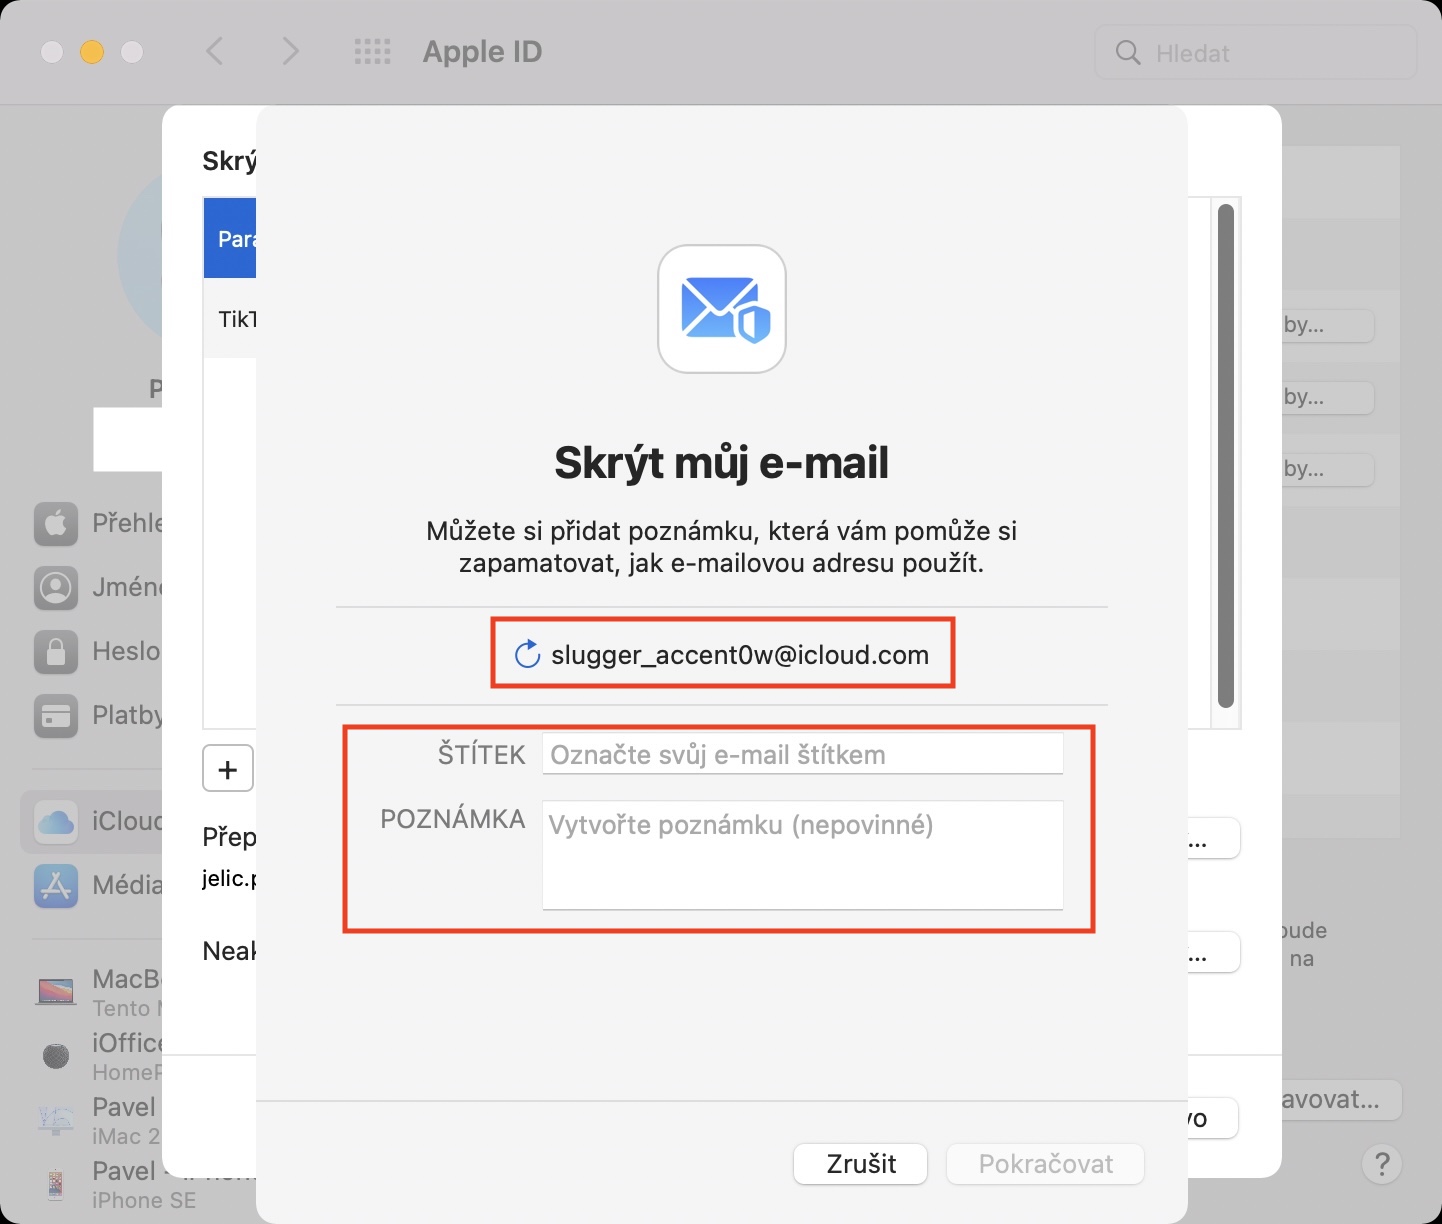
- Once you do, another eye will appear, along with the name of your cover email.
- If for some reason you don't like the name of the cover email, then it is click the arrow to change.
- Then choose more label cover e-mail addresses, together with a note.
- Next, just tap the button in the lower right corner Continue.
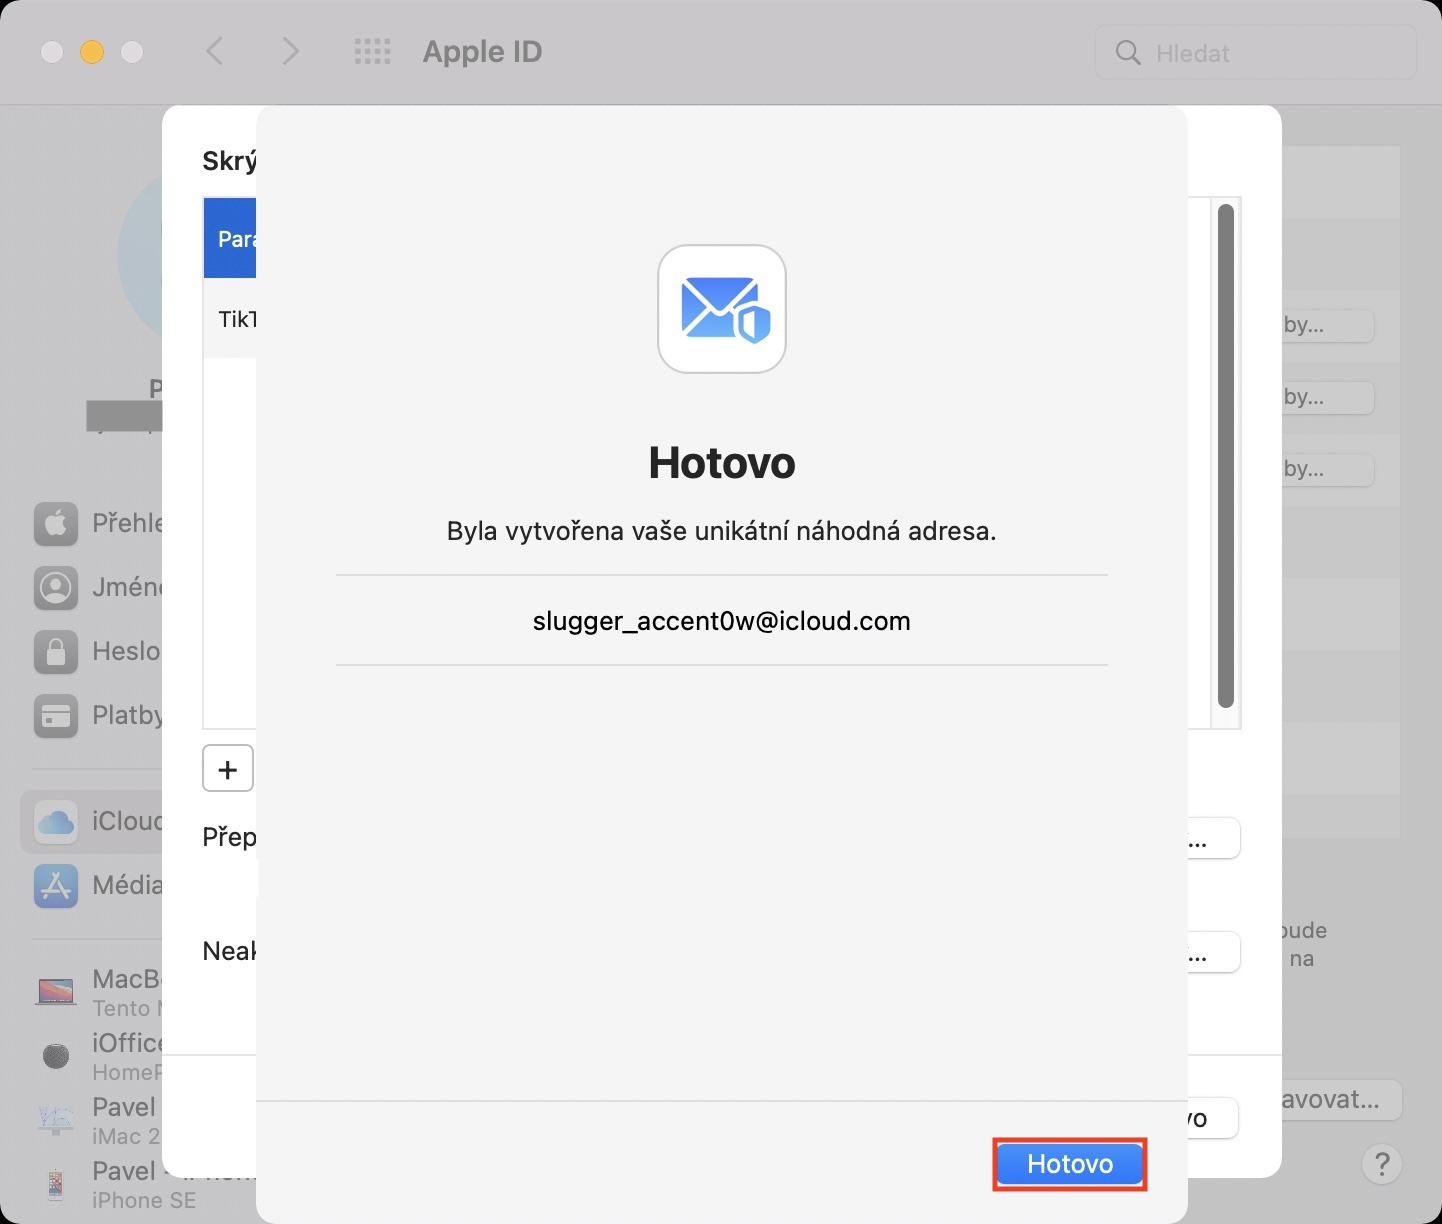
- This will create a cover email. Then tap on the option All done.
Thus, using the above procedure, it is possible to create a cover email address within the Hide My Email feature within macOS Monterey. Once you've created this cover email, all you have to do is enter it wherever you need it. If you enter this masking address anywhere, all e-mails that come to it will be automatically forwarded from it to the real address. As such, the Hide My Email feature has been part of iOS for a long time, and you may have encountered it when creating an account in an app or on the web using Apple ID. Here you could choose whether you want to provide your real email address or whether you want to hide it. It is now possible to use the cover e-mail address manually anywhere on the Internet.

Can someone explain to me what the point is? Considering that forwarding, I can't avoid any spam anyway.
For example, the fact that no one will find out the form of your real e-mail, under which you can log in to various user accounts and applications on the Internet.