If you need to send a large file or folder to someone, or if you want to transfer this content to external storage, you may be wondering how to reduce its size. One solution is to compress it into a ZIP archive. How to create a ZIP archive on Mac? This is exactly what we will look at together today in this article.
It could be interest you

In our clear tutorial, you will learn how to efficiently create a compressed zip file on Mac. You can either move the selected files to a folder first and then compress them, or compress all files at once.
- Browse for the files you want to zip.
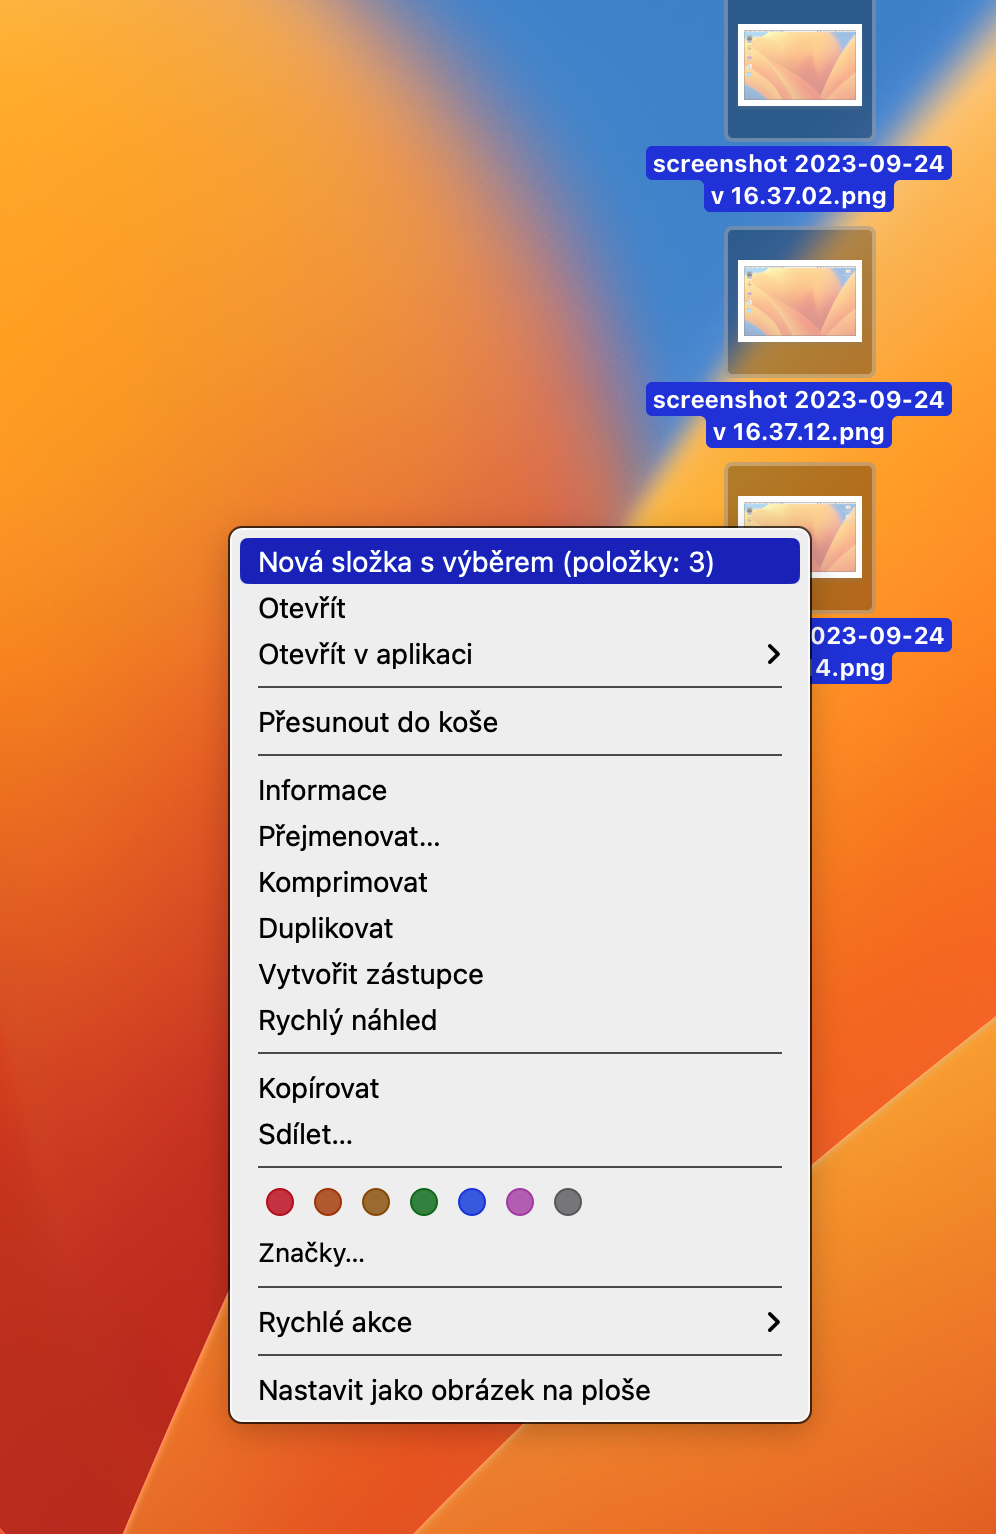
- Mark the files, click on them with the right mouse button and select in the menu that appears New folder with selection. Name the folder.
- Now right-click on the newly created folder and in the menu that appears, click on Compress.
If you want to compress the selected files directly without creating a folder, skip the corresponding step. To unzip the archive, simply double-click the "zipped" file with the mouse. Of course, you can also use various third-party applications to compress and decompress files and folders. Great job when it comes to working with files, but native Terminal can also do it - you can see it in to one of our older articles.


