You can easily open multiple panels in any web browser. These panels are useful when you need to move quickly and easily between individual web pages. Thanks to the panels, you don't have to open other windows and all websites are available in a single window. Have you ever wondered if a similar feature could somehow be activated in the Finder, which would be nice when working with folders and files? If so, then I have great news for you - you can actually display the panel row in the Finder.
It could be interest you

How to activate the display of the row with panels in the Finder on Mac
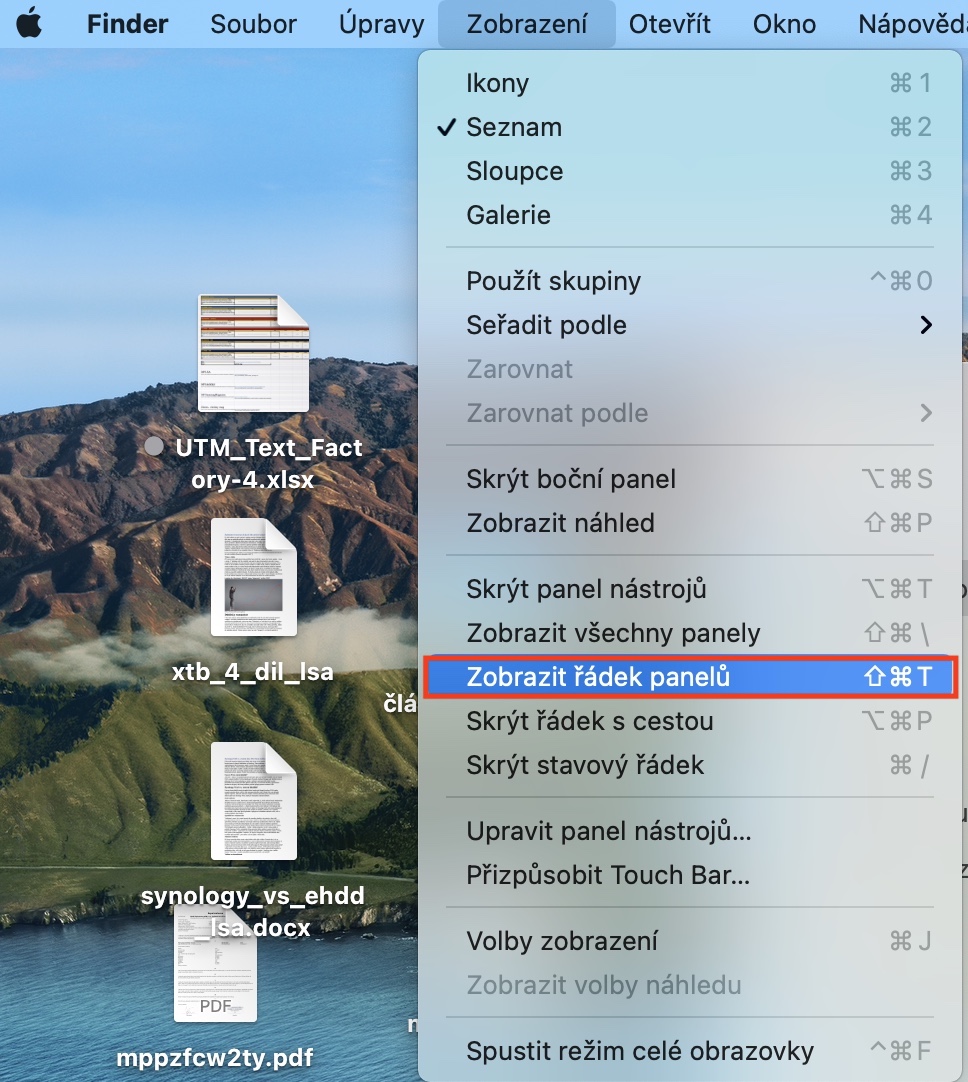
To activate the display of a row with panels in Finder, which is functionally and visually very similar to that of Safari, proceed as follows:
- First, of course, you need to move to the active application window on your Mac Finder.
- Once you've done that, click on the tab in the top bar Display.
- This will bring up a drop-down menu, tap on the option below Show a row of panels.
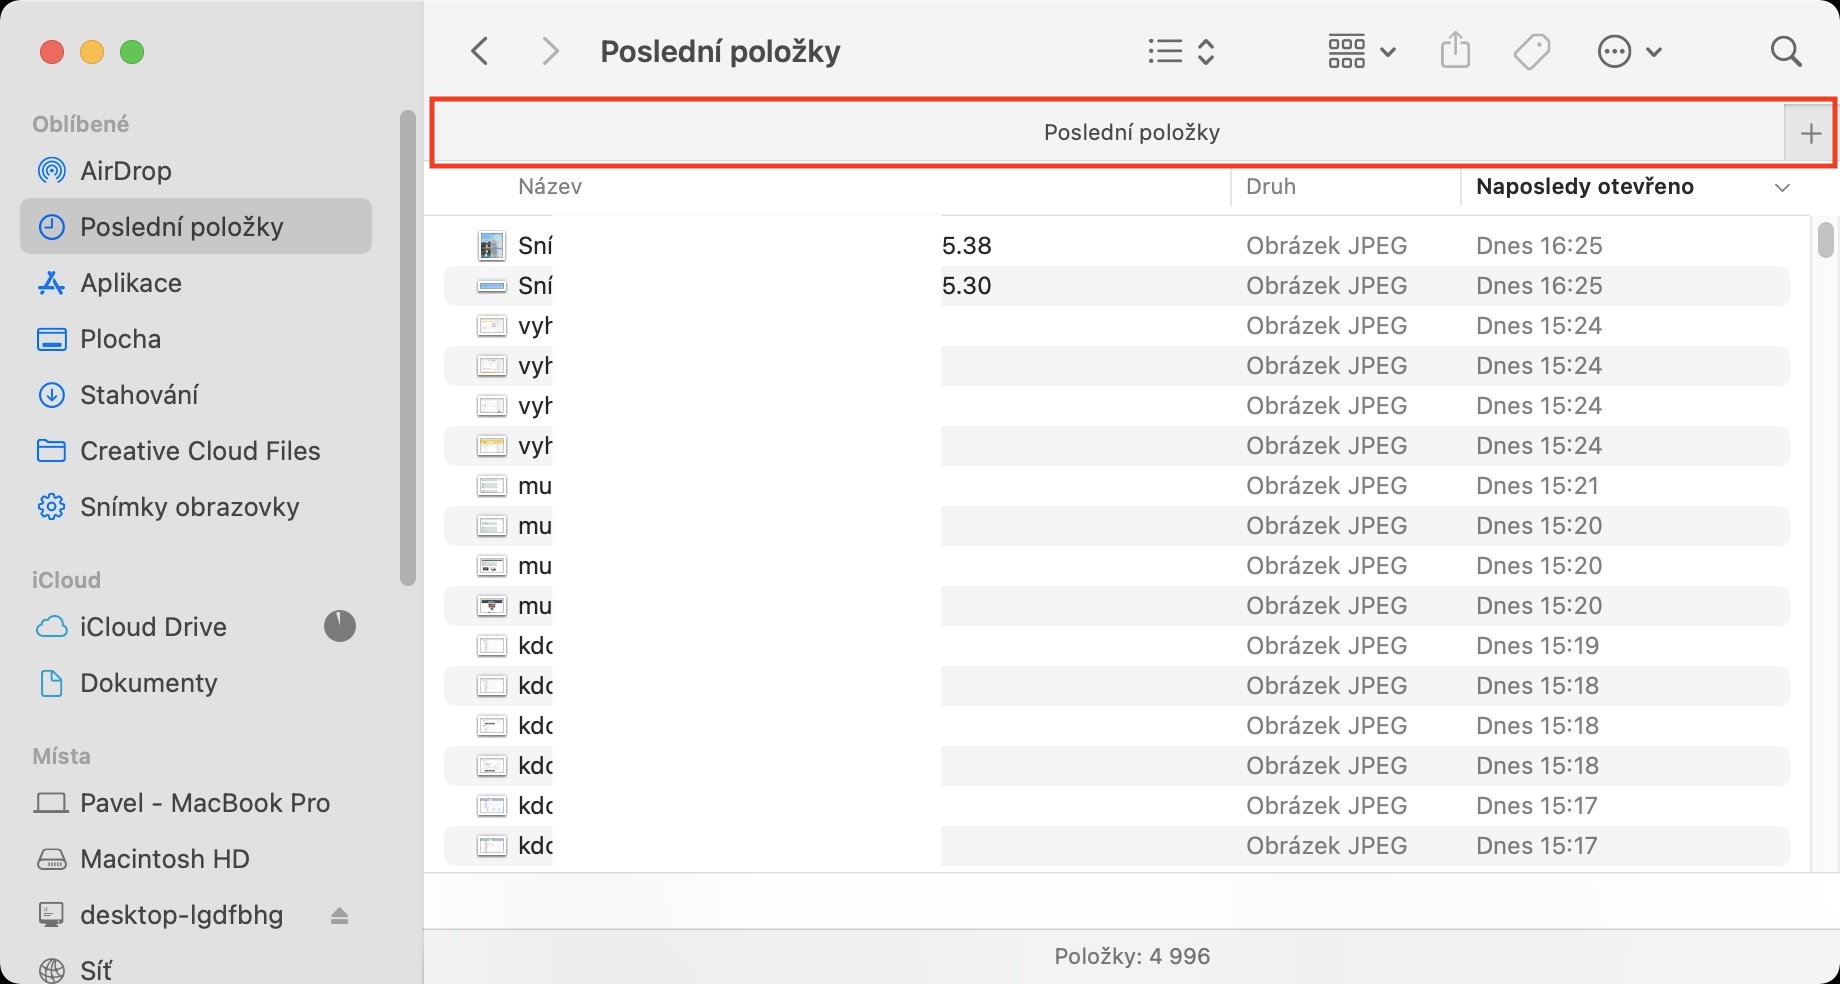
- Immediately after that, a row of panels will appear in the Finder and you can start working with it.
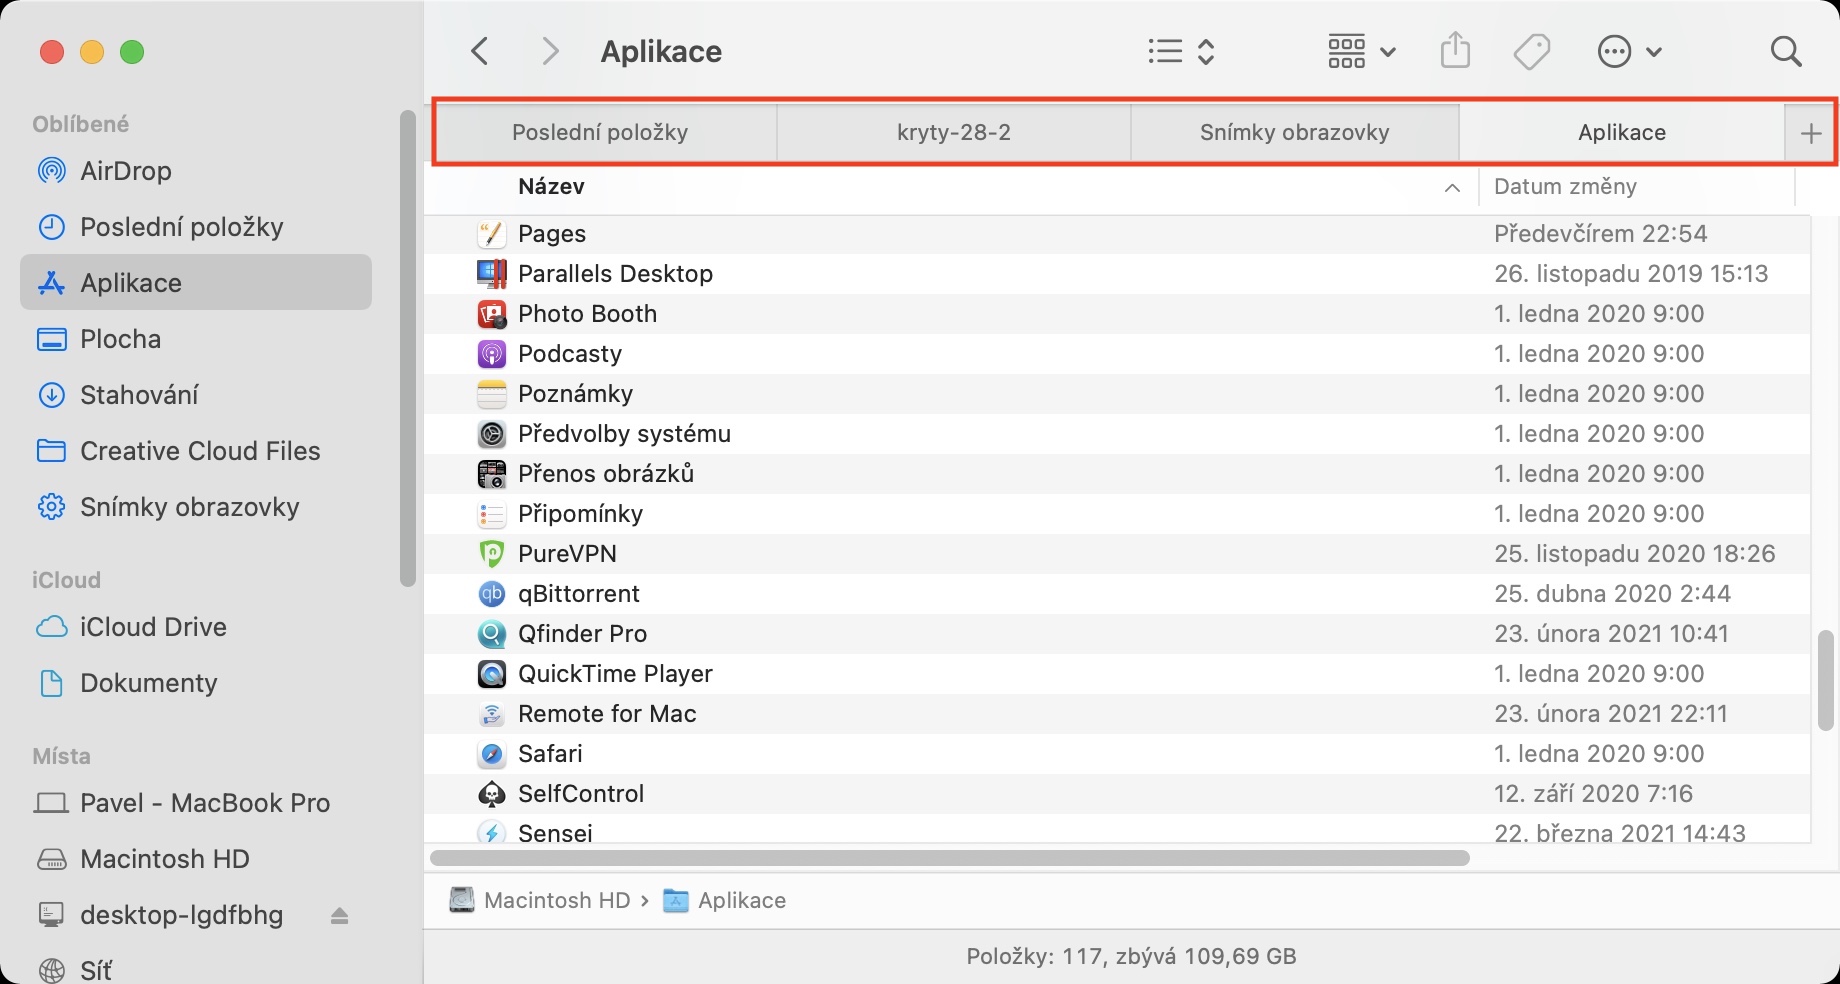
You can easily work with multiple locations within a single window in the Finder using the panel row, which can make working on a Mac much easier. If you click on the + icon in the right part of the row, you can add another panel. If you want to add an existing folder to the panel row, just grab it with the cursor and then insert it into the row itself. To close a particular panel, move the cursor over it, and then click the cross icon in its left part. You can also change the order of the panels themselves - just grab them with the cursor and move them to the left or right. You can also use a keyboard shortcut to quickly hide and show the row with panels Shift + Command + T.
 Flying around the world with Apple


