How to use Recycle Bin on Mac? You may be surprised by the fact that it is necessary to write a tutorial on this topic at all. But the reality is that the Recycle Bin on Mac offers more customization and control options that are definitely worth knowing. So in today's article we will look together at the ways in which you can use the Recycle Bin on Mac.
It could be interest you

The Recycle Bin on Mac can be customized in different ways. You can make its use more efficient, for example, by setting up automation or by learning to skip it altogether and delete files and folders from your Mac straight away (however irretrievably).
Deactivation of emptying confirmation
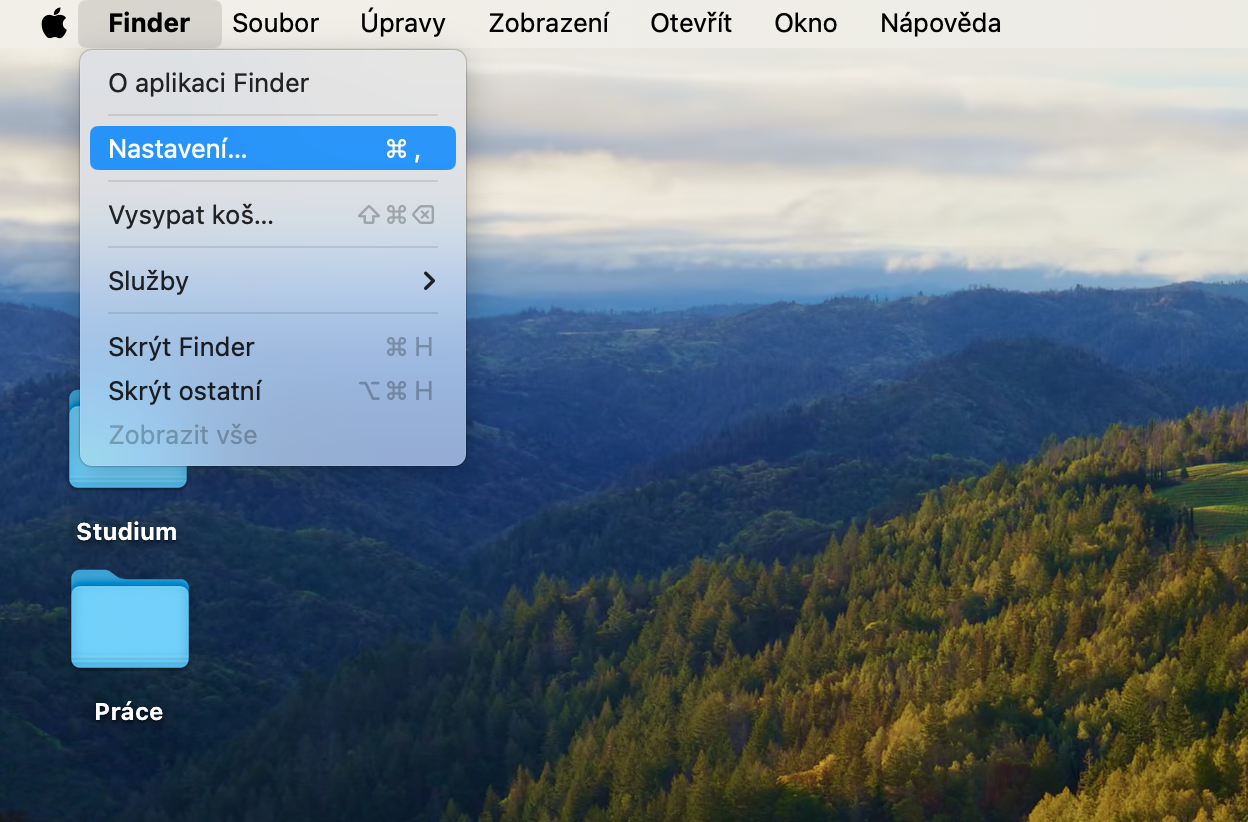
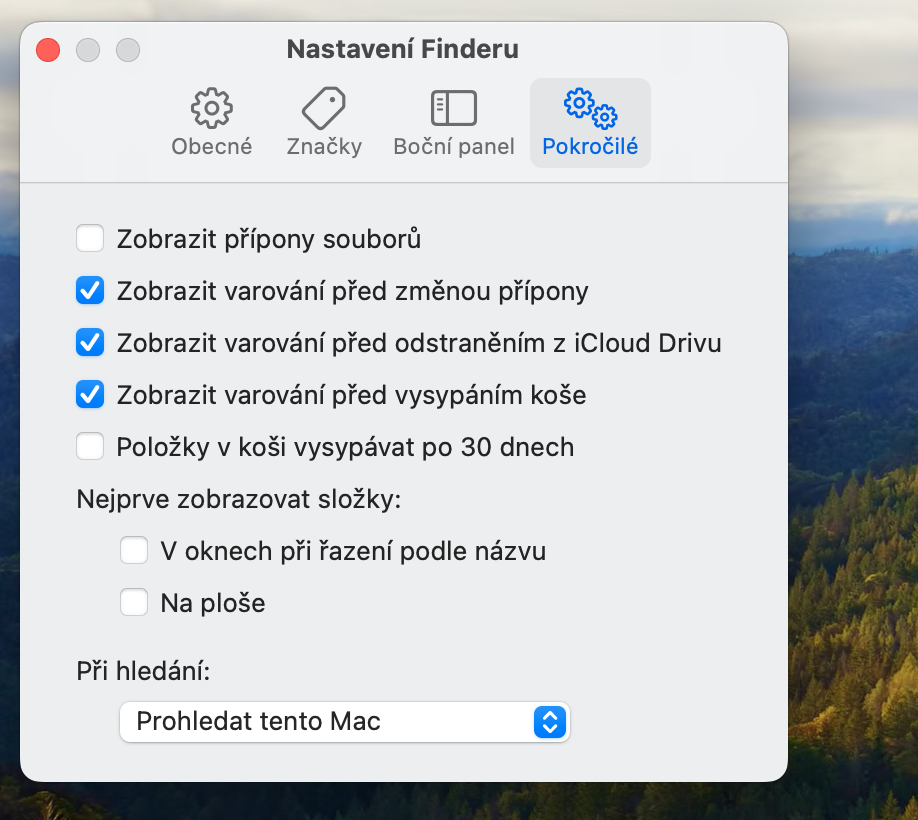
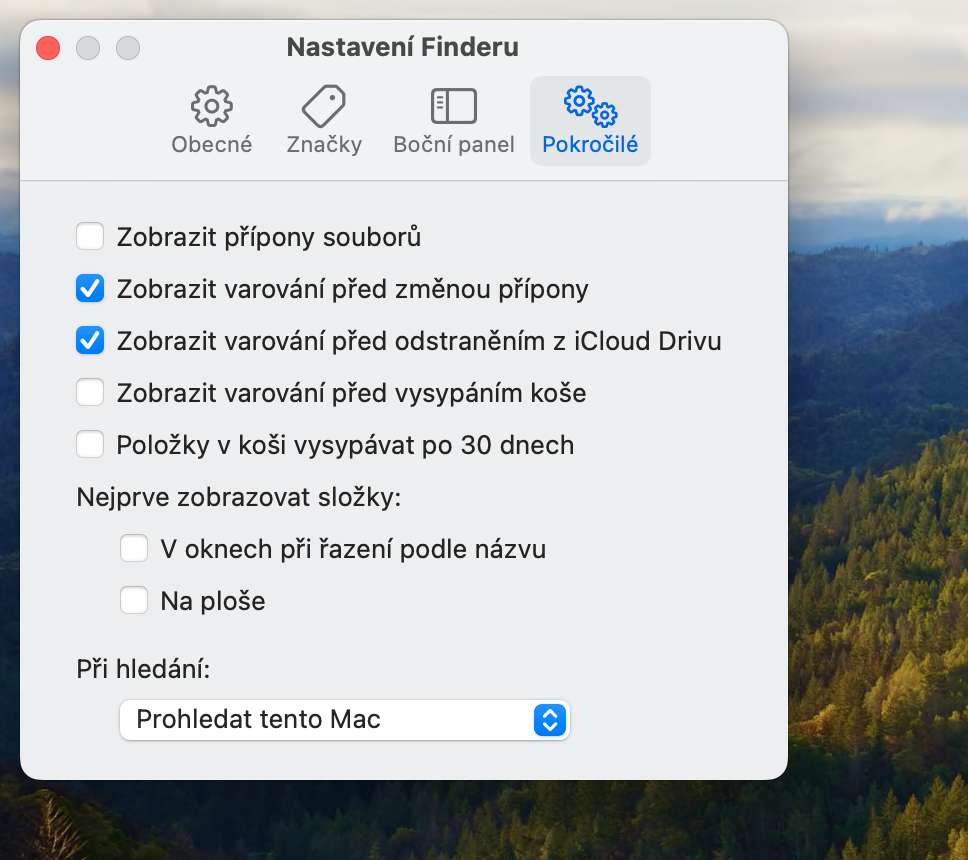
If you decide to empty the Recycle Bin on your Mac, you'll always be asked if you're sure. It's understandable - once you've emptied the Recycle Bin, you won't be able to access those files in the usual ways. However, if you would still like to disable the question, you can do so by launching the Finder and clicking on the menu bar at the top of your Mac's screen Finder -> Settings. Click on Advanced at the top of the window and disable the item Show trash emptying warning.
When removing items from your Mac, if you want to skip putting them in the trash and delete them straight away, highlight the items and press Option (Alt) + Cmd + Delete.
Retrieving items from the trash
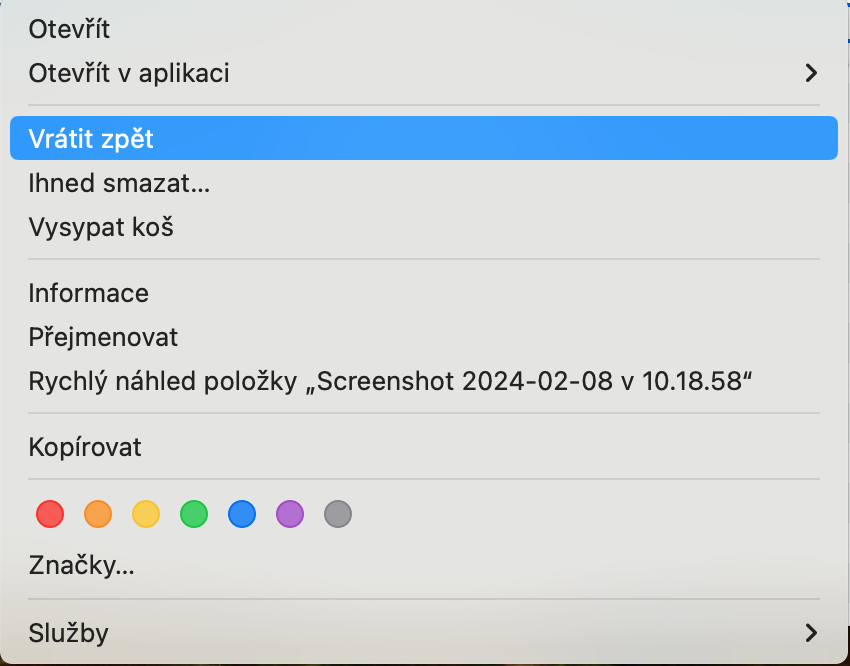
Whether you put something in the trash by mistake or put it in too soon, it's possible to get it back. It only takes a few clicks to recover accidentally dumped files. First, double-click to view the contents of the Recycle Bin on your Mac. Mark the item or items you want to restore, right-click and choose from the menu that appears Return back.
