The macOS operating system powering Apple computers is generally considered one of the more secure. Compared to Windows, there is actually nothing to be surprised about, since a significantly smaller number of people work on Macs, which is why they don't have to deal with various attacks and the like as often. Macs are specifically protected by a set of various tools, the aim of which is to ensure the best possible security for every Apple user.
It could be interest you

Among the tools mentioned, we could include, for example, a firewall or FileVault. Both of these functions serve to protect the user, but it is necessary to mention that each of them focuses on something completely different. So let's briefly explain what each function does, what its capabilities are, and why you should activate them.
Firewall
A firewall is a relatively important part of today's operating systems, which takes care of managing and securing network traffic. In practice, it functions as such a control point defining the rules for communication between networks. Apple computers with OS X 10.5.1 (and later) are equipped with a so-called application firewall, which can be used to control connections based on individual applications instead of ports, which brings many benefits, while also preventing unwanted apps from taking control of some network ports. This is because they can be open to completely different and verified applications at a given moment.
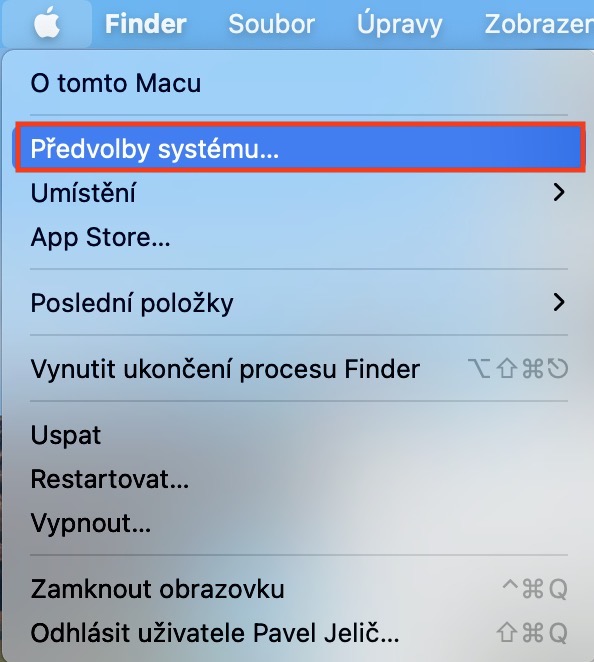
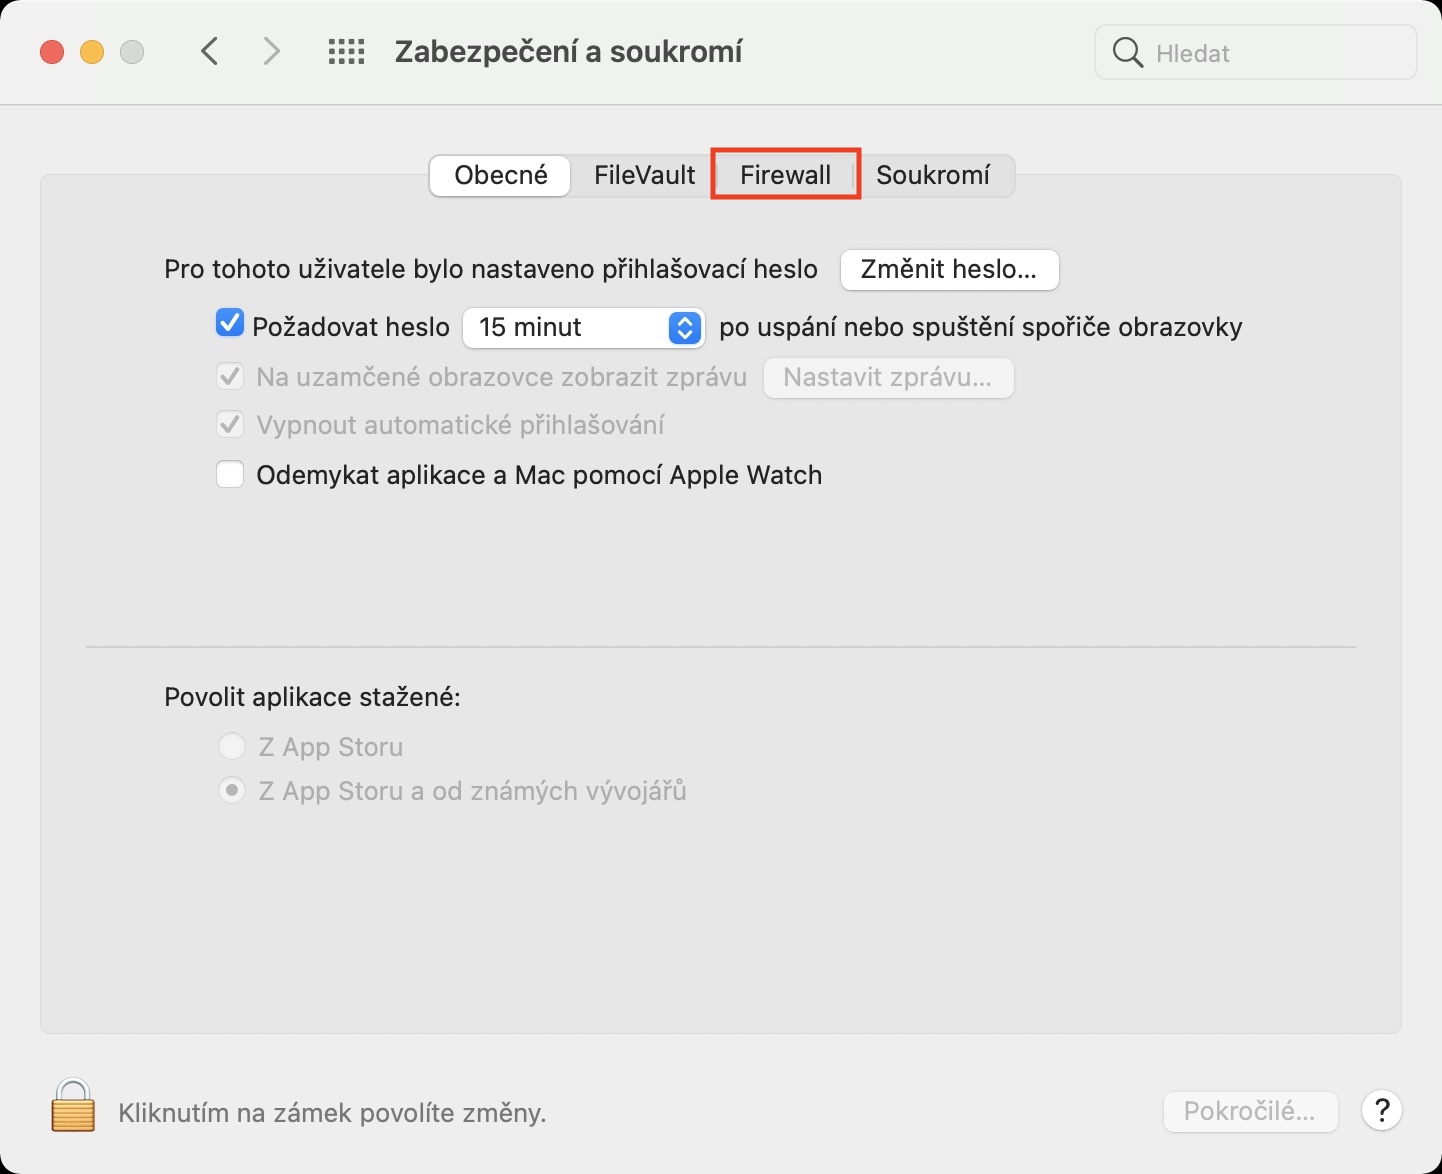
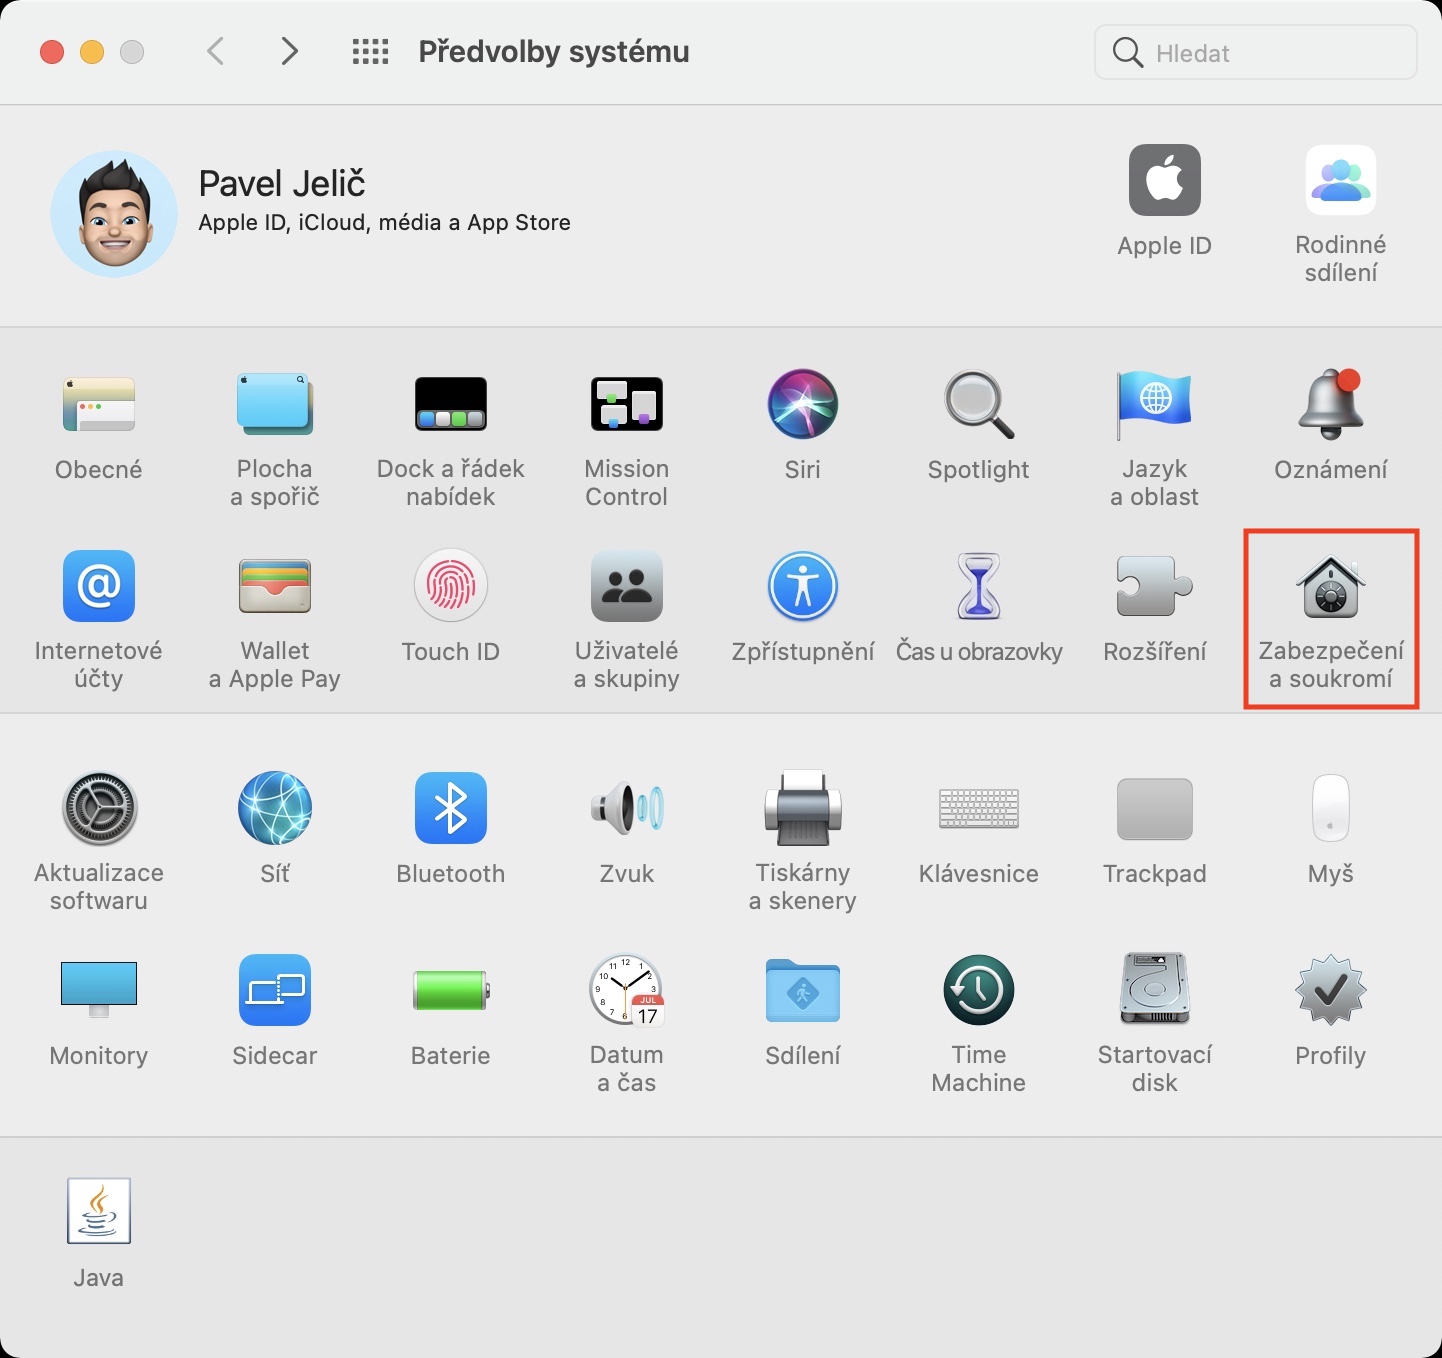
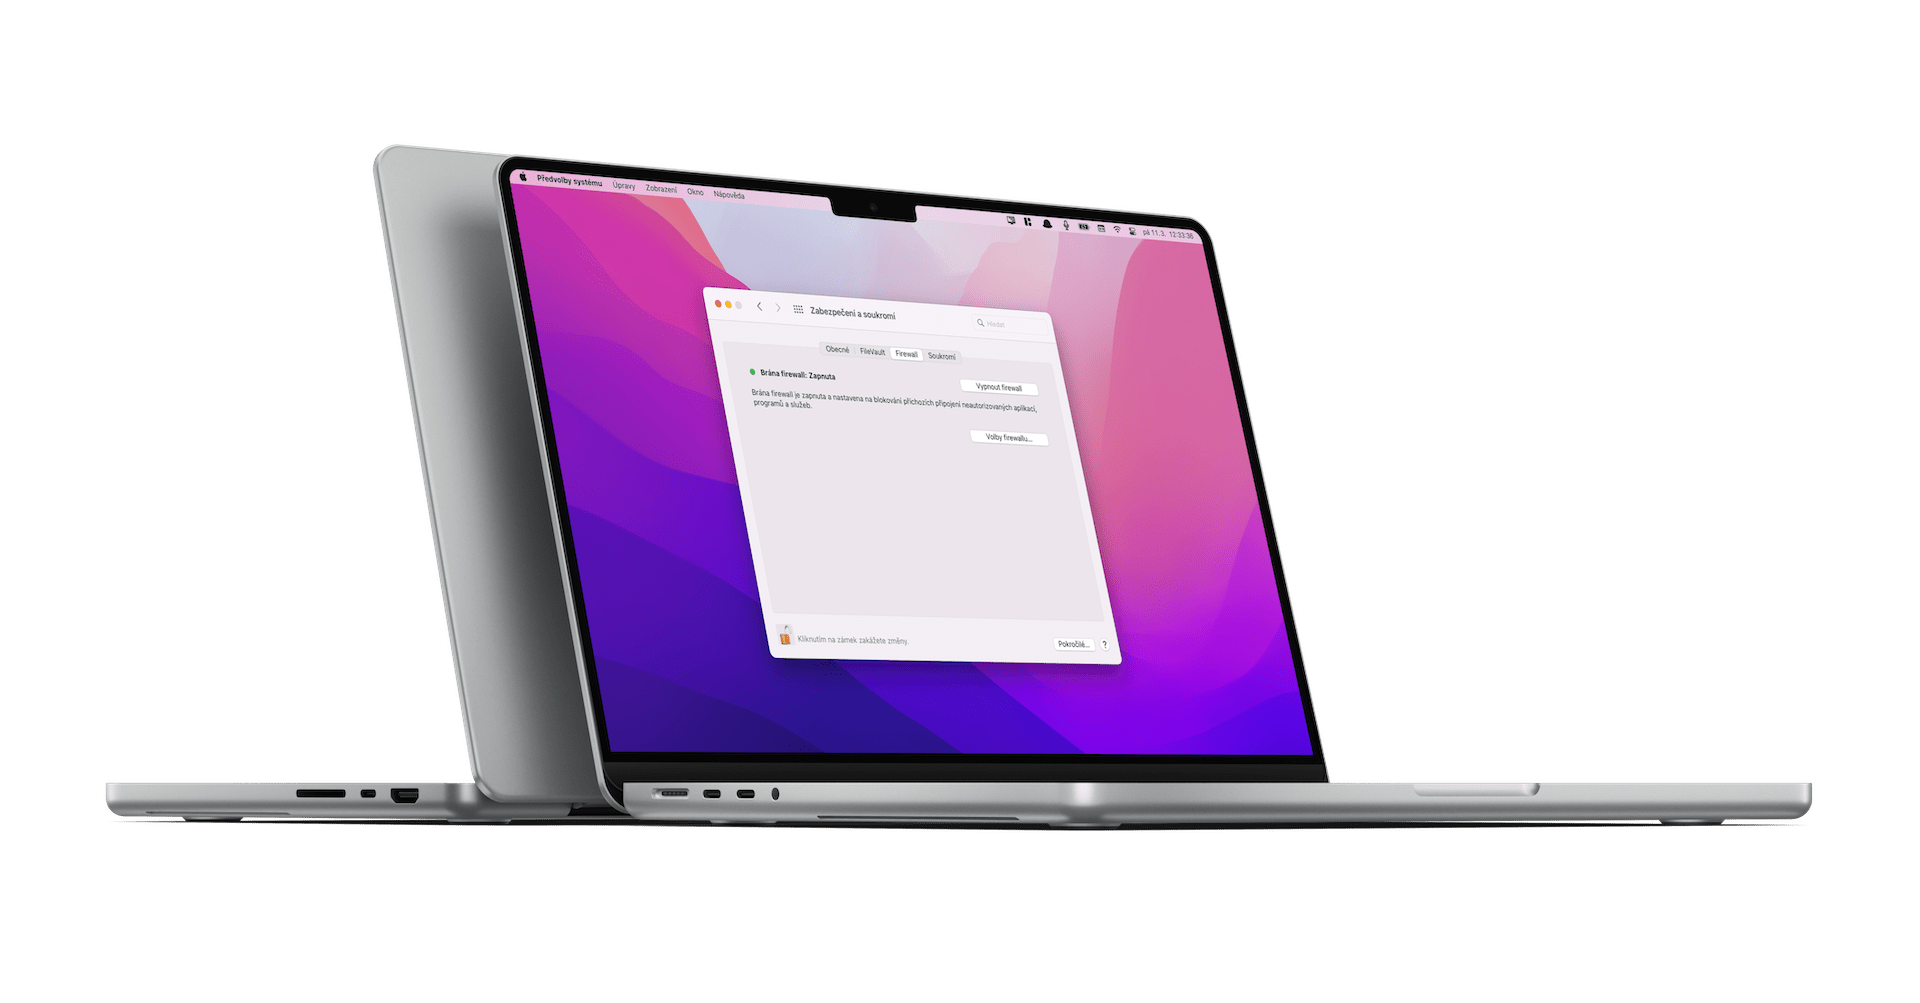
It all works quite simply and in general it is definitely recommended to have a firewall active. In this case, you just need to go to System Preferences > Security and Privacy > Firewall, click on the padlock icon at the bottom left, confirm with a password/Touch ID and then activate the firewall itself. When you click on the Firewall Options button, you can also delve into various settings and, for example, block incoming connections for individual applications. Likewise, the so-called invisible mode can be set here. You will then become invisible to network applications using ICMP (such as ping).
In the end, however, it can be said that you do not need to set up anything with the firewall - it is simply enough to have it active. Subsequently, every time a new application is installed, the macOS system can recognize whether it is a legitimate app, and whether to approve the incoming connection or, on the contrary, block it. Any application that is signed by a valid CA is automatically whitelisted. But what if you try to run an unsigned application? In such a case, you will be presented with a dialog box with two options – Allow or Deny the connection for the application – but you should be extremely careful in this regard.
FileVault
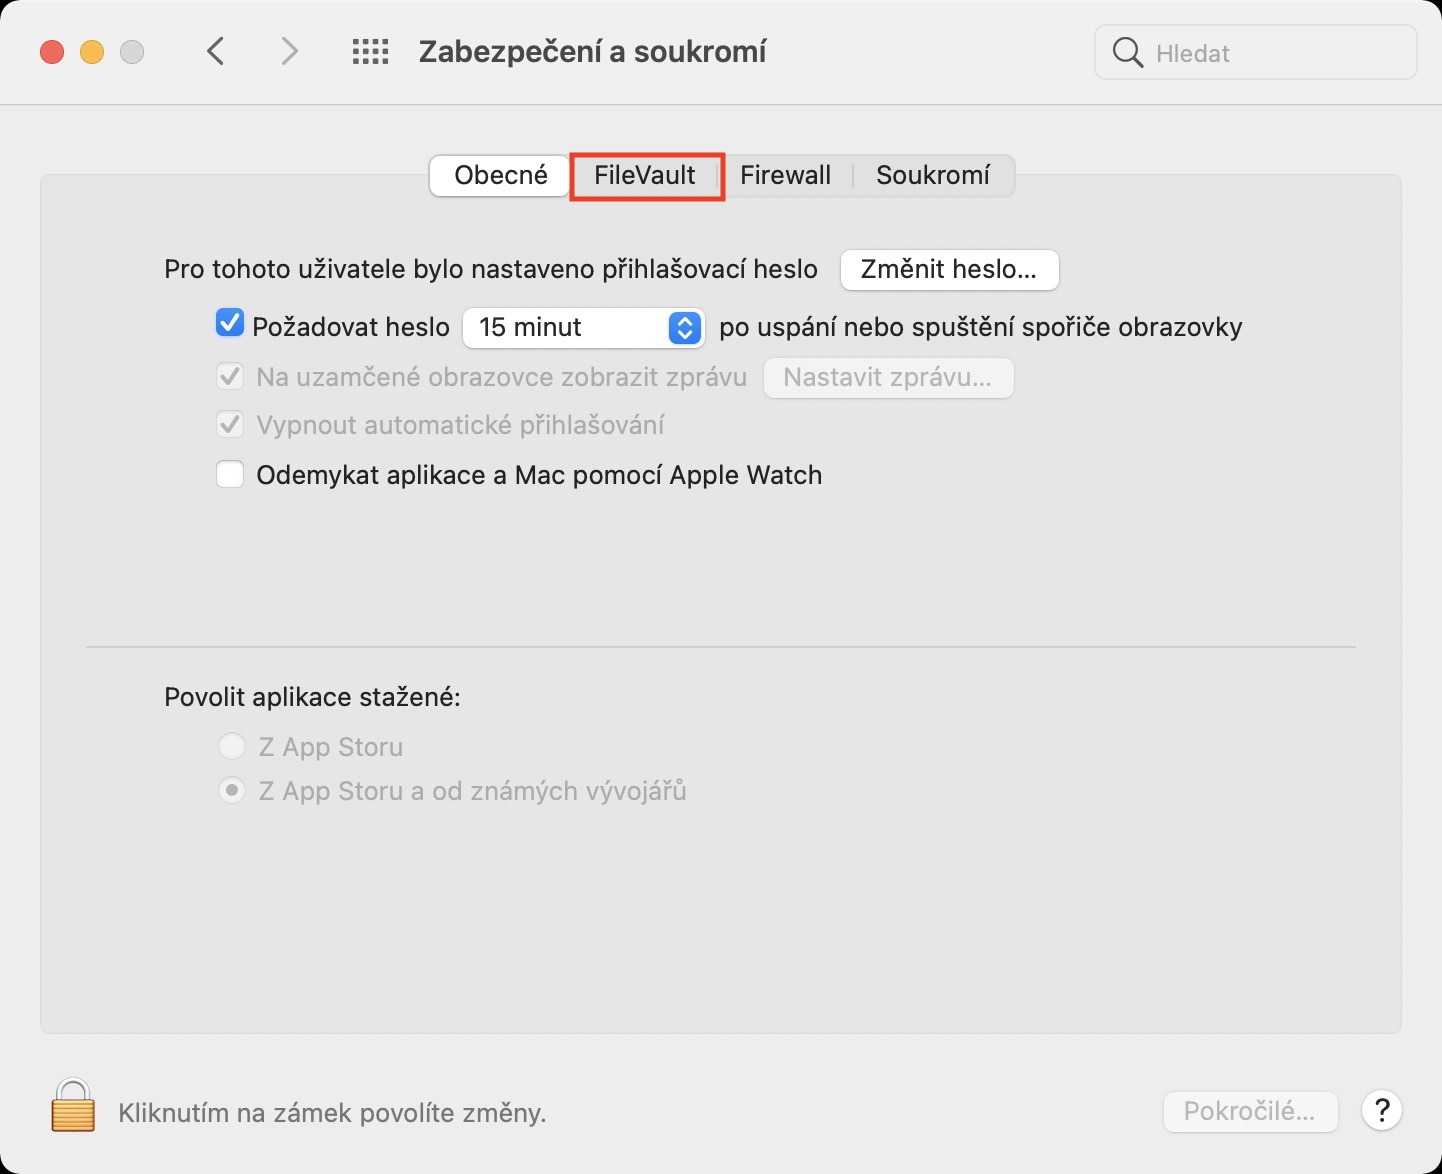
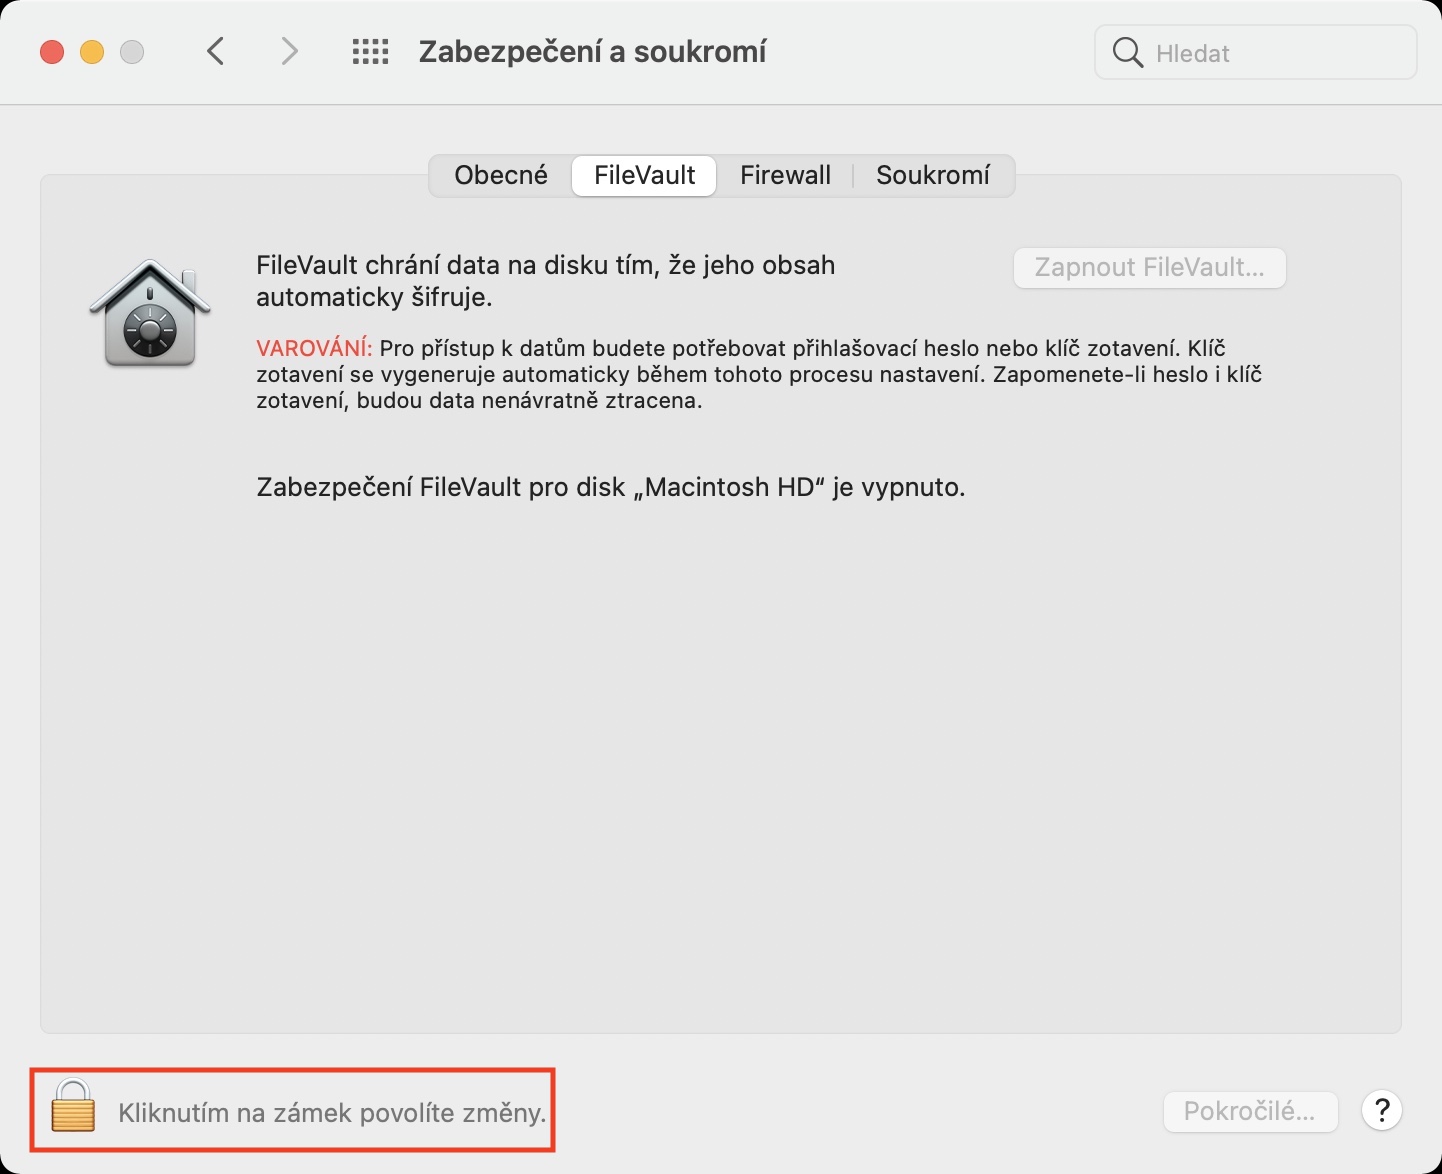
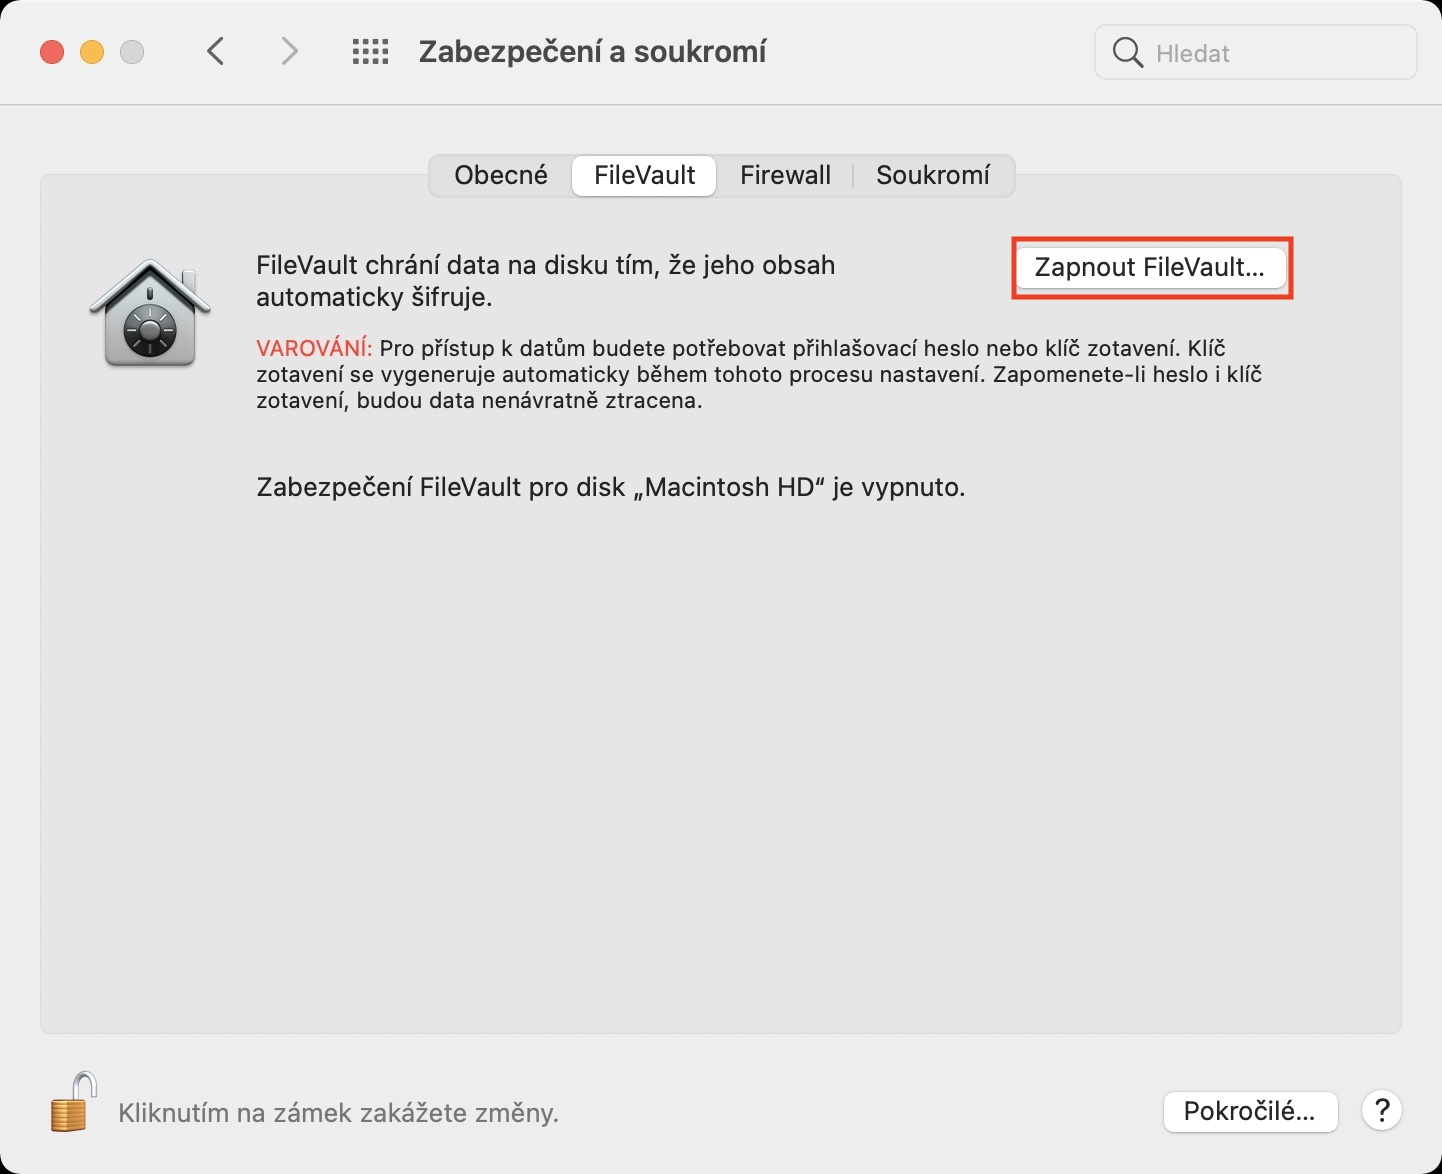
As another great addition, we have FileVault which takes care of encrypting our boot disk via XTS-AES-128 with a 256-bit key. This makes the startup disk almost unbreakable and protected from unauthorized access. Therefore, let's first show how to actually activate the function at all. Before that, however, it is important to point out that the function FileVault 2 discovered in OS X Lion. To activate it, just go to System Preferences > Security and Privacy > FileVault, where all you have to do is confirm with the Turn on FileVault button. But if you have multiple users on your Mac, each of them will have to enter their password before unlocking the drive.
In the next step, the system will ask you if you want to use your iCloud account to unlock the drive. This is a relatively simple way to reset a forgotten password at the same time and generally protect yourself from unpleasant moments. Another option is to create a so-called recovery key. However, remember that you should keep it safe - but not on the boot disk itself. And this is practically done. Encryption now runs in the background, but only when the Mac is awake and connected to power. Of course, nothing prevents you from using it completely normally. Once the encryption is complete, you'll need to enter the password to unlock the startup drive every time you restart your Mac. Without logging in, FileVault won't let you go.
But you can also turn off FileVault. You can achieve this with practically the same procedure and then confirm the choice with a password. Just as the encryption took place, the data on the startup disk must be decrypted in this step. However, it is generally recommended to have the function turned on.
