Recently, an article appeared in our magazine, in which we showed how you can easily create a flash drive that will work both in the Windows operating system and in the macOS operating system. We have to follow this procedure because macOS does not support the NTFS file system that Windows uses by default. If you would like to learn more about how you can create an external drive with the exFAT file system, click on the link below.
It could be interest you
In today's article, we will focus on how to make the NTFS file system work in macOS. Although I mentioned in the paragraph above that the NTFS file system is not supported by macOS by default, this certainly does not mean that it will be enough to check the option for NTFS support somewhere in the preferences - not even by mistake. If you would like to activate the NTFS file system for free, then you have to use complicated frameworks and at the same time you would have to apply several complex commands in the terminal. Since there is a possibility that you, and indeed I, could damage your Mac, we will rule out this possibility right from the start.
If you are not familiar with the issue, then know that you are You choose NTFS, exFAT, FAT32 (file systems) when formatting the disk. These systems allow data to be organized, stored and read – usually in the form of files and directories on a hard disk or other type of storage. Metadata is assigned to this data within the file system, which carries information about the data - e.g. file size, owner, permissions, time of change, etc. Individual file systems differ from each other, e.g. in what the maximum size of a disk partition can be or a file on disk.
A few years ago, when macOS Yosemite was still in its infancy, there were quite a few programs that could work with NTFS. There were several options to choose from and many of these programs were even available for free download. However, over time, many of these programs have fallen away due to the development of macOS, and it can be said that only two of the most famous remain - Tuxera NTFS for Mac and Paragon NTFS for Mac. Both of these programs are very similar. So let's take a look at both in this article.
Tux NTFS
Installing the Tuxera application is quite simple, you need to perform some additional steps than if you were to install a classic application, but the installer will guide you through everything. First you will be prompted for authorization, then you will need to enable Tuxera in security. During installation, you can also choose whether to try Tuxera for free for 15 days, or enter a license key to activate the full version of the program. After that, just restart your Mac and you're done.
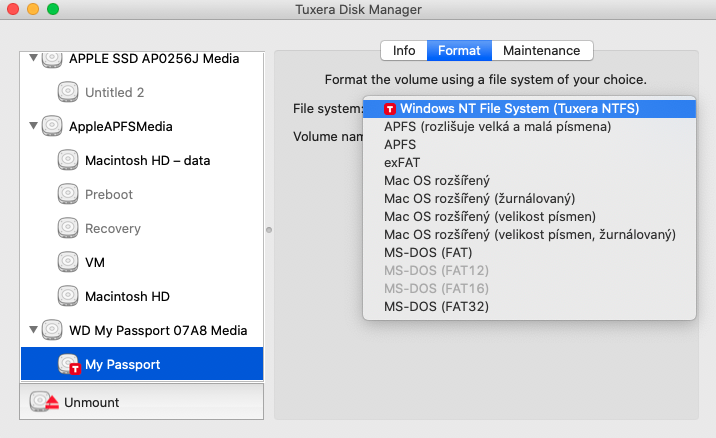
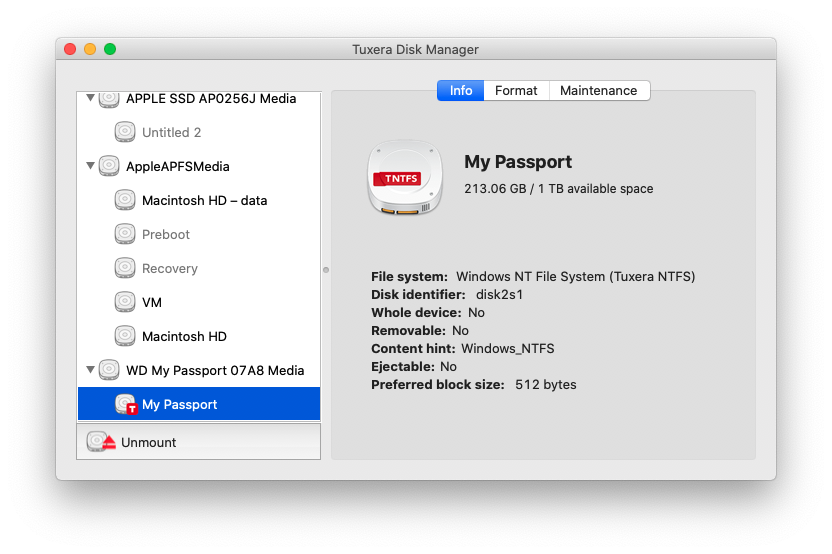
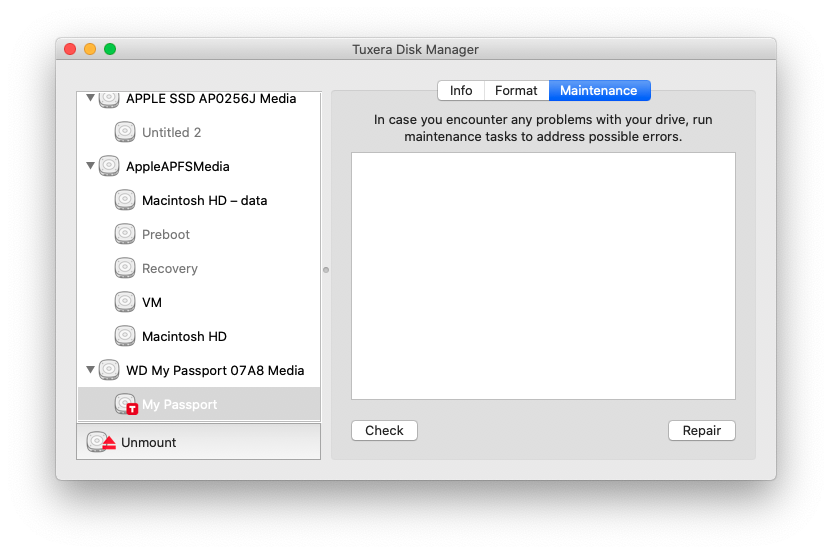
What I like most about this solution is that you don't have to do any extra steps to connect an external drive. You simply install Tuxera, restart the device, and suddenly your Mac can work with NTFS devices as if it could already do it from the factory. There is no need for a third-party application to browse disks with the NTFS file system, as everything is done classically in the Finder. If you still want to open the Tuxera app, you can. But you probably won't find anything more interesting here than in the native Disk Utility. The ability to format, display information and maintenance to repair the disk - that's it.
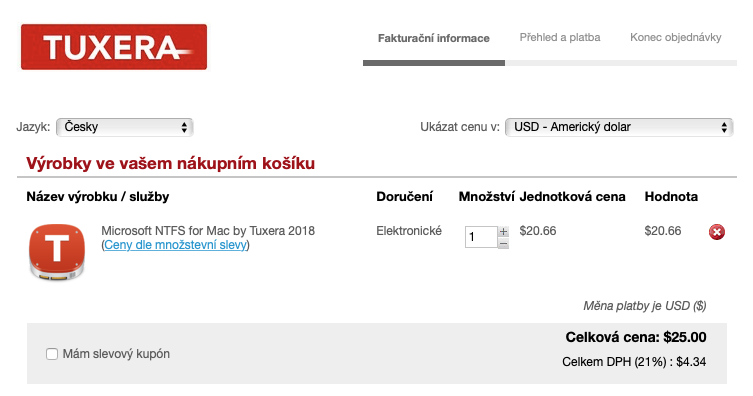
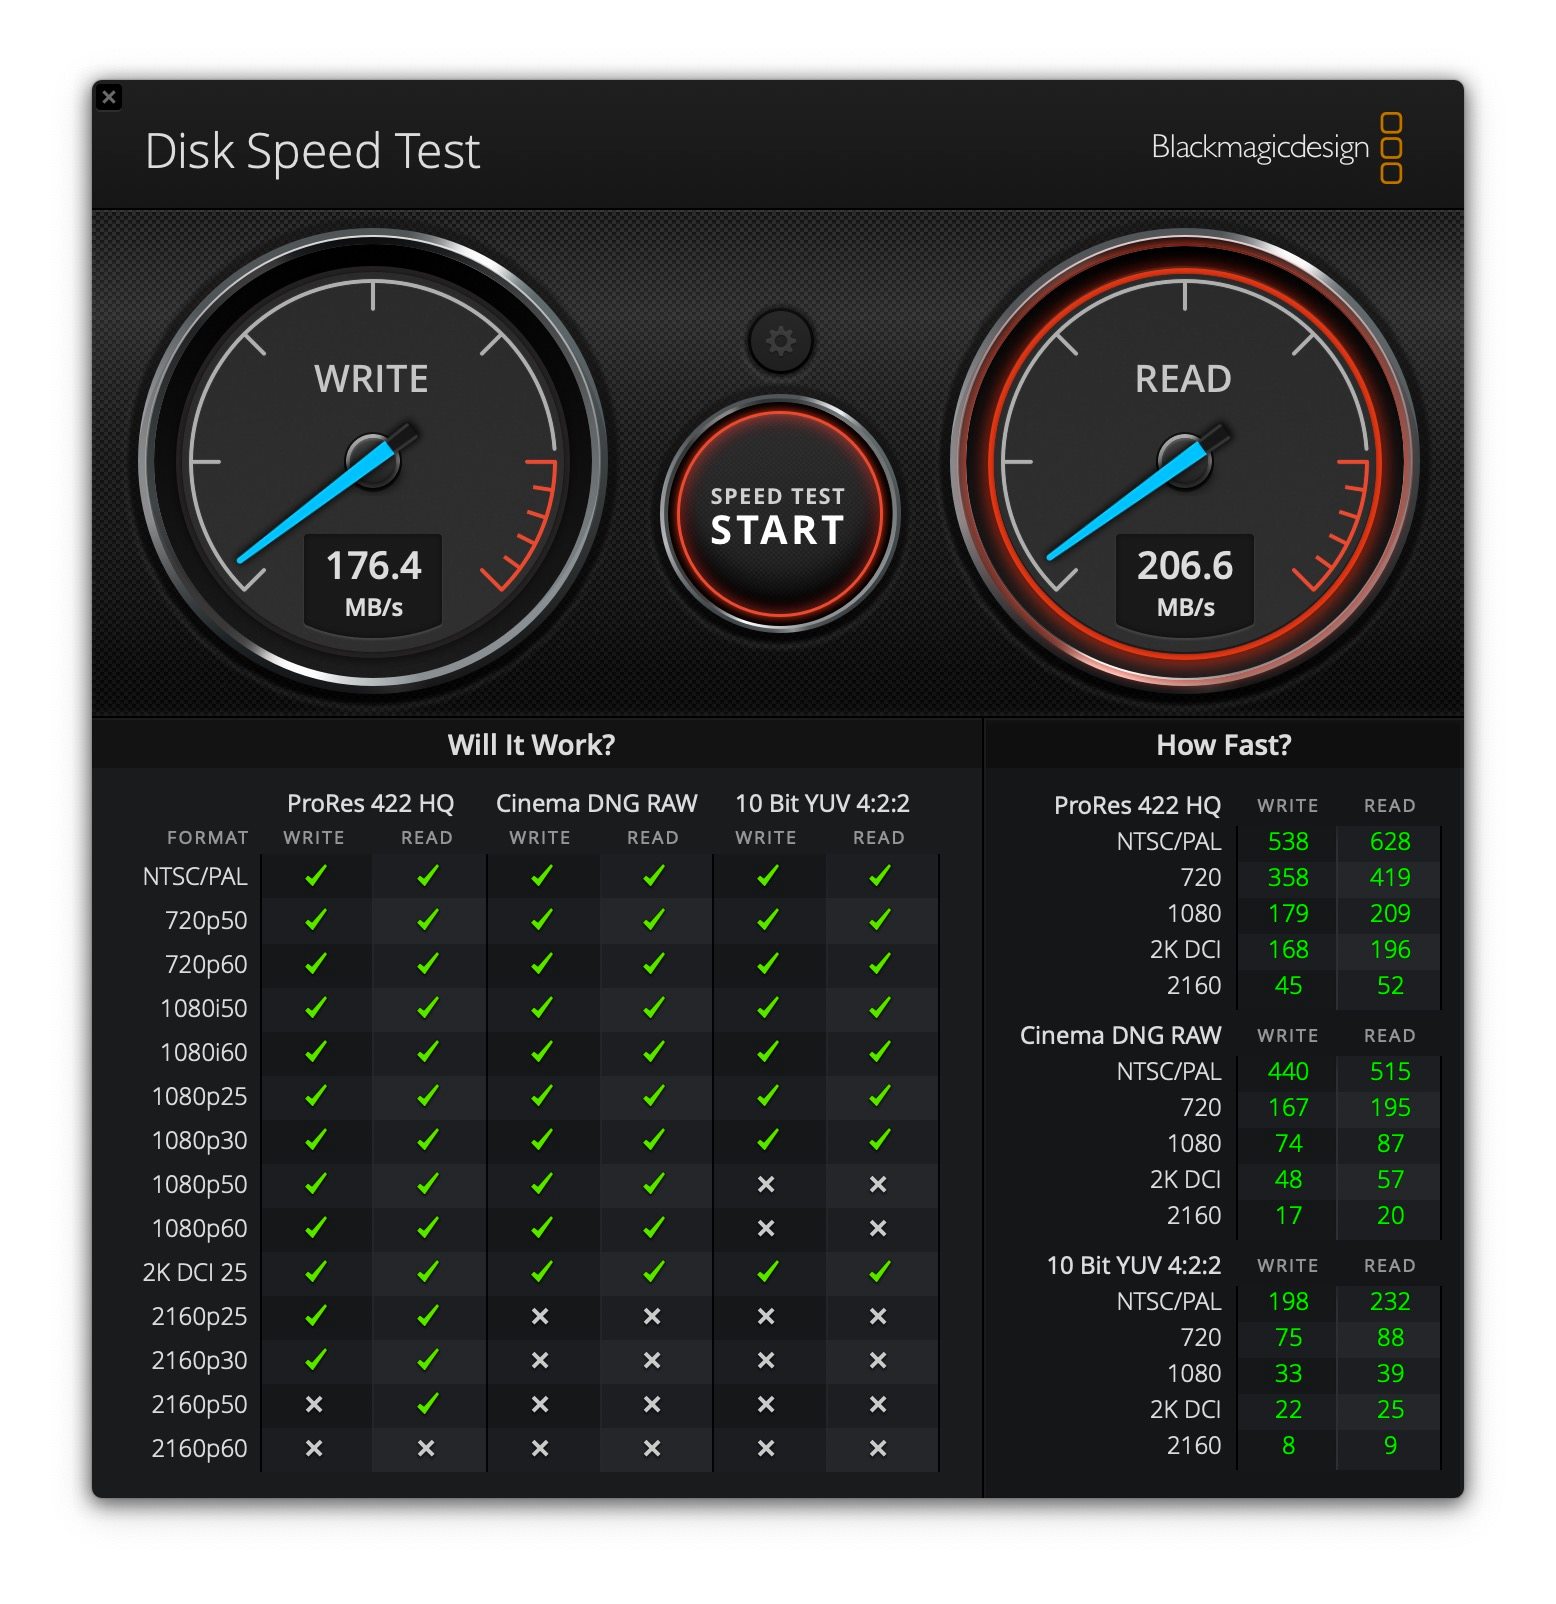
Tuxera's price tag is affordable - $25 for a single-user lifetime license. This means that you can apply the license to multiple devices as one user. At the same time, with the Tuxera app you have all future updates absolutely free. As for the speed, we reached a reading speed of 206 MB/s on our tested external SSD drive, and then a writing speed of around 176 MB/s, which in my opinion is sufficient for more complex work. However, if you wanted to play video in 2160p format at 60 FPS through this disk, then according to the Blackmagic Disk Speed Test program, you will be out of luck.
Paragon NTFS
Installing Paragon NTFS is very similar to Tuxer. You still need to take some extra steps. For example, in the form of authorizing and enabling the system extension in the preferences of your Mac - again, however, the installer will warn you about everything. After installation, all you have to do is restart your Mac and you're done.
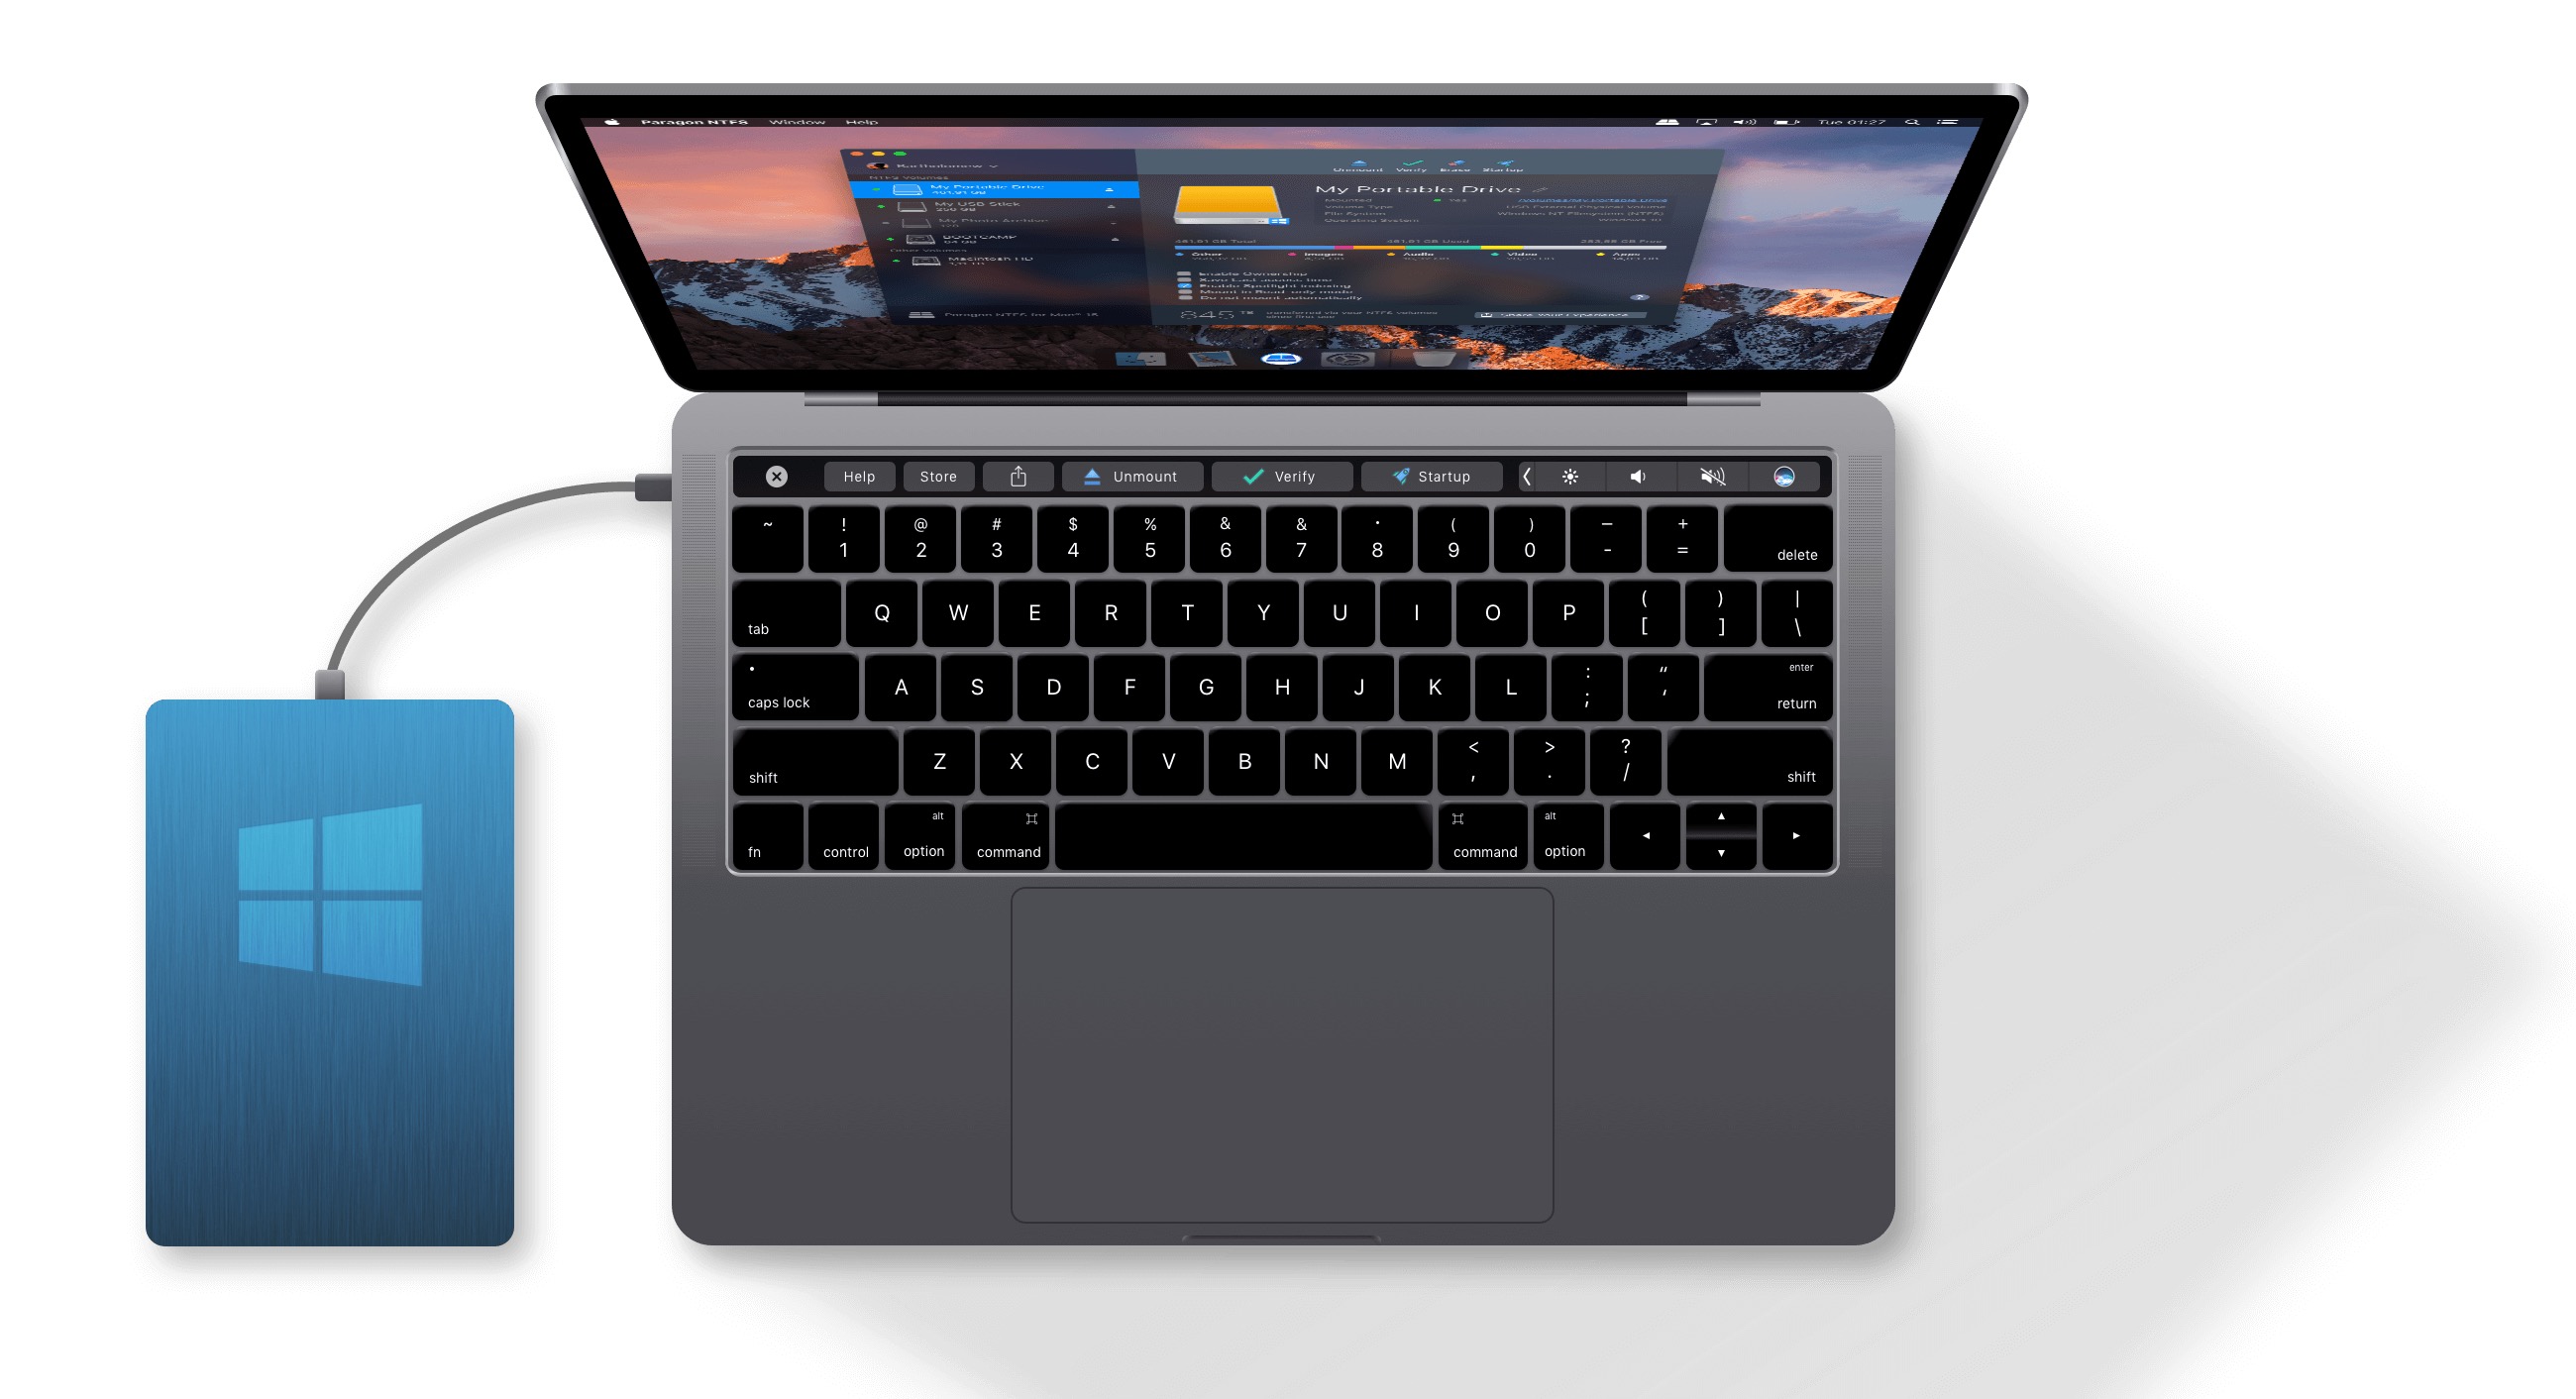
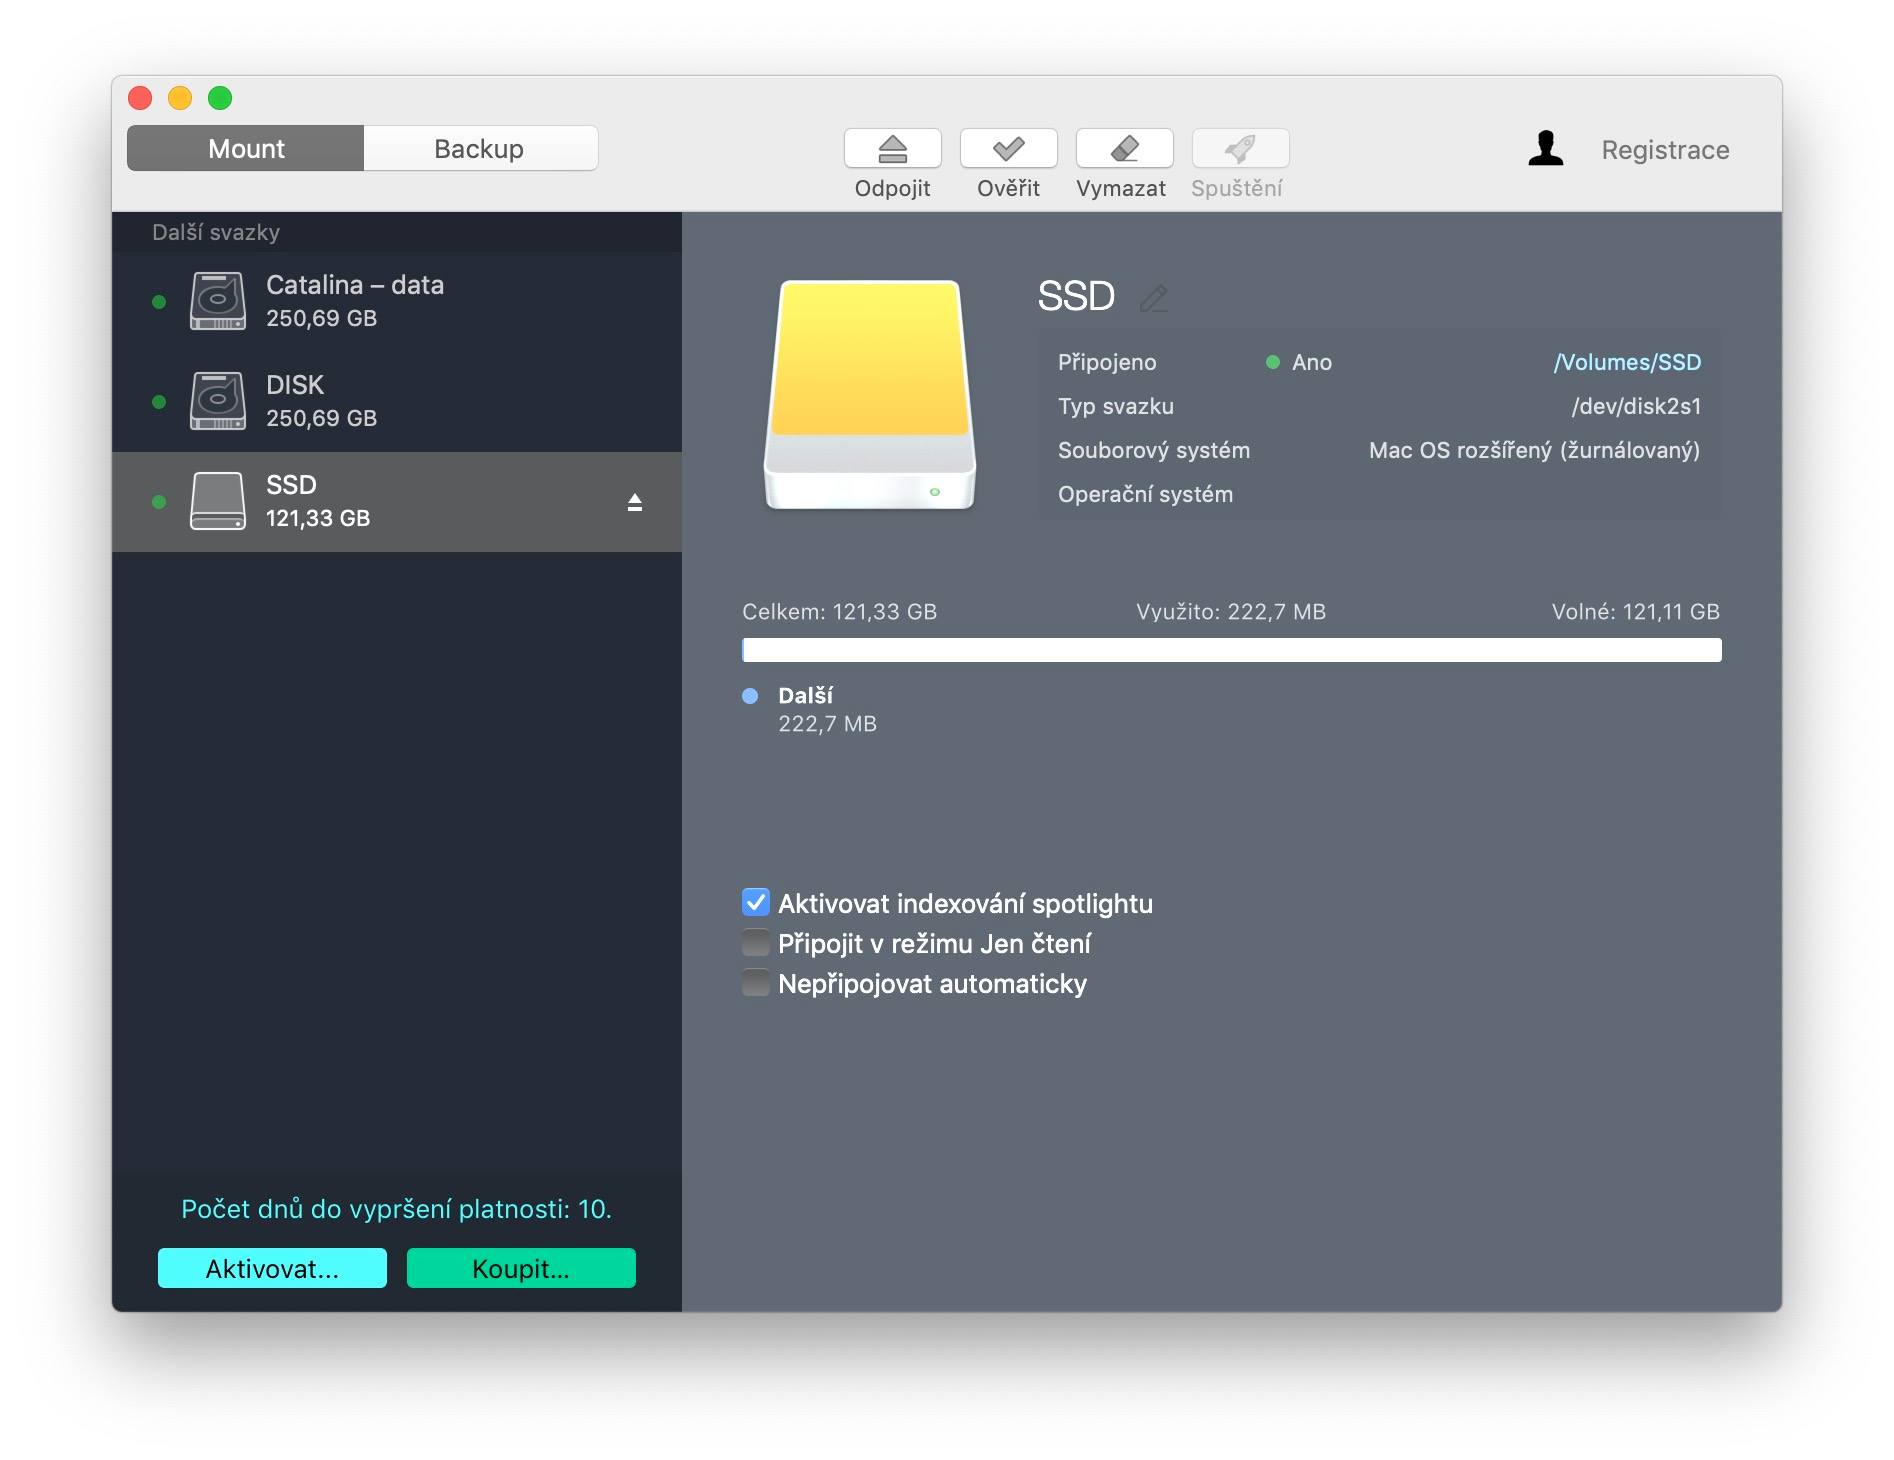
As in the case of Tuxer, Paragon also works "in the background". Therefore, there is no need to click anywhere to connect the disk, nor to turn on any program. Paragon can also work with NTFS devices directly in the Finder. Simply put, if I put a Mac with Tuxera installed and a Mac with Paragon in front of you, you probably wouldn't know the difference. This is visible only in the form of the license and especially in the speed of writing and reading. In addition, Paragon NTFS offers a slightly more sophisticated and "prettier" application in which you can manage all disks - for example, backup, check whether it was manually mounted in different modes (read, read/write, or manual).
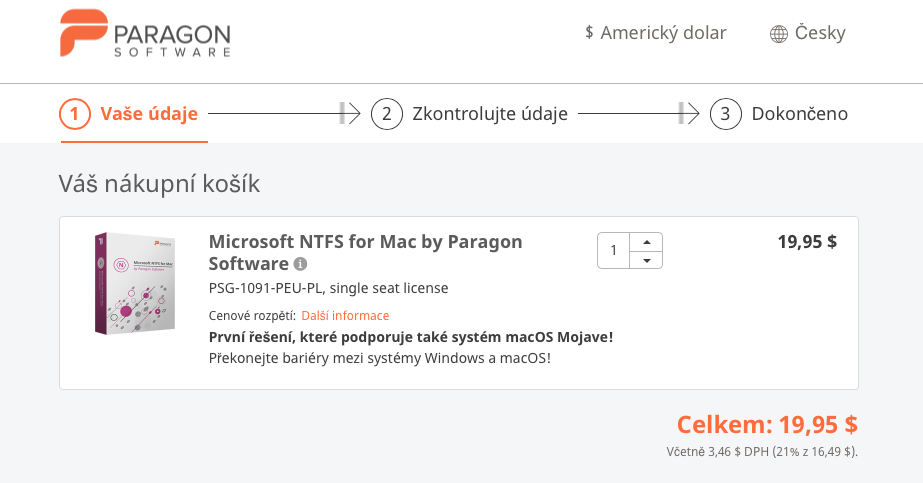
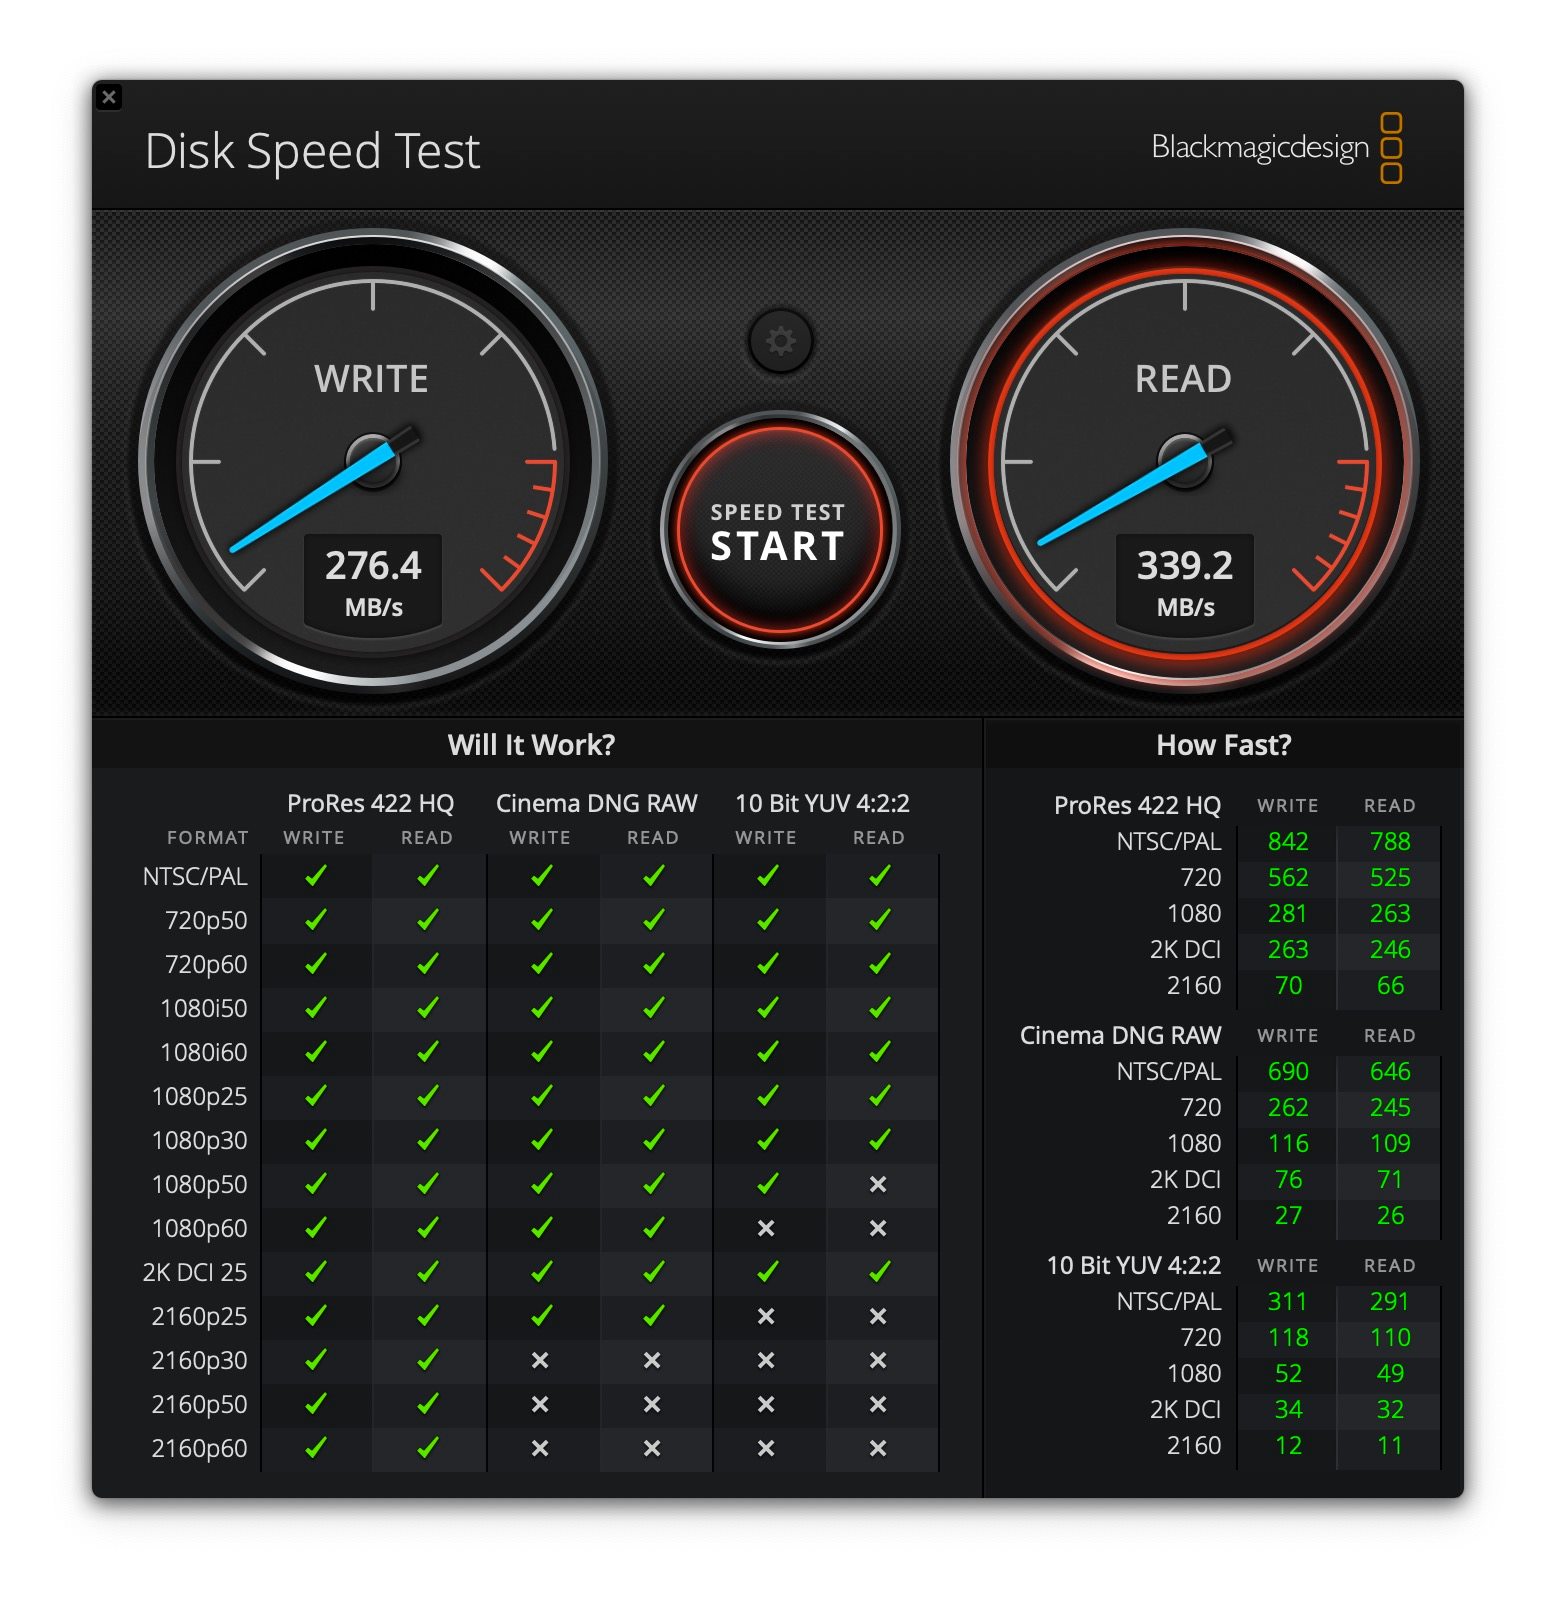
You can get Paragon NTFS for less than $20, which is $5 less than Tuxera, but Paragon's one license = one device rule applies. The license is therefore not portable and if you activate it on one Mac, you will no longer receive it on another. On top of that, you have to pay for every app update that always comes out with a new "major" version of macOS (for example, Mojave, Catalina, etc.). In terms of speed, the Paragon is significantly better than the Tuxera. With our tested external SSD, we reached 339 MB/s for read speed, then writing at 276 MB/s. Compared to the Tuxera application, Paragon has the upper hand in reading speed by 130 MB/s, and in writing speed it is faster by exactly 100 MB/s.
iBoysoft NTFS for Mac
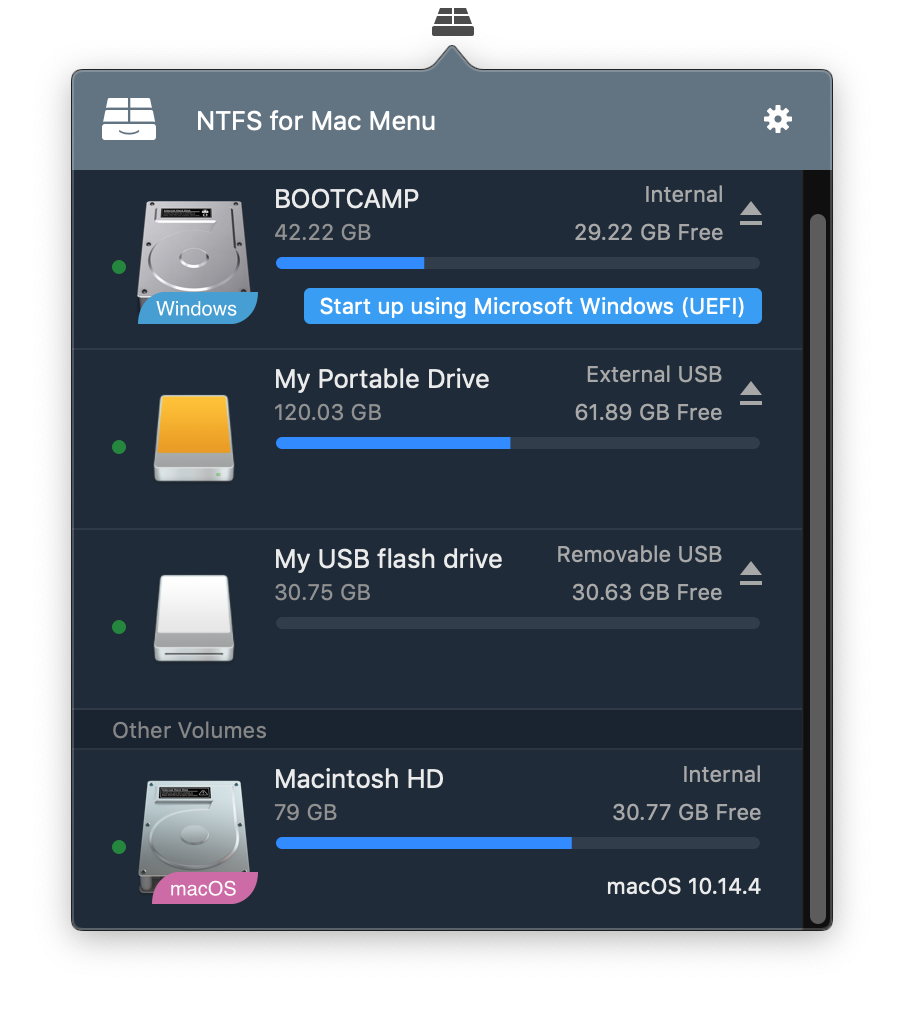
It is an extremely interesting program iBoysoft NTFS for Mac. As the name itself suggests, this is an interesting software that allows you to work with disks that use NTFS formatting, even on Macs. It's a compact utility for your menu bar that helps you mount, unmount, and work with an NTFS drive on your Mac. Of course, you will see the disk in the Finder or Disk Utility all the time. But what can he actually do? It can easily cope with reading individual files, or even copying them to your disk. At the same time, it is an NTFS writer, thanks to which you can easily write, directly within your Mac. This is the perfect solution. The best part is that the program options are always at your fingertips, right from the top menu bar.
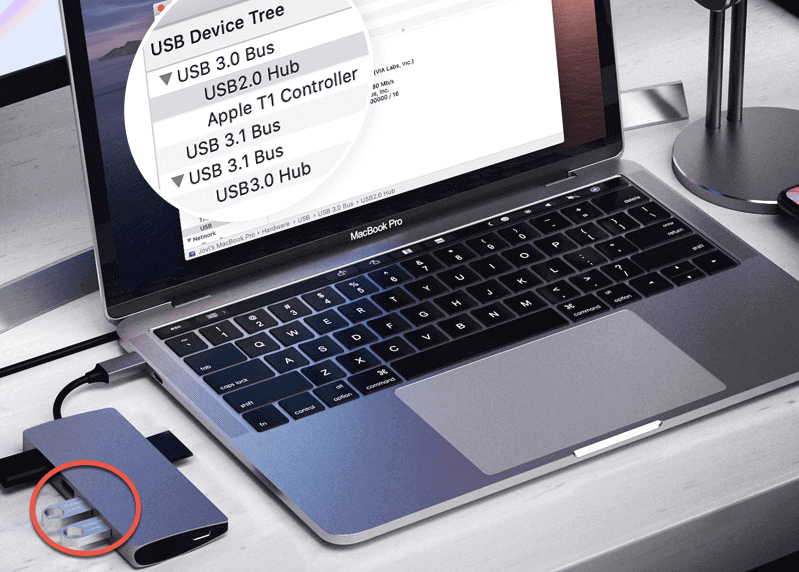
With the help of this software, you get full access to read and write disks that use the Windows NTFS file system. So you can work with everything without the need for formatting. At the same time, it can help you with the complete management of a specific disk, when it handles disconnection, repair or formatting. Of course, always directly on the Mac. All in all, it's a pretty unbeatable solution, especially when you consider the overall capabilities and features, stylish design, and great optimization.
Download iBoysoft NTFS for Mac here
záver
If I had to personally choose between Tuxera and Paragon, I would choose Tuxera. On the one hand, this is because the license is portable between multiple devices, and on the other hand, I pay one fee and get all other updates for free. Paragon is a few dollars cheaper, but with the fees for each new version, you'll soon be at the same, if not higher, price than Tuxera. Personally, I probably wouldn't even be convinced by the higher reading and writing speed in the case of Paragon, because I personally don't work with such large data to notice the speed difference in any way. For an ordinary user, the speeds of both programs are absolutely sufficient.
Thanks a lot Pavel!