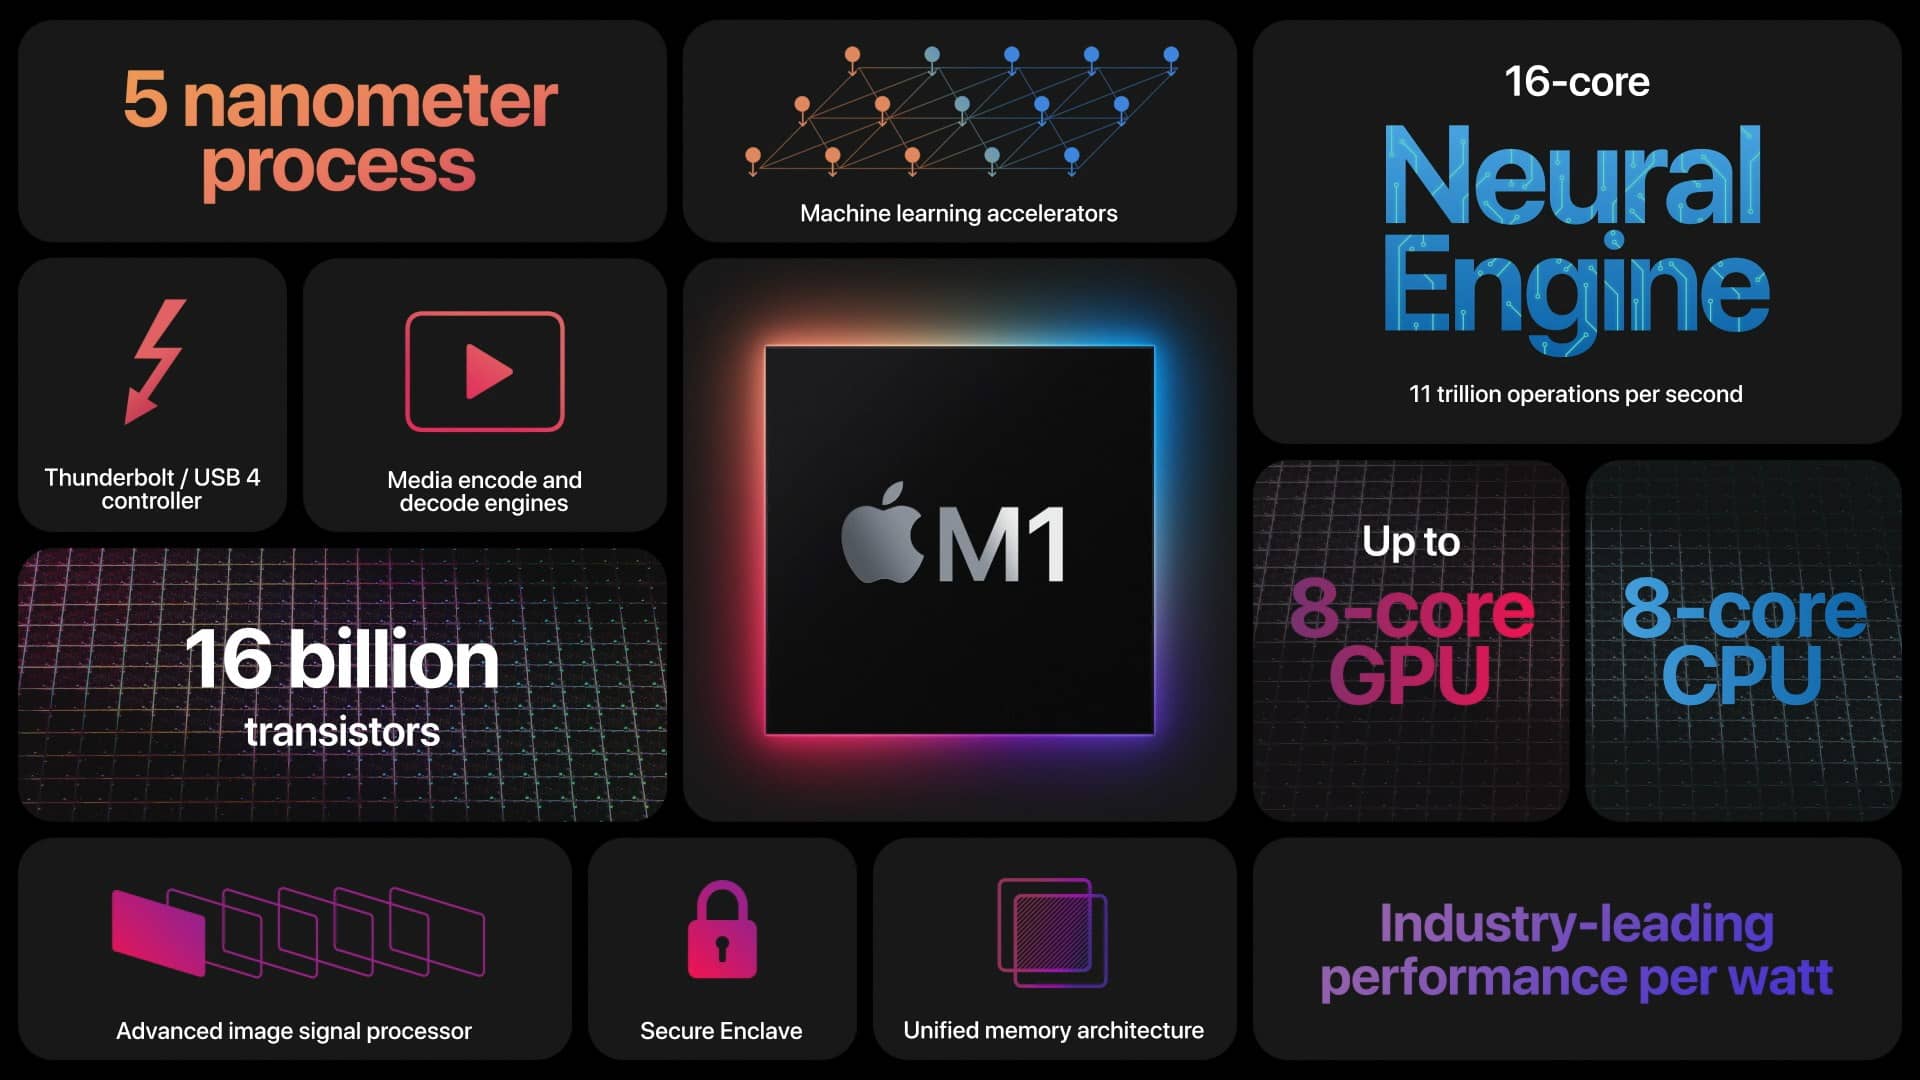
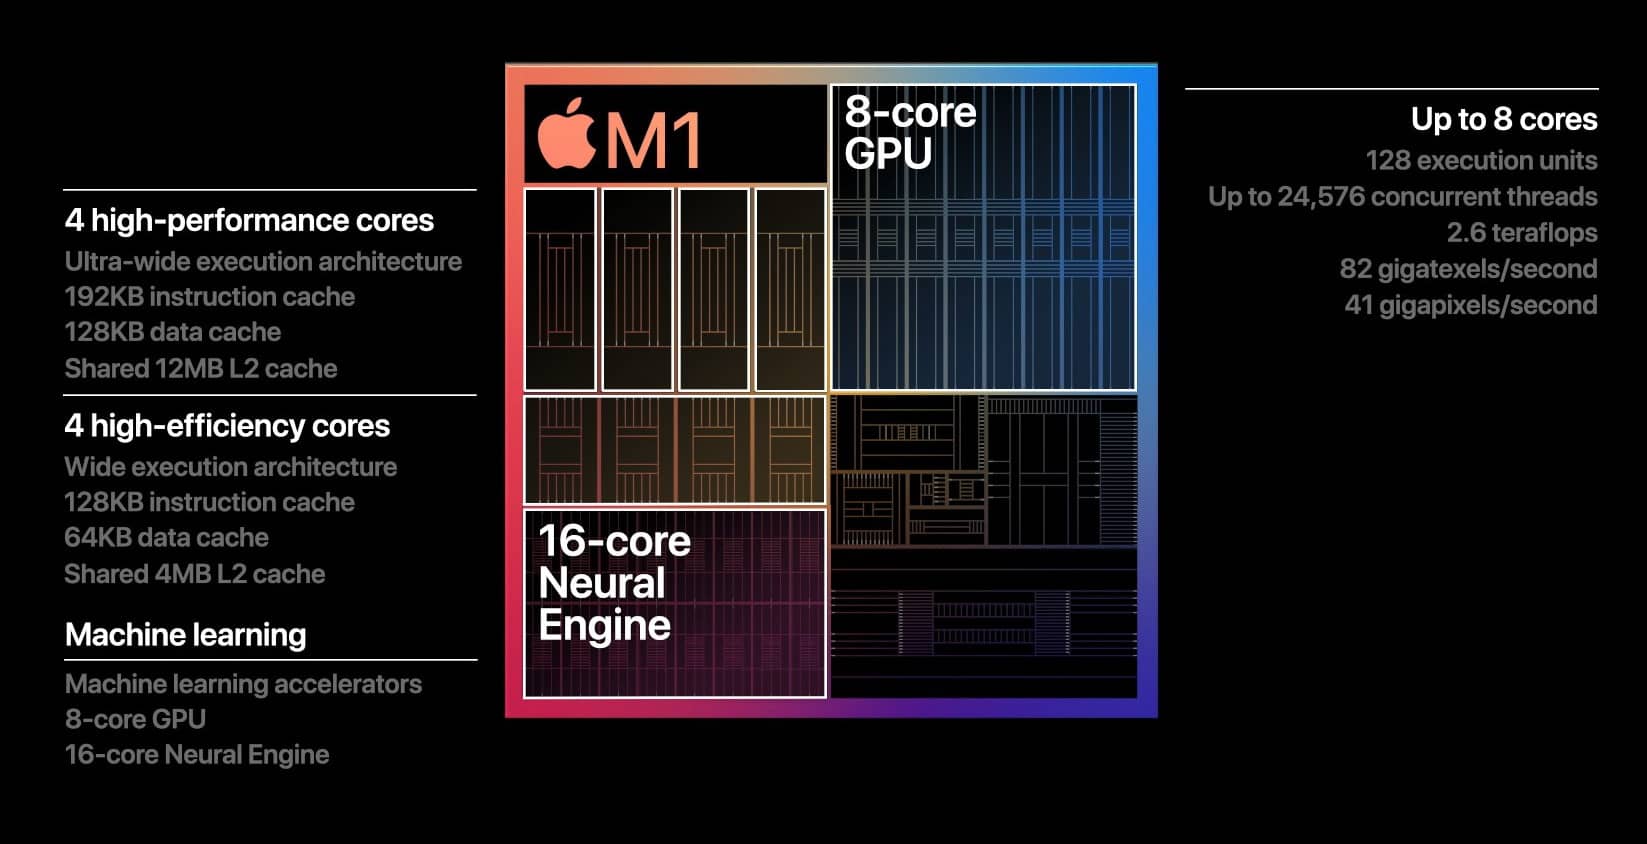
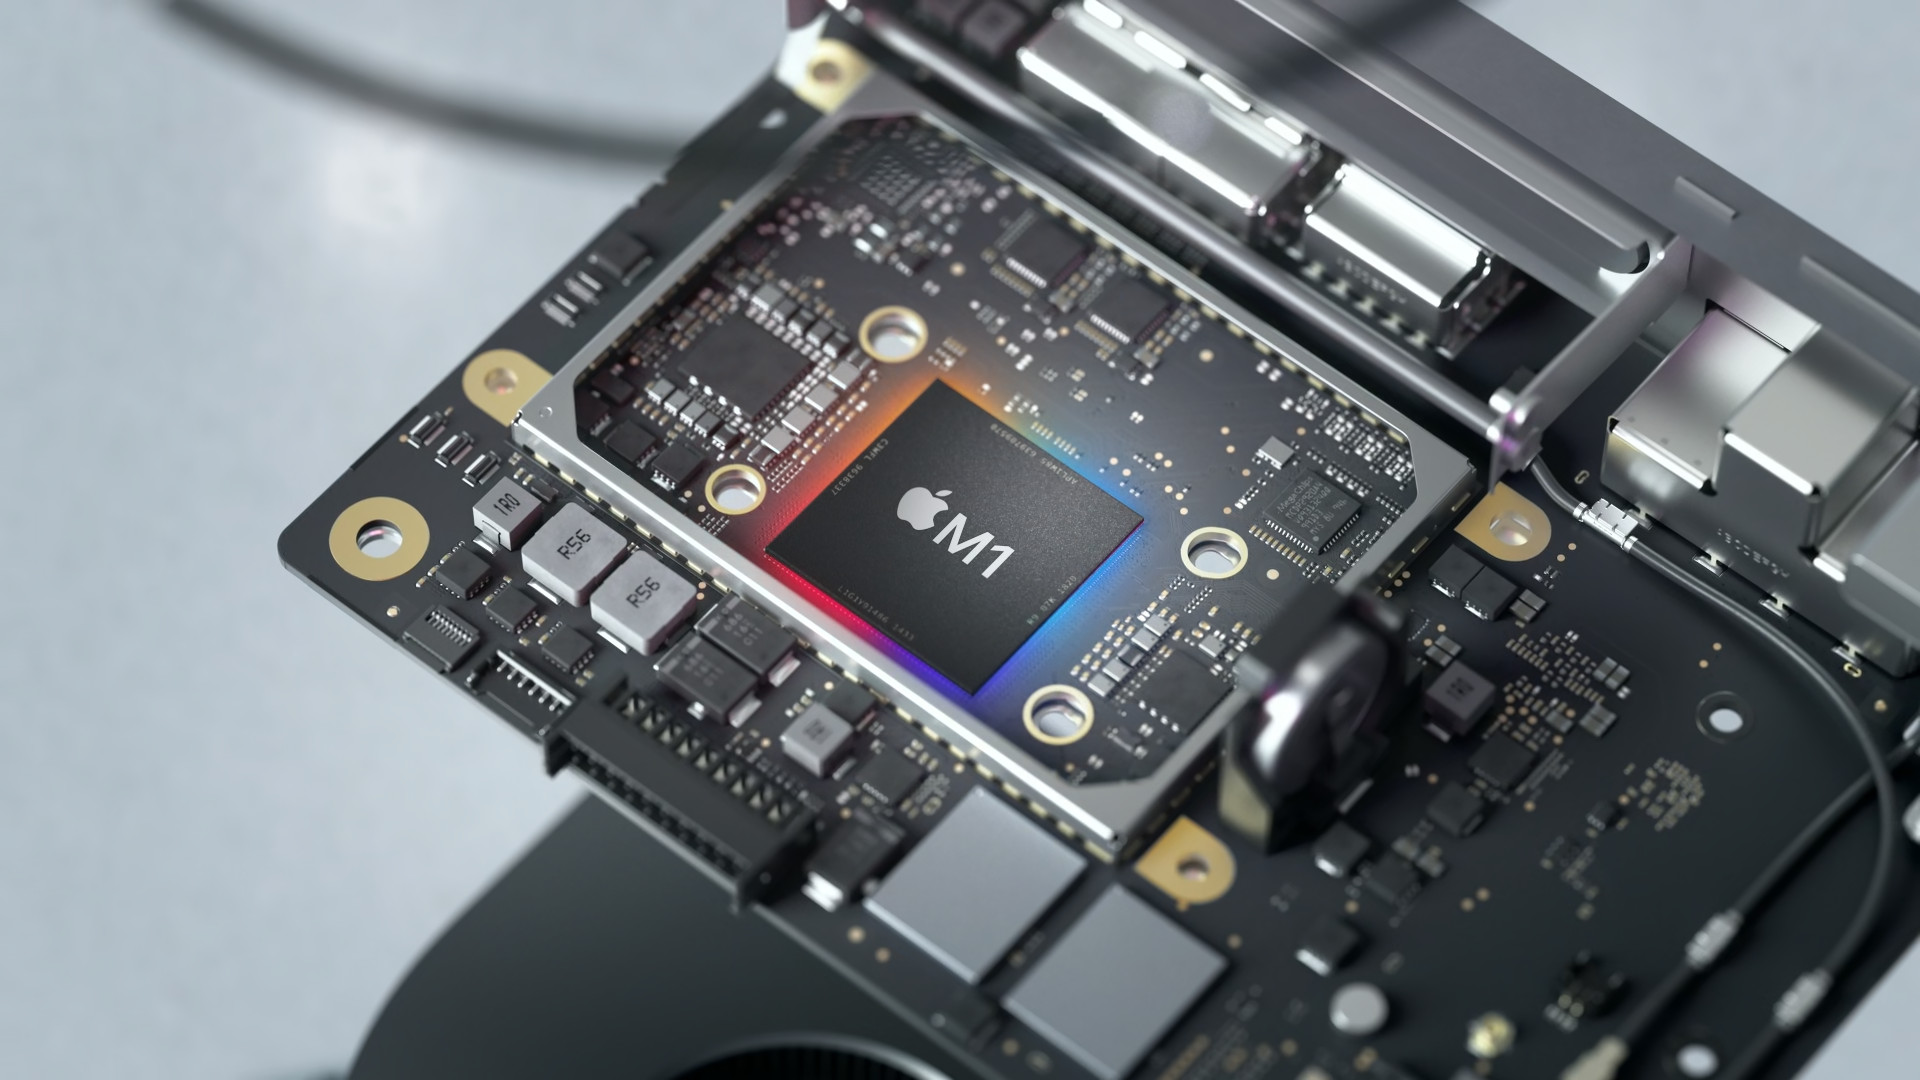
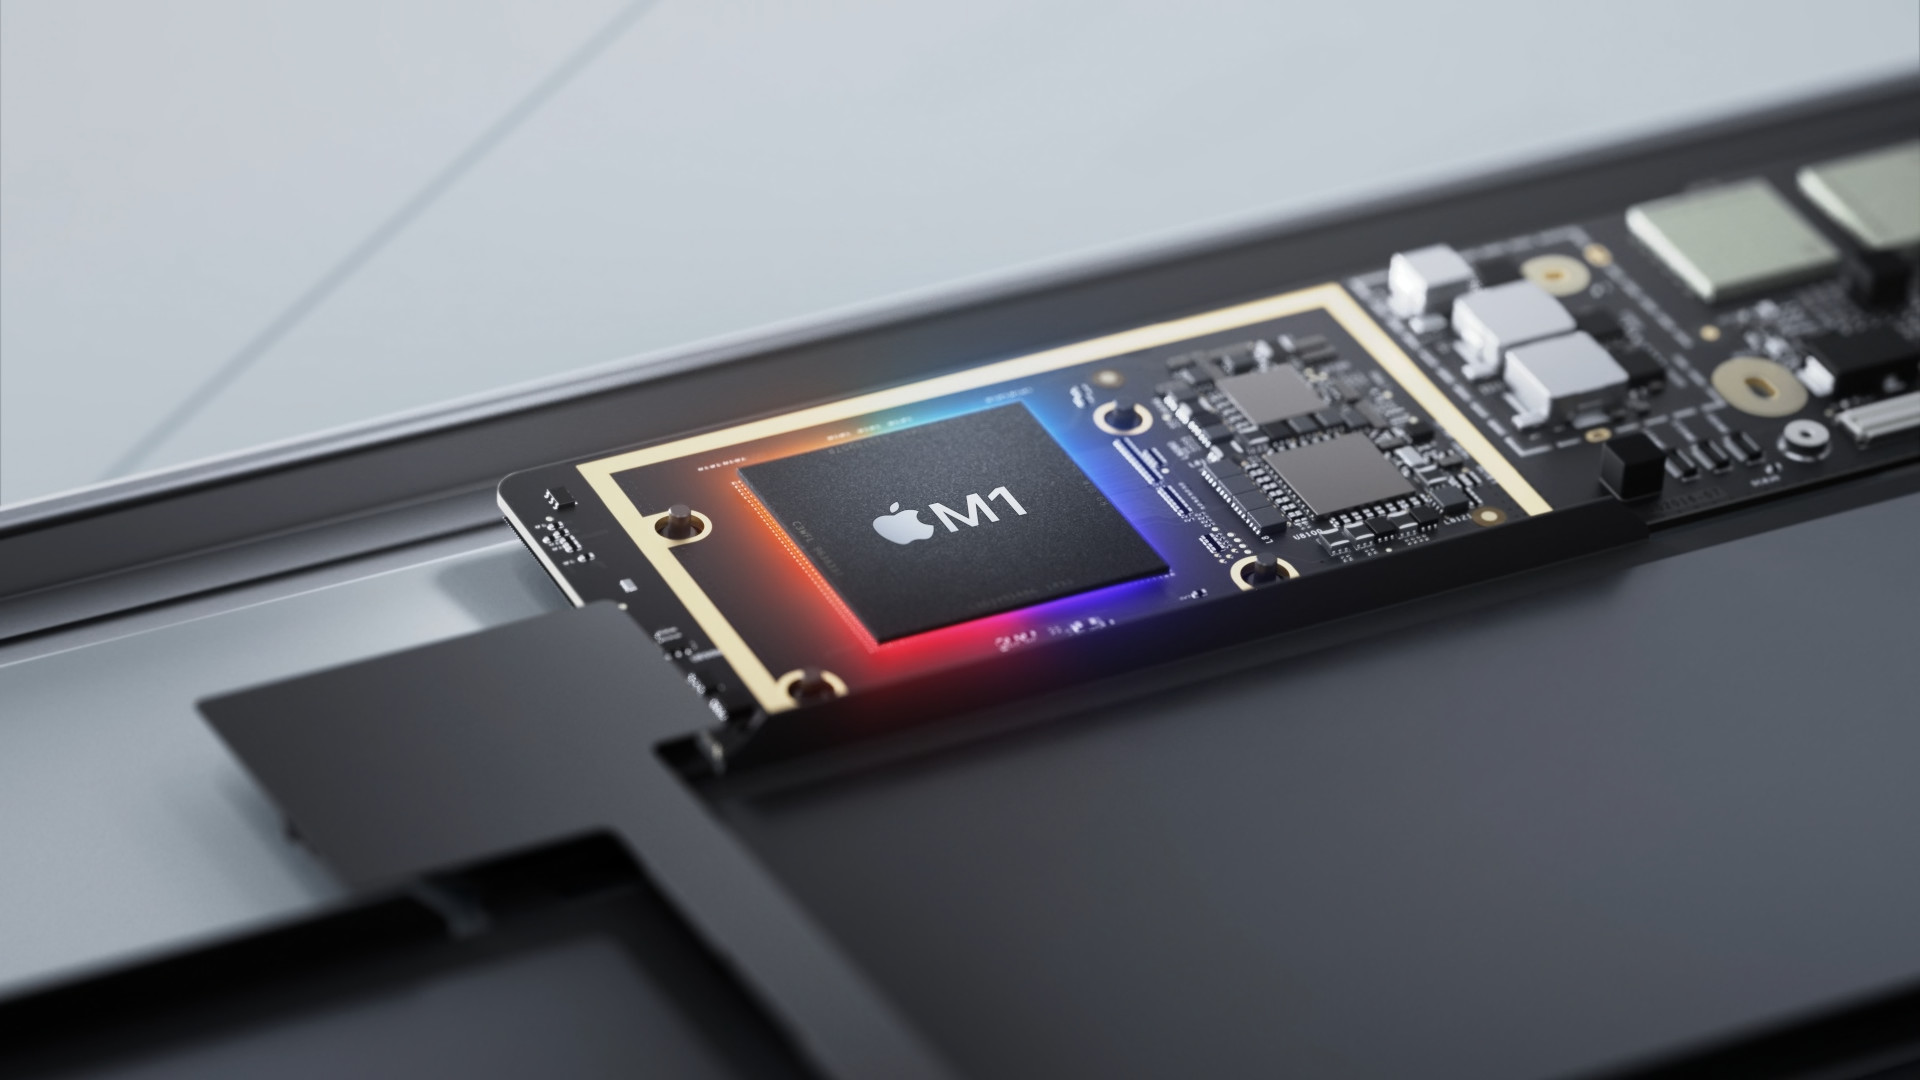
It's been a few weeks since Apple introduced the first chip from the Apple Silicon family, namely M1, as part of its third autumn conference this year. On the same day, we also saw the presentation of the brand new MacBook Air, 13″ MacBook Pro and Mac mini, of course with the mentioned M1 chip. As most of you probably know, this chip works on a different architecture compared to processors from Intel. Because of this, you can't run apps originally designed for Intel-based devices on M1-based Macs. Of course, Apple did not leave the user alone, and with the arrival of the M1 came a code translator called Rosetta 2.
It could be interest you
Thanks to the Rosetta 2 translator, you can easily run any application that was originally intended for Intel on Macs with M1. The first Rosetta was introduced by Apple during the transition from PowerPC processors to Intel, in 2006. It should be noted that, both then and now, Rosetta works really well. If you run any application through it, certain applications will become more demanding on performance, since the mentioned translation takes place in real time, in any case, in most cases you will definitely not run into problems. Rosetta 2 will be available for a few short years, after which developers will have to decide whether to "write" their applications for Intel or for Apple Silicon. Within two years, M1 processors should be found in all Apple computers.
If you are planning to buy a Mac with an M1 processor, you are probably wondering how Rosetta 2 can be used, or how you can install it. The good news is that you don't have to worry about anything in the final. As soon as you start an application that needs Rosetta 1 for its operation for the first time on a Mac with M2, you will see a small window through which you can start the installation of Rosetta 2 with a single button. However, if you want to prepare in advance, you can install Rosetta 2 on your Mac in advance using the Terminal. You can proceed as follows:
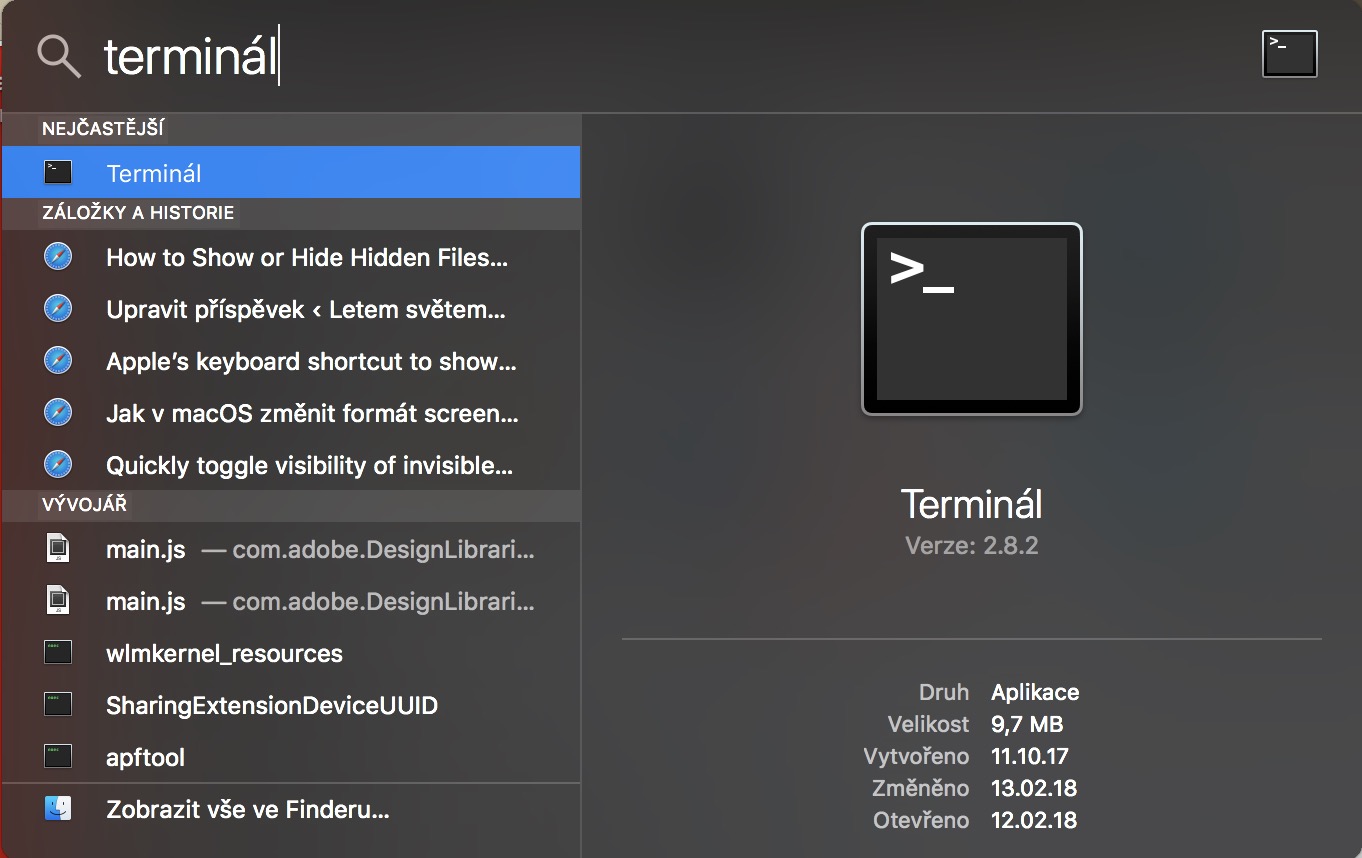
- First, the application Terminal on your Mac with M1 run.
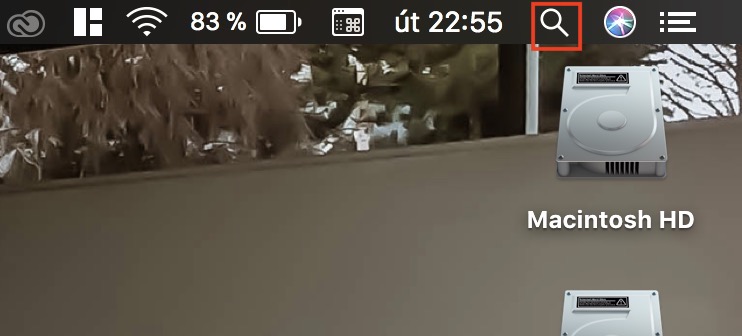
- You can do this either using Spotlight, or you can find it in Applications in the folder Utilities.
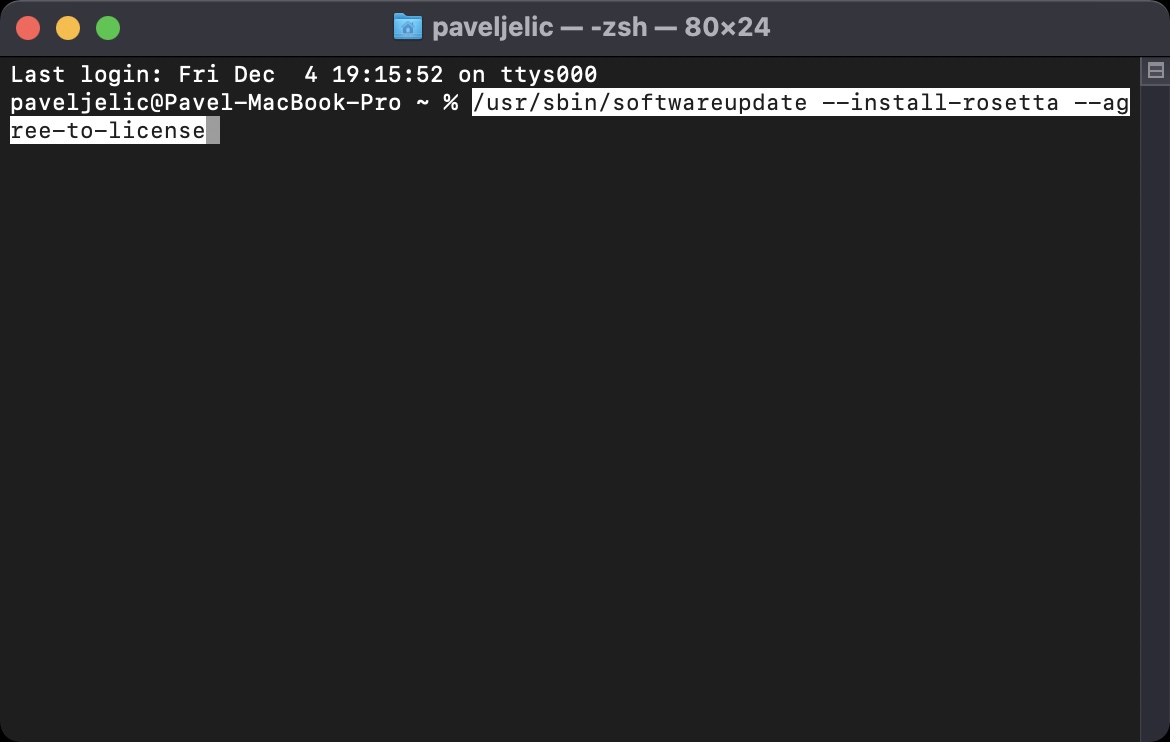
- After starting, all you have to do is to copied this command:
/usr/sbin/softwareupdate --install-rosetta --agree-to-license
- Once you have copied the command, simply copy it into the Terminal window insert
- Finally, you just need to tap on the keyboard Enter. This will start the Rosetta 2 installation.
