In my opinion, annotations are one of the most underappreciated functions that the iOS and iPadOS operating systems offer. More and more I notice that people are using various third-party applications to edit their photos - and I don't mean to add a filter, etc. However, did you know that you can simply add text, a magnifying glass, or even a signature to a photo using the native Annotation function, and you don't have to fill up the memory of your iPhone or iPad with other applications? In this article, let's take a look at what you can do with the Annotation option.
It could be interest you
Where is Annotation located?
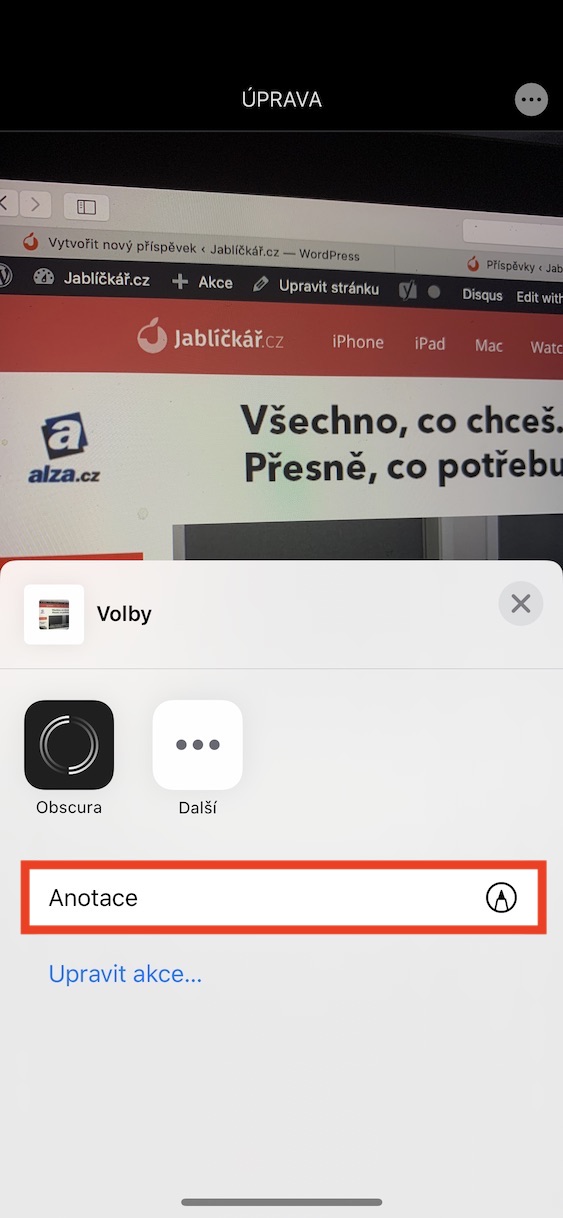
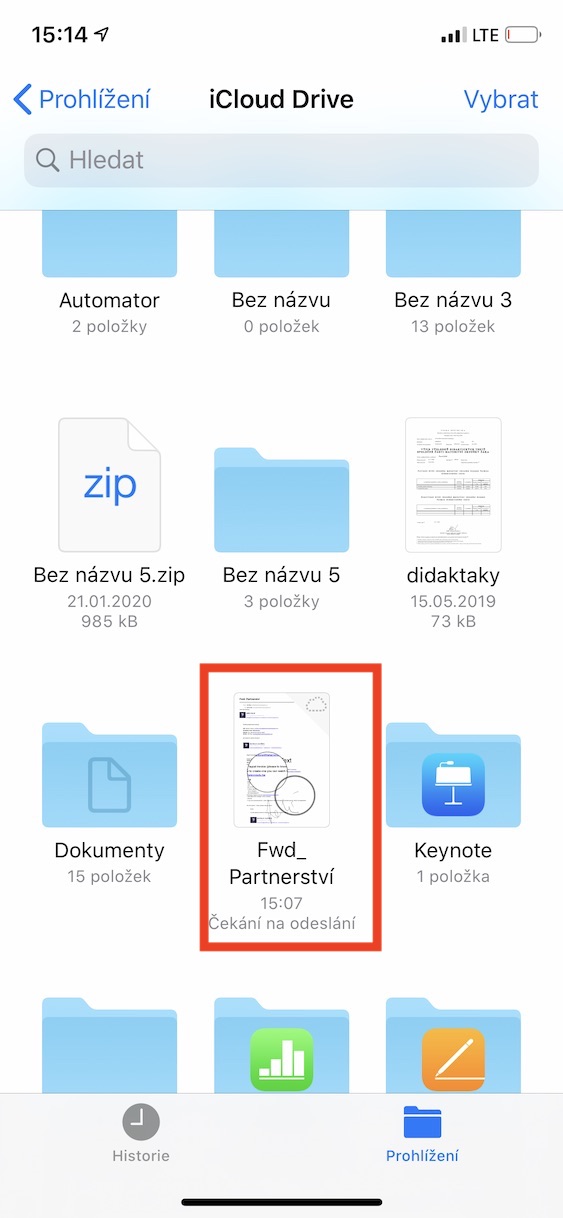
You can use the Annotation tool in practically all image documents. Simply put, Annotations can be used on all photos in the Photos application, but we must not forget about PDF documents as well. You can easily add text, various notes, or perhaps a signature to them. The PDF document can be found, for example, in the Notes application or in the Files application, thanks to which we can finally work properly from iOS 13 and iPadOS 13. To view the tool Annotation ve Photos just take that photo clicked and then in the upper right corner they tapped on Edit. Now all you have to do is tap on again in the upper right corner icon of three dots in a circle, from which then select an option Annotation. In the case of PDF documents in the application Files just tap on in the upper right corner Annotation tool icon.
What tools can you use in Annotation?
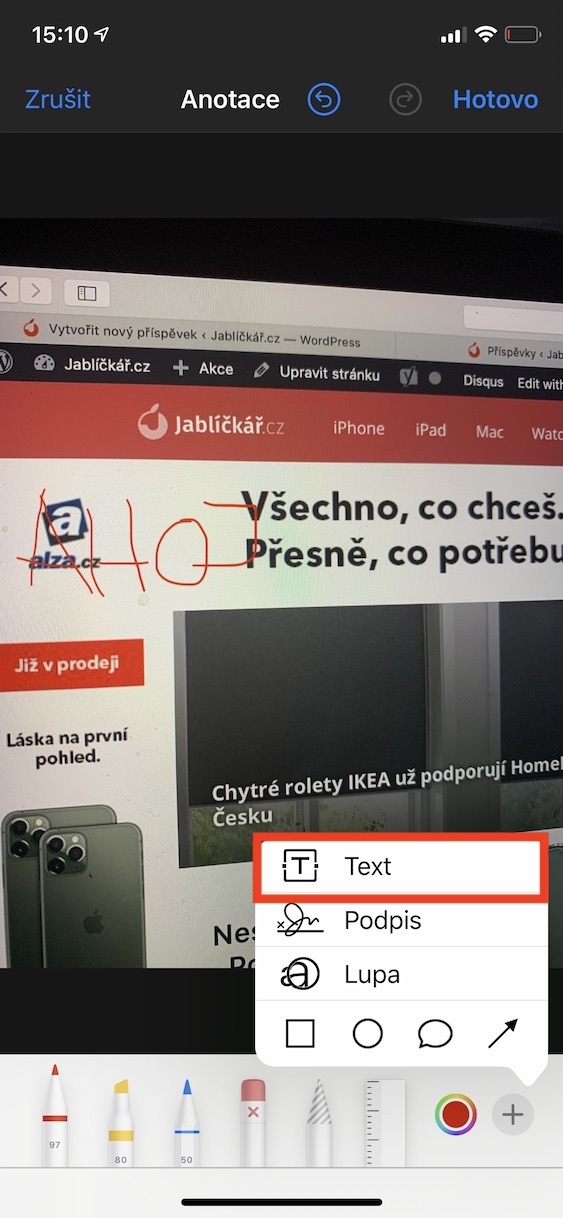
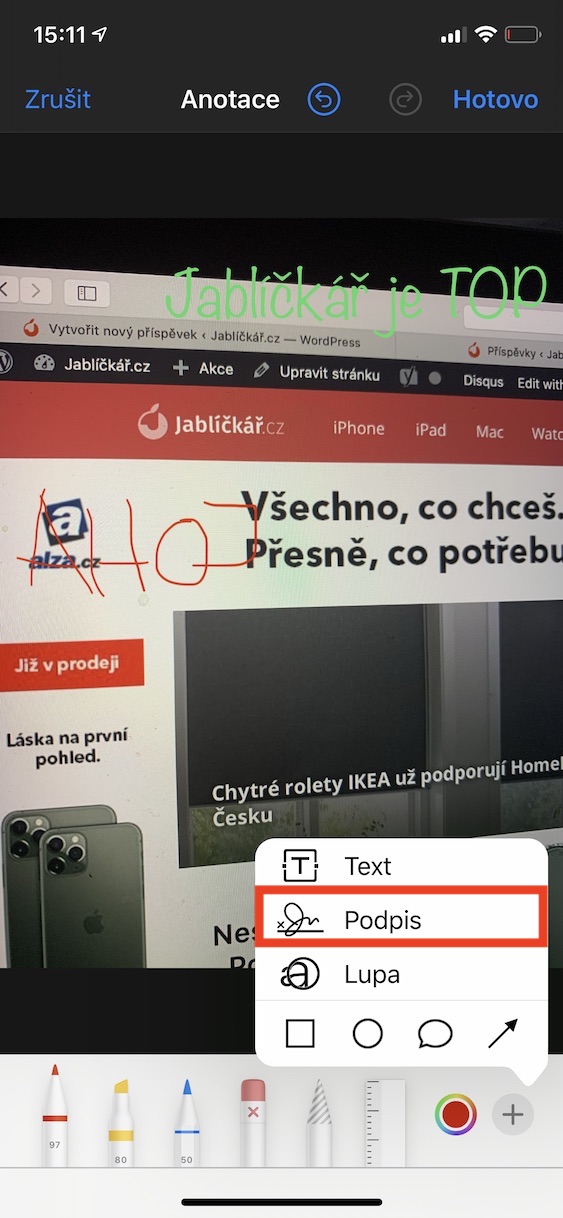
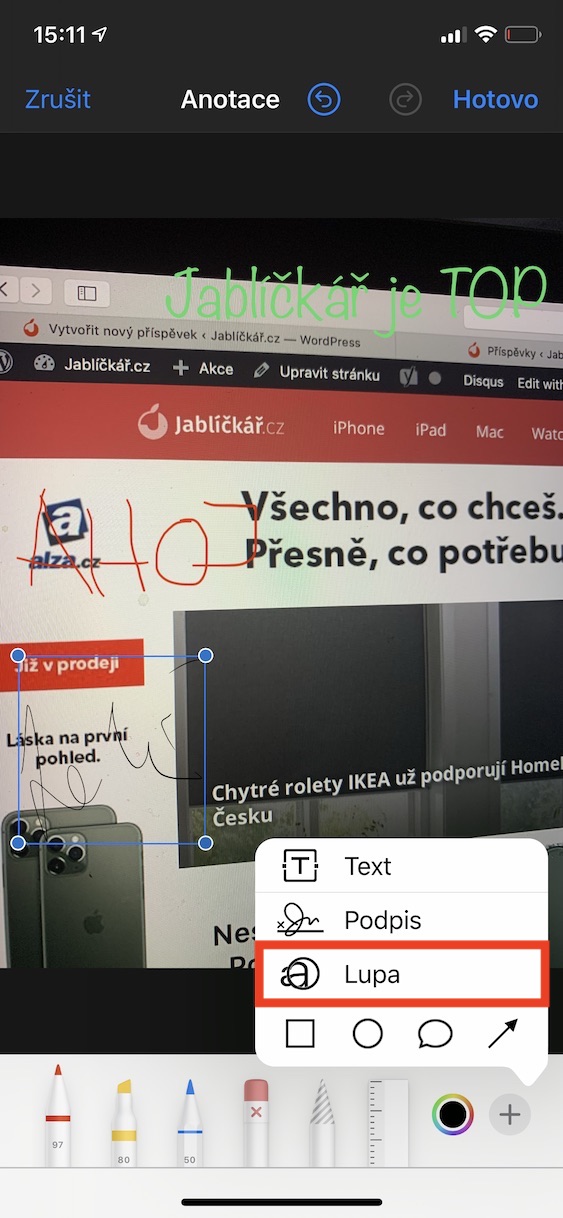
As I mentioned in the introduction, the comprehensive Annotation tool is full of various functions and features that can be useful for any of you. Overall, the functions can be classified into five branches. The first one is classic painting, when you choose a tool and then use it to paint anything in a document or photo. A tool is also available Text, with which you can insert a note or other text into a document or image. The third sector is Signature, with the help of which you can easily sign, for example, a contract in PDF document format. The penultimate branch is She Wolf, thanks to which you can zoom in on anything in a document or photo. The last industry is shapes – thanks to it, you can insert, for example, a square, an ellipse, a comic bubble, or an arrow into the file. If you put all these tools together and learn how to use them, you have practically everything you could possibly need.
Painting
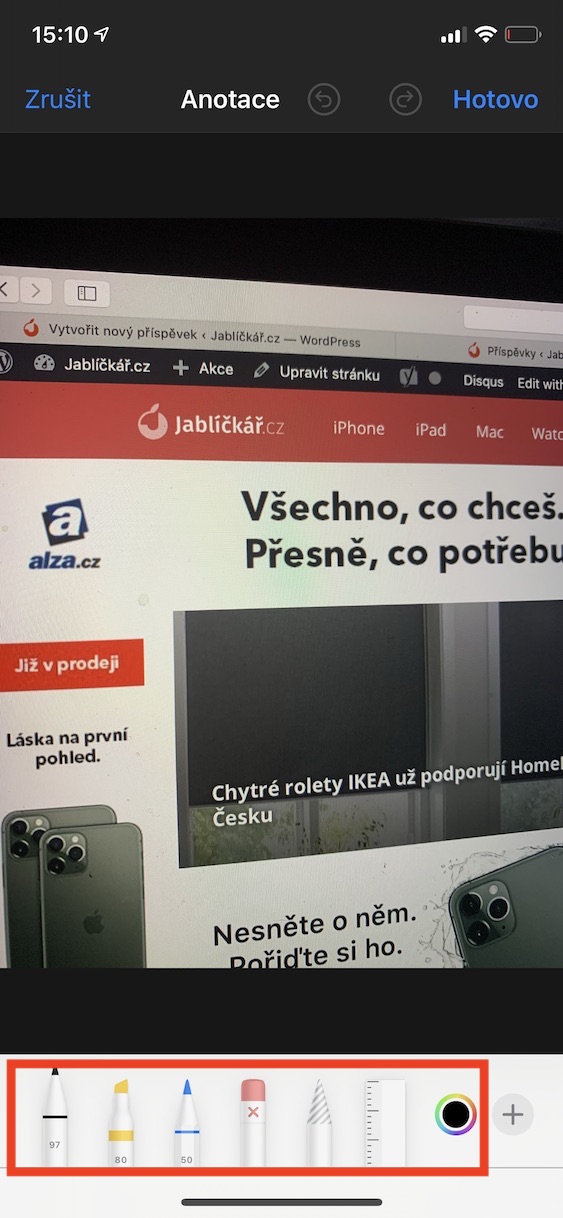
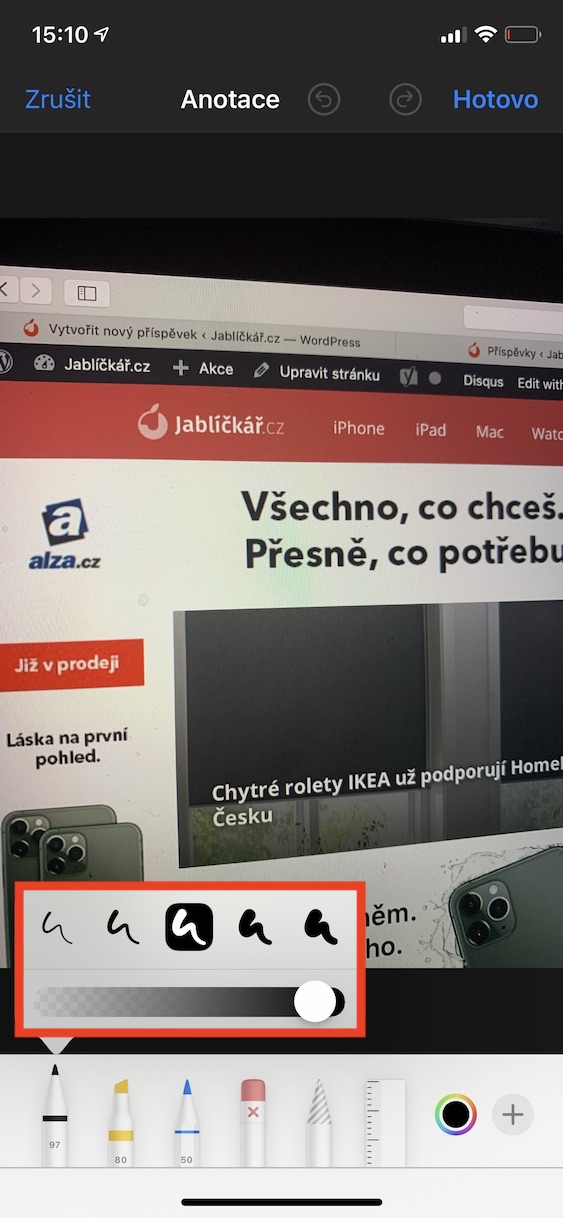
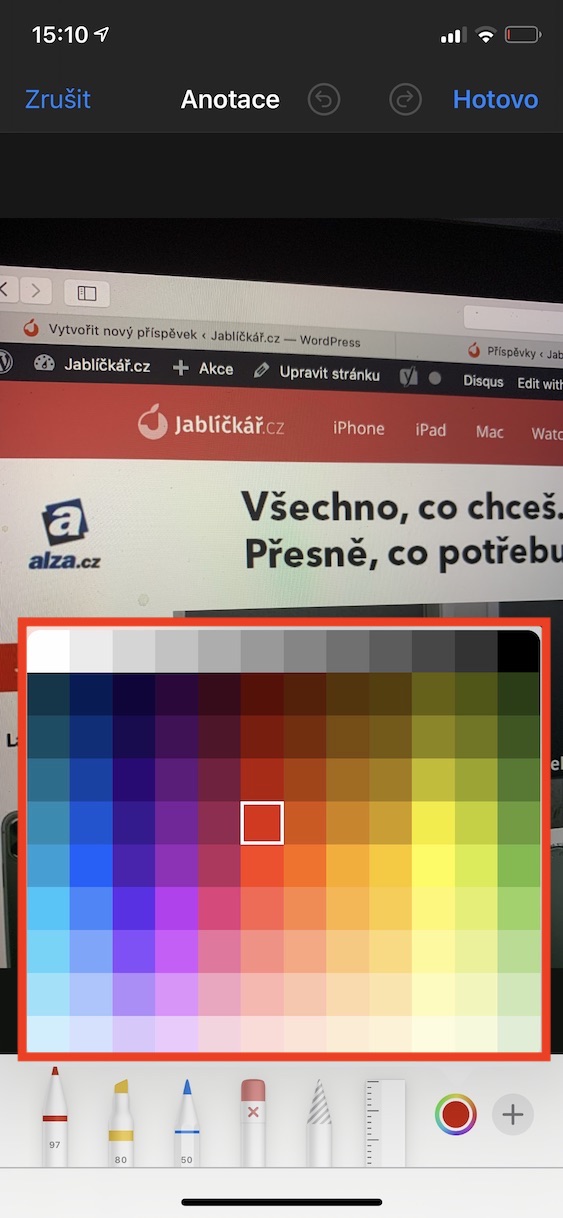
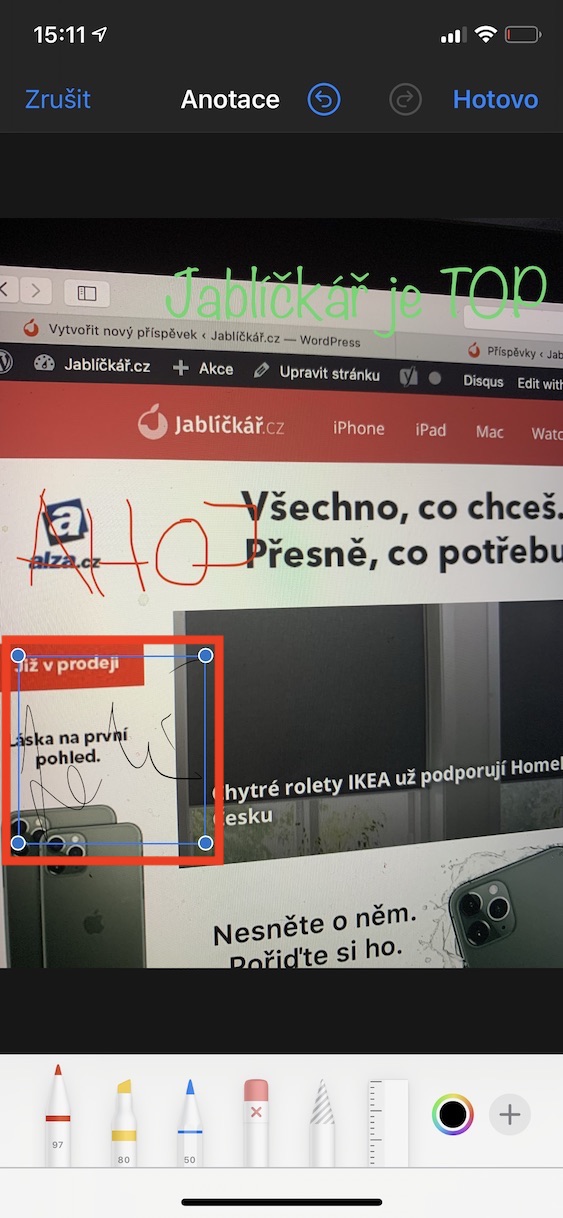
The possibility of painting should not be missing in any editor - and it is not missing in Apple's Annotations either. If you open Annotations, you will immediately see several different tools at the bottom, thanks to which you can manually paint or highlight anything. All you have to do is choose the right crayon, pen, or highlighter, and then choose a color to the right of them. Then you just use your finger to paint what is needed.
text
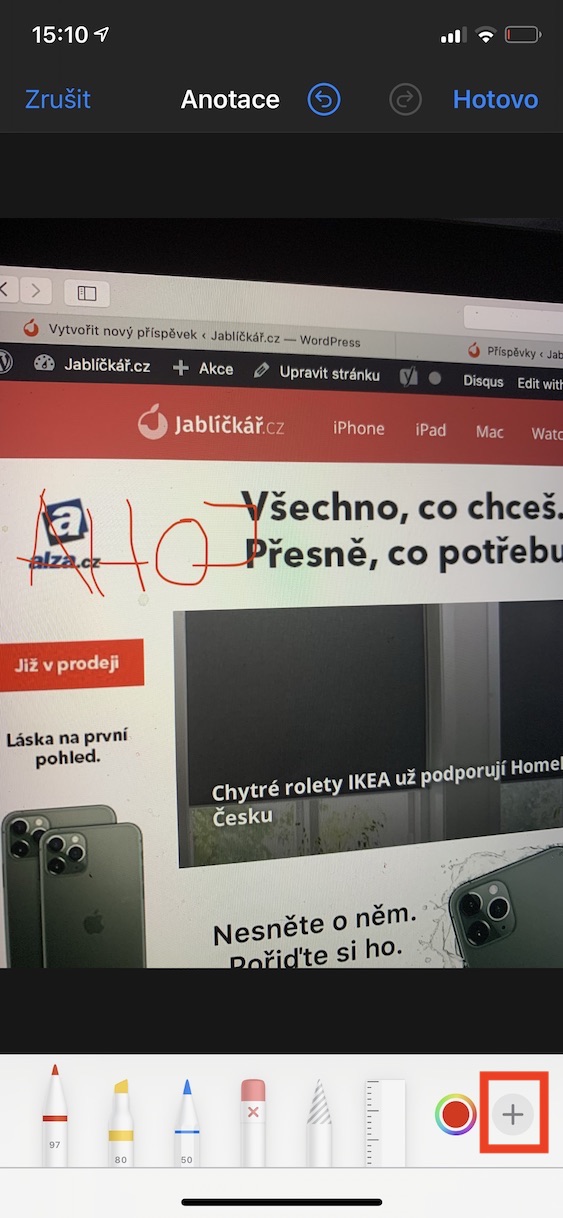
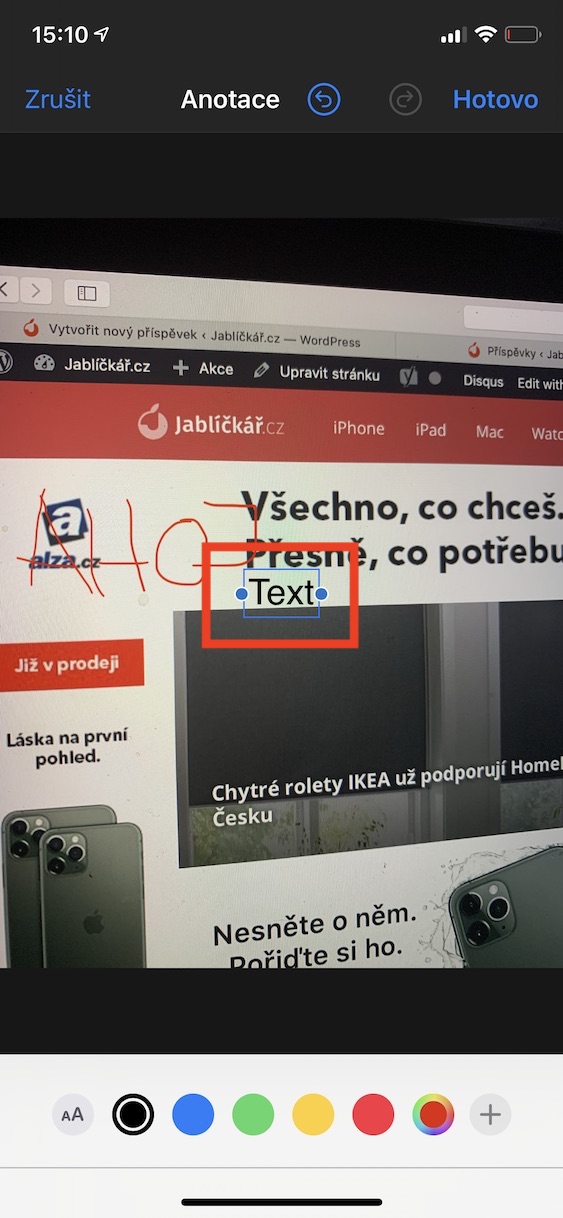
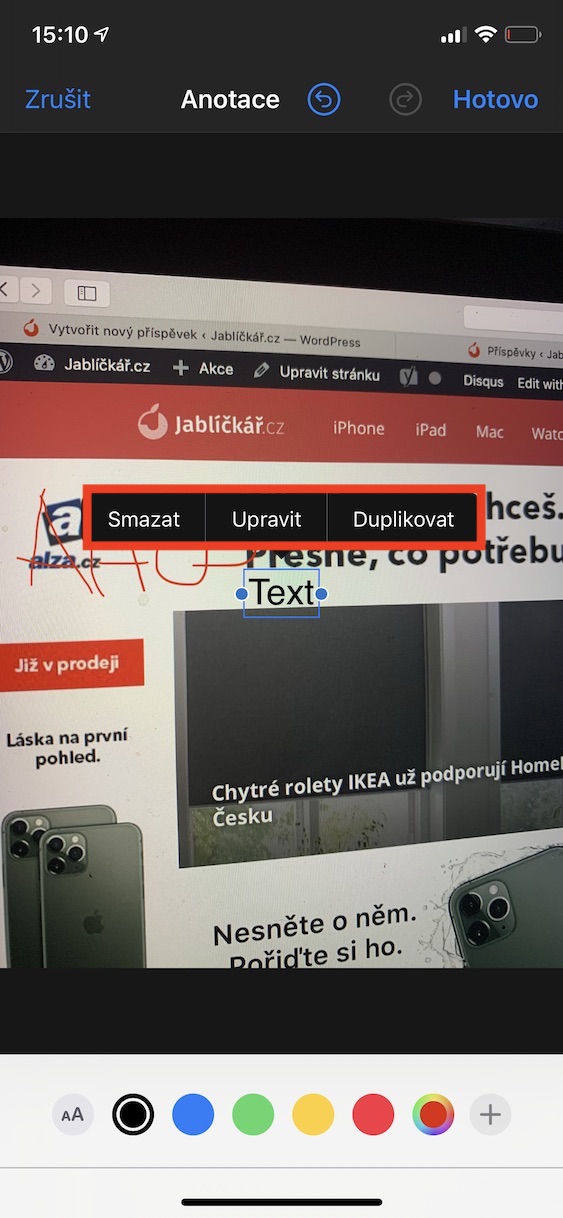
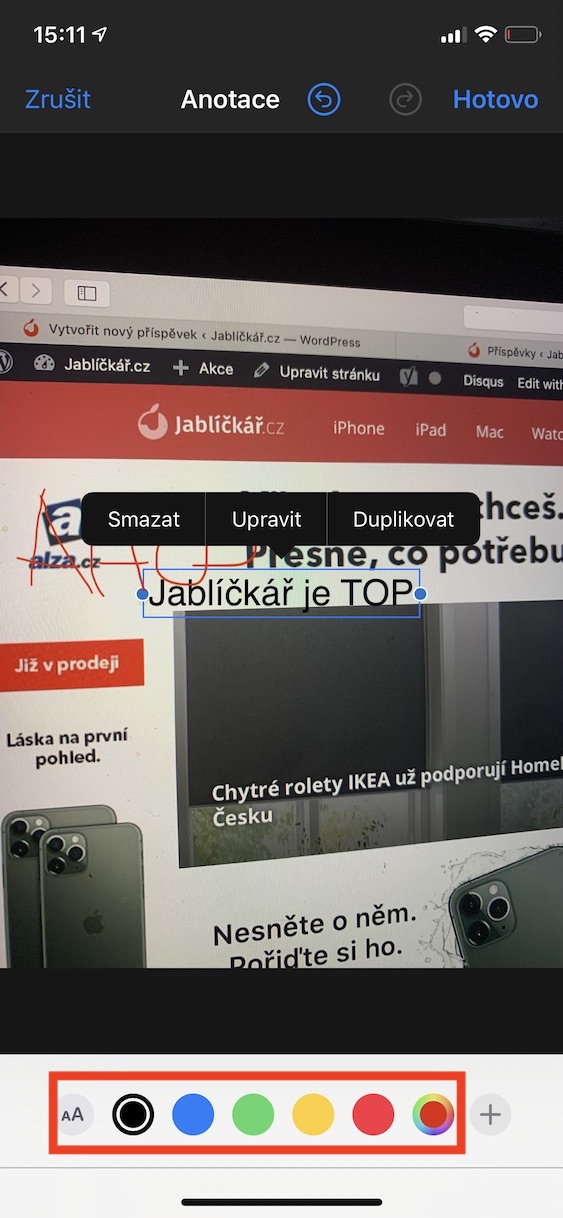
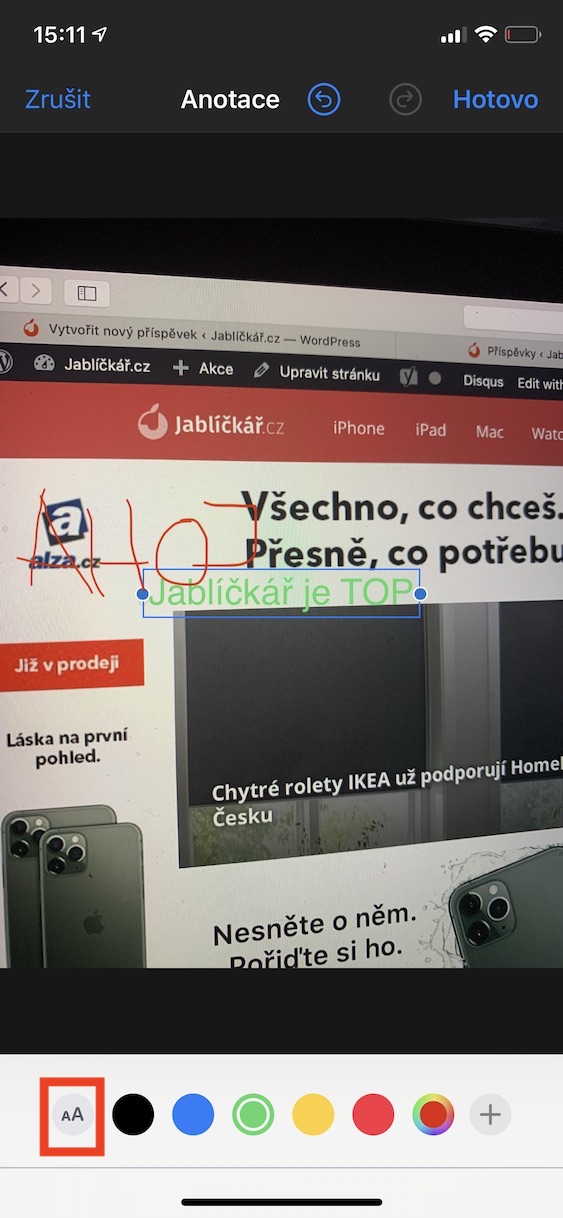
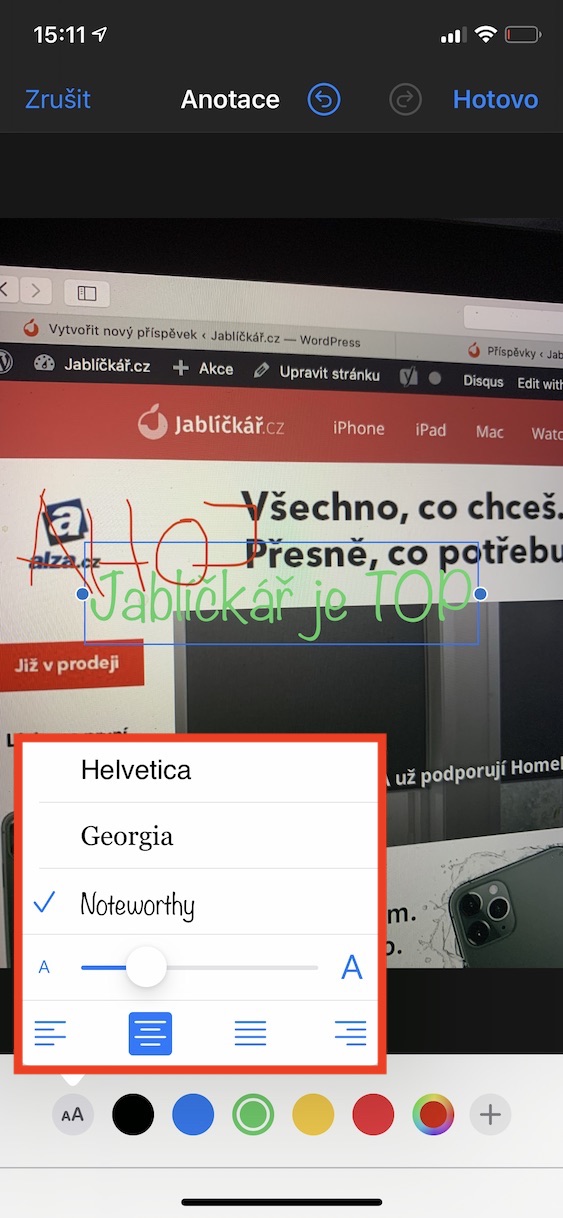
If you tap the + icon in the wheel in the lower right corner, you can easily add a text box to your document. To edit the contents of a text box, click on it and then select Edit. You can also delete or duplicate the text field using the same procedure. The color of the text can then be selected in the bottom bar, as well as its size, style and alignment.
Signature
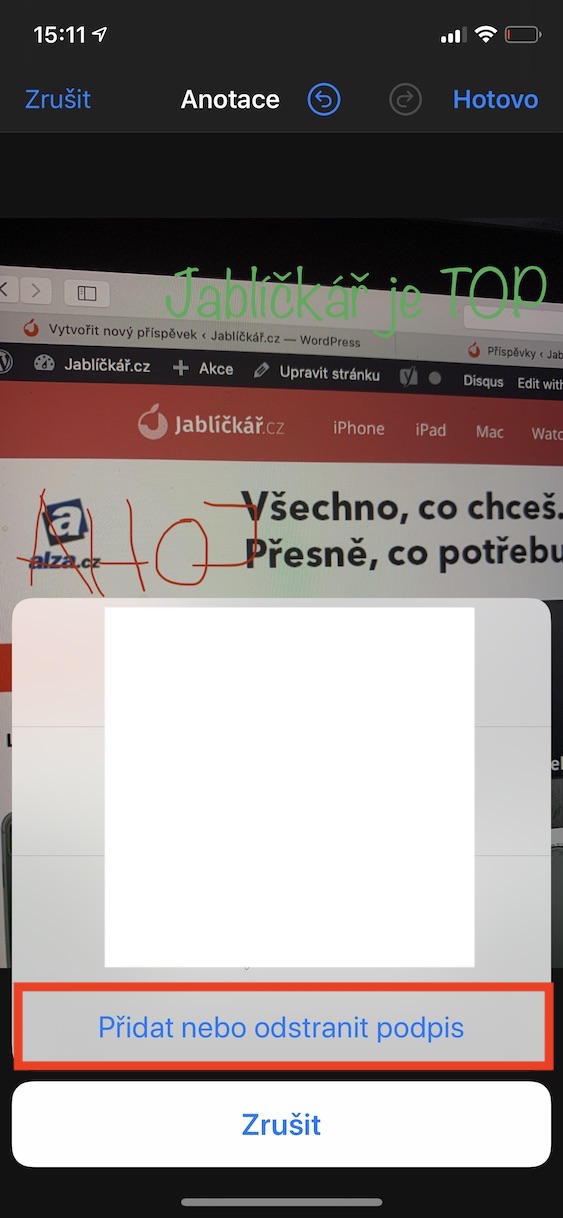
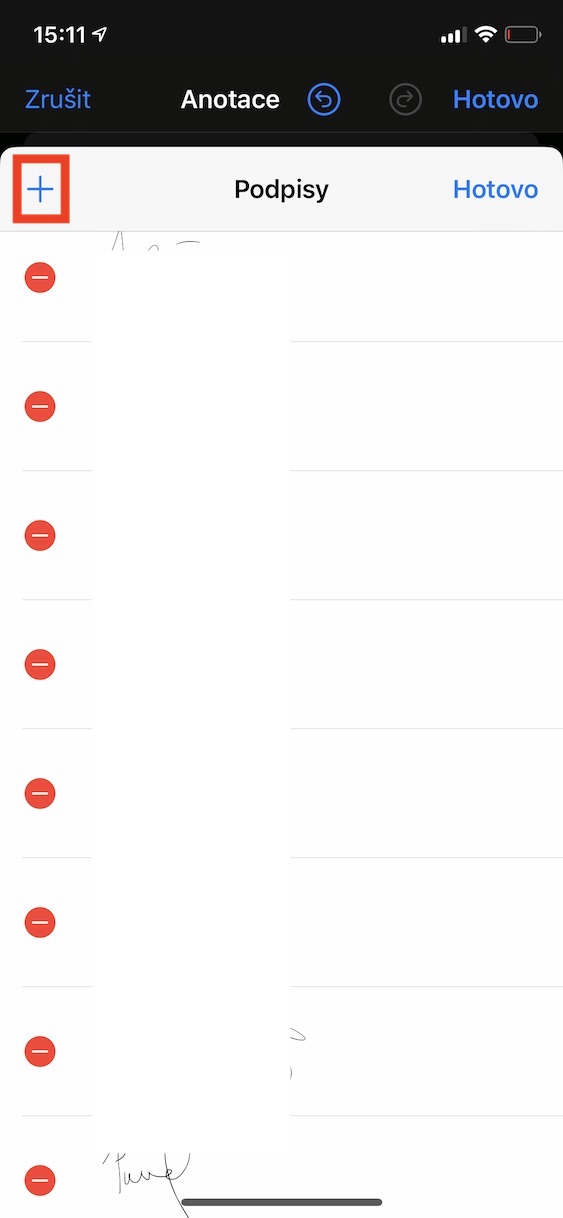
I personally use the Signature tool very often, both on my iPhone and Mac. Gone are the days when in order to sign a document you had to painstakingly pull out a printer, print the document, sign it, then scan it and send it. With the help of an iPhone, iPad or Mac, you can easily sign documents directly on these devices. Just tap the + icon in the wheel, then select Signature, then Add or remove signature. From here you can easily manage all your signatures, as well as add them using the + on the top left. As soon as you want to insert this signature somewhere, tap on it. The signature will then appear in the document and you can change its position as well as size with your finger.
Land
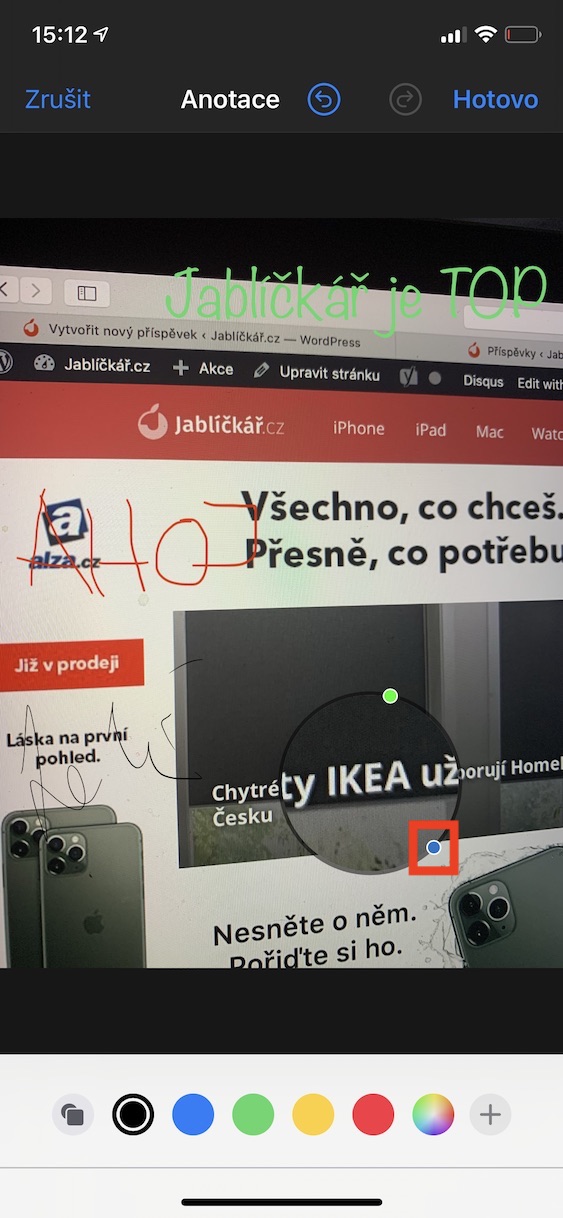
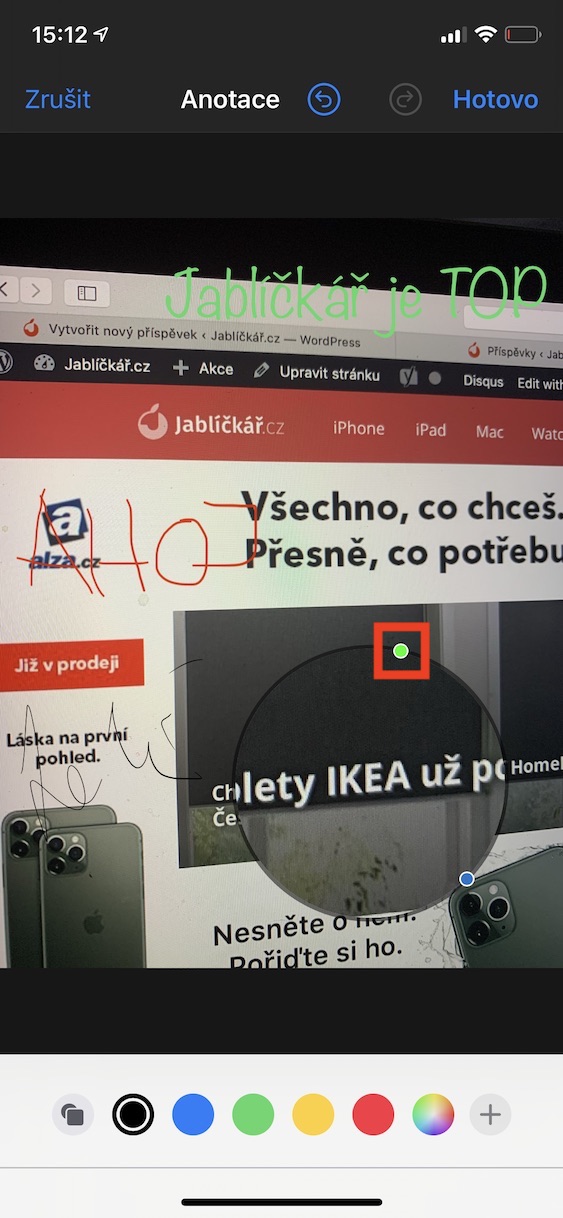
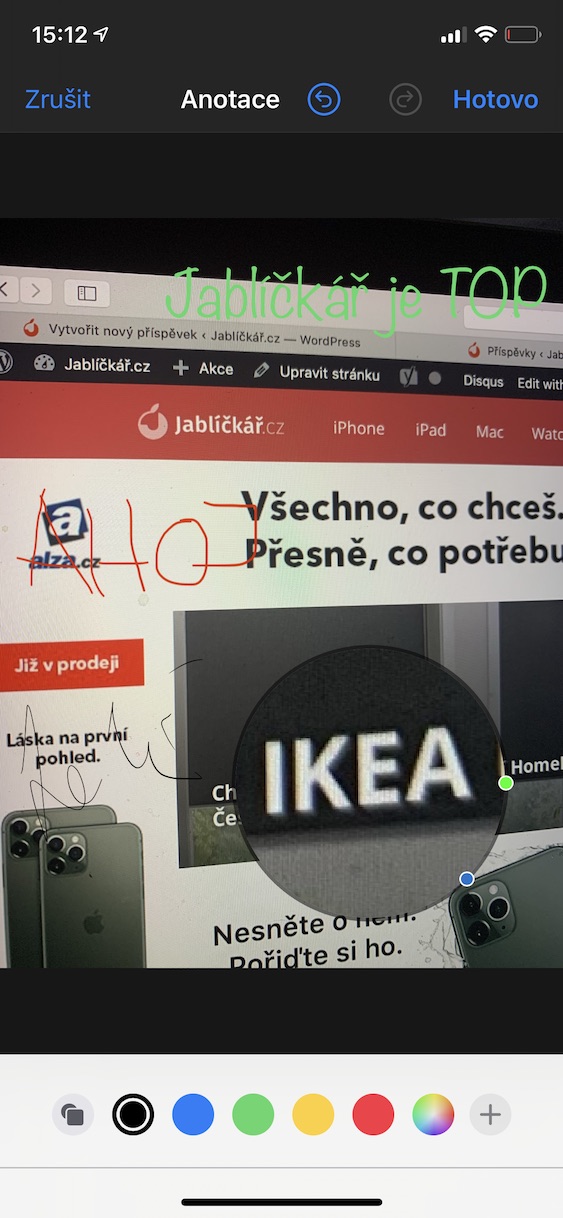
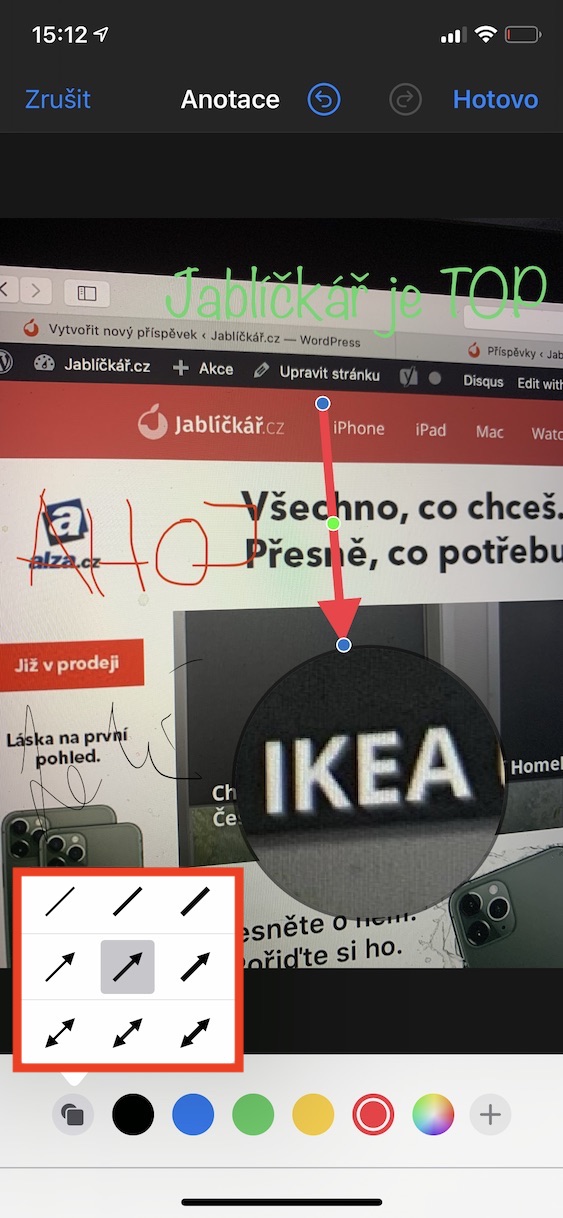
If you want to draw attention to anything in a document or photo, you'll love the Magnifying Glass tool. You can find it again under the + icon in the wheel. If you apply the Magnifier tool, the magnifier is inserted into the document. You can then control it using two wheels. Green is used to set the zoom level, blue is used to increase or decrease the zoomed-in area. Of course, you can move the magnifying glass anywhere within the document with your finger.
Shapes
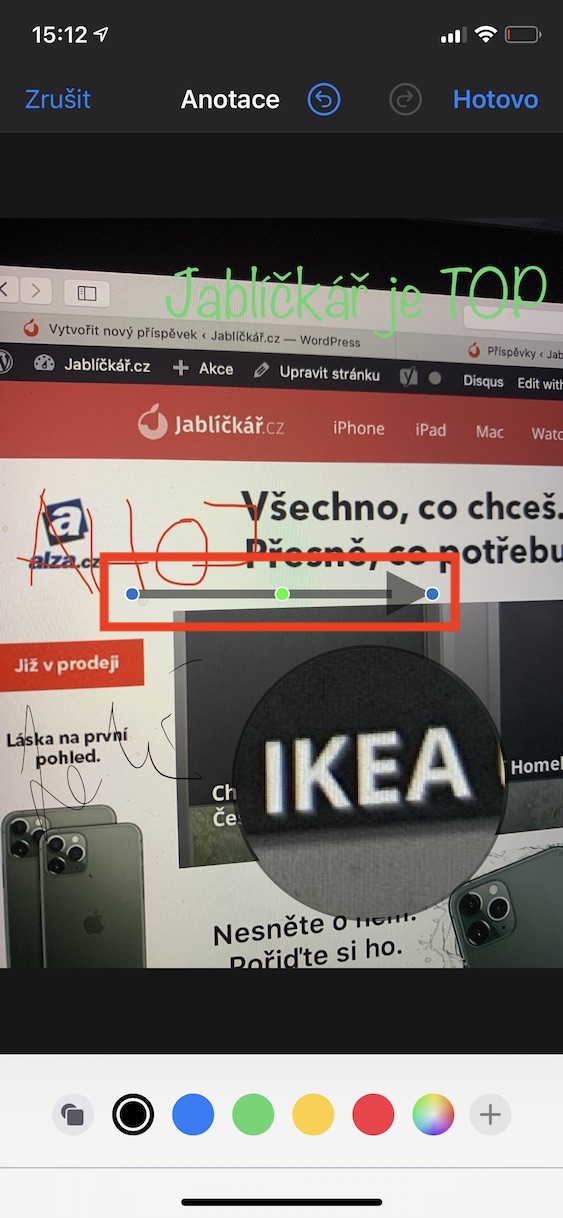
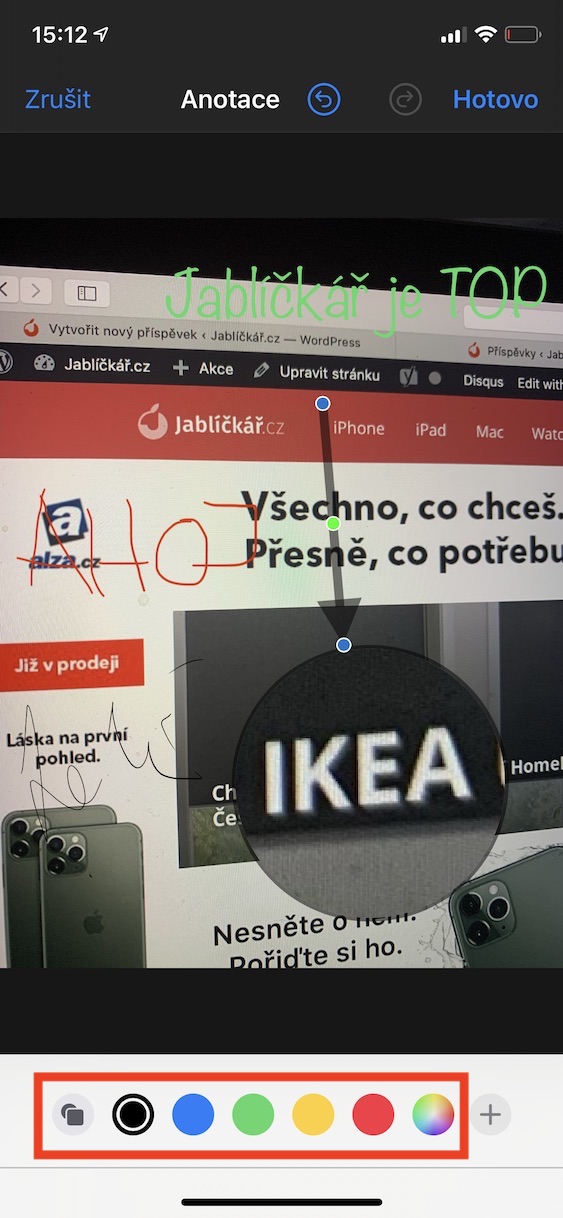
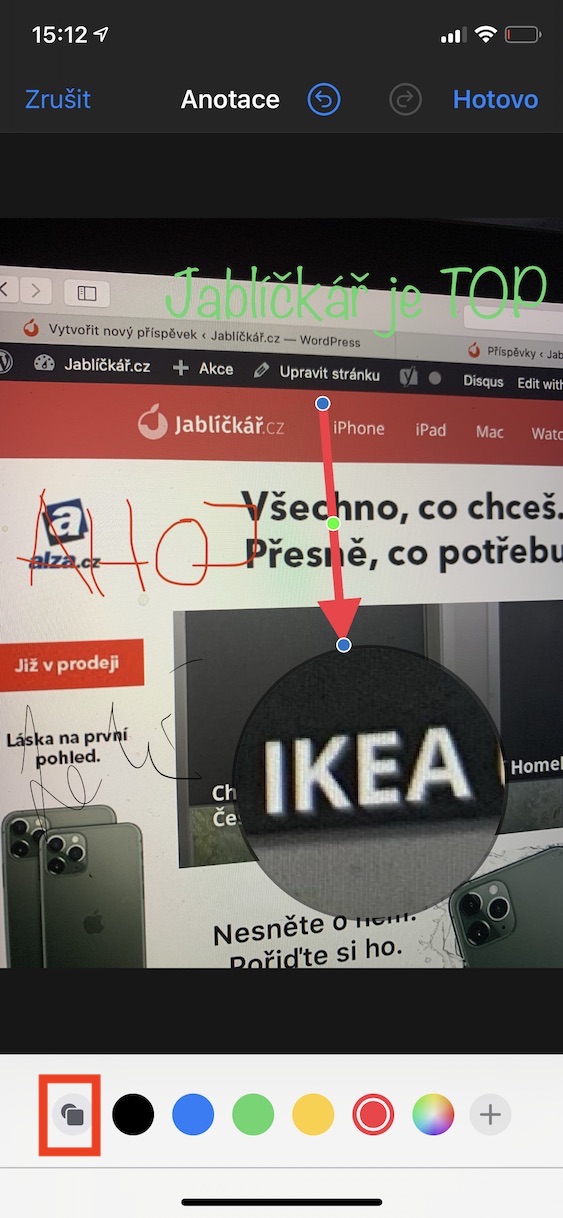
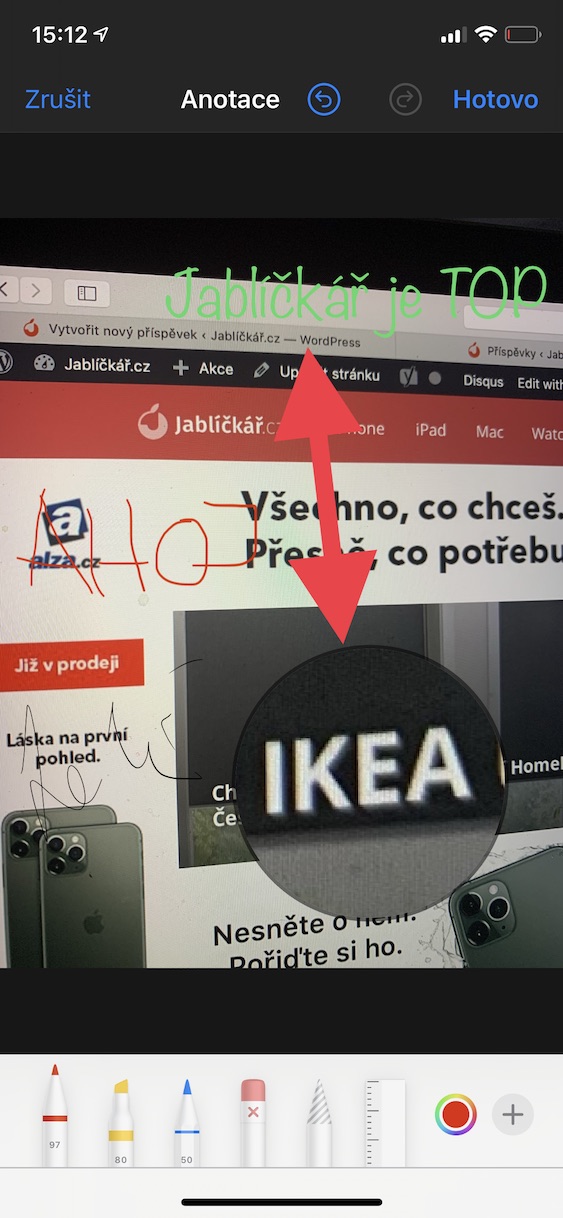
The last Annotation feature is shapes. Just like the other tools, you can see them by clicking on the + icon in the lower right corner. All you have to do is choose one of the four available shapes from the small menu. You can then use your finger and gestures to adjust its size, position in the document, and the color and thickness of the outline using the bottom bar.




Great article Dik