Apple is one of the few companies that cares about the security and privacy of its users. Also because of this, with the arrival of new updates and devices, they try to constantly develop new security features. It should be noted that Apple is definitely doing well - in addition to Face ID's unrivaled biometric security, we can also mention user protection on the Internet, when the Apple system simply does not allow websites to collect data, but apart from that, the iOS application runs in sandbox mode.
It could be interest you
We cannot lock photos and videos in iOS
Many users have been calling for Apple to allow individual app locking on the system for a long time. This function should have a simple interface in which you would choose the applications you want to lock, and then after opening the application you would have to authorize yourself with a code lock, or biometric protection Touch ID or Face ID. However, Apple still hasn't added this feature, but on the other hand, they have decided to take the responsibility of third-party app developers into their own hands and offer the option to lock directly in the settings of many apps. One of the applications that contain the most sensitive data is Photos. While you'll find the Hidden album here, it's still not protected and can be accessed by anyone with access to your unlocked device. In this case, you can use applications thanks to which all photos or videos can be locked. Let's take a look at one such application together in this article and show how to do it.
It could be interest you
Private Photo Vault or a great solution for locking your media
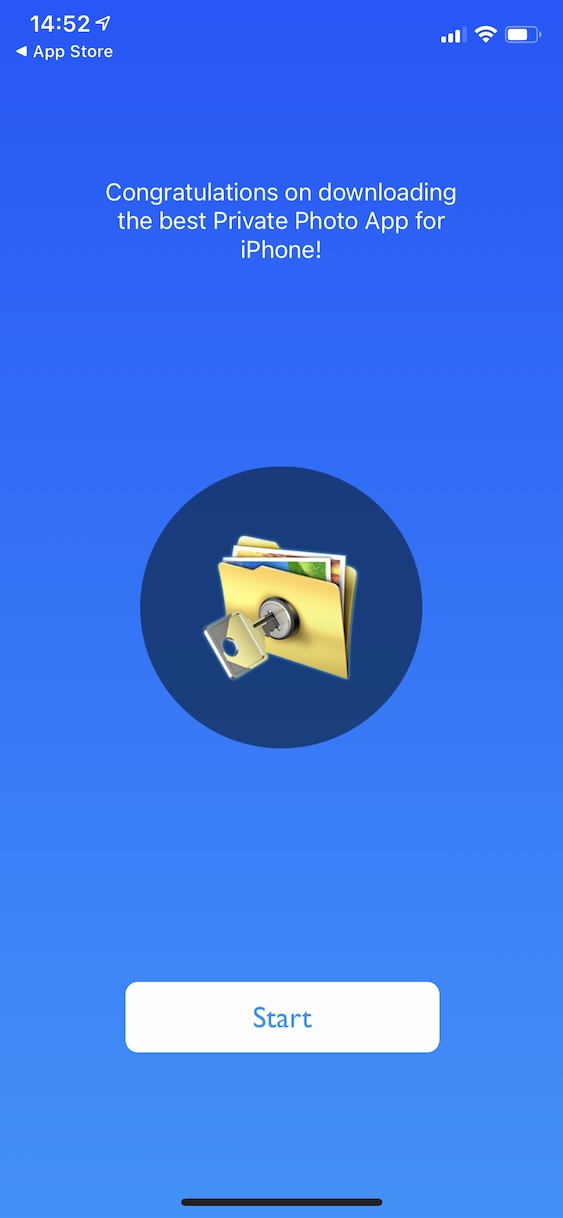
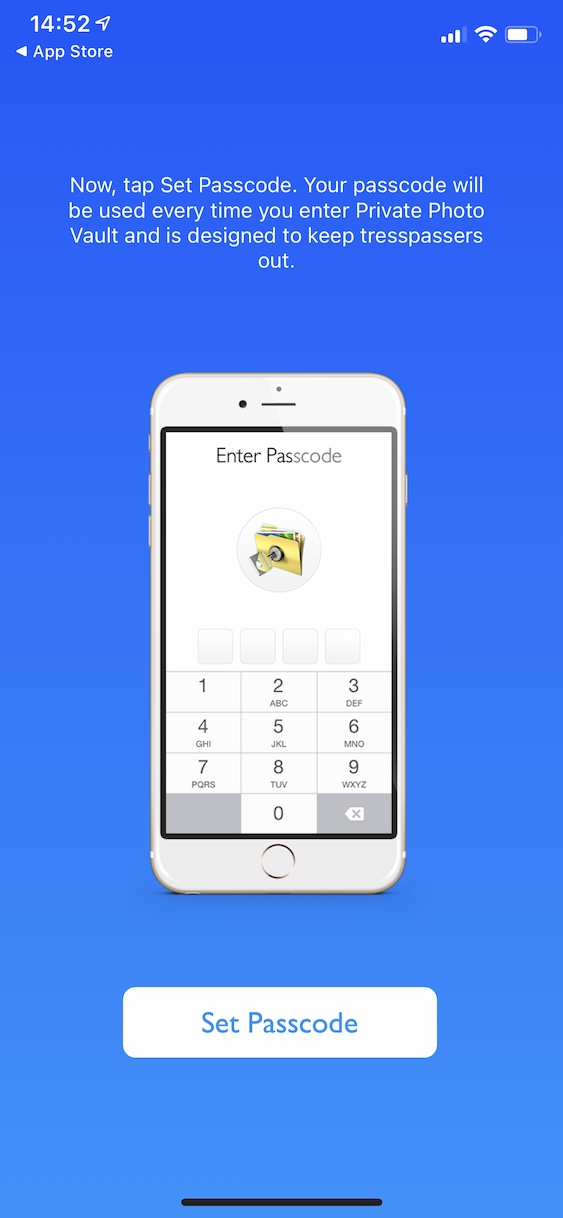
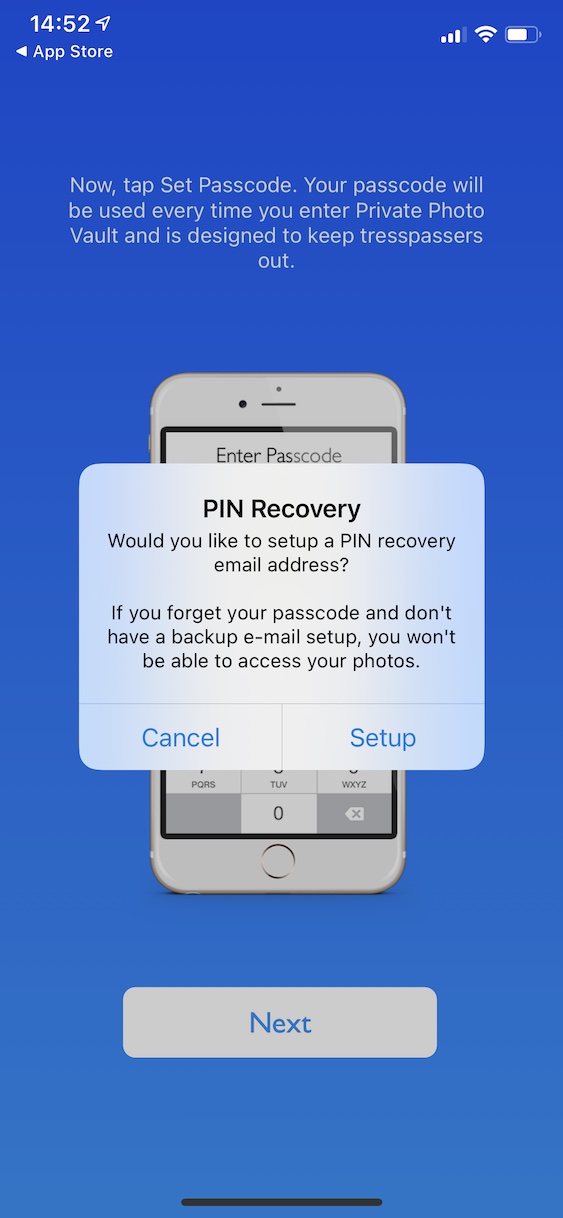
At the very beginning, I would like to mention that there are countless similar applications available in the App Store. So you definitely don't have to use the one we mentioned, but you can choose another one. Specifically, in this article we will look at the free one Private Photo Vault. This app ranks among the most popular in the media lock category - when you type the phrase into the App Store search photo lock, you will see Private Photo Vault in the first place. I've personally used it for a long time in the past and I'm glad that the app has evolved and changed its design over that time. After downloading and running the app, you will be presented with a short guide to go through. This is because you have to set a master PIN code, with which you can later access your locked media. Additionally, you may or may not need to set up an email for easy PIN recovery. After completing these basic steps, you will appear in the Private Photo Vault application itself.
Import photos or videos
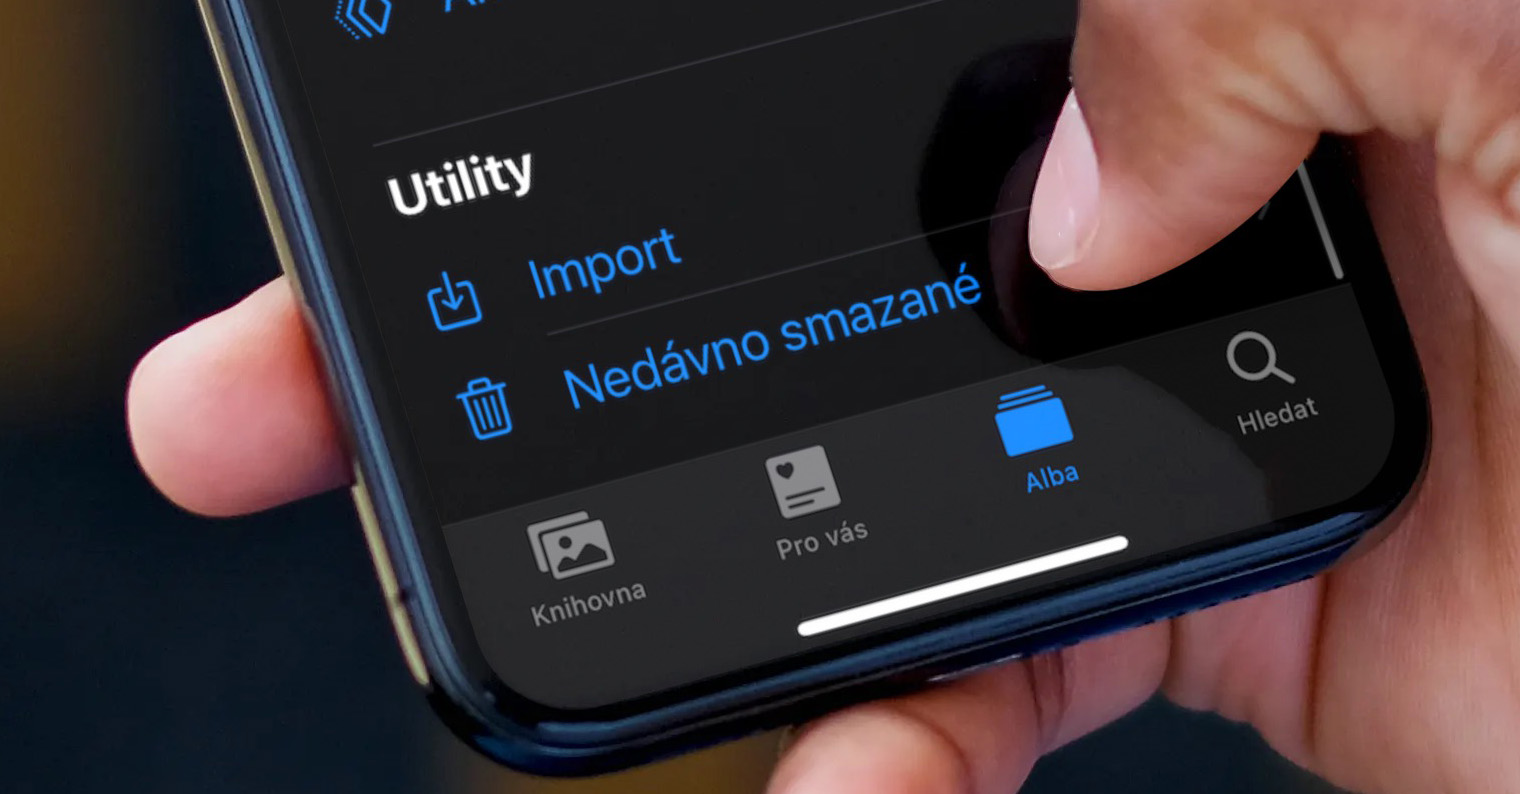
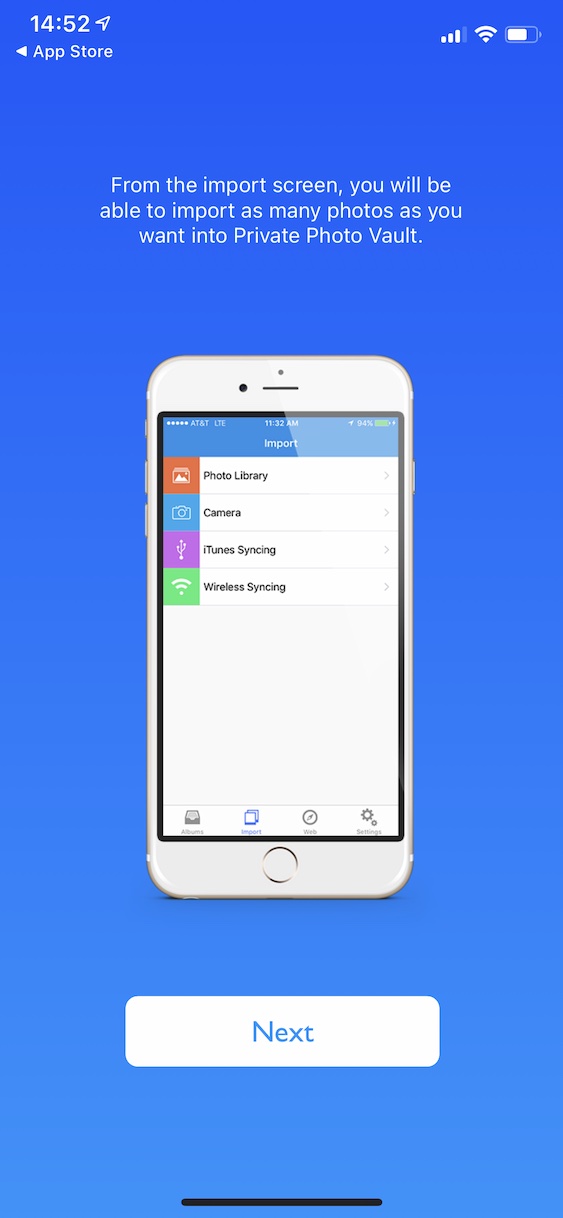
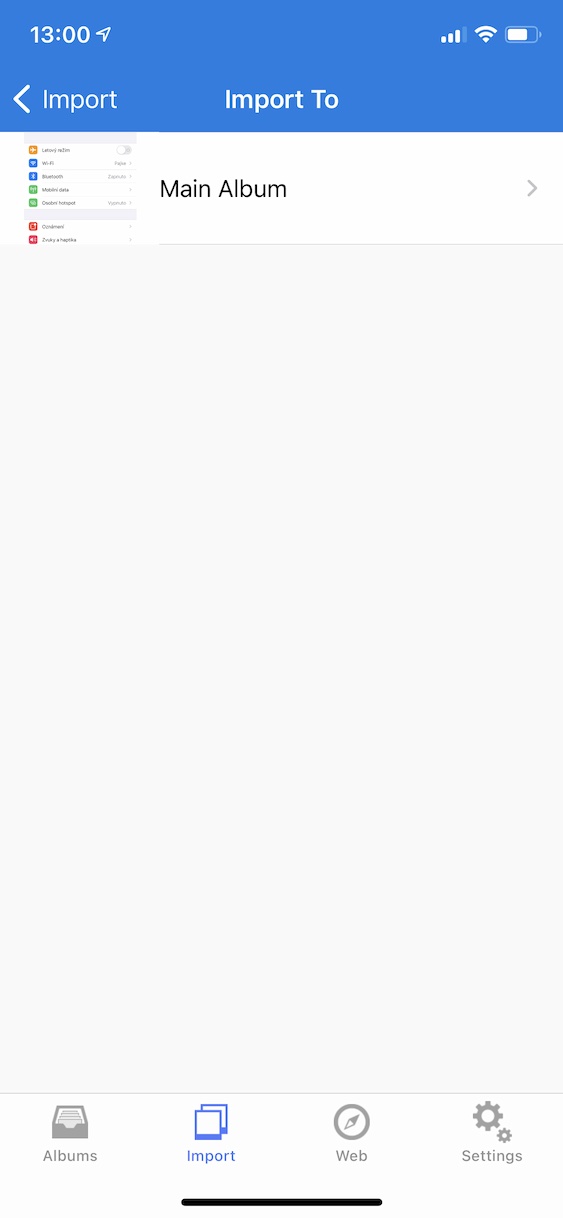
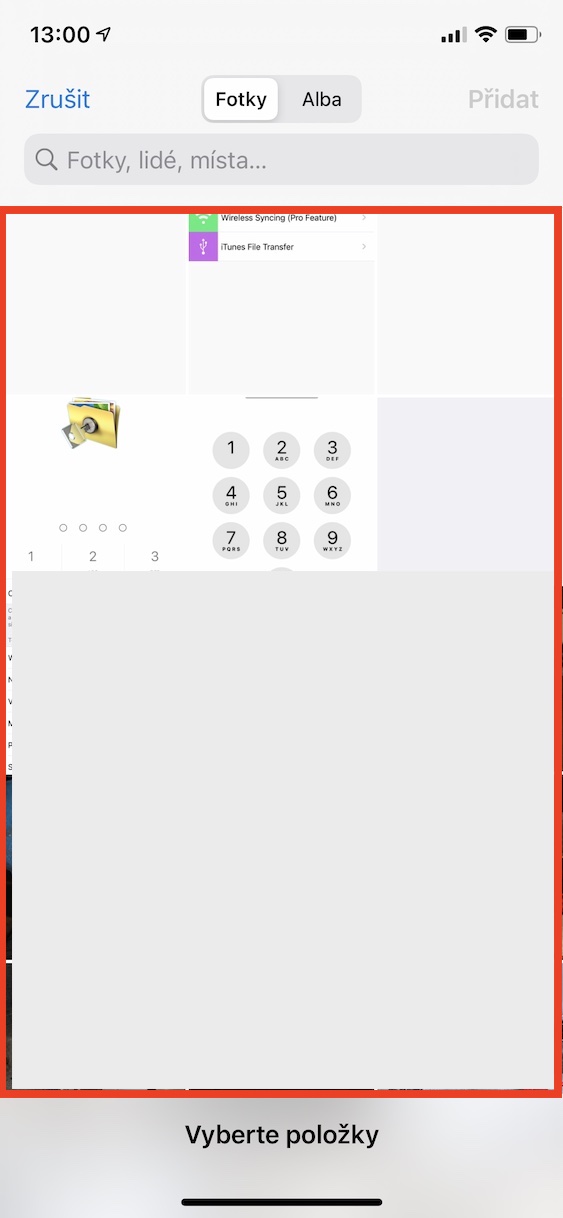
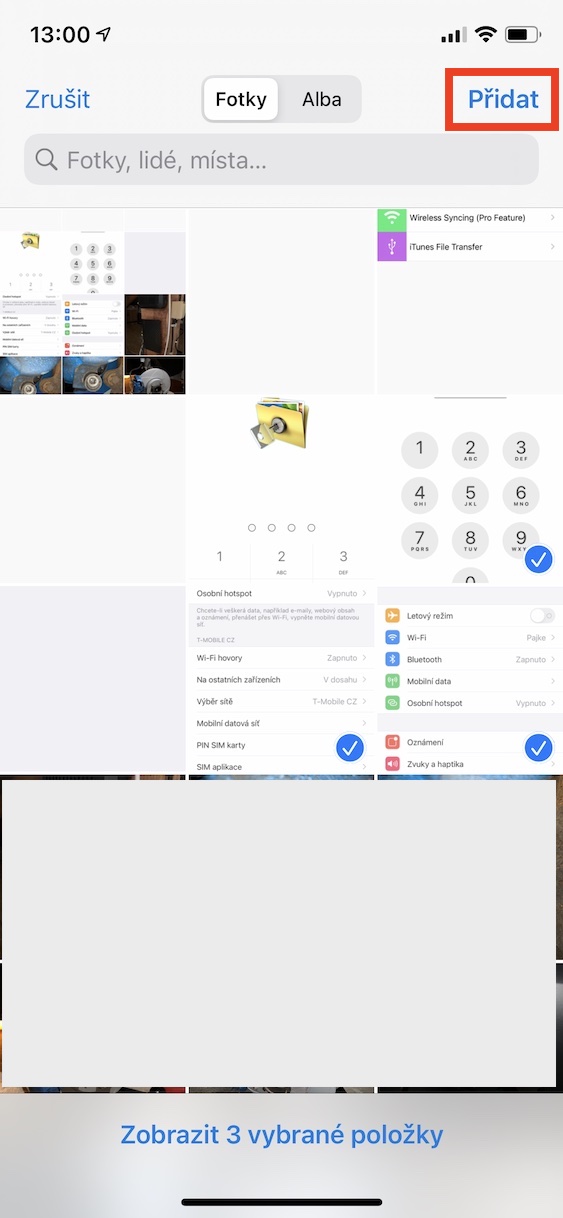
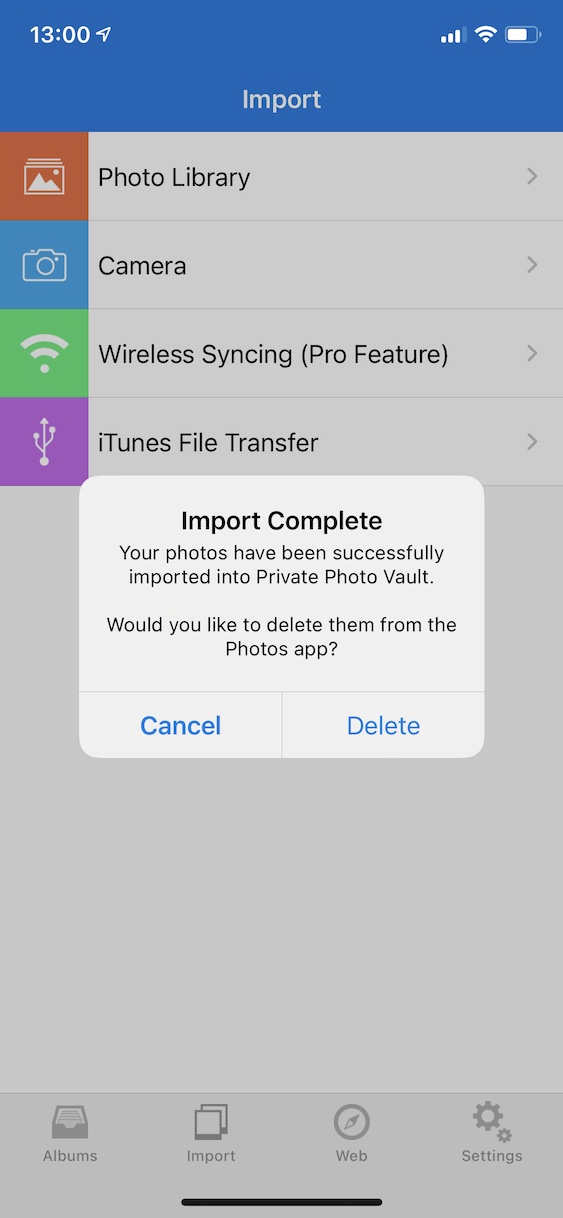
If you want to import some photos into the application, go to the Import section in the bottom menu. If you want to add photos from the library, click on Photo Library - you will use this option most often. Then choose which album the selected media should be imported into (see below for creating a new album). Now all you have to do is tag your photos and then tap Add in the top right. This will then import into the application. After the import itself, a dialog box will appear in which you can choose whether you want to delete the photo from the Photos application (so that it remains only in the Private Photo Vault application), or whether you want to keep it in Photos. As for importing videos, it is necessary to purchase the Pro version of the application - see at the end. In addition, you can then import directly from the camera - just tap Camera. Below is the free version of iTunes File Transfer, i.e. media transfer via iTunes.
Album creation, settings and other great features
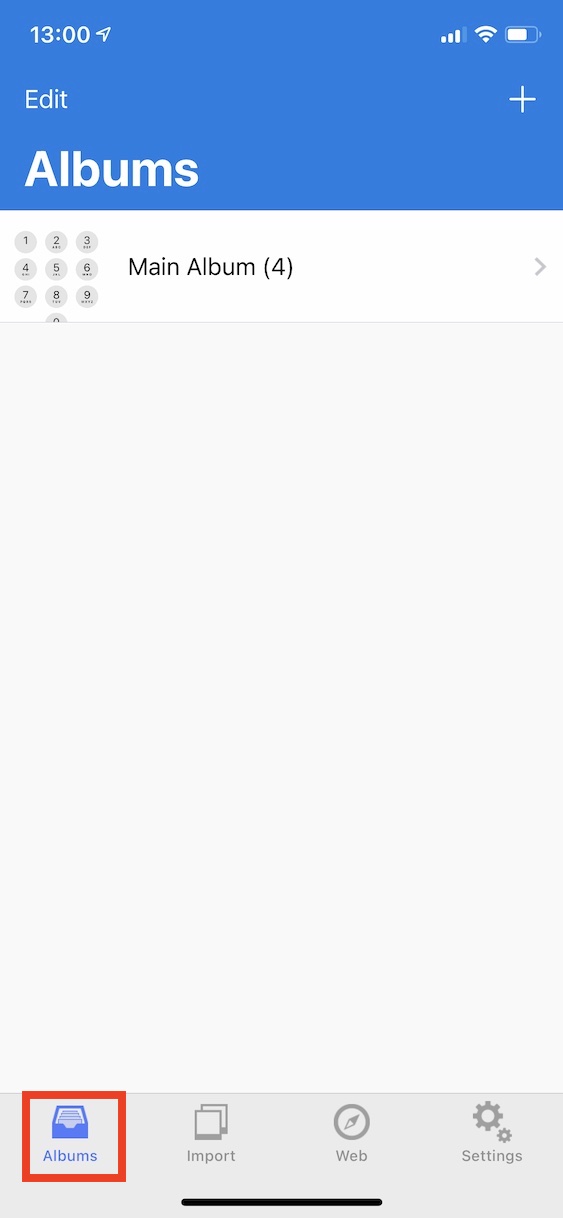
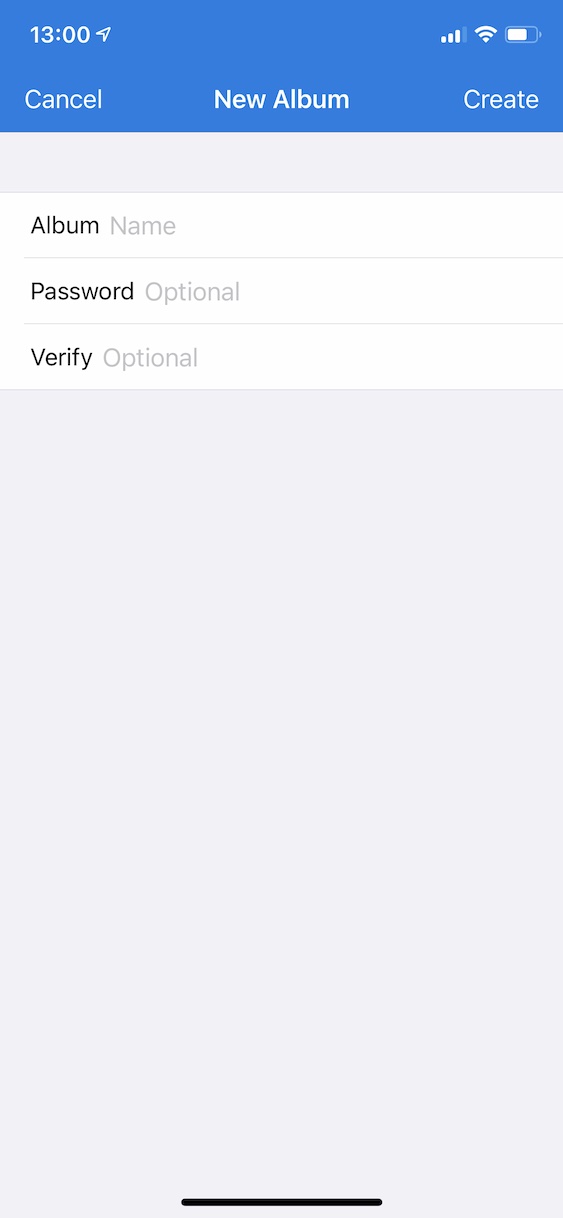
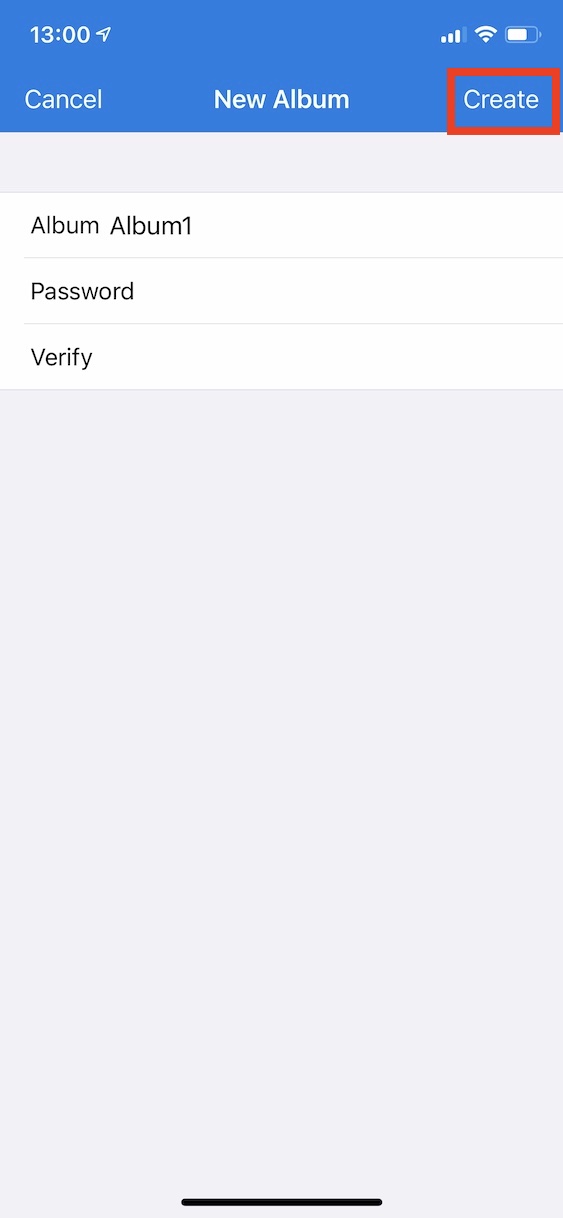
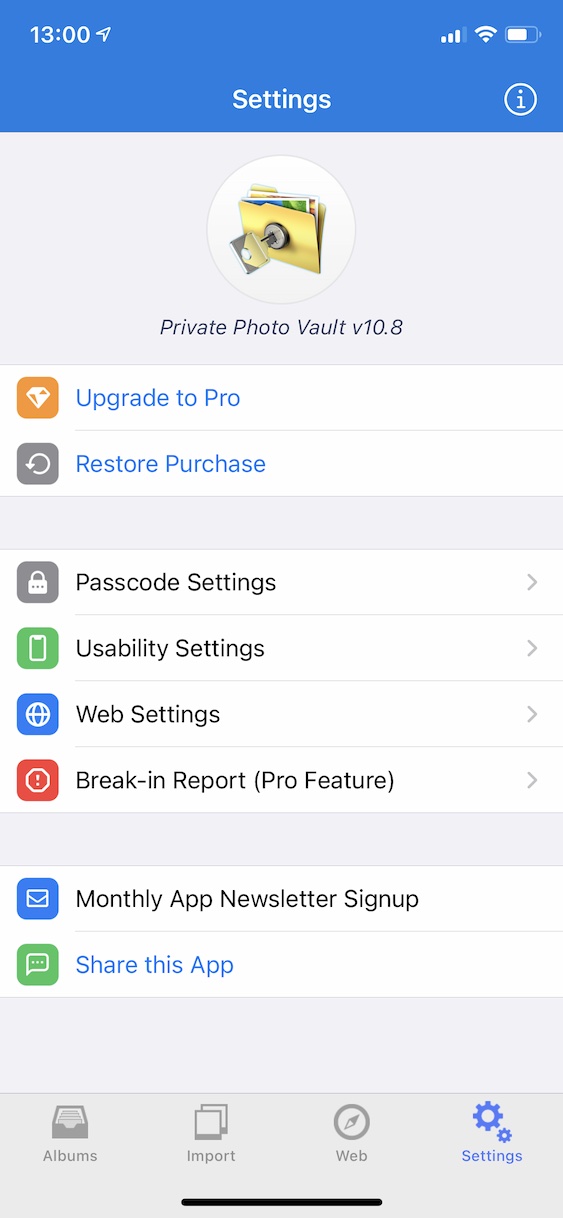
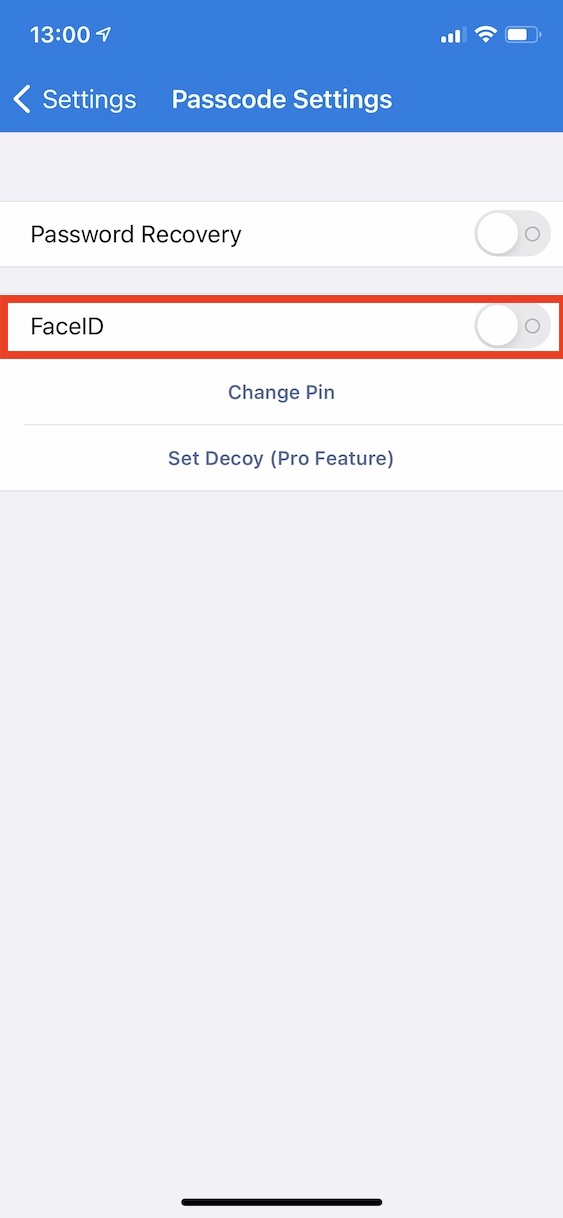
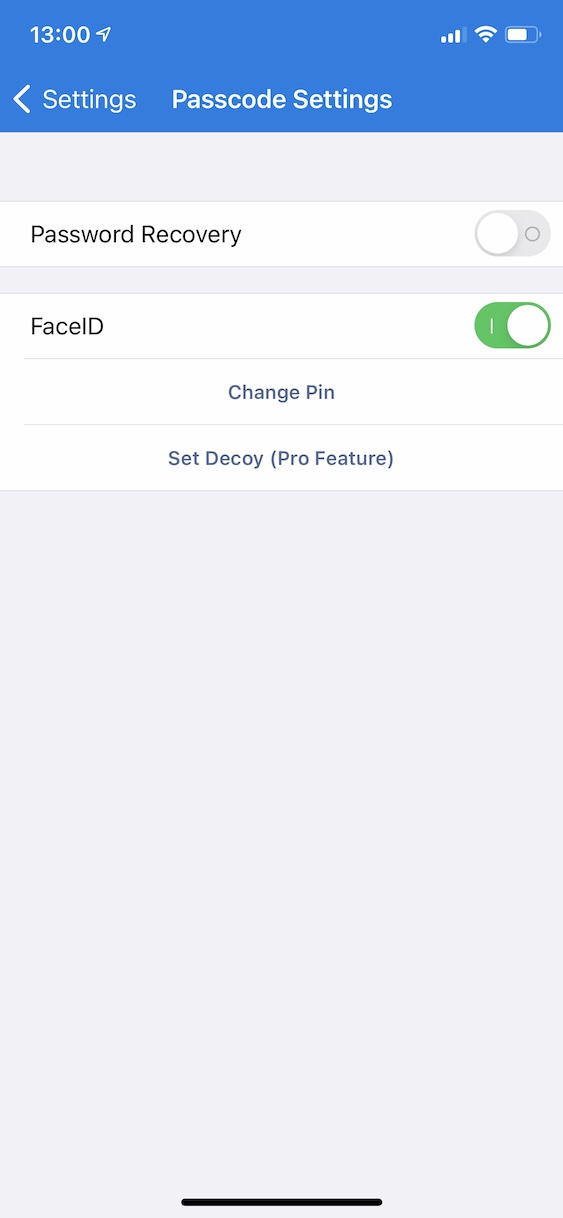
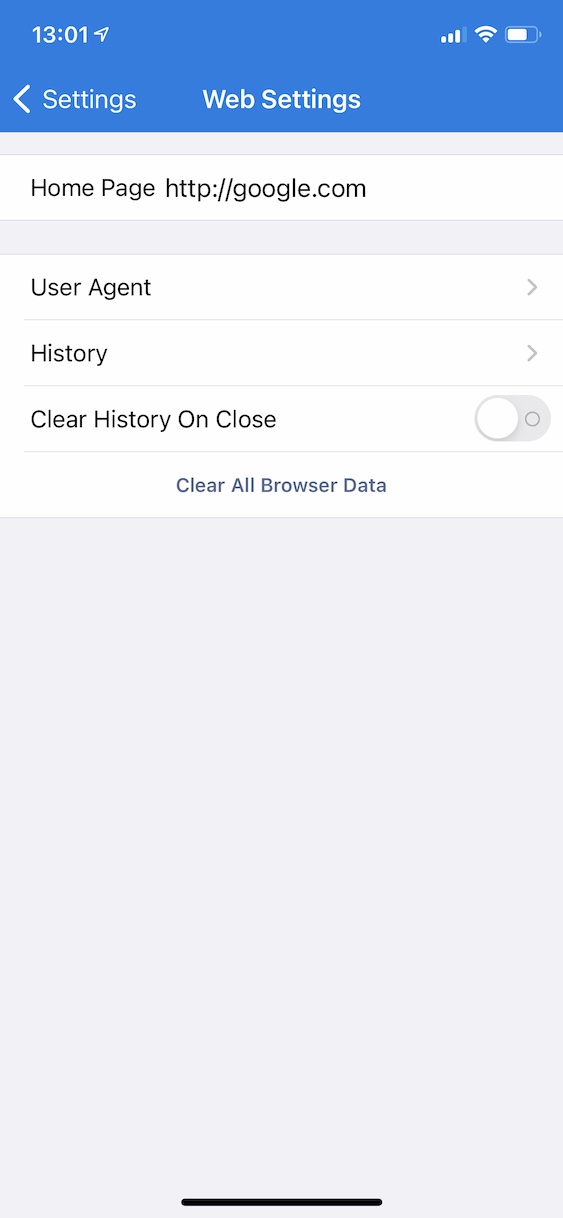
If you are one of those people who likes everything to be in order, you can also create albums within the Private Photo Vault, into which photos and videos can be sorted. In this case, you just need to move to the Albums section in the bottom menu, where then click on the + icon in the upper right. Then just enter the name of the album together with the password with which you will be able to open the album. Among other things, you can then open a secure website in the bottom menu, which can be used to download images from the Internet by saving them directly to the Private Photo Vault. Among other things, I recommend visiting Settings. Here you can perform several actions, including activating Face ID or Touch ID for authentication. Just go to the Passcode Settings section, where you can activate Face ID or Touch ID using the switch. There are other accessibility settings for easy control and more.
záver
As I mentioned above, Private Photo Vault is one of the most popular applications that you can download for locking media in iOS or iPadOS. And I can definitely say that this app is popular rightfully so. It offers a very simple control and interface, and its functionality is also great. So it won't happen, for example, that you exit an app and then be able to preview it in the app overview. The Private Photo Vault locks immediately after exiting, and there is no way for an unauthorized person to simply get into it - that is, if they do not have access to your email. As for the paid Pro version, you get a few extra features within it – for example, the ability to create an unlimited number of albums, support for video locking, media transfer via SMS or email, or notifications about any attempts to unlock the application. The price of the Pro version is a pleasant and one-time 129 crowns, which is great for such a great application.
 Flying around the world with Apple







this looks like a paid article from the app, otherwise the author would recommend using Google Drive, which uses Face ID and has better protection than some 3rd applications. If you don't want to add photos to your own account, just create a new account and you'll have 19 GB of free photos + hafo services with them in addition.
You can copy the selected photos to a note and lock it... the simplest and free
Photos yes, videos no! A half-baked solution…
I'm using the paid Pro version of Private Photo Vault and I can really recommend it. The functionality is great and I don't have subscriptions like other applications.
Unfortunately, today you can only pay for a subscription 😒
Unfortunately, yes
Absolutely new SEO / SMM package update "XRumer 19.0 + XEvil 5.0":
captcha solutions Google, Facebook, Bing, Hotmail, SolveMedia, Yandex,
and more than 12000 other captcha categories,
with the highest accuracy (80 to 100%) and the highest speed (100 img per second).
You can connect XEvil 5.0 to the most popular SEO / SMM software: XRumer, GSA SER, ZennoPoster, Scrapebox, Senuke and more than 100 other software.
Interest? There are a lot of confusing videos about XEvil on YouTube.
Good luck!