iPhone cameras have improved tremendously in recent years. If we compare, for example, the quality of the iPhone XS and last year's iPhone 13 (Pro), we will see huge differences that we would not have thought of years ago. A huge shift can be seen especially in night photos. Since the iPhone 11 series, Apple phones have been equipped with a special night mode, which ensures the achievement of the maximum possible quality even in significantly worse conditions.
It could be interest you
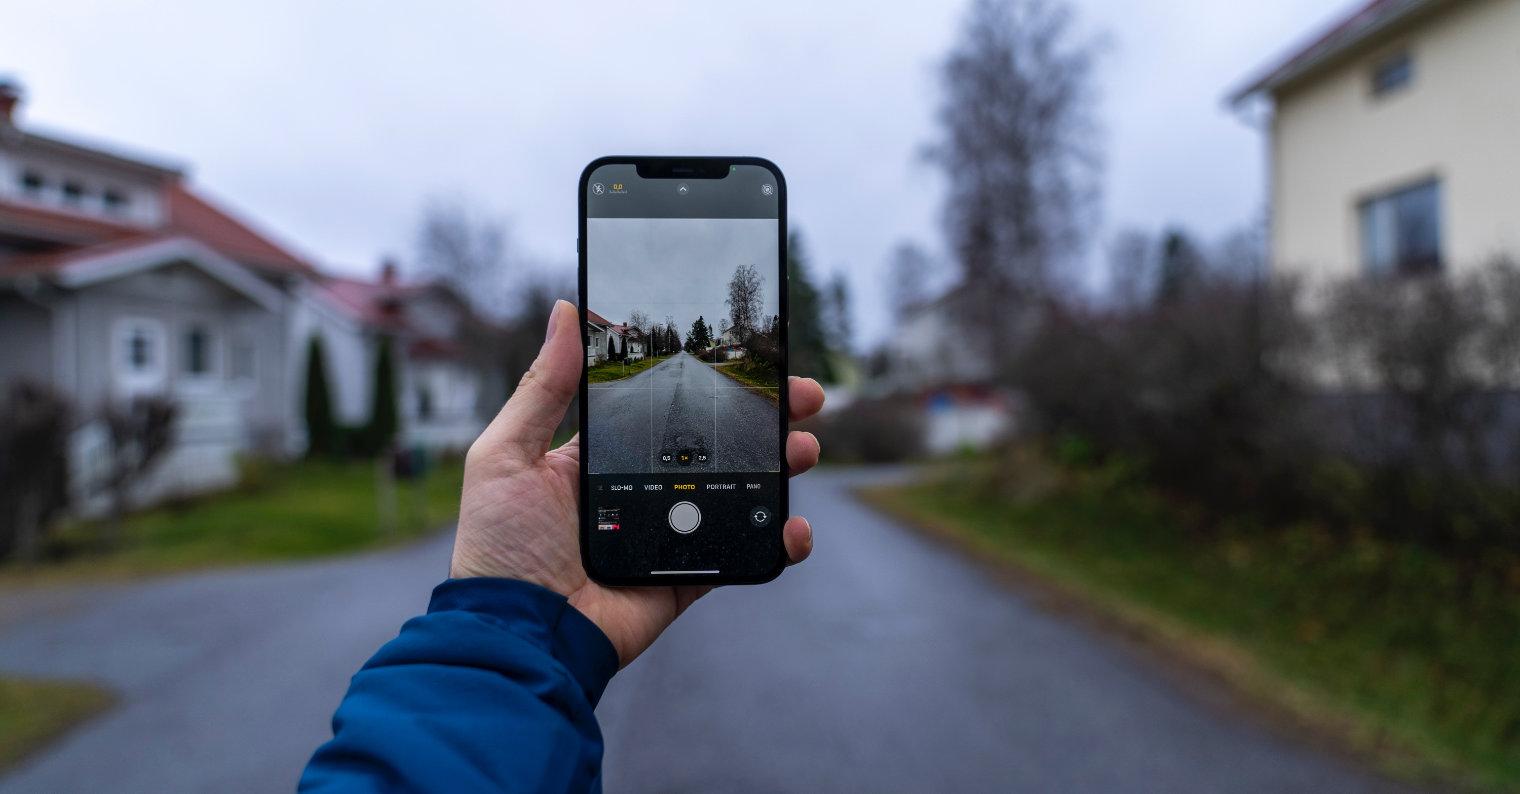
In this article, we will therefore shed light on how to take photos on the iPhone at night, or possibly in poorer lighting conditions, where we simply cannot do without illumination or night mode.
Night photography on iPhone without night mode
If you're using an older iPhone without night mode, then your options are pretty limited. The first thing you might think is that you can help yourself and use the flash. In this case, unfortunately, you will not achieve very good results. On the contrary, what will really help is an independent light source. So you will get the best photos if you use something else to shine the light on the photographed object. In this regard, a second phone can also help, on which you just need to turn on the flashlight and point it at a specific place.
Of course, the best option is if you have a specific light on hand for these purposes. In this regard, there is no harm in having an LED softbox. But let's pour some pure wine - they are not exactly twice the cheapest, and you probably won't take a so-called evening snapshot outside the home with them. For this reason, it is better to rely on lights of more compact dimensions. Popular are the so-called ring lights, which people use mainly for filming. But you can achieve satisfactory results with them even during night photography.

Finally, it's still a good idea to play with the light sensitivity, or ISO. So, before taking a photo, let the iPhone first focus on a specific place by tapping it once, and then you can adjust the ISO itself by dragging it up/down to get the best possible photo. On the other hand, keep in mind that a higher ISO will make your image a lot brighter, but it will also cause a lot of noise.
Night photography on iPhone with night mode
Night photography is many times easier on iPhones 11 and later, which have a special night mode. The phone can recognize itself when the scene is too dark and in that case it automatically activates the night mode. You can tell by the corresponding icon, which will have a yellow background and indicate the number of seconds that are needed to achieve the best possible image. In this case, we mean the so-called scanning time. This determines how long the scanning itself will actually take place before the actual picture is taken. Although the system sets the time automatically, it can easily be adjusted up to 30 seconds - just tap the icon with your finger and set the time on the slider above the trigger.
You're practically done with that, as the iPhone will take care of the rest for you. But it is important to pay attention to stability. As soon as you click the shutter button, the scene will first be captured for a certain period of time. At this point, it is extremely important that you move the phone as little as possible, as this is the only way to achieve the best possible results. That's why it's a good idea to take a tripod with you for possible night photography, or at least place your phone in a stable position.
Availability of night mode
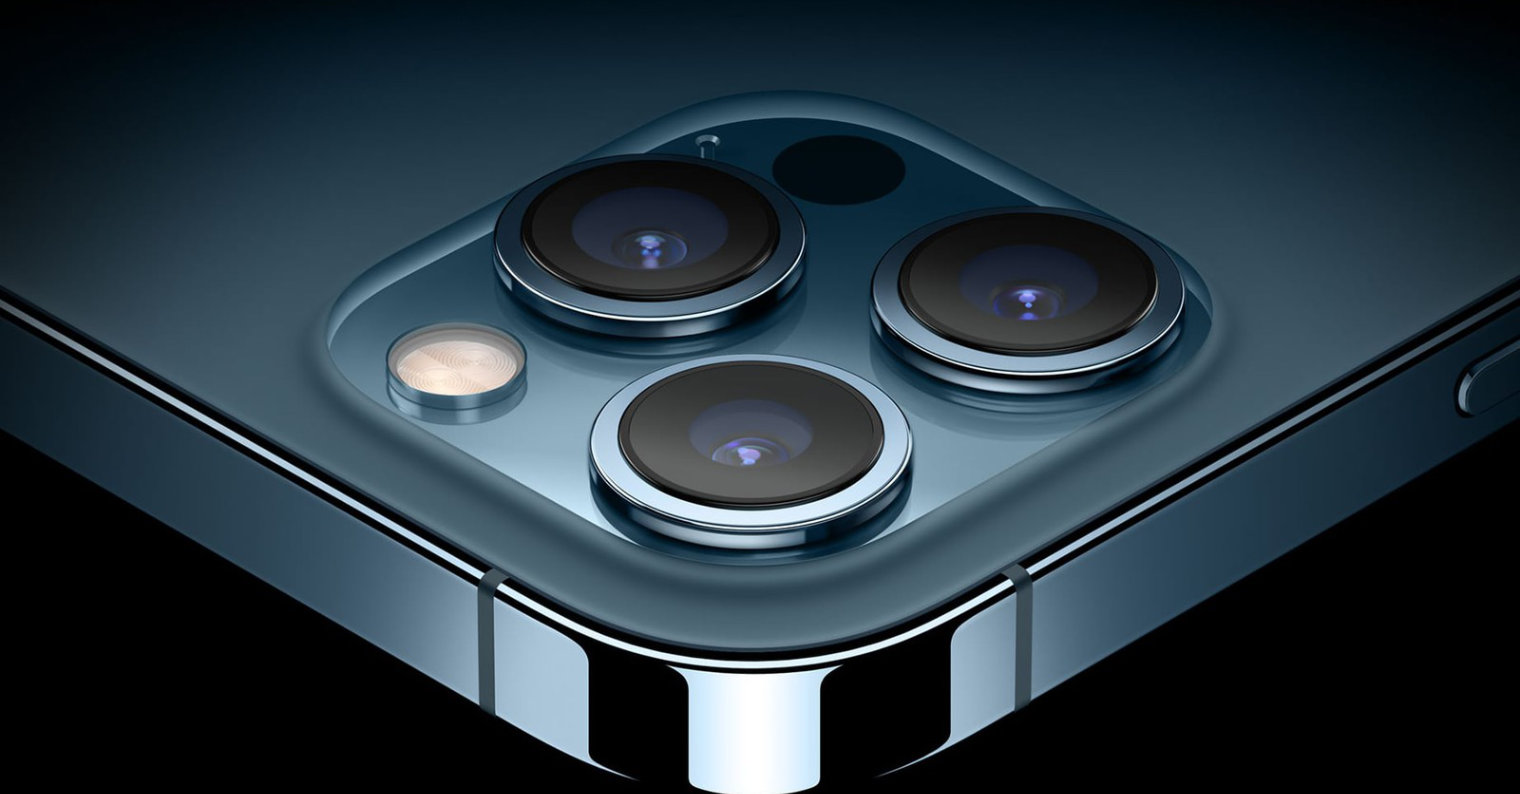
In conclusion, it is still good to mention that the night mode is not always present. For iPhone 11 (Pro), you can only use it in classic mode GALLERY. But if you use iPhone 12 and newer, then you can use it even in case Time lapse a Portrait. The iPhone 13 Pro (Max) can even take night photos using a telephoto lens. When using the night mode, on the other hand, you cannot use the traditional flash or the Live Photos option.
It could be interest you


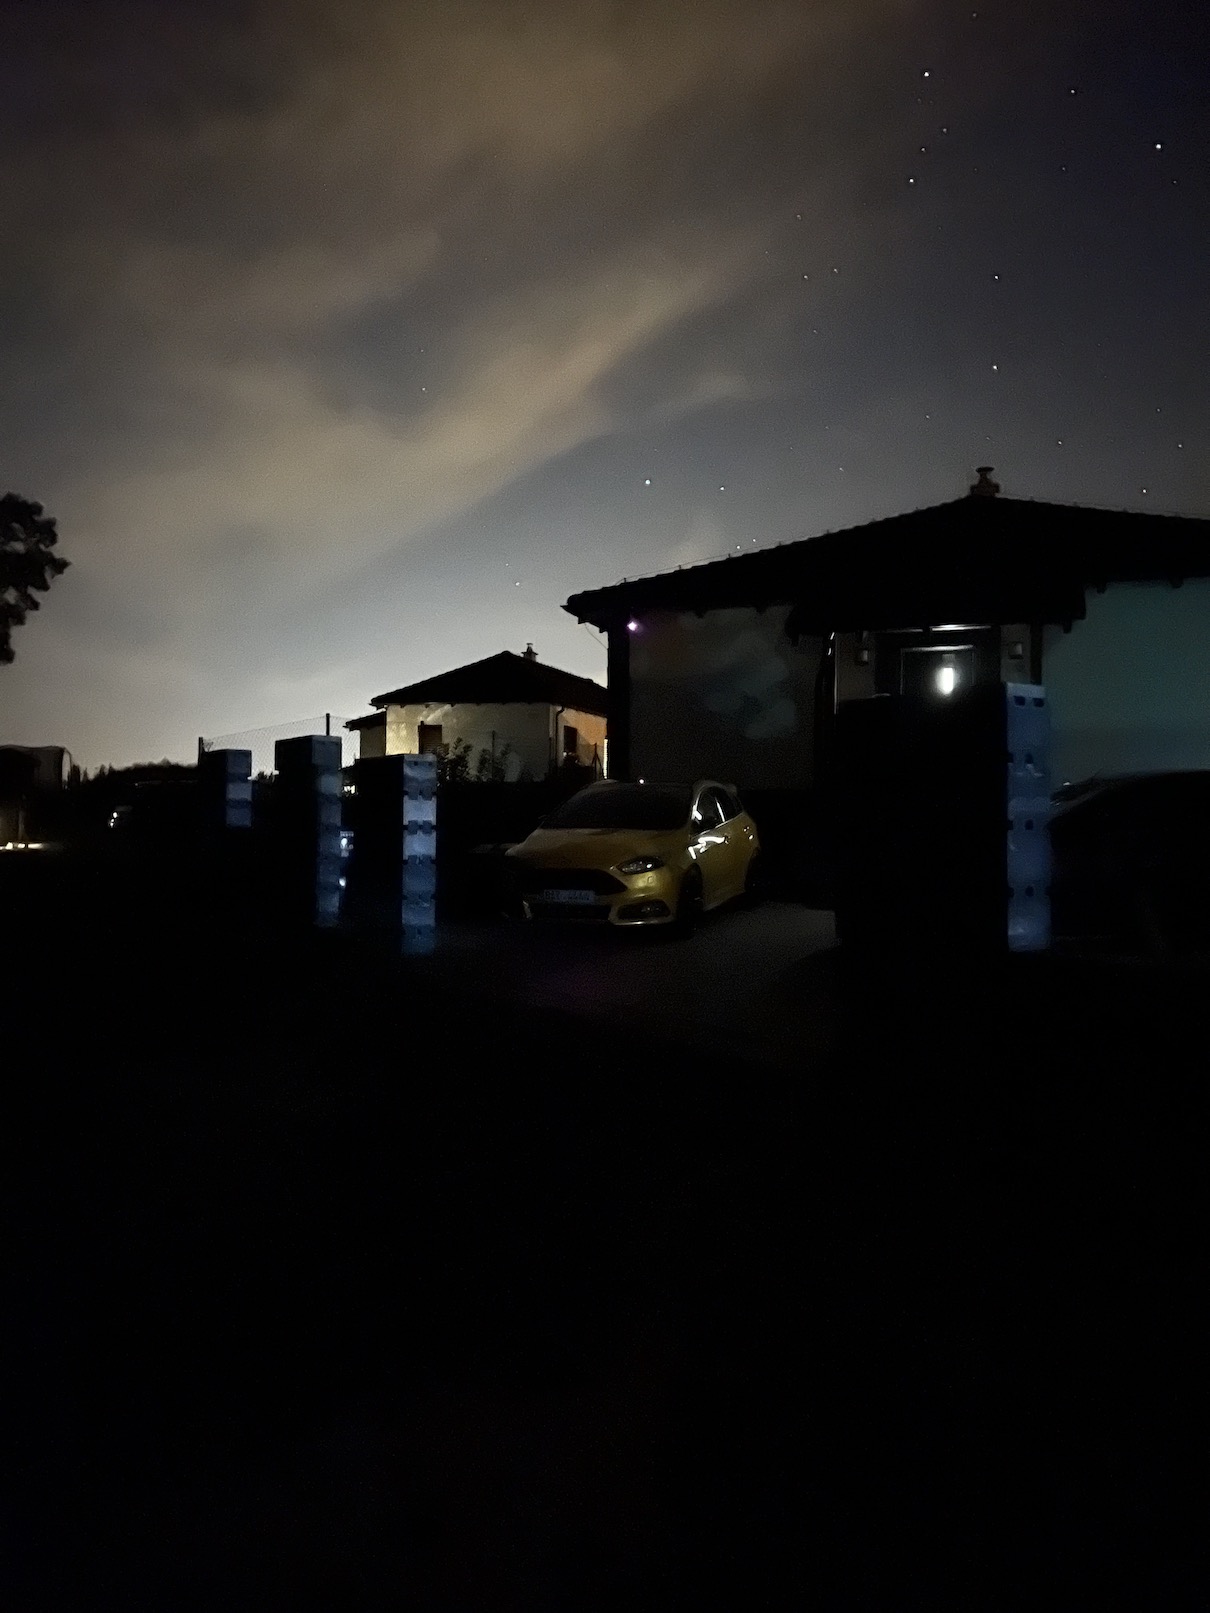
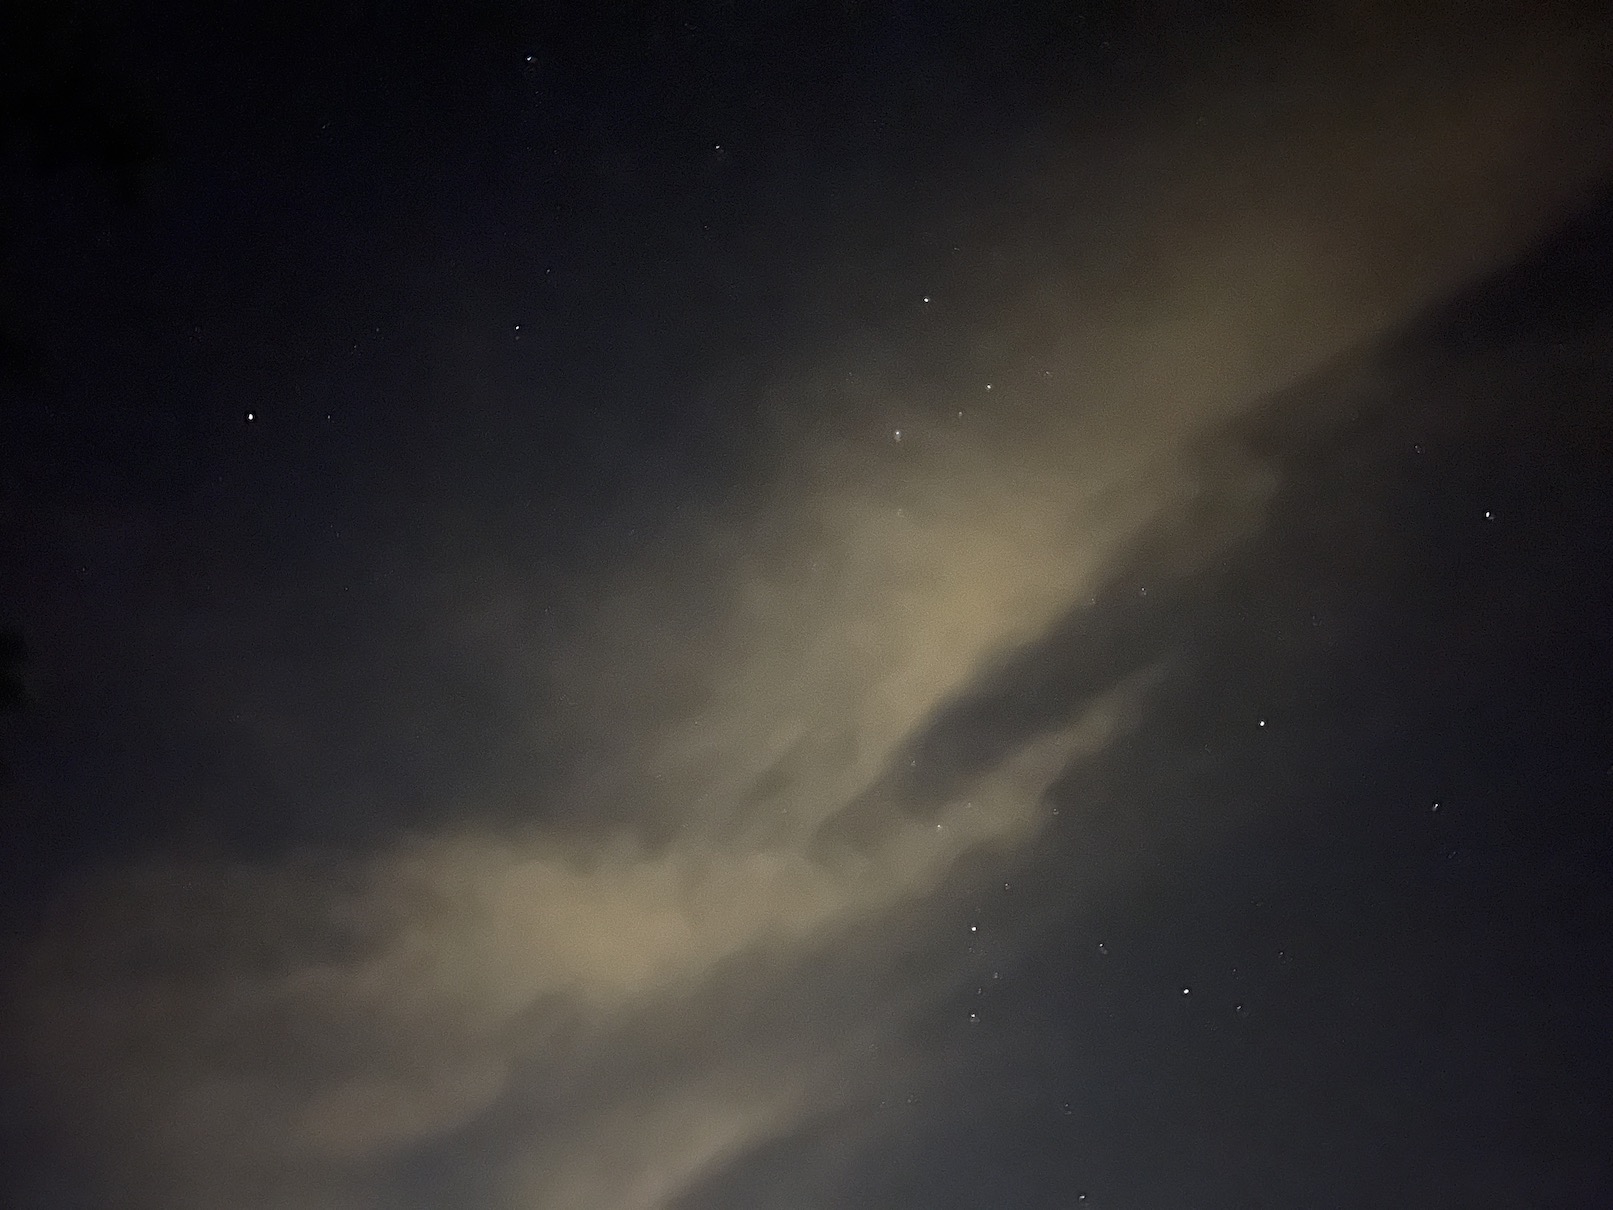
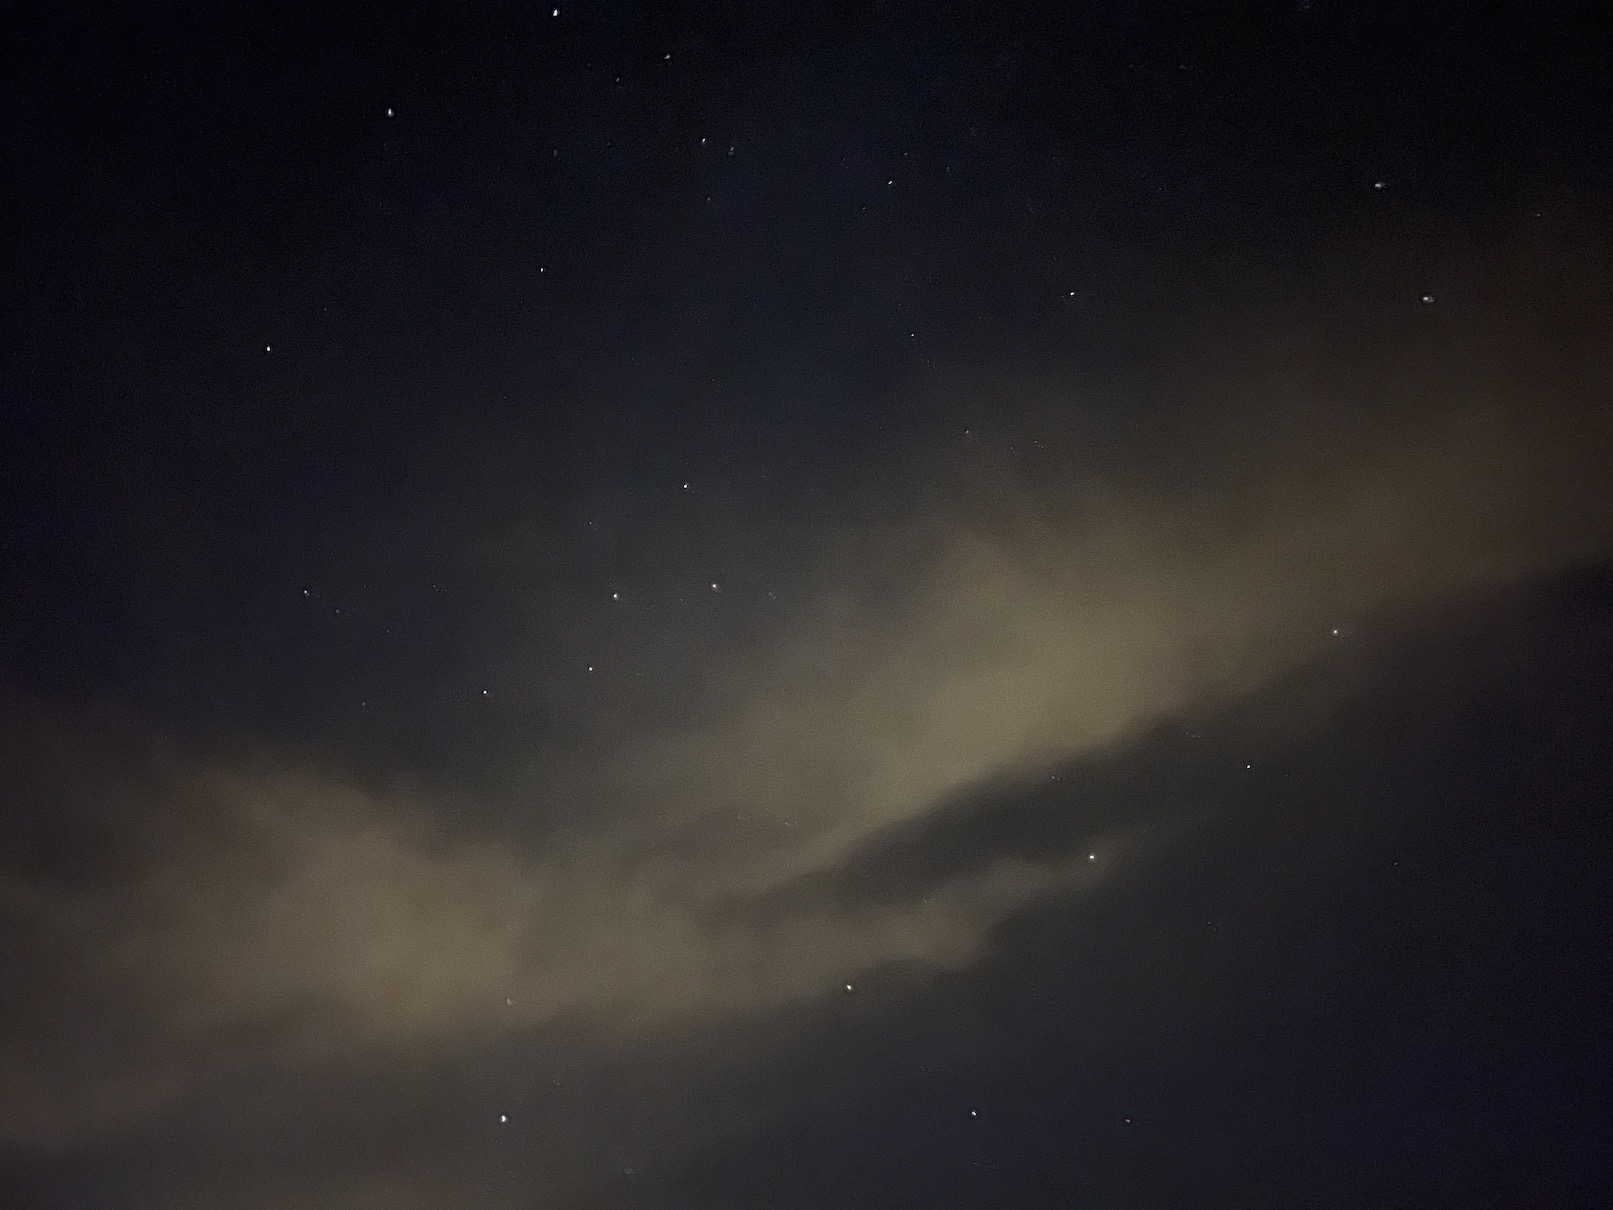
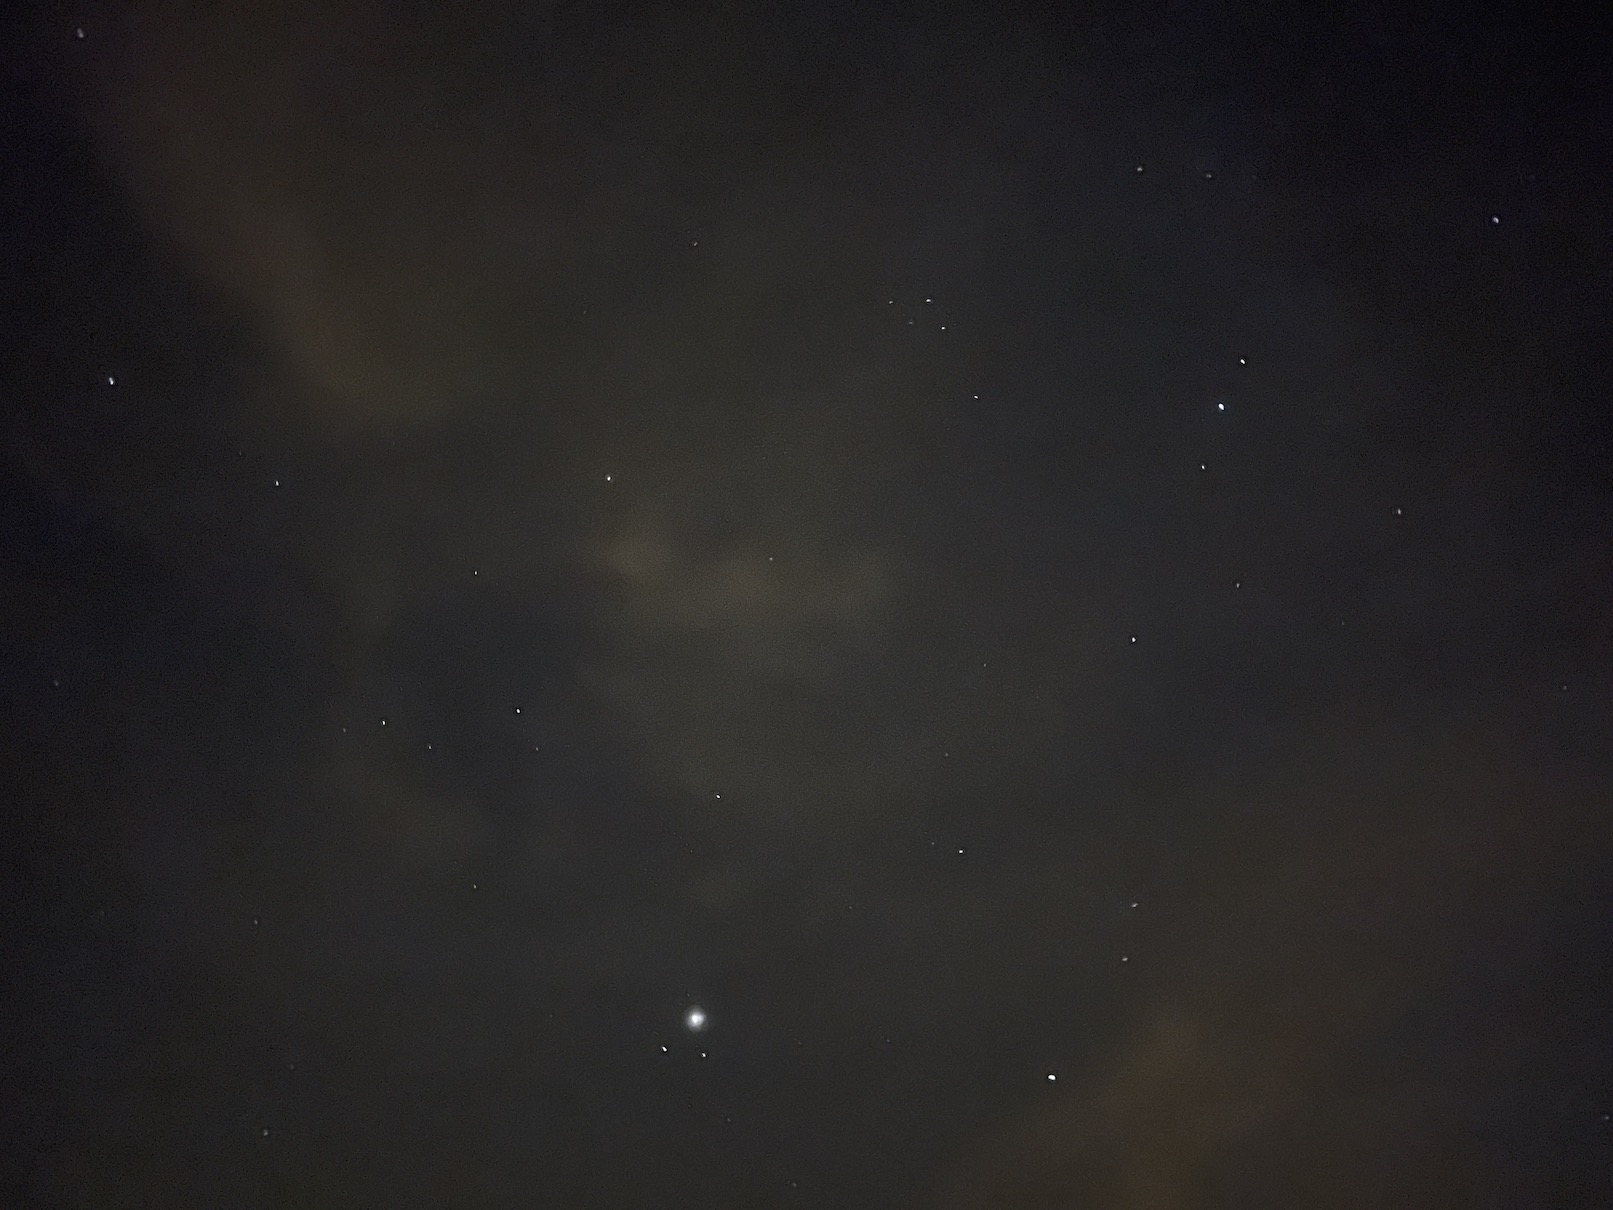
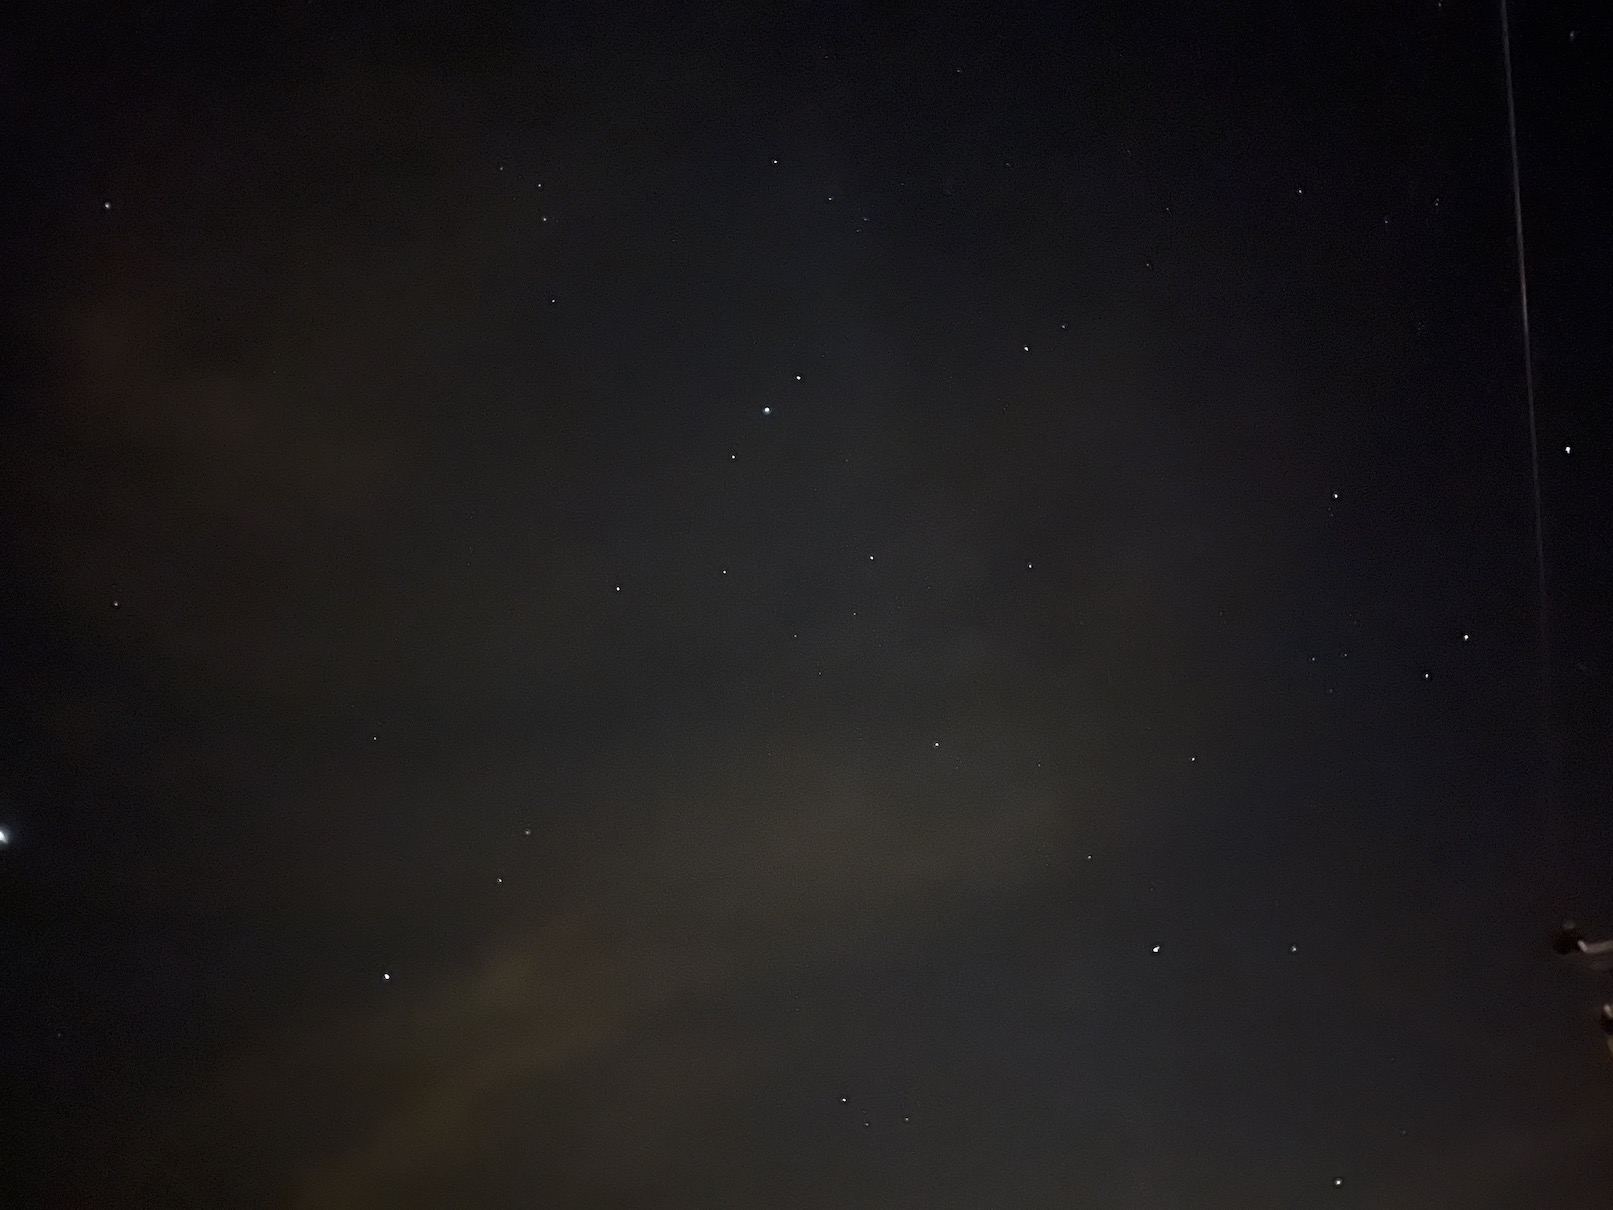

30 seconds is only available when the phone is on a tripod or is not moving with it, if you are shooting handheld, then allow setting the maximum exposure to 10s