How to downgrade iOS 16 solved by a number of apple growers. Practically, it is a return from a newer version of the operating system to an older one, which may seem like a completely simple task at first glance, but in practice its solution can take considerably more time. Fortunately, there is specialized software for these purposes, with the help of which the problem can be solved practically with the snap of a finger, without any in-depth knowledge of the functioning of the OS as a whole.
That is exactly why in this article we will shed light together on how to actually downgrade from iOS 16 and what you will need for it. From the point of view of the mentioned specialized software, we will focus on the globally popular WooTechy iMaster. This software is used to manage the operating system, where it can specifically update, downgrade or backup it safely.
How to downgrade iOS 16 with WooTechy iMaster
First of all, we will focus on how to downgrade using the WooTechy iMaster program. It is available on PC (Windows) and Mac (macOS) platforms, where it specifically deals with the mentioned activities – update, downgrade and backup. Without a doubt, the biggest advantage of using this application is its overall simplicity. You can complete the entire process in just a few minutes with the help of a few clicks.
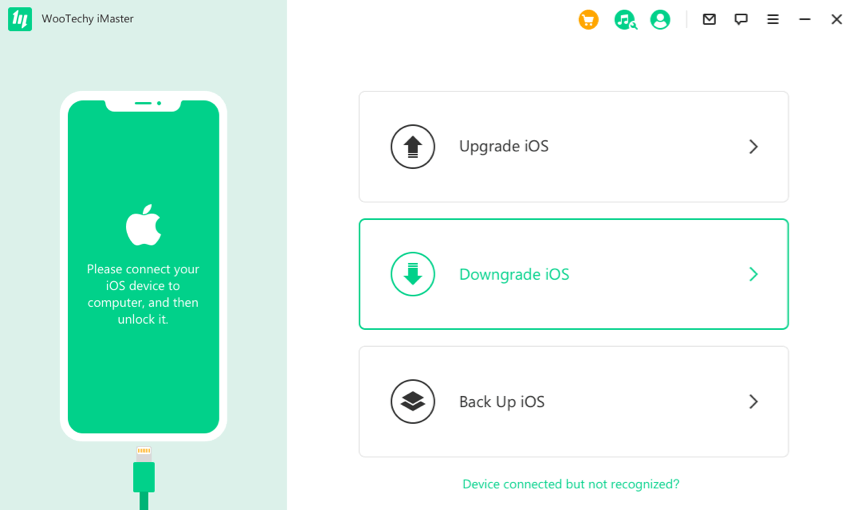
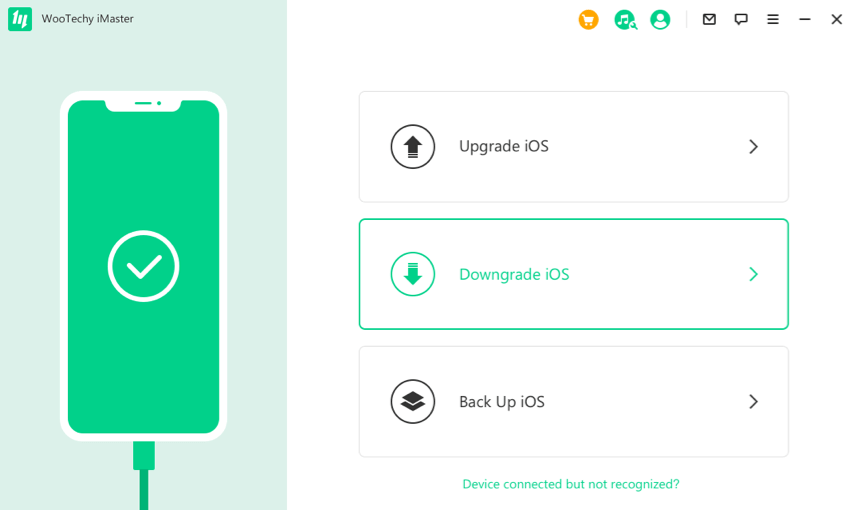
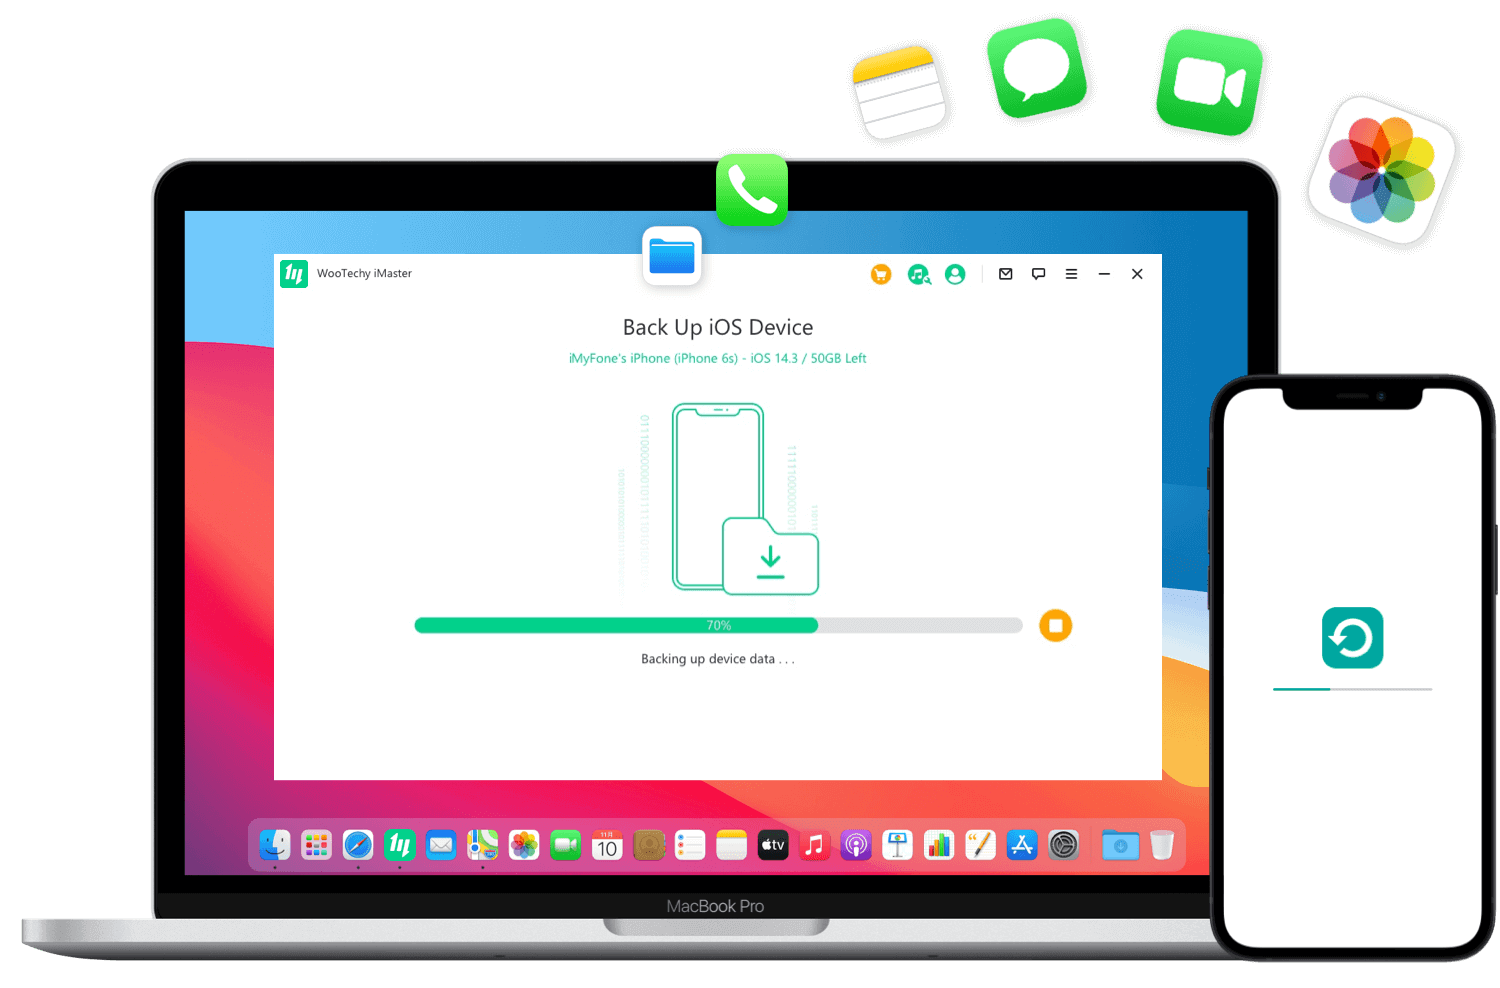
But let's take a look at the process itself, respectively how to downgrade iOS 16 through WooTechy iMaster. First of all, you need to launch the app and connect your iPhone to PC/Mac via a cable. But before we get into the actual process, it is extremely important to make a complete backup of your device first. If any error occurs during the subsequent downgrade, for example due to a power outage, etc., you will still have all your data safe. As we have already mentioned above, the application can handle this as well. Just select an option Backup iOS and tap to confirm the backup Home.
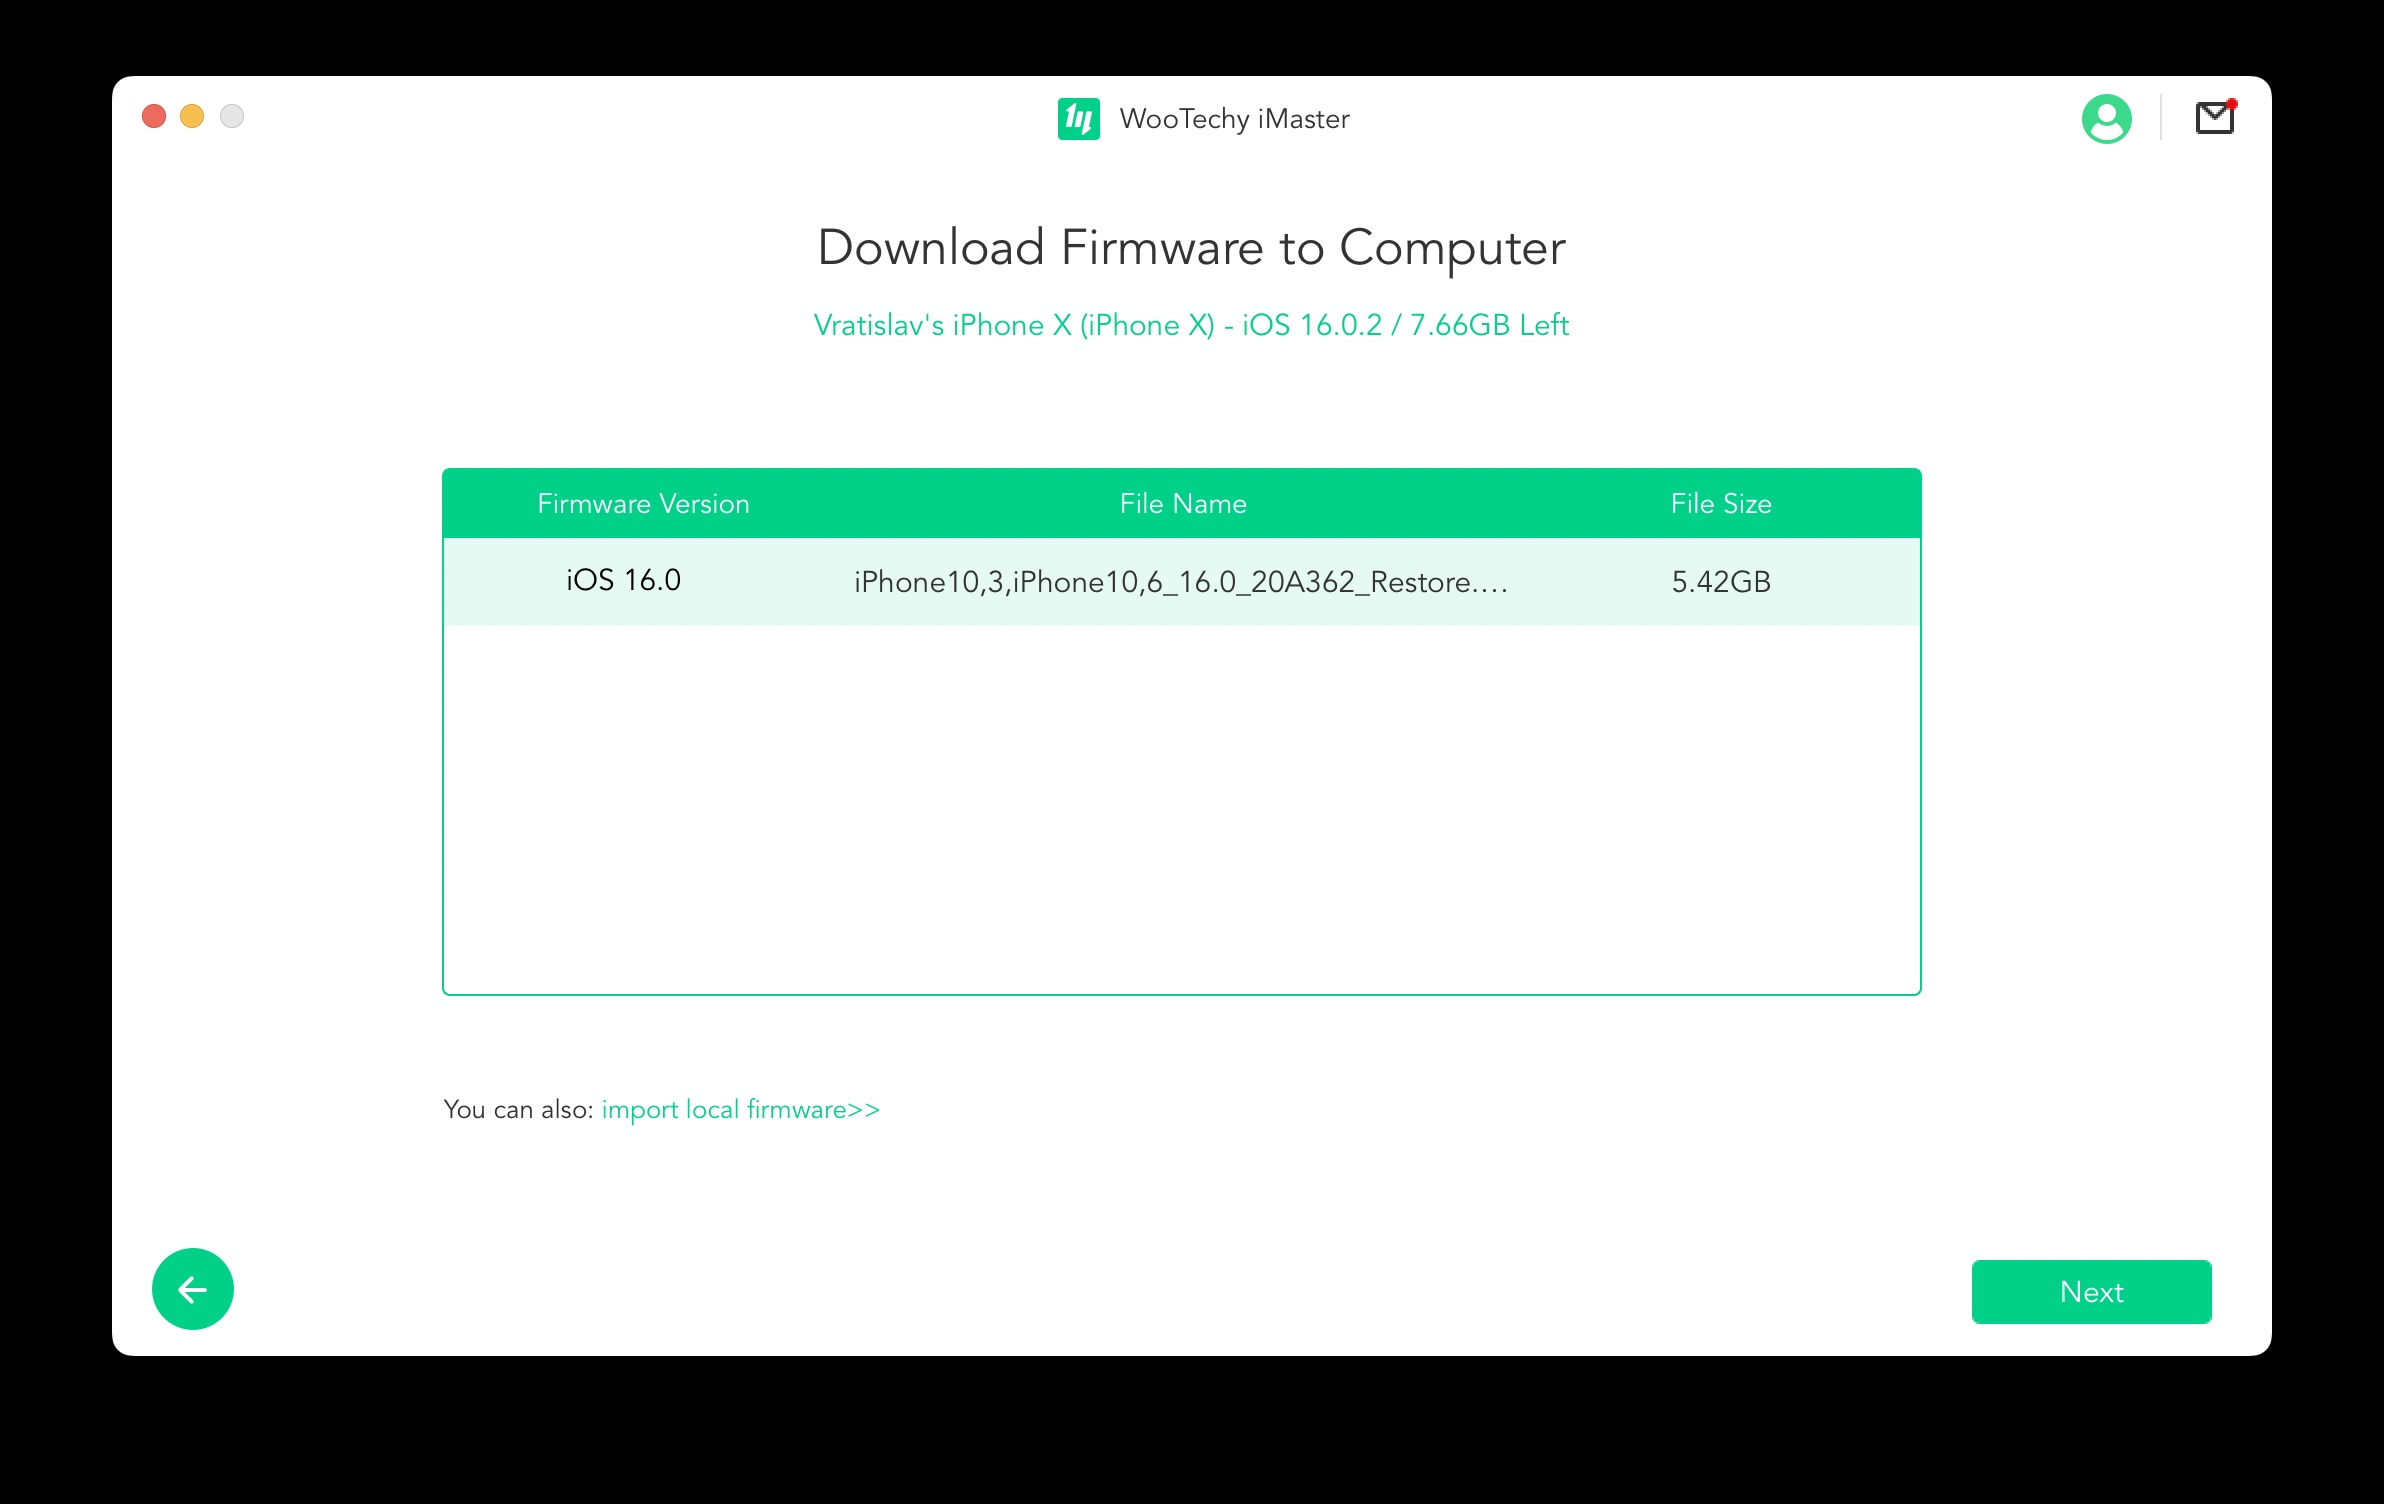
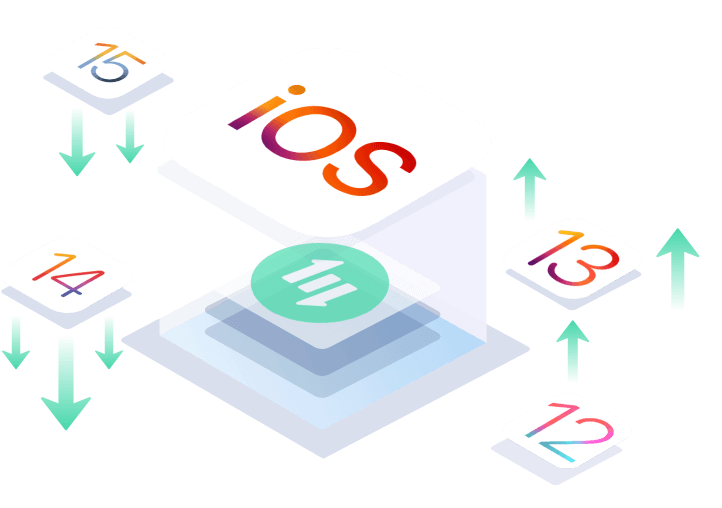
Once you have the backup done, there is nothing stopping you from going directly to the downgrade itself. So select the option from the main menu downgrade iOS. In the next step, a table of available firmware will be displayed, from which you only need to select the version to which you wish to downgrade. At the same time, however, you can also import your own firmware if the desired version is not displayed in the table. This particular IPSW file can be downloaded from the website ipsw.me, where you just have to choose the platform (iPhone), your model and then choose a version from the section of so-called signed IPSW firmwares, which can still be returned to. But let's go back to the WooTechy iMaster application itself, where you just need to choose a specific version and move to the next step with the help of a button Next.
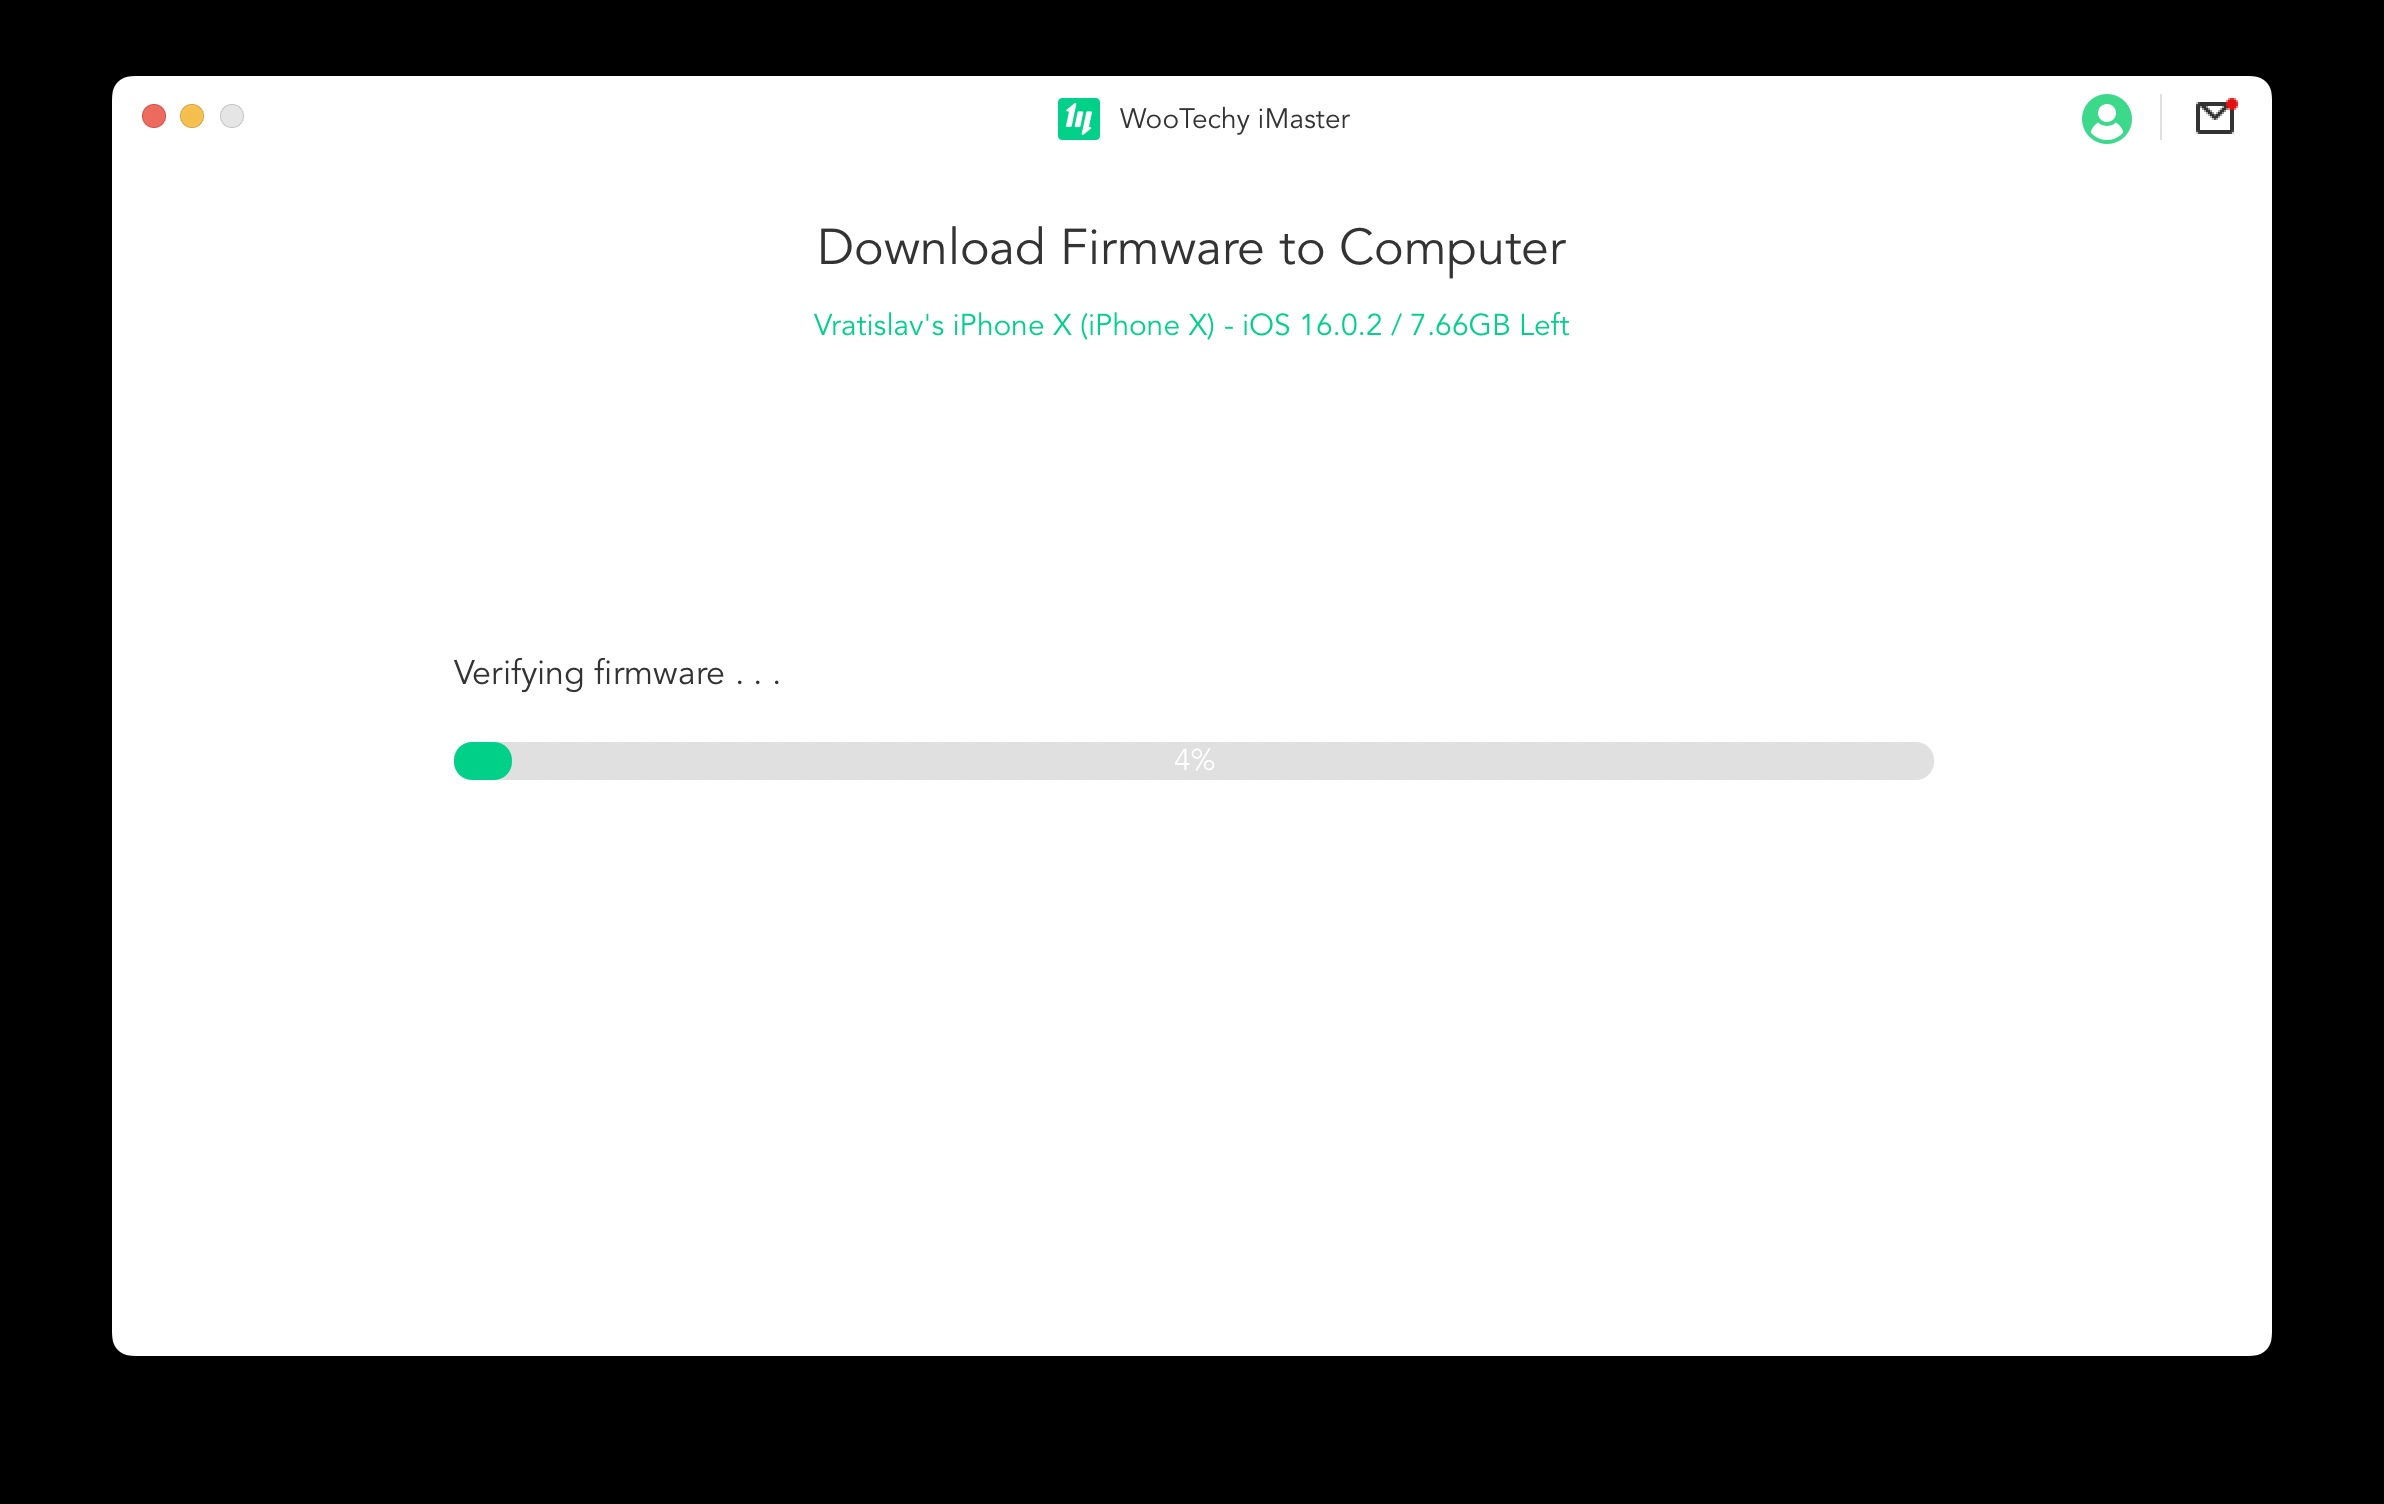
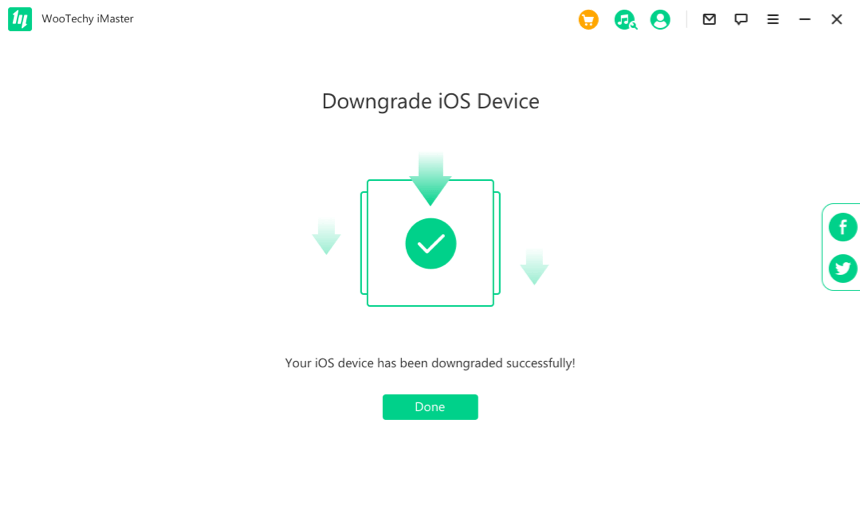
The program will practically take care of the rest for you. First, the specific firmware will be verified and downloaded. The program then informs you about the completion of this process and offers you the last step – starting the downgrade by installing an older version of the firmware. Just tap a button Home and you're practically done. Your system will then be installed without losing any of your data or settings.
Using this application, the entire process will take you only a few minutes, when the software will take care of practically everything completely for you. In conclusion, it is only necessary to mention that you should not disconnect your device from the PC/Mac during the process, as this could lead to the so-called bricking of the entire phone. Subsequently, it might not function properly, which would require its restoration. At the same time, keep in mind that you can downgrade to the previous version of the operating system only within two weeks of its launch. After this time, Apple stops signing older versions, which is why they can no longer be returned.
You can download the WooTechy iMaster app for free here
How to downgrade via iTunes
Of course, it is also possible to downgrade the operating system via iTunes/Finder. However, in such a case, the whole process is a bit more difficult. At the same time, it is necessary to take into account that you will lose all your data and settings. But let's take a look at what the whole procedure actually looks like and what you mustn't forget.
In the very first step, it is necessary to prepare for the downgrade. So first you need to visit the website ipsw.me, where you can find available firmware (IPSW files) for download. So choose iPhone as the platform and then choose your specific model. From the list of available firmwares, select the version you want to roll back to - but note that you can only select from the Signed IPSWs. Once you have this file downloaded, you can go to iTunes (Windows) or Finder (Mac).
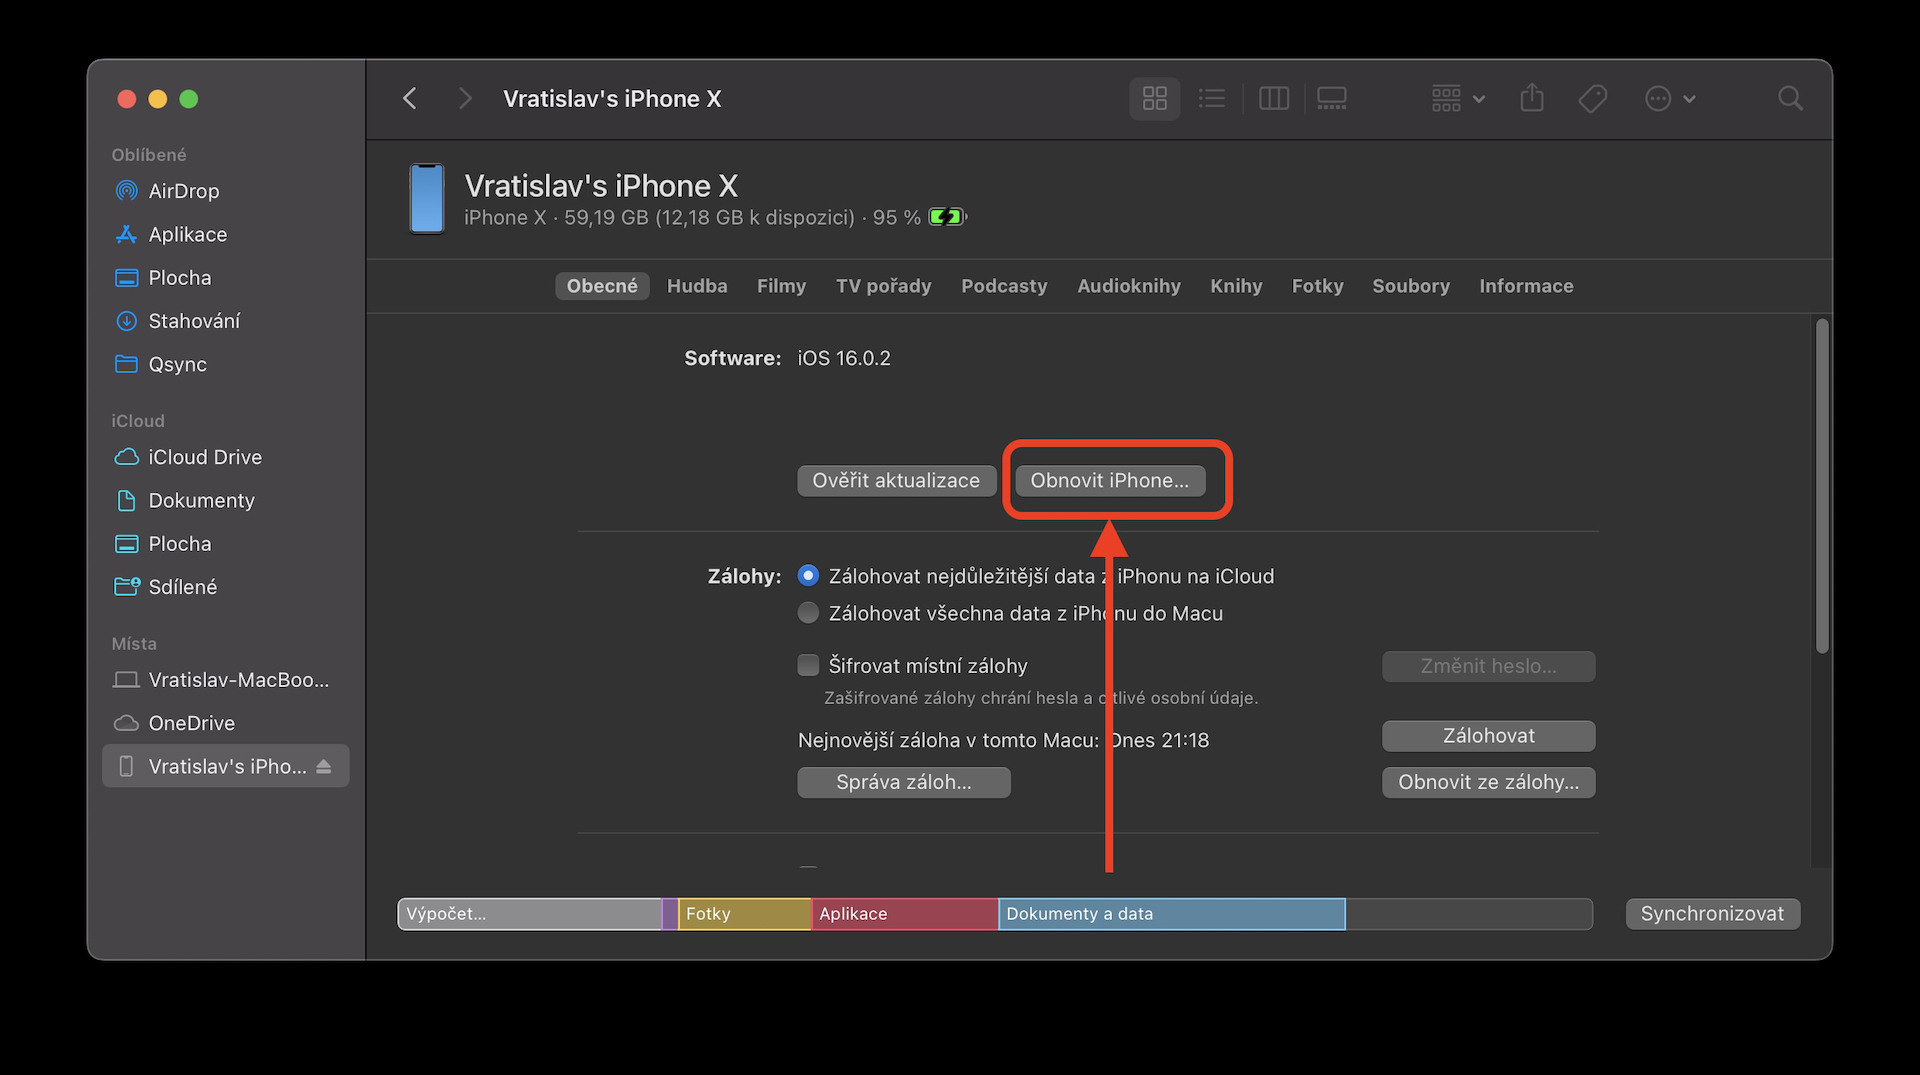
On the summary screen about your iPhone, you'll see an option on the right Restore iPhone or Restore iPhone. This button needs to be clicked, however you must hold the Option/Shift key. After clicking, the system will ask you to select the specific IPSW file that you just downloaded from the mentioned website. iTunes/Finder will take care of the rest for you - once the process is complete, the selected iOS will be installed on your iPhone. The phone will behave like brand new on first boot.
However, if you still want to upload the backup you made before the downgrade, there is still one option. When you first turn on your iPhone, you just have to choose that you don't want to restore any data. Uploading a backup won't work just like that, because a backup from a newer system can't be used for older iOS. Fortunately, this problem can be circumvented. First, it is necessary to find where the given backup is actually located. In the case of Windows, it is AppData/Roaming/Apple Computer/MobileSync/Backup, where you only need to select the current backup (according to the change date). It is practically the same in the case of macOS. In the Finder, click the button Manage backups, which will display all backups. Right-click on the current one and select View in Finder. Once you're in the backup folder, scroll down and use Notepad to open the file Info.plist.
However, it contains an abundance of text, so we will have to search using the keyboard shortcut Control+F or Command+F. Search for the phrase “product". Specifically, you are looking for data such as Product Name a Product Version. Under Product Version you should see a number, such as "16.0.2", which indicates the version of the operating system from which the backup came. Just change the given number to the version you need to downgrade to. After changing, just save the file, go back to iTunes/Finder and select the option Restore from backup. Select the backup and you're done.
WooTechy iMaster
If you have carefully gone through both methods, then it is clear to you that the mentioned WooTechy iMaster application is the clear winner. This will help you to downgrade the operating system almost immediately without losing your data. At the same time, in this case, you don't have to solve anything at all. The app will take care of everything for you, including creating a backup, downloading the firmware or installing it.
In addition, if you want to deal with the downgrade yourself via iTunes/Finder, there is a risk that the downgrade as such will be successful, but you will lose all your data, files and settings. It is the simplicity and certainty that puts the WooTechy iMaster application in a clear winning position. To make matters worse, in addition to downgrading and backups, it can also handle is updates, and again quickly and simply.
Discussion of the article
Discussion is not open for this article.
