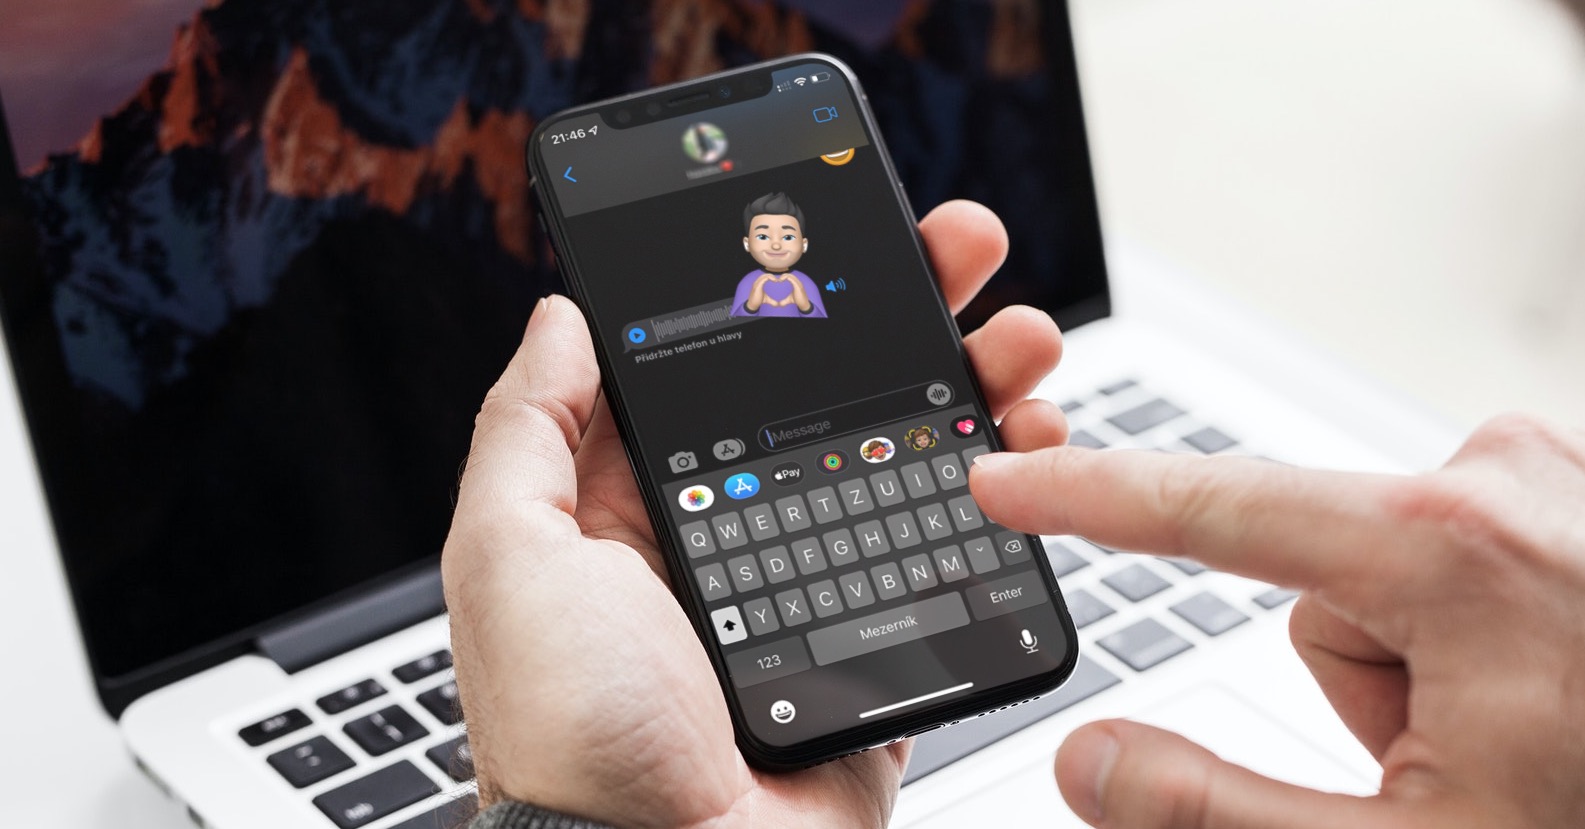
How to add a phone number to iMessage on Mac? iMessage is supported across the vast majority of your Apple devices, including your Mac. You can therefore conveniently use your Apple computer with the macOS operating system to send and receive iMessages that have been sent to your phone number.
It could be interest you

iMessage really comes in handy when you don't want to rely on a third-party messenger to chat with other Apple users. However, one of the best things about using iMessage has to be the continuity you get within the Apple ecosystem.
For example, you can easily get iMessages received on your phone number to your macOS device. It's much easier to set up than other IM services, and you won't miss important work updates or messages even if you don't have an iPhone nearby or don't want to be disturbed.
How to Add a Phone Number to iMessage on Mac
First, you need to make sure you have a phone number selected for iMessage on your iPhone, and then the feature needs to be enabled on your Mac. Adding a phone number using your iPhone is a simple process – just go to the app Settings and select a phone number to send and receive iMessages.
If you're already signed in with your Apple ID on your Mac, you'll see a notification to add the number you just selected to iMessage. By clicking the button Year start receiving iMessages on your Mac.
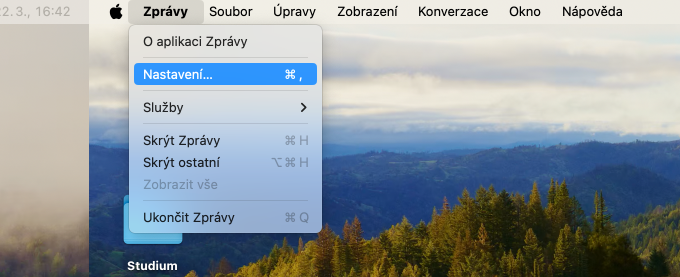
If for any reason you can't receive iMessage on your Mac even after opting in, launch Messages on your Mac and click on the menu bar at the top of the screen Messages -> Settings.
At the top of the settings window, click the tab iMessage and then click the check box in front of the phone number you want to use. Also, don't forget enable messages on iCloud.
And it is done! After completing all these steps, you should be able to send and receive iMessages without any problems with everything in place - including the ability to send attachments and much more.


