The power of cell phones is that once you unbox them and fire up the camera app, you can immediately take photos and videos with them. Just aim at the scene and press the shutter, anytime and (almost) anywhere. But the result will also look like that. So it takes some thought to make your images as pleasing as possible. And from that, here is our series Taking photos with an iPhone, in which we show you everything you need. Now let's look at shared albums.
Shared Albums are especially powerful in that you use them to share your photos with others, just as they share with you. So if you are on a trip together, you don't need to send photos via AirDrop and other services afterwards. It's fast and elegant. In addition, you can also comment on individual records. However, it is important that you have iCloud set up on the devices you want to see the shared albums on and are signed in with the same Apple ID.
It could be interest you

Shared albums and turning them on
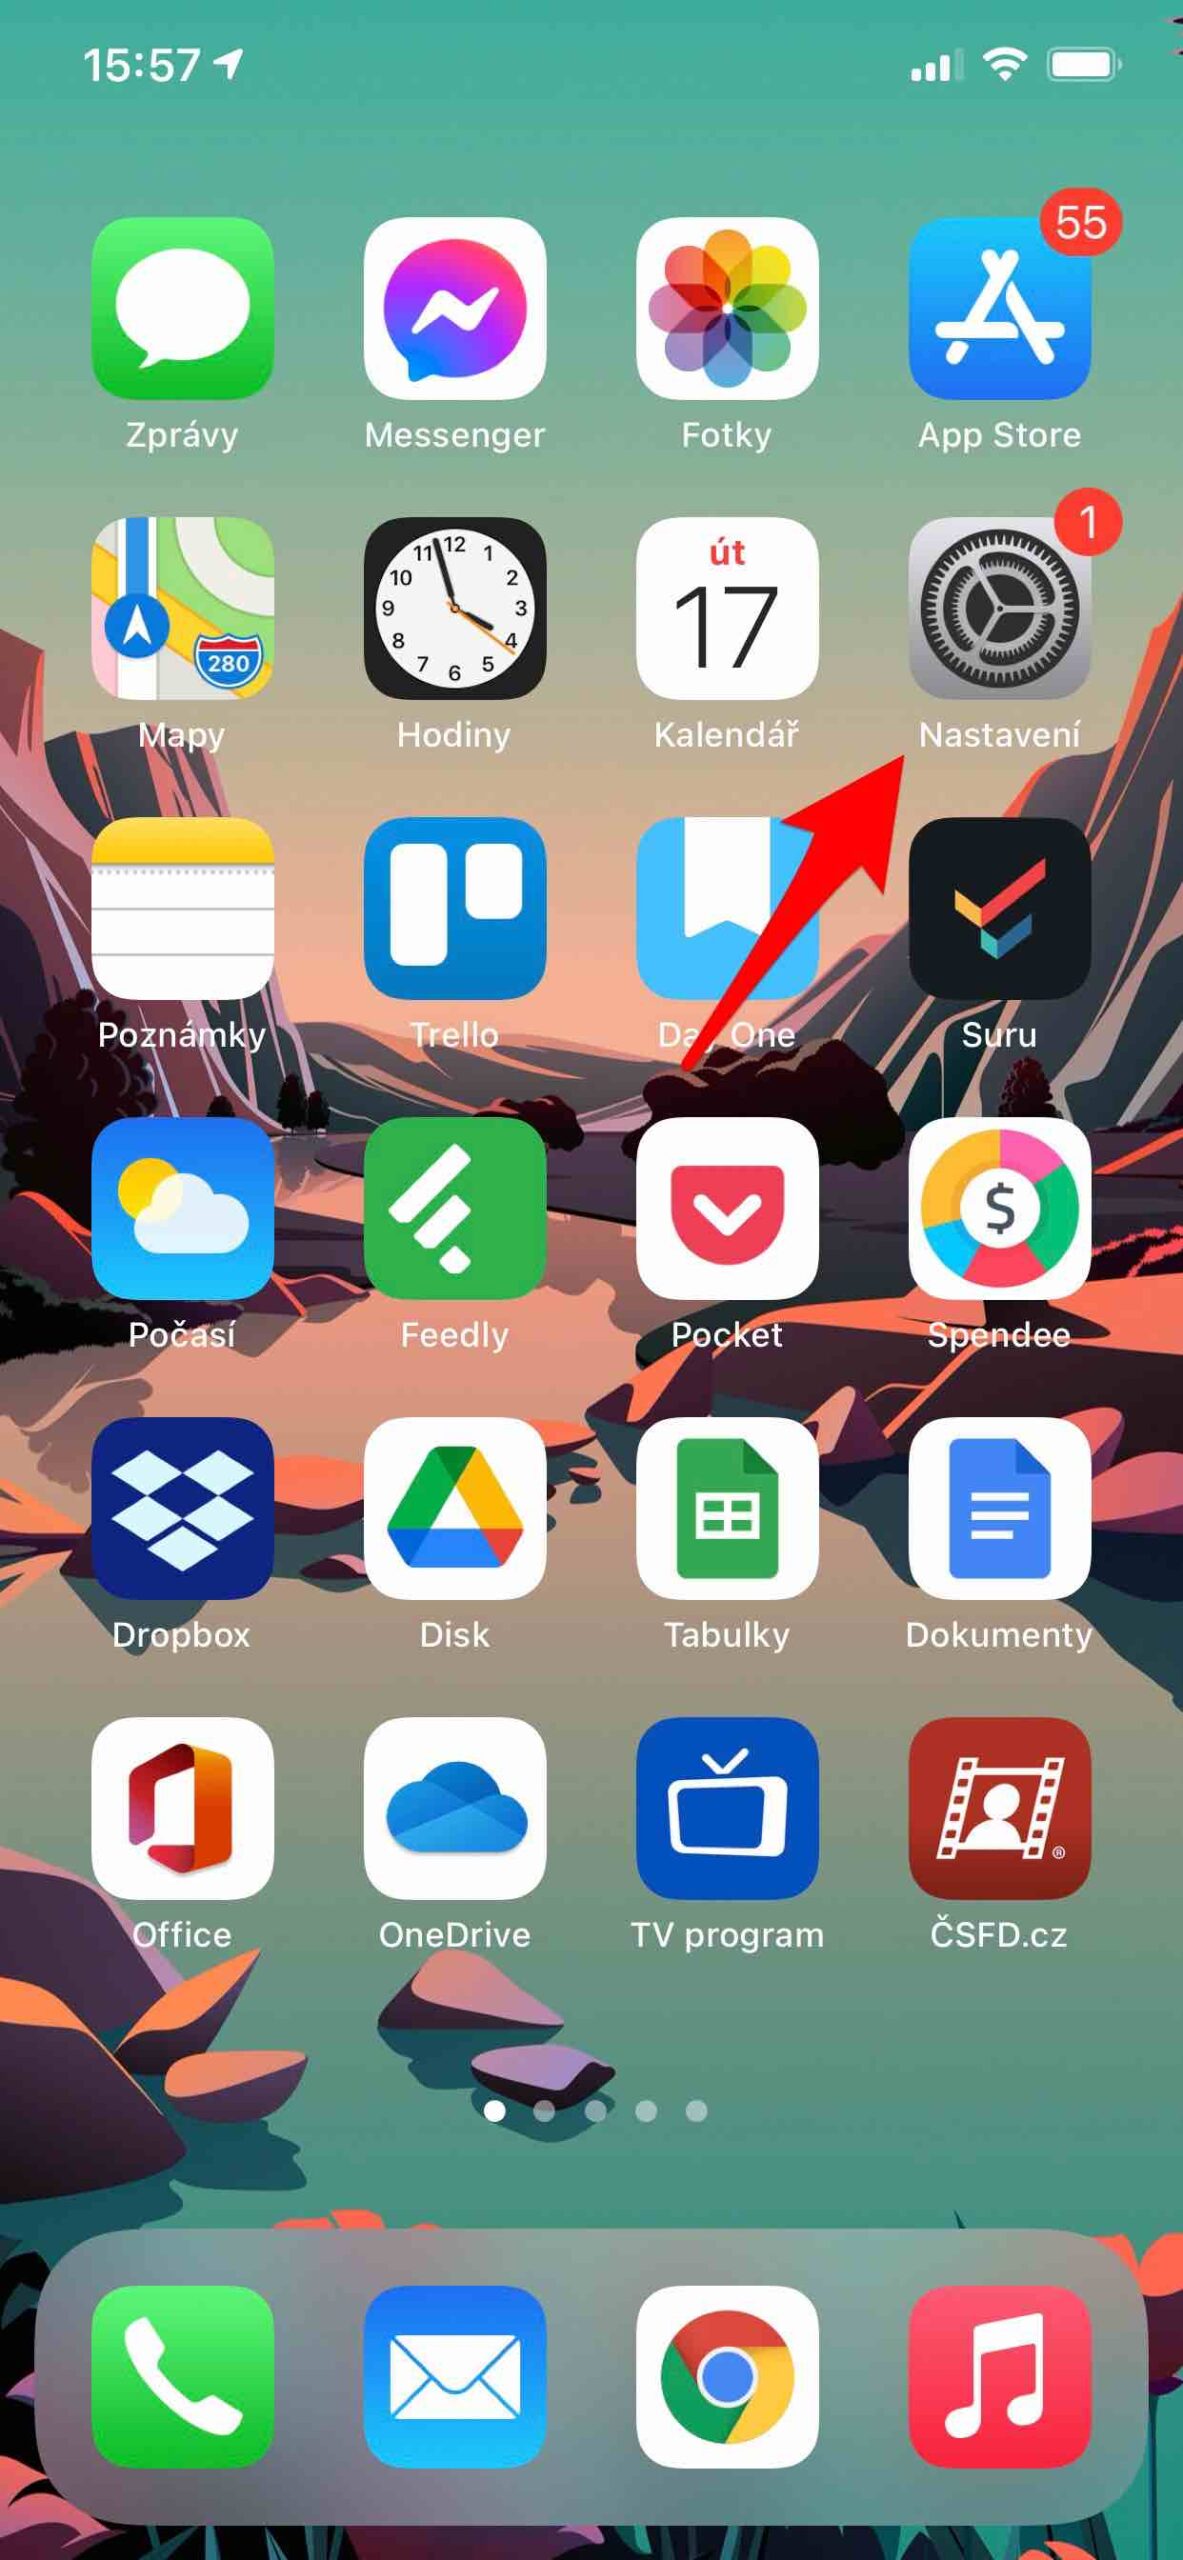
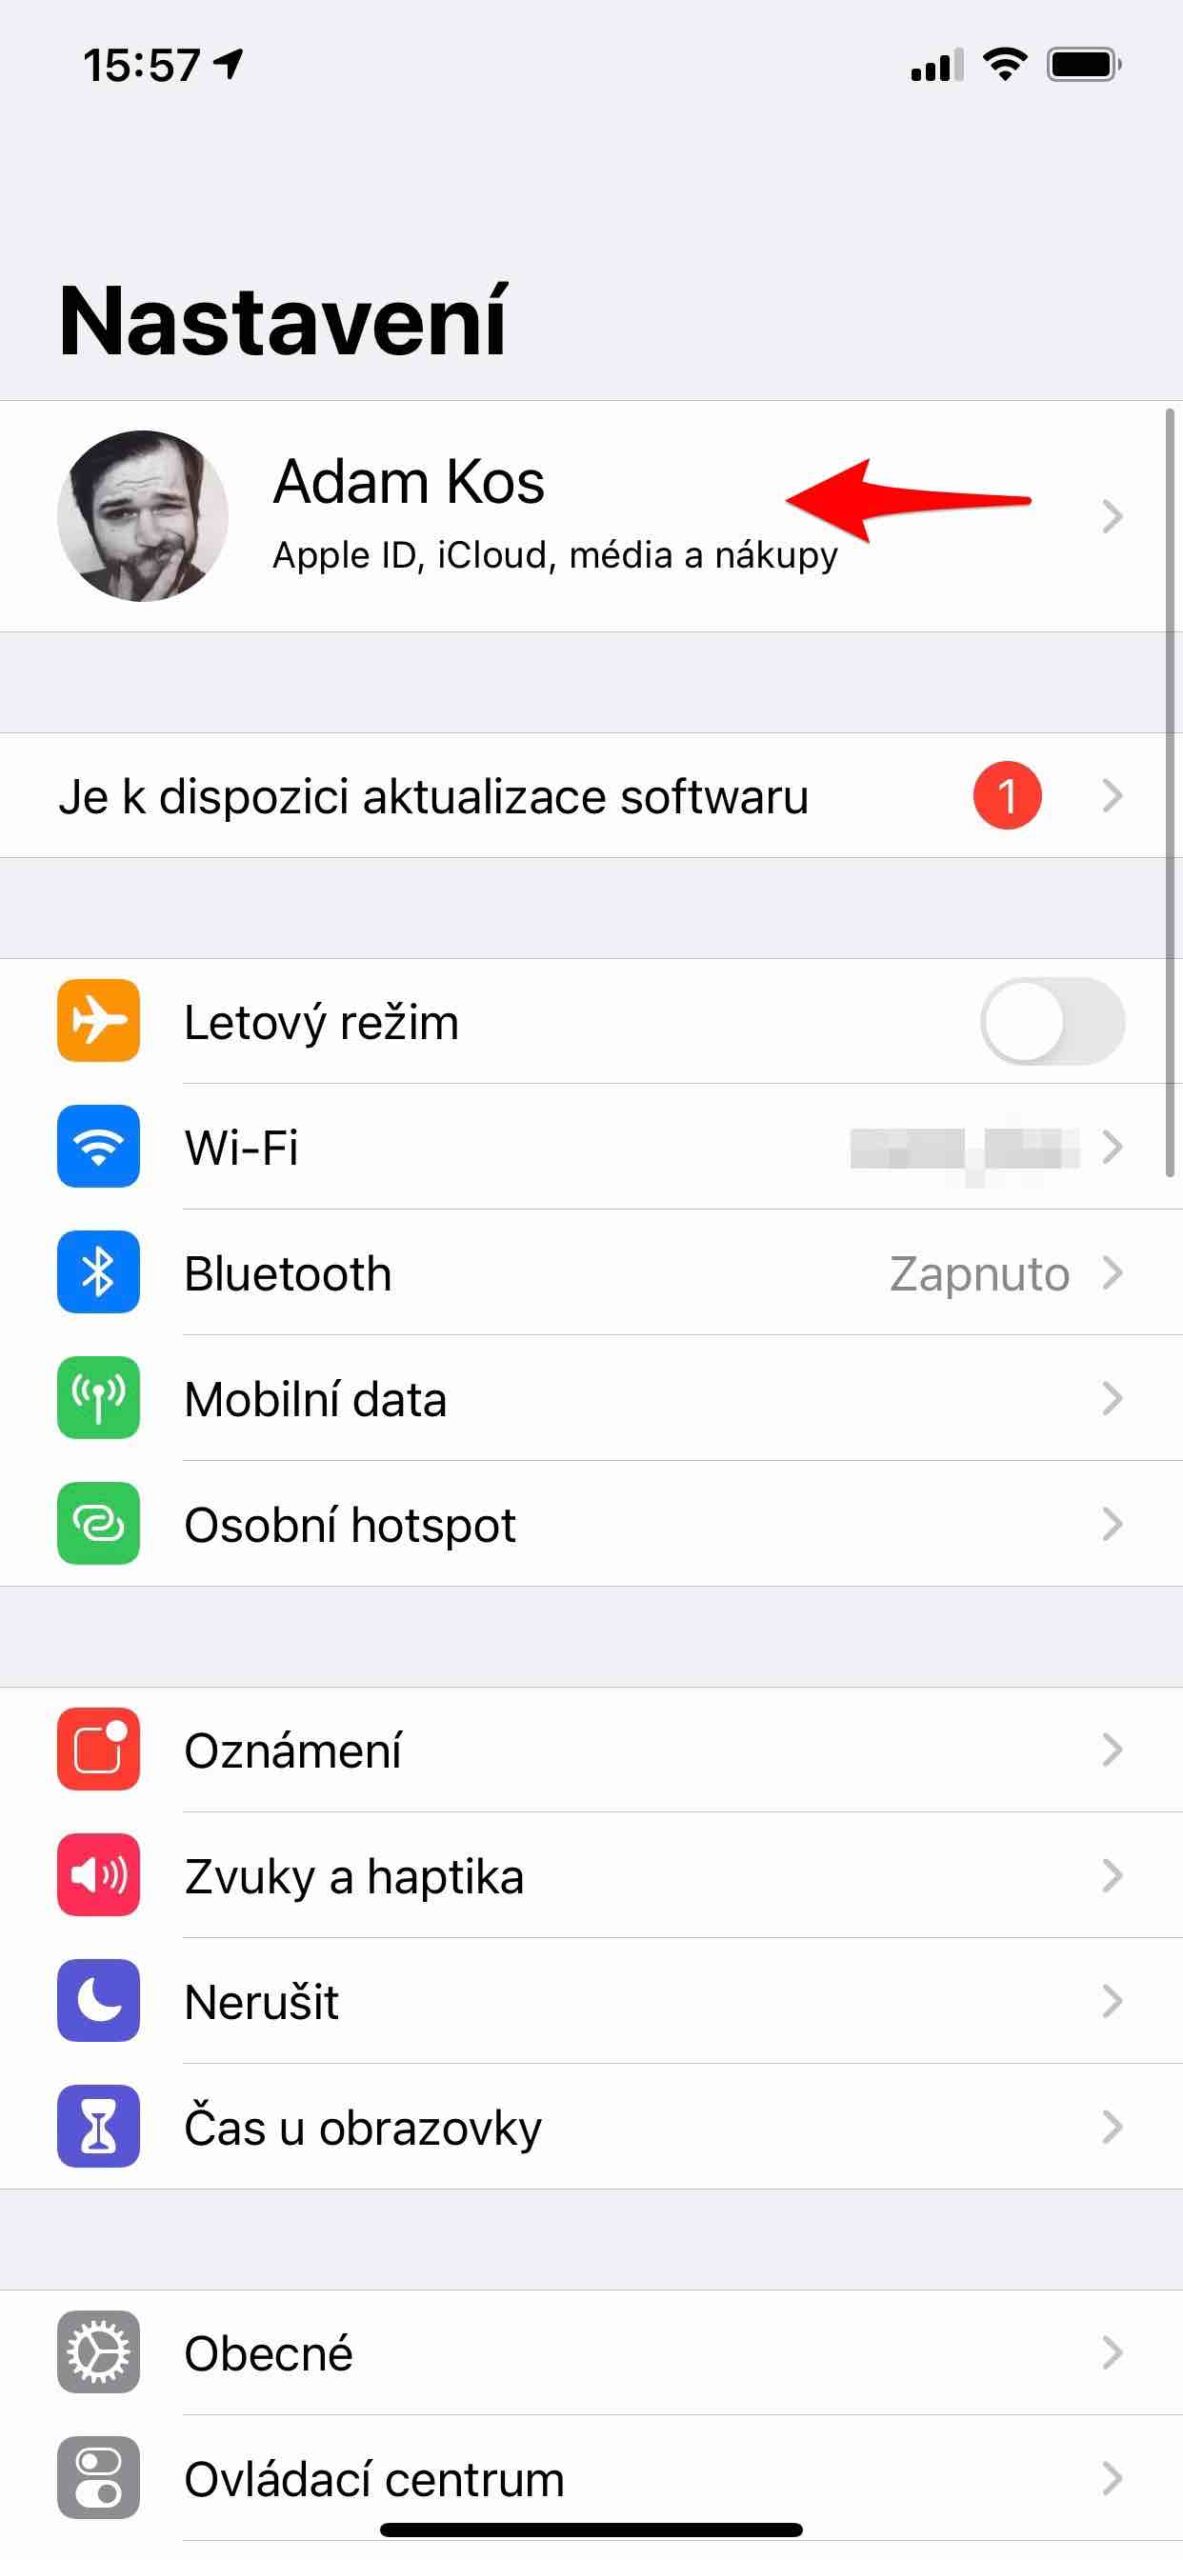
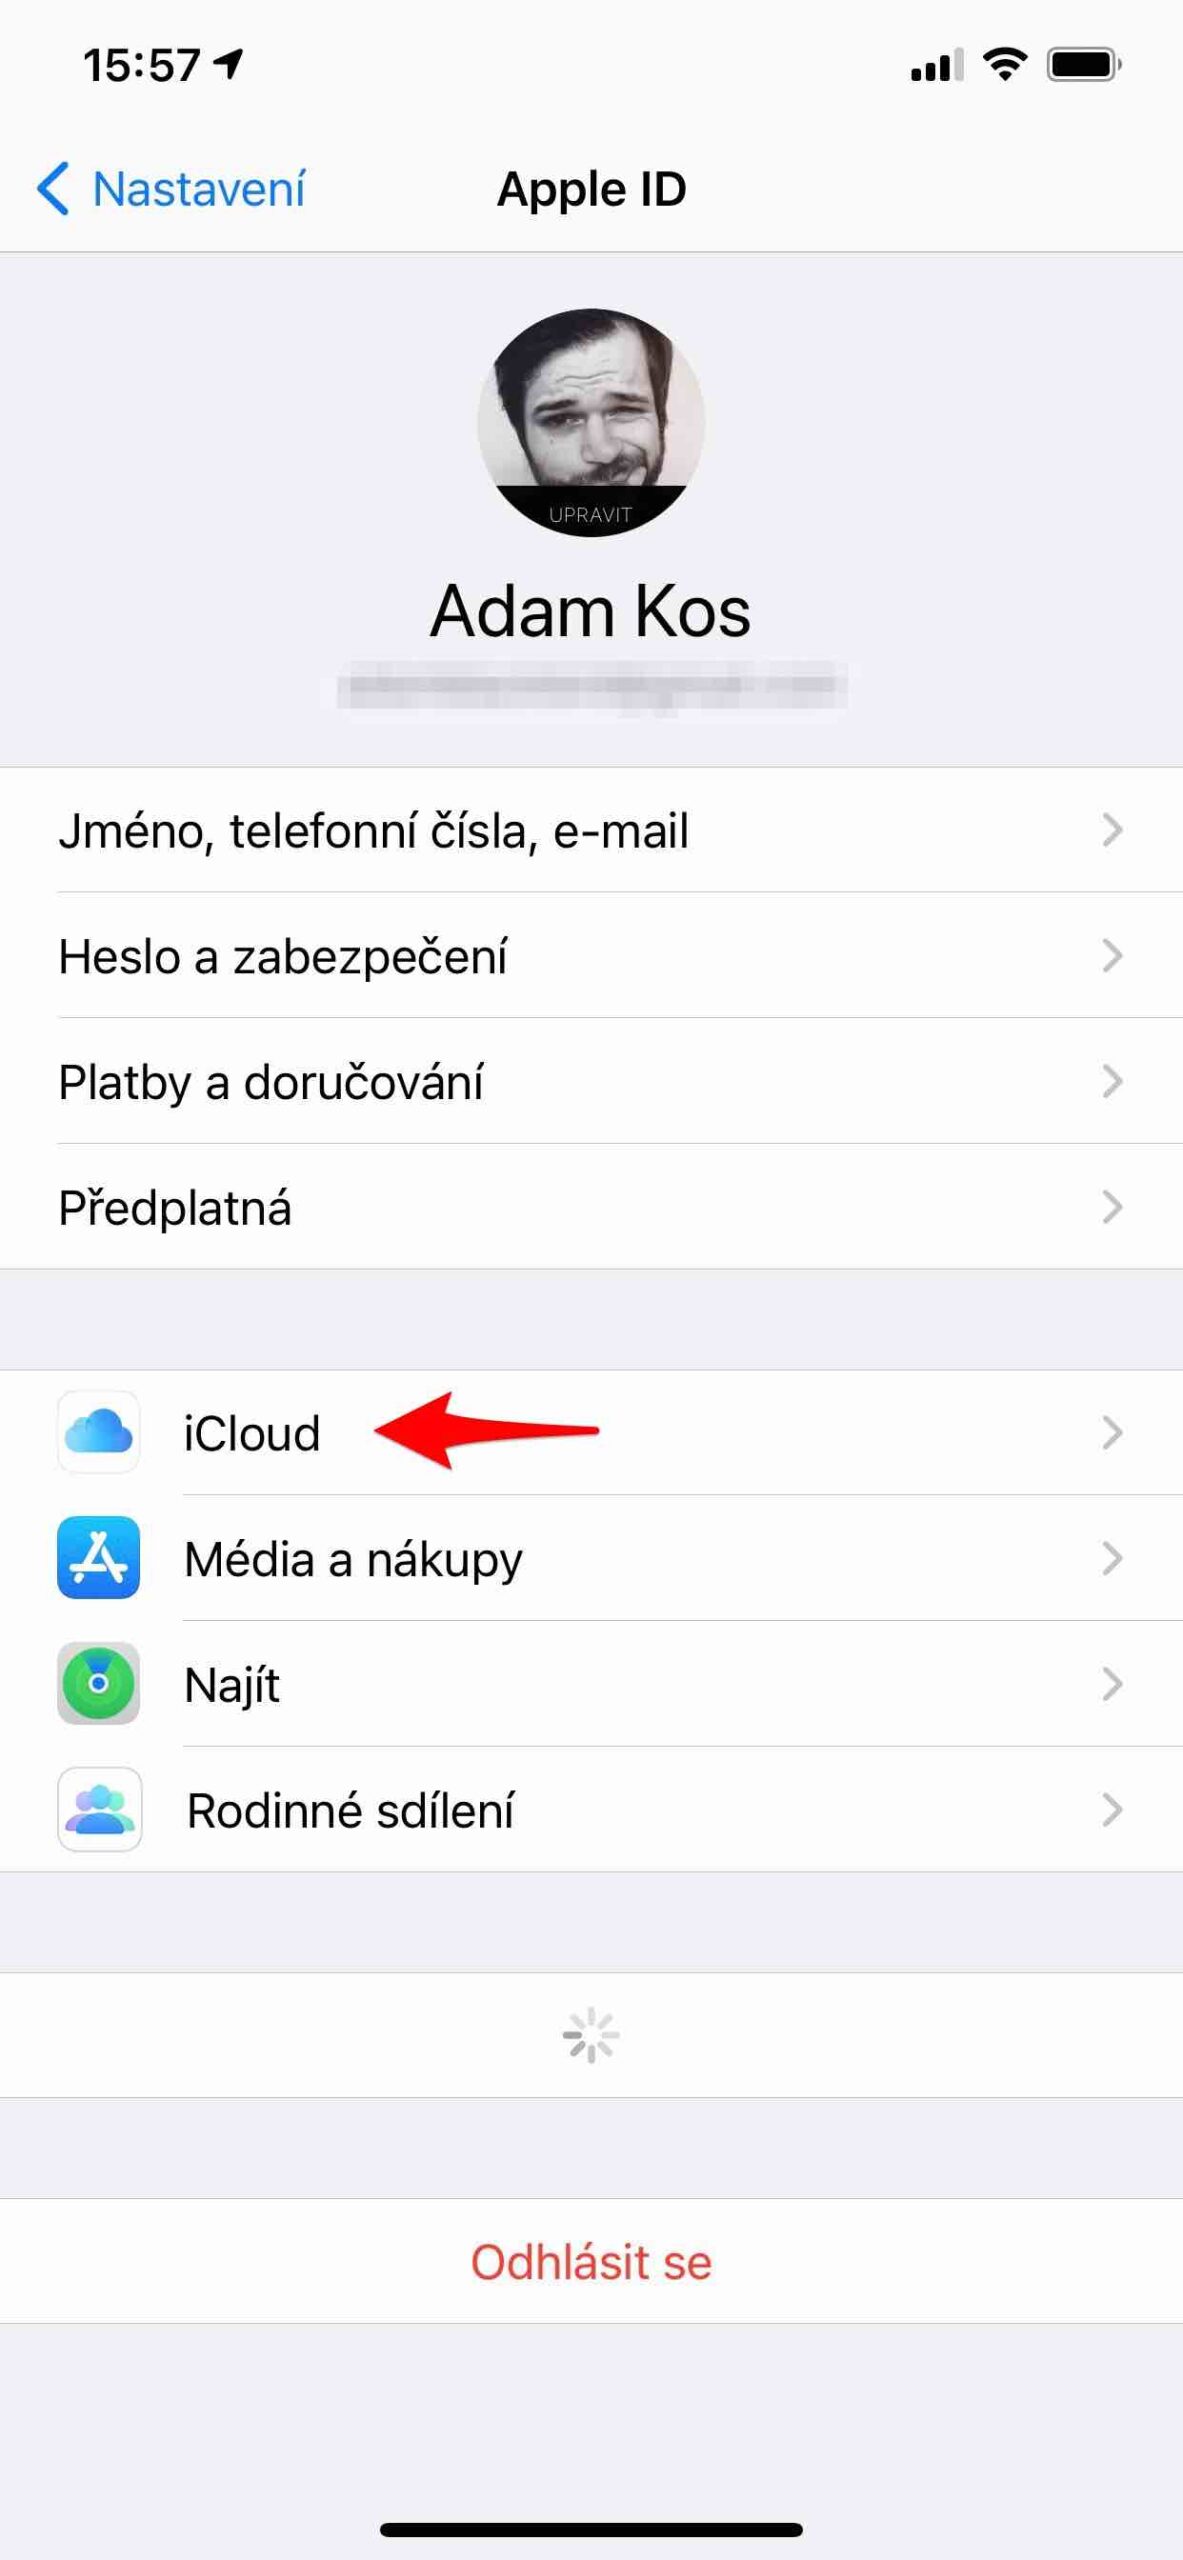
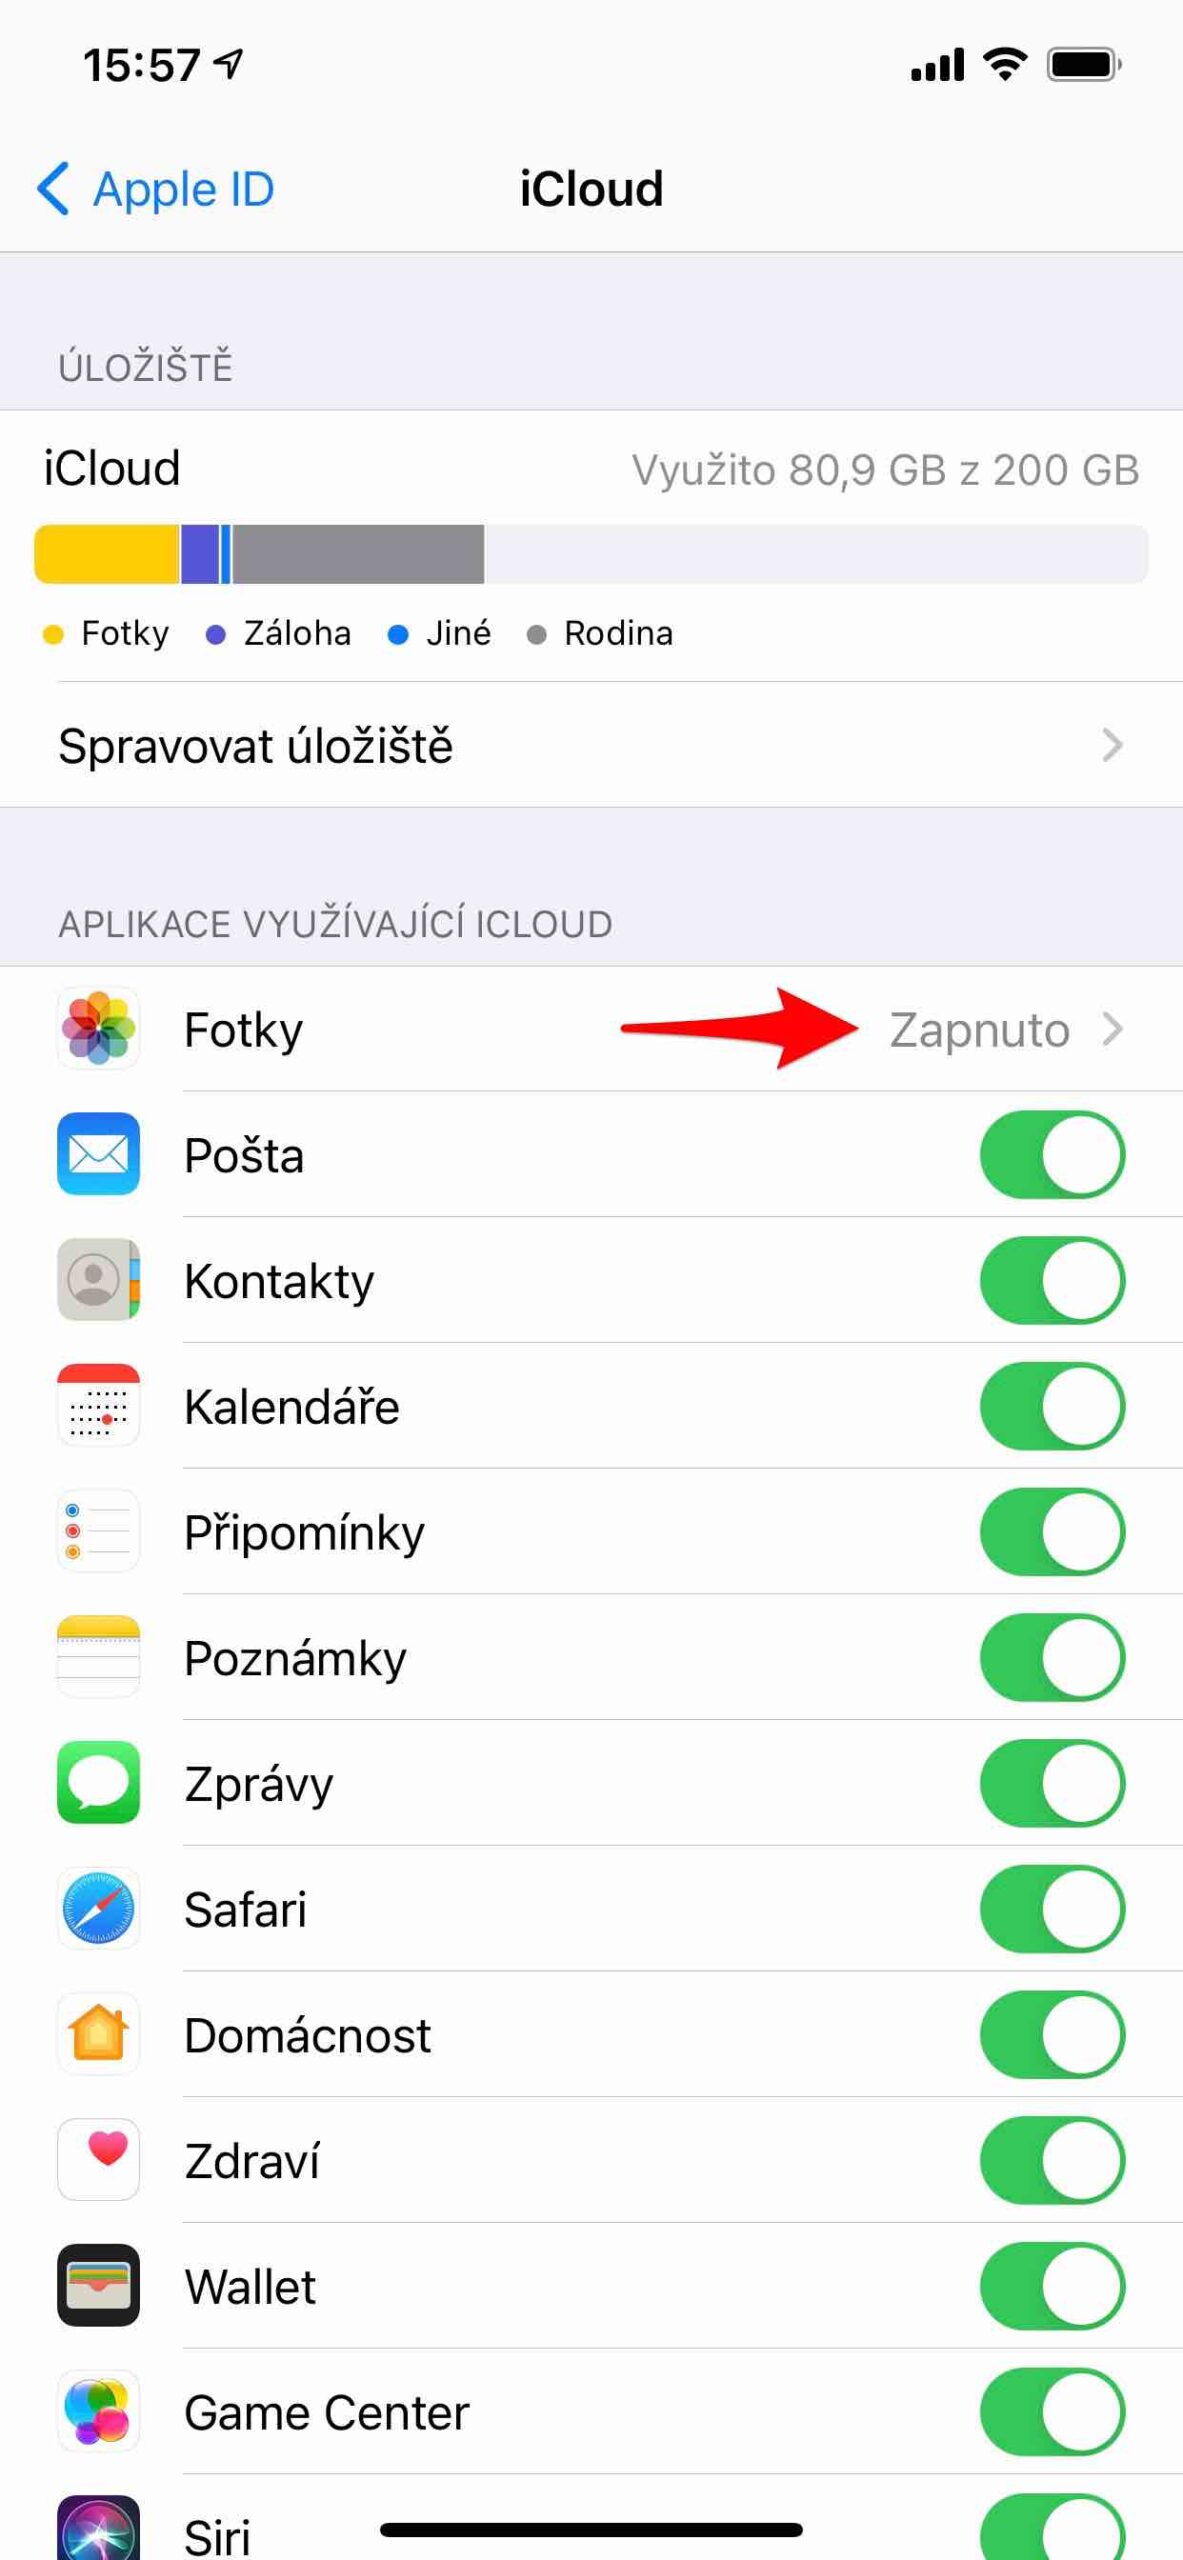
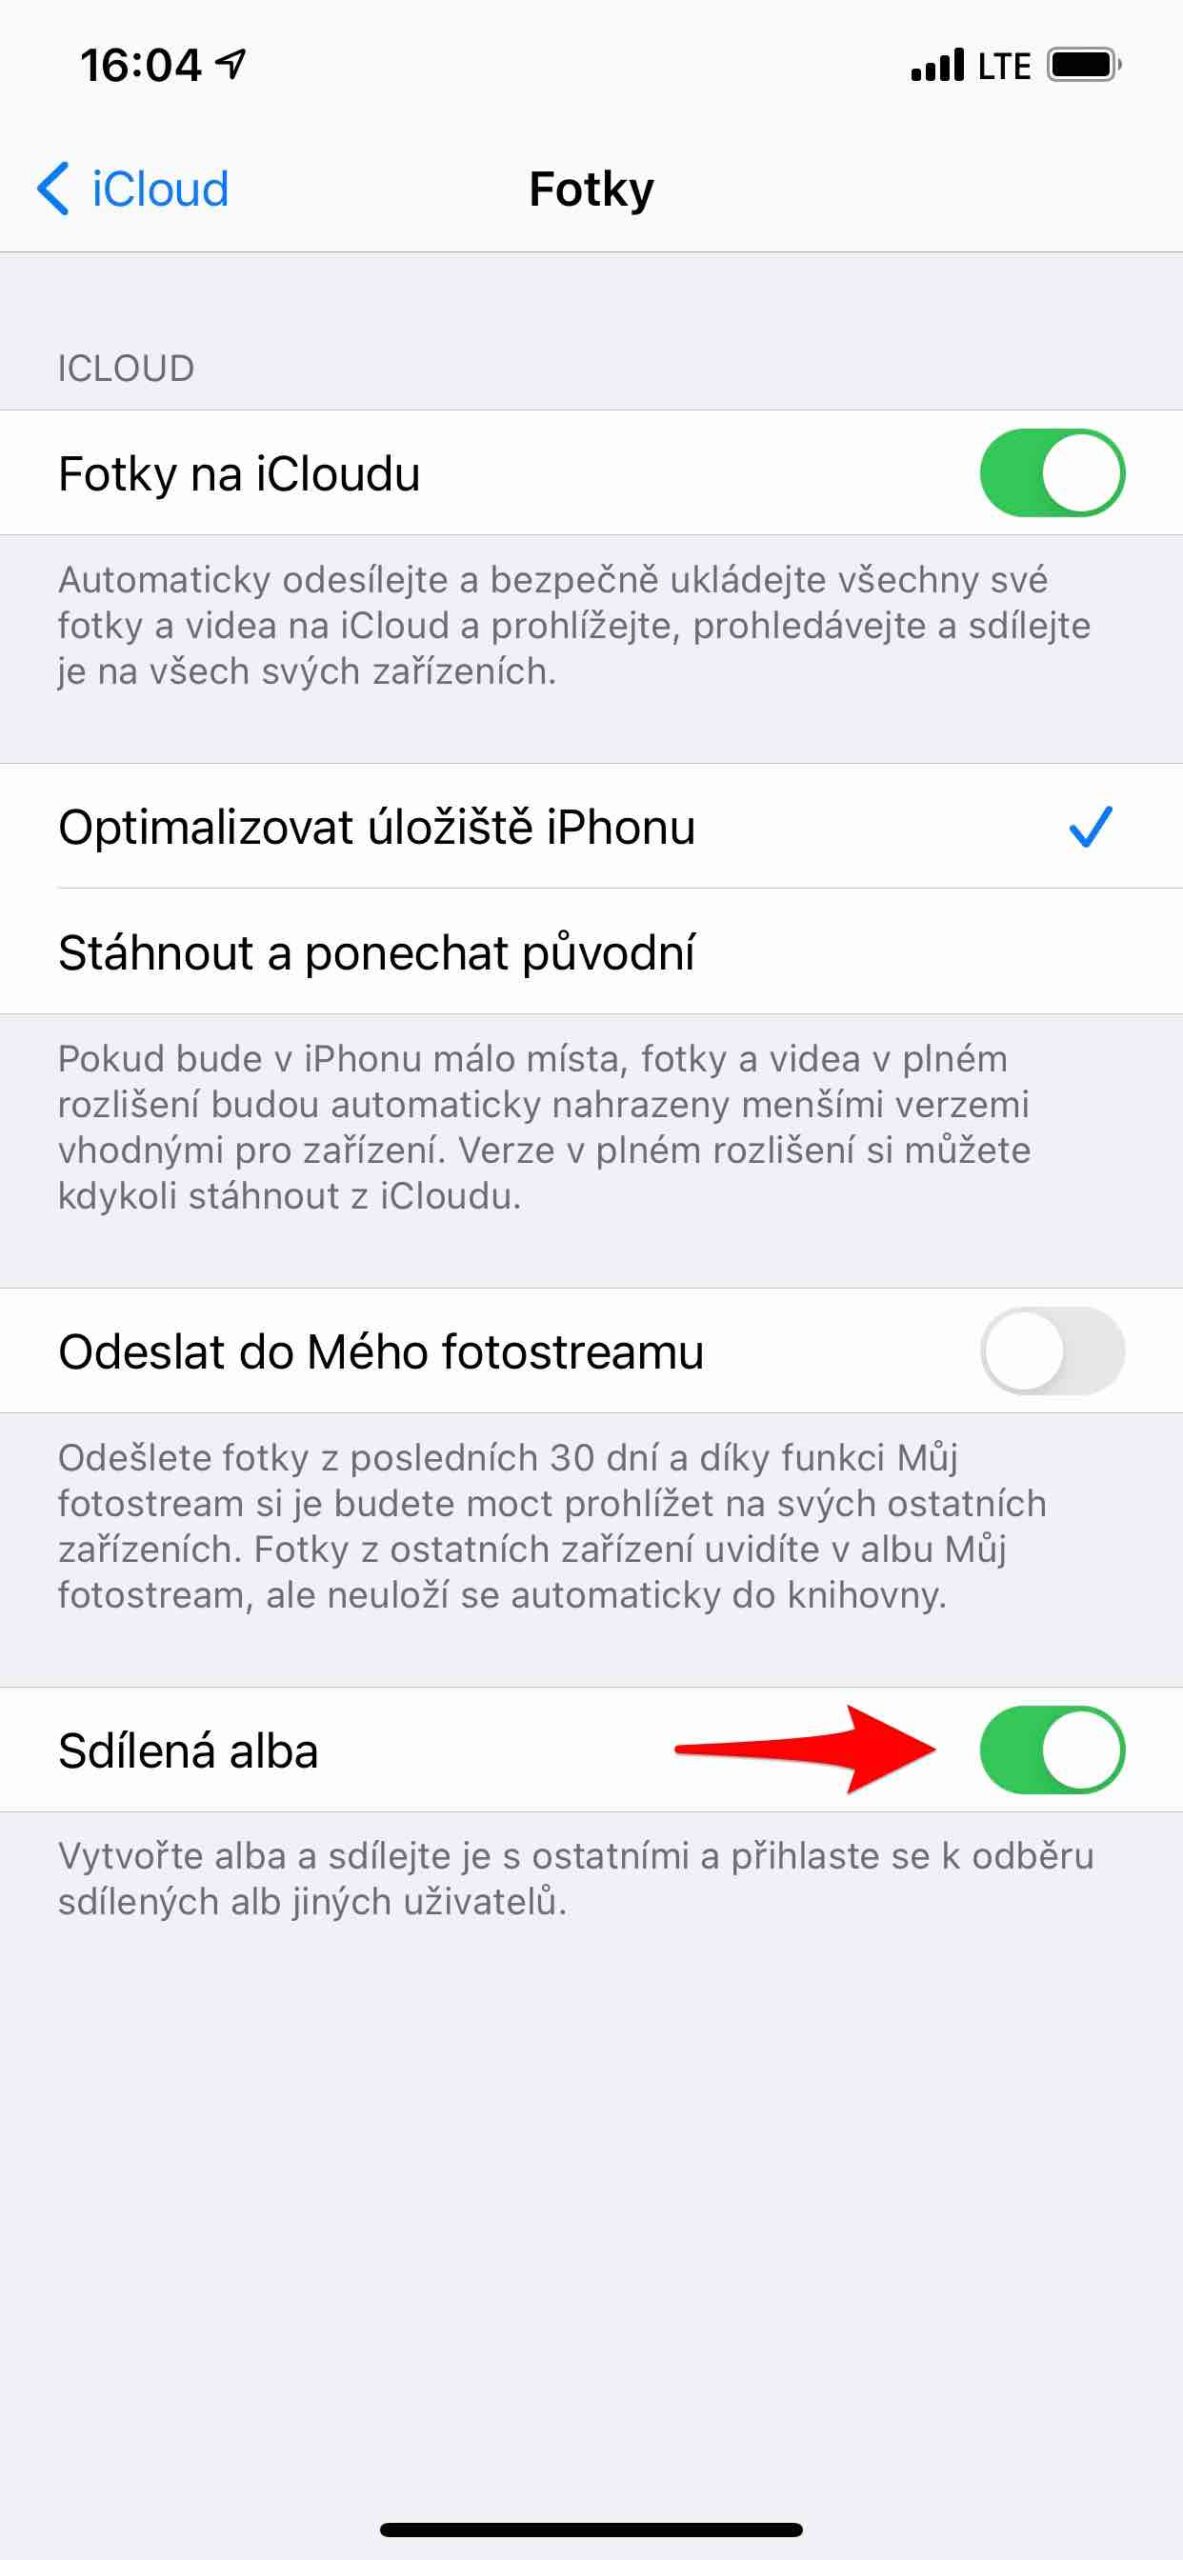
On an iPhone, but also an iPad or iPod touch, go to Settings, completely at the top select your name and select iCloud. You can find the offer here Fotky, which you click and turn on Shared albums. If you do, you can already create them in the Photos app.
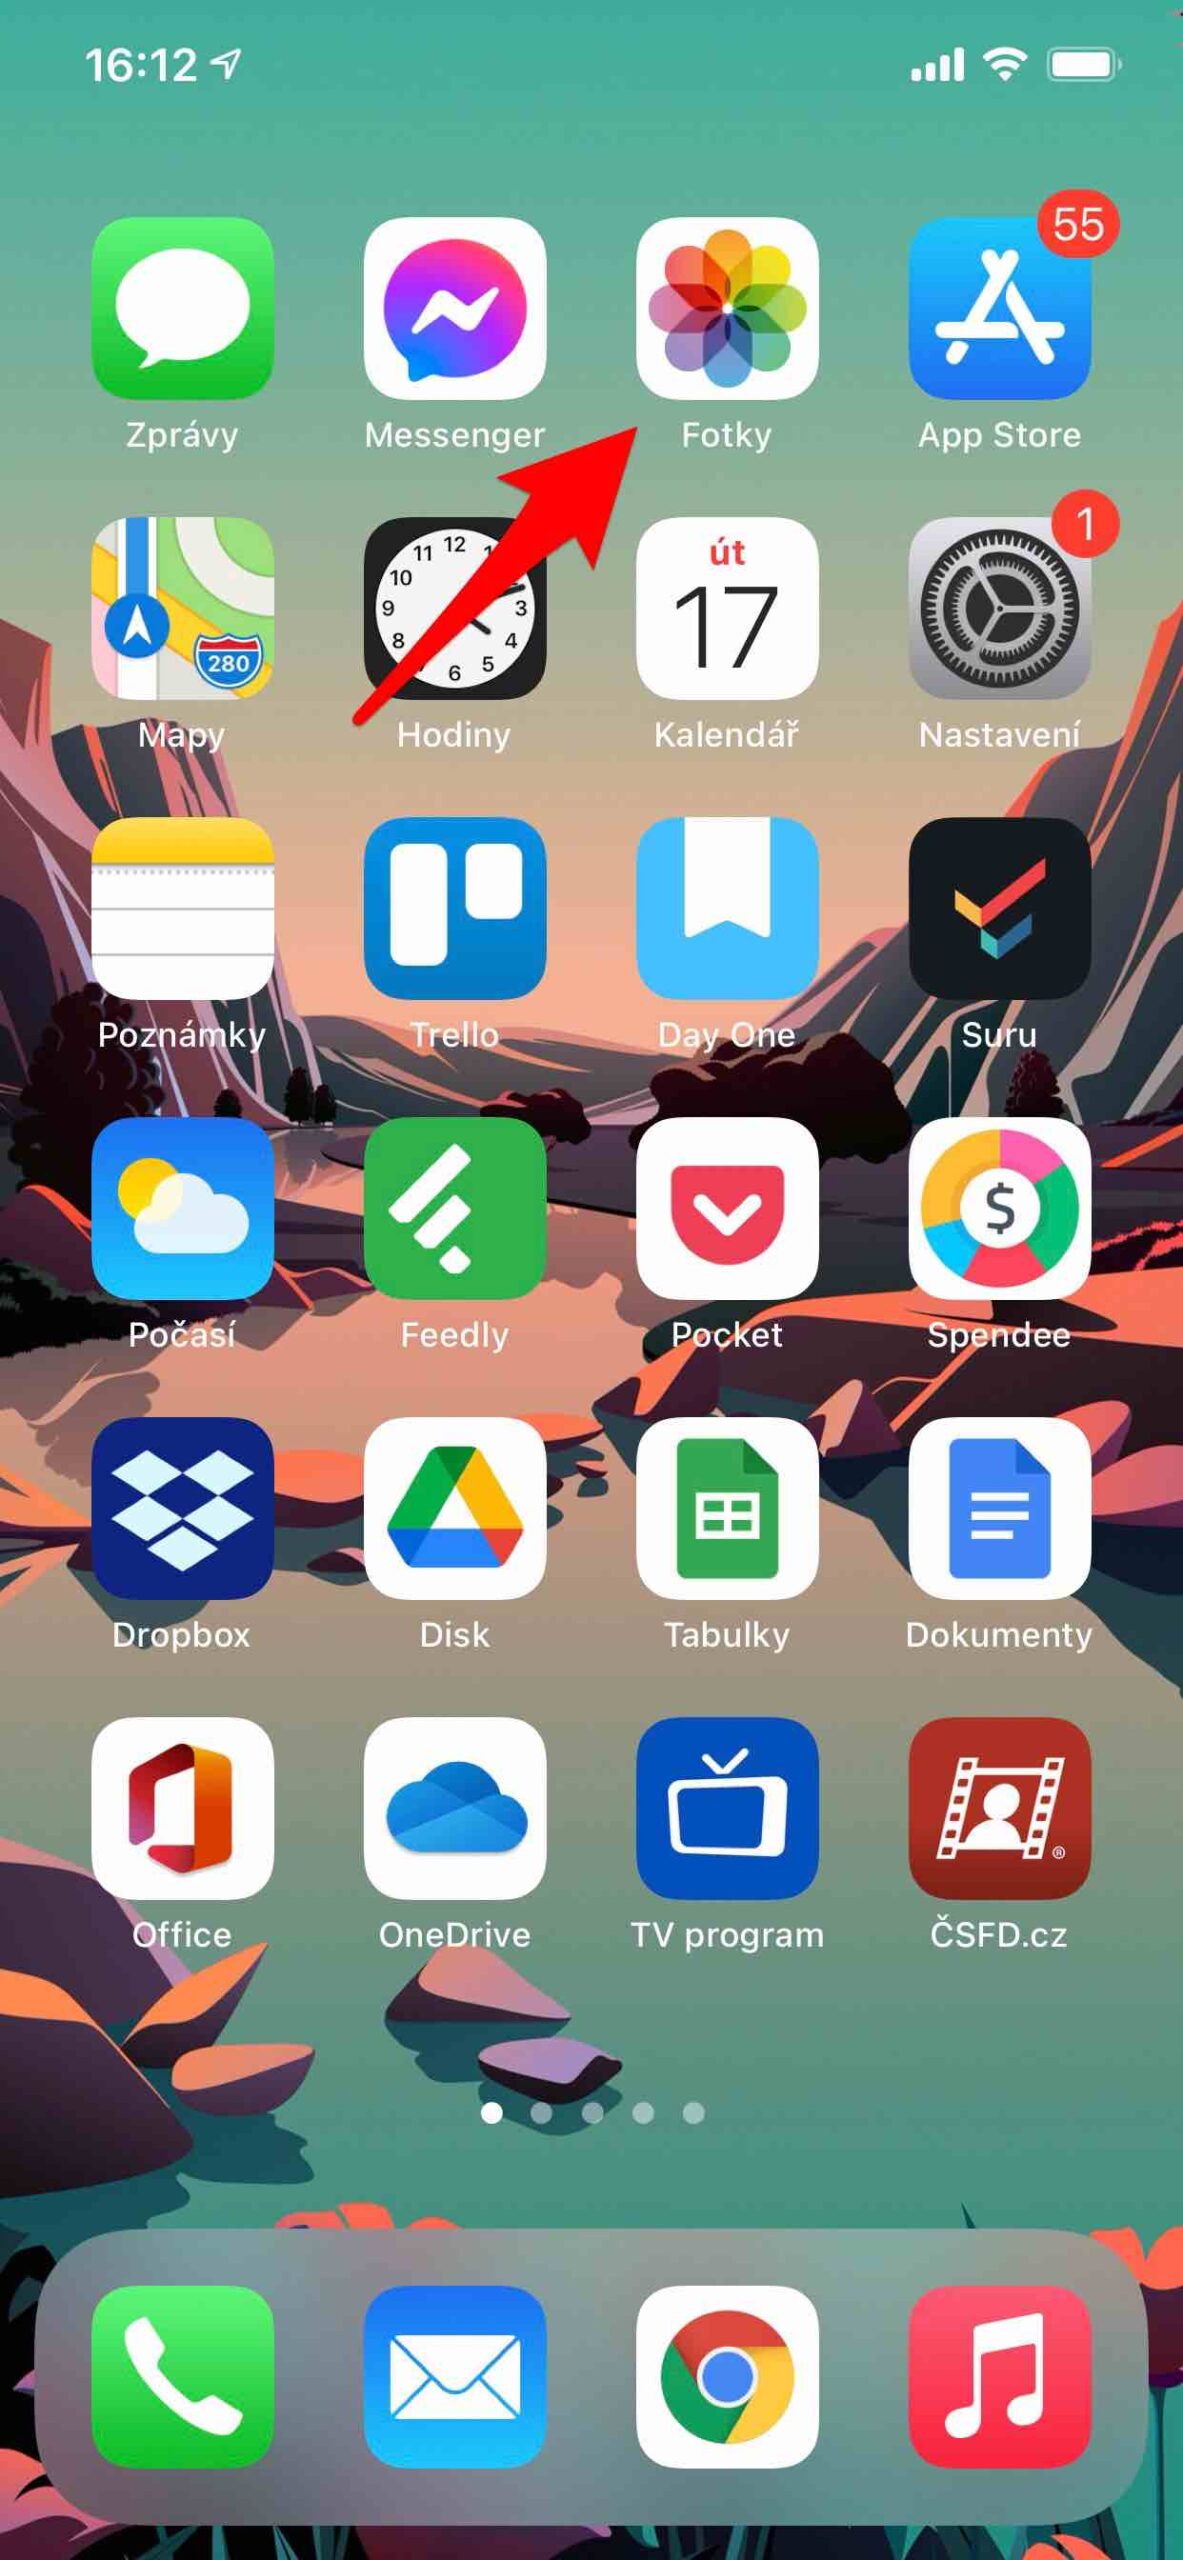
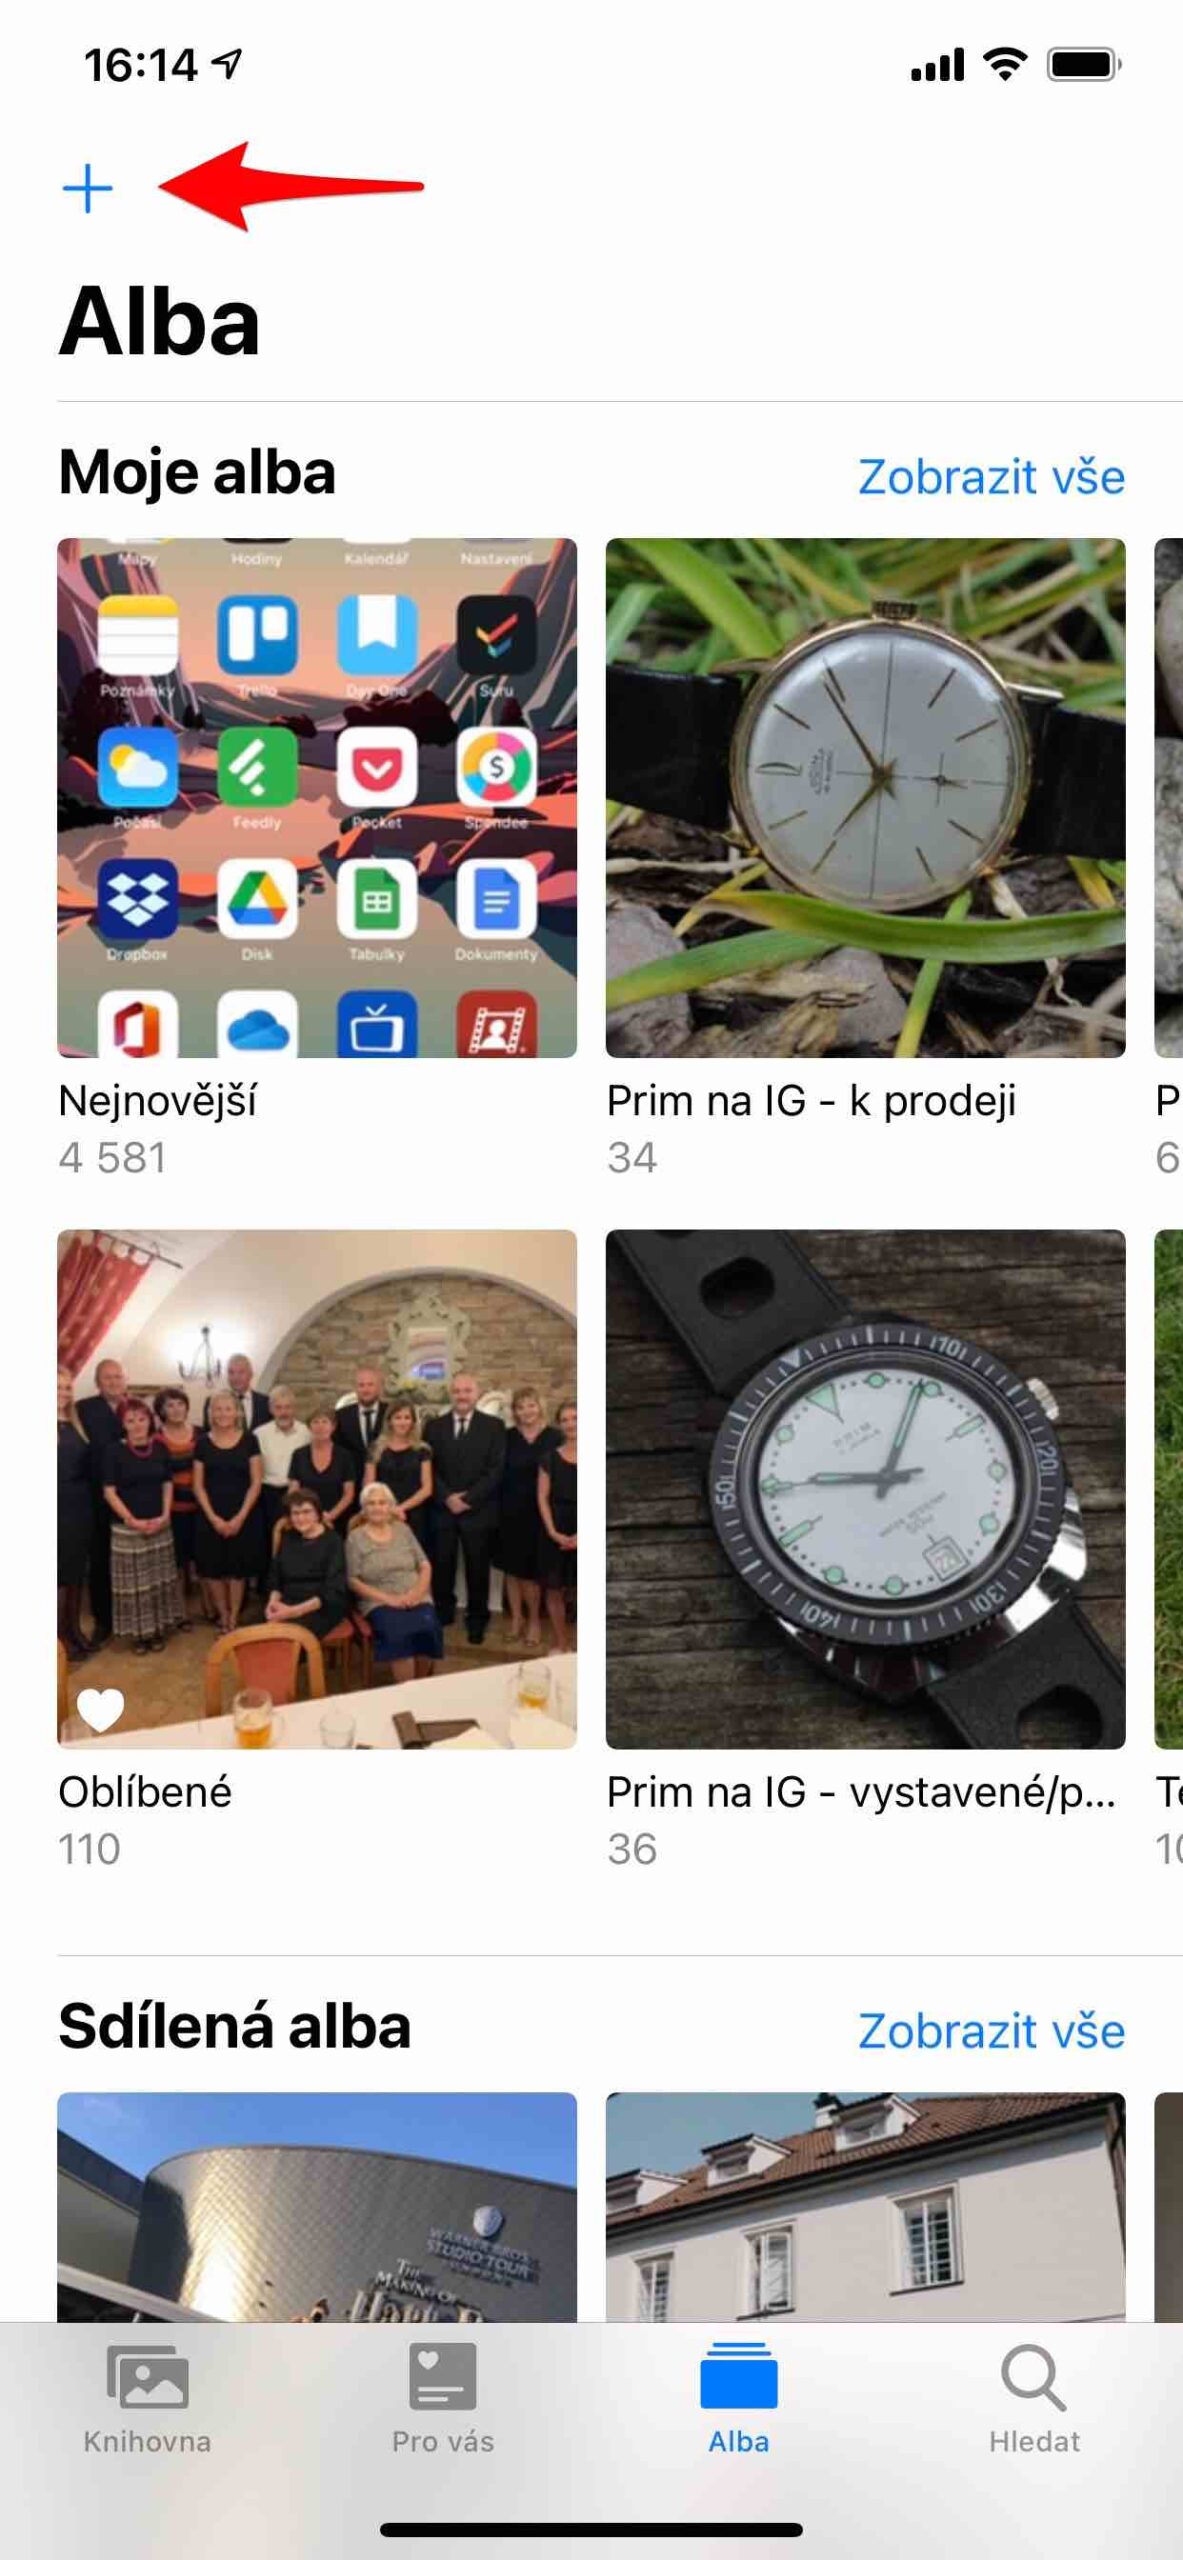
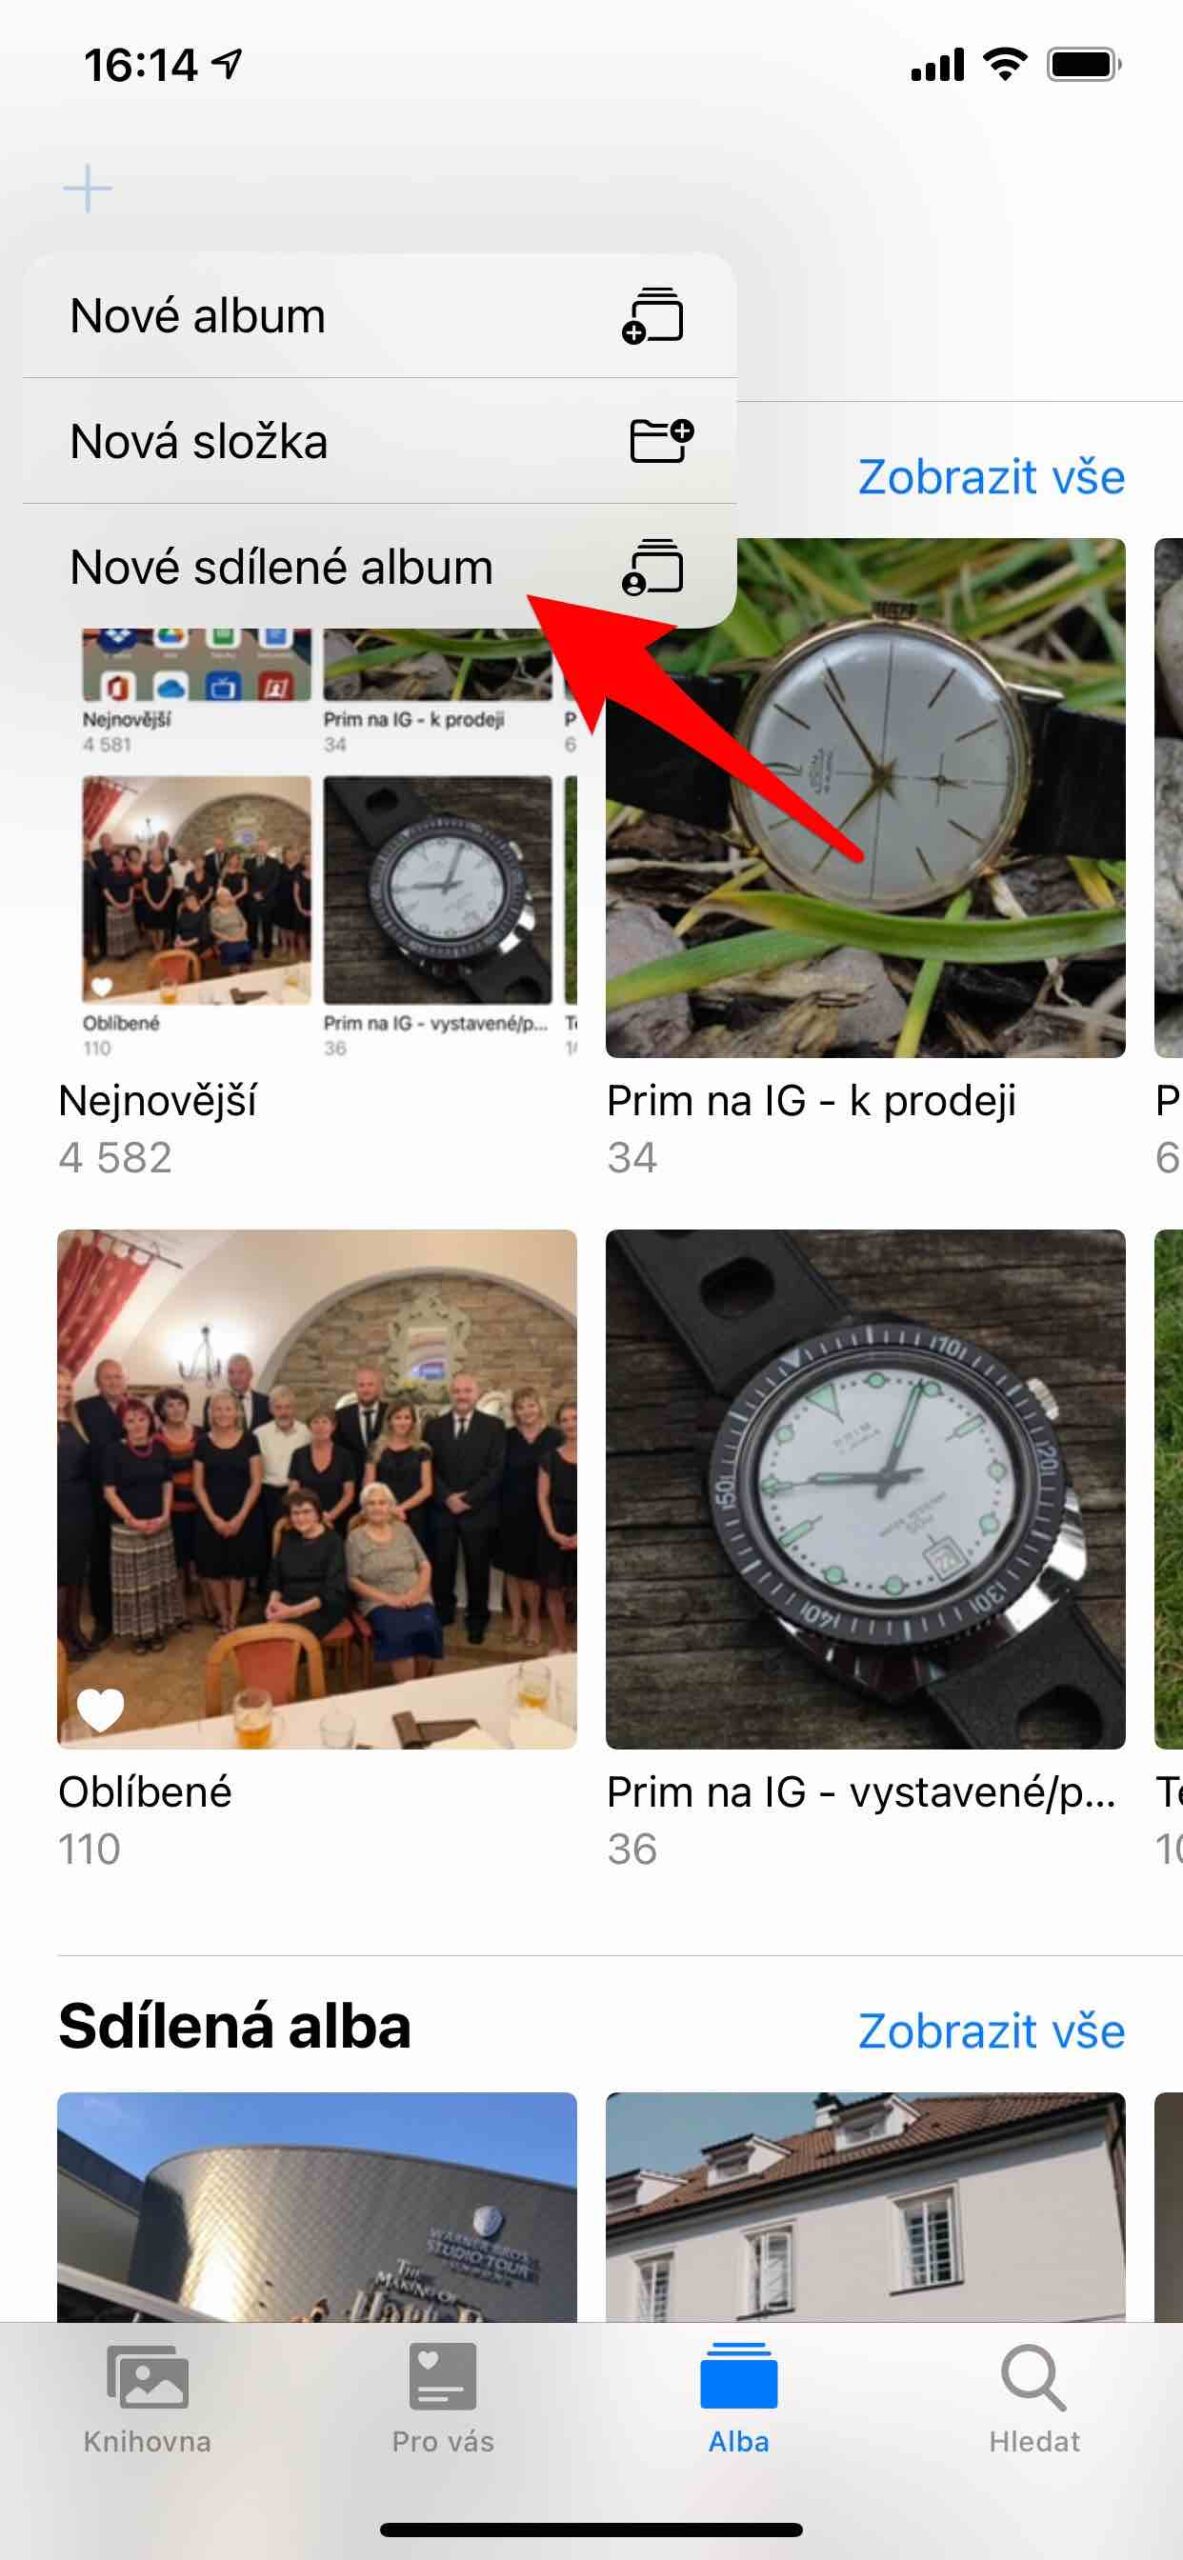
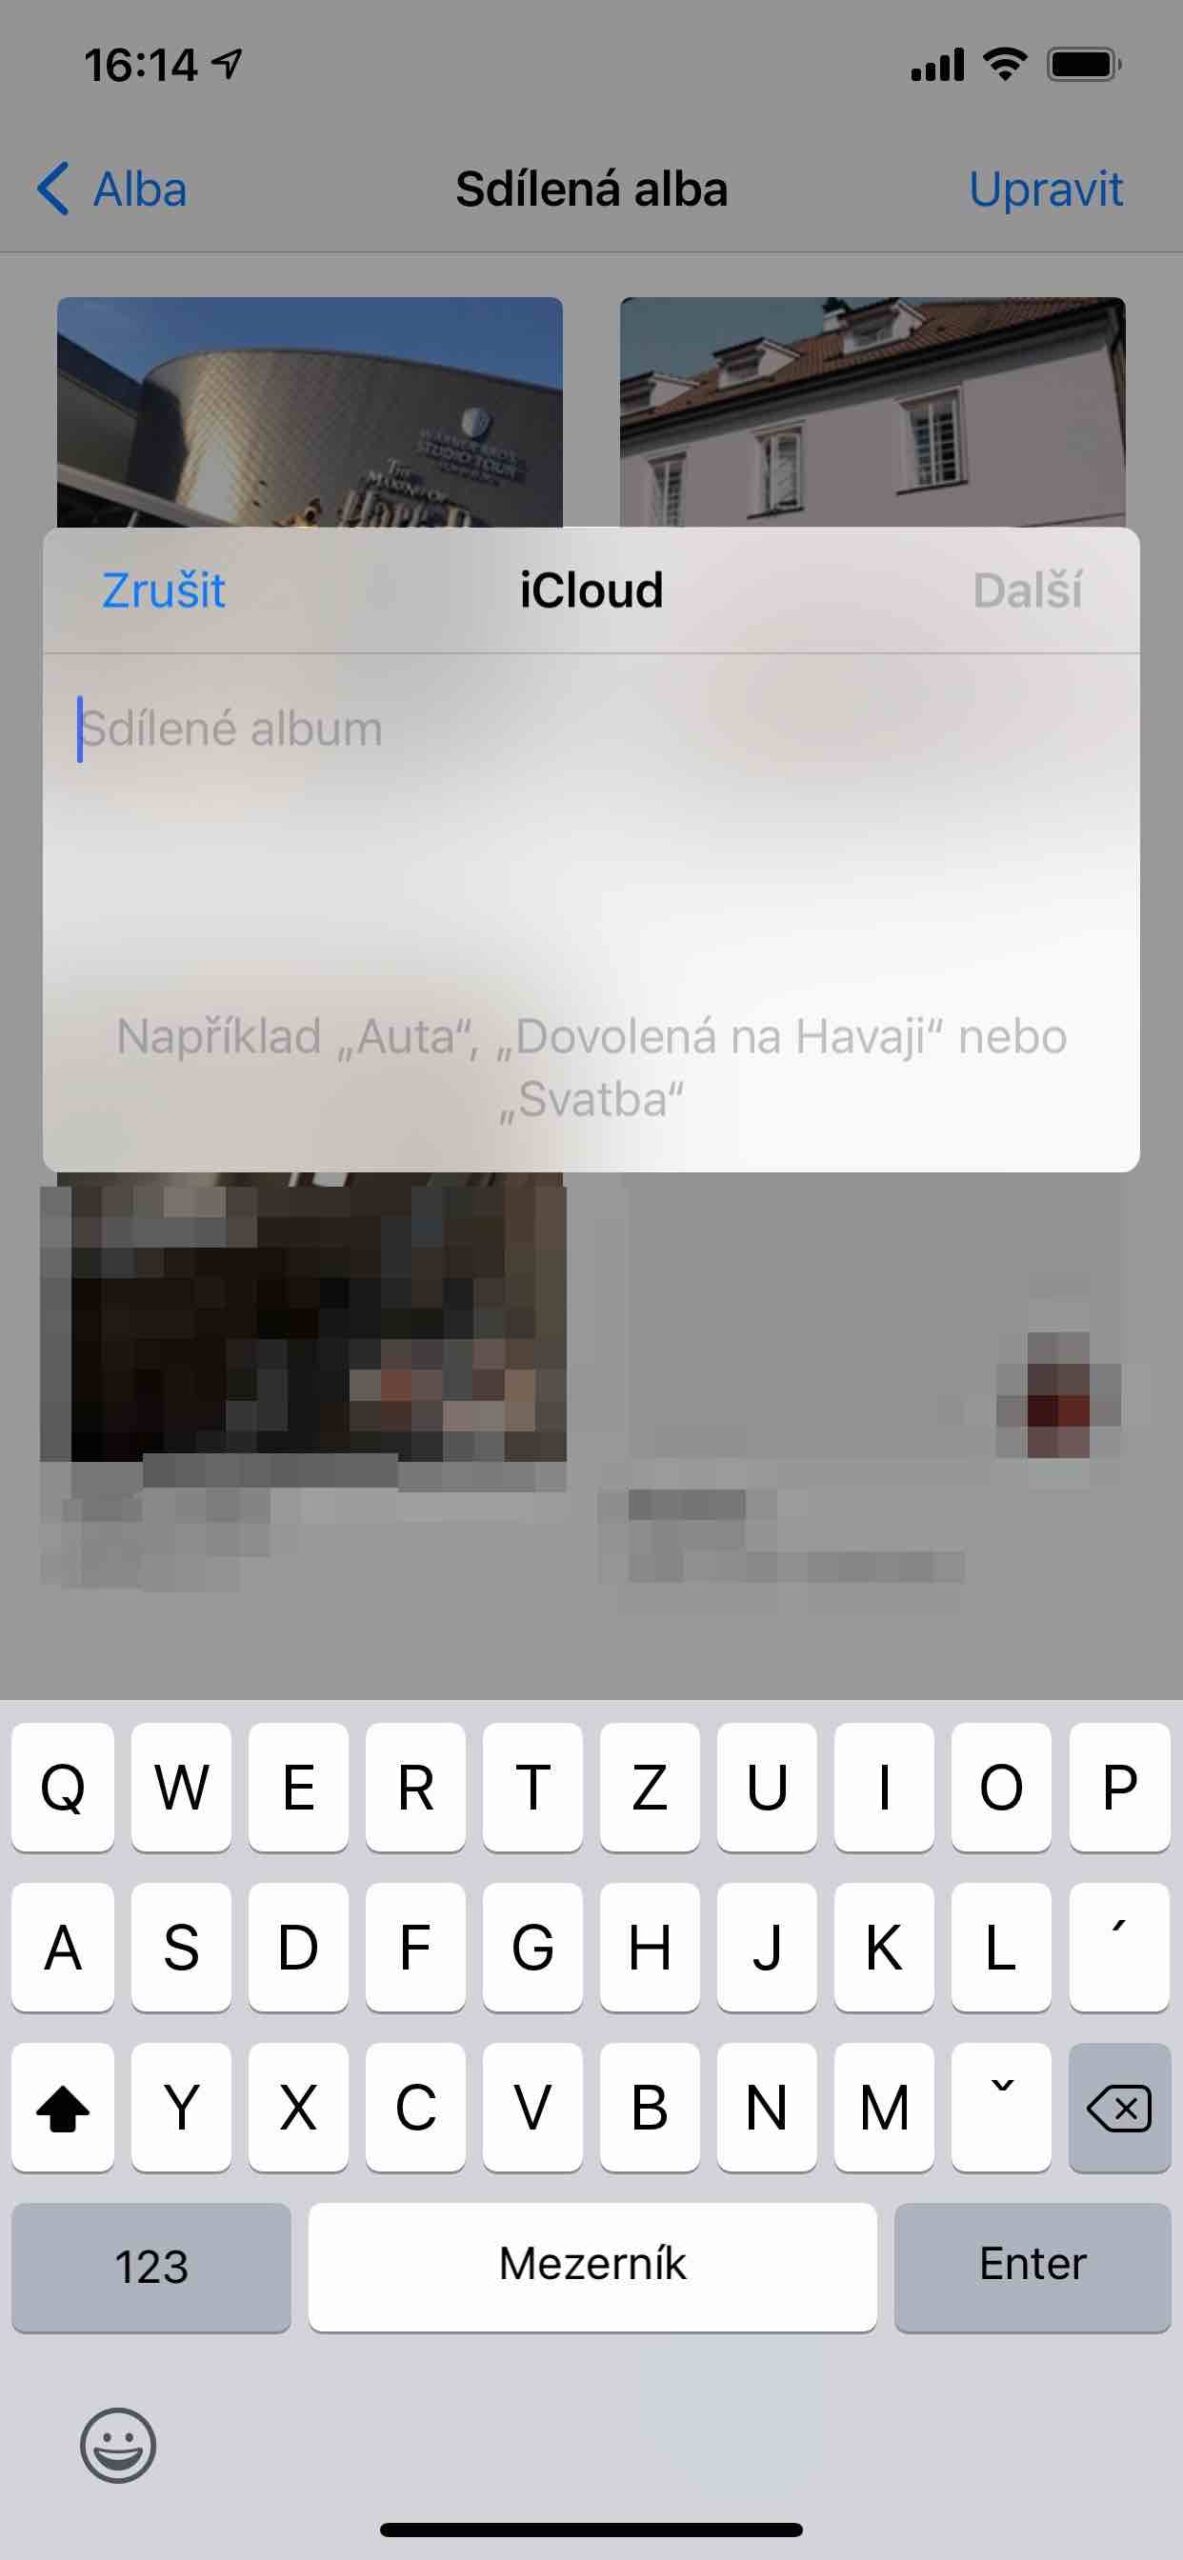
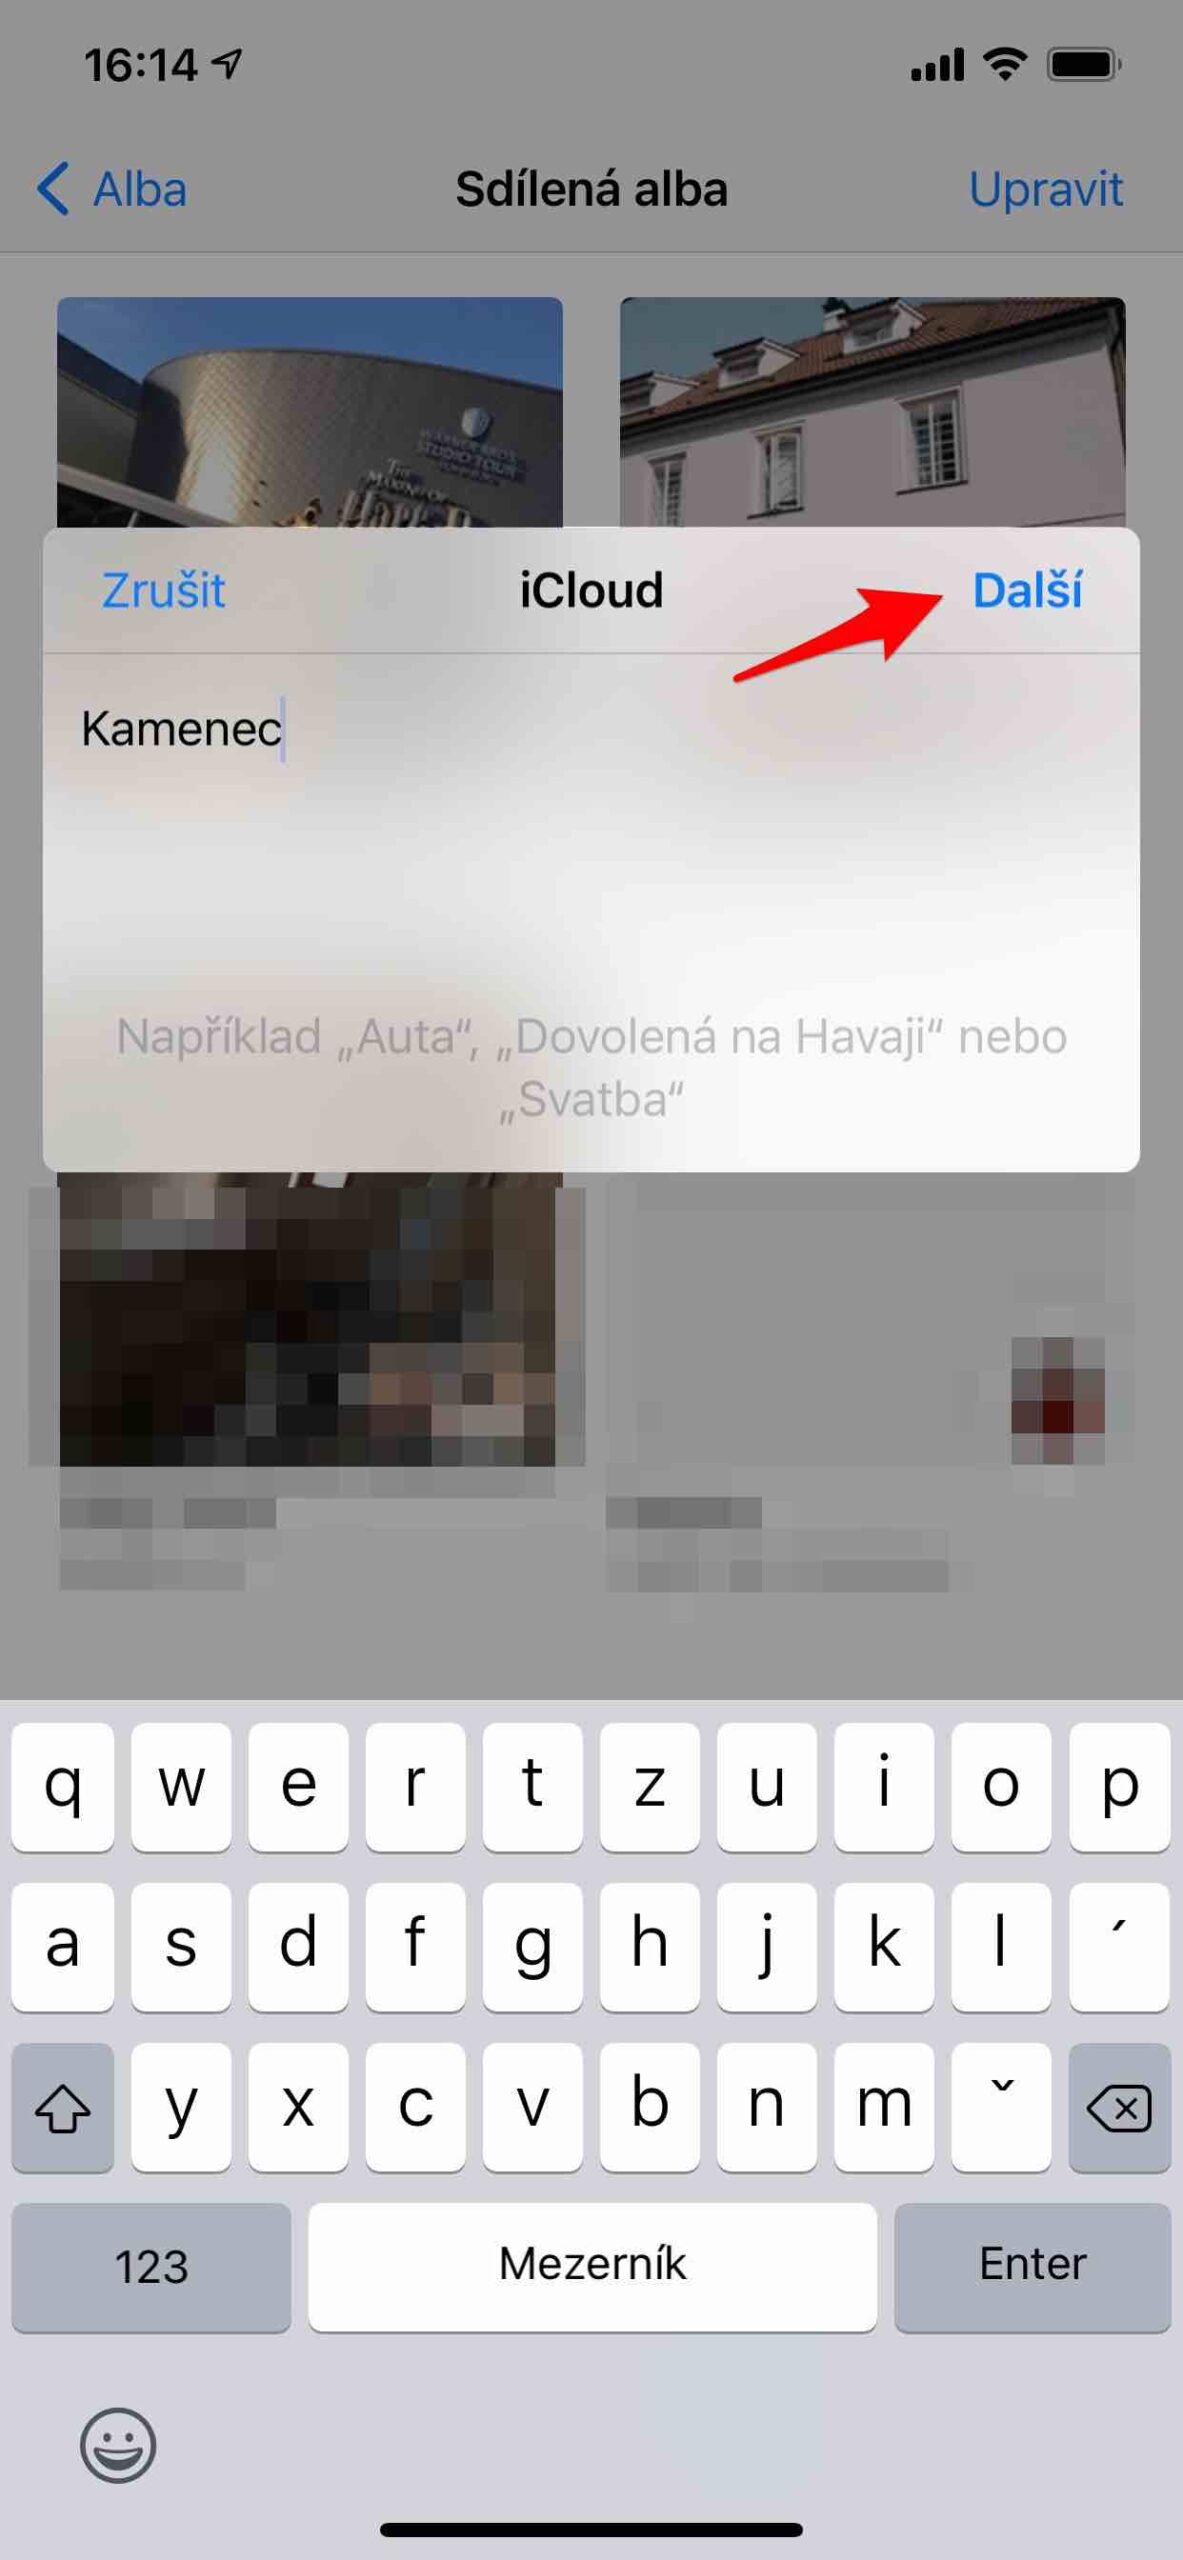
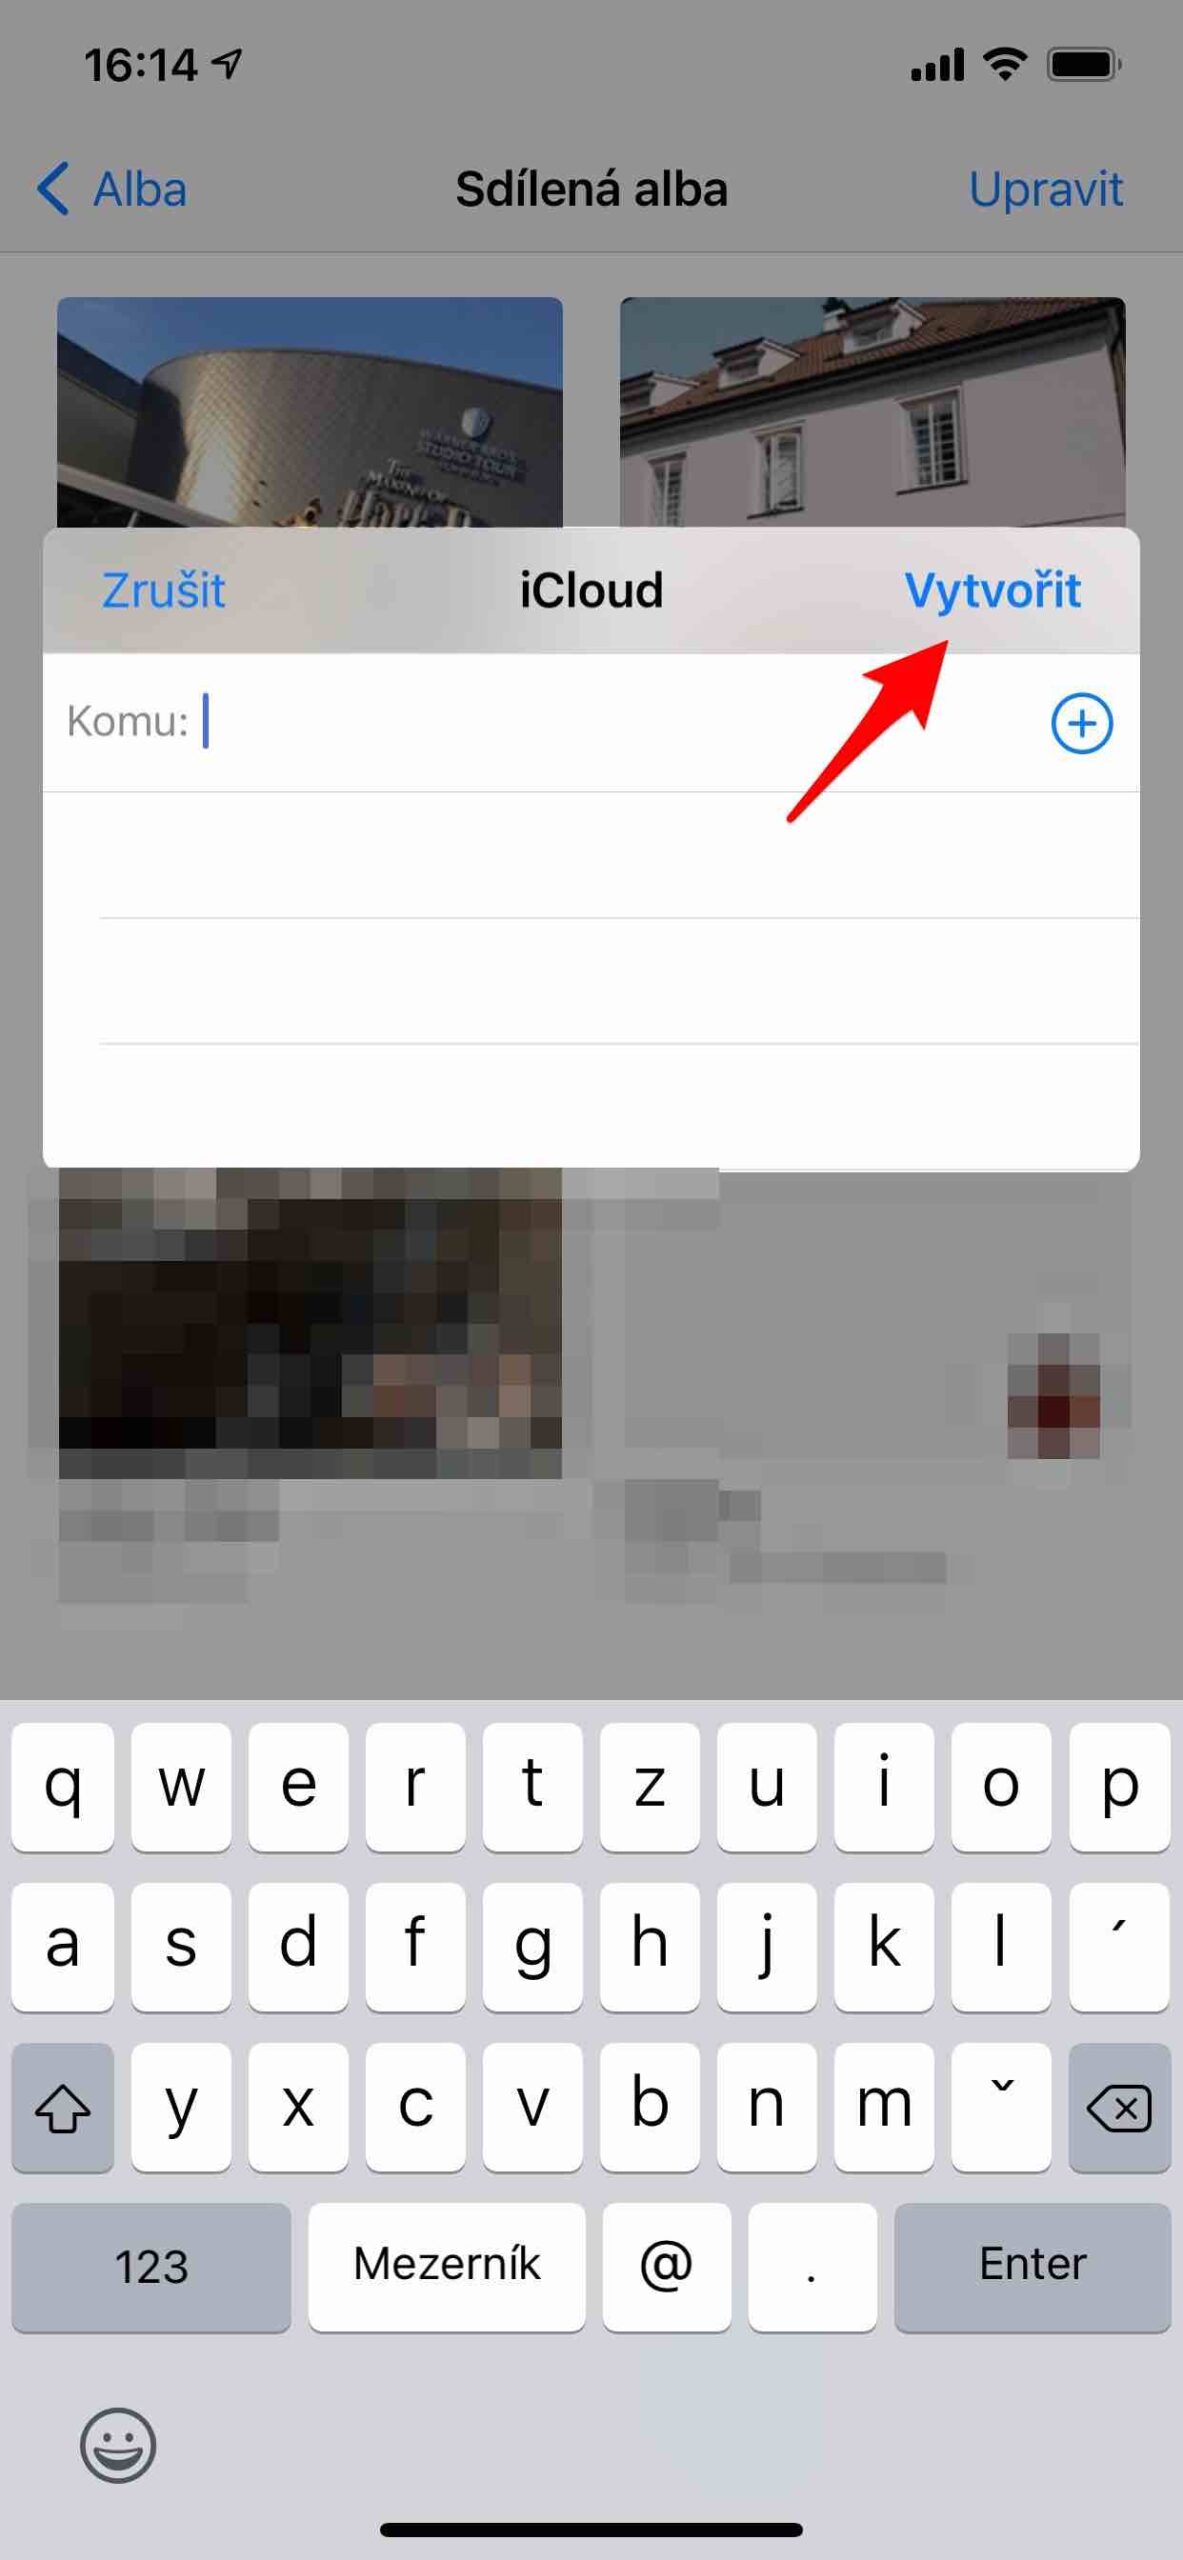
To create a new shared album, go to the menu in the Photos app Albums and tap na plus symbol. Then select New sharing album. Name it and give it Další. Now already you select contacts, which you want to invite to the album. You can enter their email address or the phone number they use for iMessage. Finally, just confirm with the offer Create.
To delete an album, select the option in the Shared Albums section Show all, at the top right, select Adjust and subsequently select the red minus sign in the left corner of the album. If the album is yours, you can delete it, if you are invited to it, you can unsubscribe from it. Then just choose Done.
 Adam Kos


And must everyone have an APPLE?
And if I delete the shared album, will the photos remain somewhere?
Your articles have a lot of sauce at the beginning, but the practical information is missing...
Exactly. You can learn this easily, but if the photos remain there after deletion, if the quality changes, etc., you won't find out here...
Typically, it is assumed that they all have an Apple because the sharing process is that you send a person to their Apple ID. Then a voice pops up if he accepts and in his photo application on any Apple device he has, he sees this album. However, a www link can also be generated for those who do not have Apple and can browse. But they can't contribute and comment, at least I think.
Photos are uploaded to the shared album or displayed in full quality.
It is necessary to understand how the shared albums of Apple photos work. So you have some photos on your phone, let's say. You will create a shared album where the photos will be uploaded to the iCloud server and displayed to you and invited users. But the "originals" that you specified to be shared always remain where they are in the Photos app. So if you delete a shared album, your photos will always remain where they are, it won't affect them in any way. They're just no longer shared within the currently deleted album. Alternatively, even if you delete just one photo from a shared album, it will simply stop sharing, but your photo library in the application will not be affected. And vice versa, if you delete a photo in the entire library, in the shared album, it will appear in it from a copy uploaded for this purpose to iCloud.
Today I found out that when I download a photo from the shared album, it is not the original! The original 5MPx HEIC photo is transformed to 3MPx and jpeg format. So thanks, but it's completely unusable!!!!!!!!!