The power of cell phones is that once you unbox them and fire up the camera app, you can immediately take photos with them. Just aim at the scene and press the shutter, anytime and (almost) anywhere. But the result will also look like that. So it takes some thought to make your images as pleasing as possible. And from that, here is our series Taking photos with an iPhone, in which we will show you everything you need. Now we will go through the interface of the Camera application and its regularities.
It could be interest you

The Camera app is the basic photography title on iOS. Its advantage is that it is immediately at hand, because it is fully integrated into it, and also that it works quickly and reliably. Here we will show you some regularities that you may have missed during normal use. This article applies to the iPhone XS Max with iOS 14.2. Minor differences may occur across individual models and operating systems.
Focusing and exposure determination
Camera is definitely not one of the advanced photo apps that give you full manual input. You can't set either the ISO or the shutter speed here, but you can control at least the selection of the focus point and the determination exposure that is, how bright or dark the resulting scene will be.
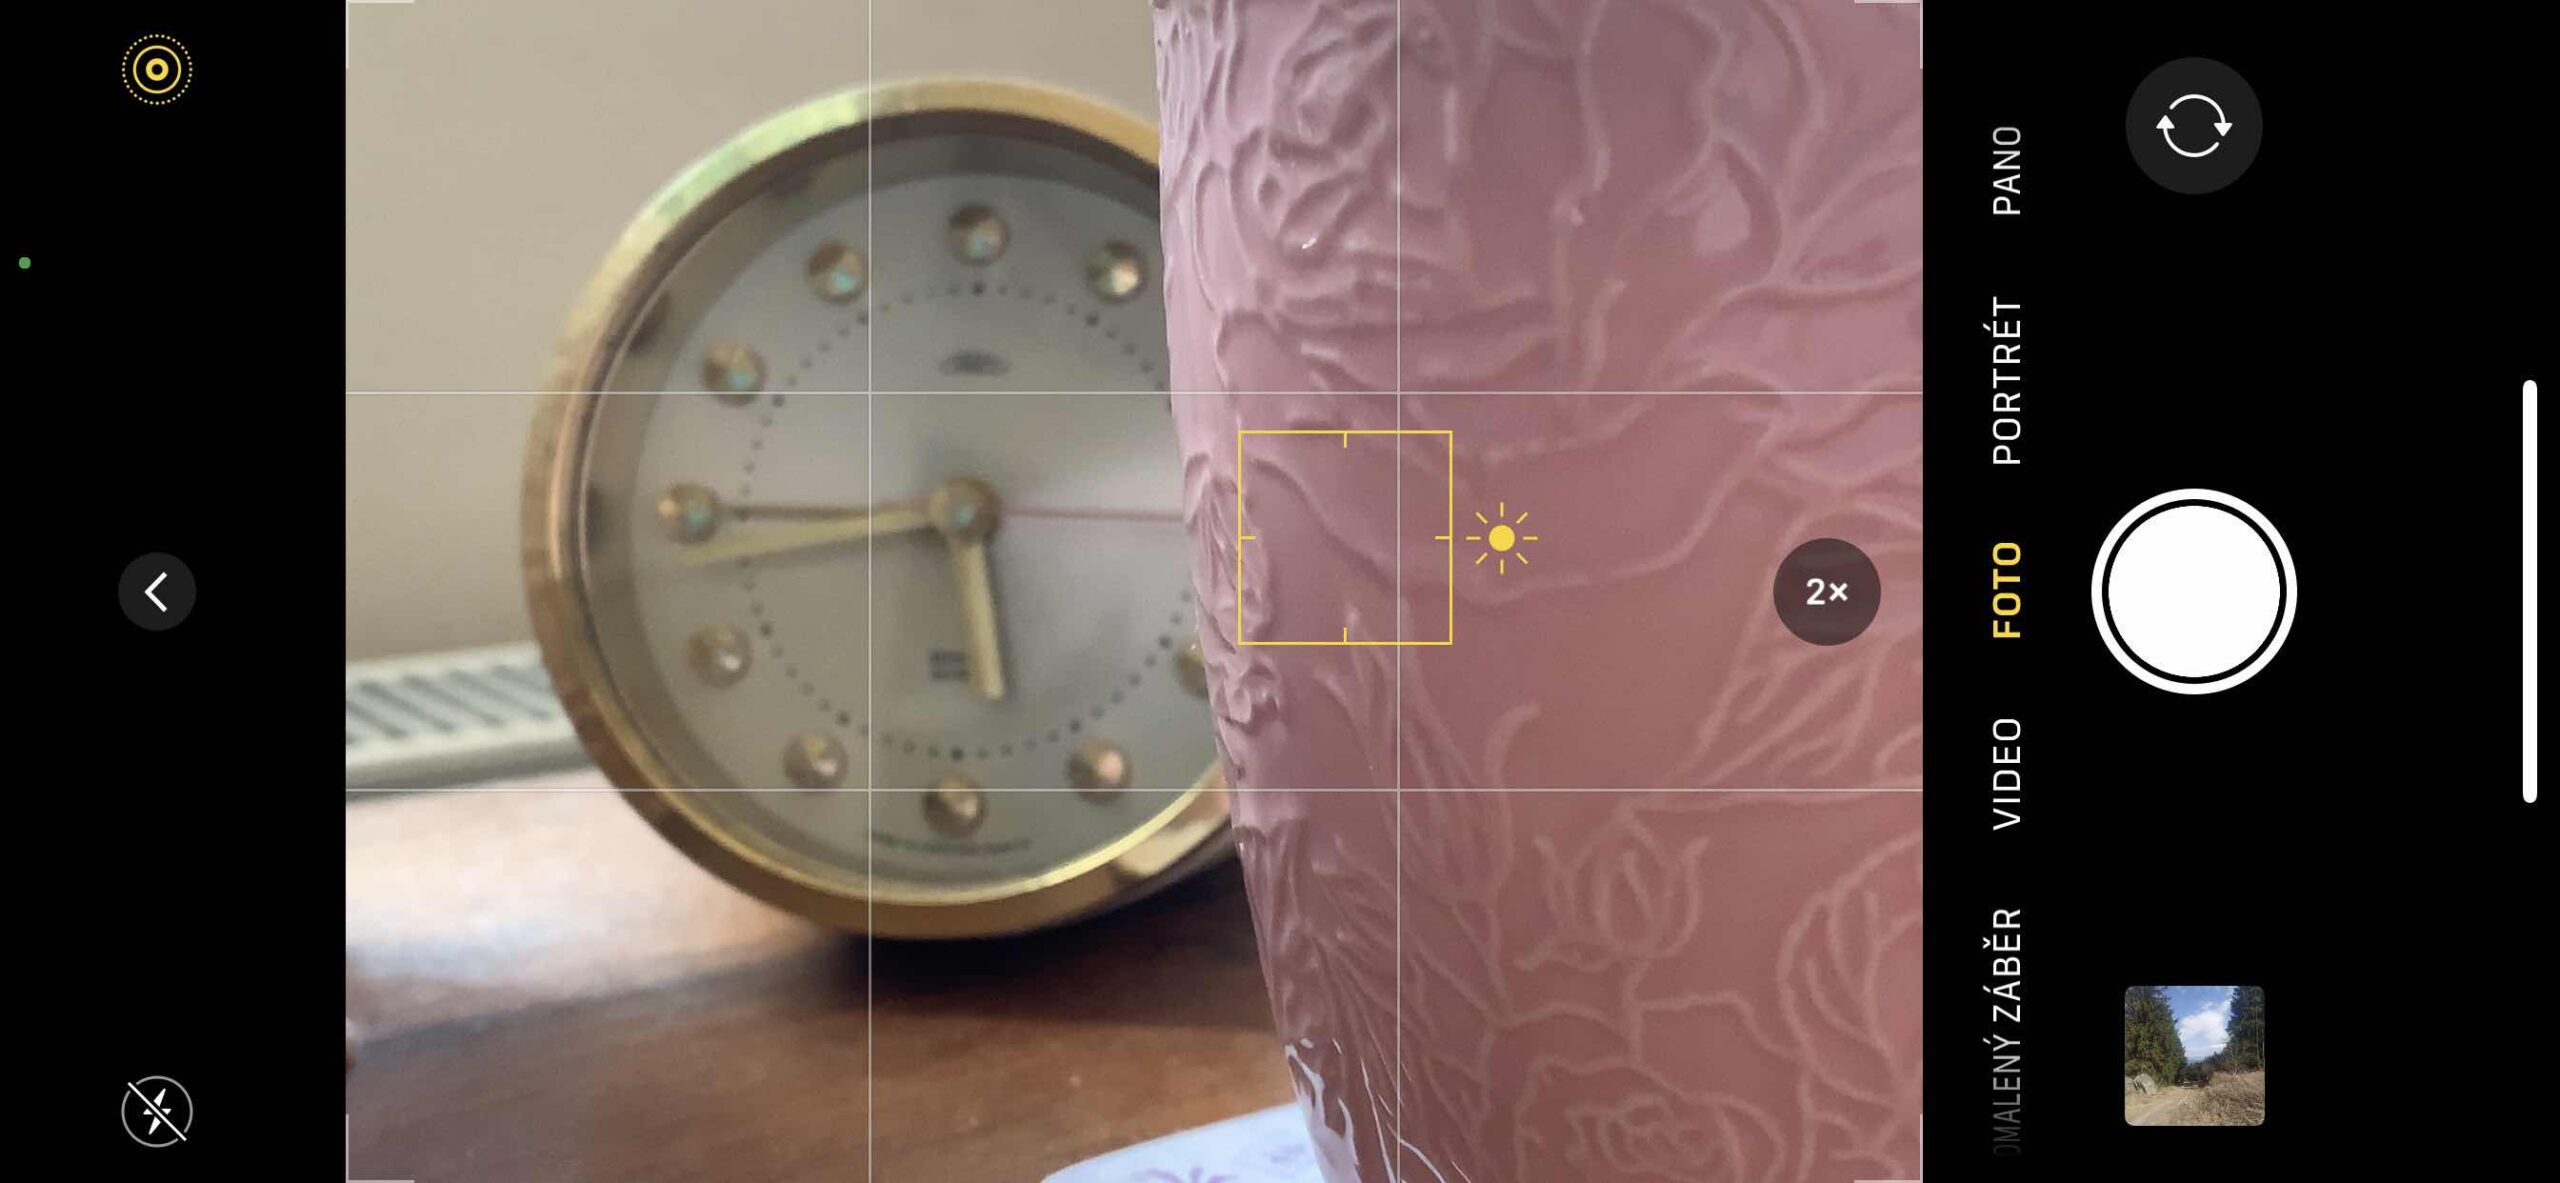
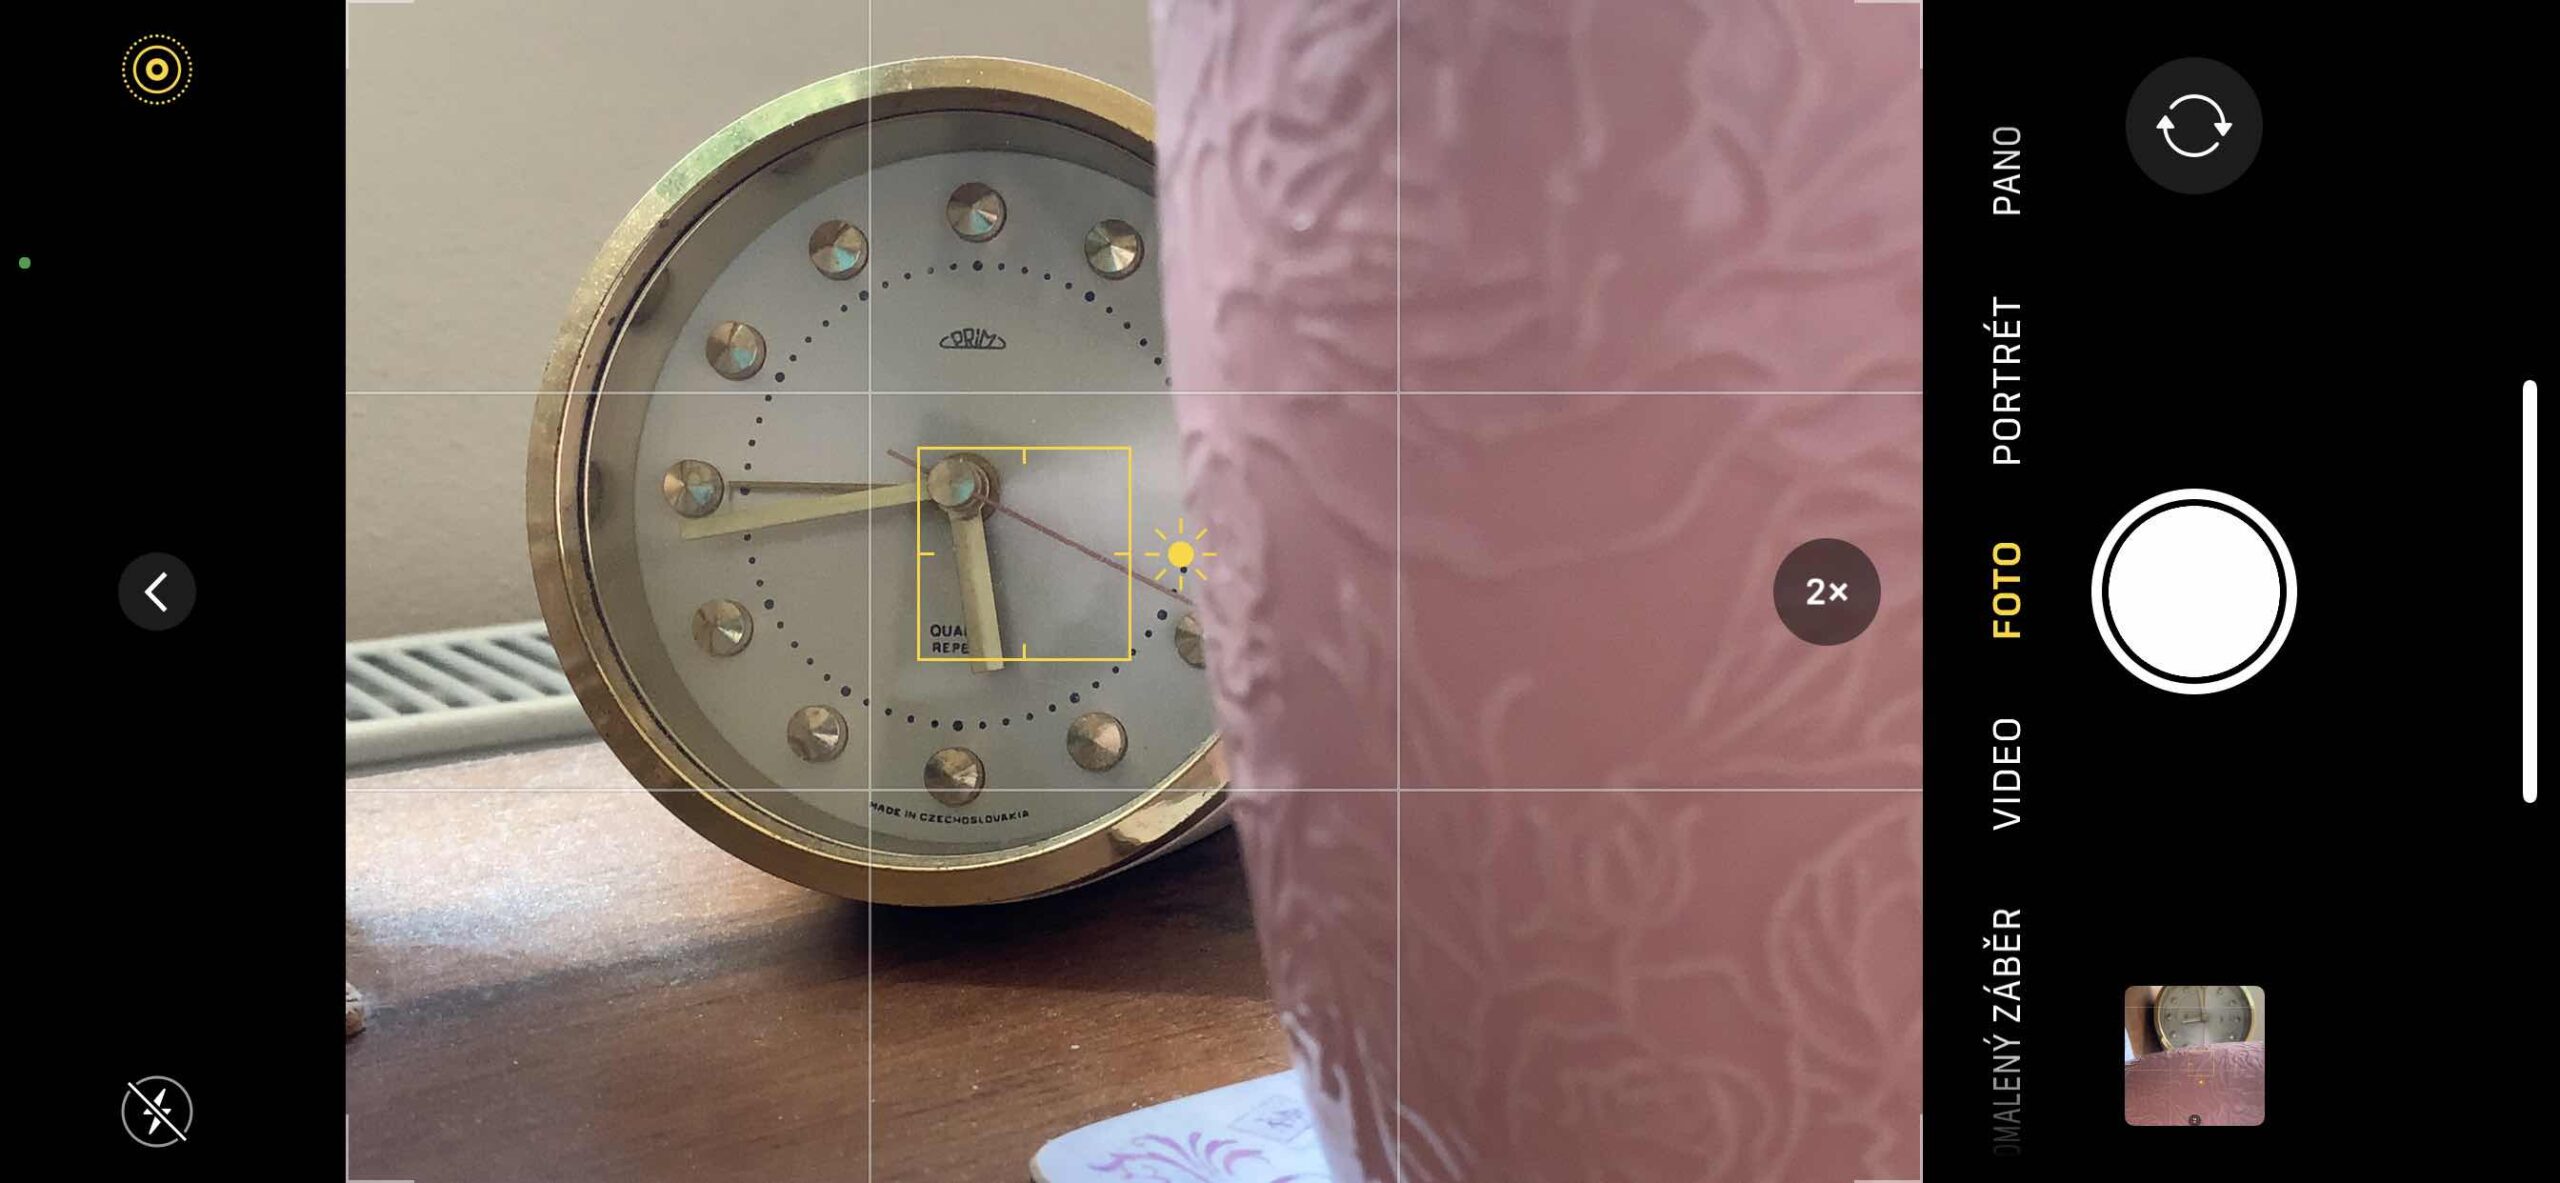
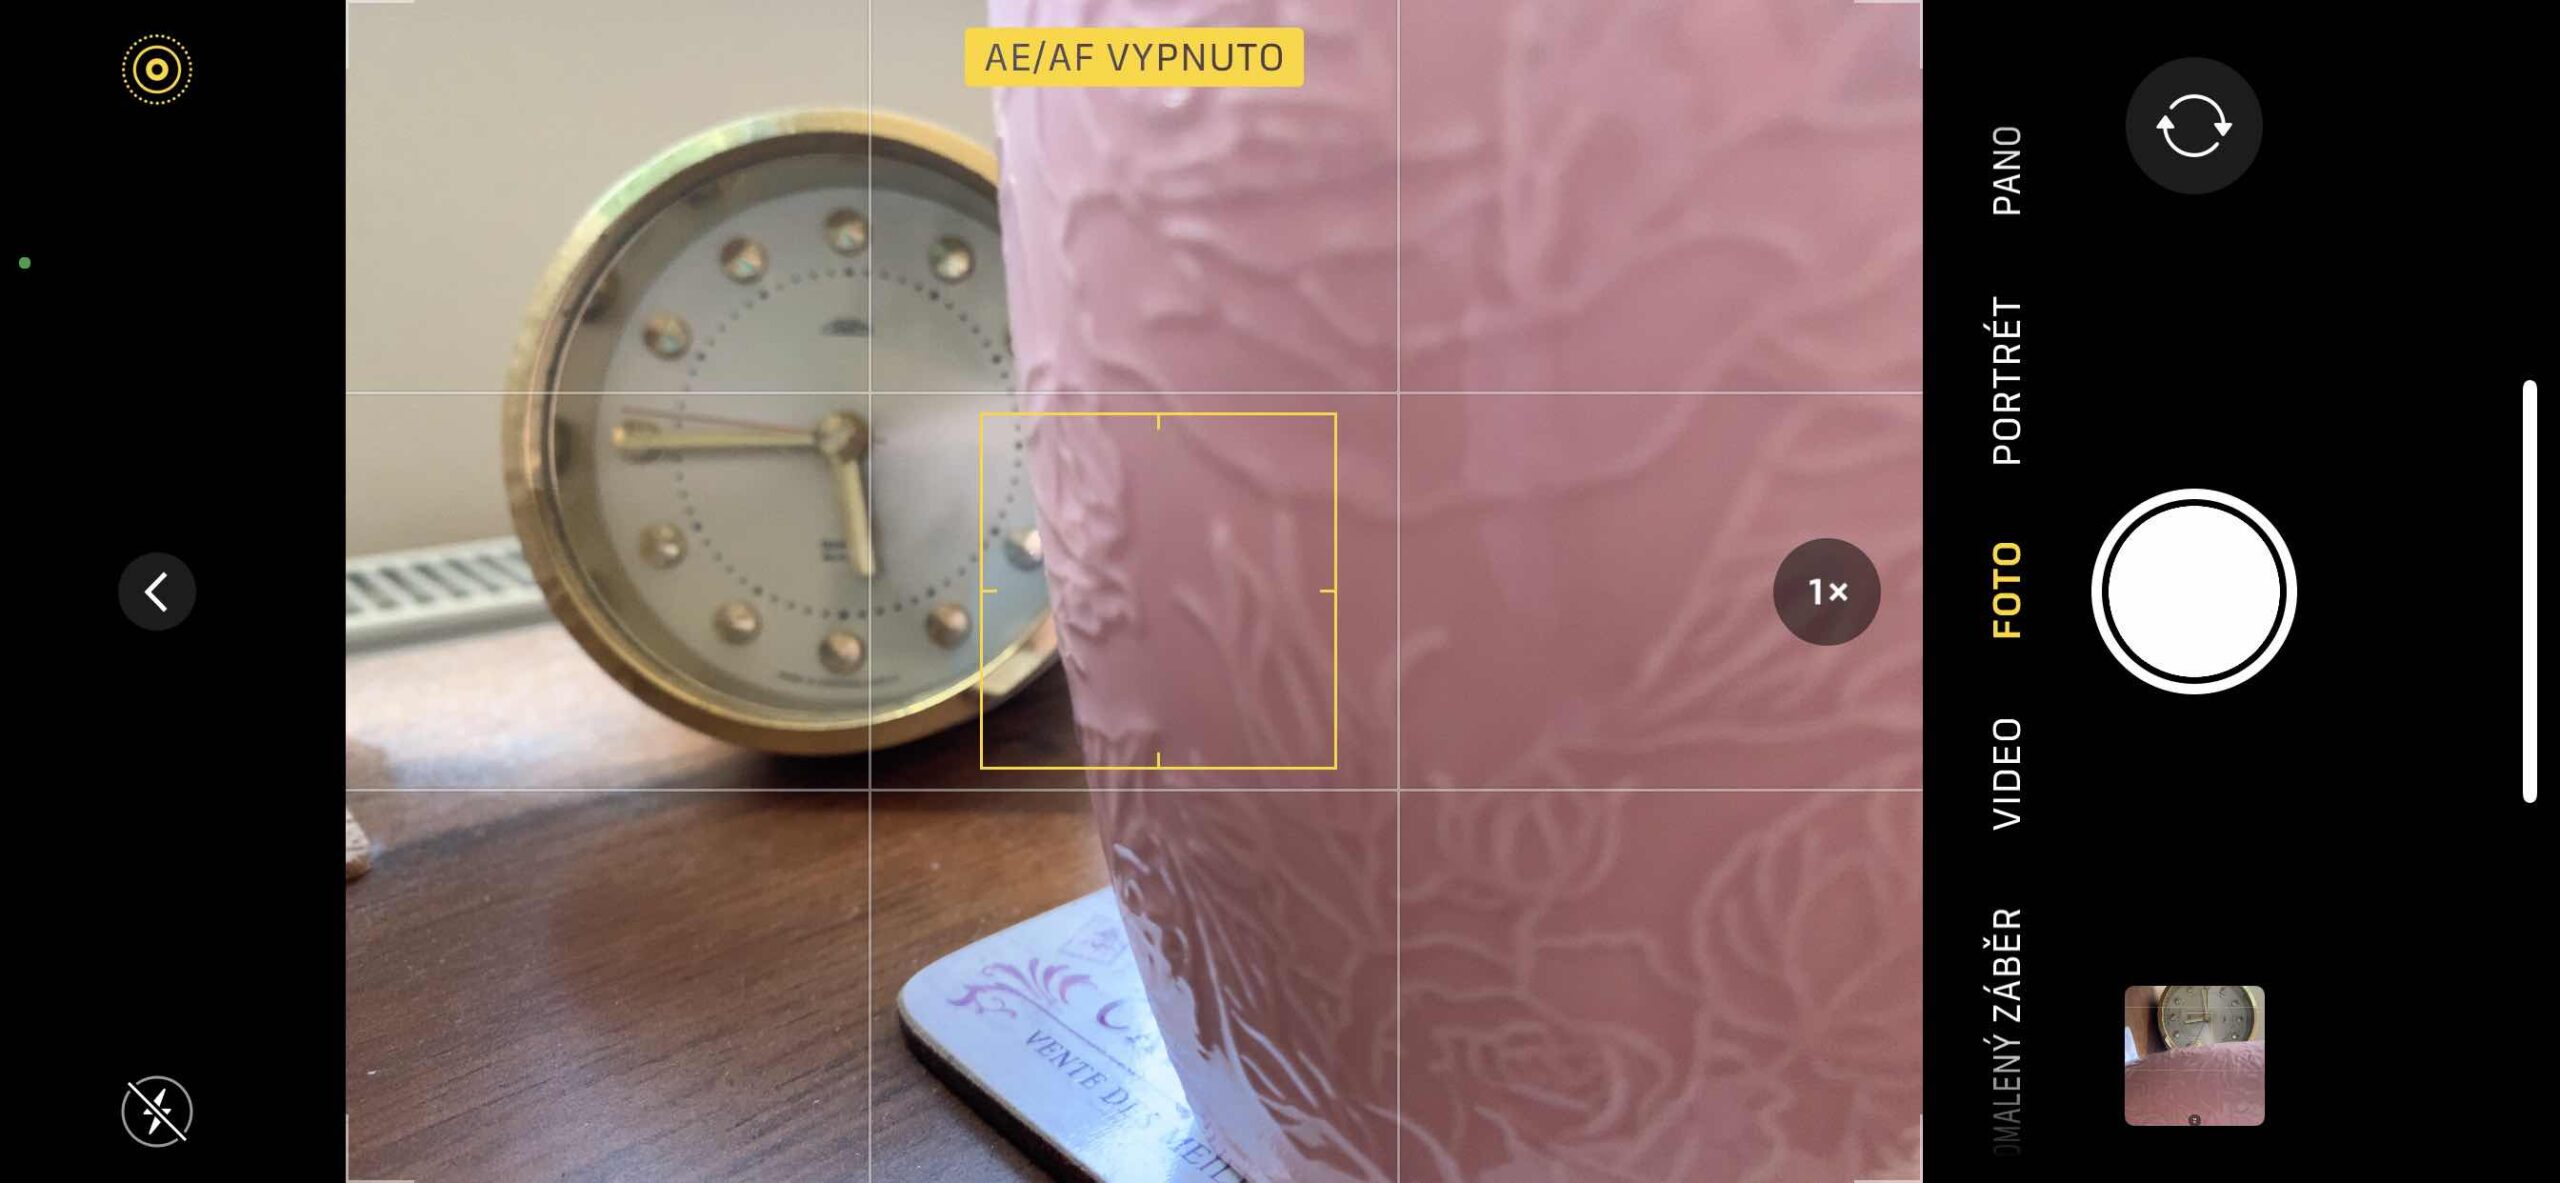
The focus point is selected by simply tapping the screen on the place you want to focus. The sun symbol that appears at the selected point then determines the exposure. Just drag your finger up or down here to correct it. If you want to lock exposure and focus to that spot, hold your finger on it until "AE/AF off" appears. As soon as you move, the phone does not recalculate the scene according to the new conditions.
It could be interest you
Zoom in and out
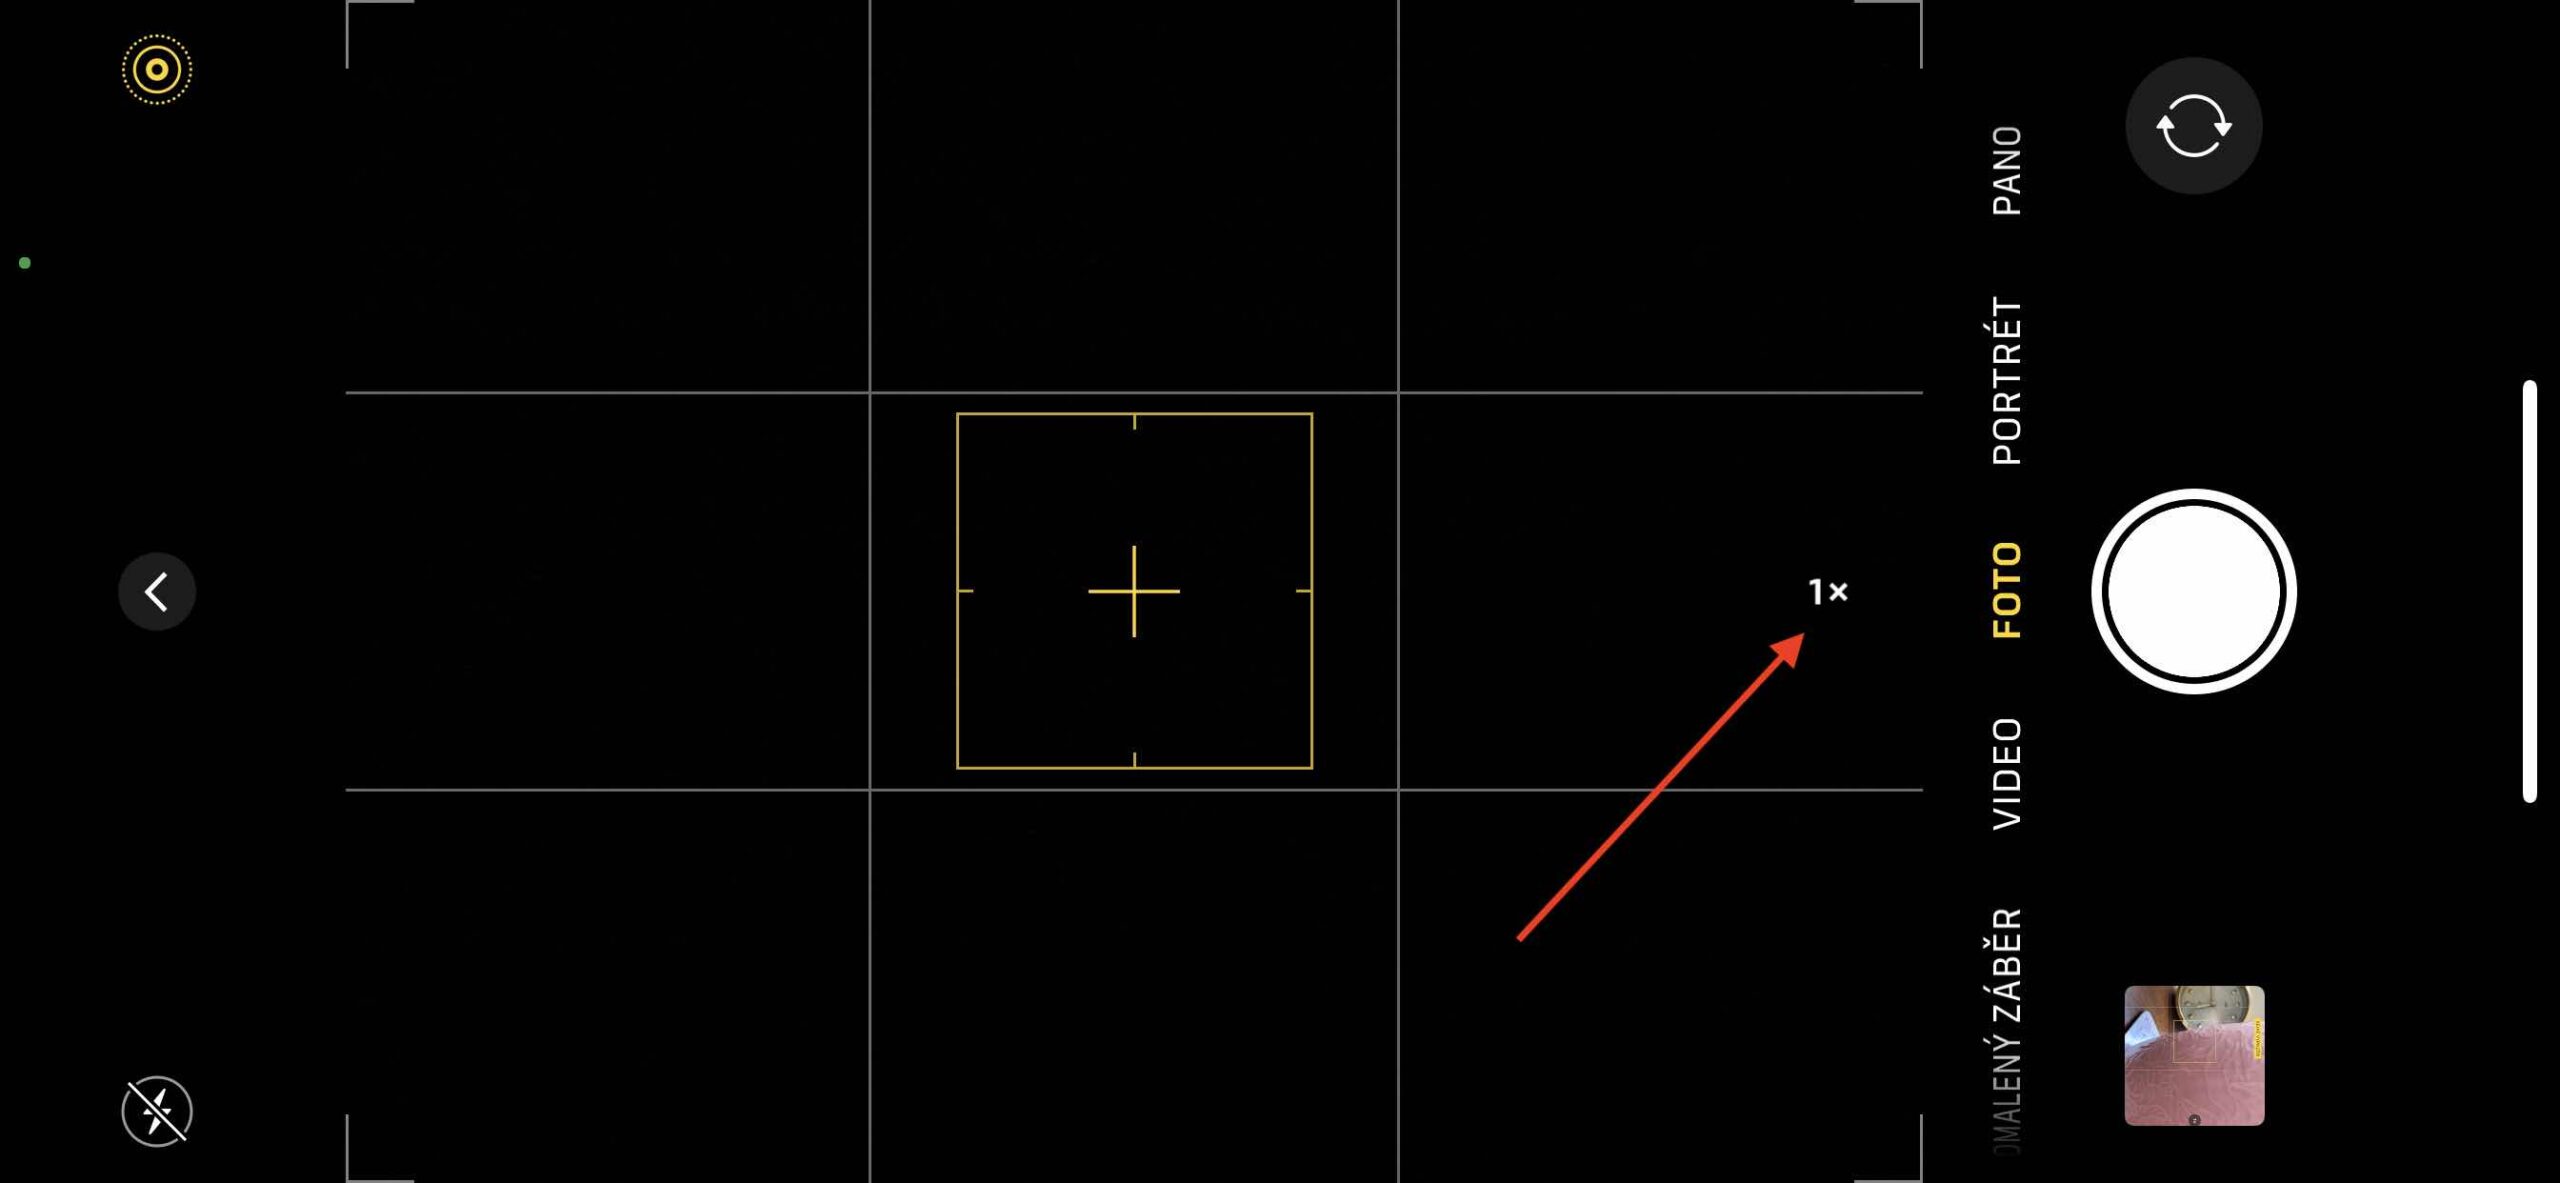
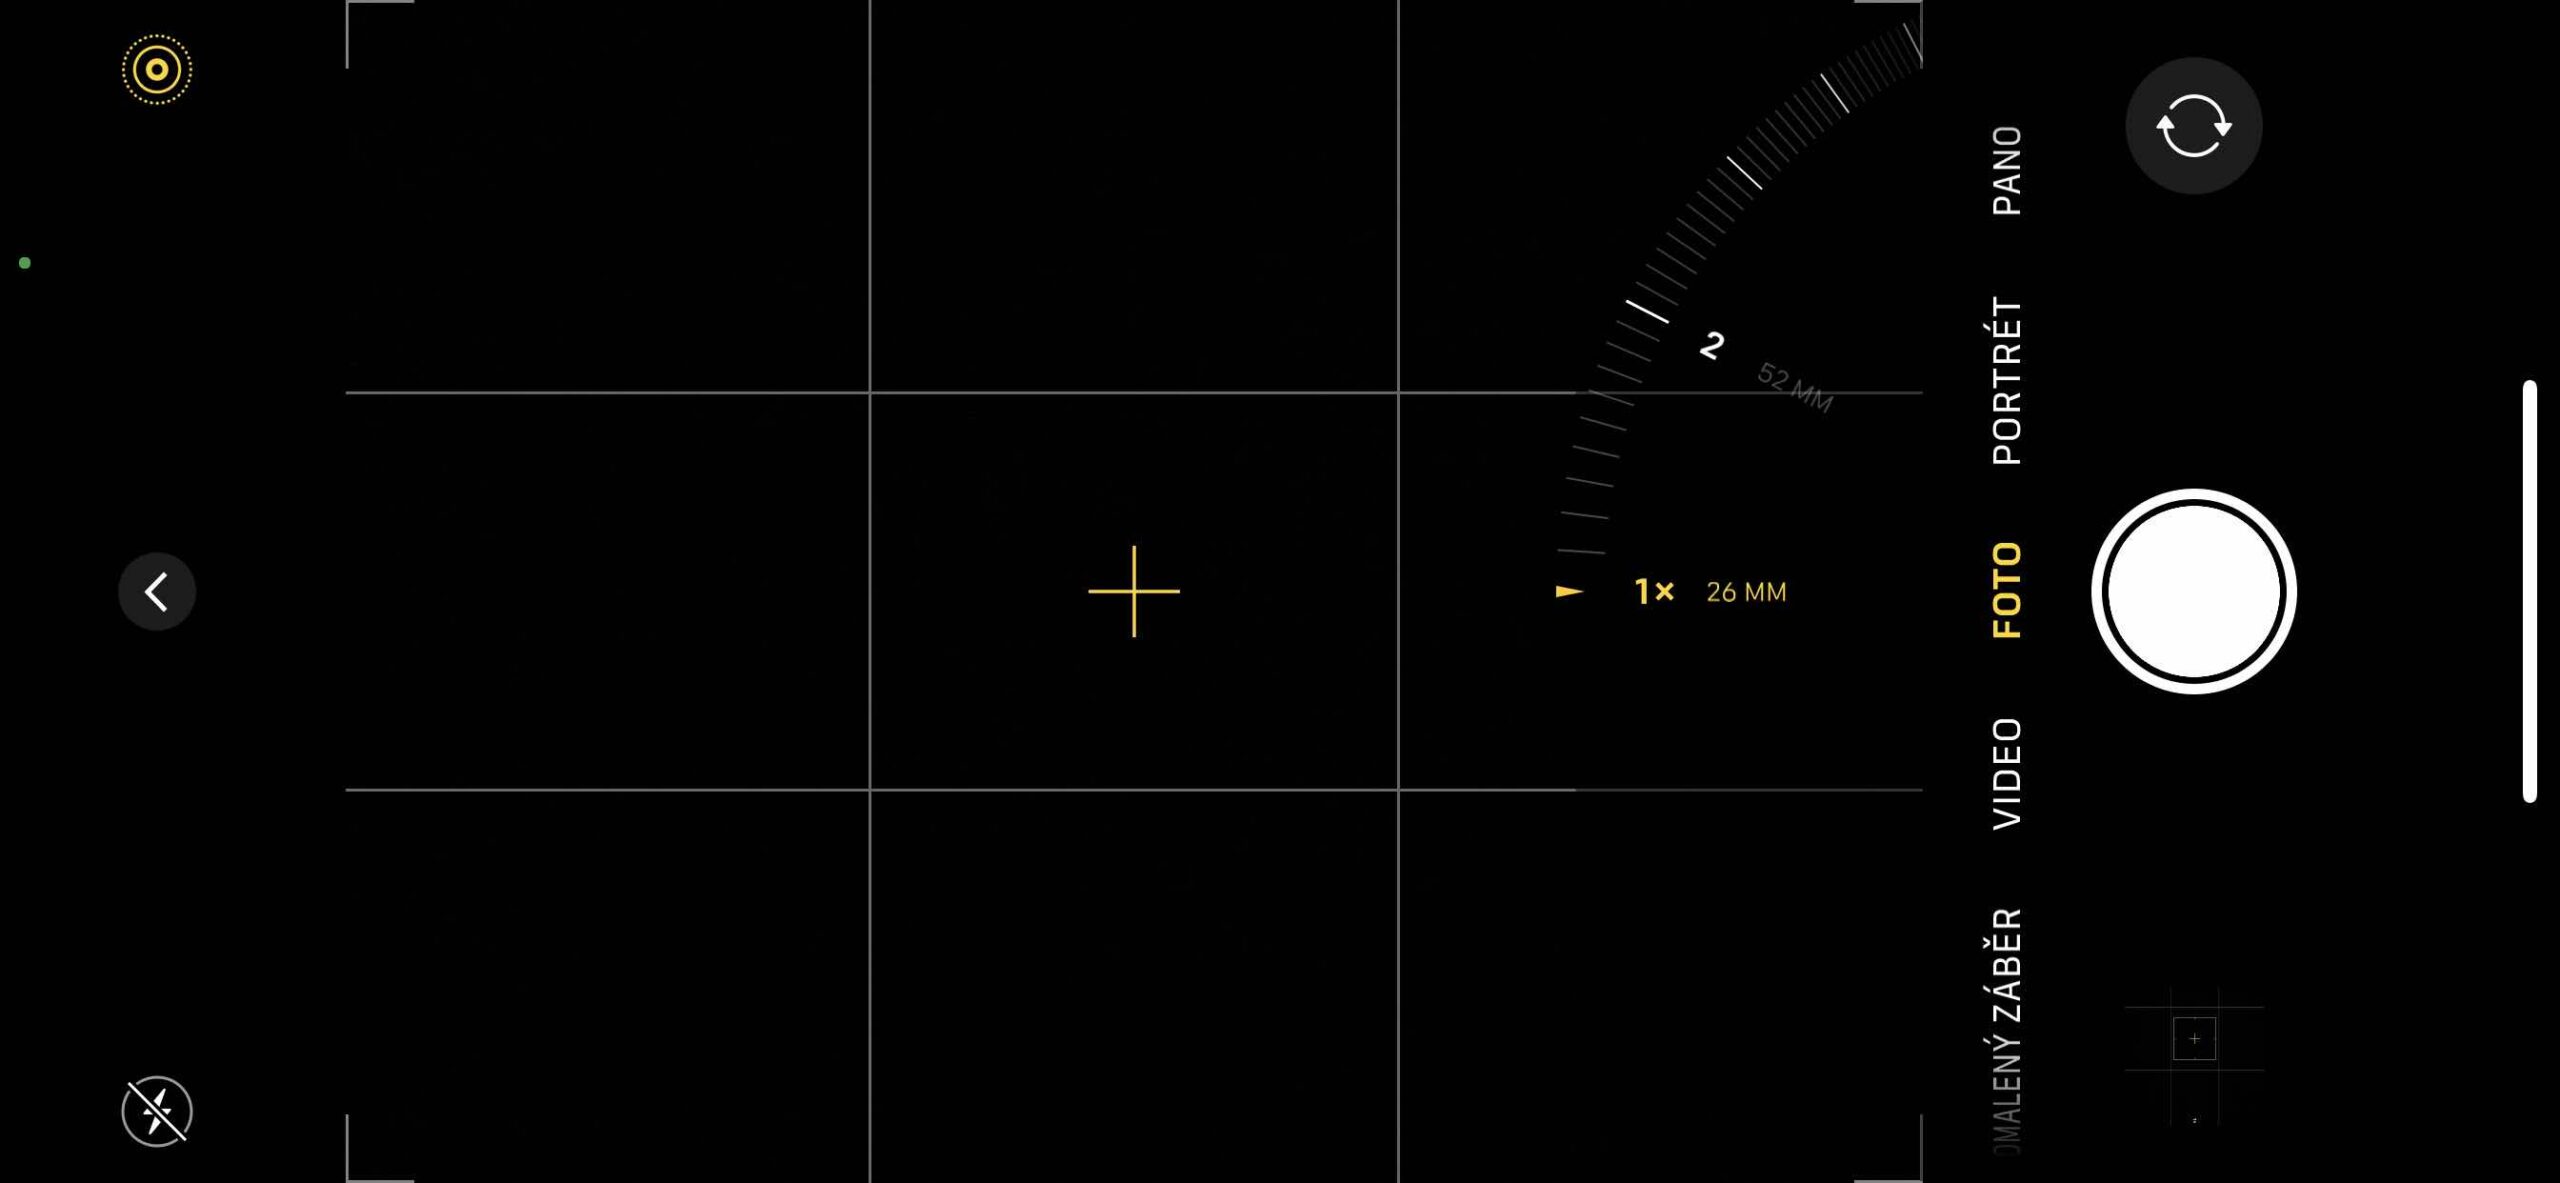
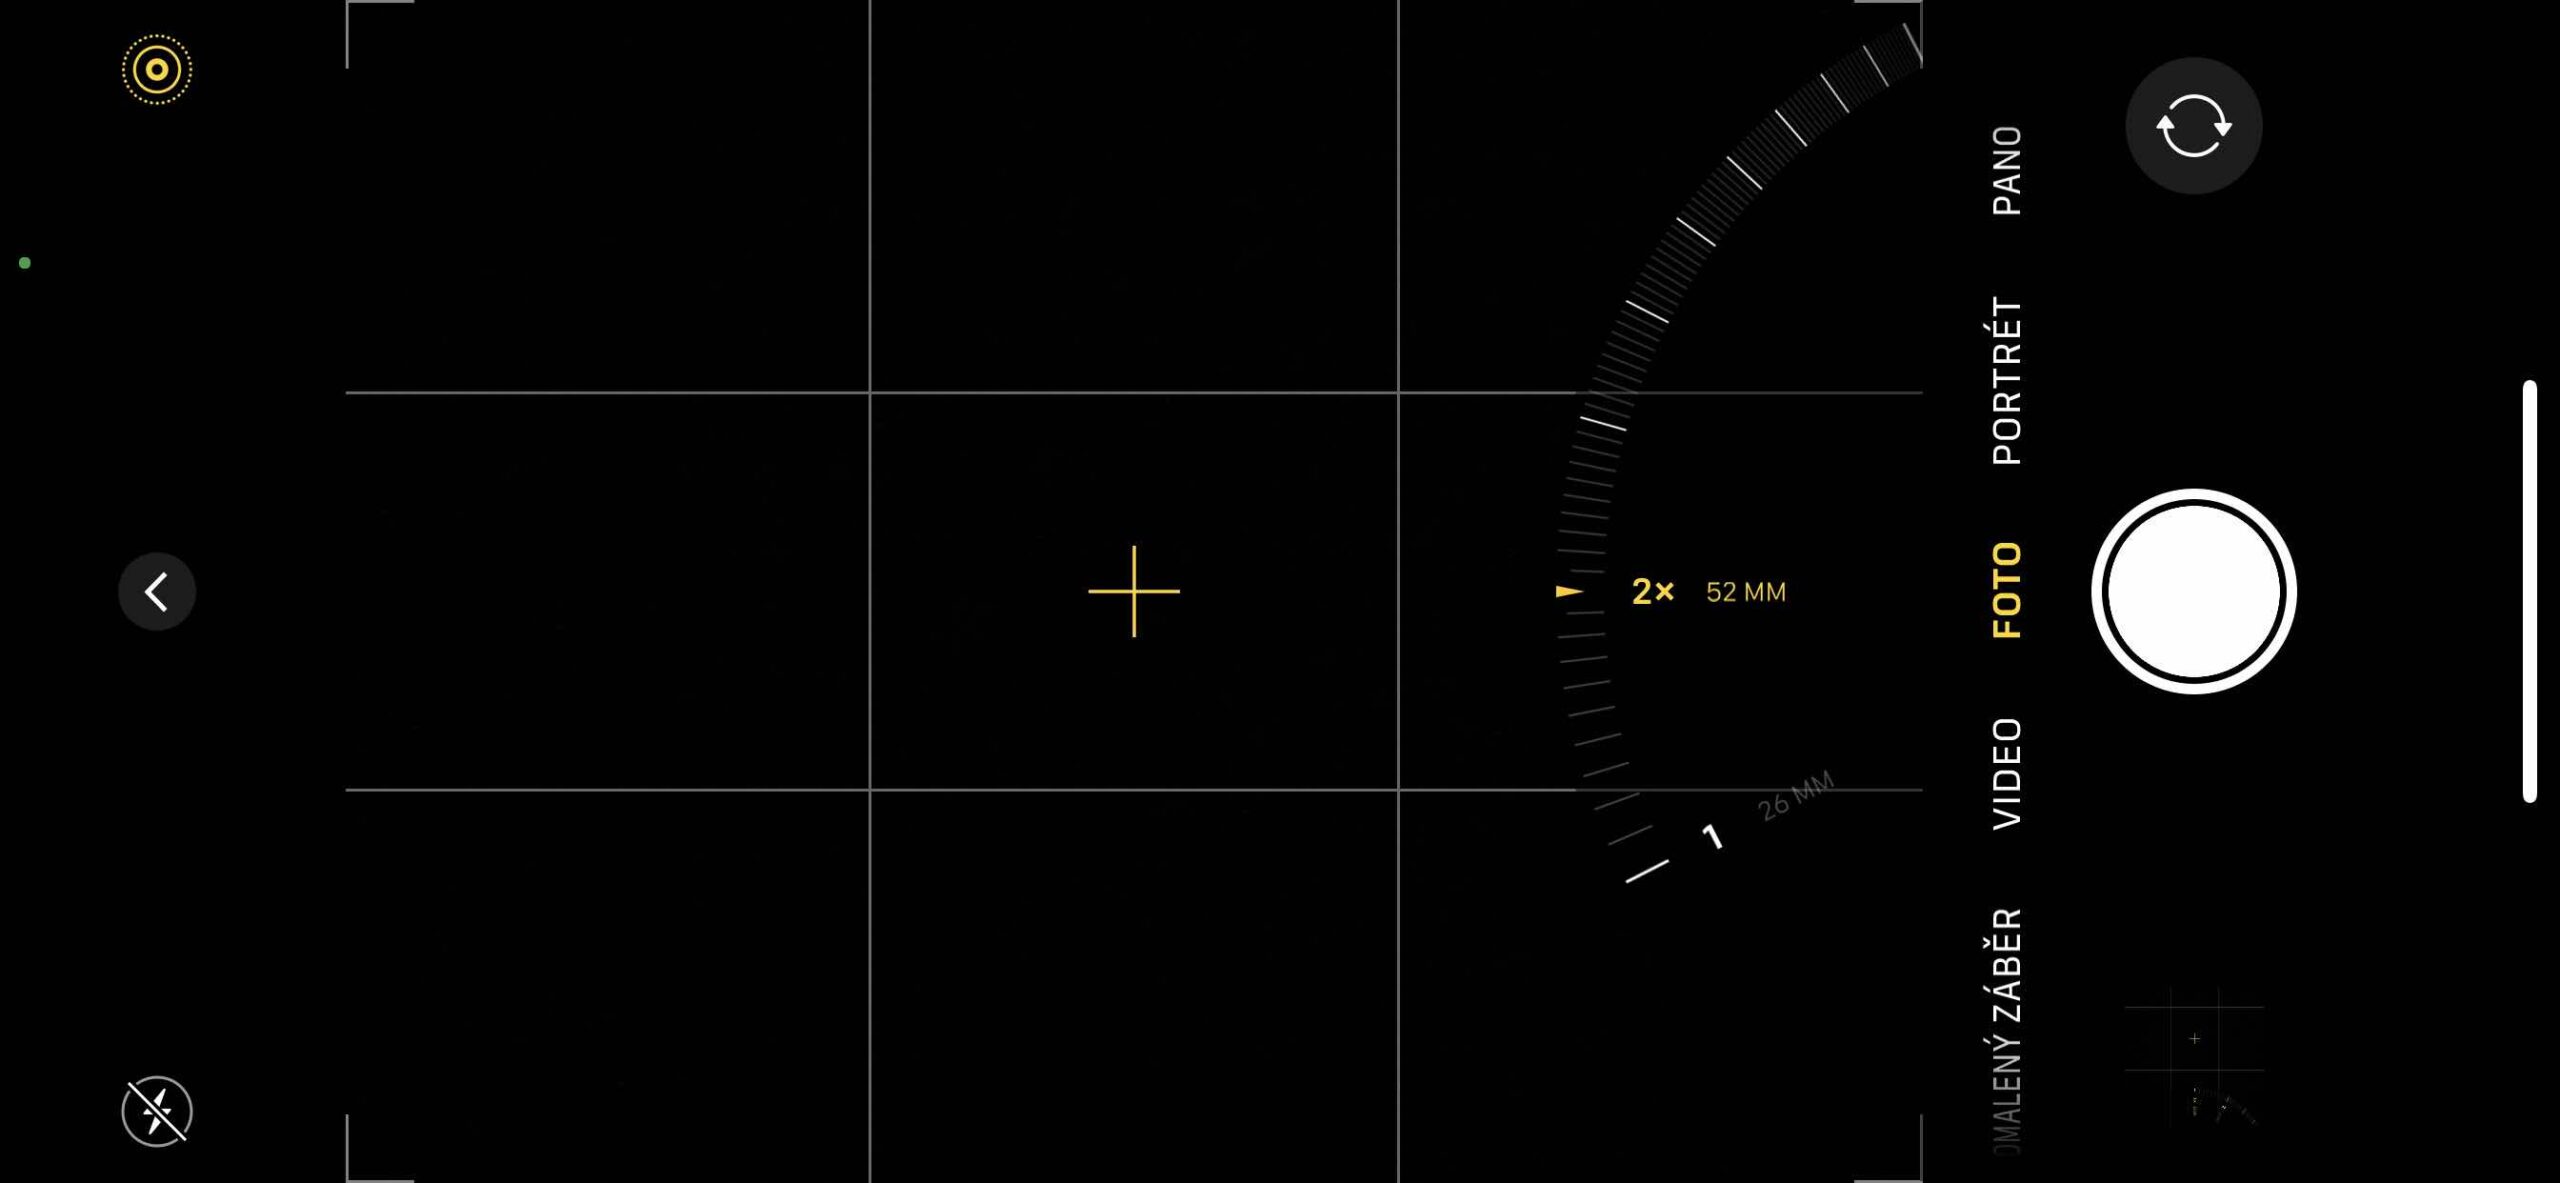
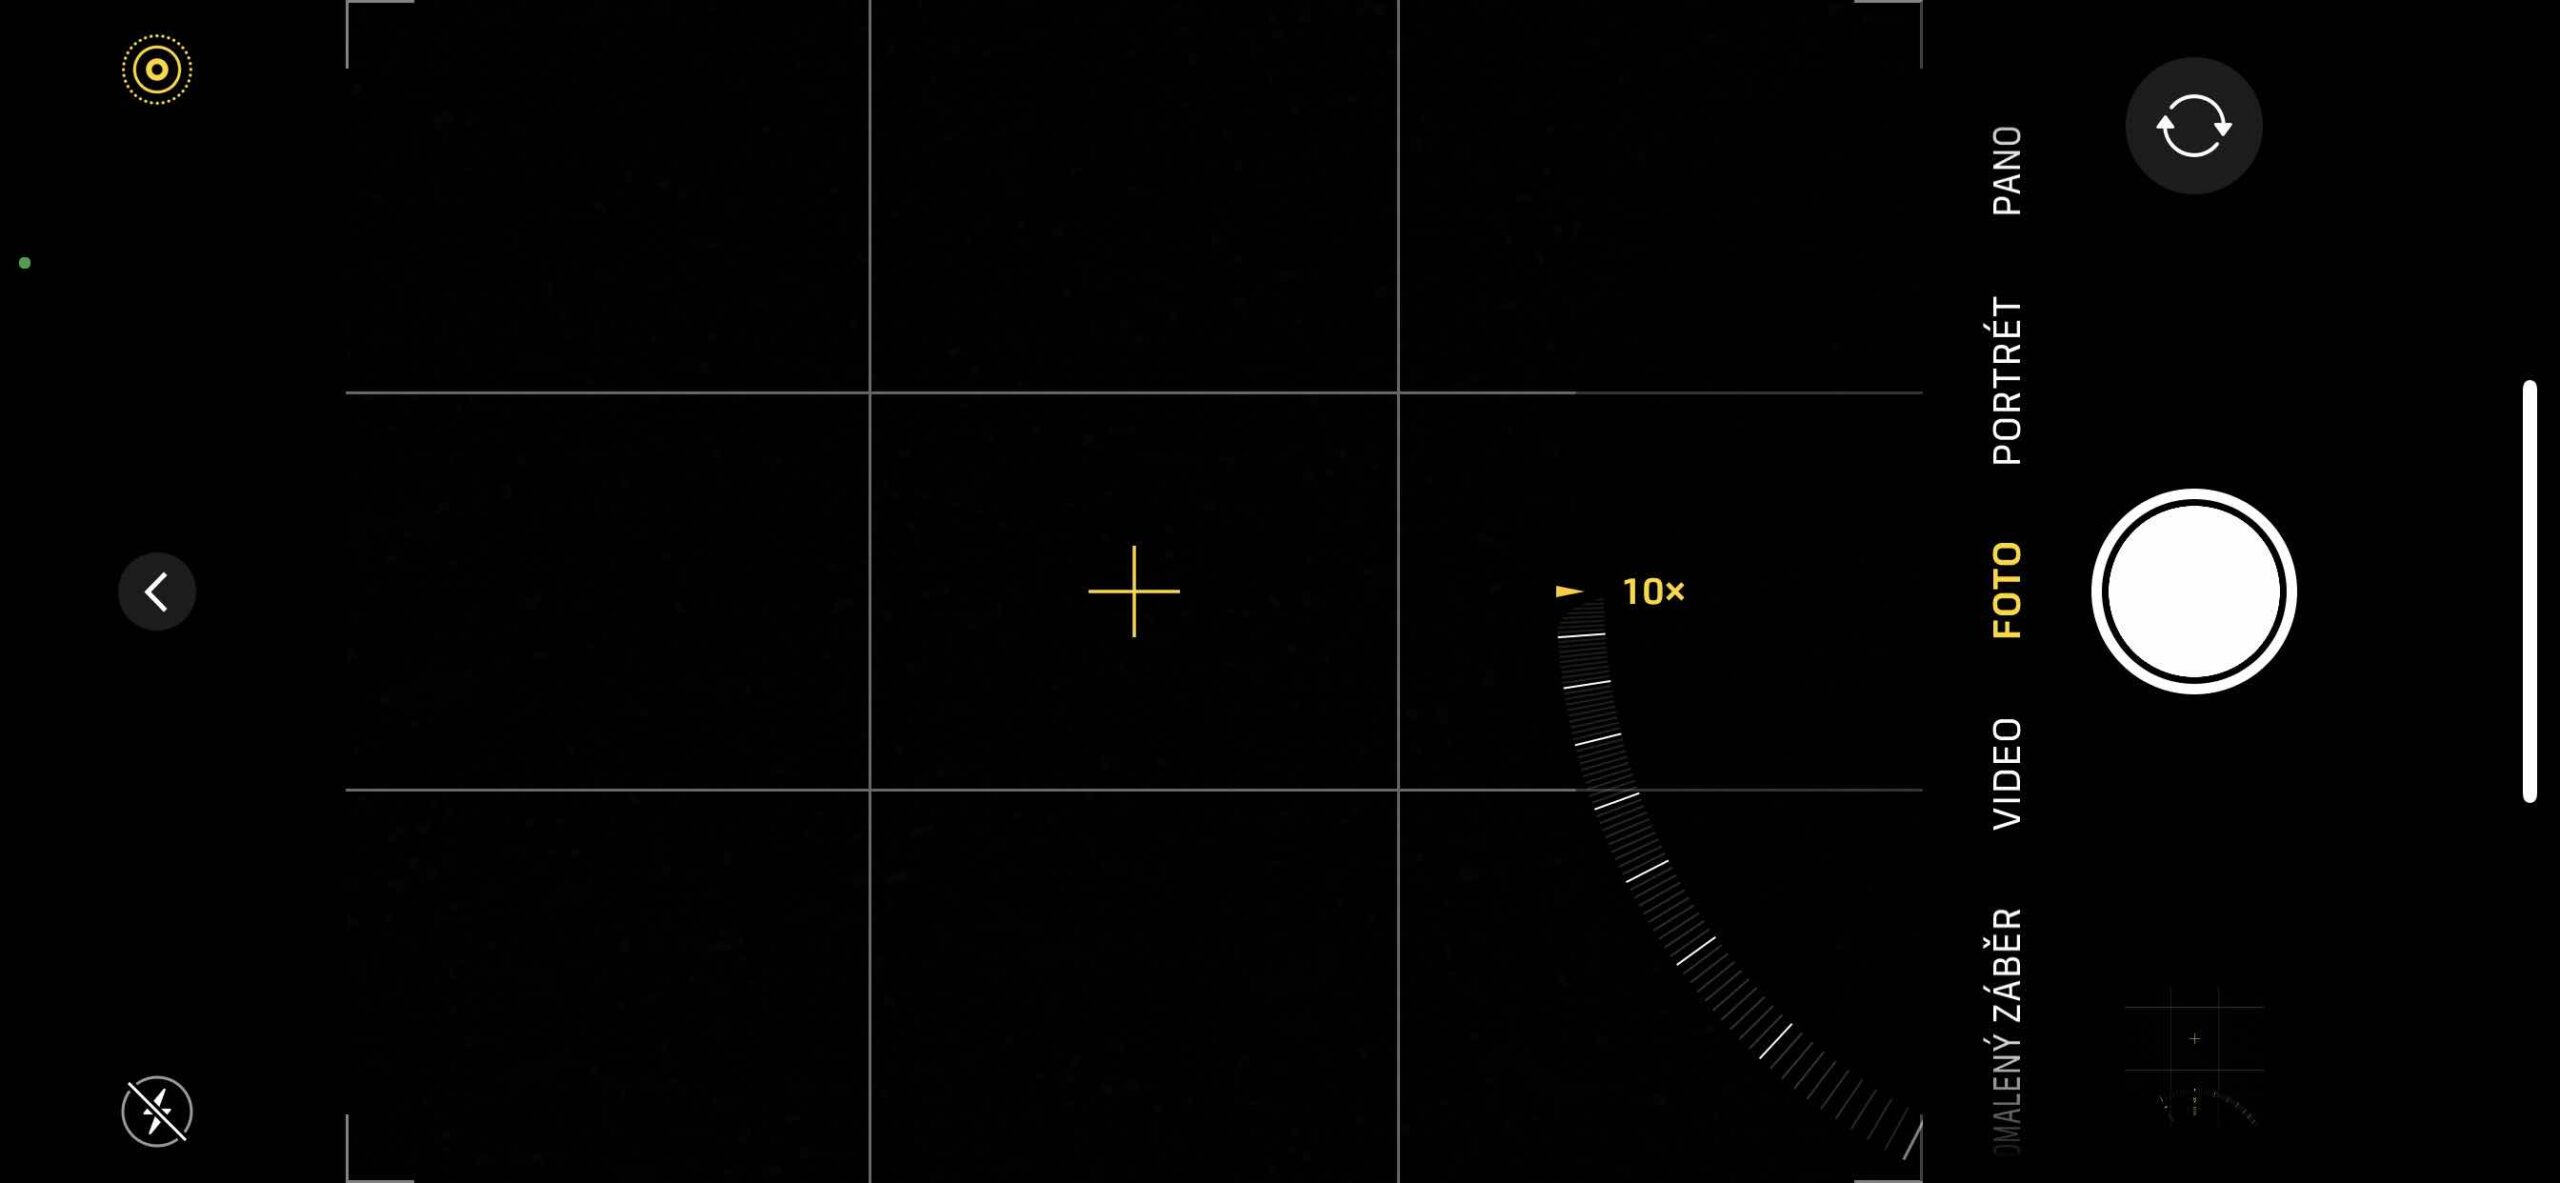
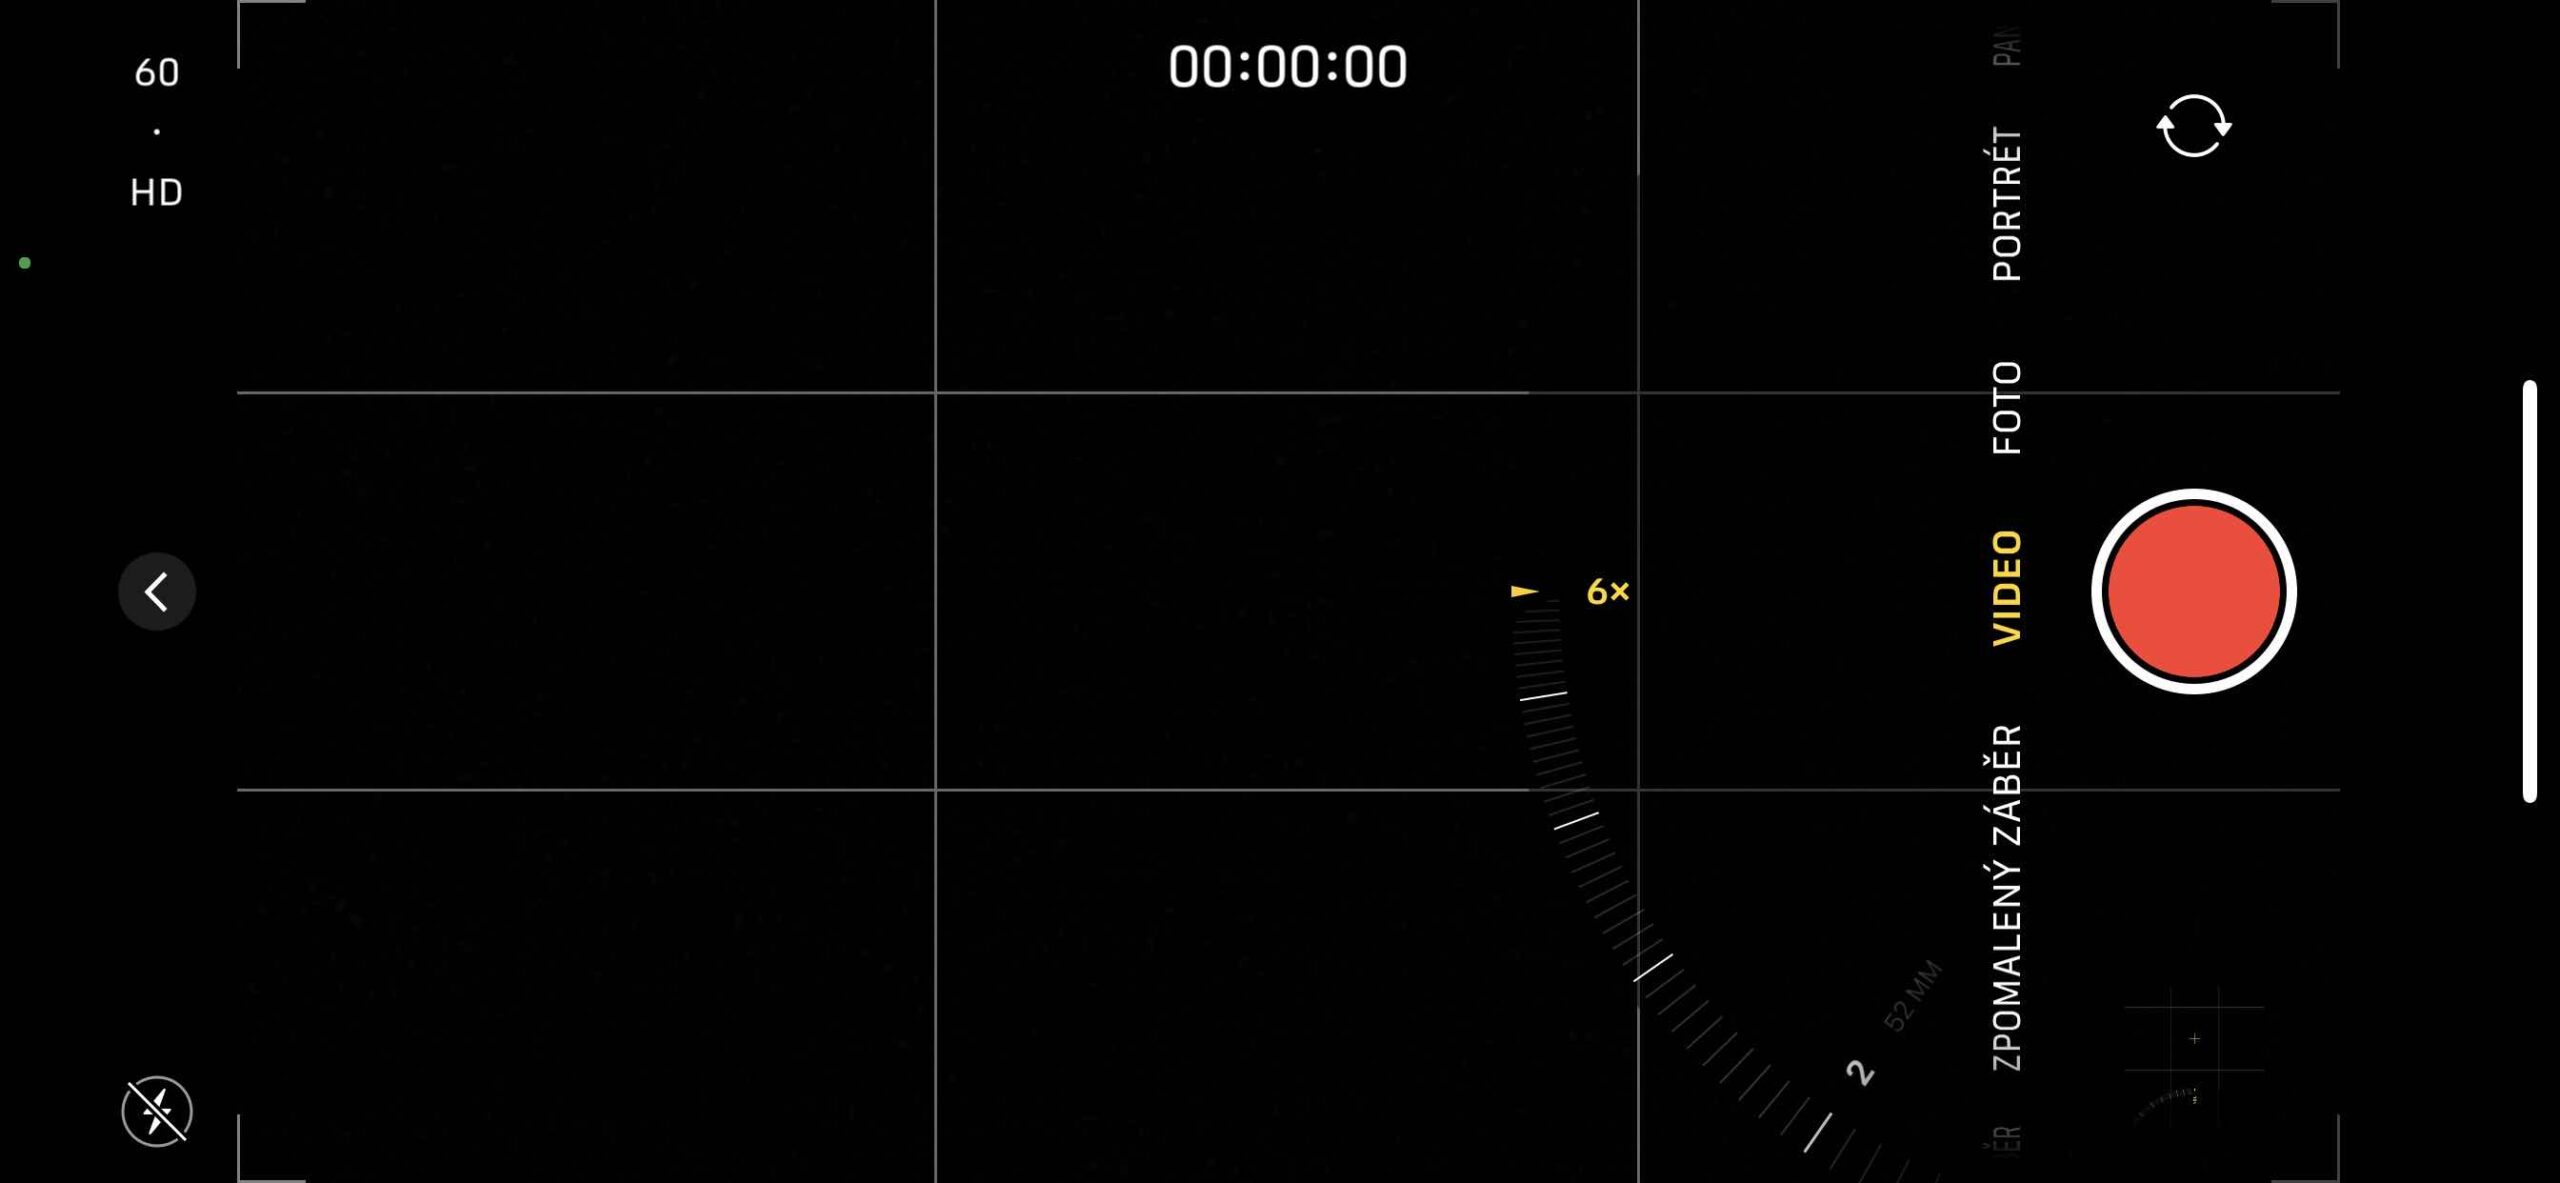
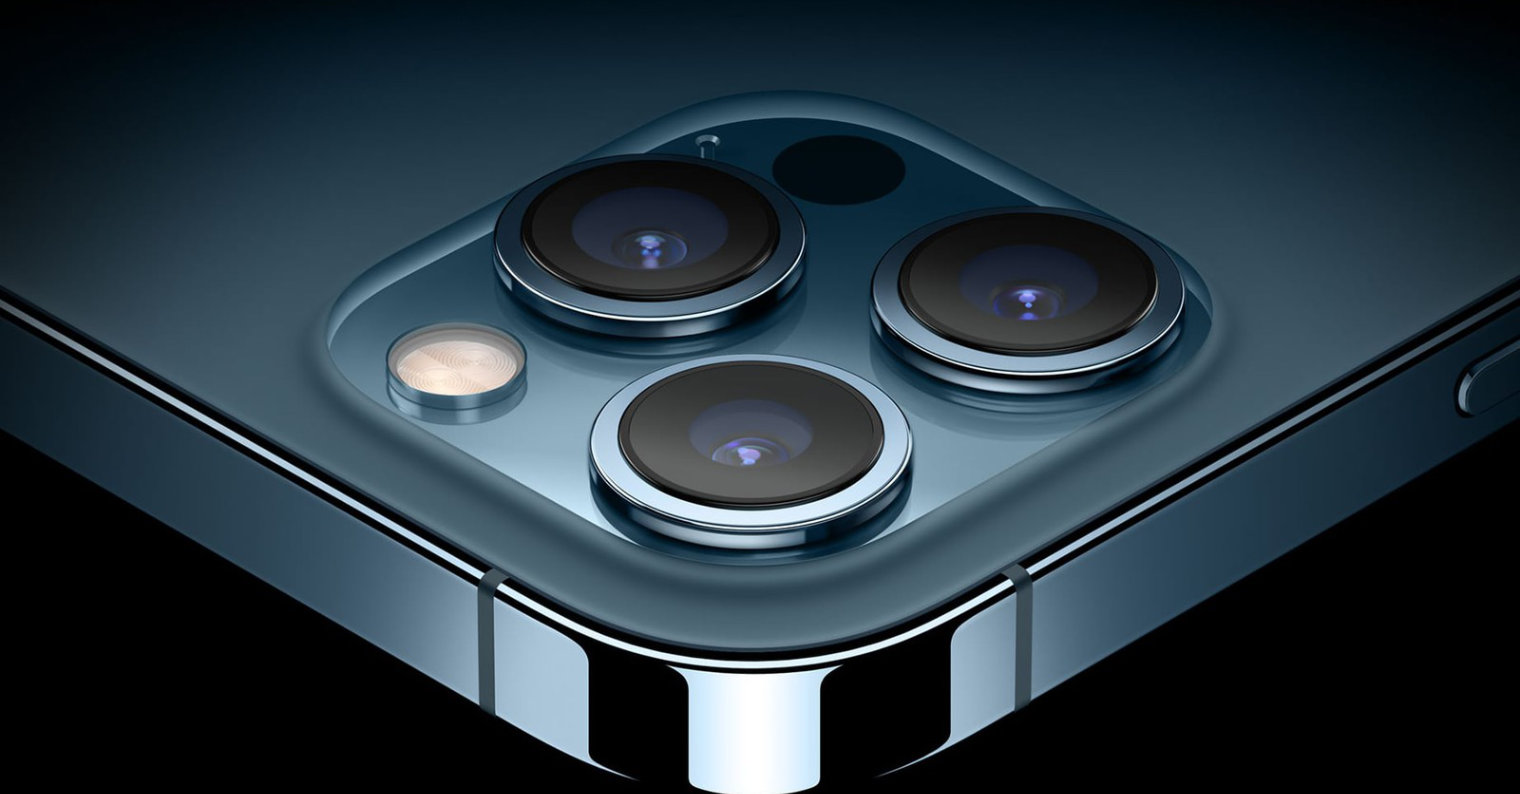
If your iPhone has multiple lenses, it will also allow you to zoom in or out. These steps are indicated by a number above the trigger, where you see eg 0,5x, 1x, 2x, etc. If you tap these numbers with your finger, the iPhone will automatically switch the lens to that equivalent. However, if you need a step in between, just hold your finger on the symbol and a fan with a scale will start.
When taking photos here, be aware that this is a digital zoom in or out, which also degrades the quality of the photo. This also applies to video, but if you record in 4K quality, so it doesn't hurt so much anymore. During video recording, by slowly sliding your finger across the display, you can effectively zoom in or out of the entire scene while recording.
It could be interest you
Perpendicular view
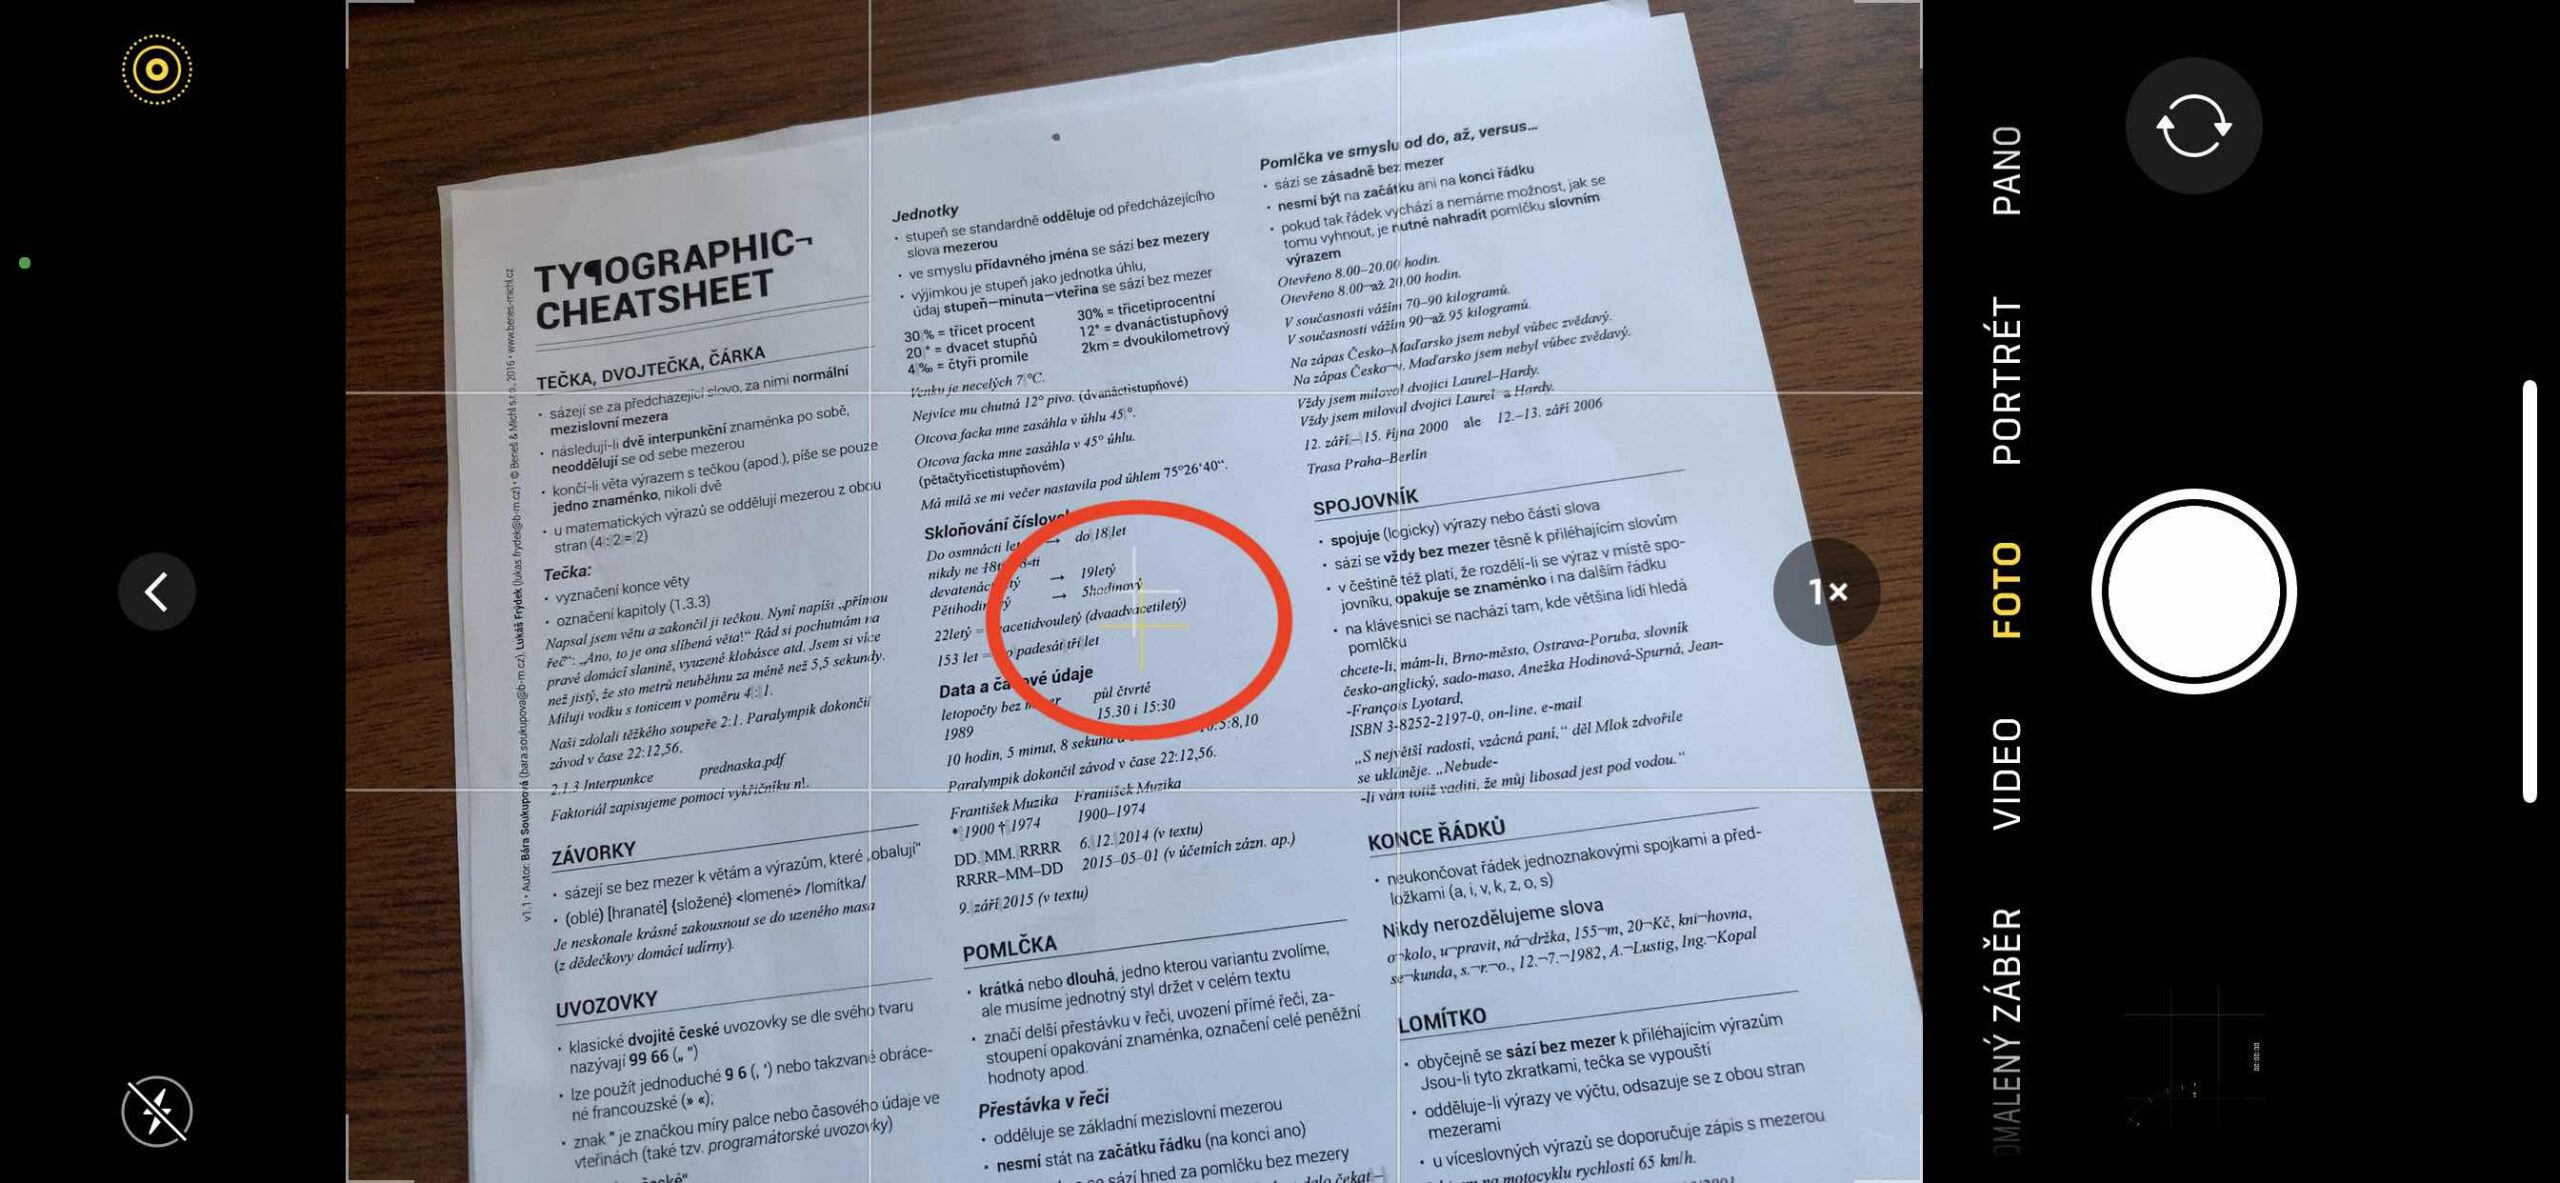
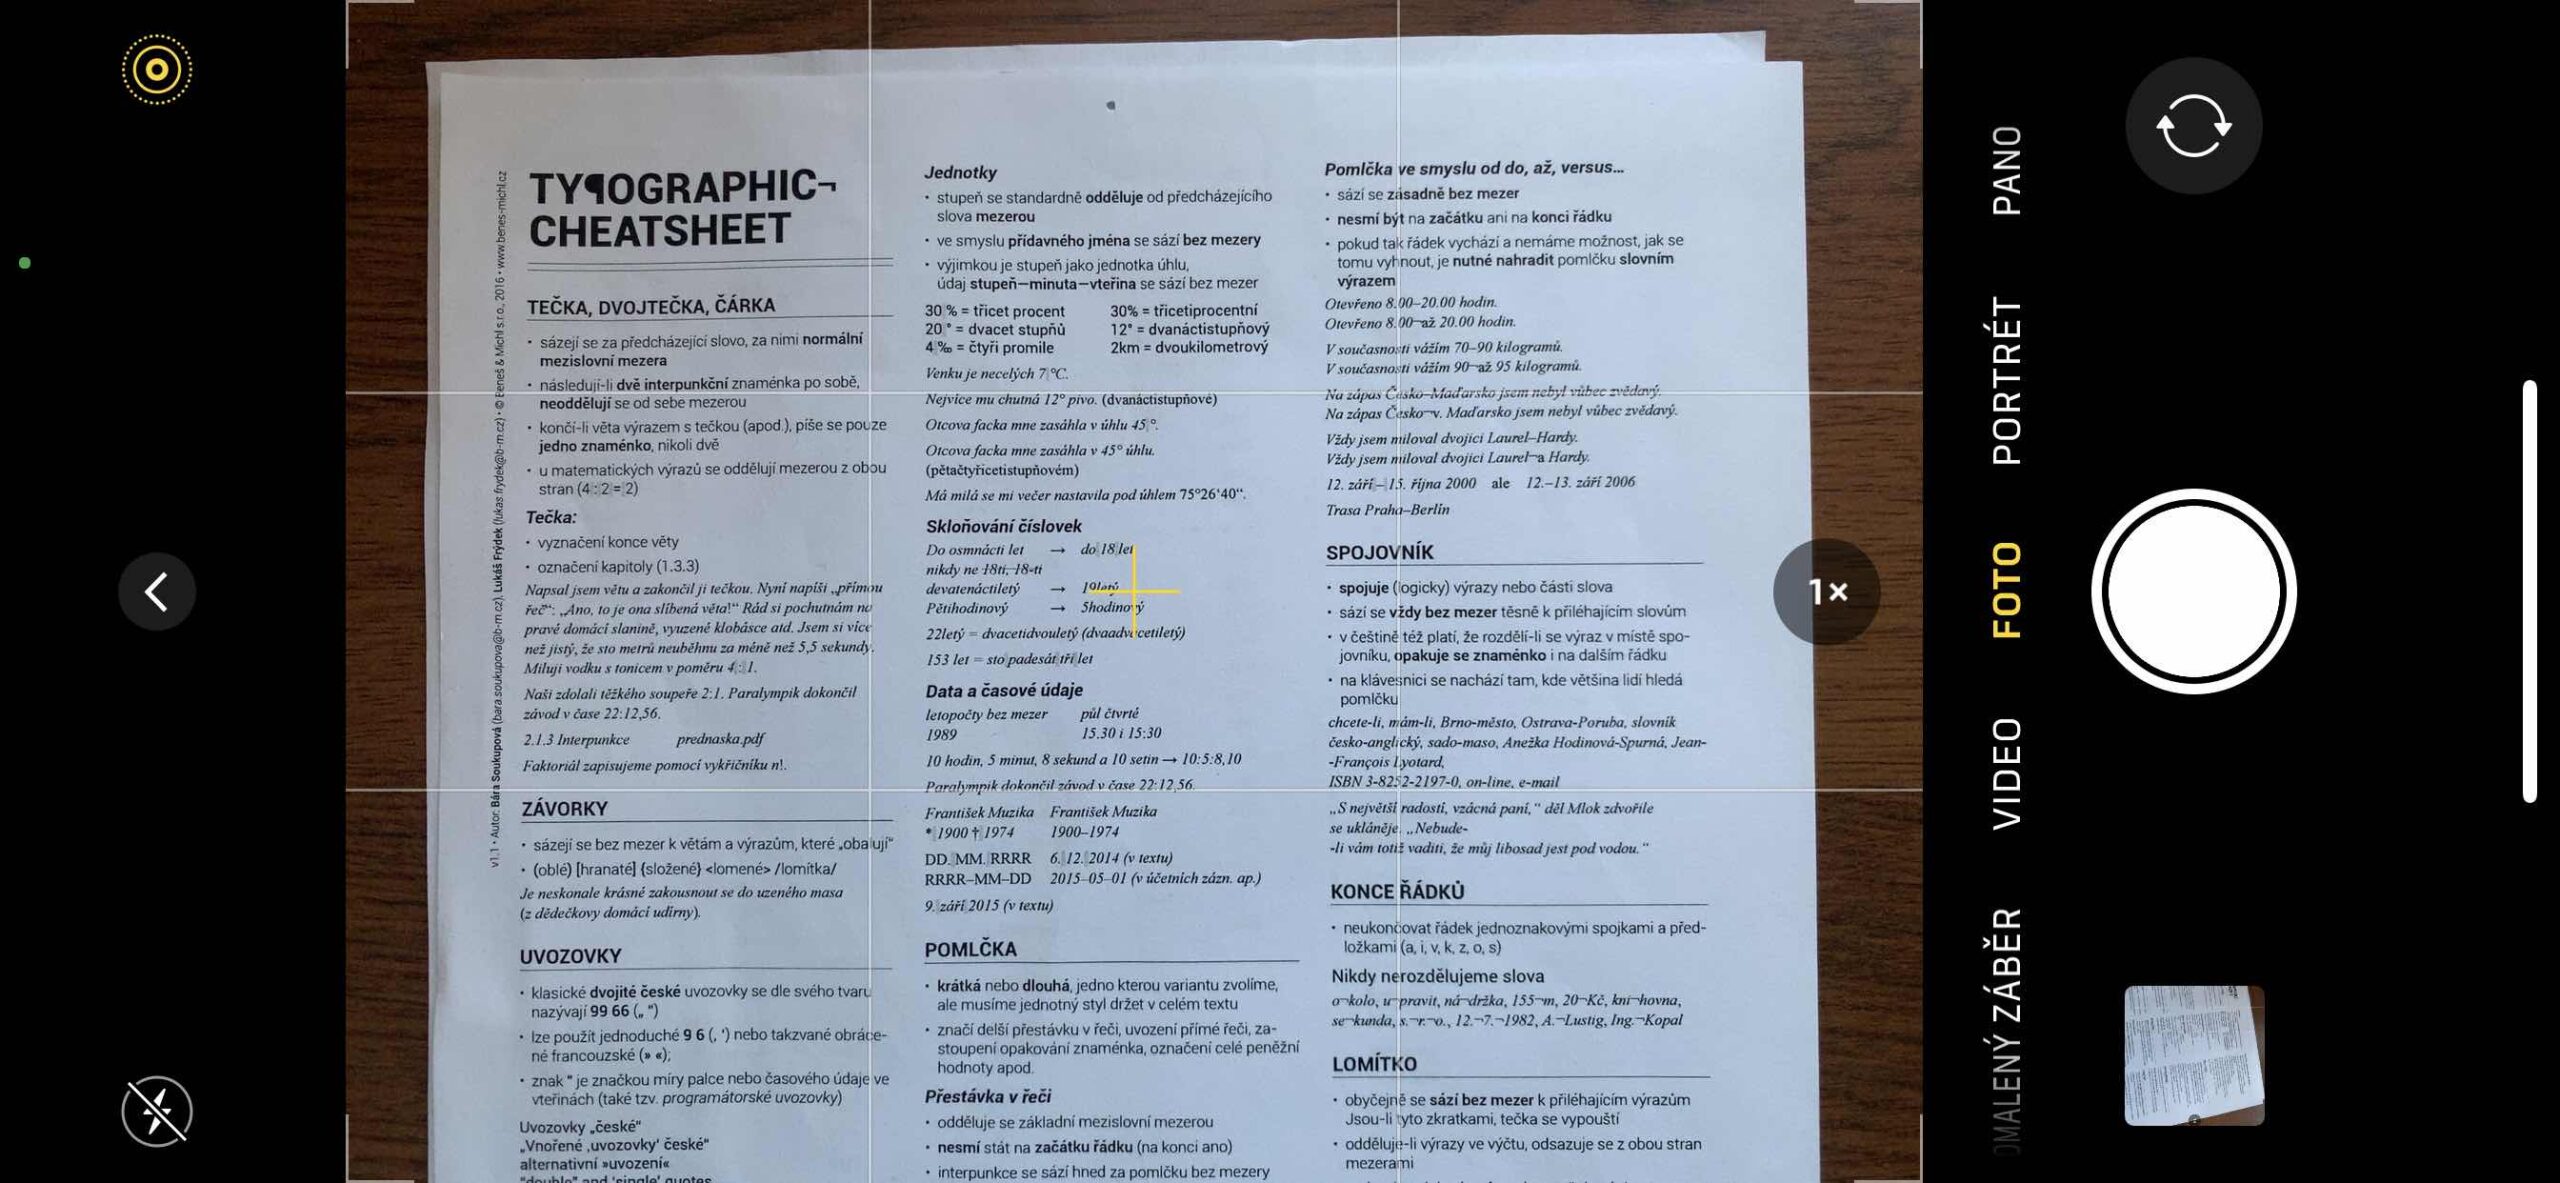
Especially if you need to photograph some documents, the vertical view indicator comes in handy. You can't see it by default, but since the iPhone contains a gyroscope, when you tilt it with the lens down in Photo mode, two dots will start to appear in the middle of the display. The white one indicates the exact vertical view, the yellow one your current view. Once you overlap both points, your camera is pointing straight down and you can take an accurate photo of a document. When the points do not overlap, distortion can occur.
Panorama
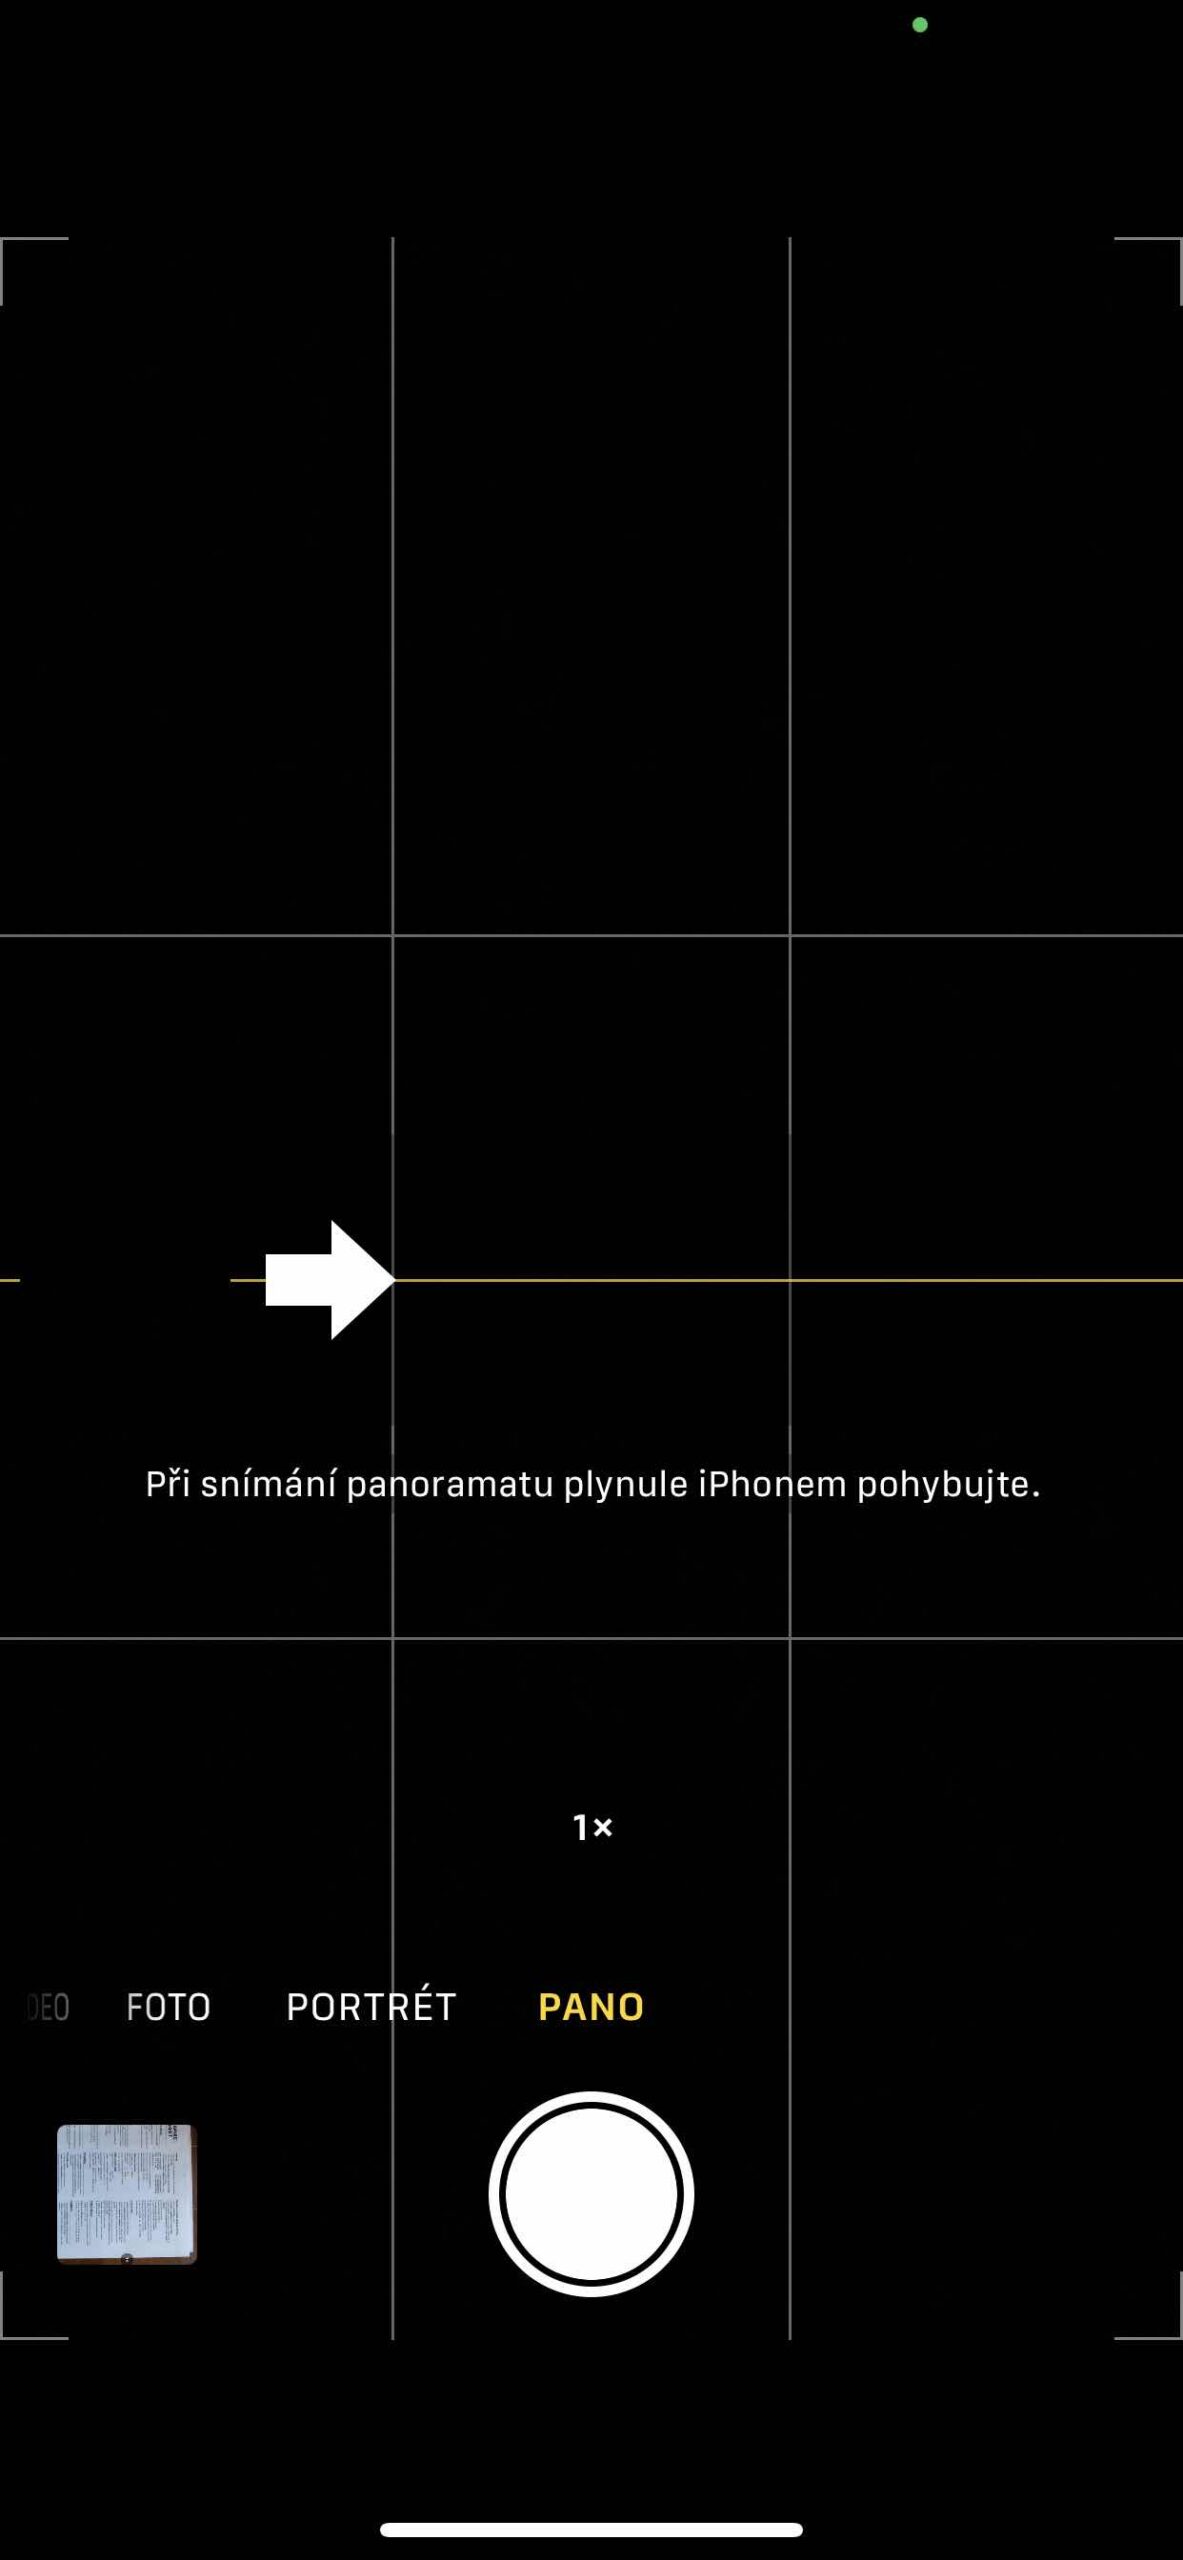
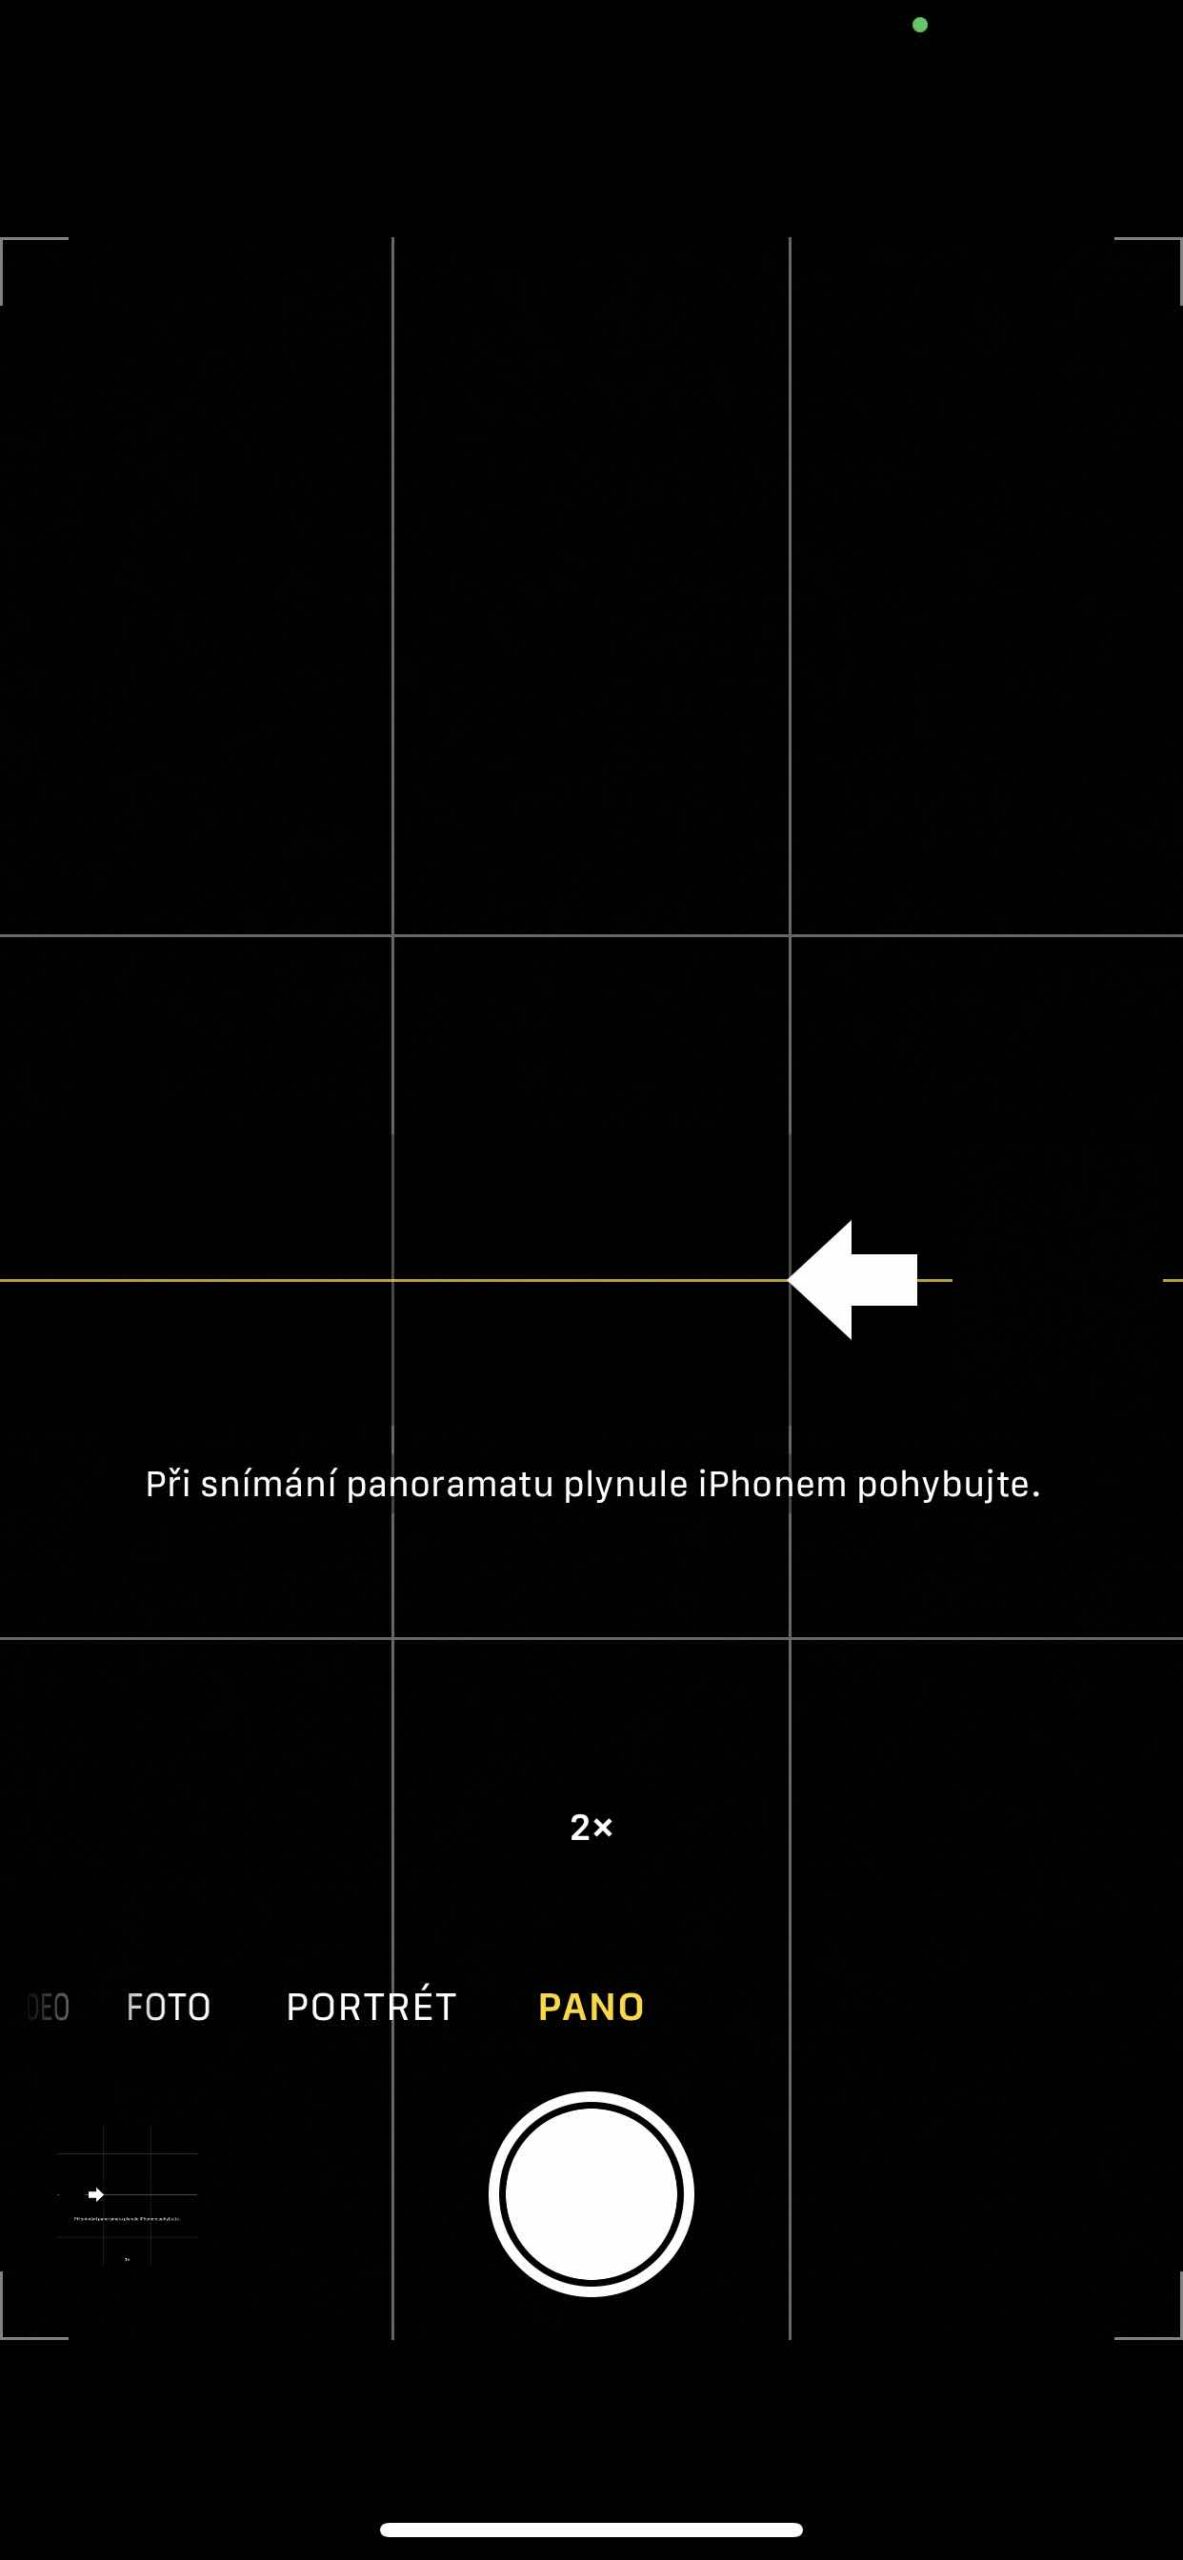
If you want to take a picture of an impressive landscape, but you can't fit it all into one shot, you can take great wide-angle shots with the panoramic mode. In mode Pano a guide bar appears in the middle of the screen to help you take pictures. To start the photo from the left, make sure the arrow points to the right. If you want to start from the right, tap the arrow to reverse it.
Click the shutter button and slowly move the camera straight from one side of the shot to the other. Try to keep the arrow in the yellow guide bar. The option to zoom in or out works here as well. Especially with iPhones ultra wide angle lens, the result can be really pleasing. But you can't use digital zoom here, so you have to stick to the set stepping.
 Adam Kos