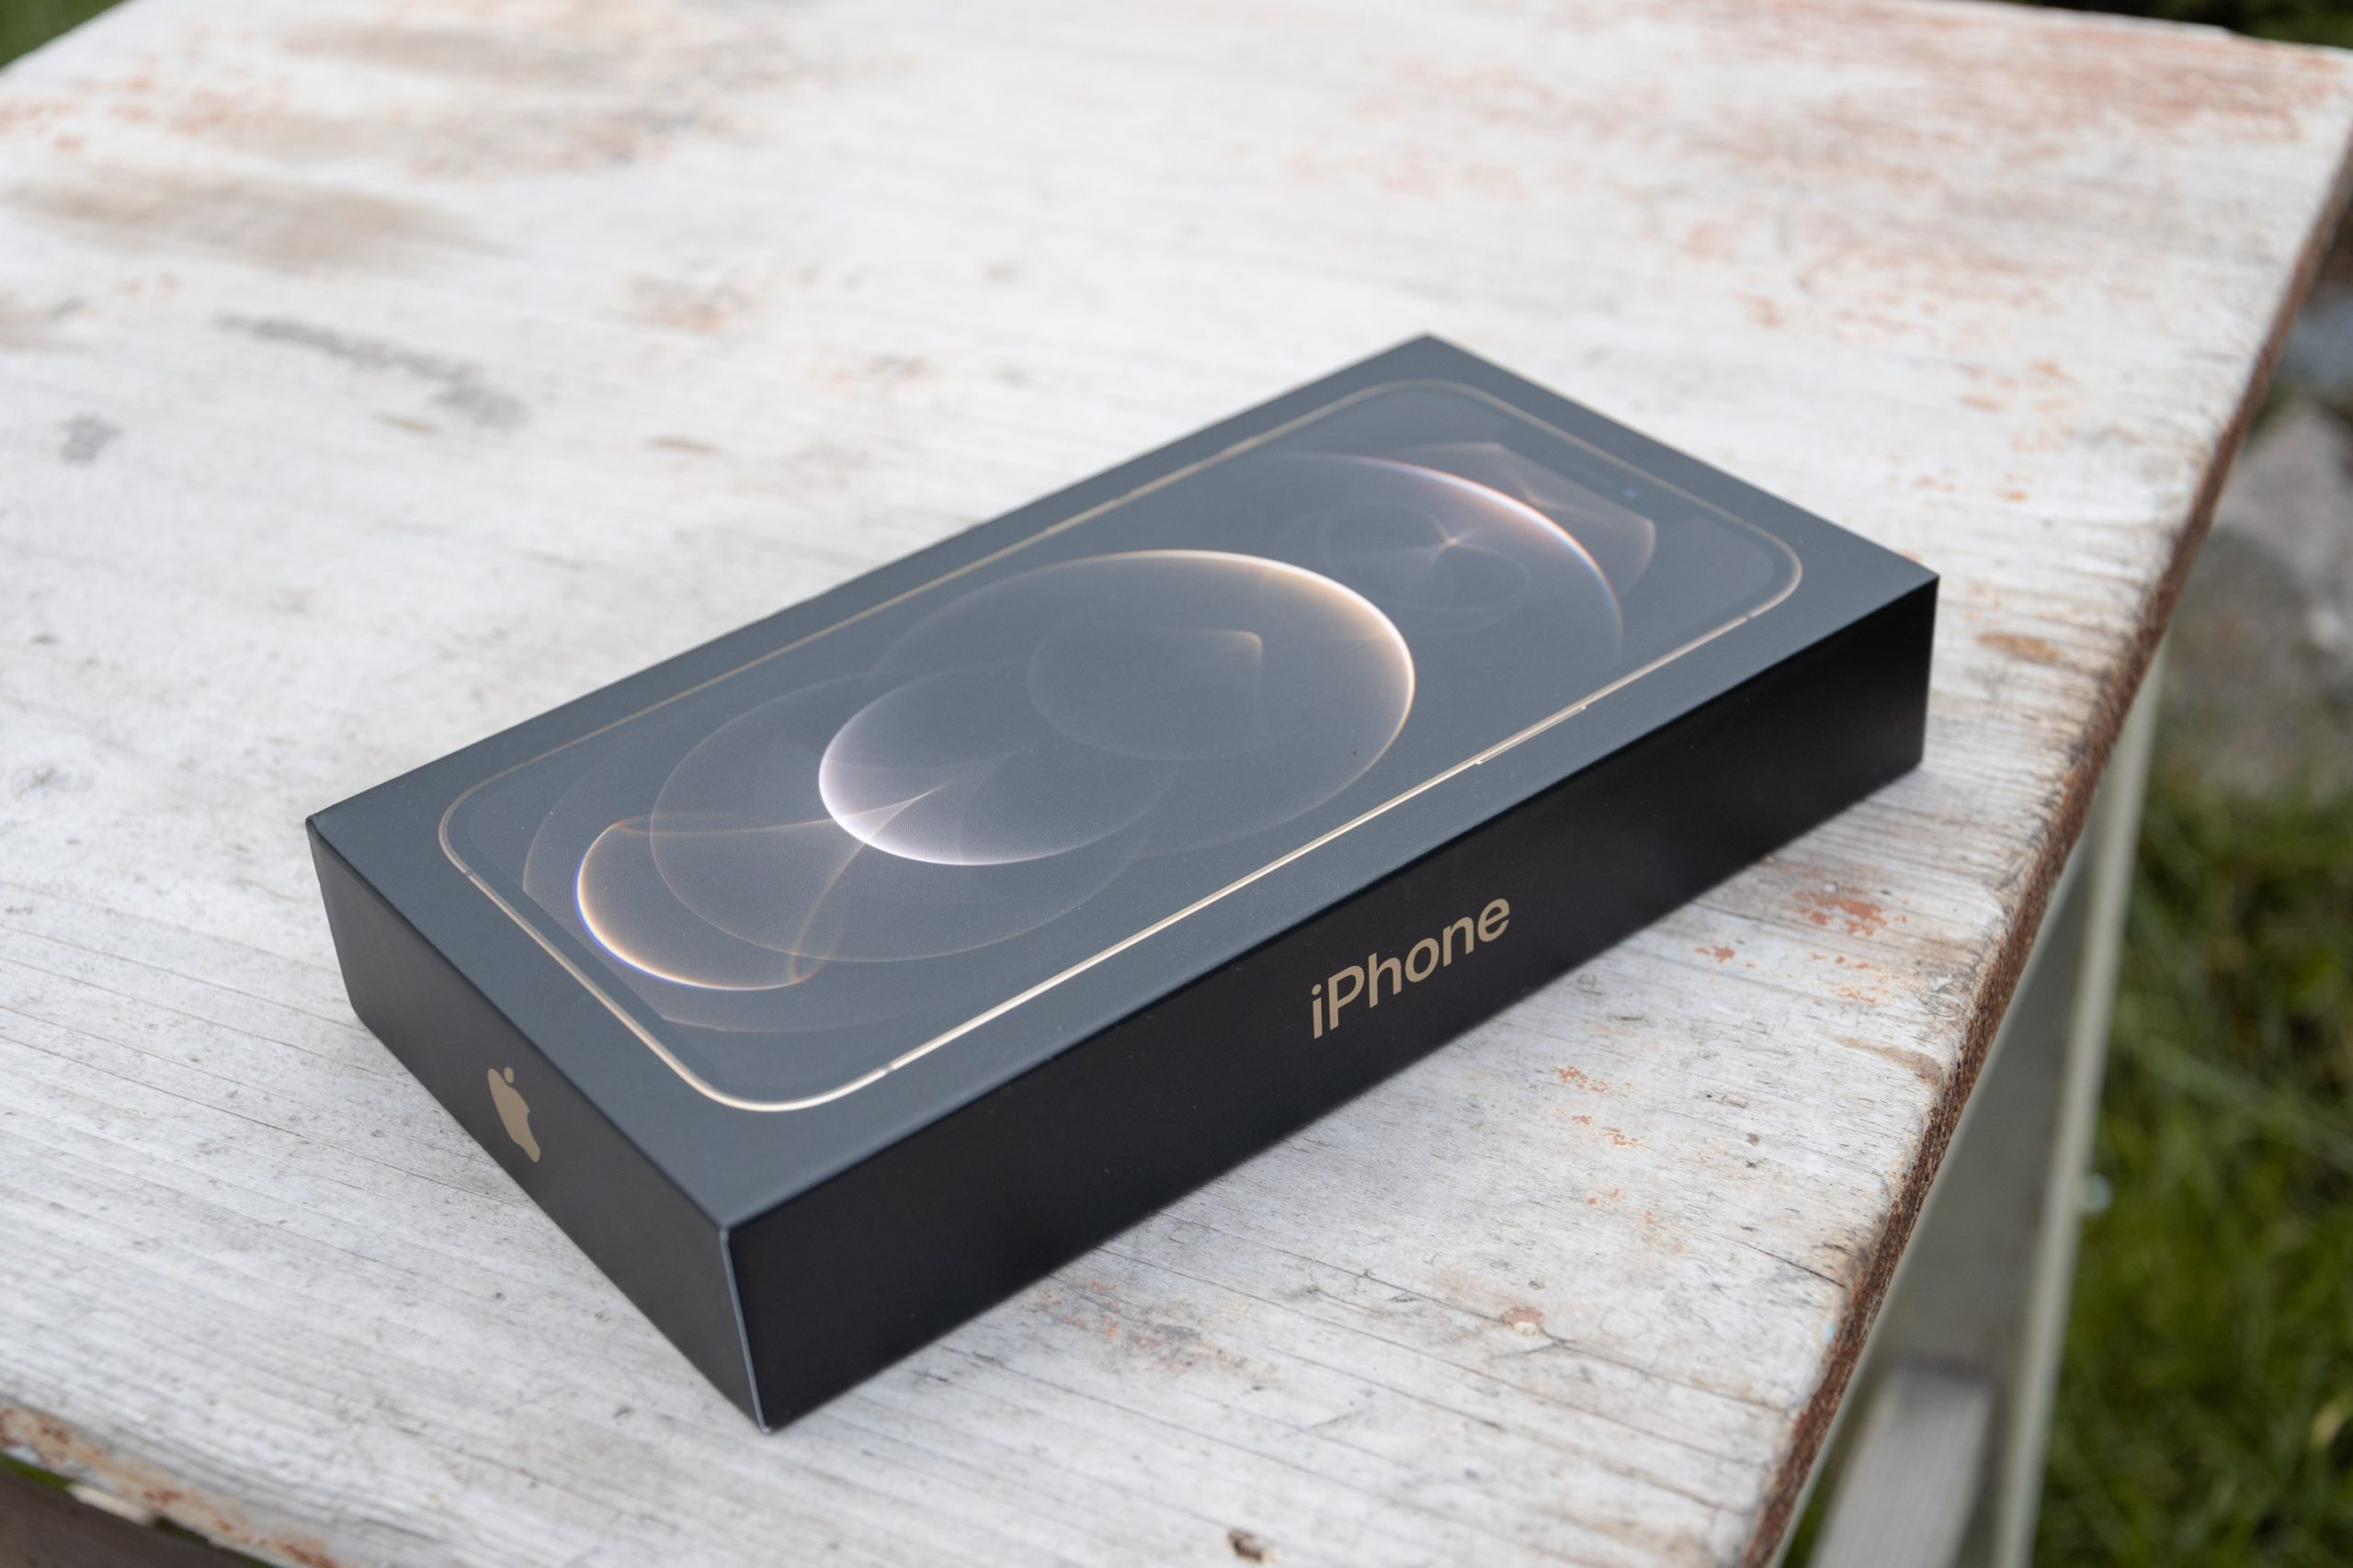
Christmas is already in full swing, the table bends under all kinds of sweets and you enjoy unwrapping presents with your loved ones. You have already browsed through the clothes and cosmetics, which of course pleased you, but under the tree lies a block-shaped package. You wonder what it will be, and surprisingly it is a new phone from the apple company. This is exactly the fate that may be waiting for some of you tonight. But how to use the iPhone most effectively? If you are a complete beginner in the world of Apple, this article is for you.
It could be interest you
Activation goes like clockwork
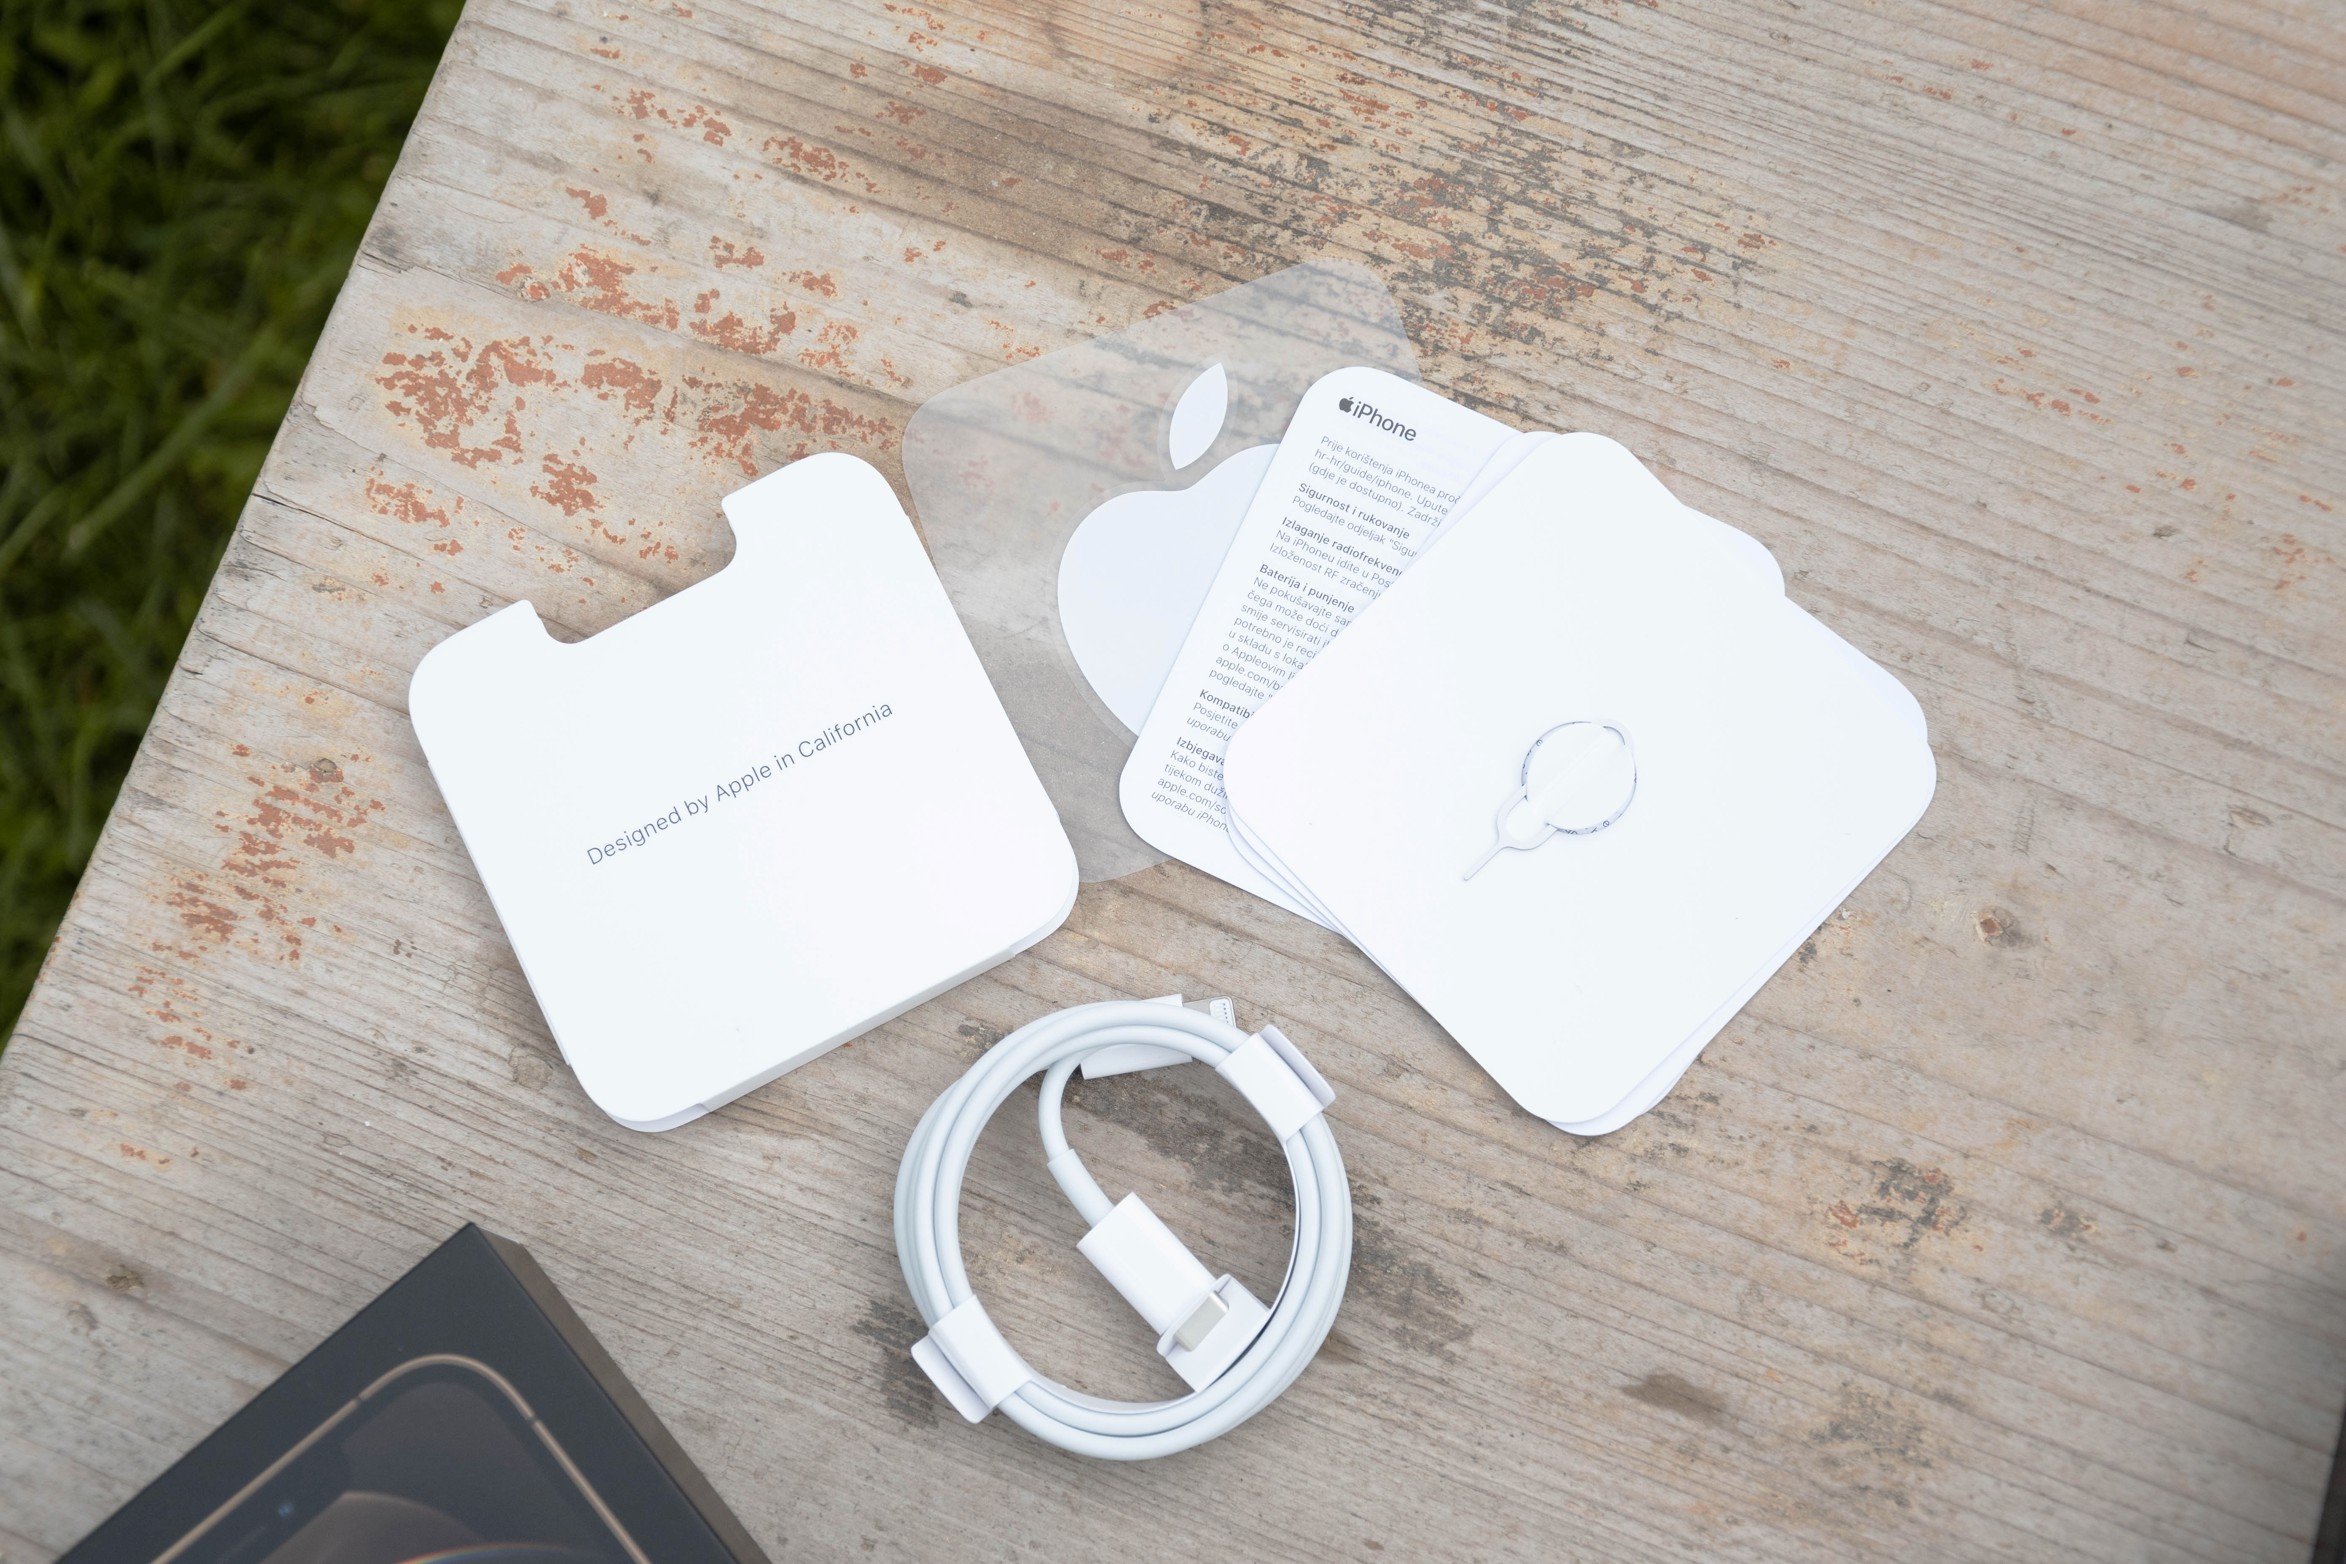
First of all, you need to set up your new iPhone. After powering on, which is done by holding down the side button, the settings screen will pop up at you. If you're already switching from an older iPhone, just unlock it, bring it closer to the new device, and transfer the data. However, you have probably been using an Android device until now, so continue reading the article. If you have vision problems, it will be useful to activate the reading program VoiceOver. You turn it on by pressing the home button three times on phones with a Touch ID fingerprint reader, or by pressing the lock button three times on phones with Face ID. Then set the language, connect to WiFi and insert the SIM card. It must be in nano format.
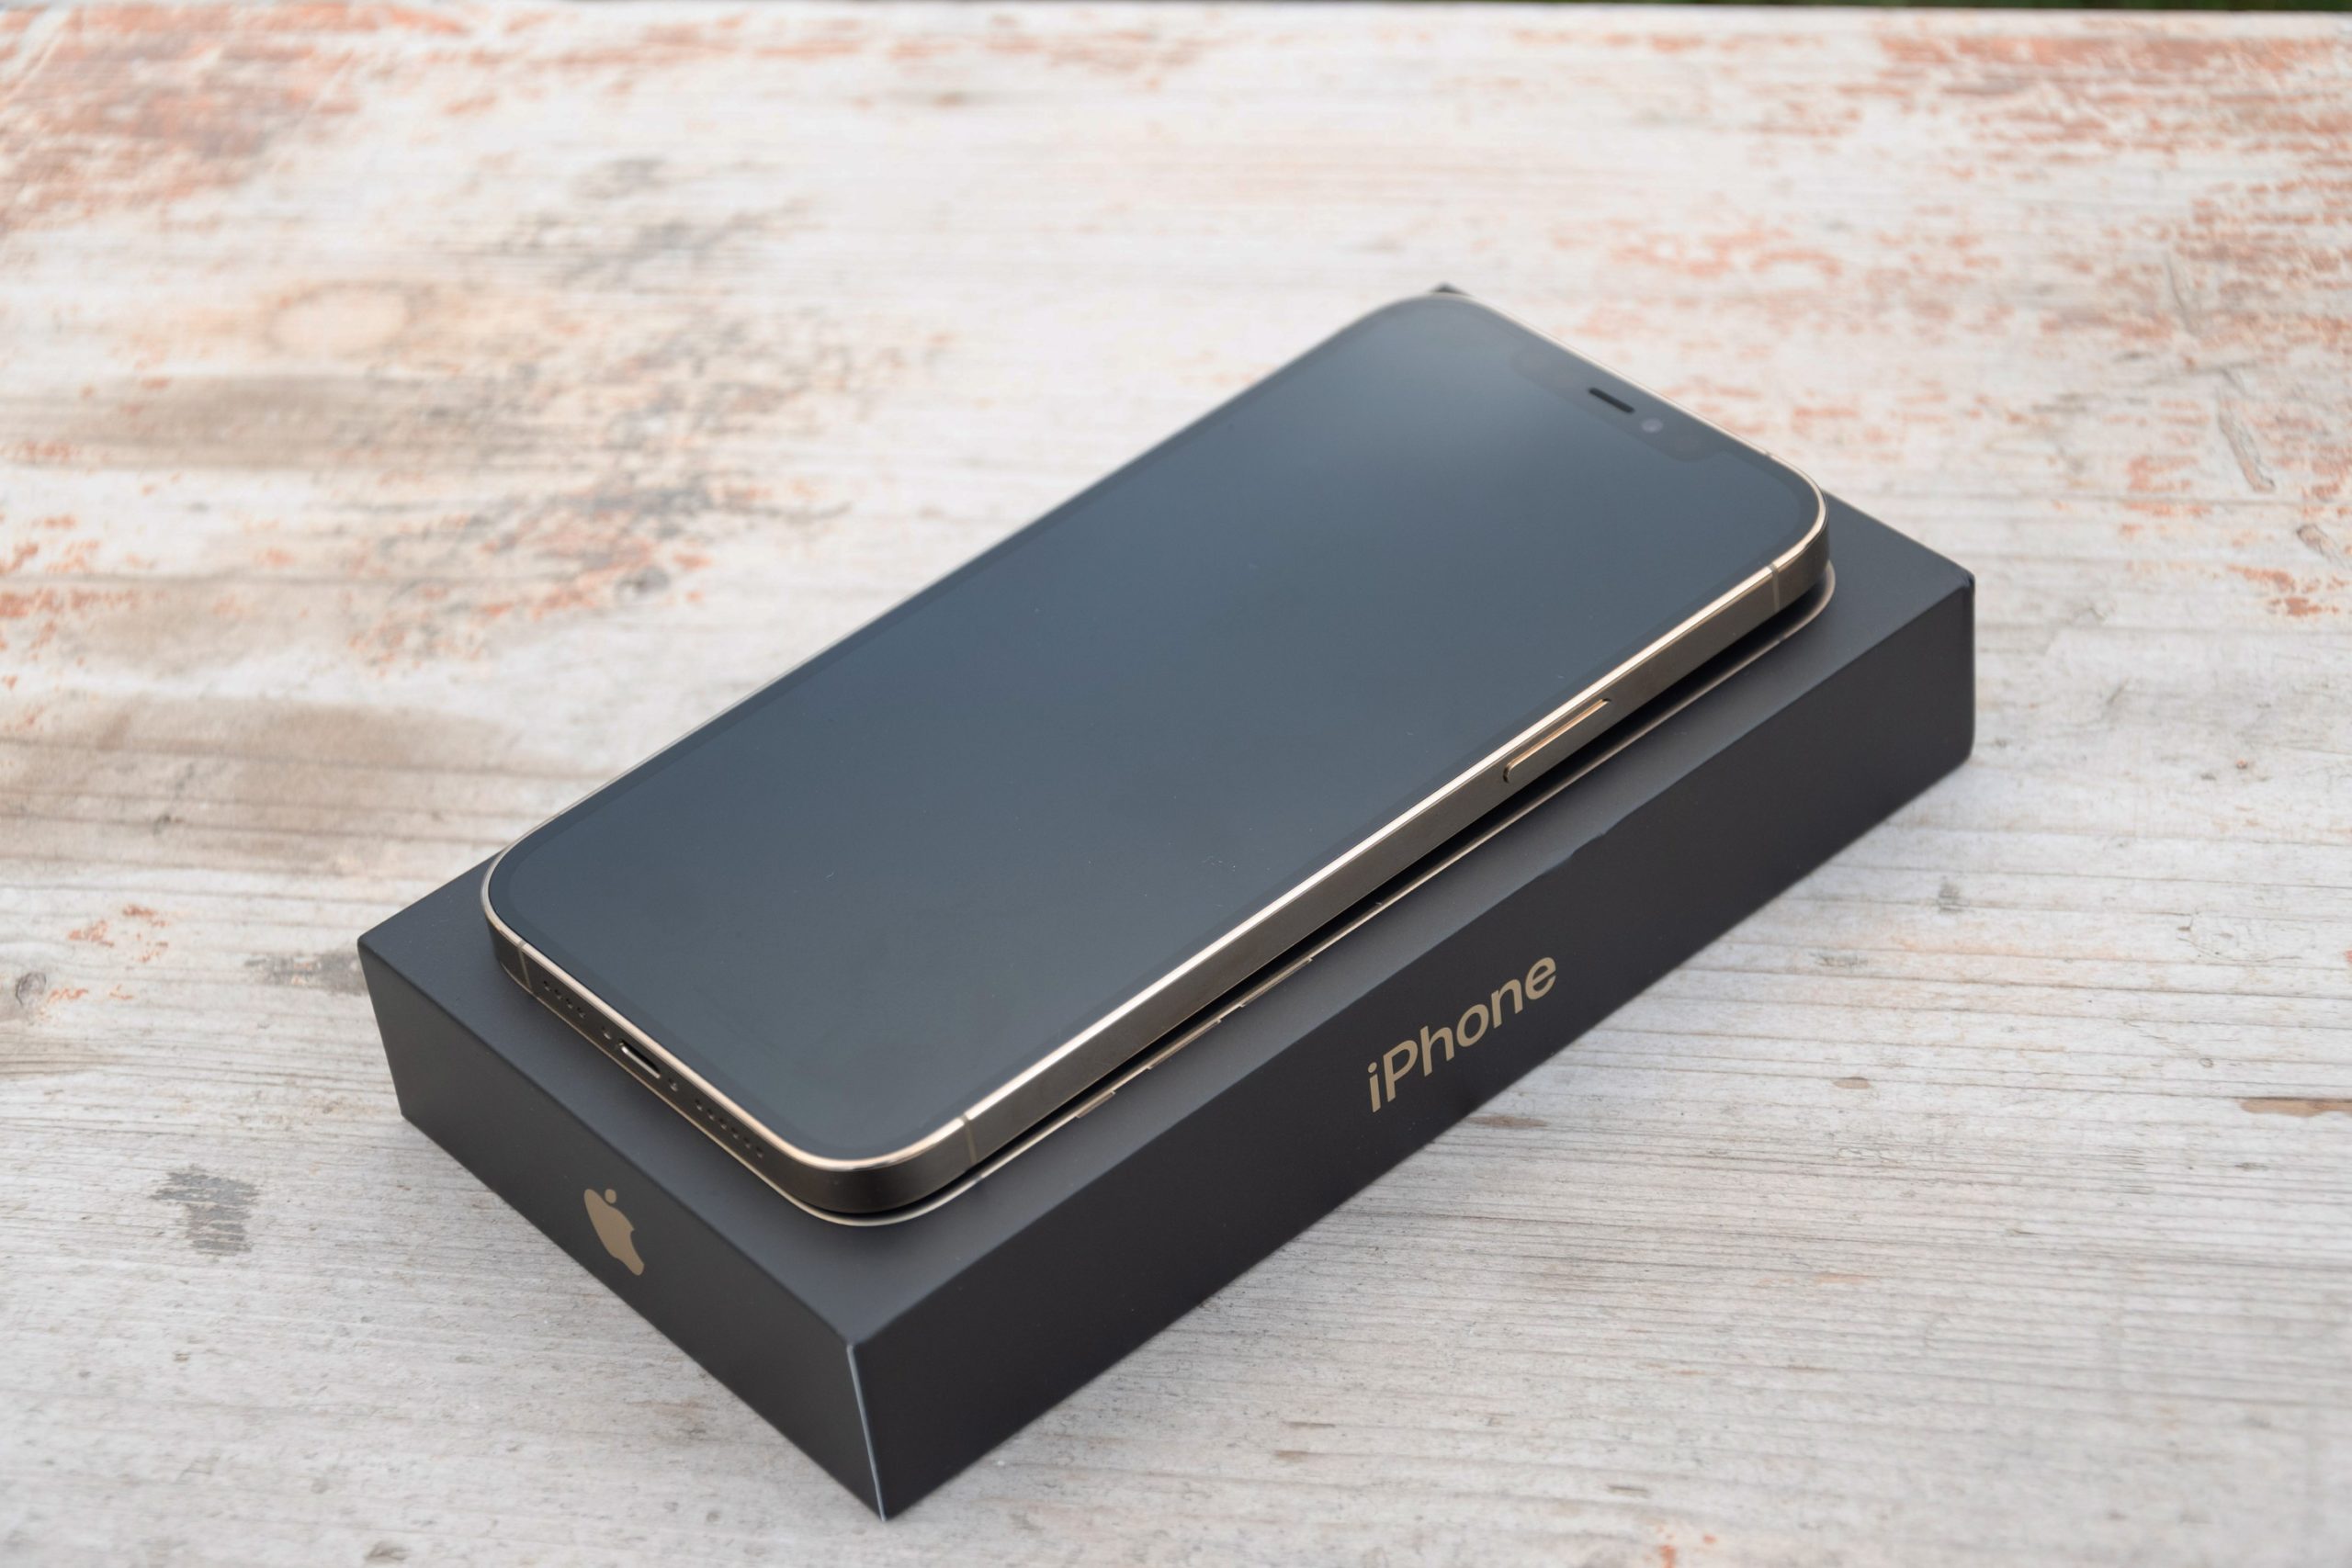
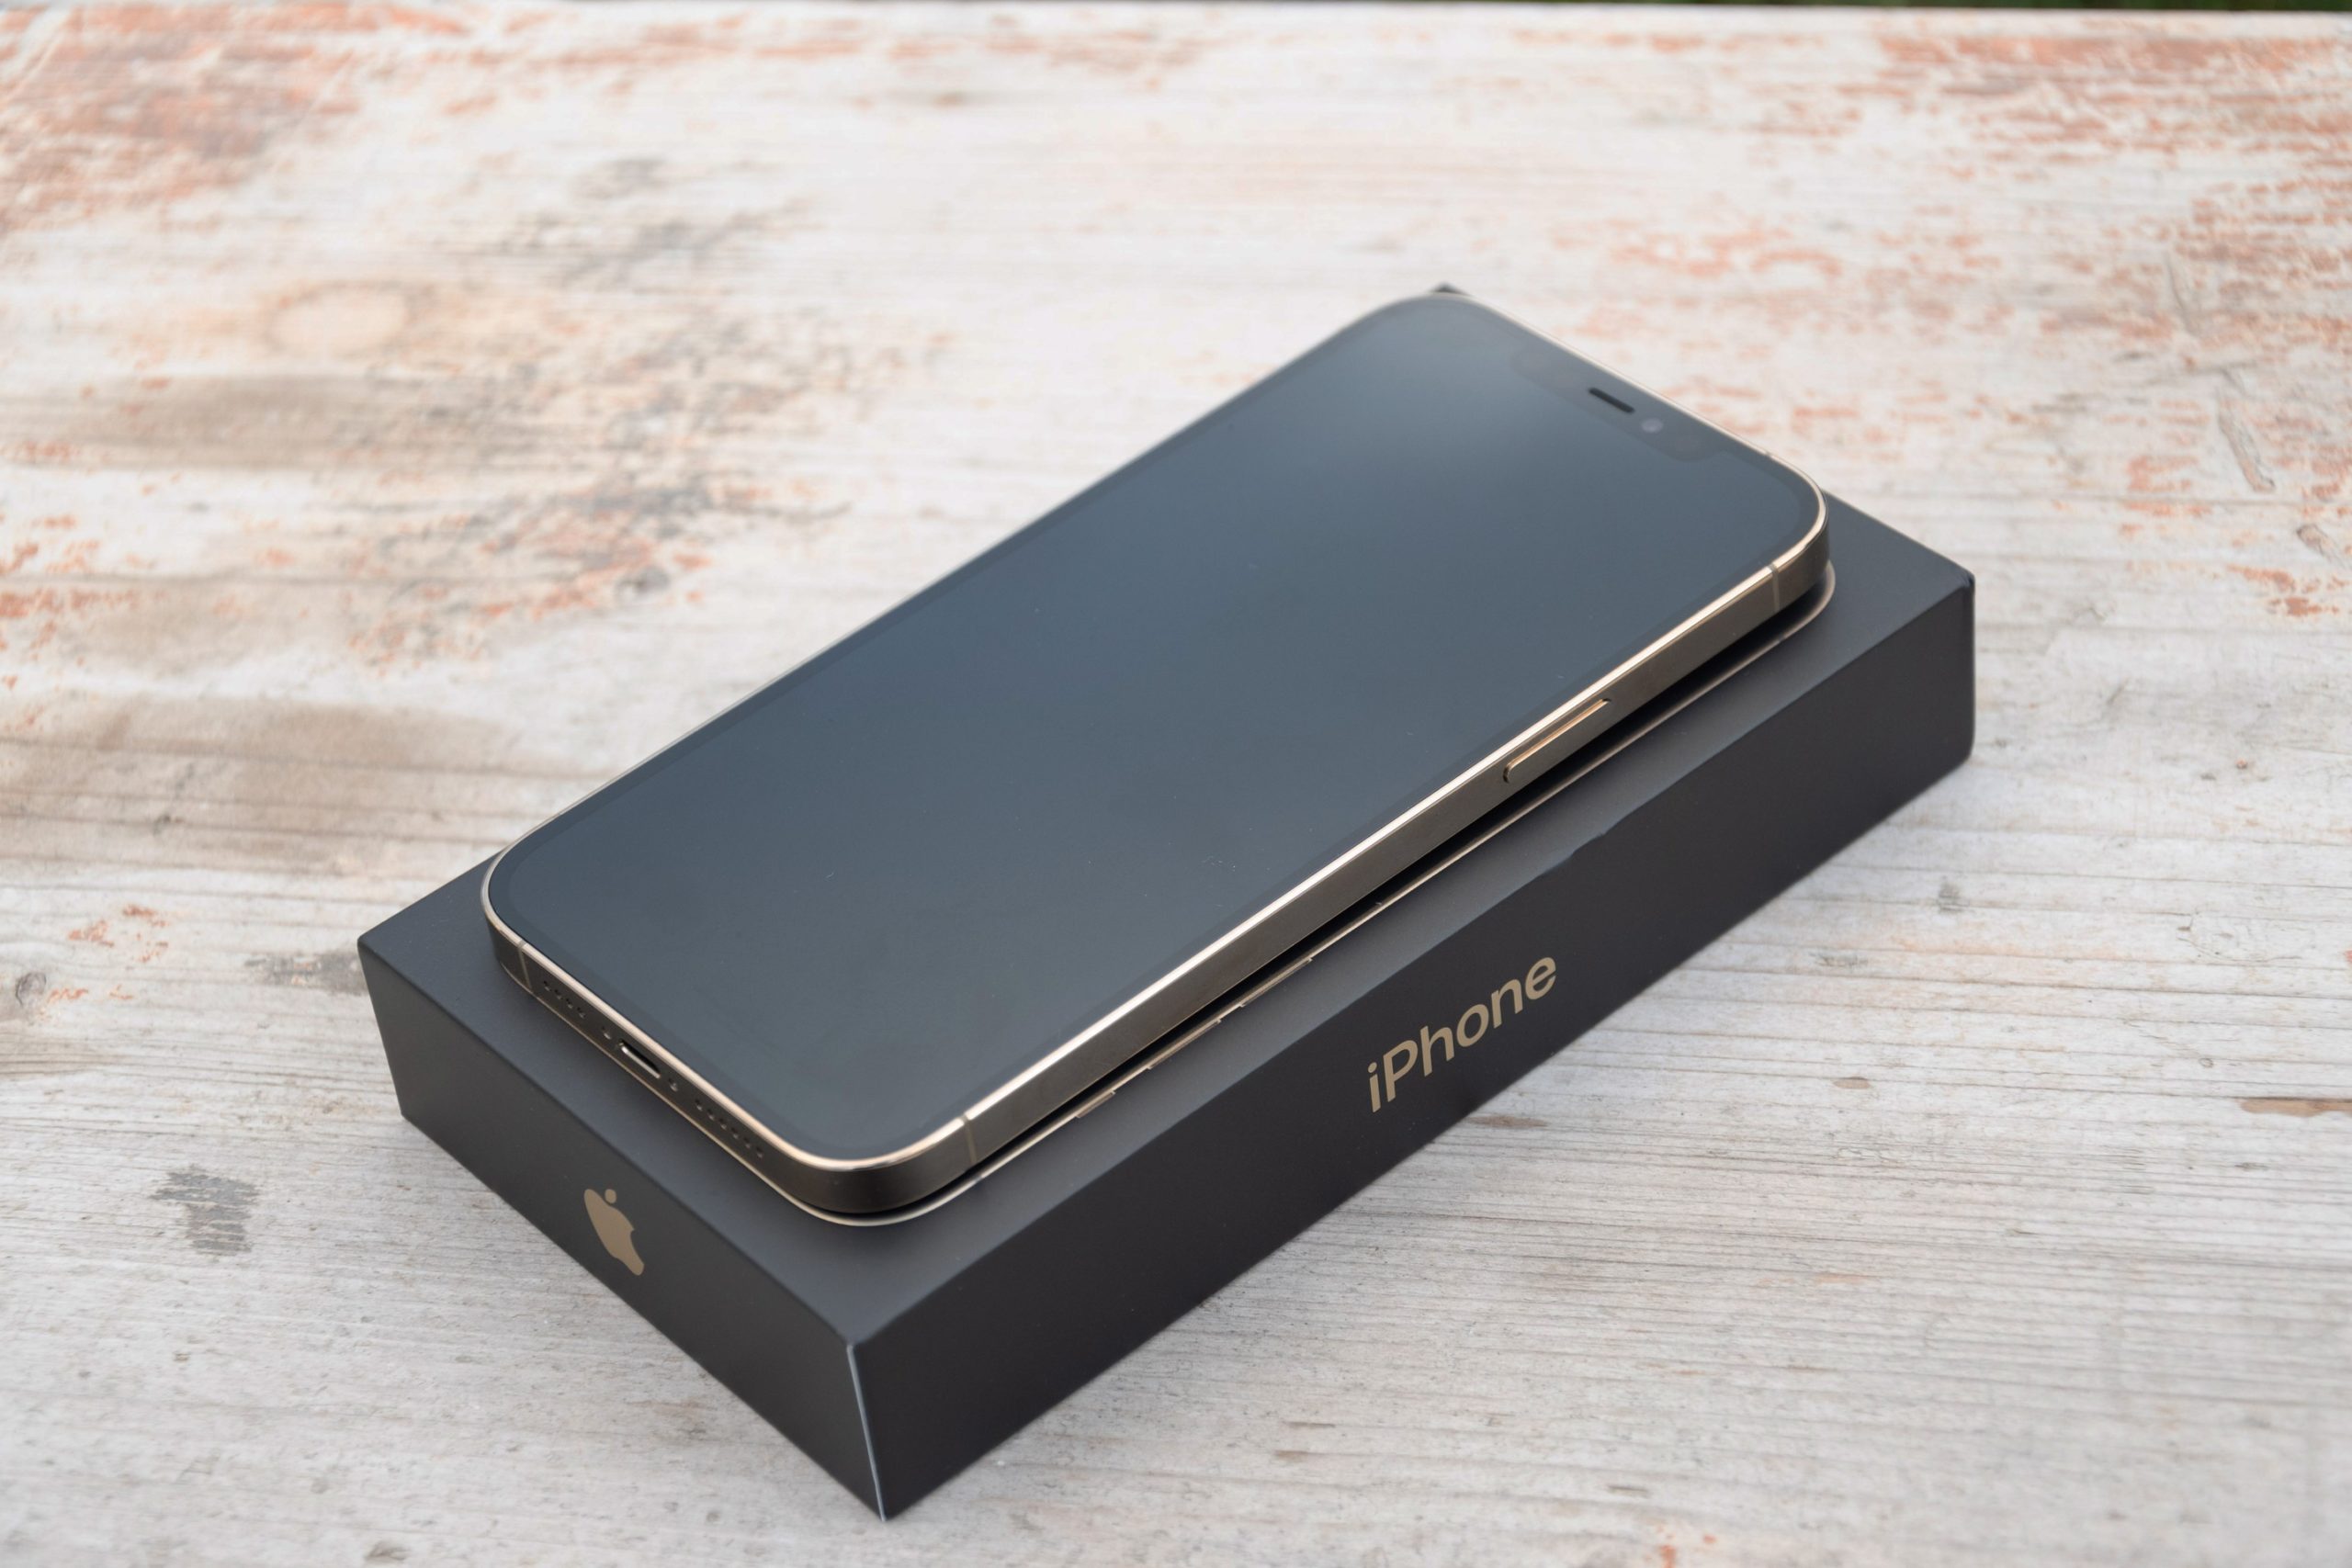
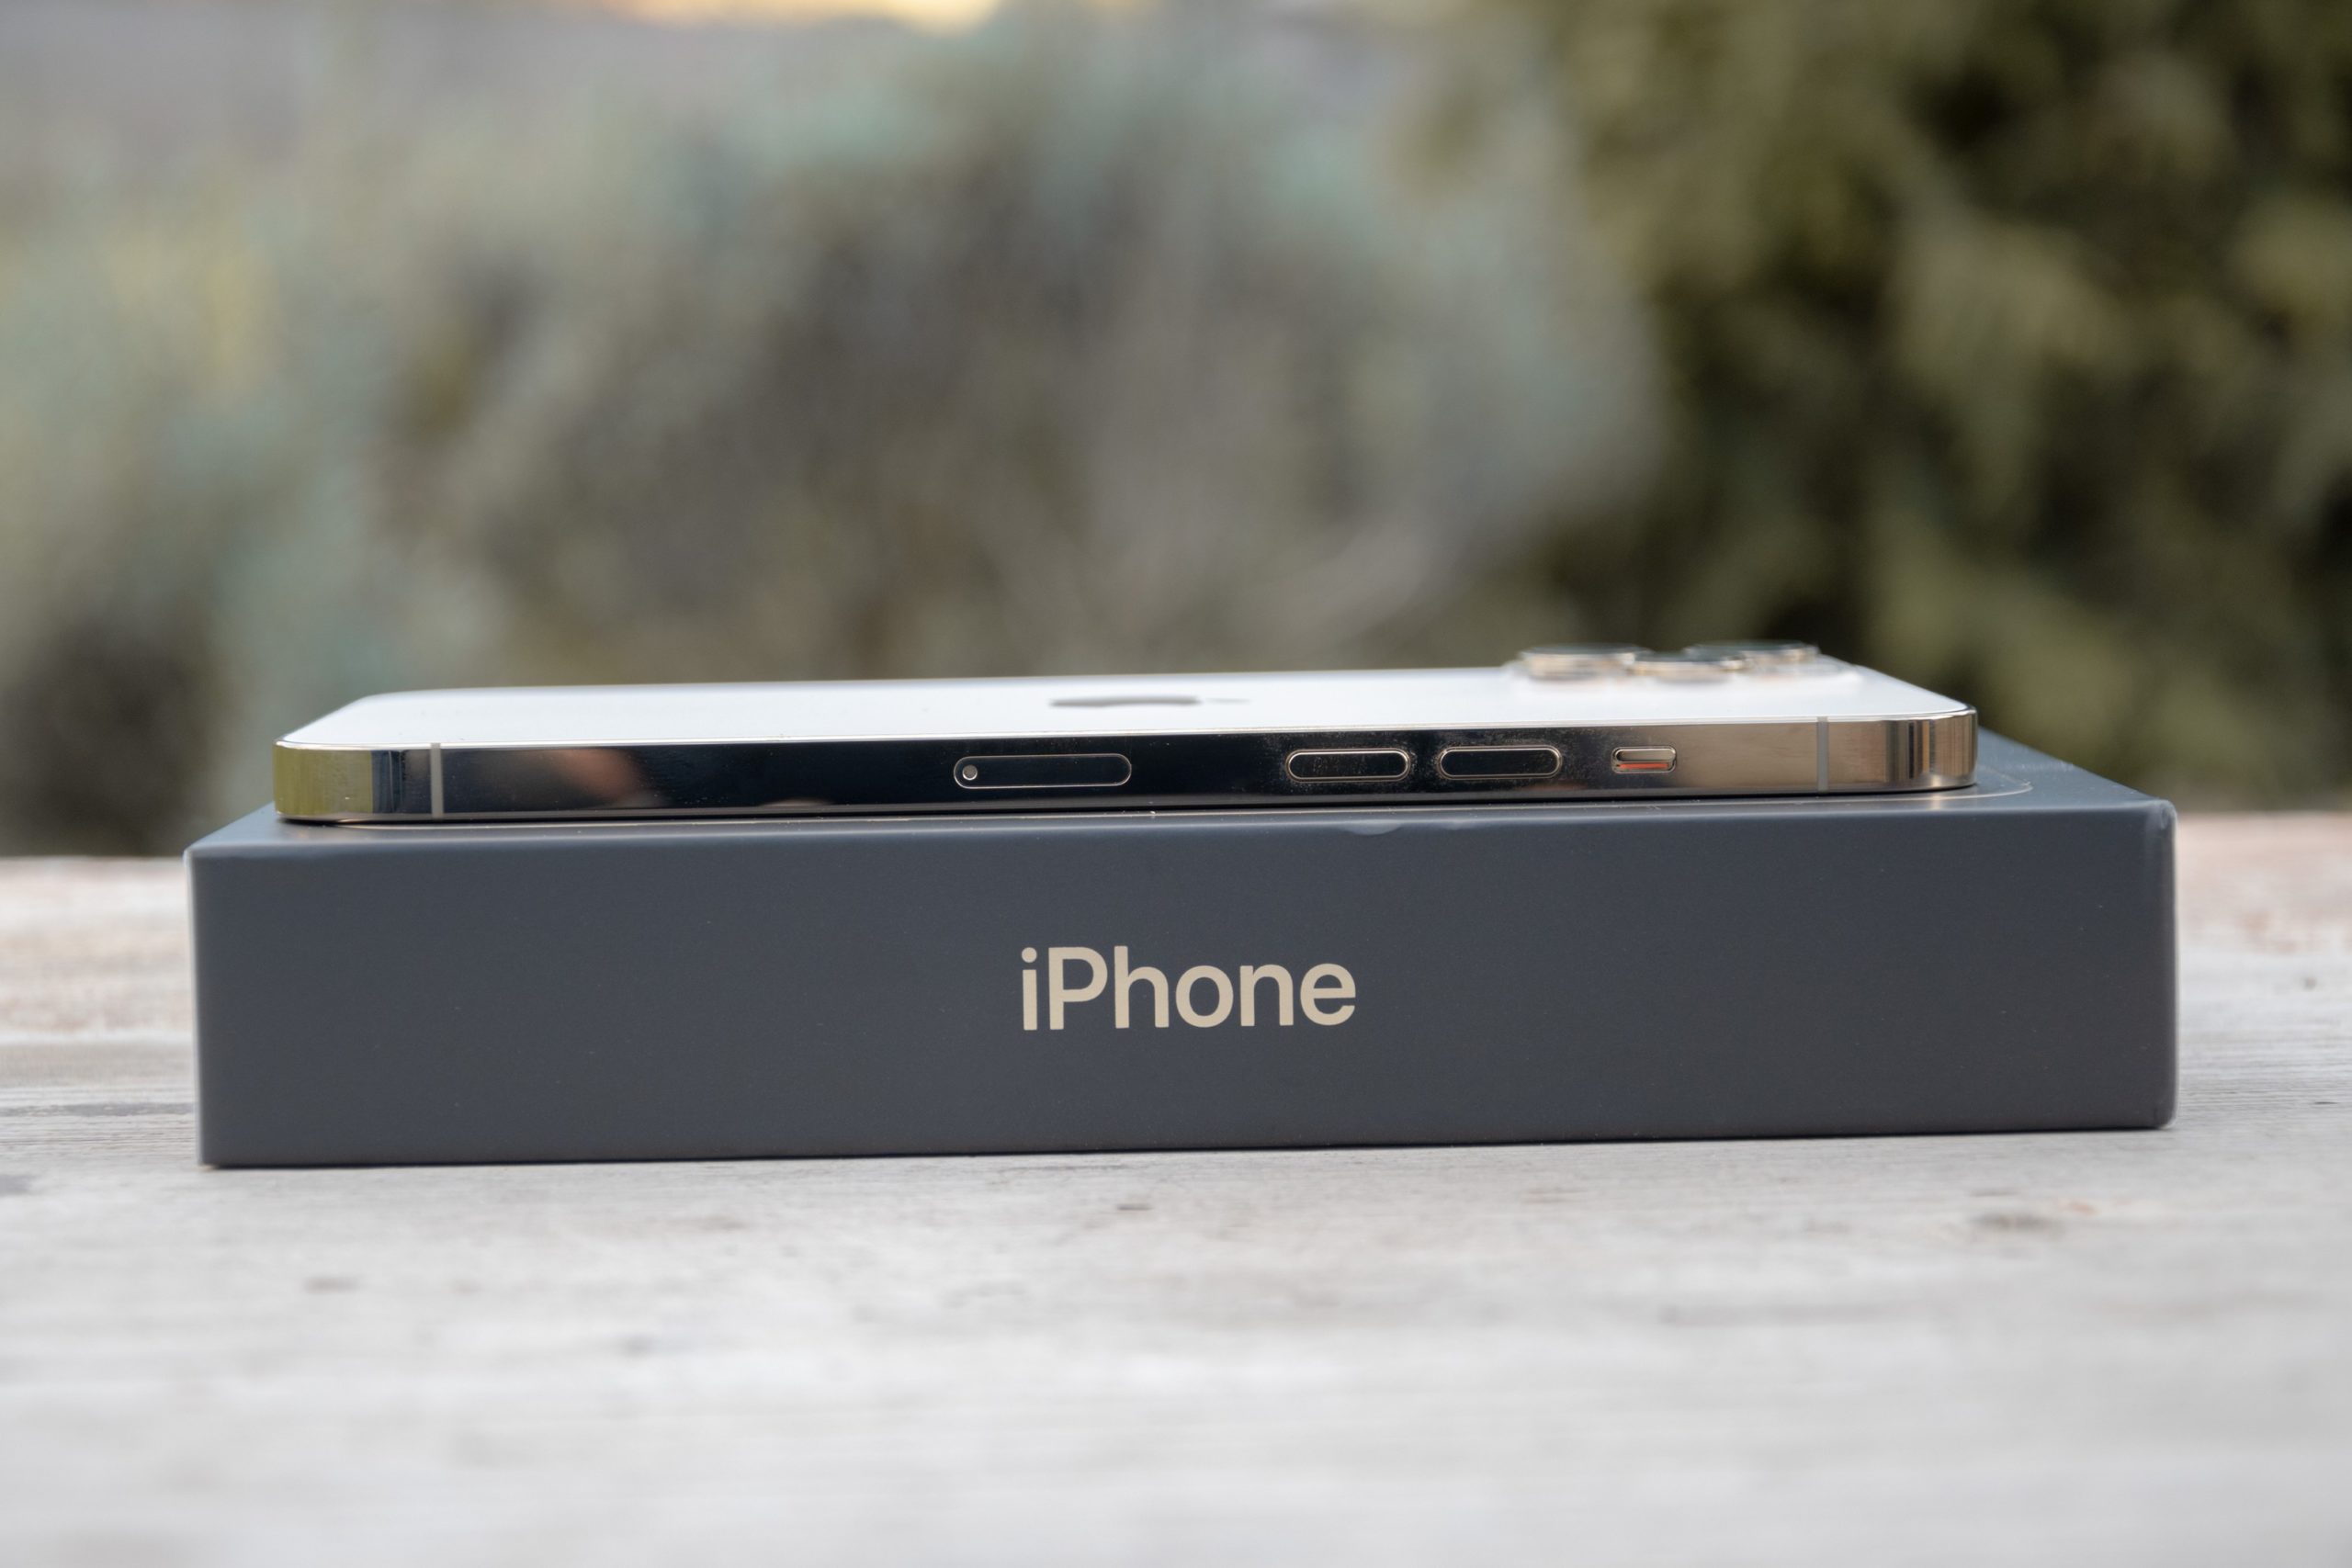
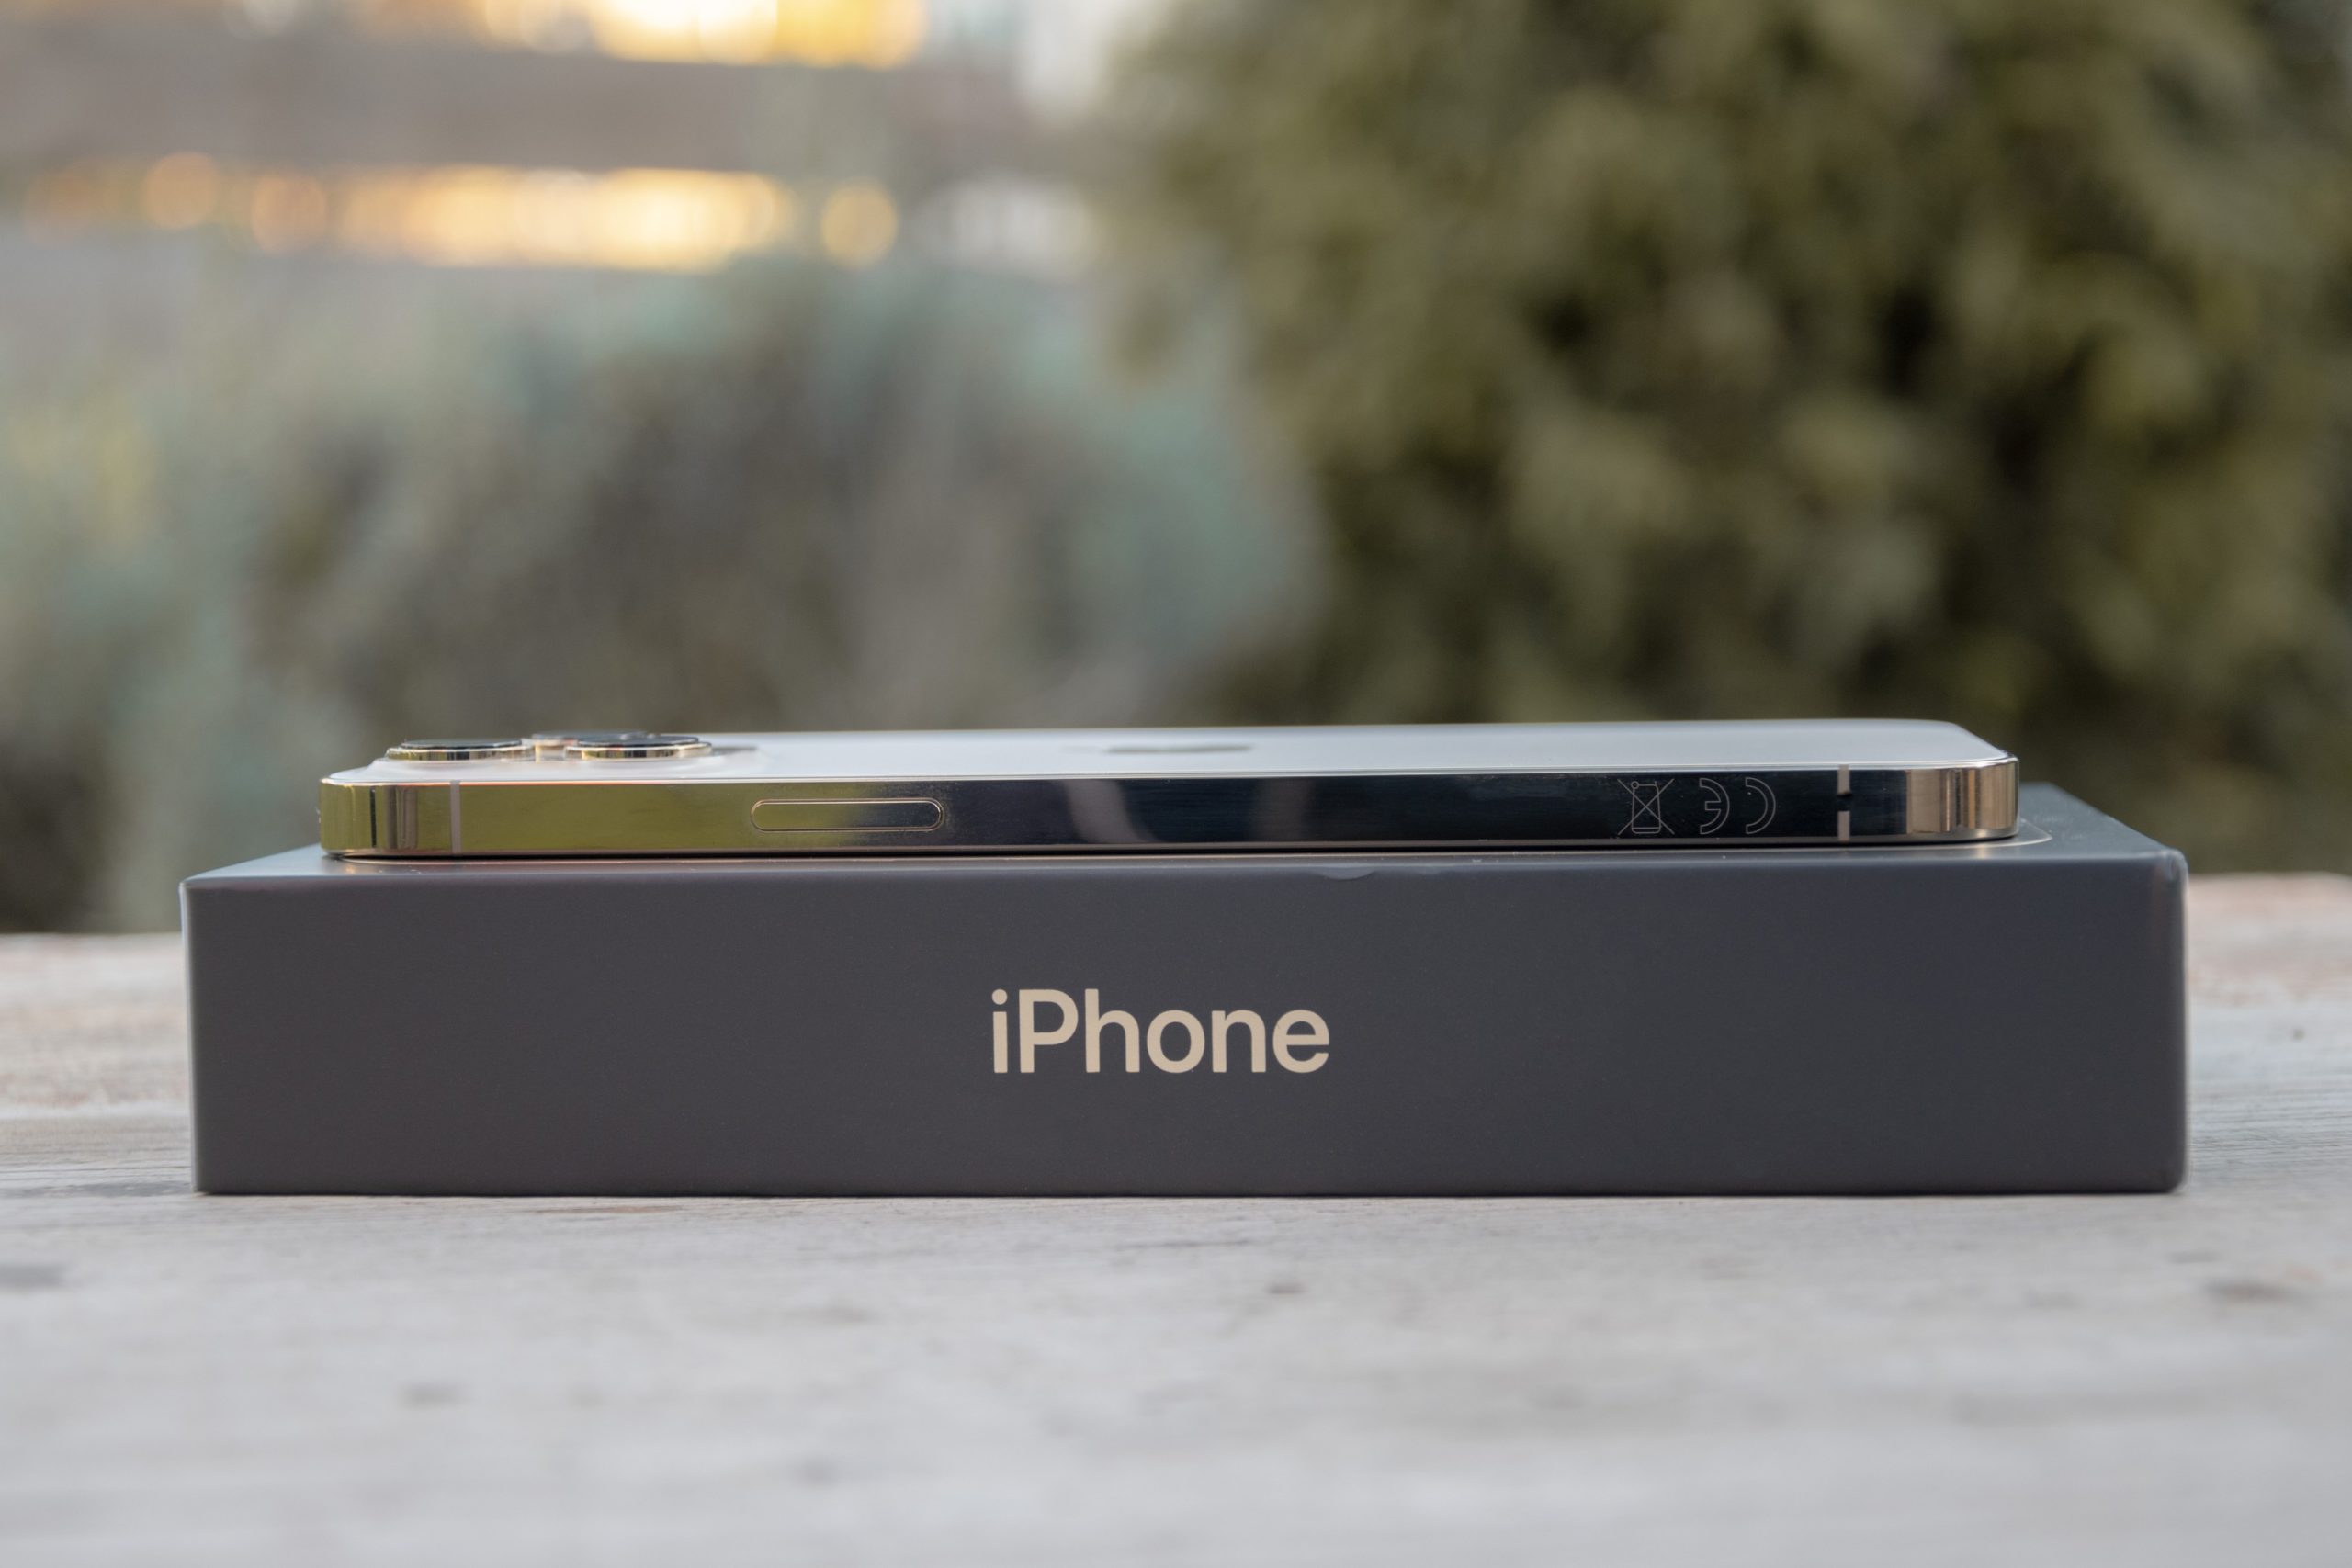
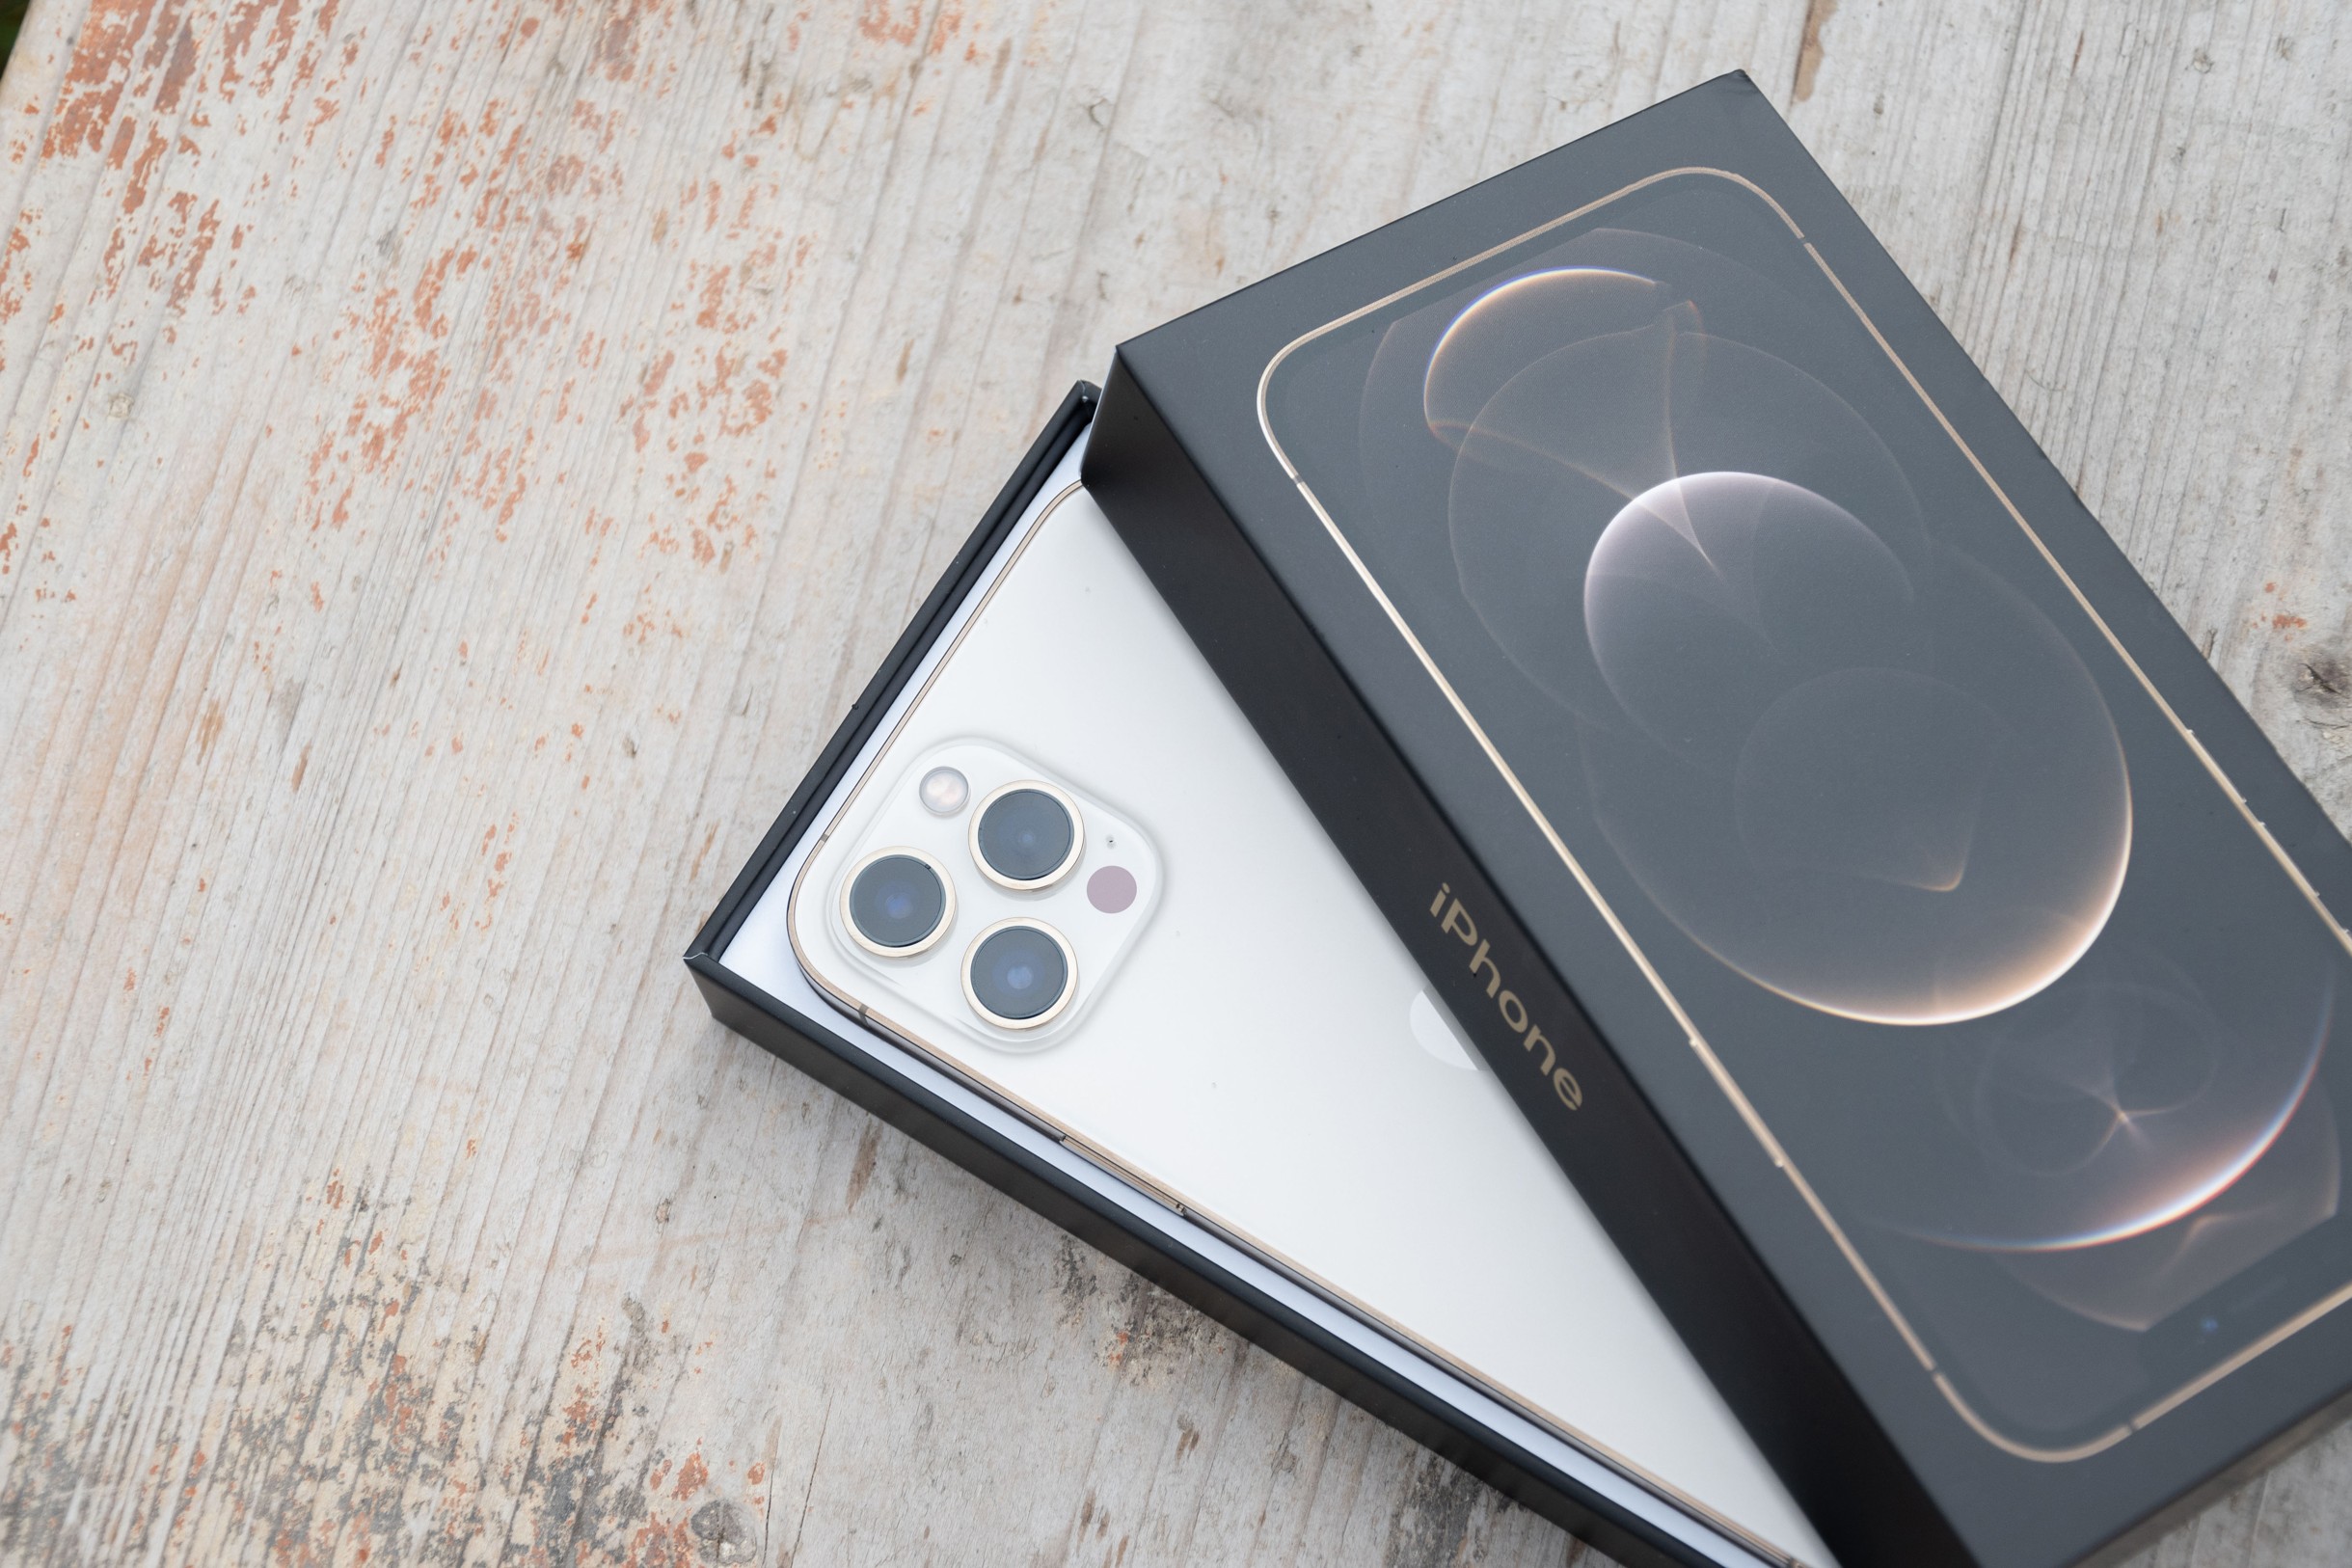
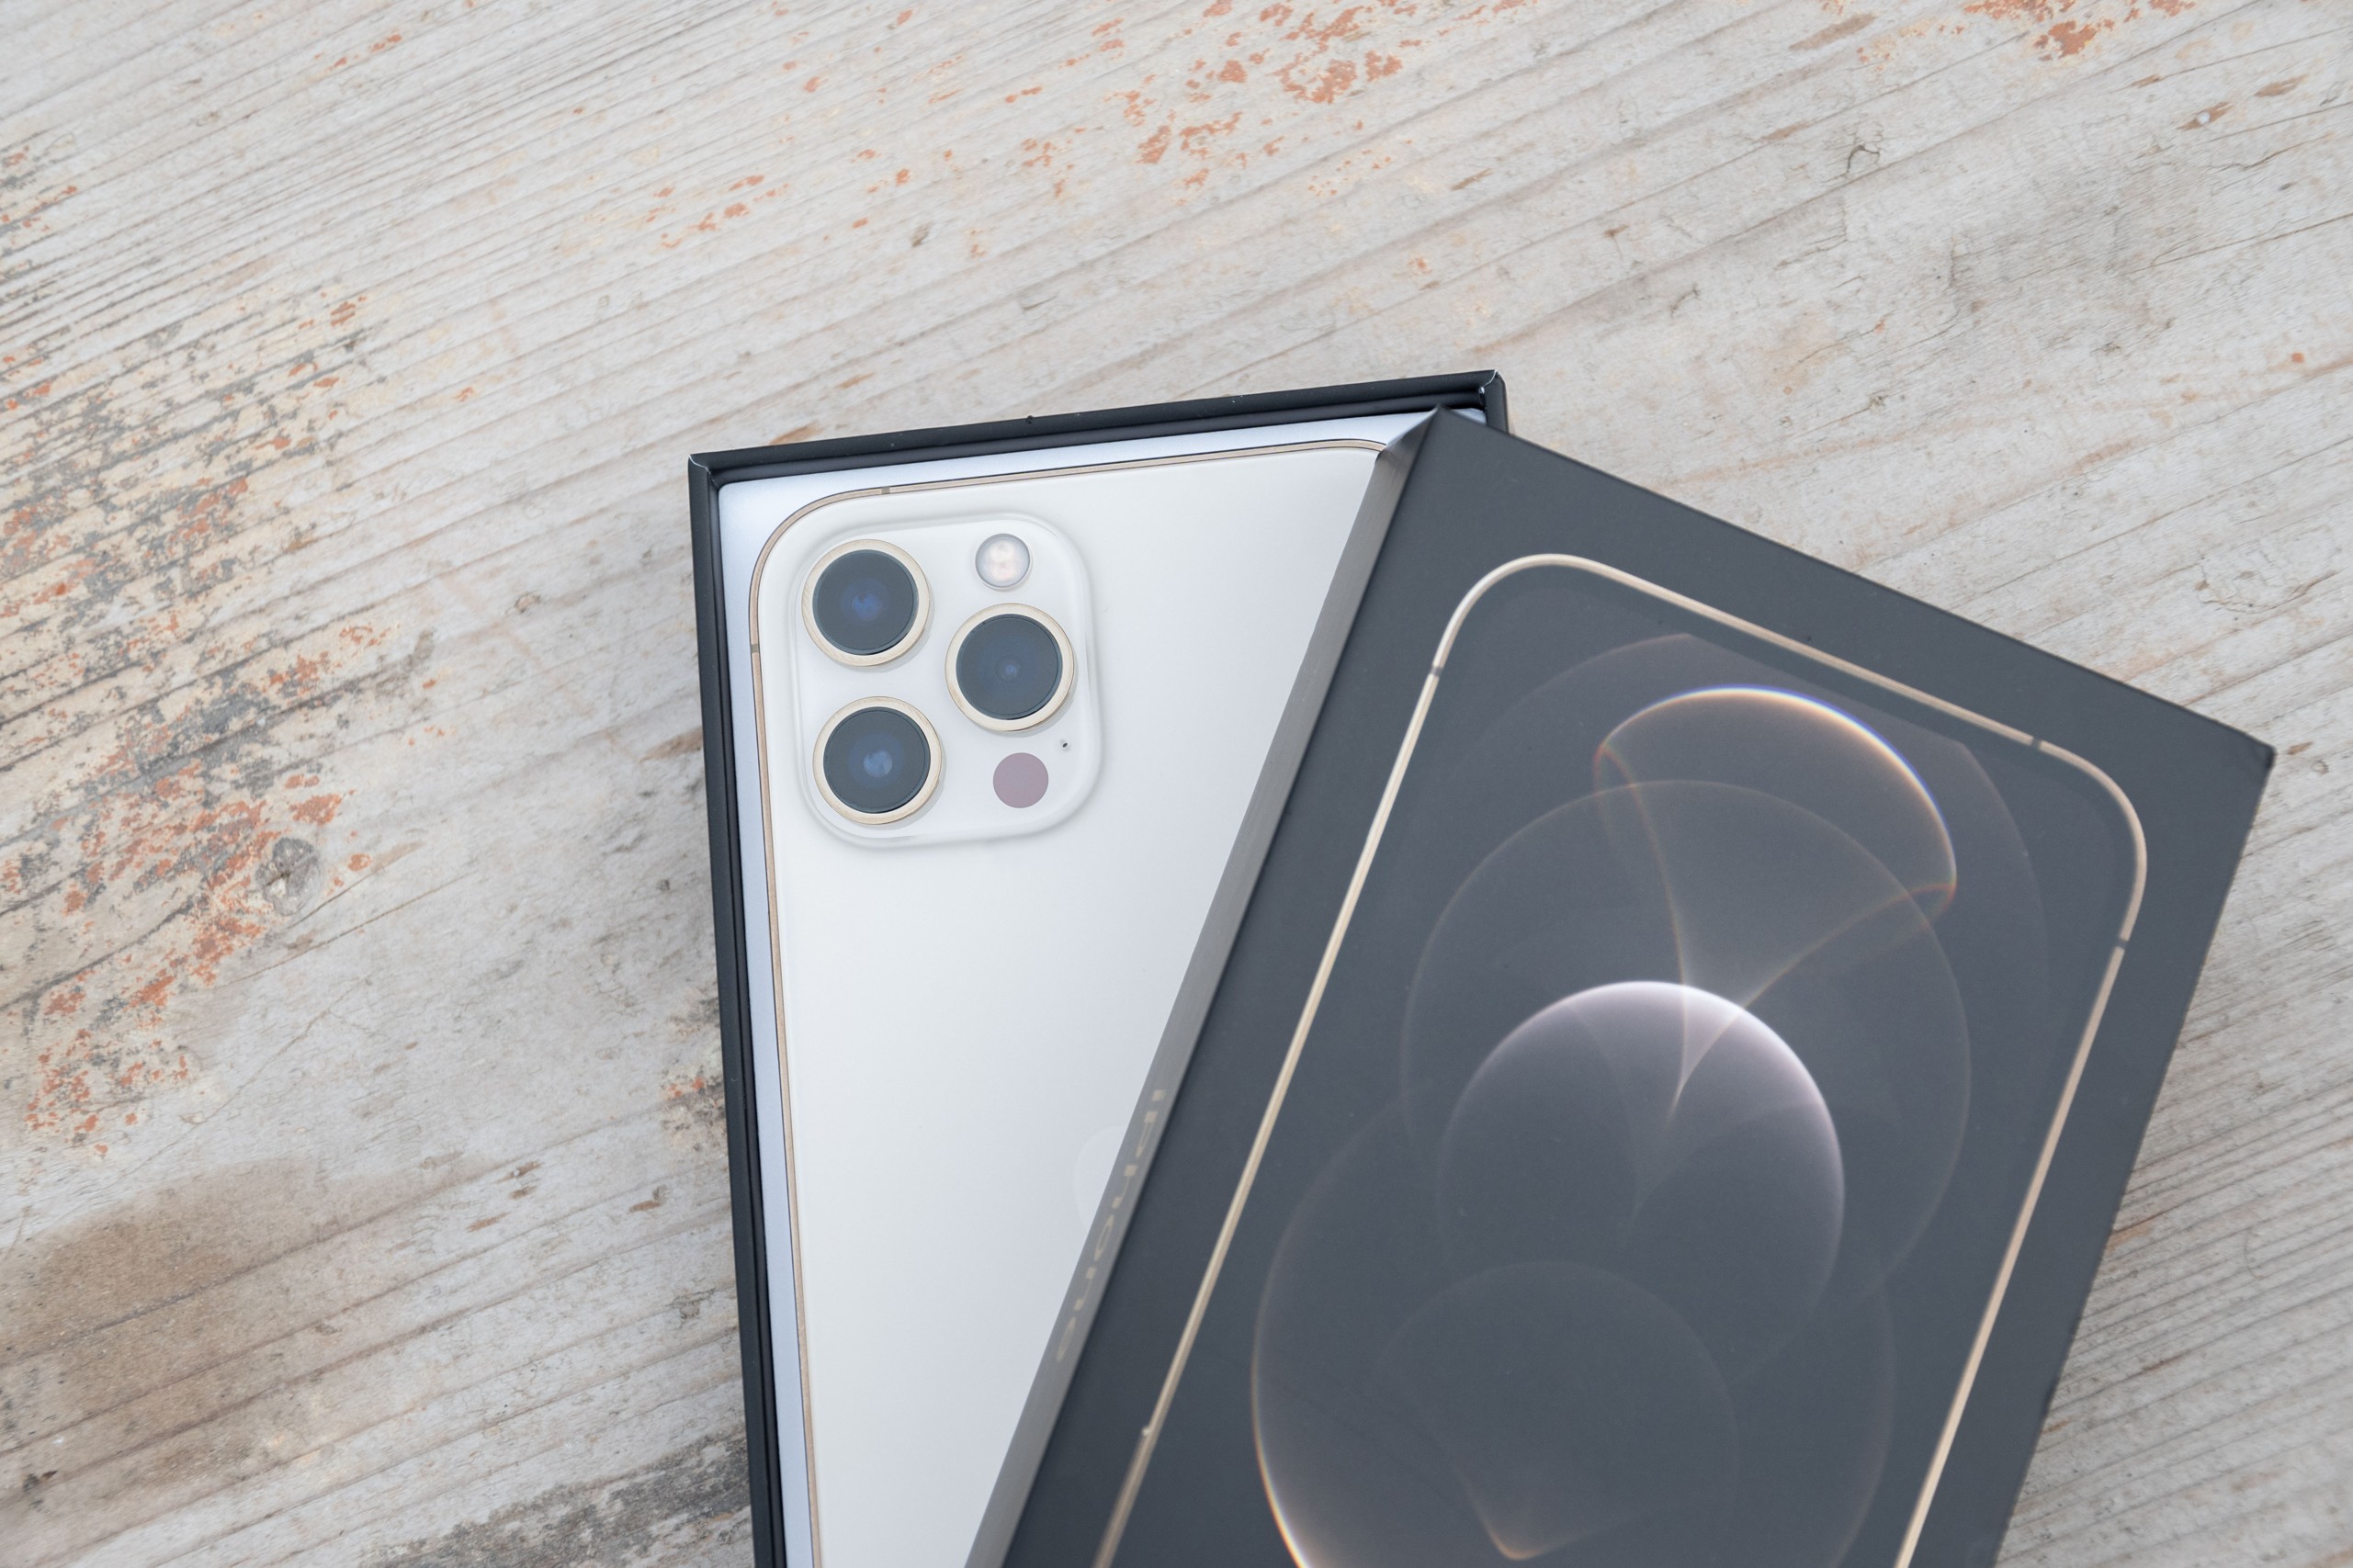
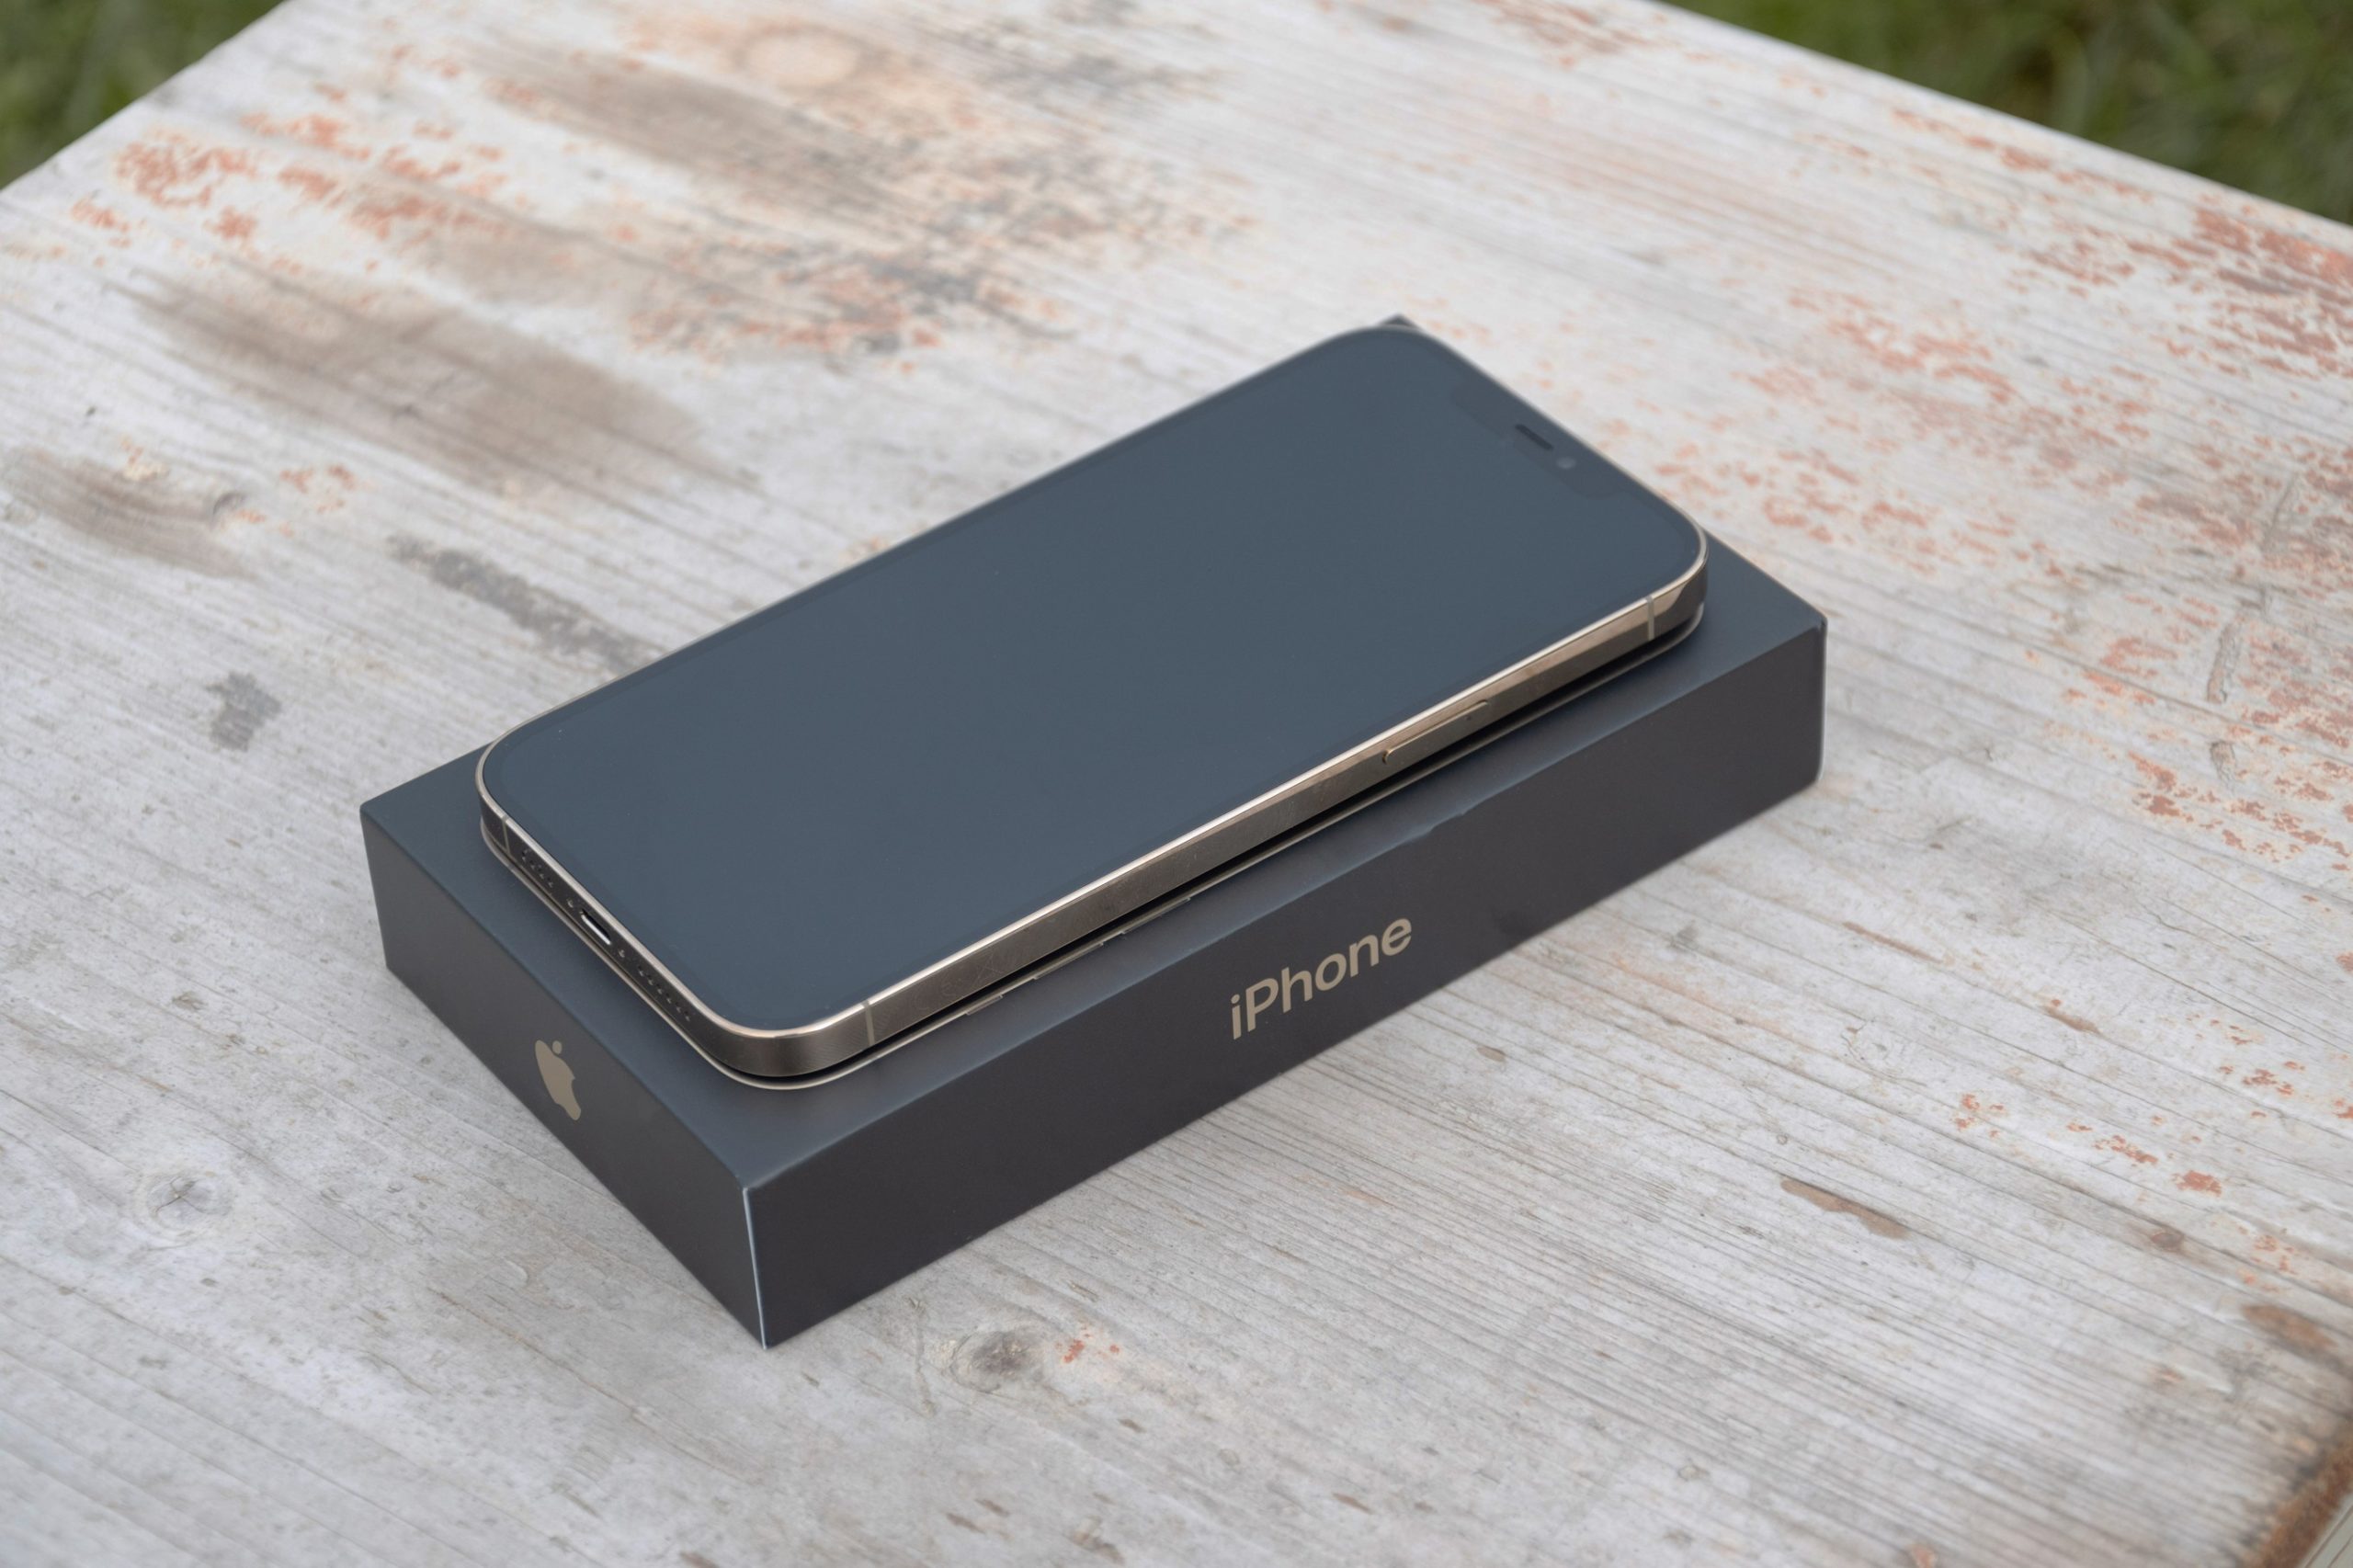
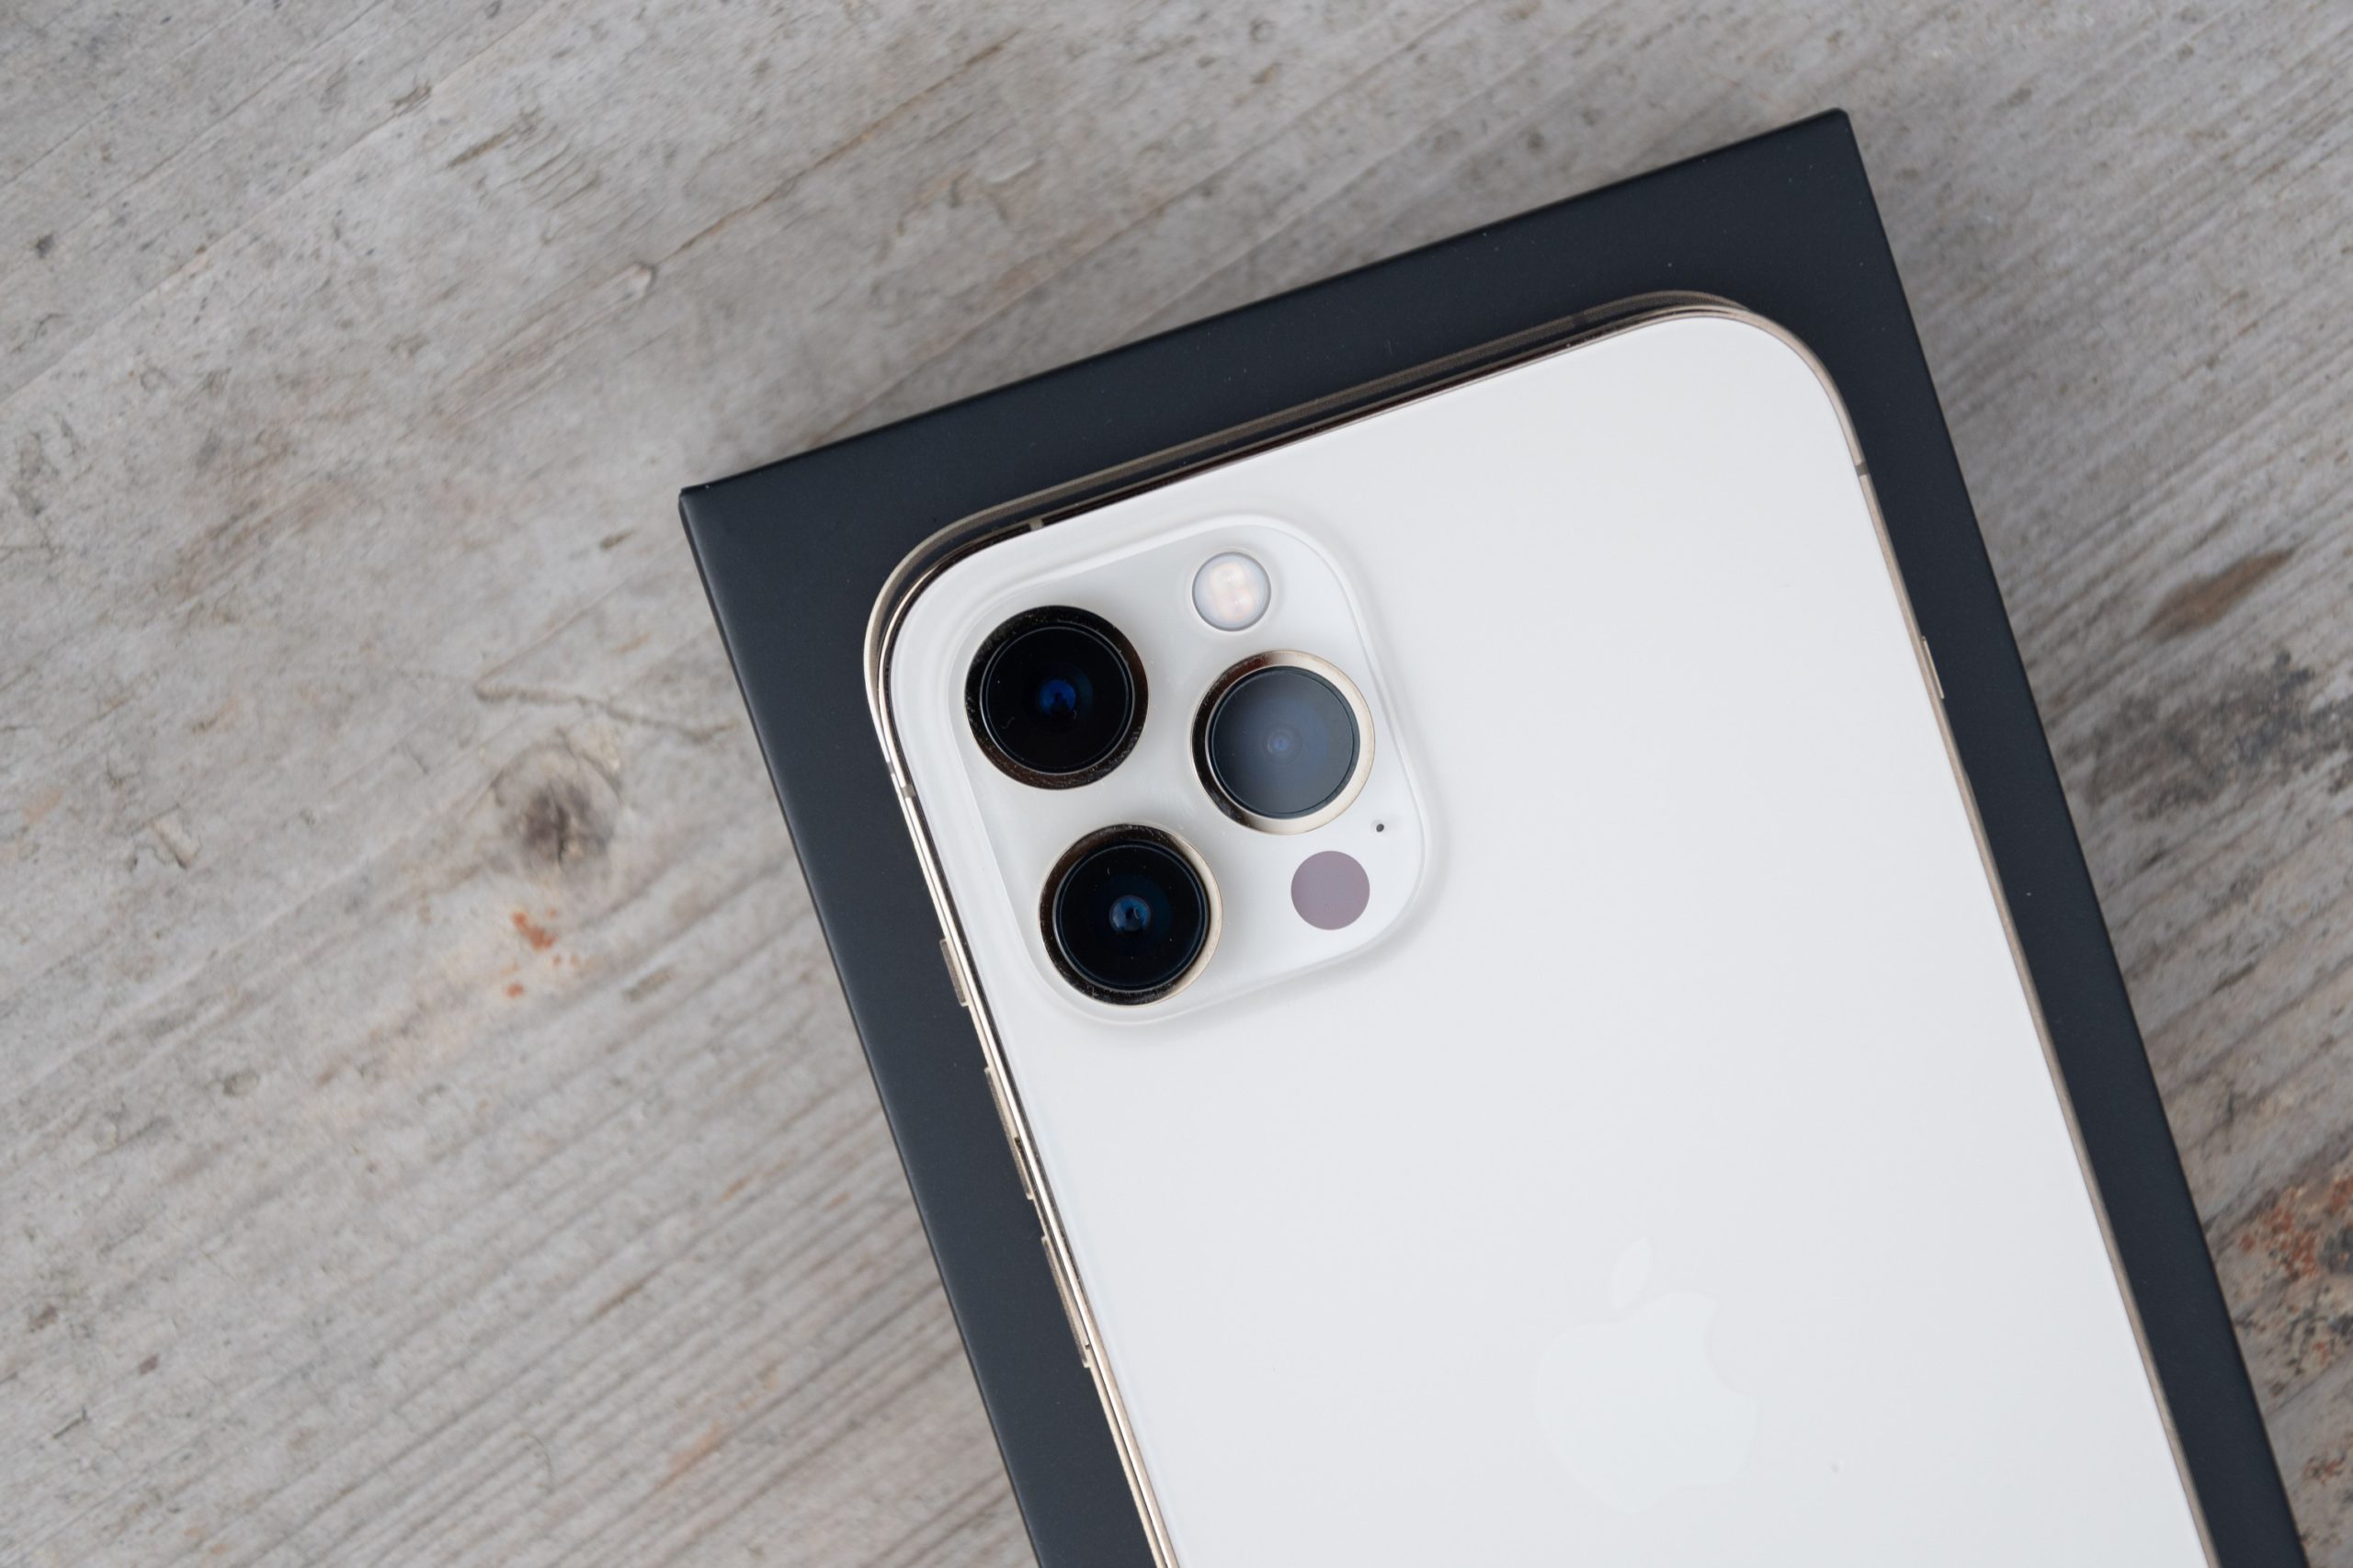
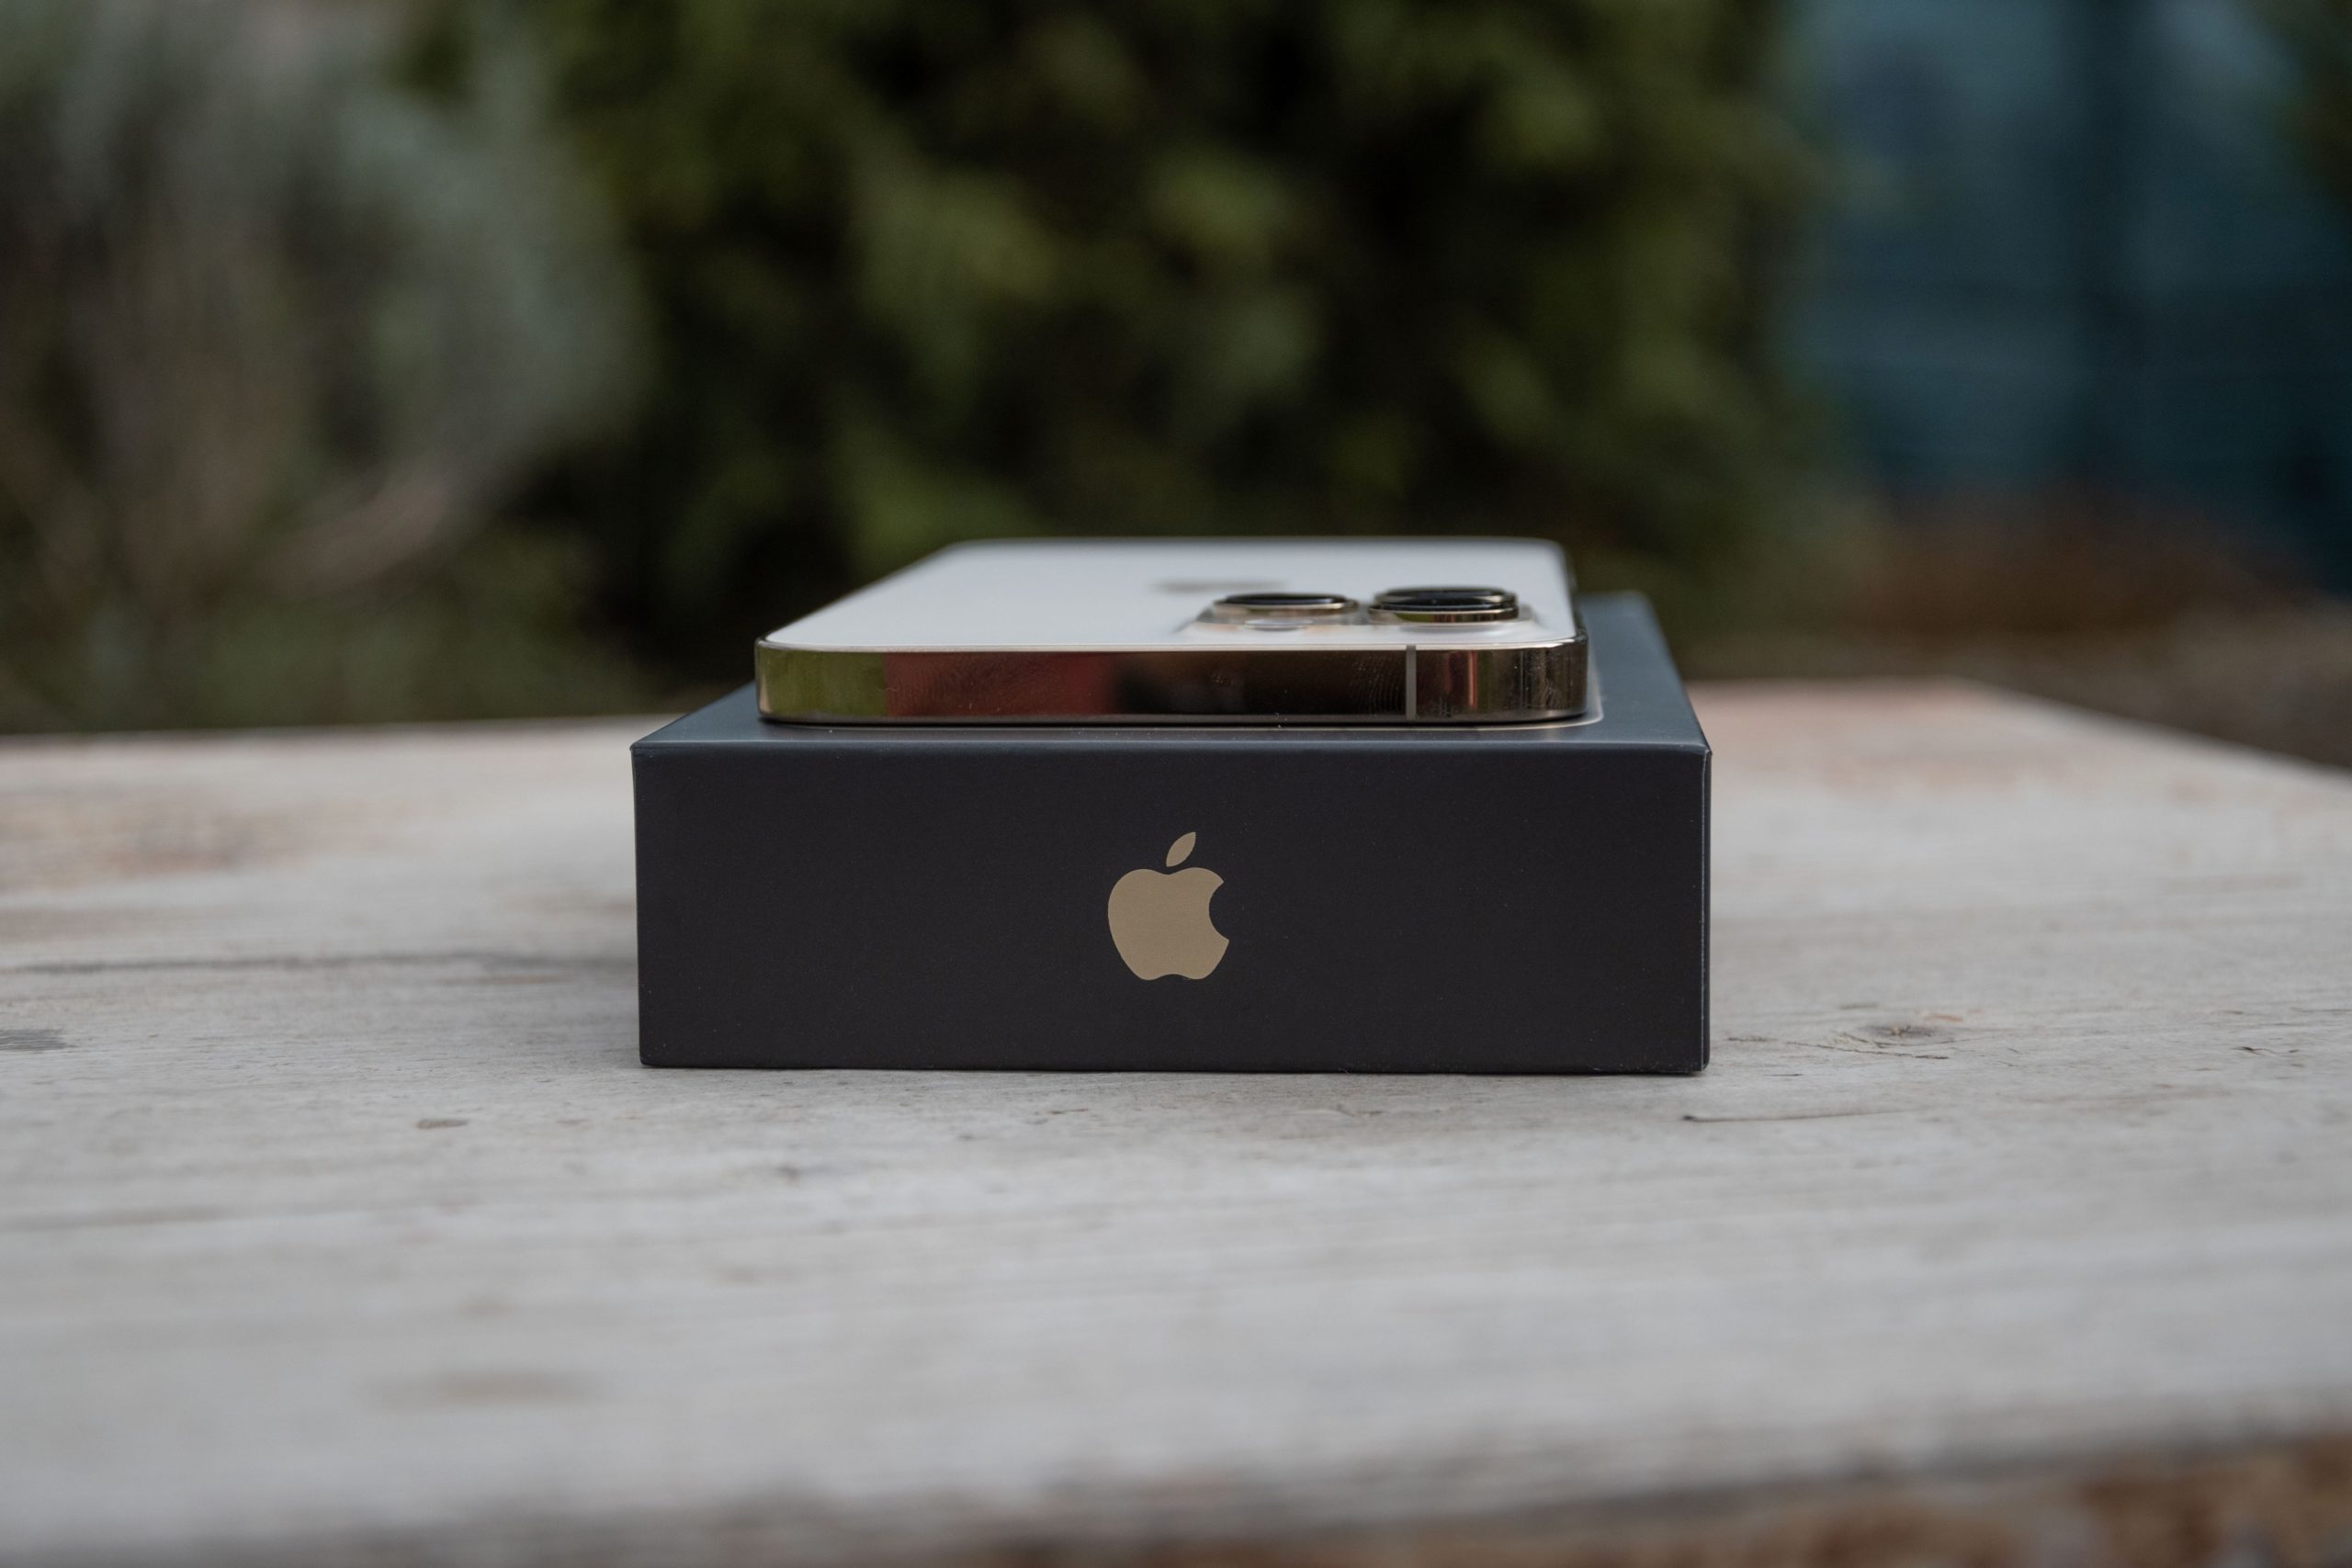
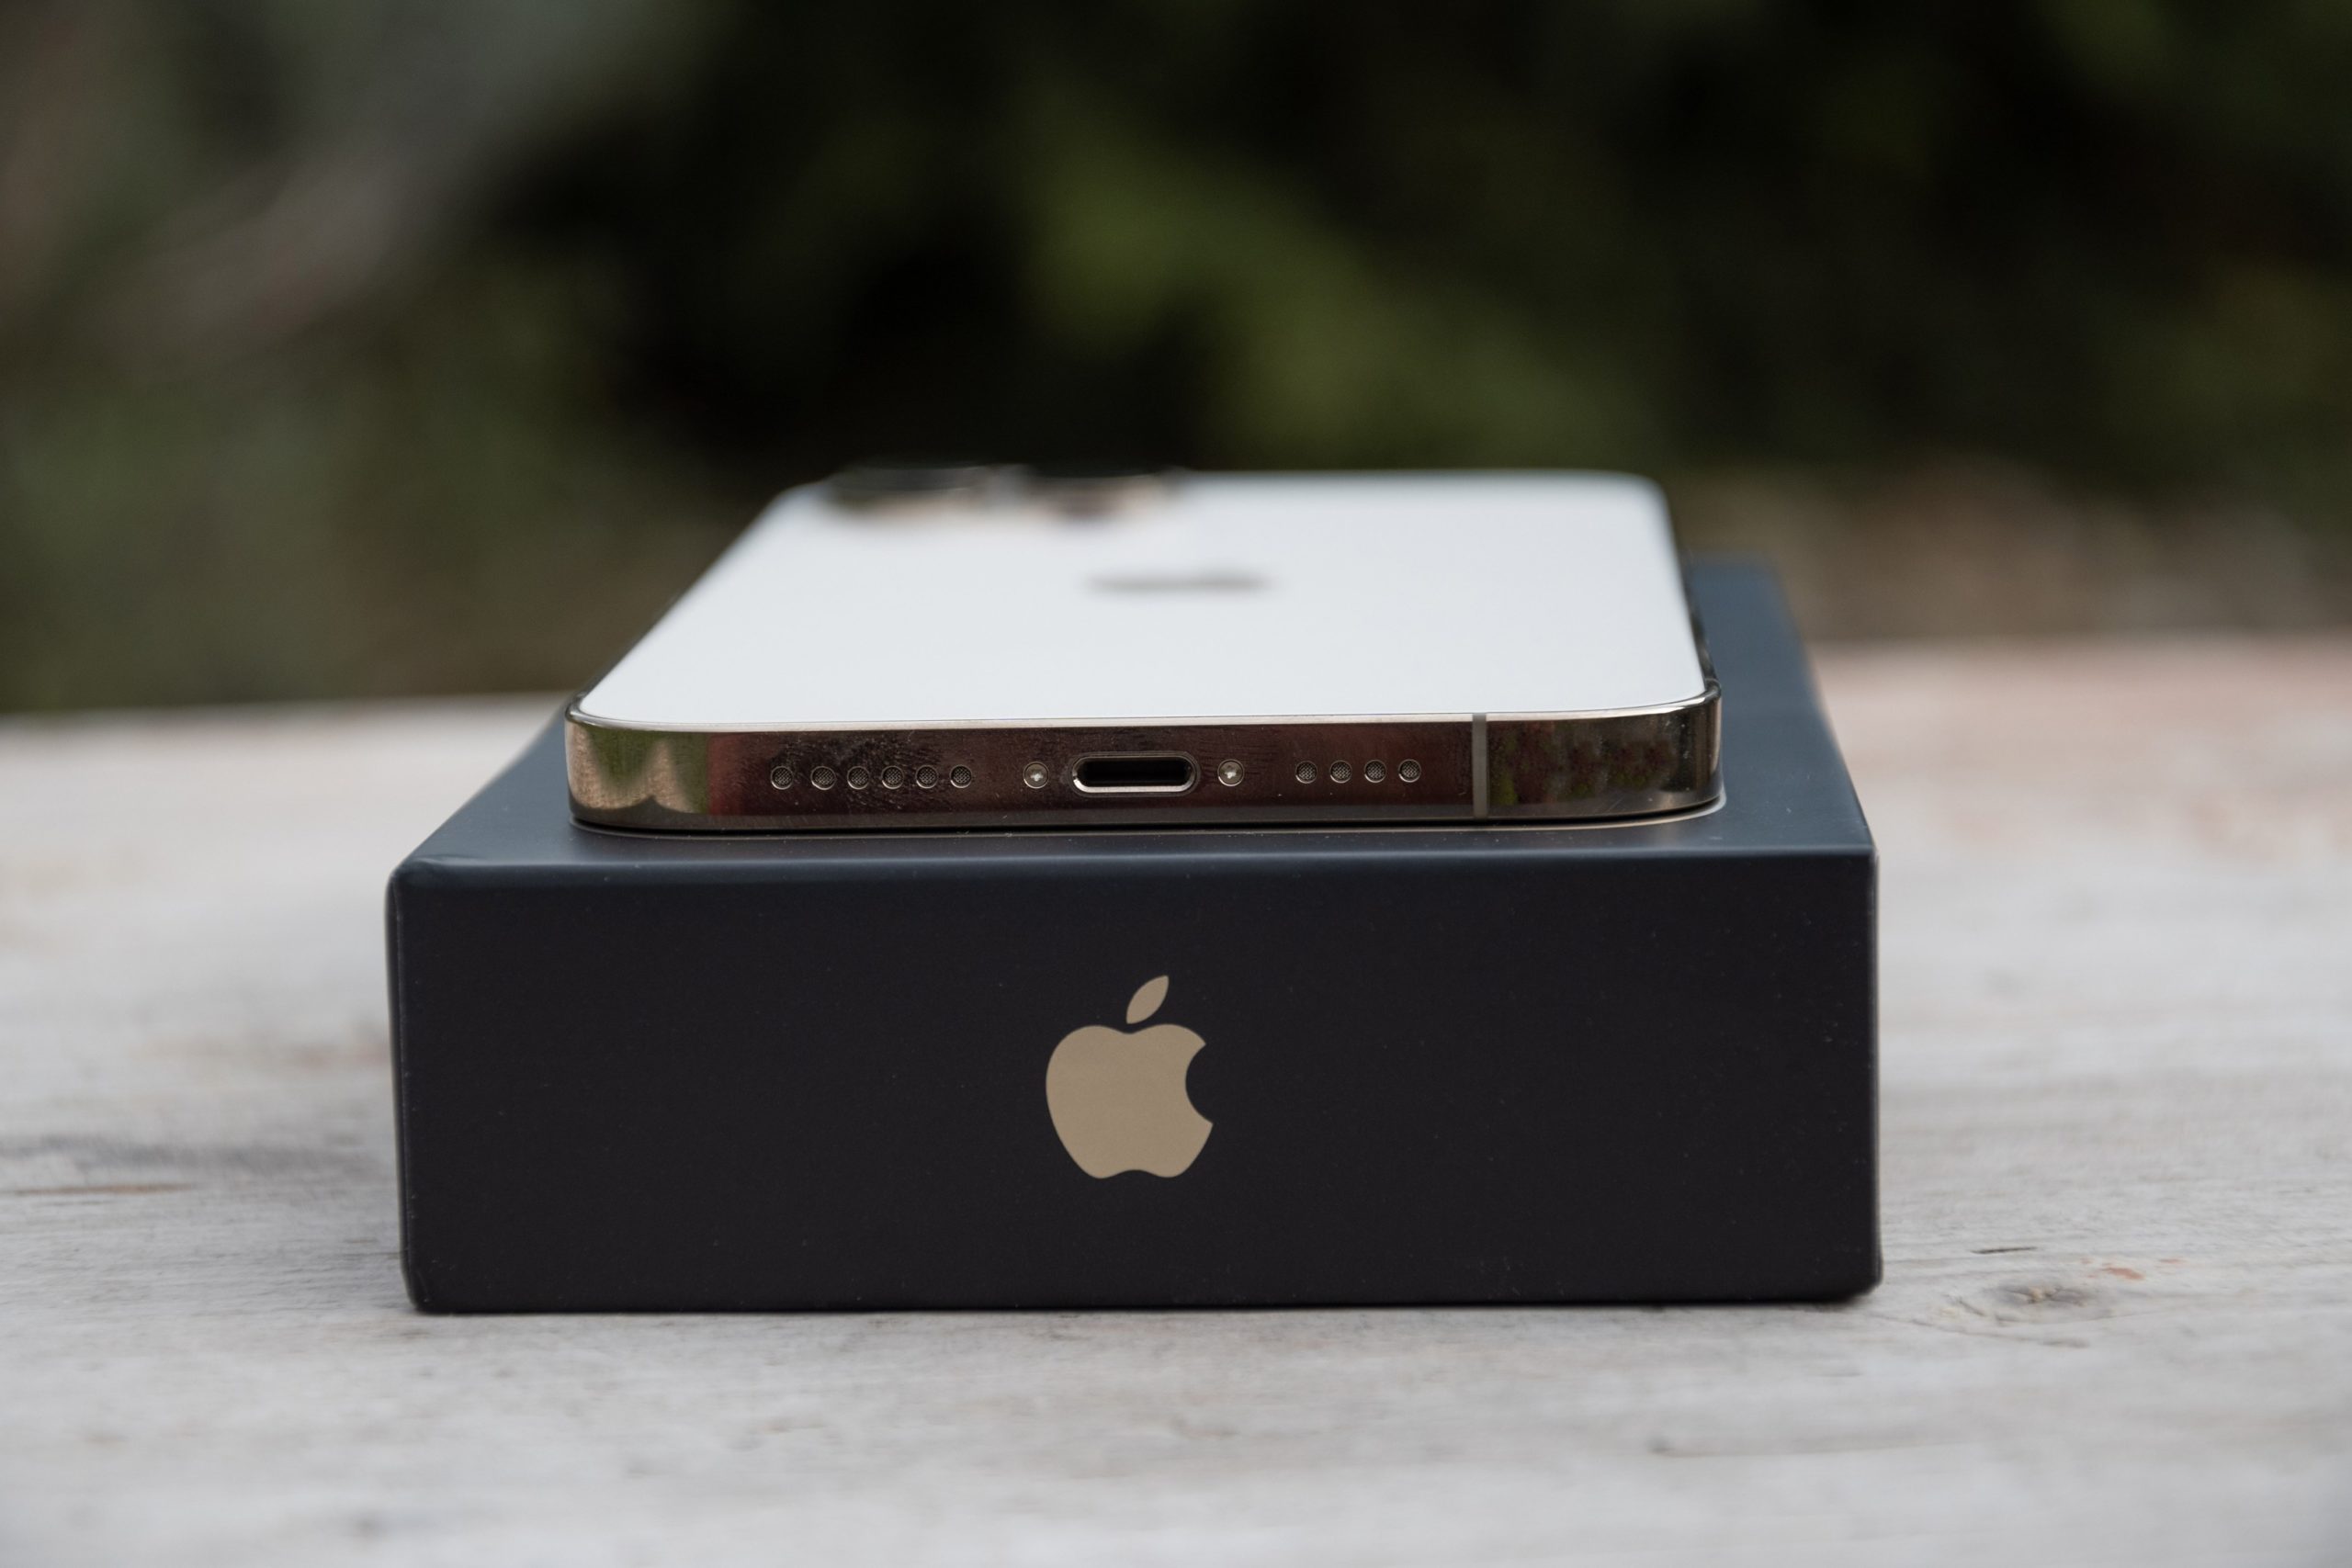
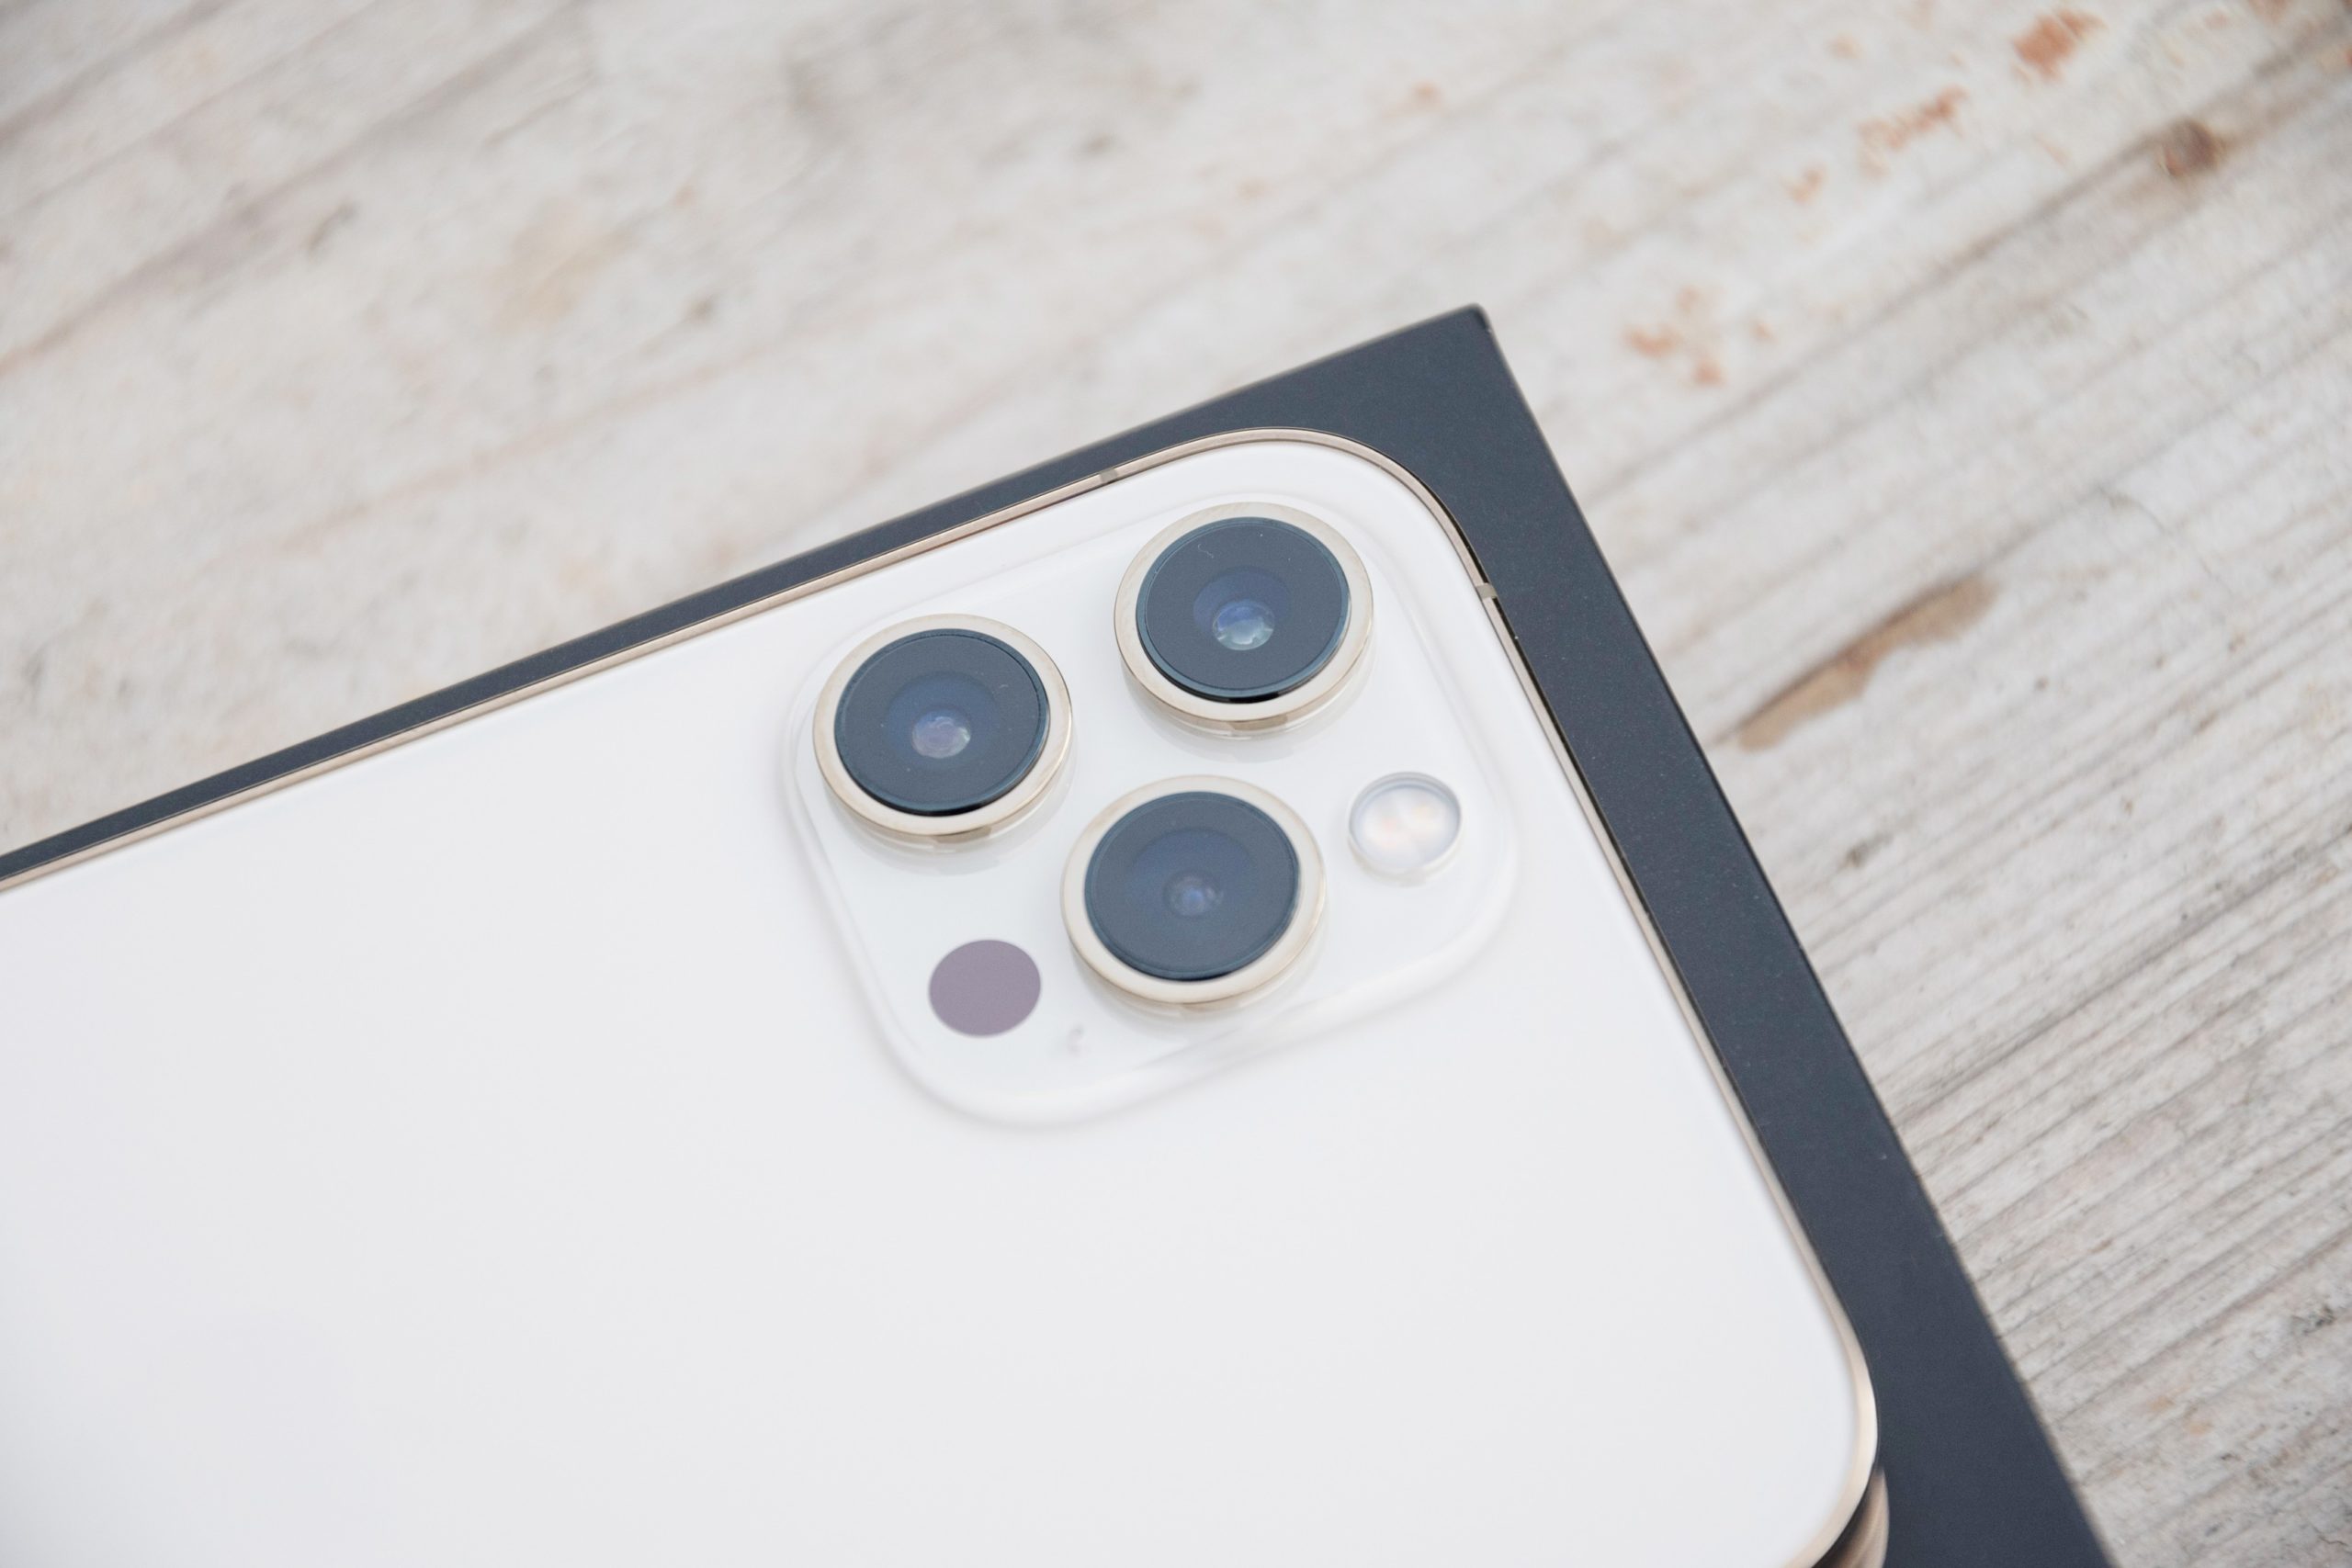
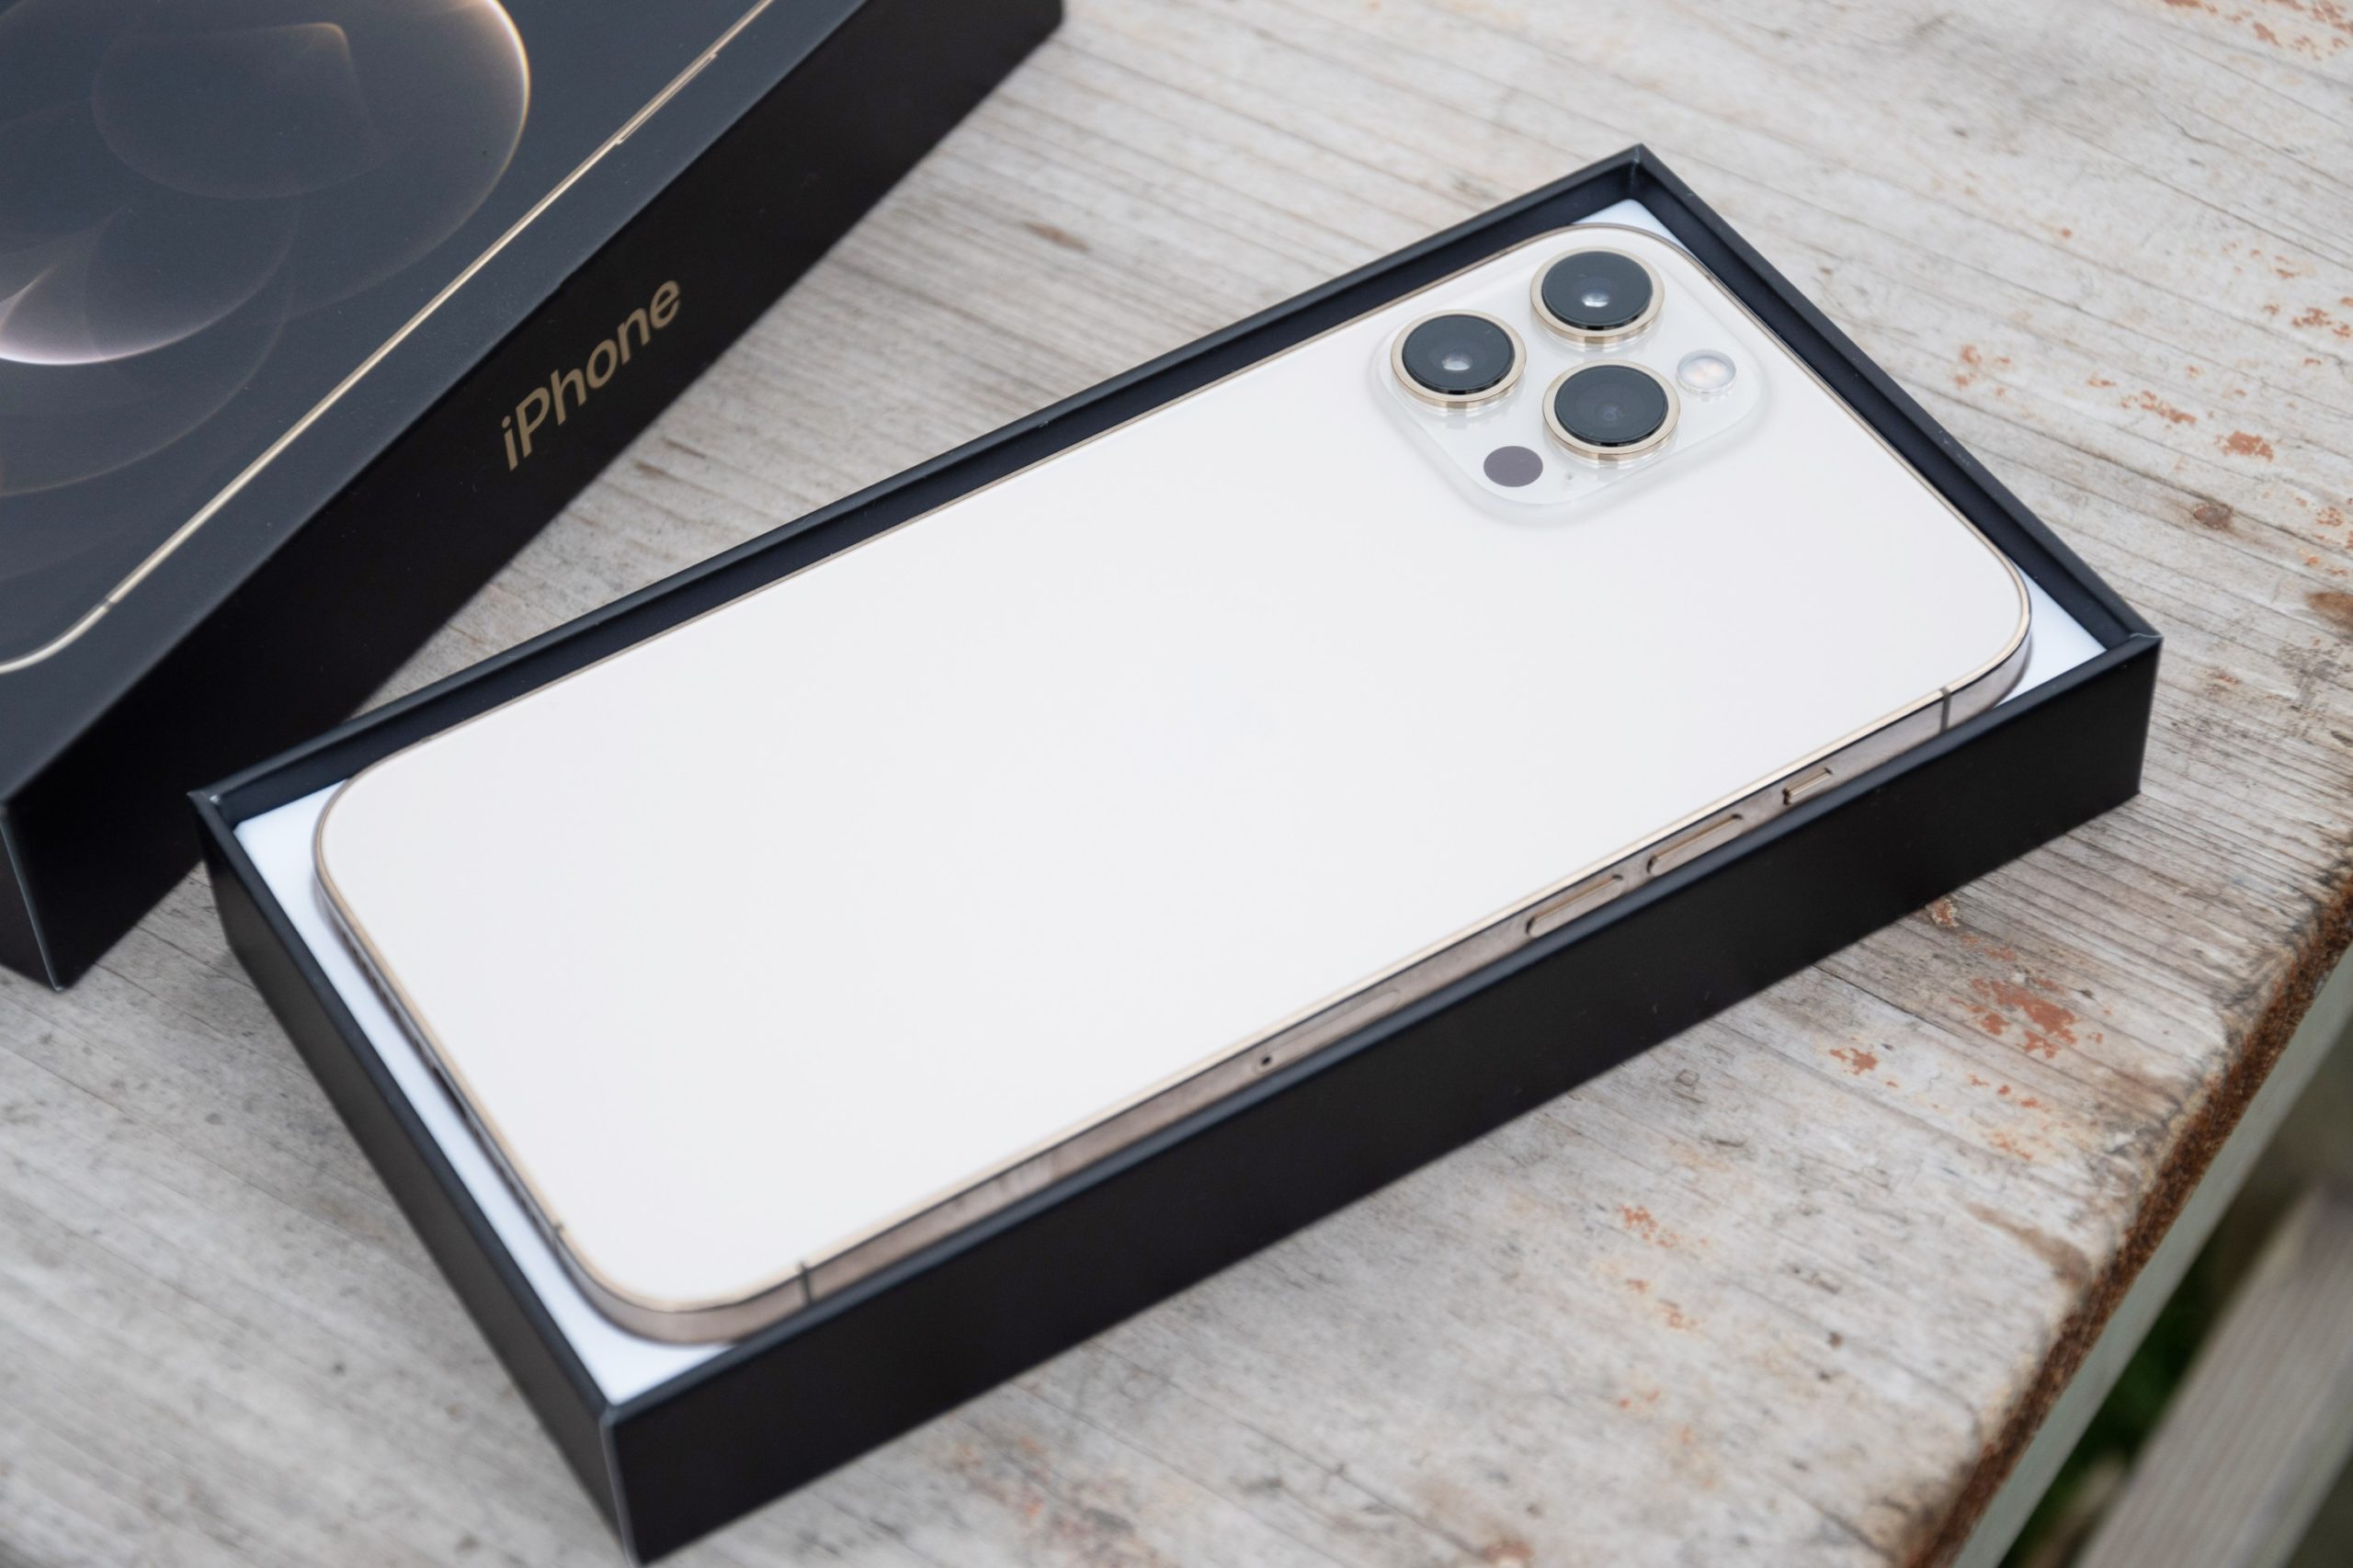
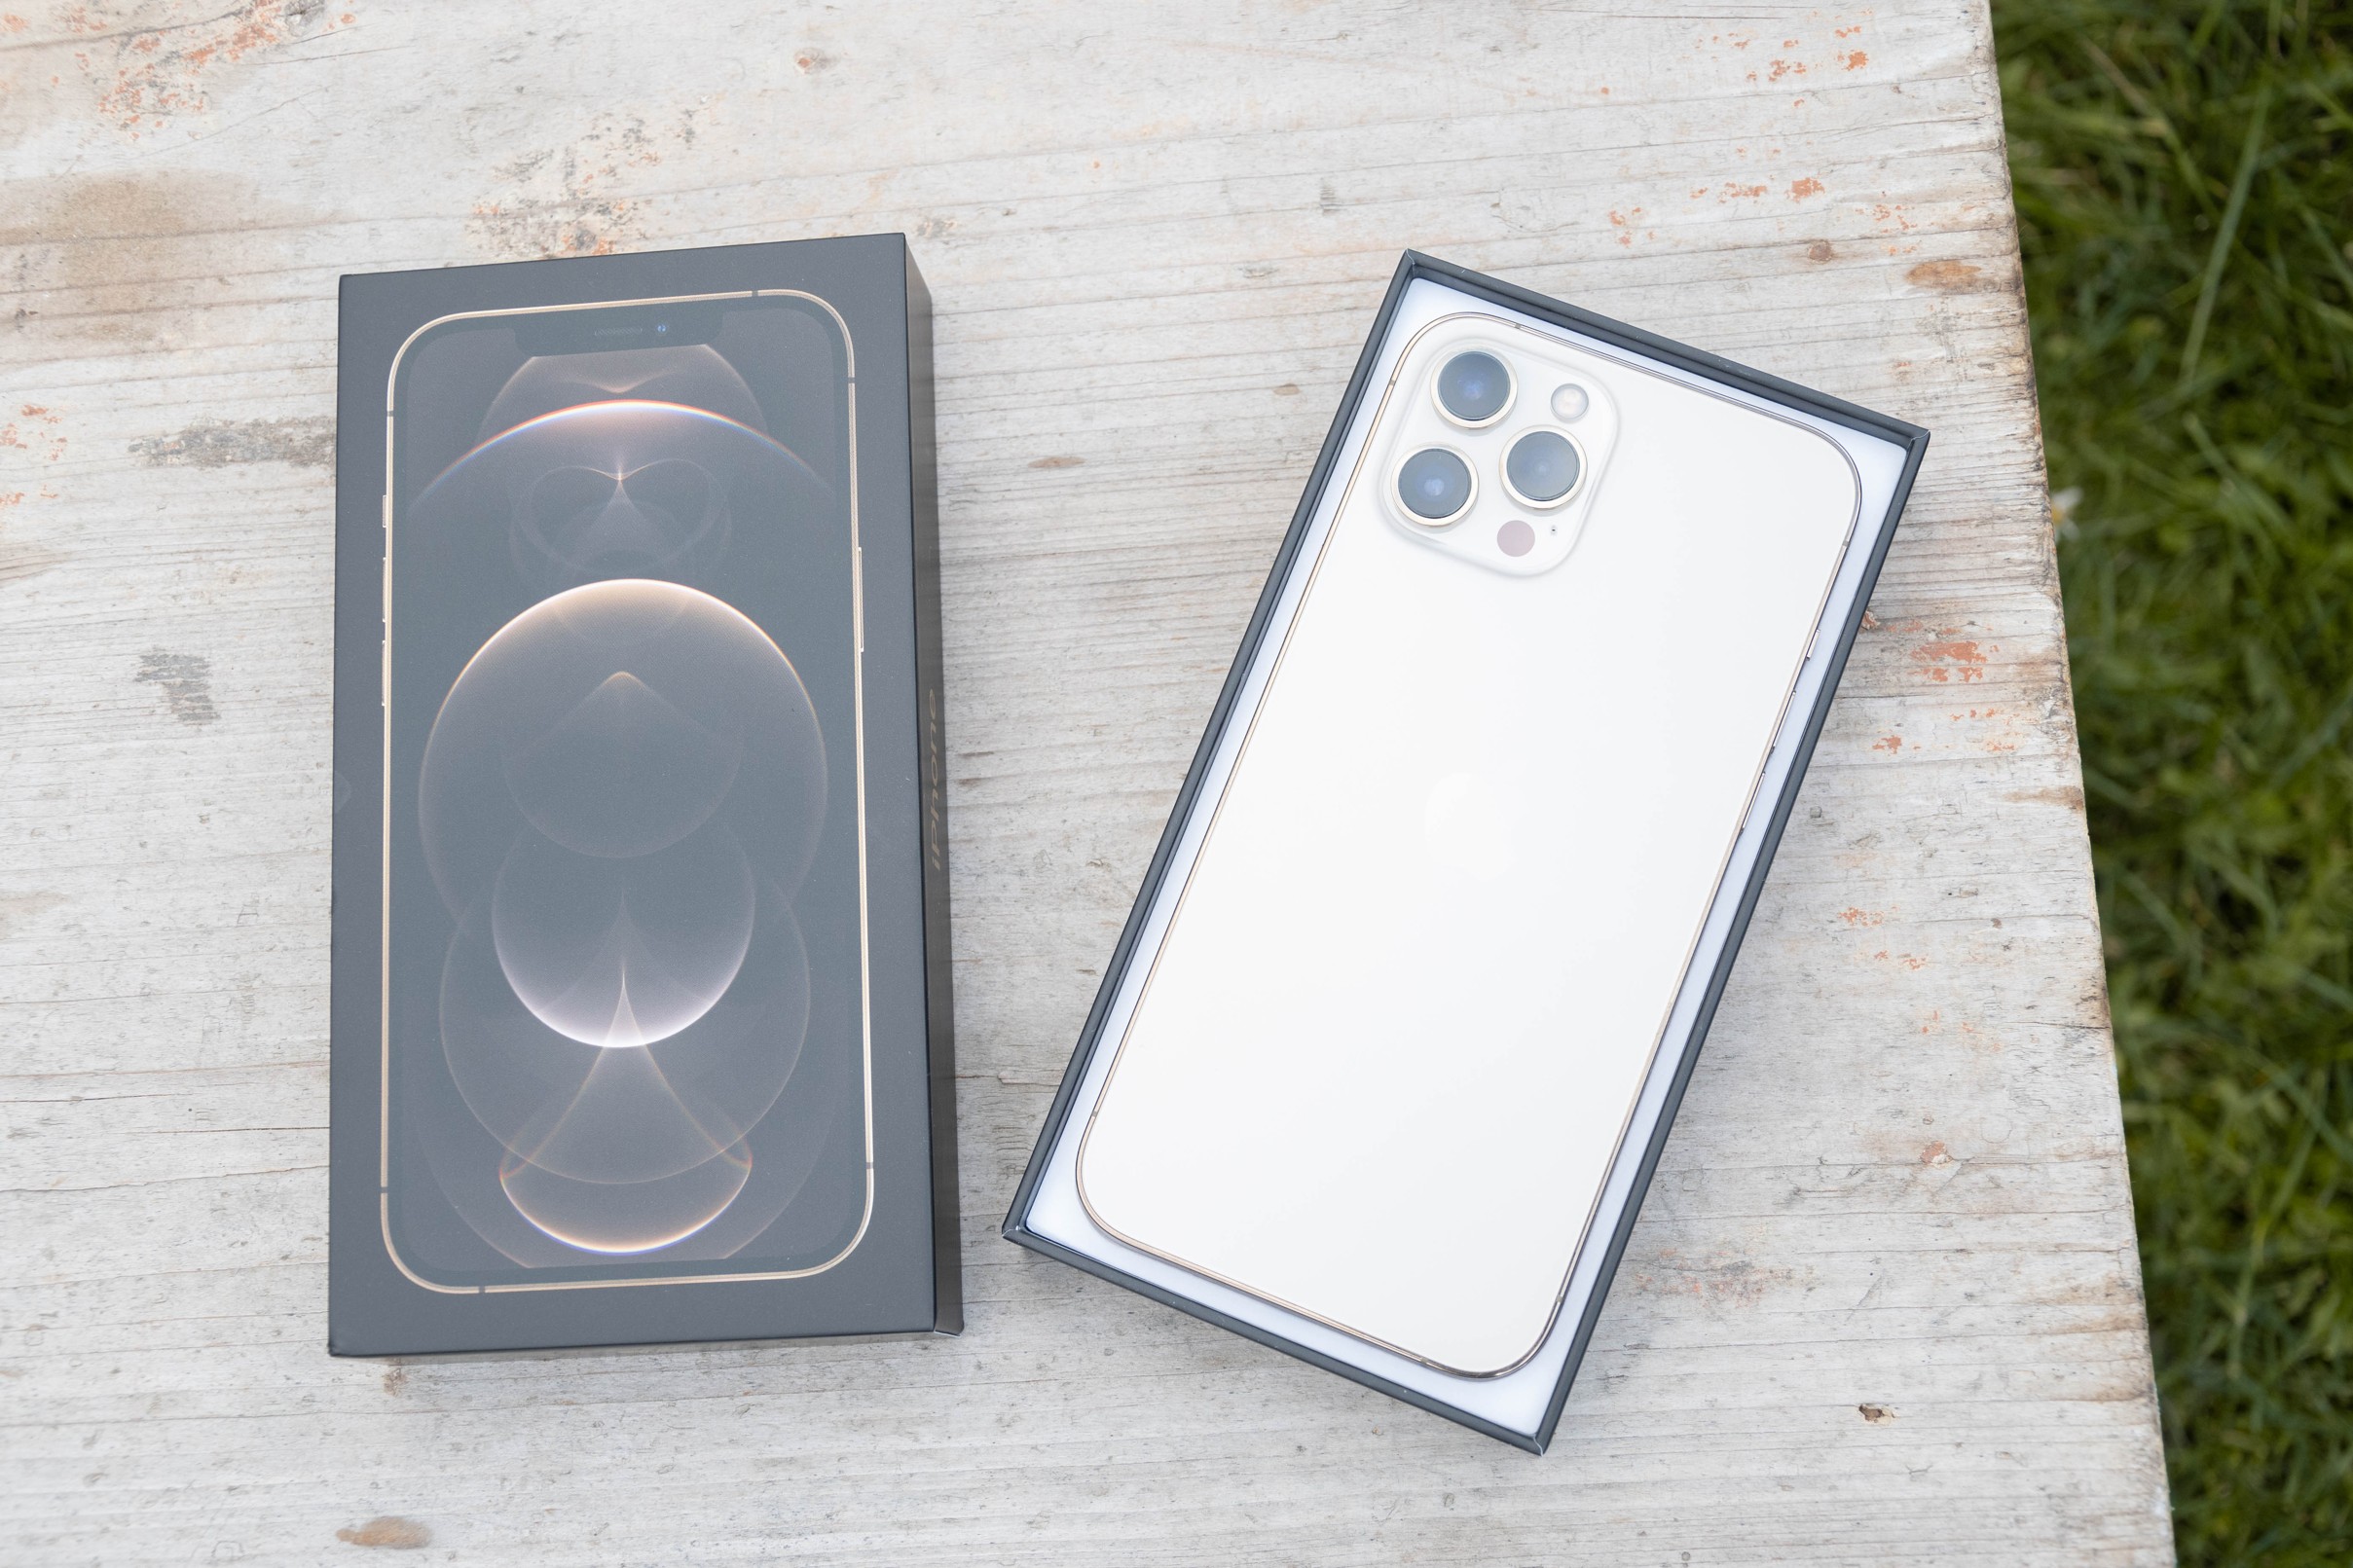
iPhone 12 Pro Max:
You don't have to worry about data transfer, or even with Android
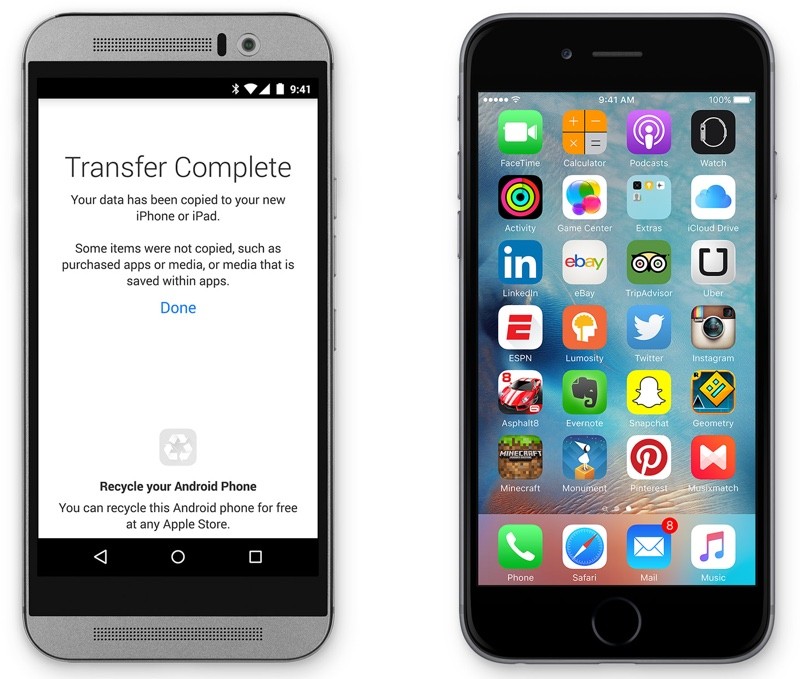
iPhone will prompt you to create an Apple ID or sign in to an existing one. You need an Apple ID to shop in the App Store, download apps, and use services like iCloud, iMessage, or FaceTime. The creation will really take a few minutes of your time, during the process itself you will be prompted to add your payment card. This is used for purchases in the App Store and activation of individual subscriptions, but if you don't want to, you don't have to add it. You will then be prompted to transfer data. To transfer all data from your Android phone, install the app on your old smartphone Move to iOS – it guides you through the data transfer itself.
Don't forget about security
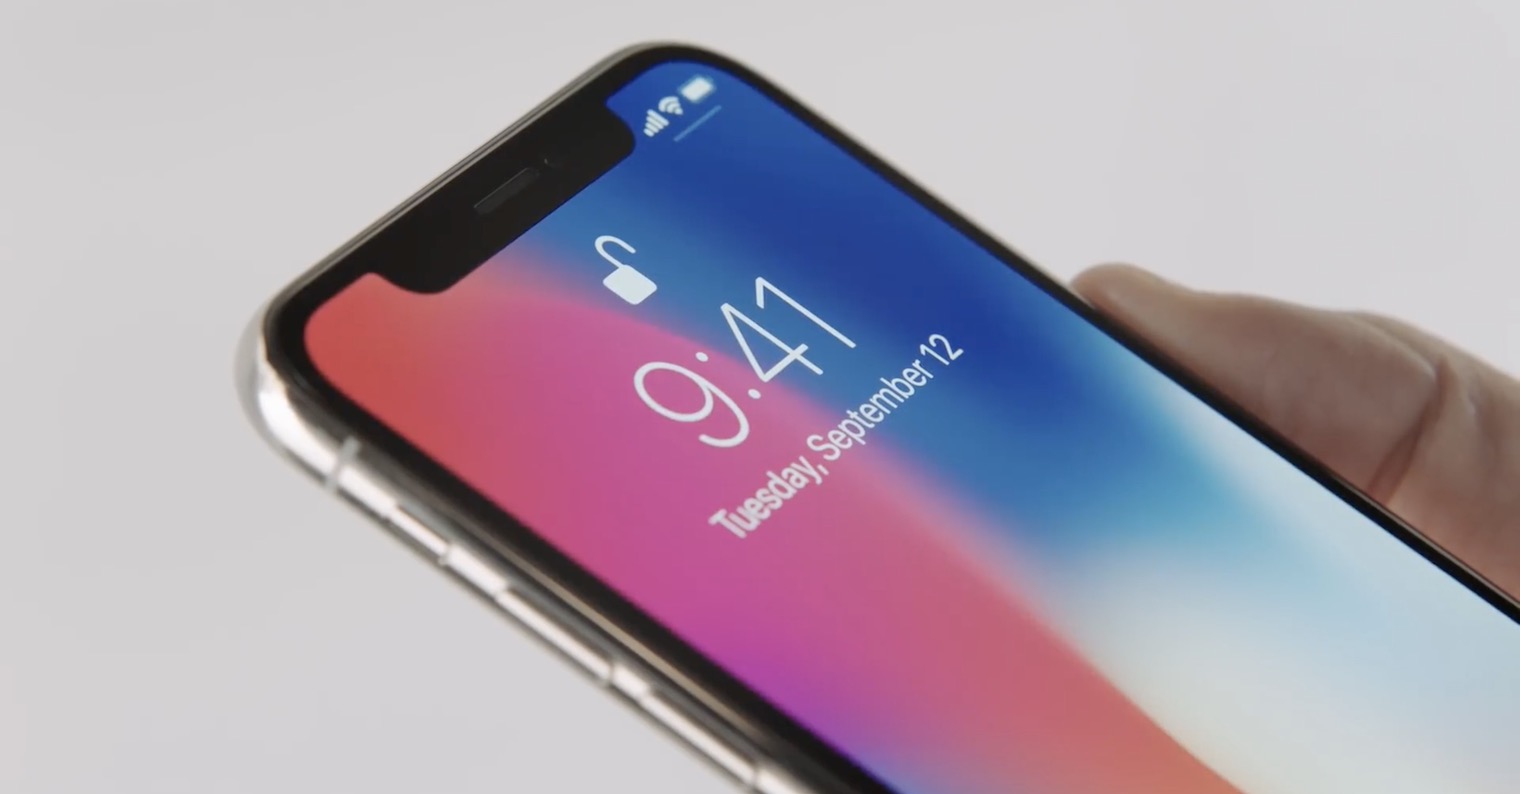
Apple products are known for their perfect security, and the iPhone is no different. During the initial setup, it prompts you to add your face or fingerprint – depending on which iPhone you got. If you happen to find that facial or fingerprint recognition does not work reliably, try adding in Settings > Touch ID & passcode different fingers, or scan the same finger multiple times. In the case of phones with Face ID, in Settings > Face ID & Passcode create an alternate appearance, which should speed up facial recognition without affecting the security of your data.
It could be interest you
Get to know the services
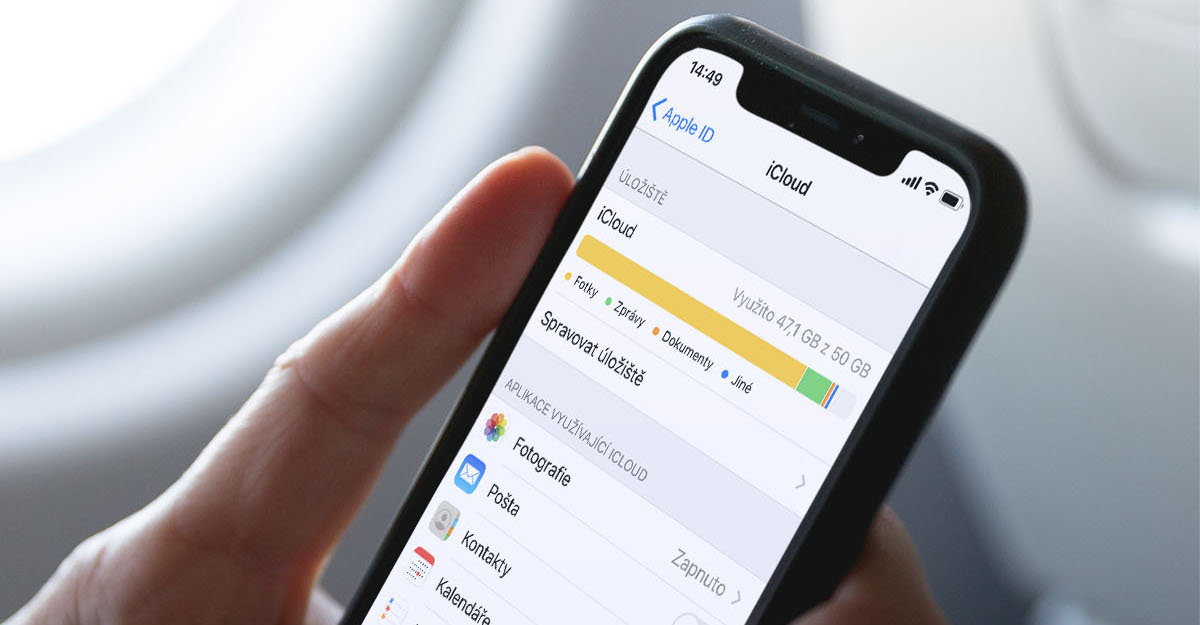
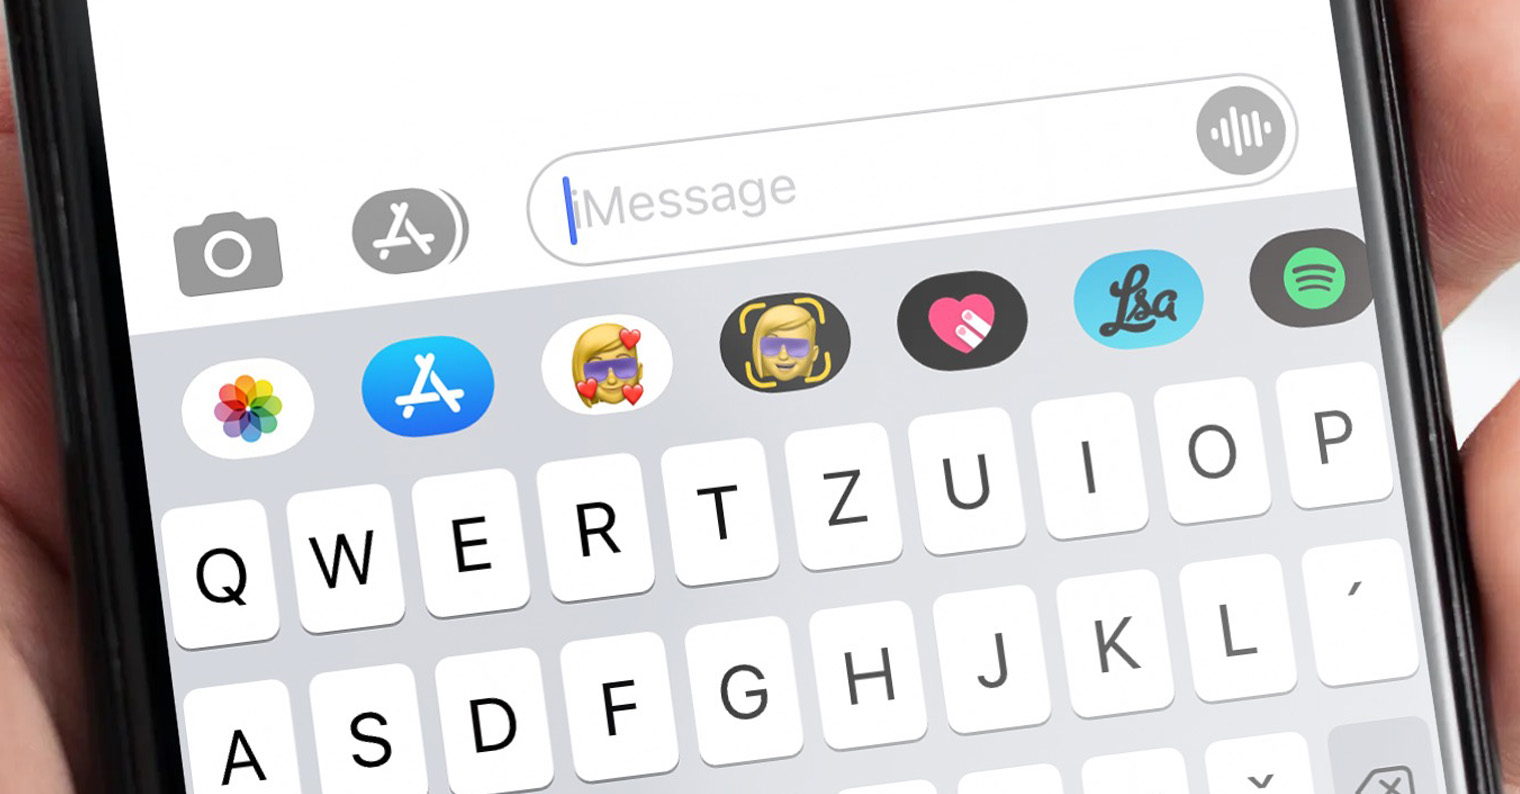
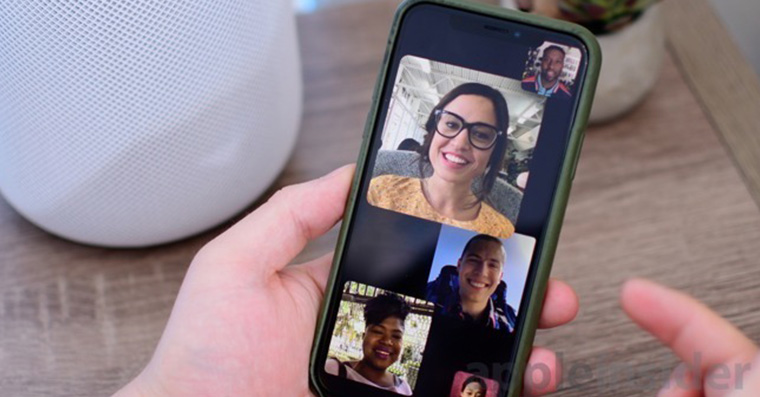
After creating an Apple ID, the iCloud sync service will be assigned to your account. This is similar to Microsoft OneDrive or Google Drive, so you can add files here, back up photos or the entire device. You get 5GB for free, but that probably won't be enough for most people. Other interesting services are FaceTime and iMessage. These are used for communication between other users who use one of the Apple products. You can write free messages through iMessage - this feature is implemented directly in the native Messages for iOS. FaceTime is for internet calls and video calls, and has a separate app for them.
With every iPhone, you also get Apple TV+, Apple's original movie streaming service, for free for a year. Compared to Netflix or HBO GO, it does not offer as much, but the content may interest someone. However, Apple Music, similar to the Swedish streaming service Spotify, is much more interesting. Here you get 3 months of use absolutely free, Apple gives you the same amount of time in the case of Apple Arcade, here you can find game exclusives that are not available with competitors.
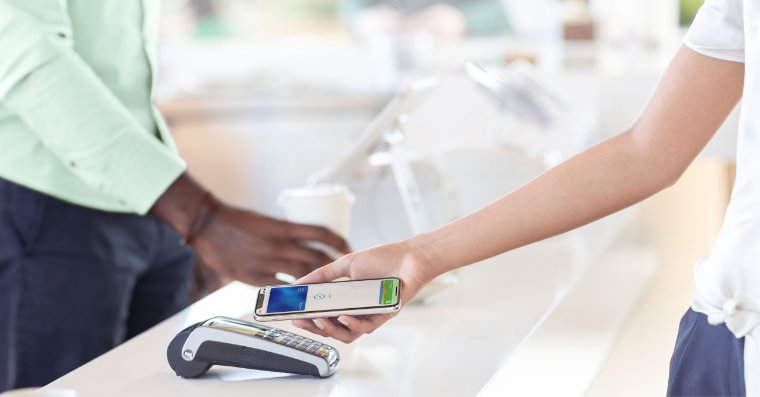
A perfect and widely used function among Apple users is Apple Pay, through which you upload cards to your phone, with which you can then pay contactless in stores or in supported applications on the Internet. Just open the Wallet app and add your cards. Then open the card itself by pressing the home button twice in a row on a locked iPhone in the case of a phone with Touch ID, or twice the lock button if you have a phone with Face ID. You will then be authenticated and can attach your smartphone to the terminal.
Transferring music and photos is not difficult
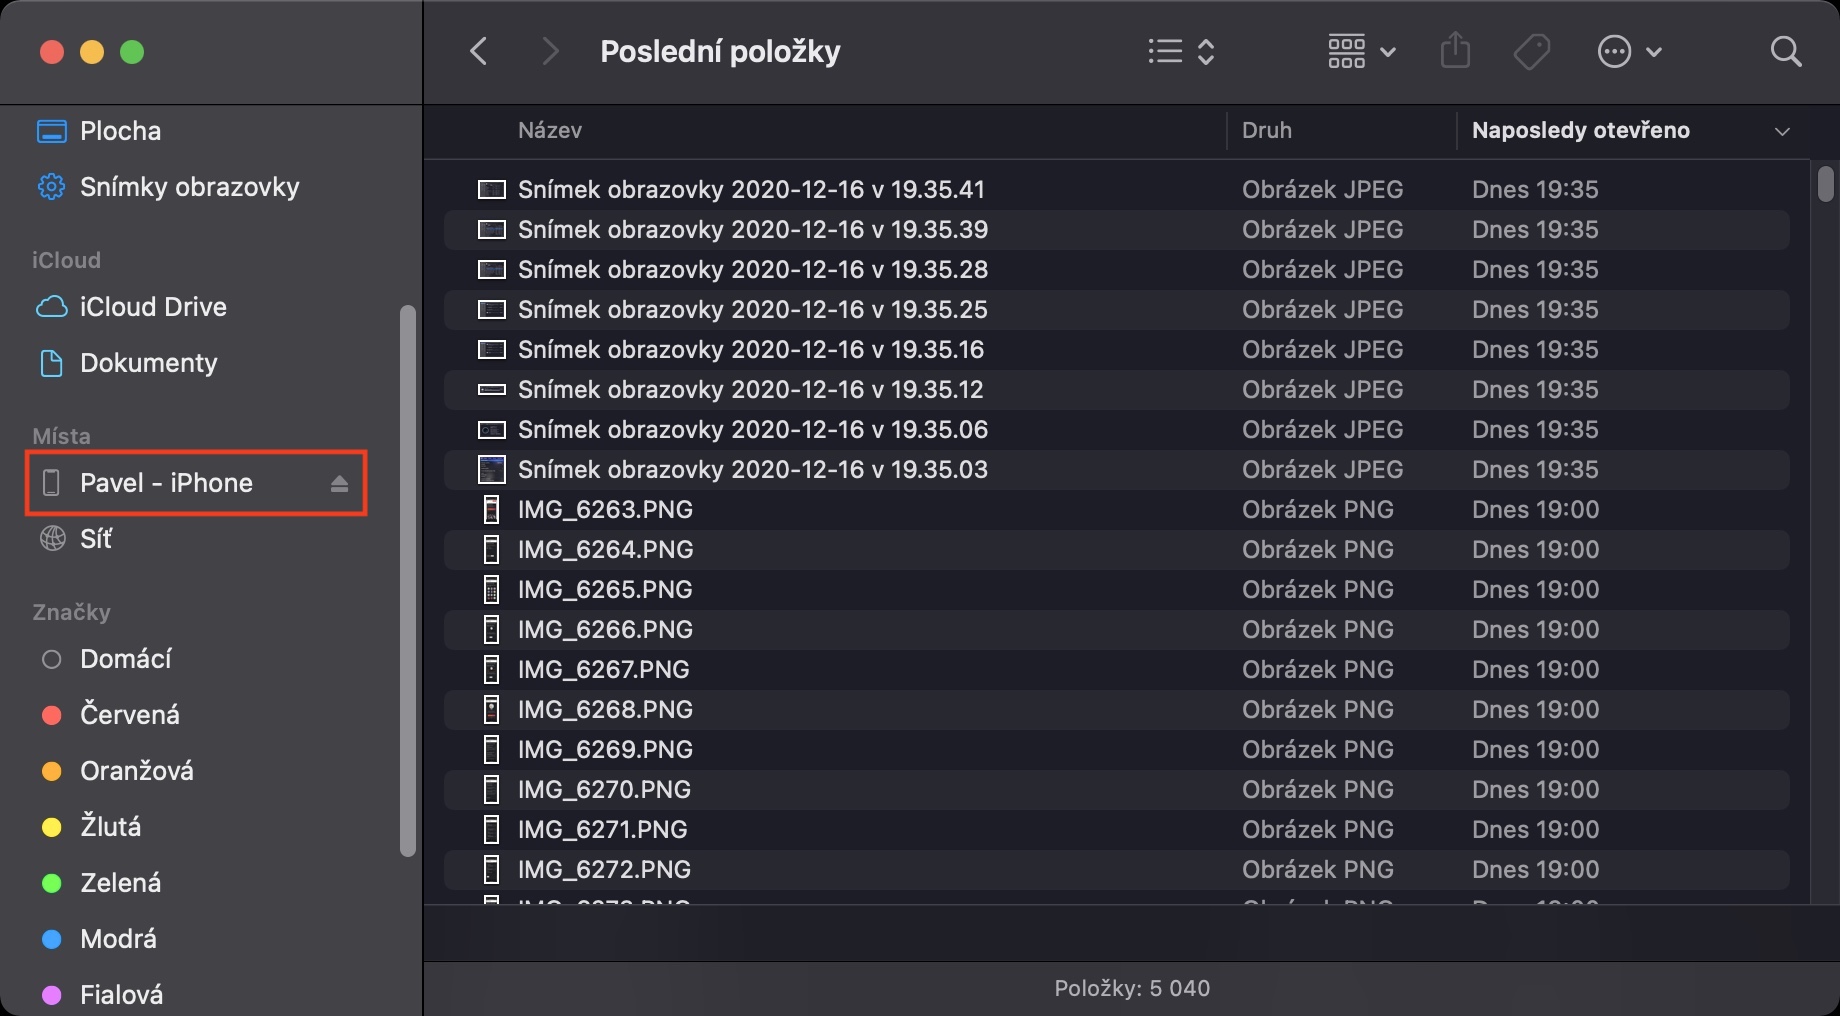
If you use one of the streaming services such as Spotify or Apple Music, you've won and you practically don't have to worry about music. However, if you are not a supporter of streaming services and want to get music to your phone in the form of MP3 files, the process is a bit more complicated than on Android. You must install iTunes on your Windows computer, either from the Microsoft Store or Apple's official website. After downloading and installing, all you need to do is connect your iPhone to your computer, sign in with your Apple ID, and tap the Music tab. Here, go to Sync, select the songs you want to add to the iPhone and confirm the process with the Sync button at the bottom. On a Mac, the process is much simpler, just connect your iPhone to your computer, go to the Places category in the Finder on the left, select your iPhone and follow the same procedure as on Windows. So you don't need to download or install anything here.
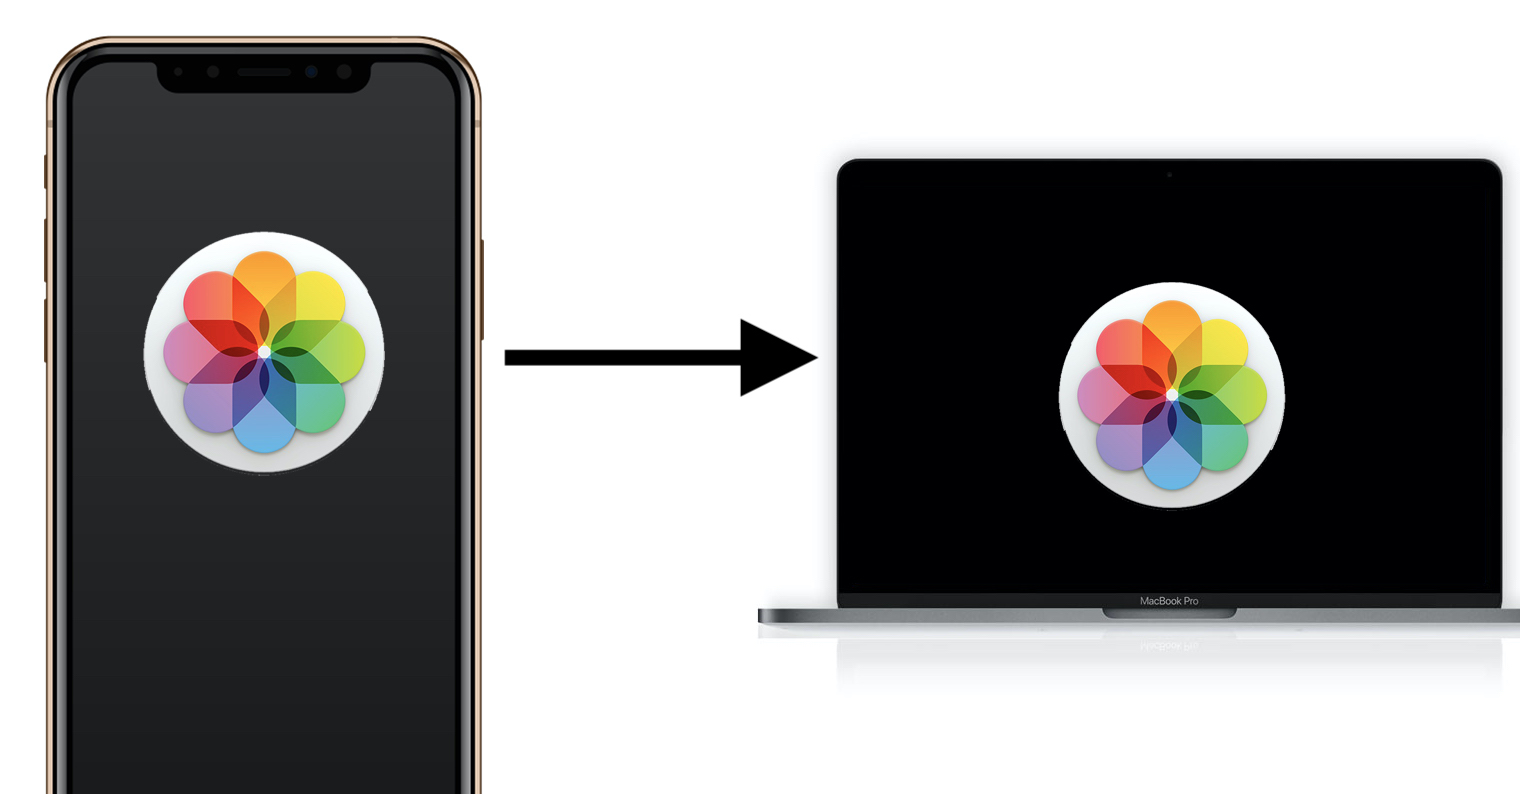
You can use multiple methods to back up your photos. One of them is the native iCloud, but I'd say the 5GB that Apple supplies isn't enough for even light users, and many of us just aren't willing to pay for cloud storage by subscription. It's very similar with other cloud services, they don't give you a lot of storage and you have to pay extra for the higher one. Fortunately, it is not difficult to back up photos and videos to your computer. If you're running Windows 10, connect your iPhone to your computer, open the Photos app, and click Import to sort through your photos, and you're done in practically no time. On a Mac, the process is similar, in the native Image Transfer app, select your device on the left, then choose the file location, click the Confirm button, and wait for the photos and videos to download to your computer.
It could be interest you

 Flying around the world with Apple