The holidays of peace, tranquility and peace, which most of us experience in the comfort of our homes with our loved ones, are often marked by pleasant encounters, which in this difficult time brings complications. If someone wanted to surprise you at least a little pleasantly at the end of this crazy year, they probably placed an Apple Watch or AirPods under the tree. Both watches and headphones from Apple enjoy great popularity among users. However, after unpacking one of the products, you may be wondering how to use the watch or headphones in the most efficient way? If you're completely new to Apple wearables and don't know your way around, then you've come to the right place.
It could be interest you
Apple Watch
Pairing with phone
If you found a package with an apple watch under the tree and enjoyed the first wow effect from unpacking, you can start pairing. First, put the watch on your wrist and then turn it on by holding down the elongated side button. However, expect that it will take some time to turn on. If you are a visually impaired user, it will be easiest for you to activate after waiting a certain time VoiceOver. You do this by pressing the digital crown three times in quick succession.
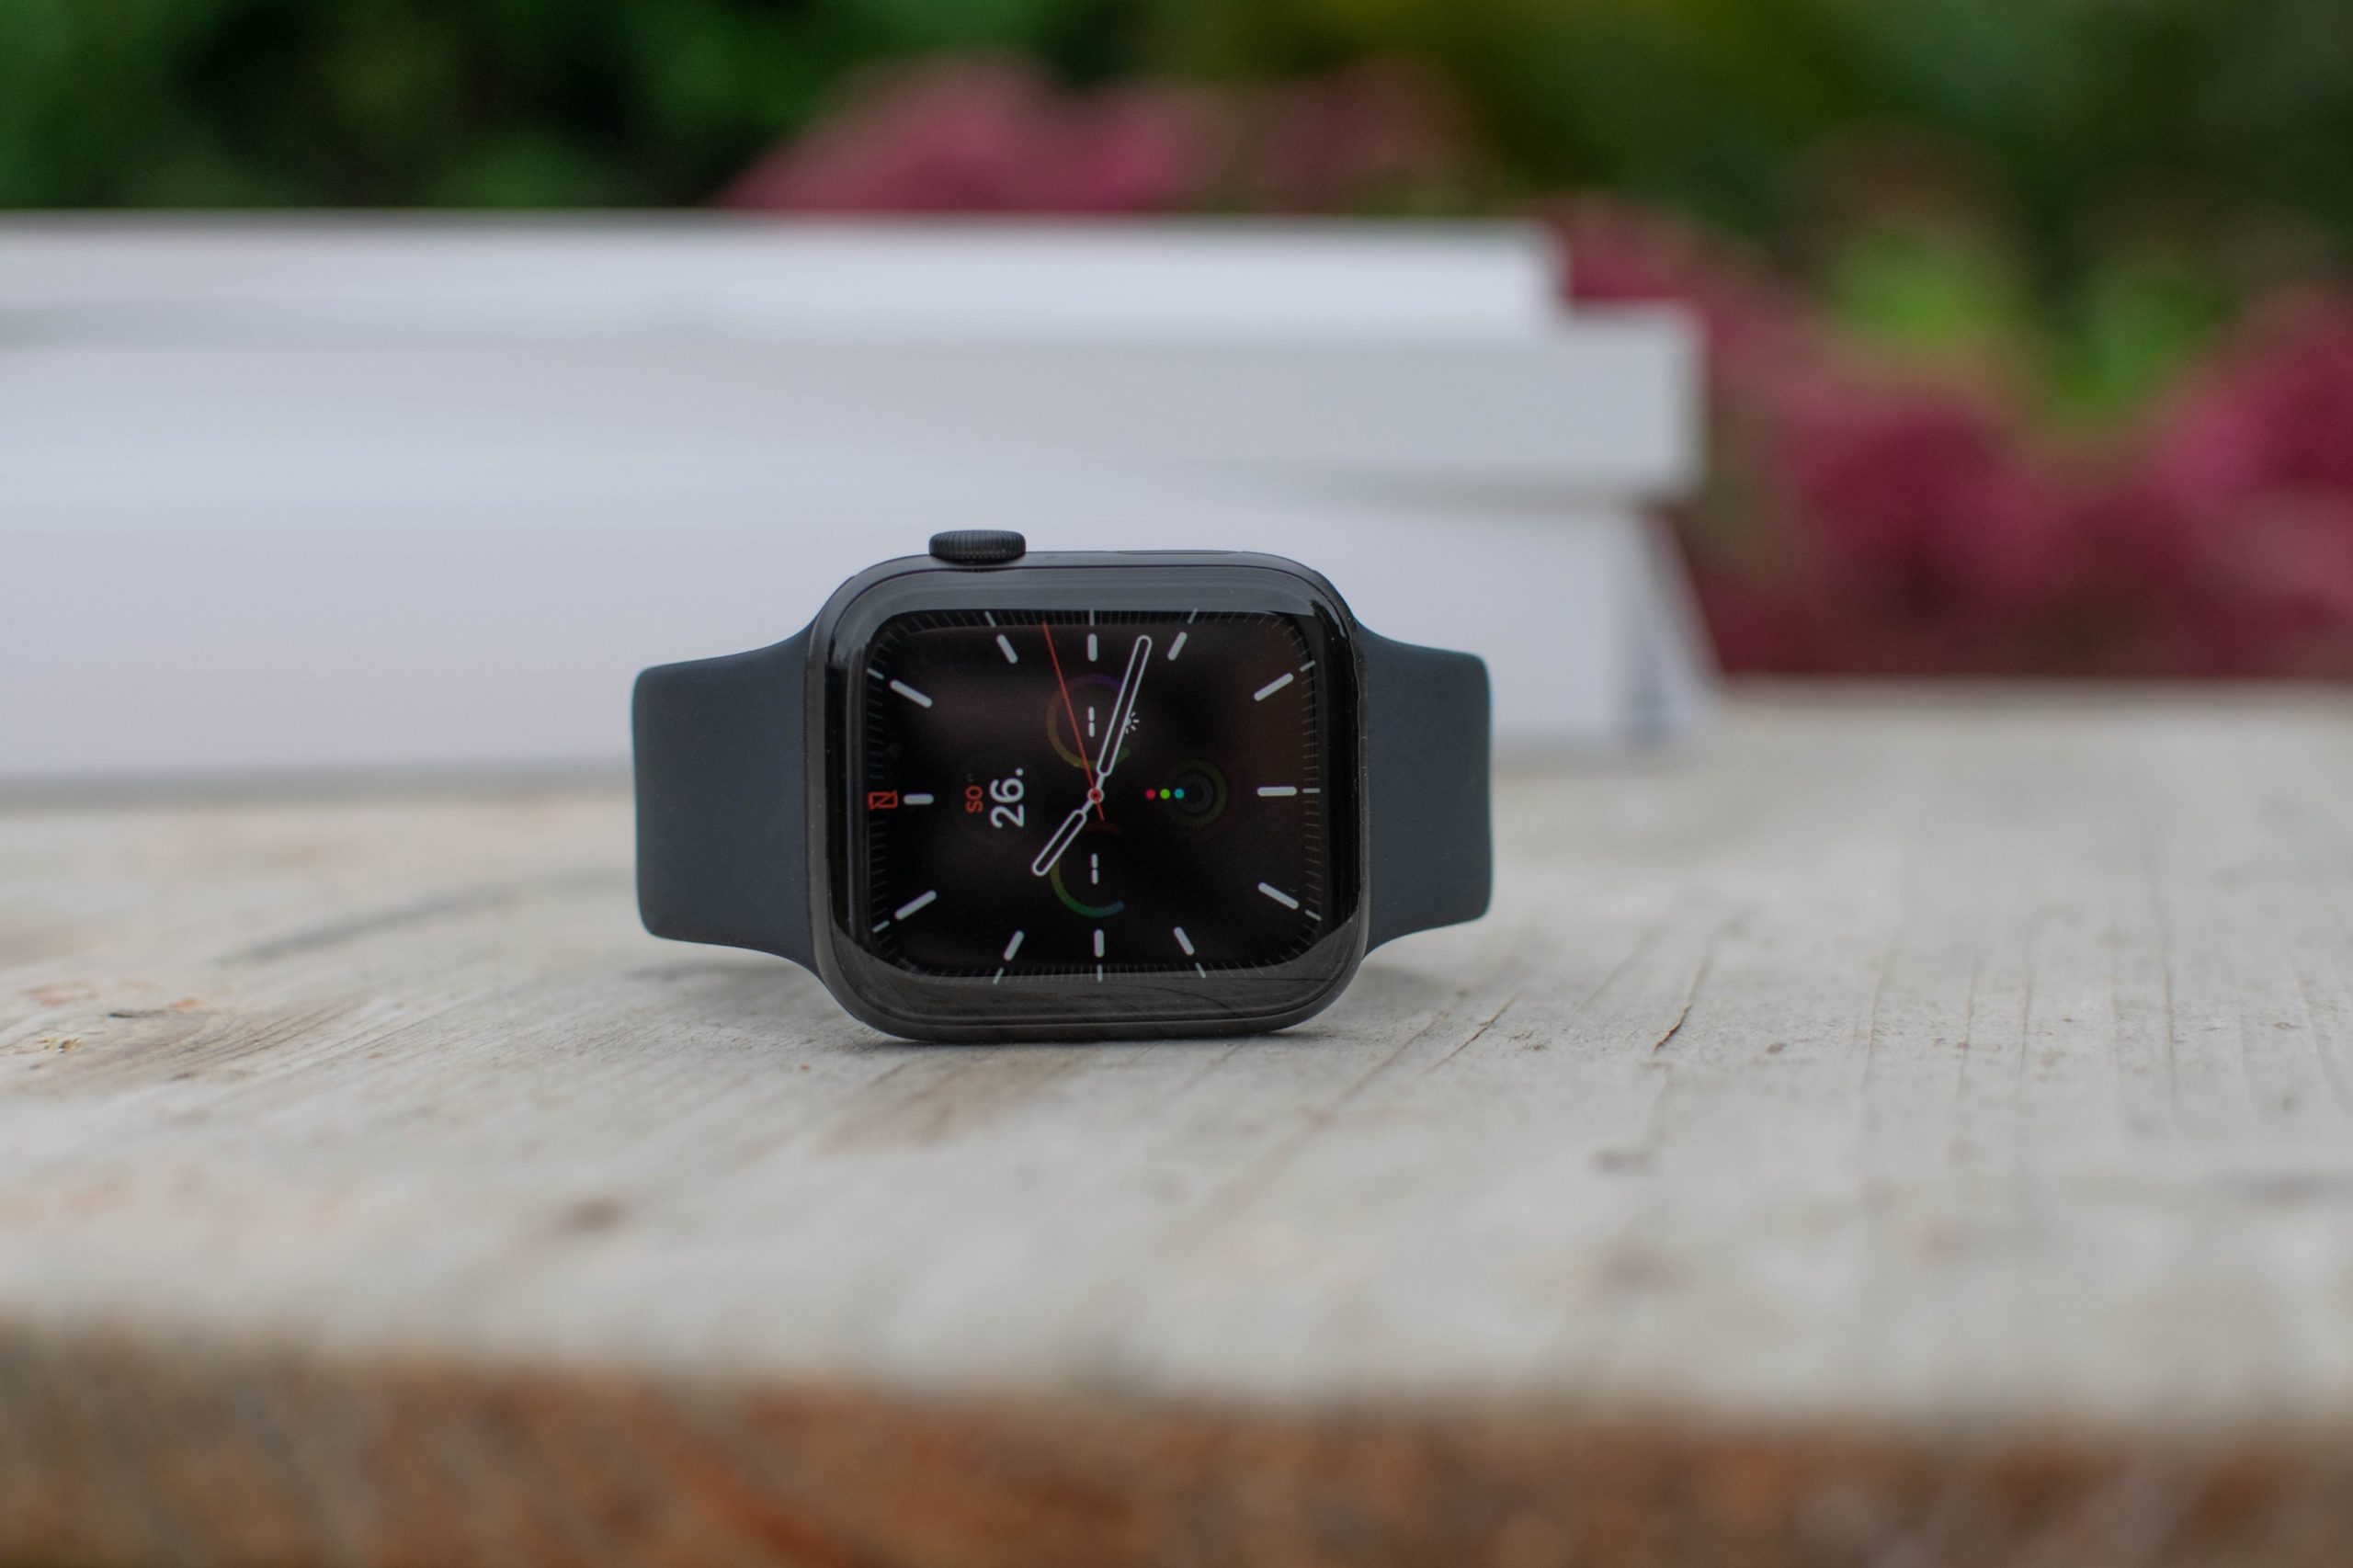
After booting up, set the language on your watch, and then you can dive into pairing with your Apple phone. You do this by bringing an unlocked iPhone close to your Apple Watch, which will cause the phone to display an animation asking if you want to pair the watch. If you happen to not see the connection animation, you can also make the first connection in the native Watch app. After tapping the pairing button, you will need to enter the code shown on the watch display. You can either take a photo of it with your phone or write it down manually. The phone itself will guide you through the next pairing steps. If you are switching from an older generation watch, please unpair the original watch from your phone before pairing, it should be backed up to your iPhone with all the new settings.
watch OS 7:
Postpone the setup for later
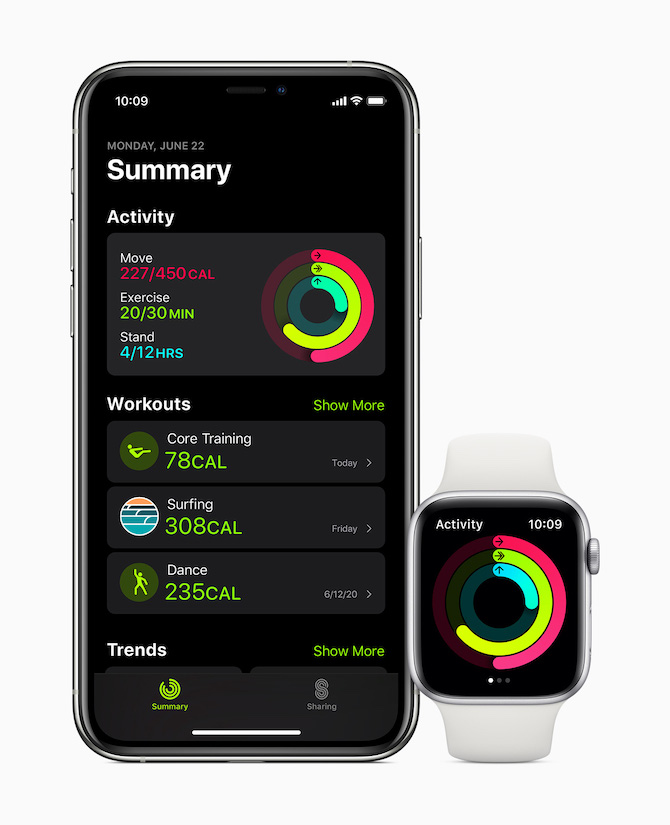
For almost everyone, the joy of a new product will be spoiled by the fact that they have to get to know it in a complicated way. Despite the fact that setting up the Apple Watch is relatively intuitive, not everyone knows, for example, how many kilocalories they burn per day, how long they want to exercise or which watch face they will primarily use - all this can be reset later. As for the controls, in addition to the touch screen, it is served by a digital crown. After pressing it, you get to the watch face or the list of applications, then hold it down to start the Siri voice assistant. Rotation will ensure scrolling through the list of applications, zooming in and out of objects, or perhaps increasing and decreasing the volume of music in Apple Music or Spotify. The side button can switch you to the Dock, in addition, you can use it to activate Apple Pay or even approve the installation of individual programs or system actions on the Mac.
It could be interest you
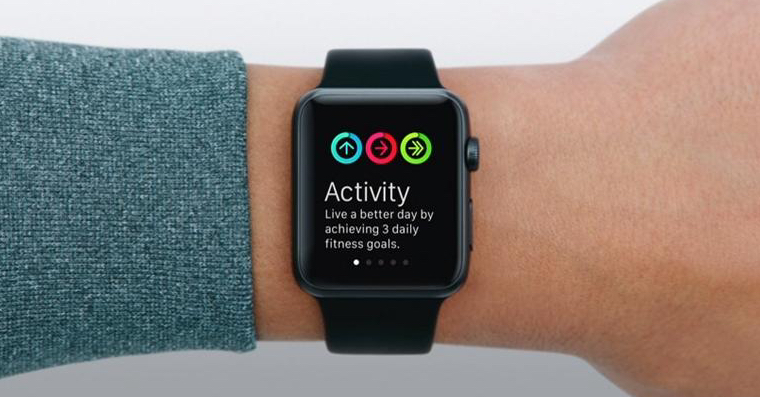
Apps, or that's why you'll love the Apple Watch
After getting to know the watch for the first time, you will find that you have many native applications pre-installed in it, but also several third-party applications that you had on your iPhone. The native apps for watchOS are really sophisticated and intuitive, but that's not the case with many apps from third-party developers, where you end up finding out that you don't need all of them on your watch. But that doesn't mean you won't find any third-party software you can't use on your Apple Watch. In addition to specialized applications for sports, there are also many programs for controlling televisions or smart home accessories.
Customize the watch face to your own image
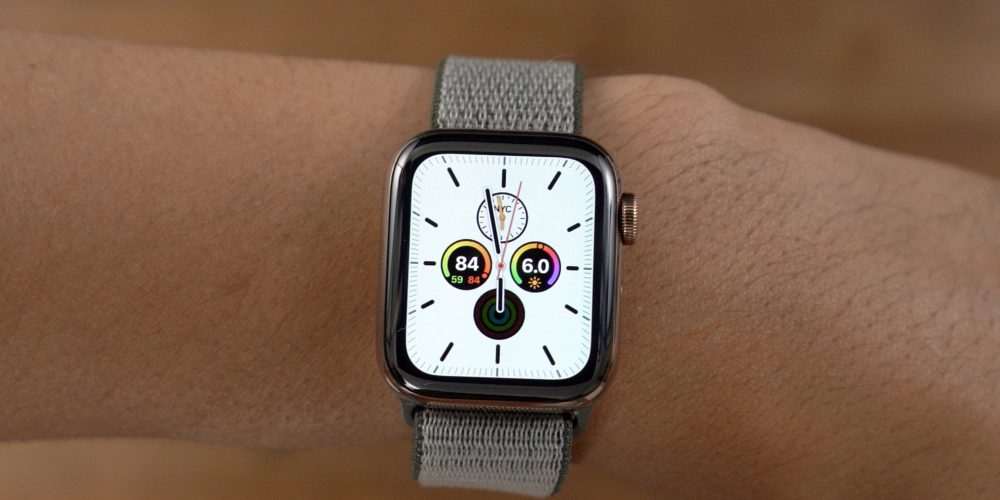
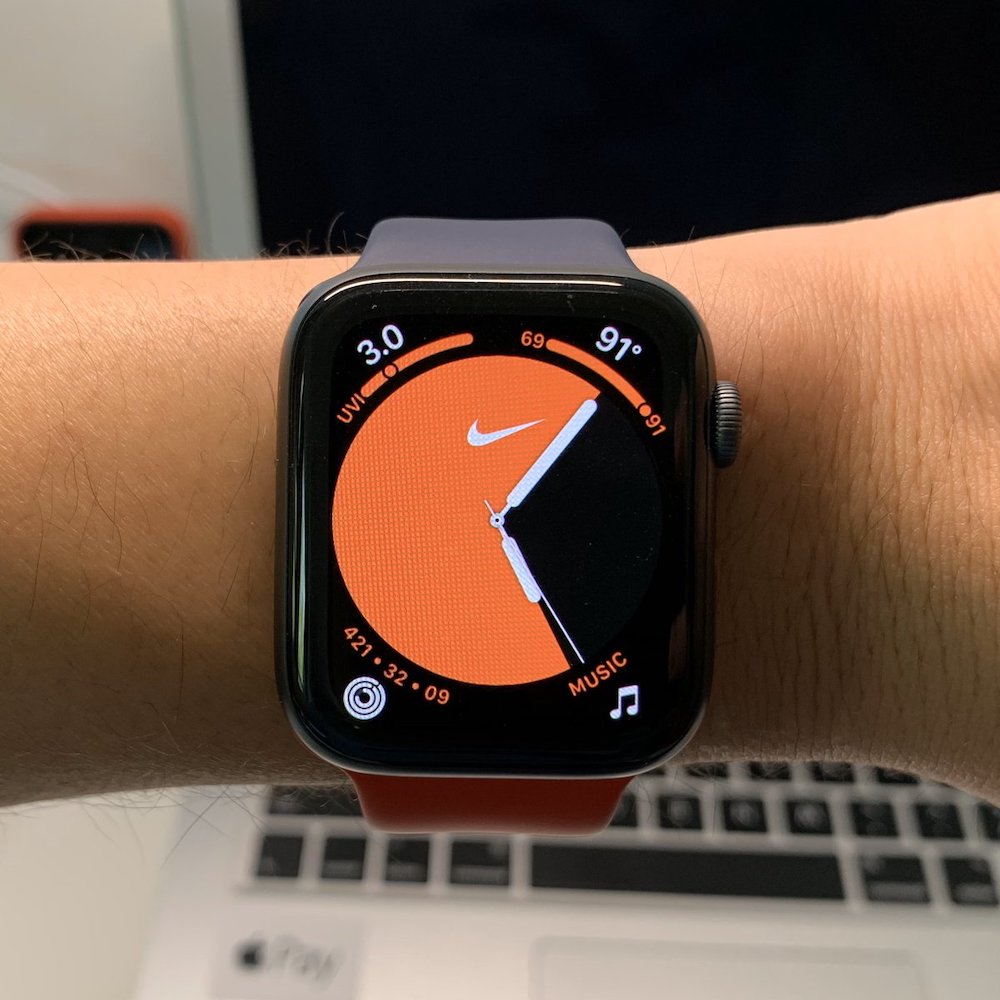
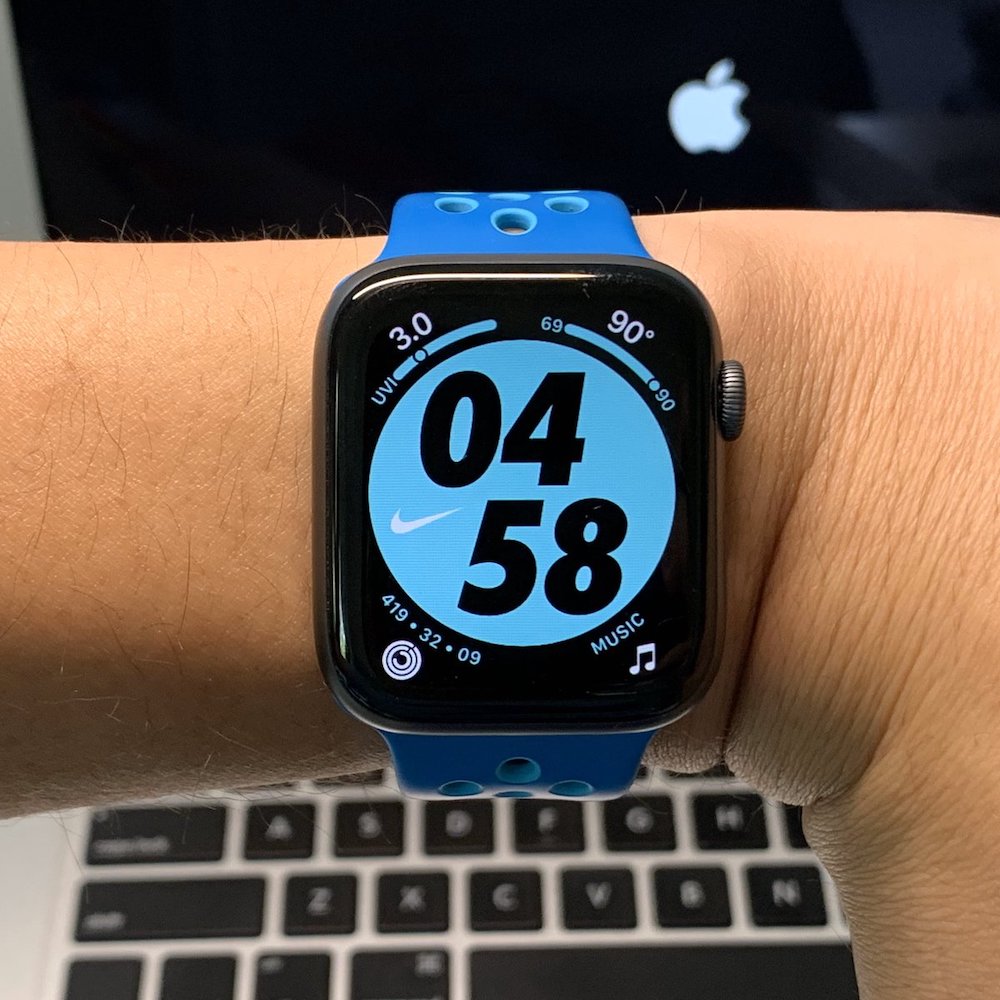
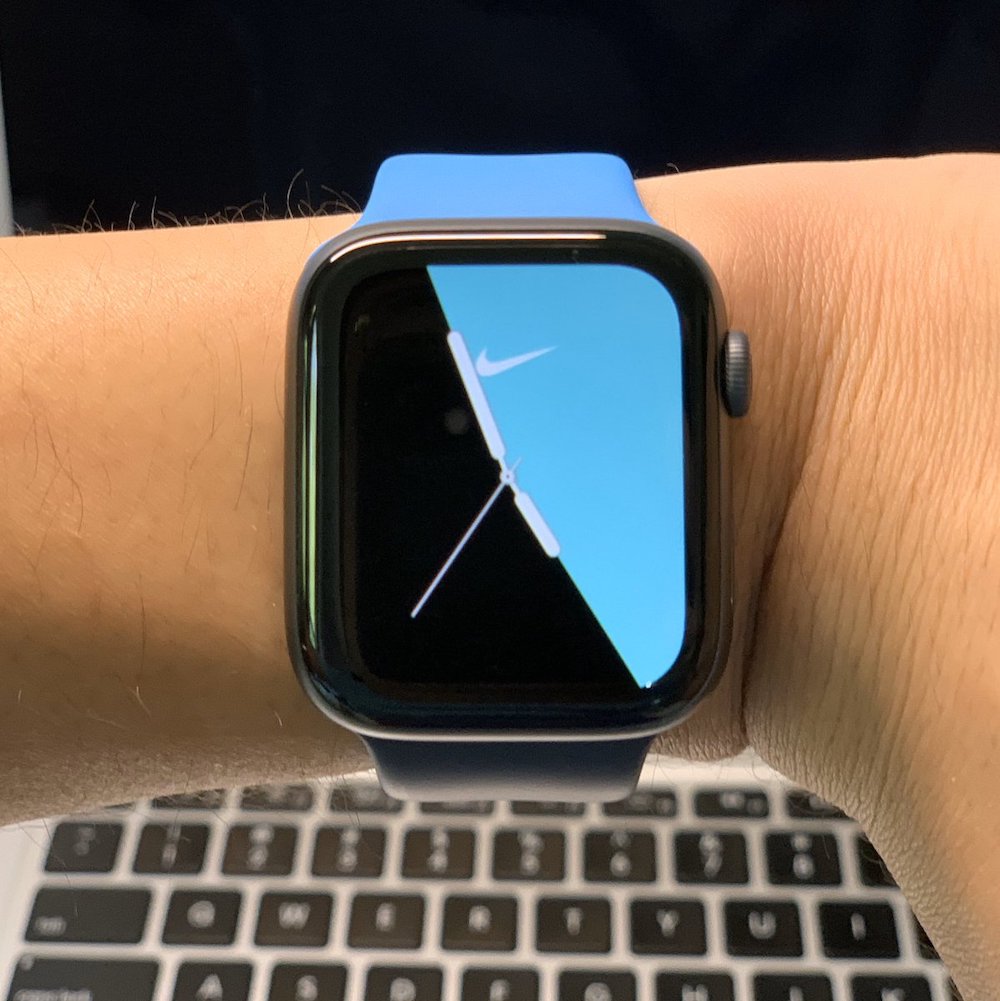
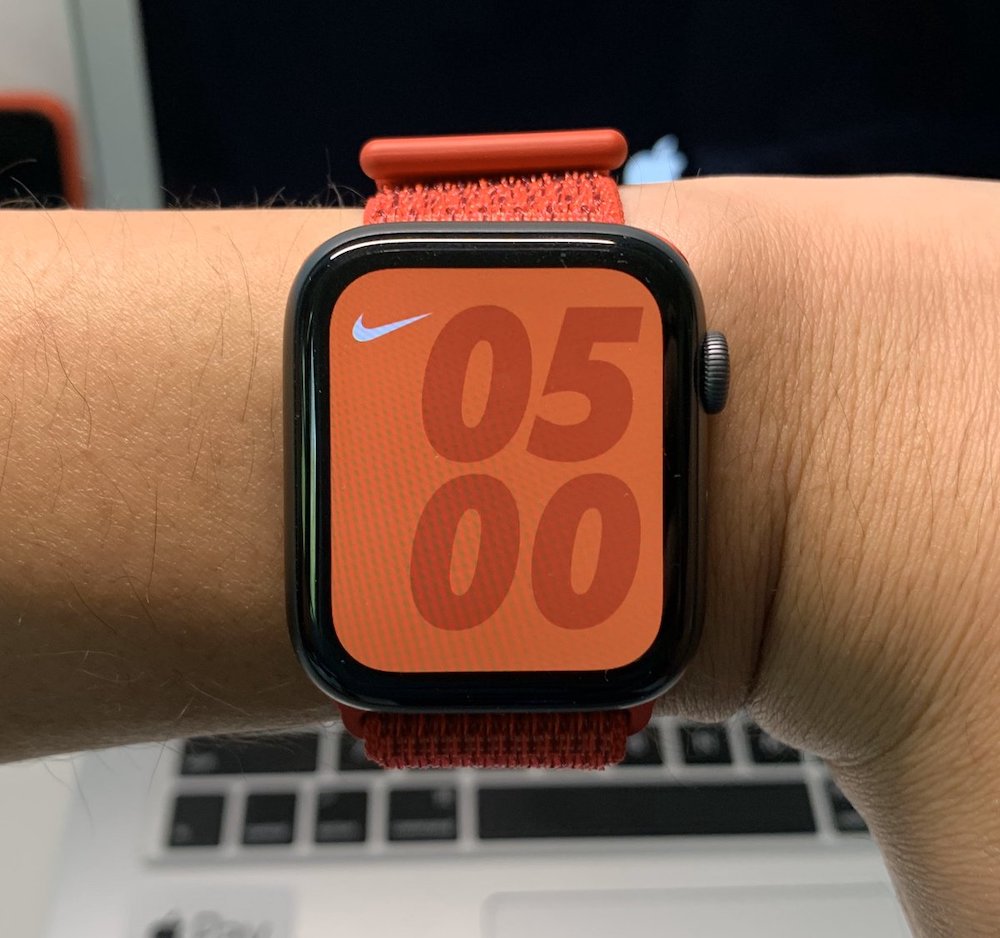
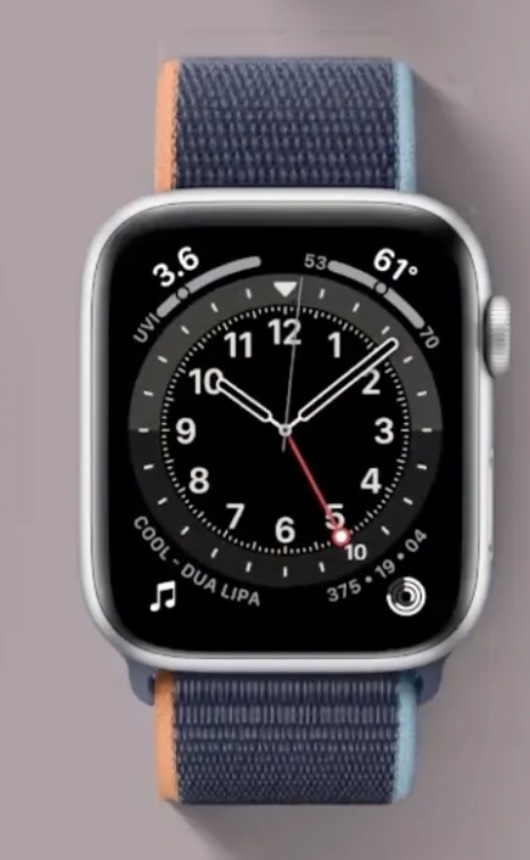
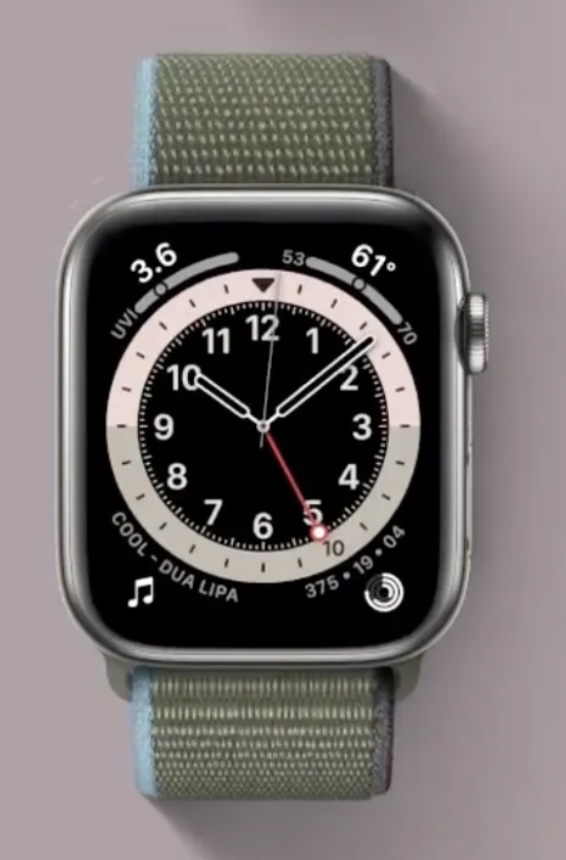
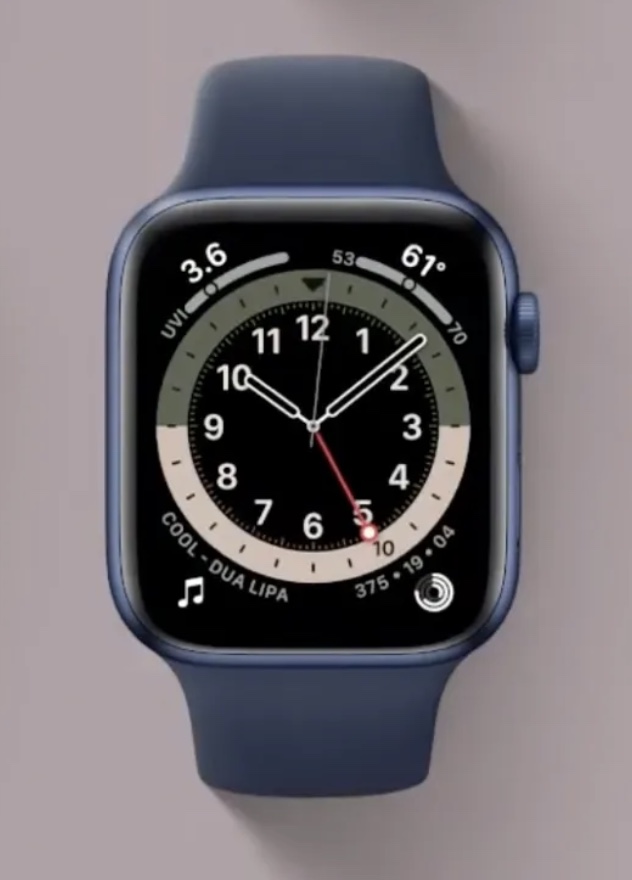
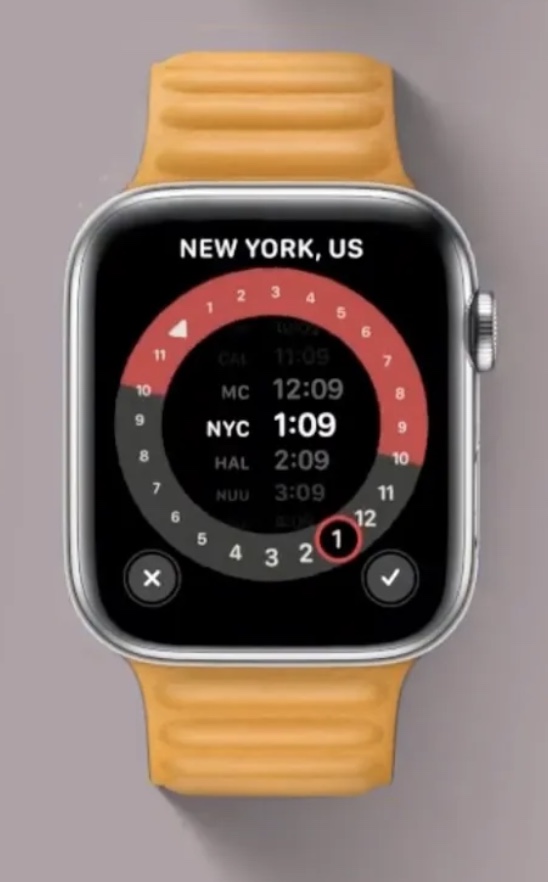
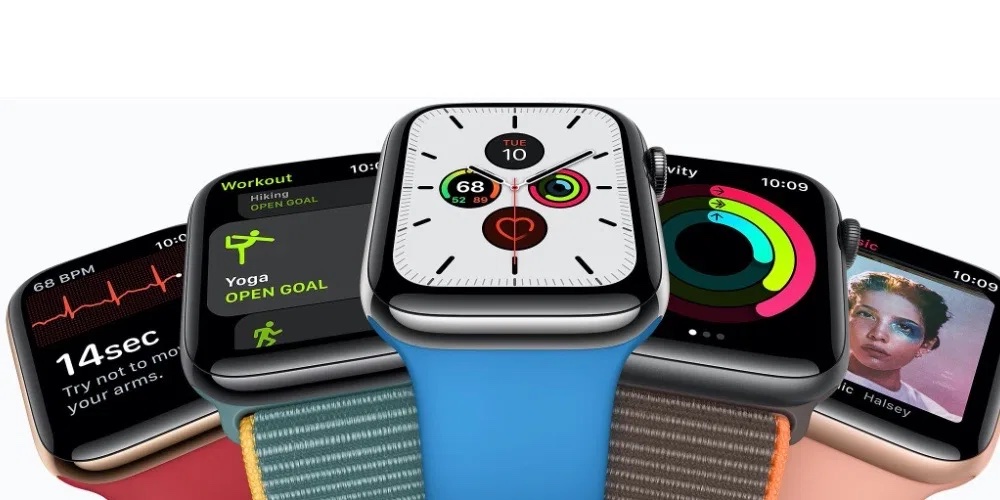
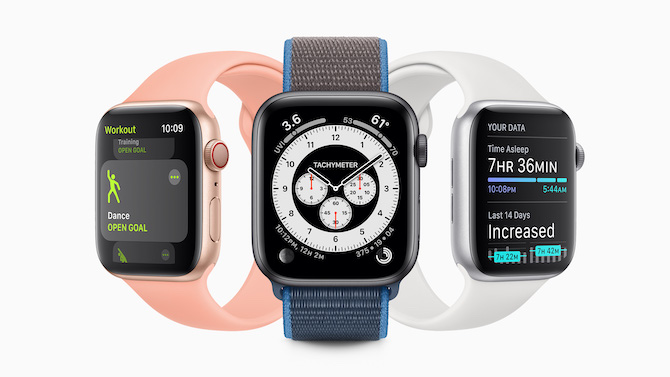
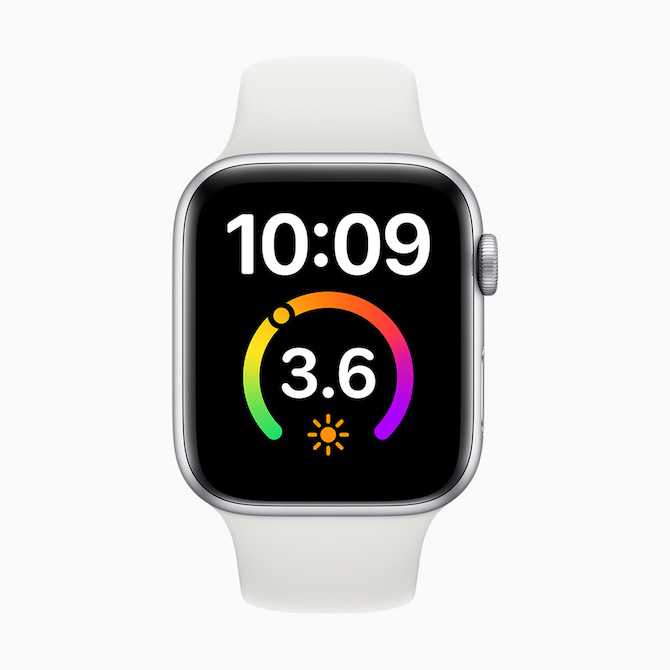
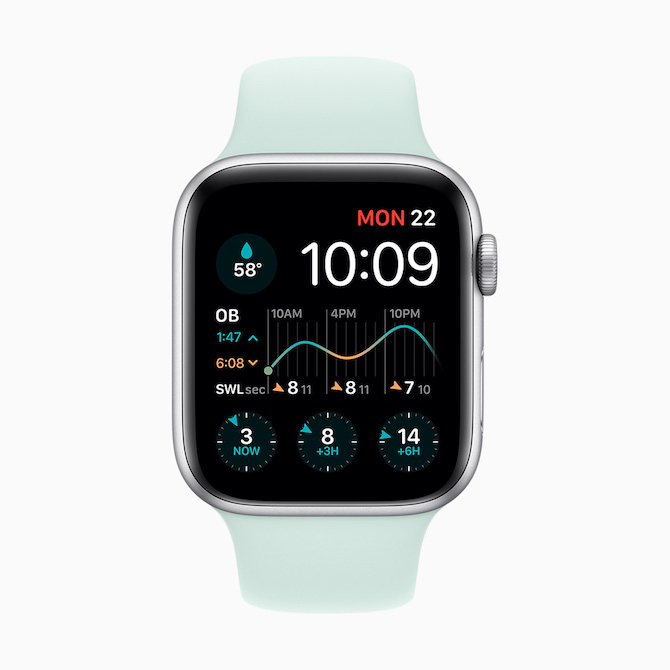
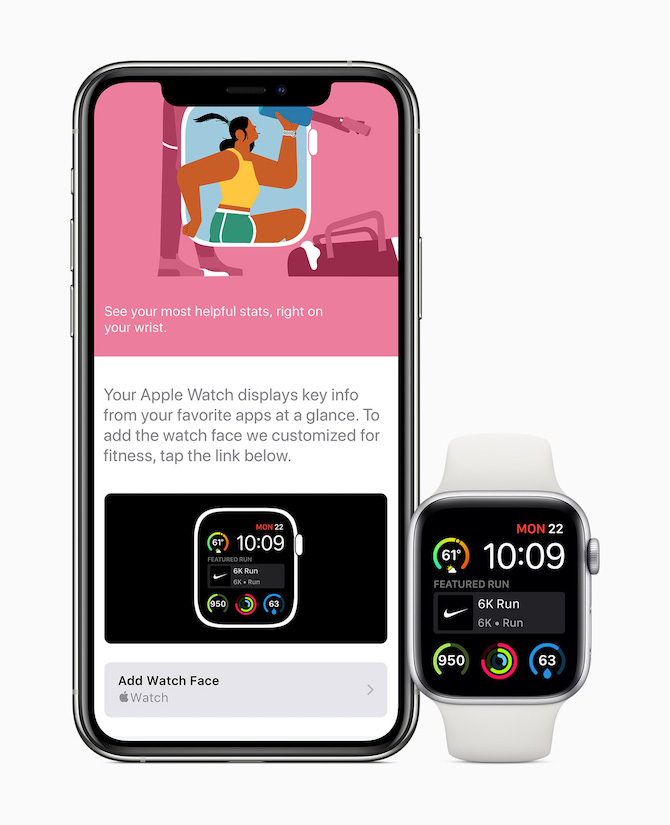
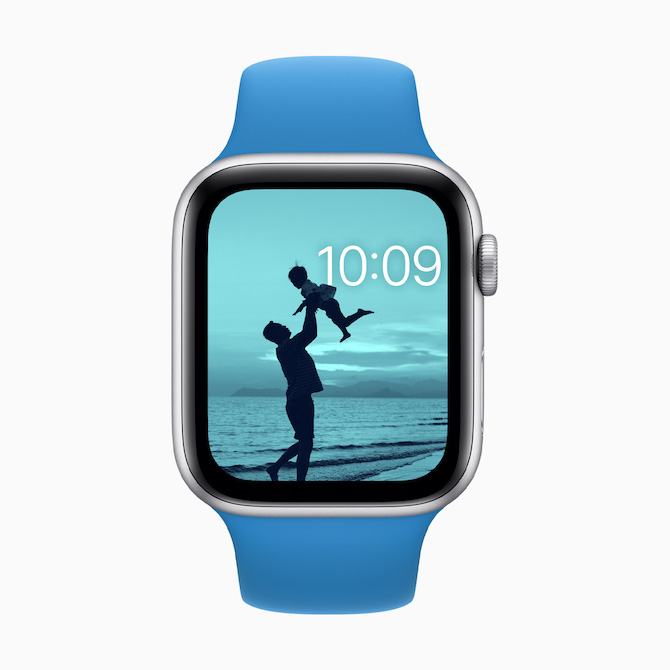
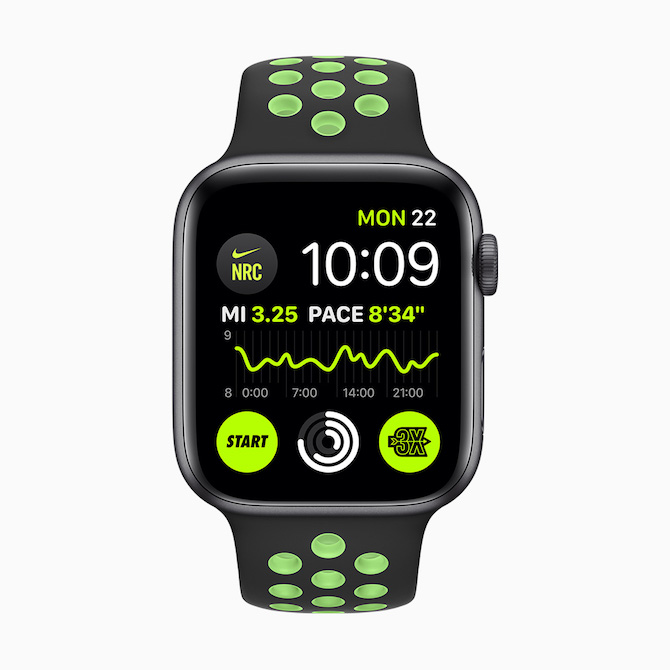
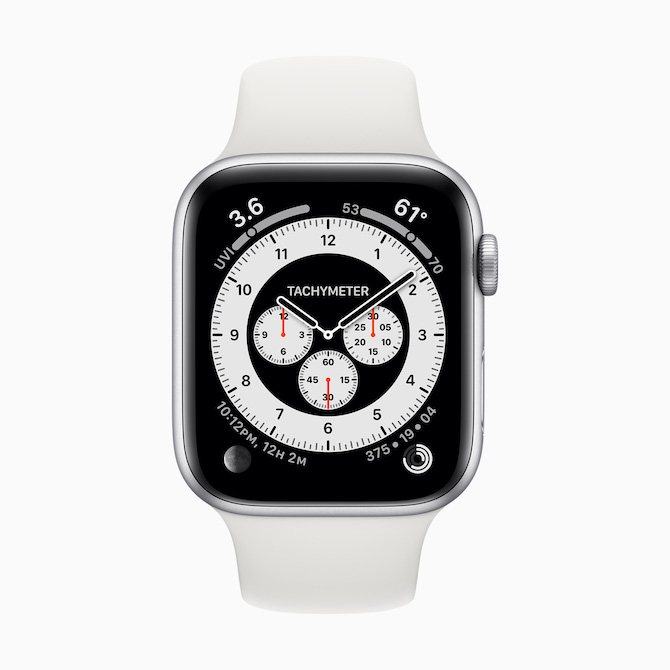
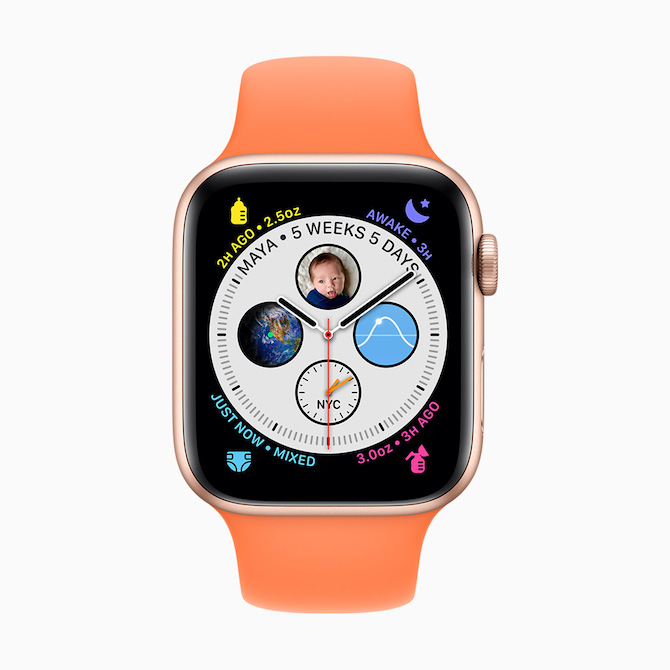
As you've probably noticed, the Apple Watch boasts a huge number of watch faces. You can add complications to them, which are a kind of "widgets" that can show you various data from applications, or move you directly into them. You change the watch face by swiping your finger left and right from edge to edge and then resting your finger on the watch face you need, then make adjustments by holding your finger on the display and tapping Edit.
Choose the right strap and start adjusting
If you are already familiar with the watch, it will be useful for you to customize it as best as possible. Even though you can make many settings right on your wrist, most users will find it easier to reach for their iPhone and set everything up in the Watch app. Before active use, it is also necessary to choose a suitable strap and especially its attachment to the wrist. Don't wear the watch too loosely - it might not measure your heart rate accurately, but at the same time, don't make it too tight so that it's comfortable on your wrist and doesn't damage your skin in any way. If the supplied strap does not fit and is not comfortable for you, try purchasing one made of a more comfortable material. Once you've solved this problem too, there's nothing stopping you from happily using the watch.
It could be interest you
AirPods
Pairing
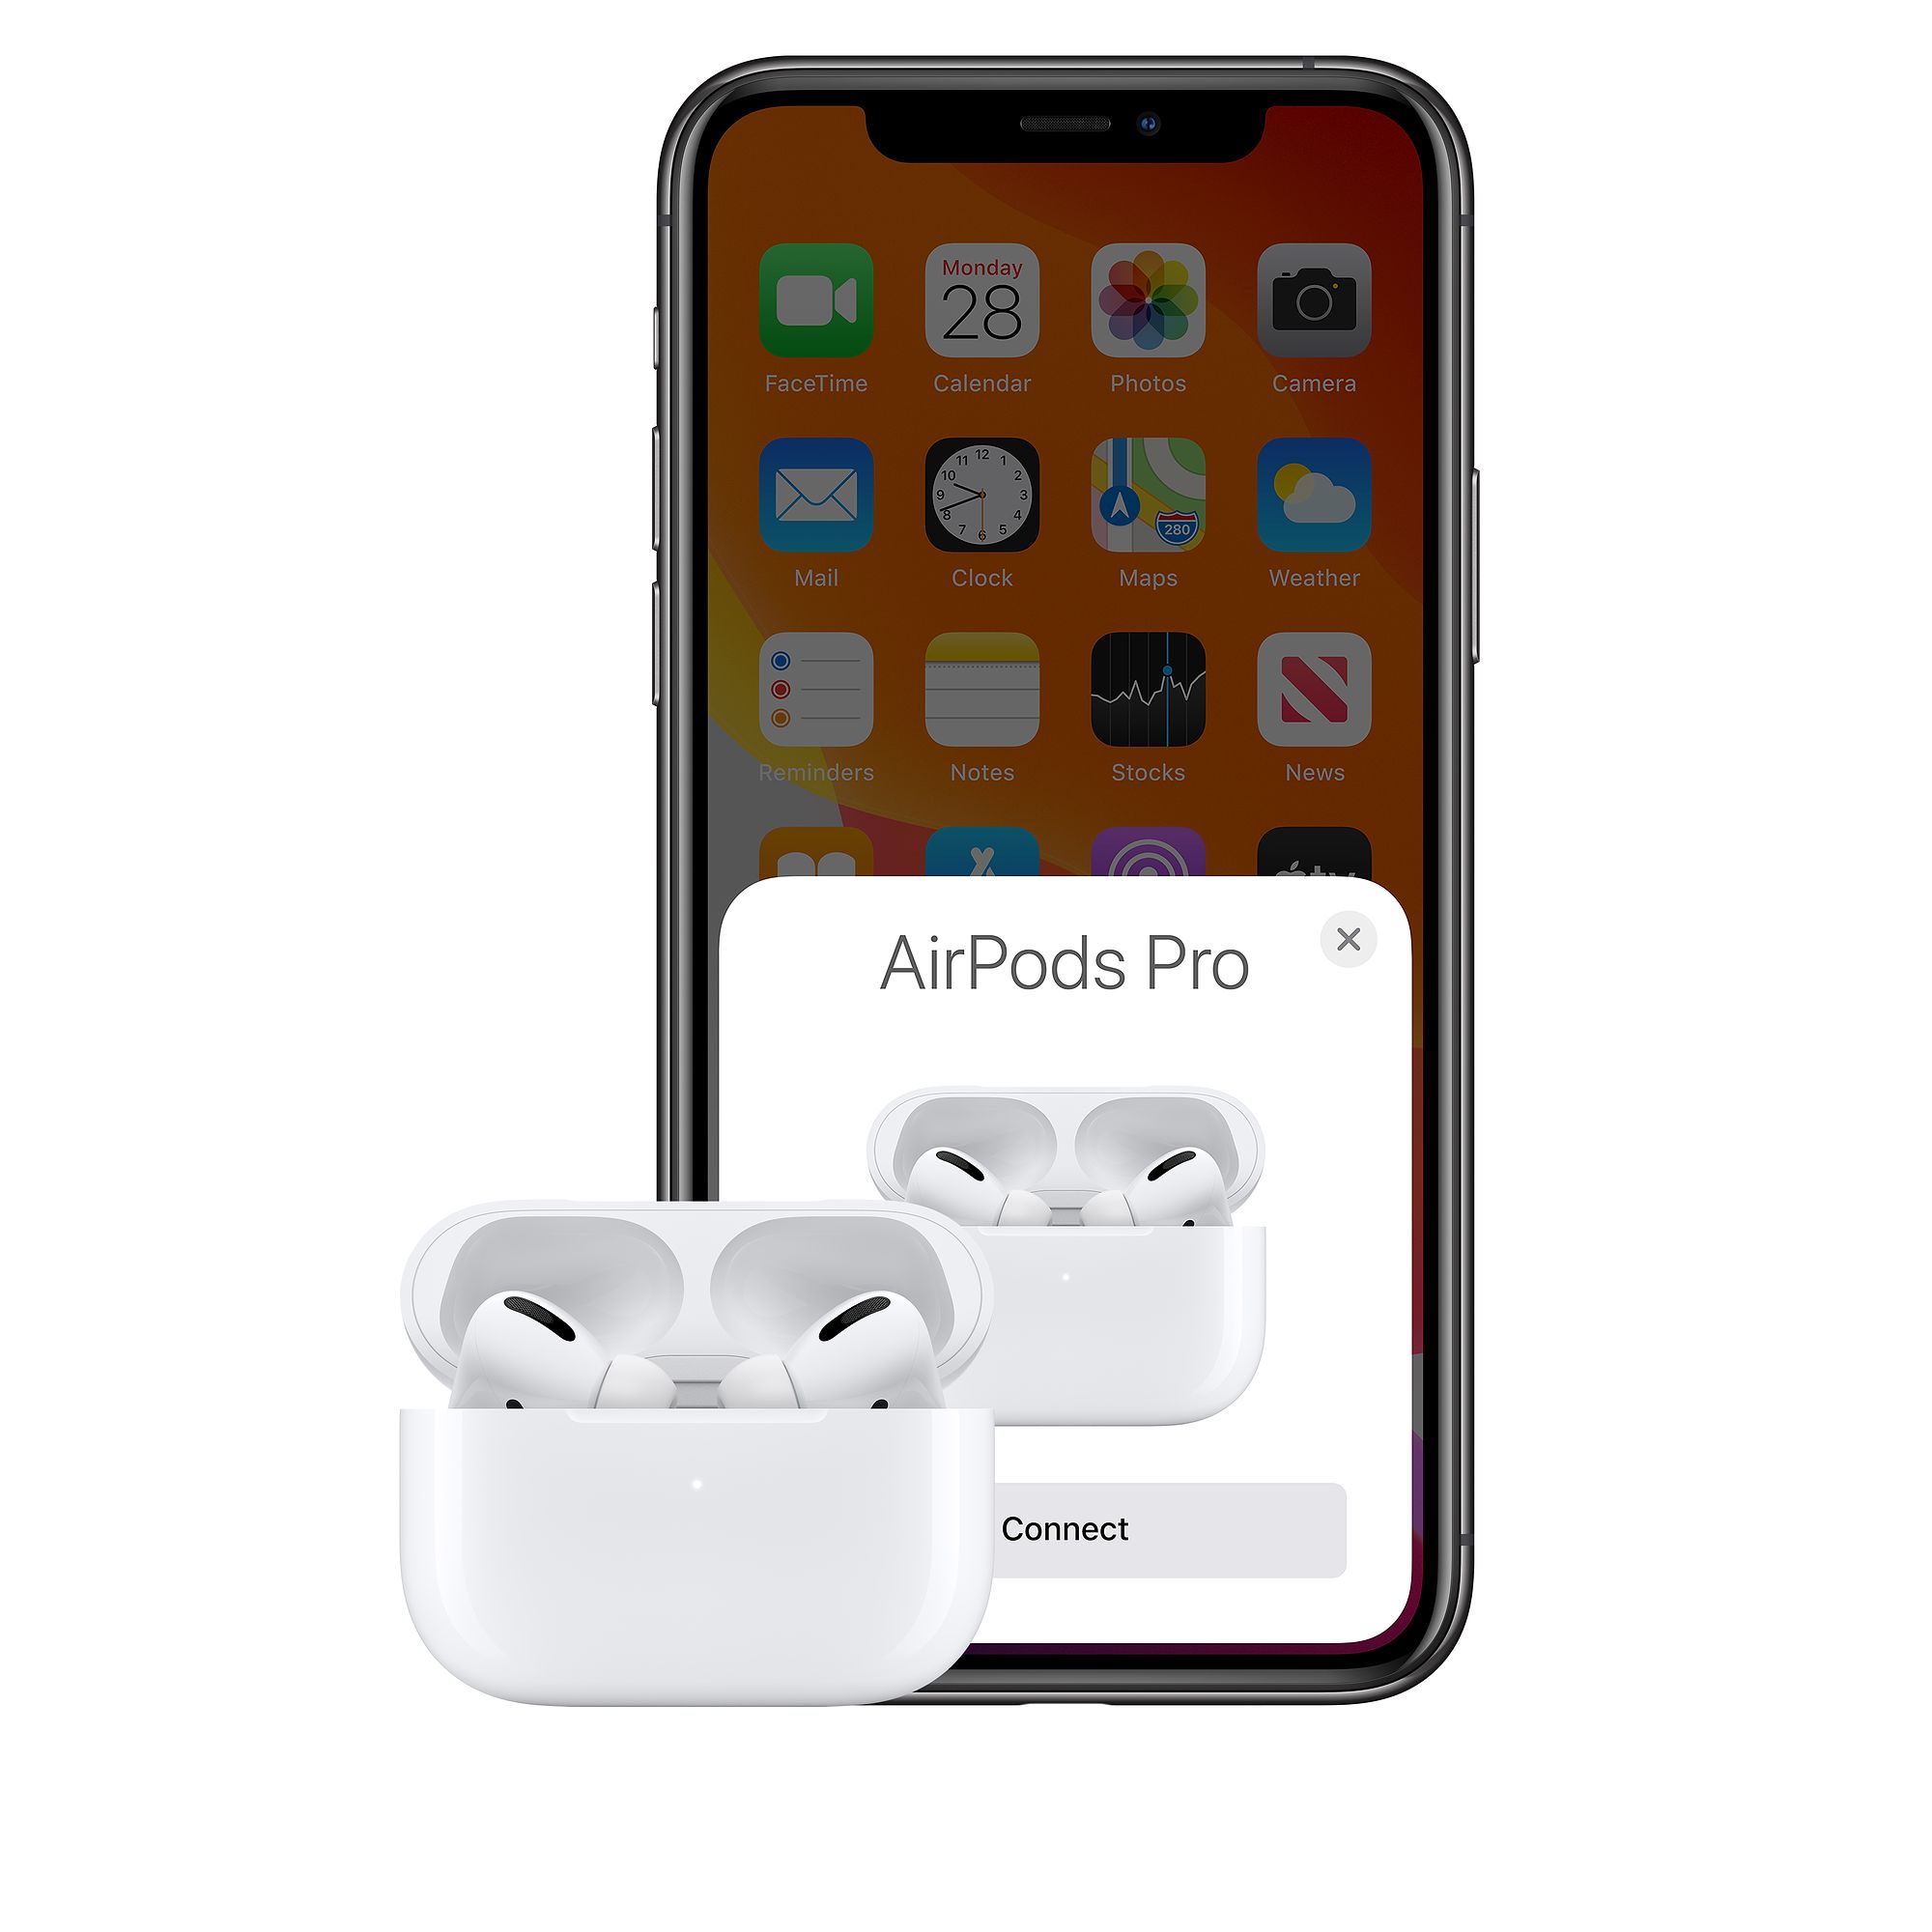
After opening the precisely crafted package of AirPods and taking out the headphones themselves, you may be thinking for a while about how to pair them in the most efficient way. If you have an iPhone, iPad or iPod touch, the easiest way is to unlock it and then open the box with AirPods next to it. An animation will then immediately appear on the display of your Apple phone or tablet, prompting you to pair your new headphones. If you are already settled in the Apple ecosystem, you will be pleasantly surprised - AirPods will log into your iCloud account and automatically pair with your Apple Watch, iPhone, iPad and Mac. However, if you are using an Android phone or a Windows PC, pairing will take a few more steps.
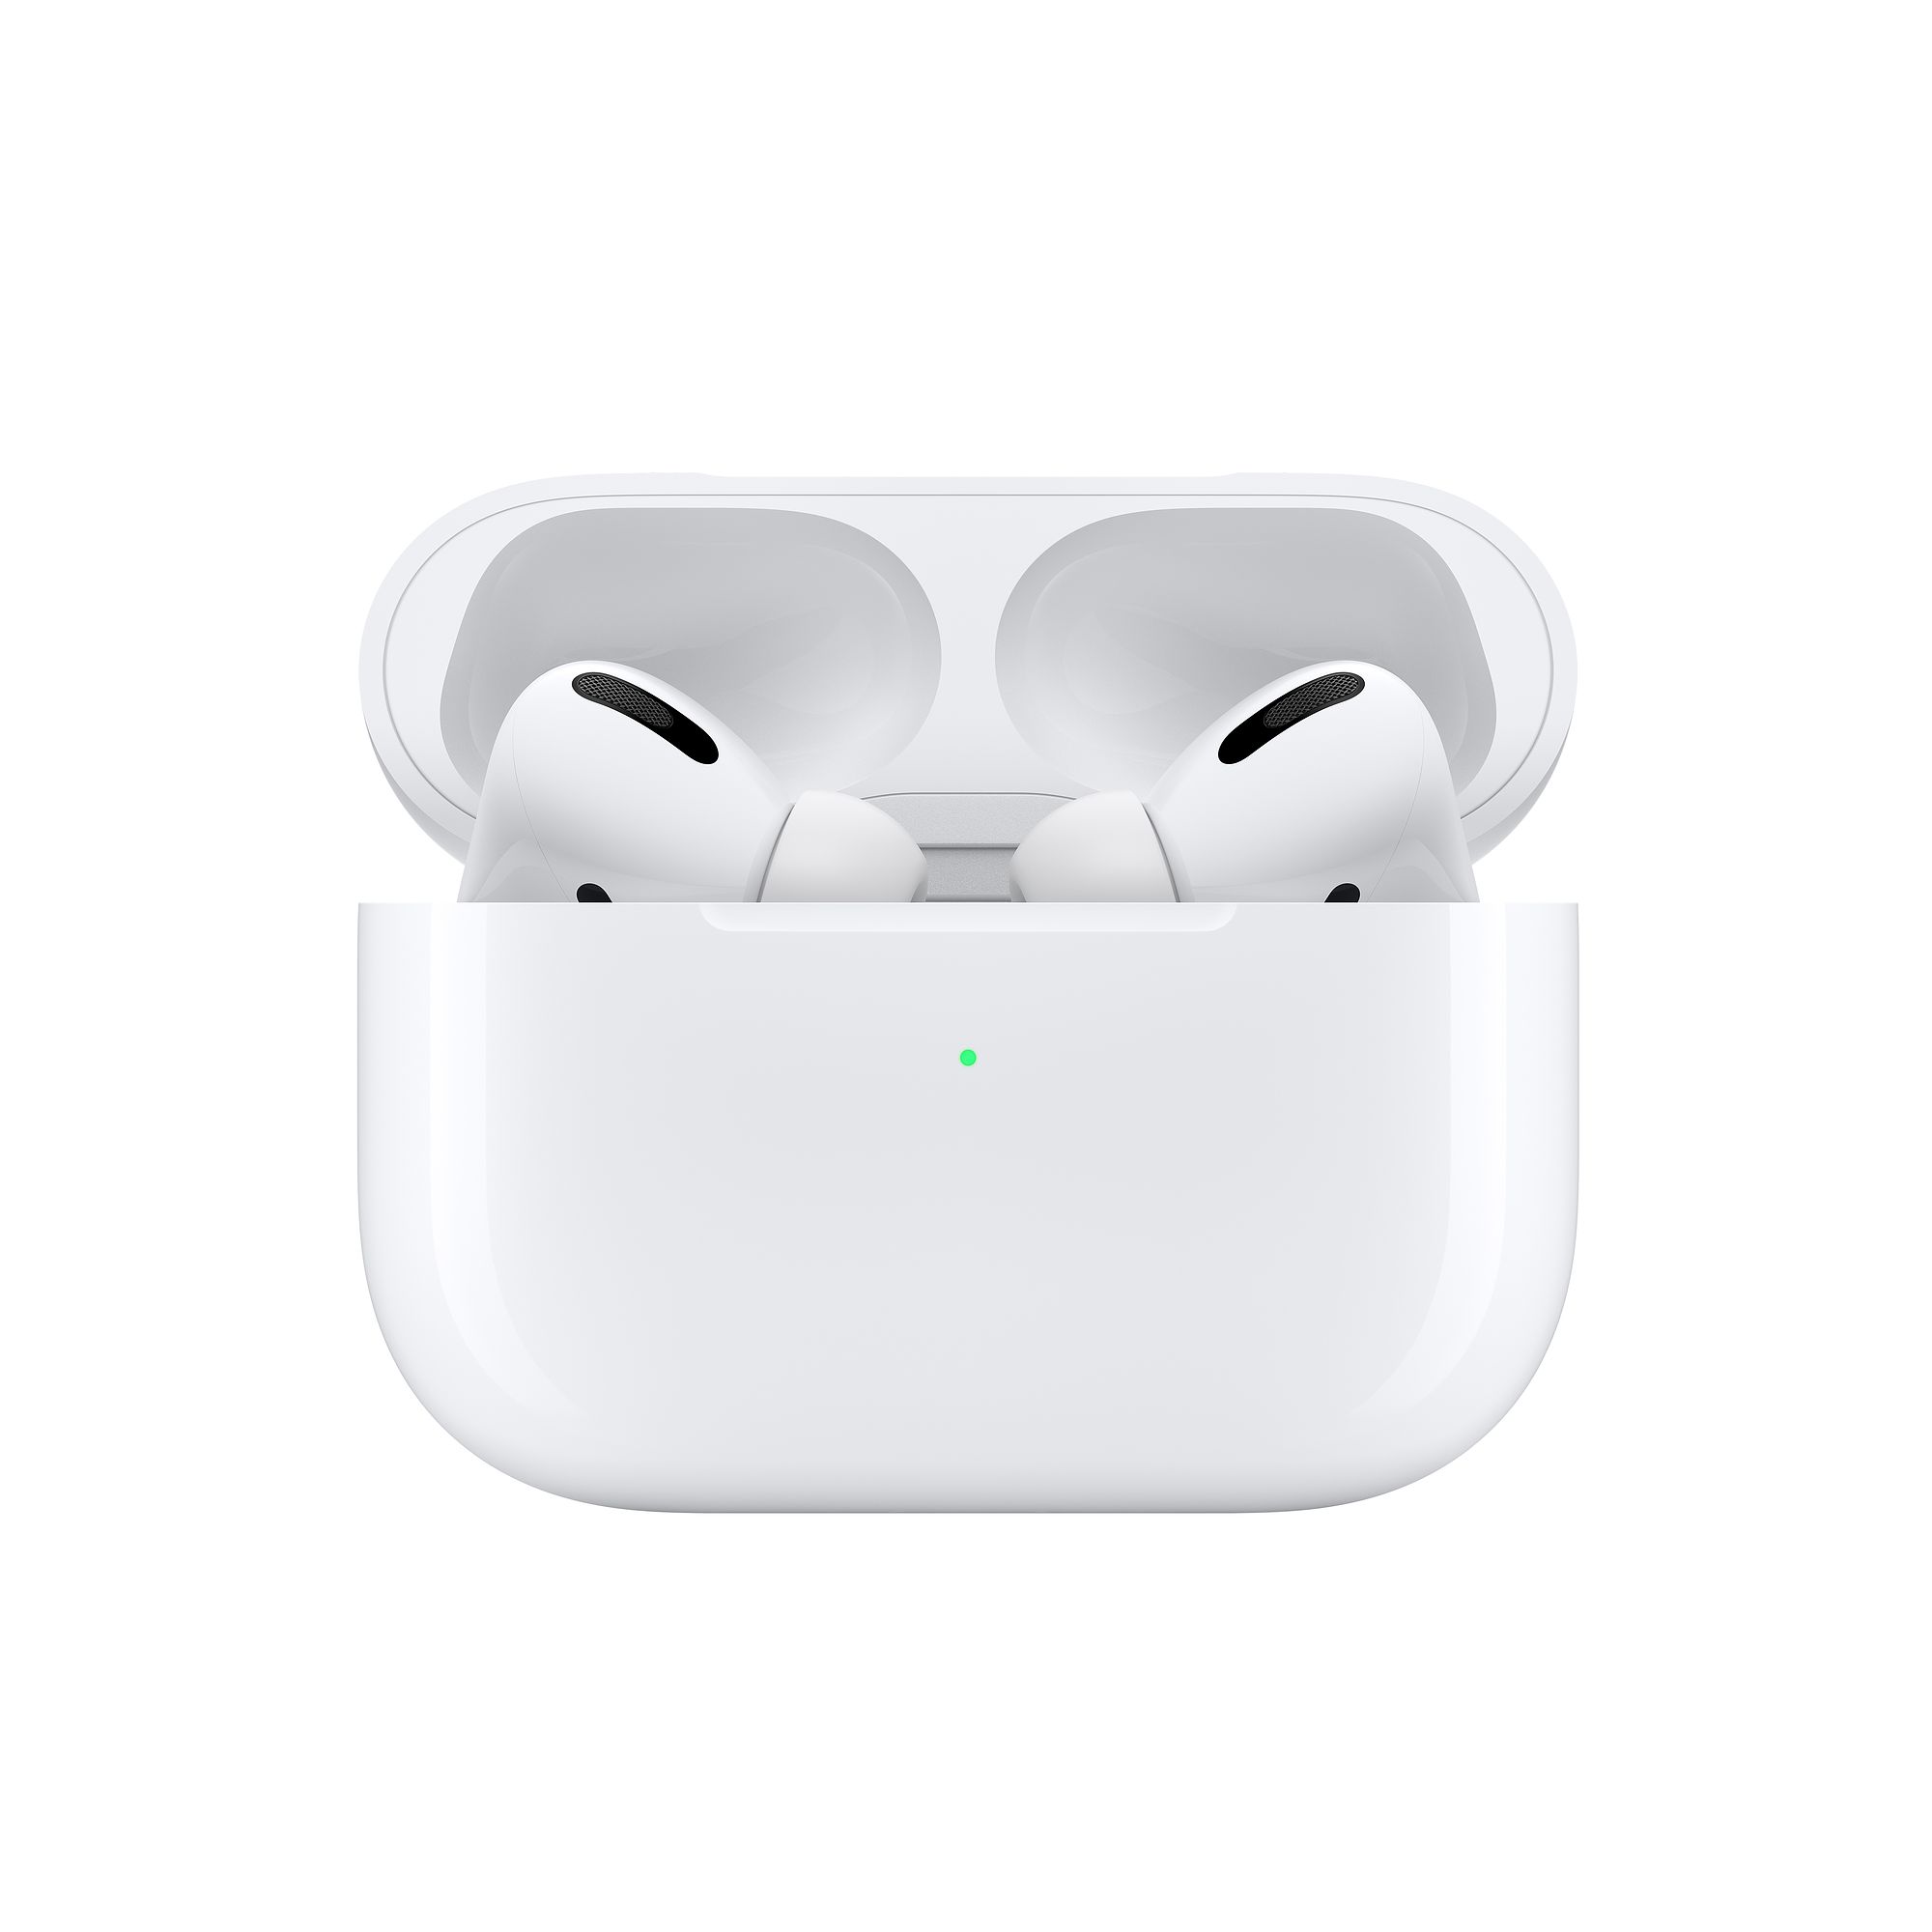
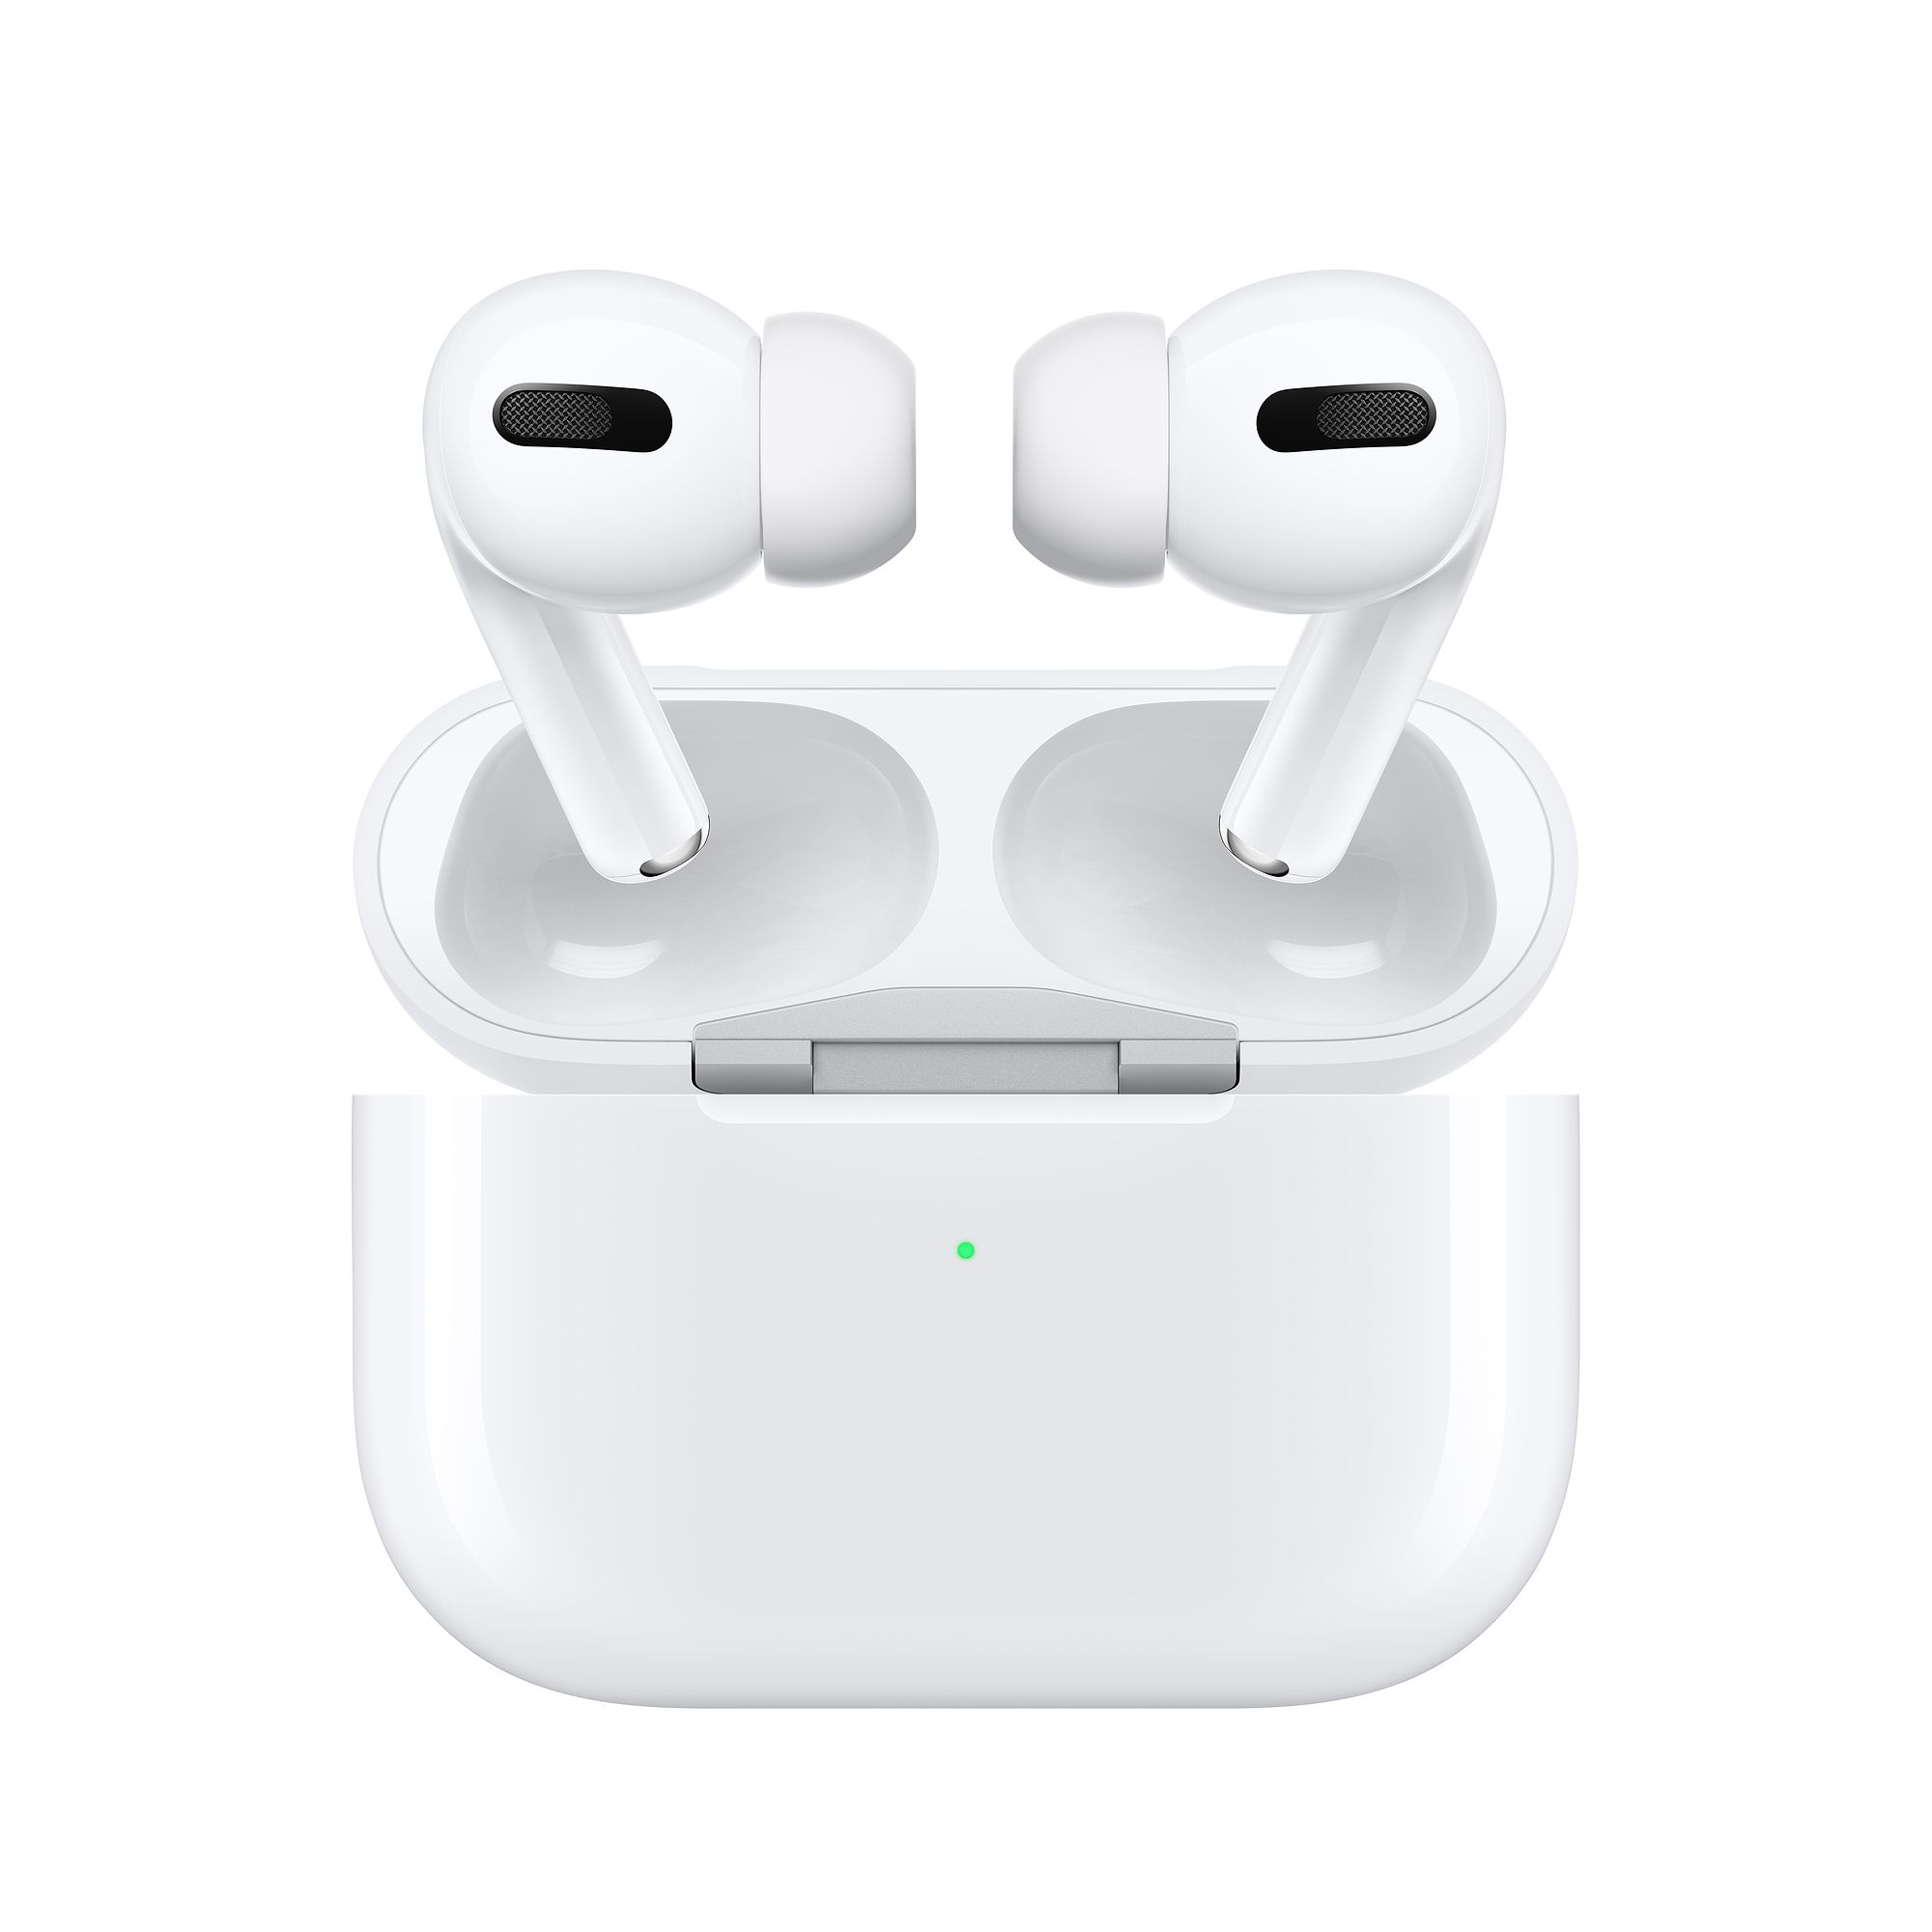
First, open the charging case of the headphones, leave the AirPods inside and hold the button on the back of the charging case. After a while, you will be able to pair AirPods with any other Bluetooth device classically in the settings, but expect the absence of most of the functions that we will mention in the following paragraphs. However, before we dive into these features, we should determine what the light indicators on the charging case mean. If the box lights up white, you can connect the headphones. If the indicator is flashing orange, then you probably need to repeat the entire pairing process because there is a problem somewhere. In the case of a red light, the headphones are discharged, if you see a green indicator, the product is fully charged. You can find out the status of the AirPods battery and the charging case simply by opening the headphones next to the iPhone or iPad, when it will be shown in a clear animation. You can find the entire overview in the article I am attaching below.
It could be interest you
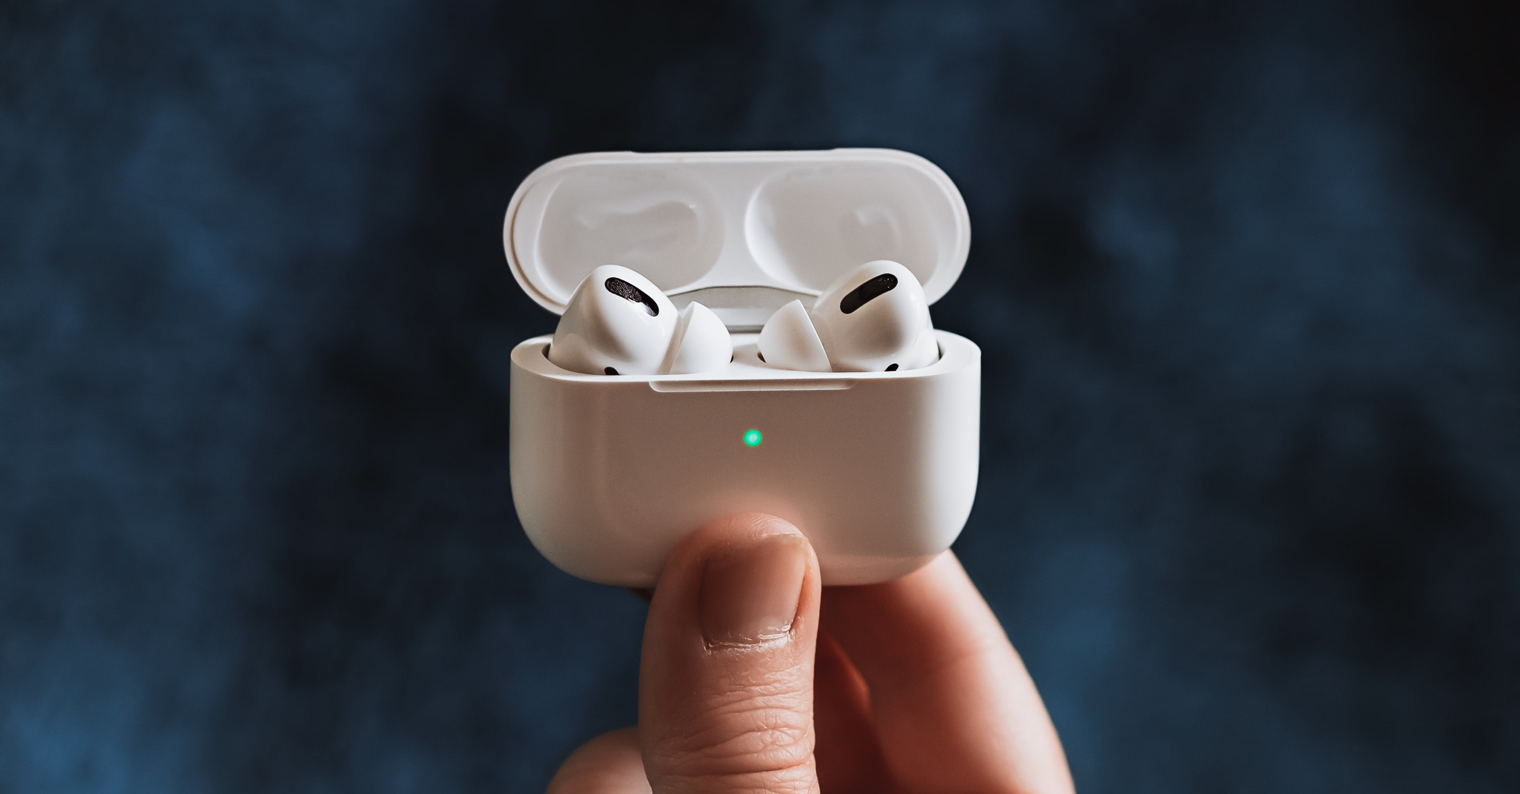
Control is carried out in the spirit of simplicity
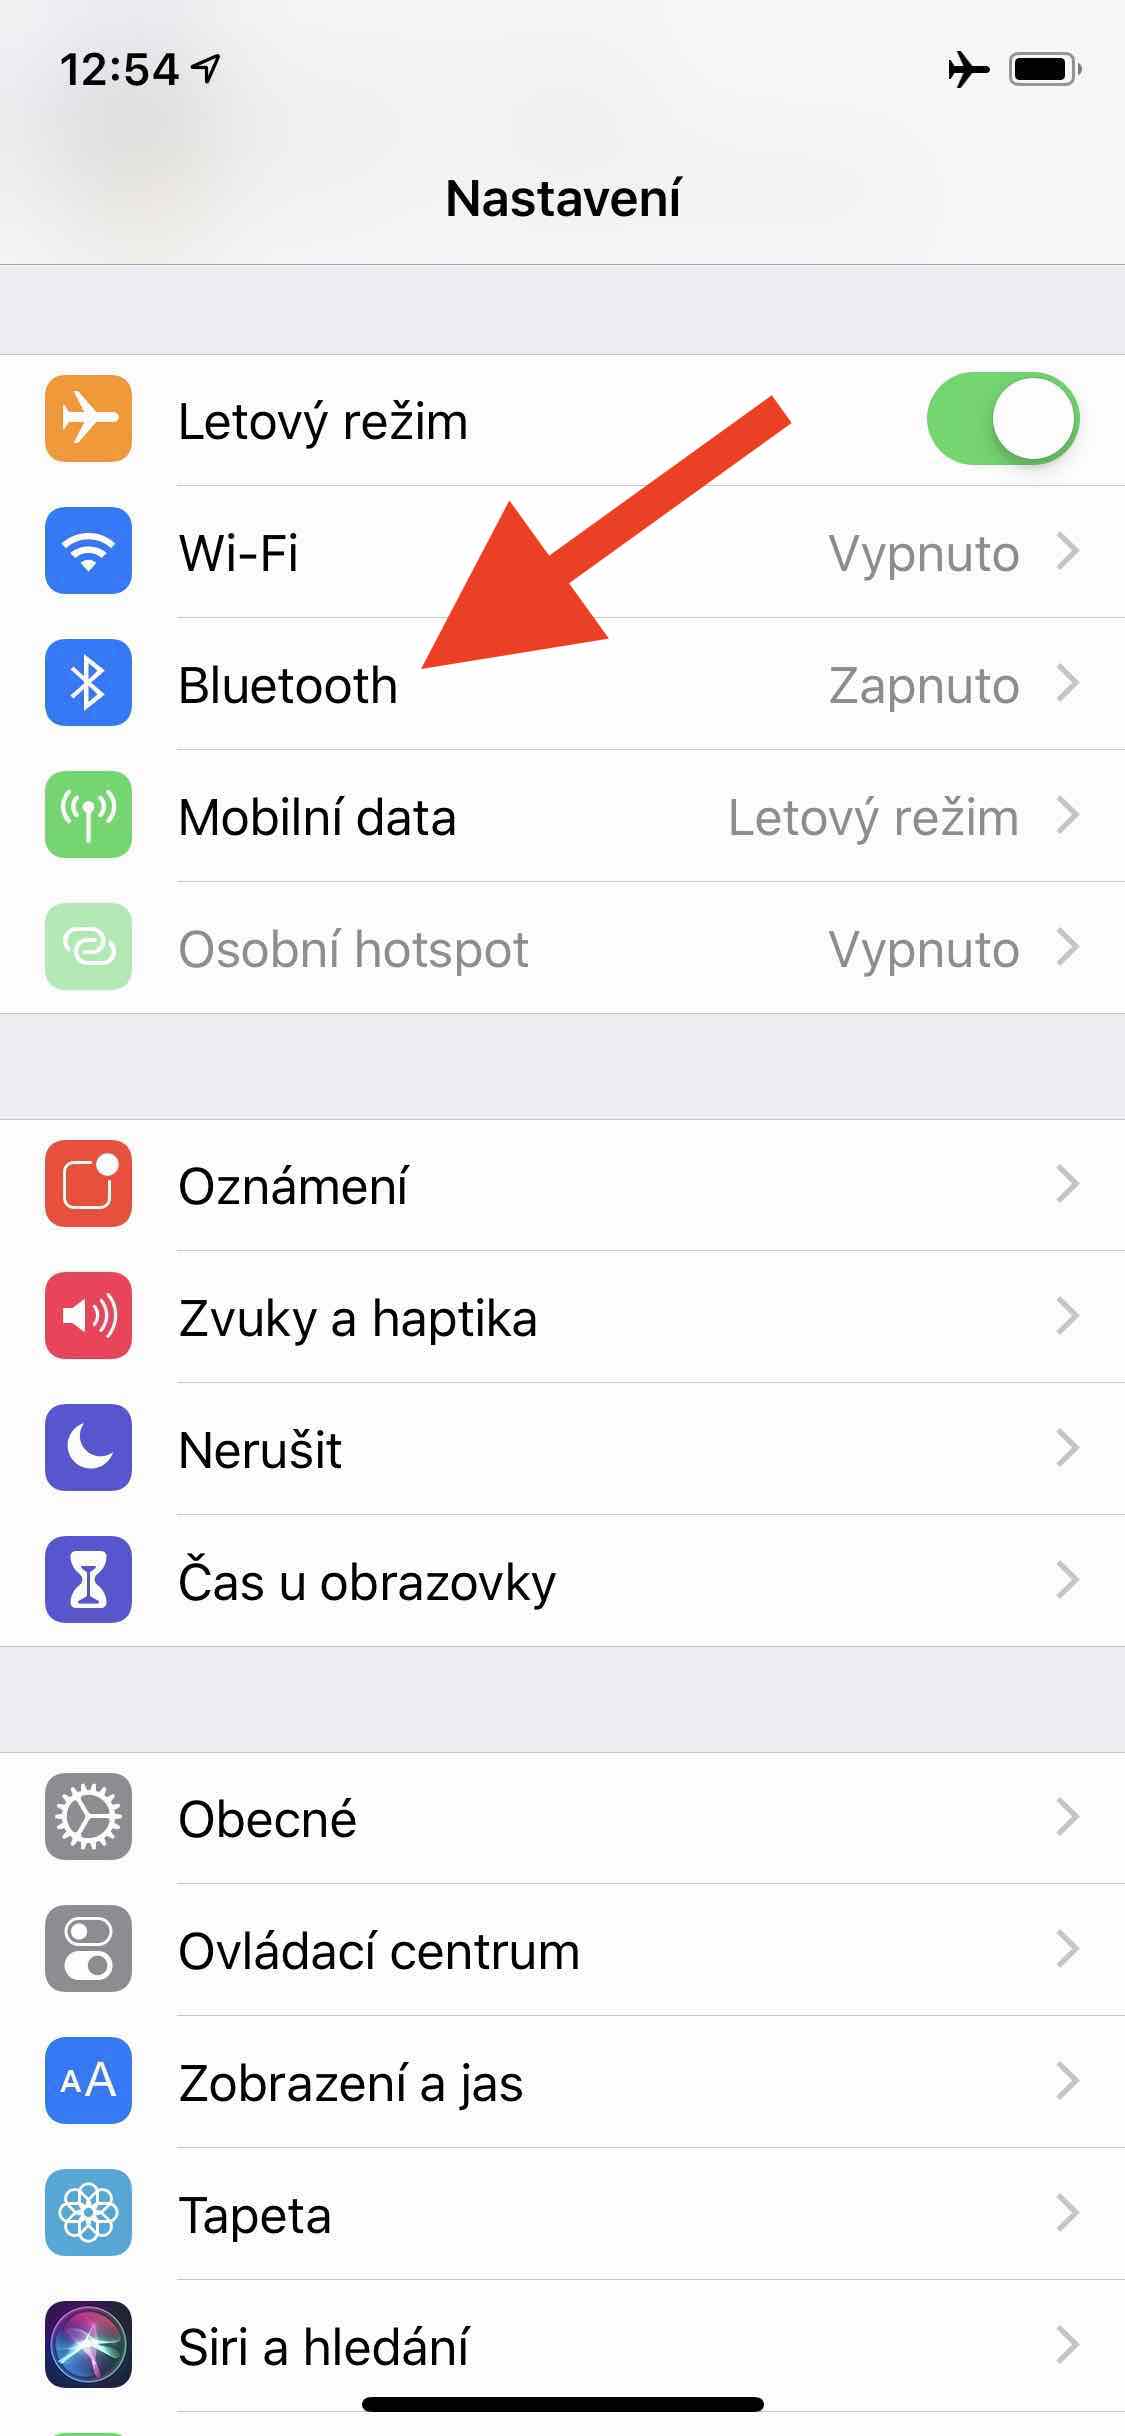
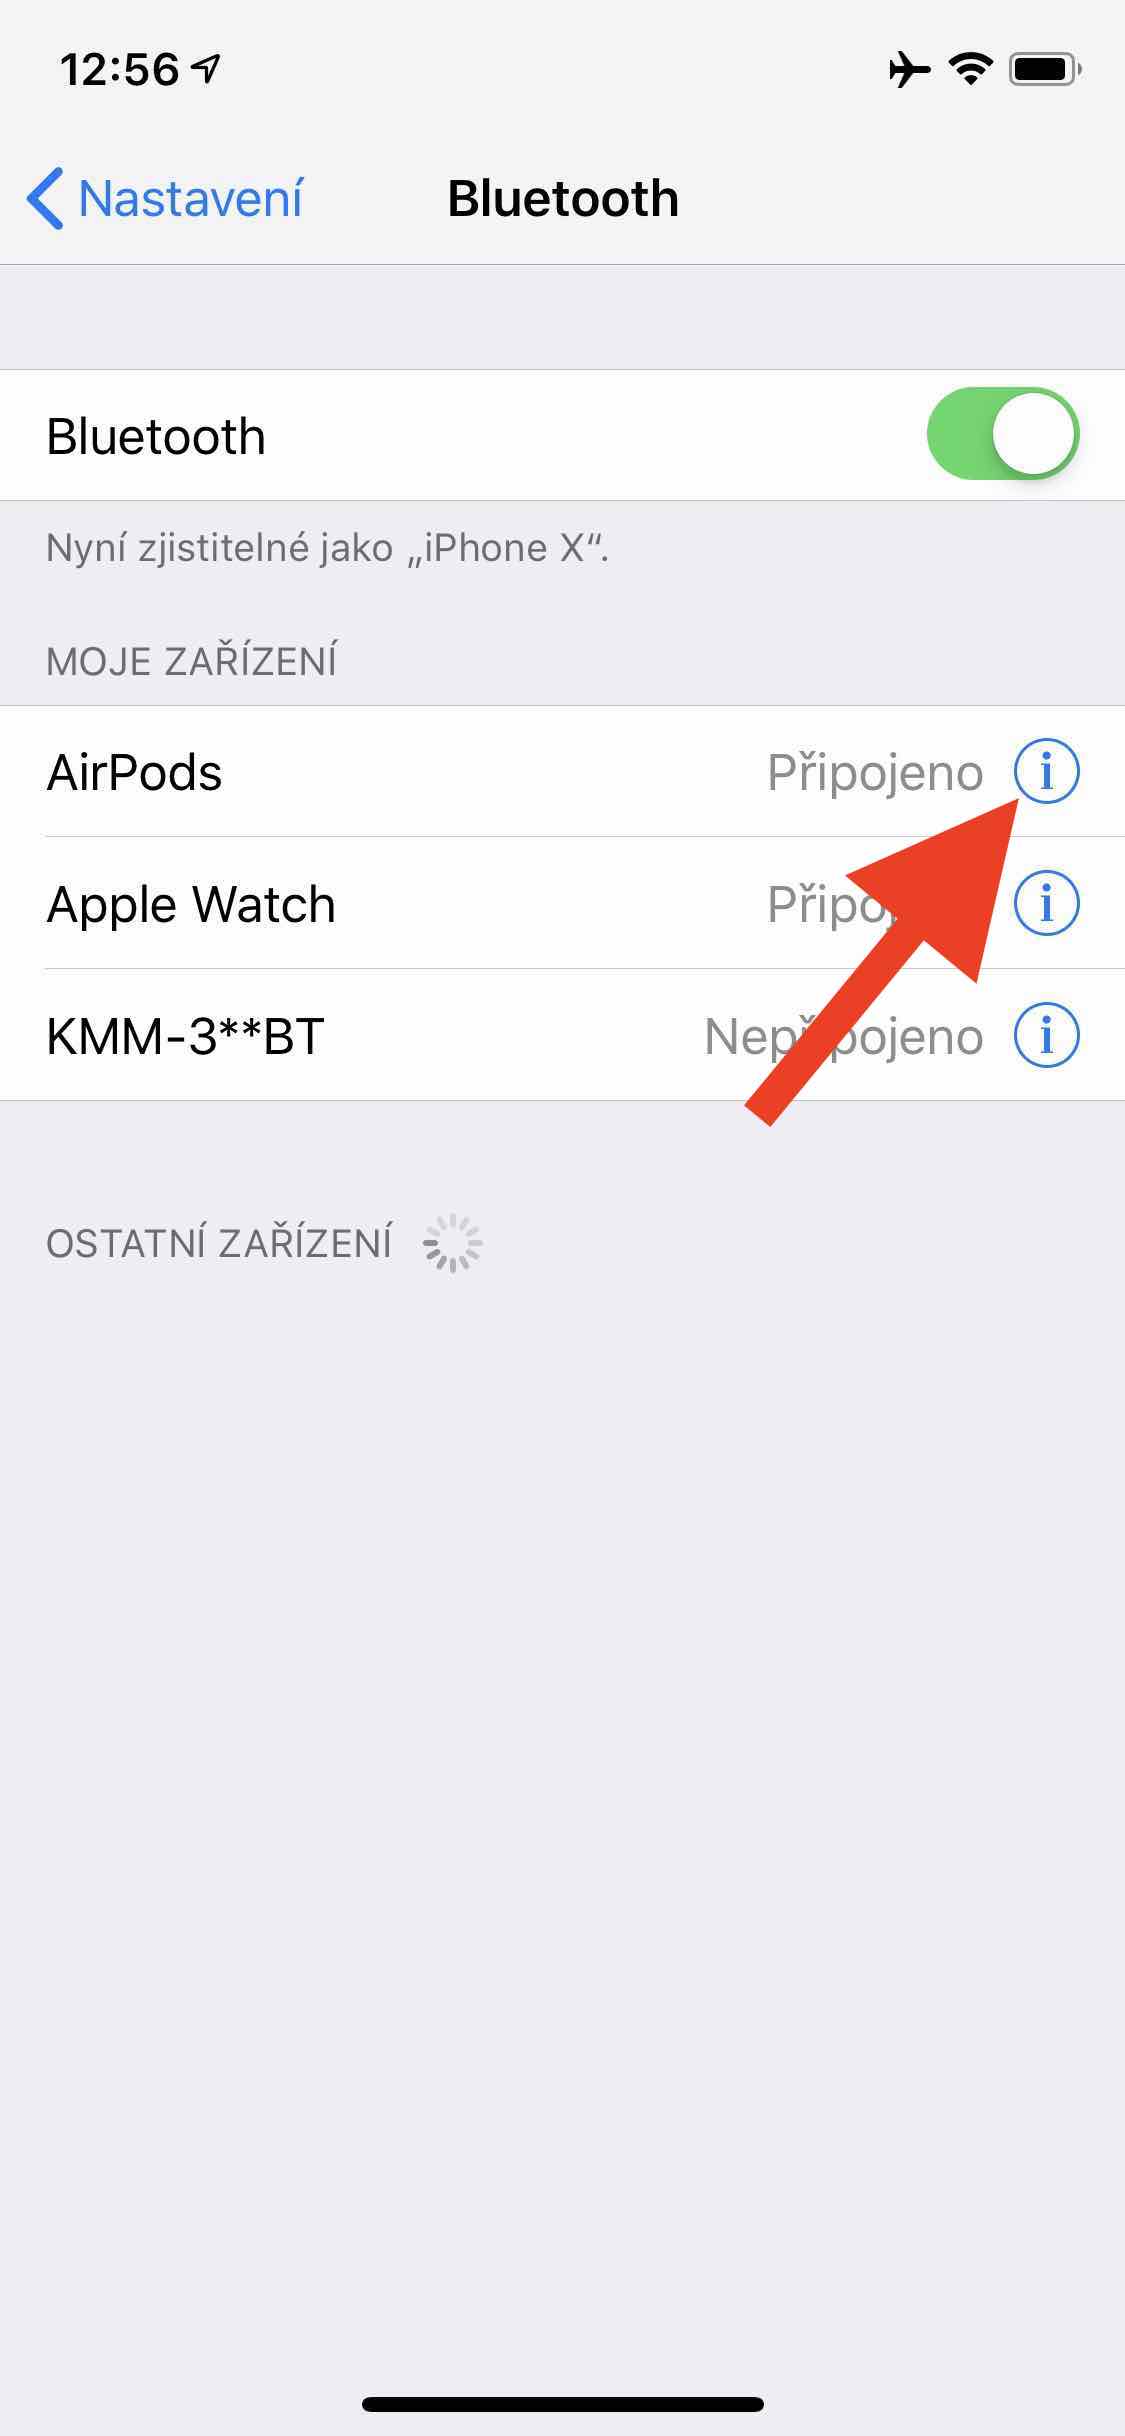
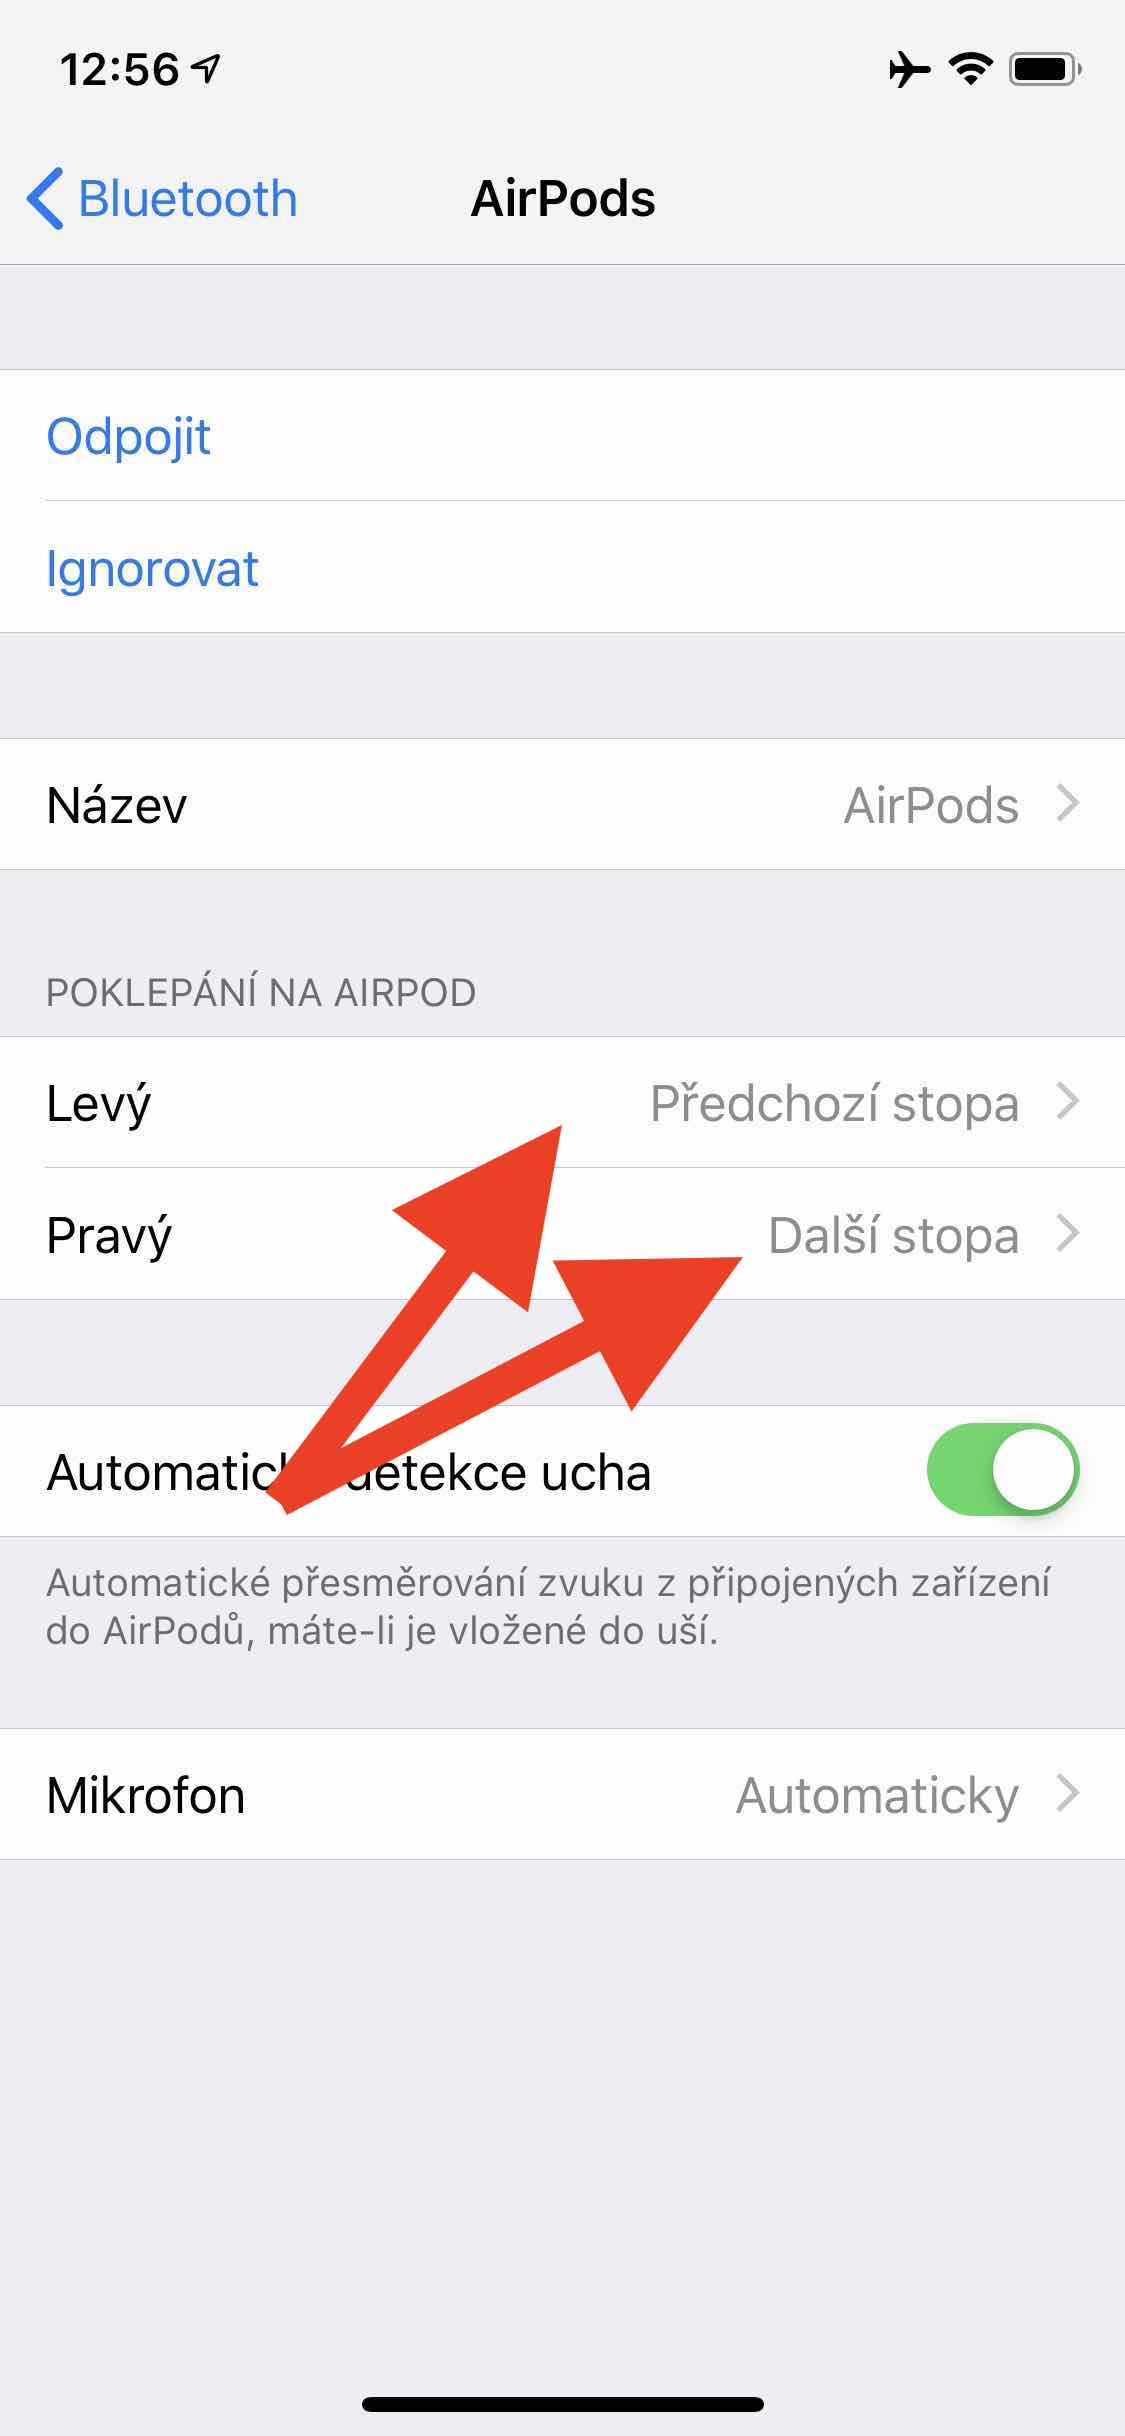
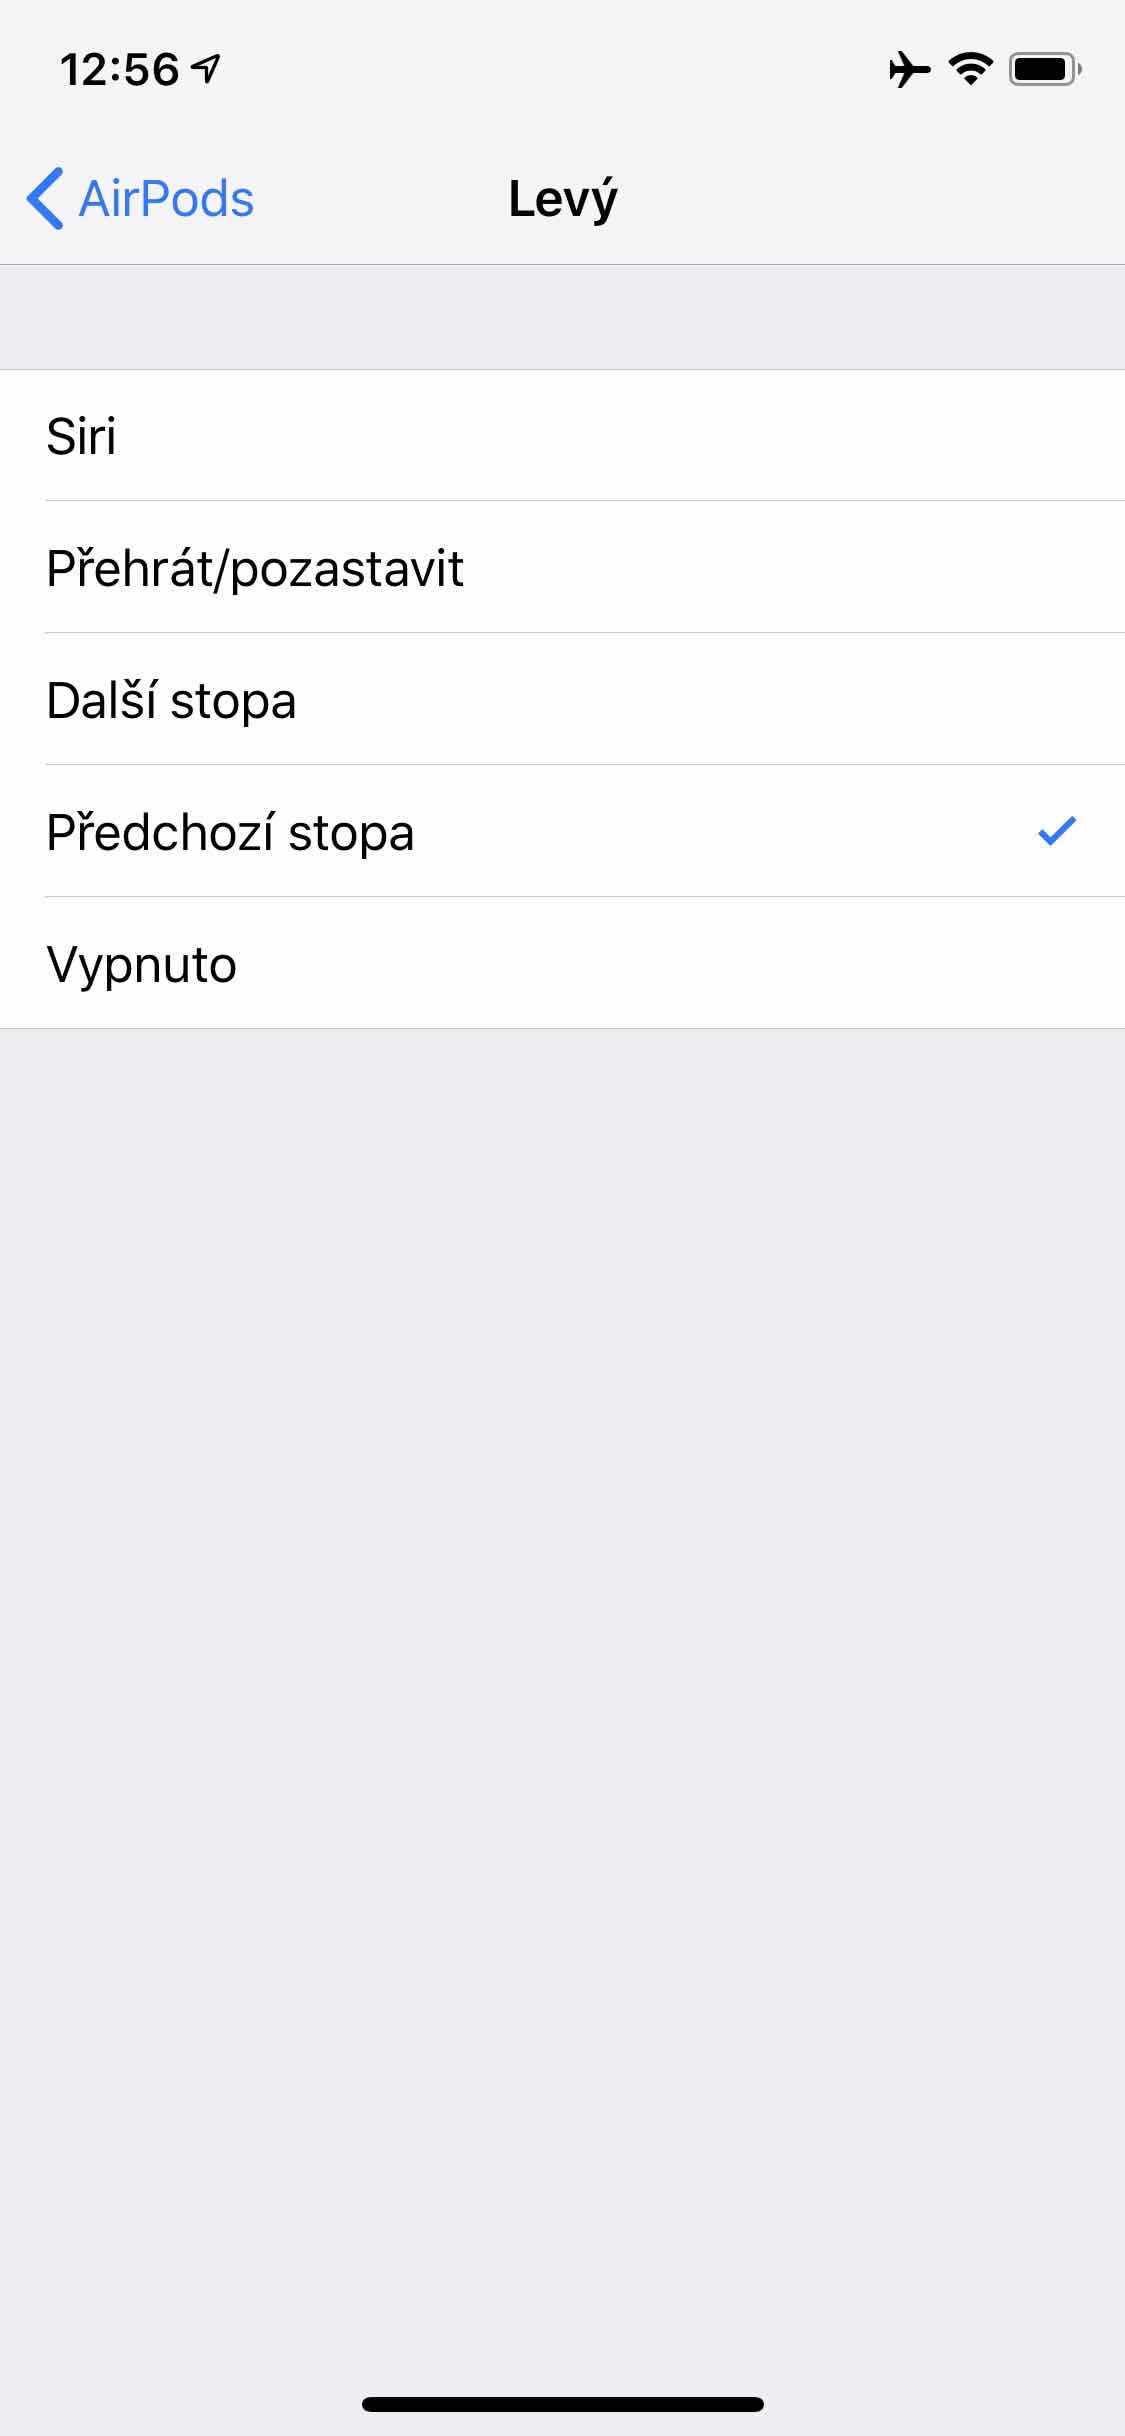
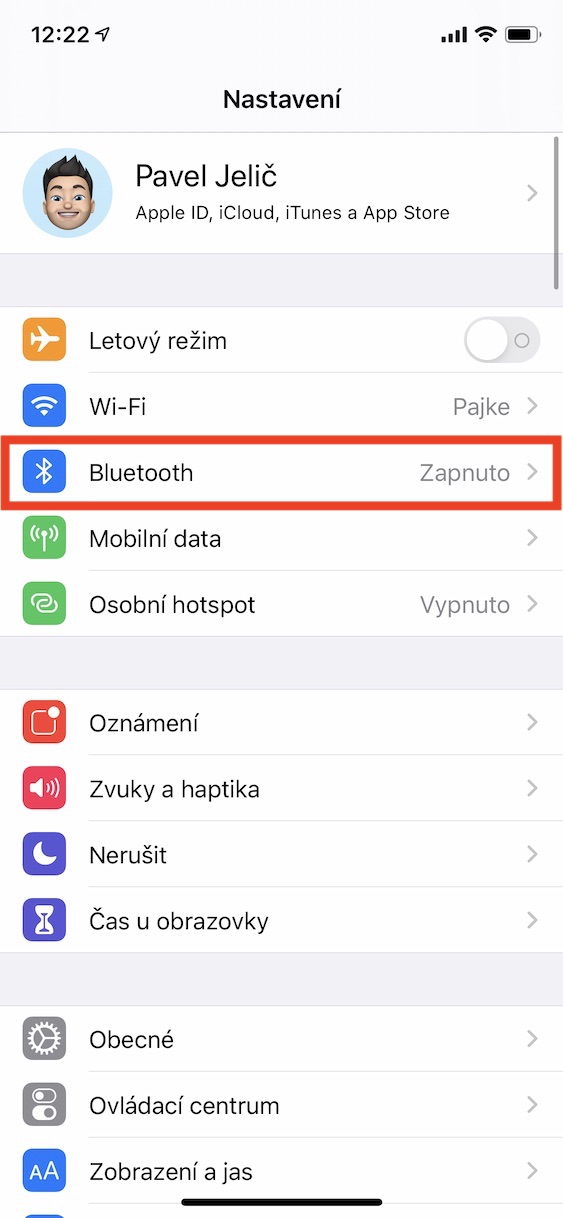
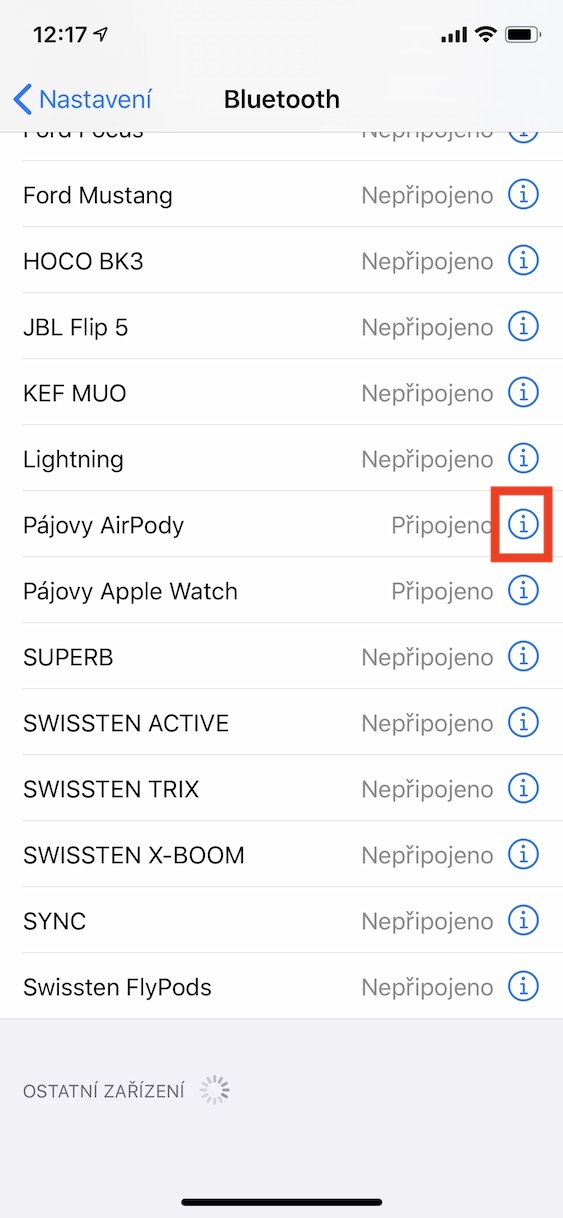
If you don't know how to control your headphones, don't worry. It is nothing complicated, on the contrary, it is very intuitive. If you own the classic AirPods with a stone construction, you just need to tap one of the earphones to trigger the action. By default, tapping pauses the music, but the same happens when you take one of the headphones out of your ear. That is also why it is suitable in Settings -> Bluetooth for AirPods after tapping on icon in the circle as well set what happens when you double tap a specific handset. You can find the available events here Play/Pause, Next Track, Previous Track a Siri. However, in addition to tapping on one of the headphones, you can also launch the Siri voice assistant using a command Hey Siri.
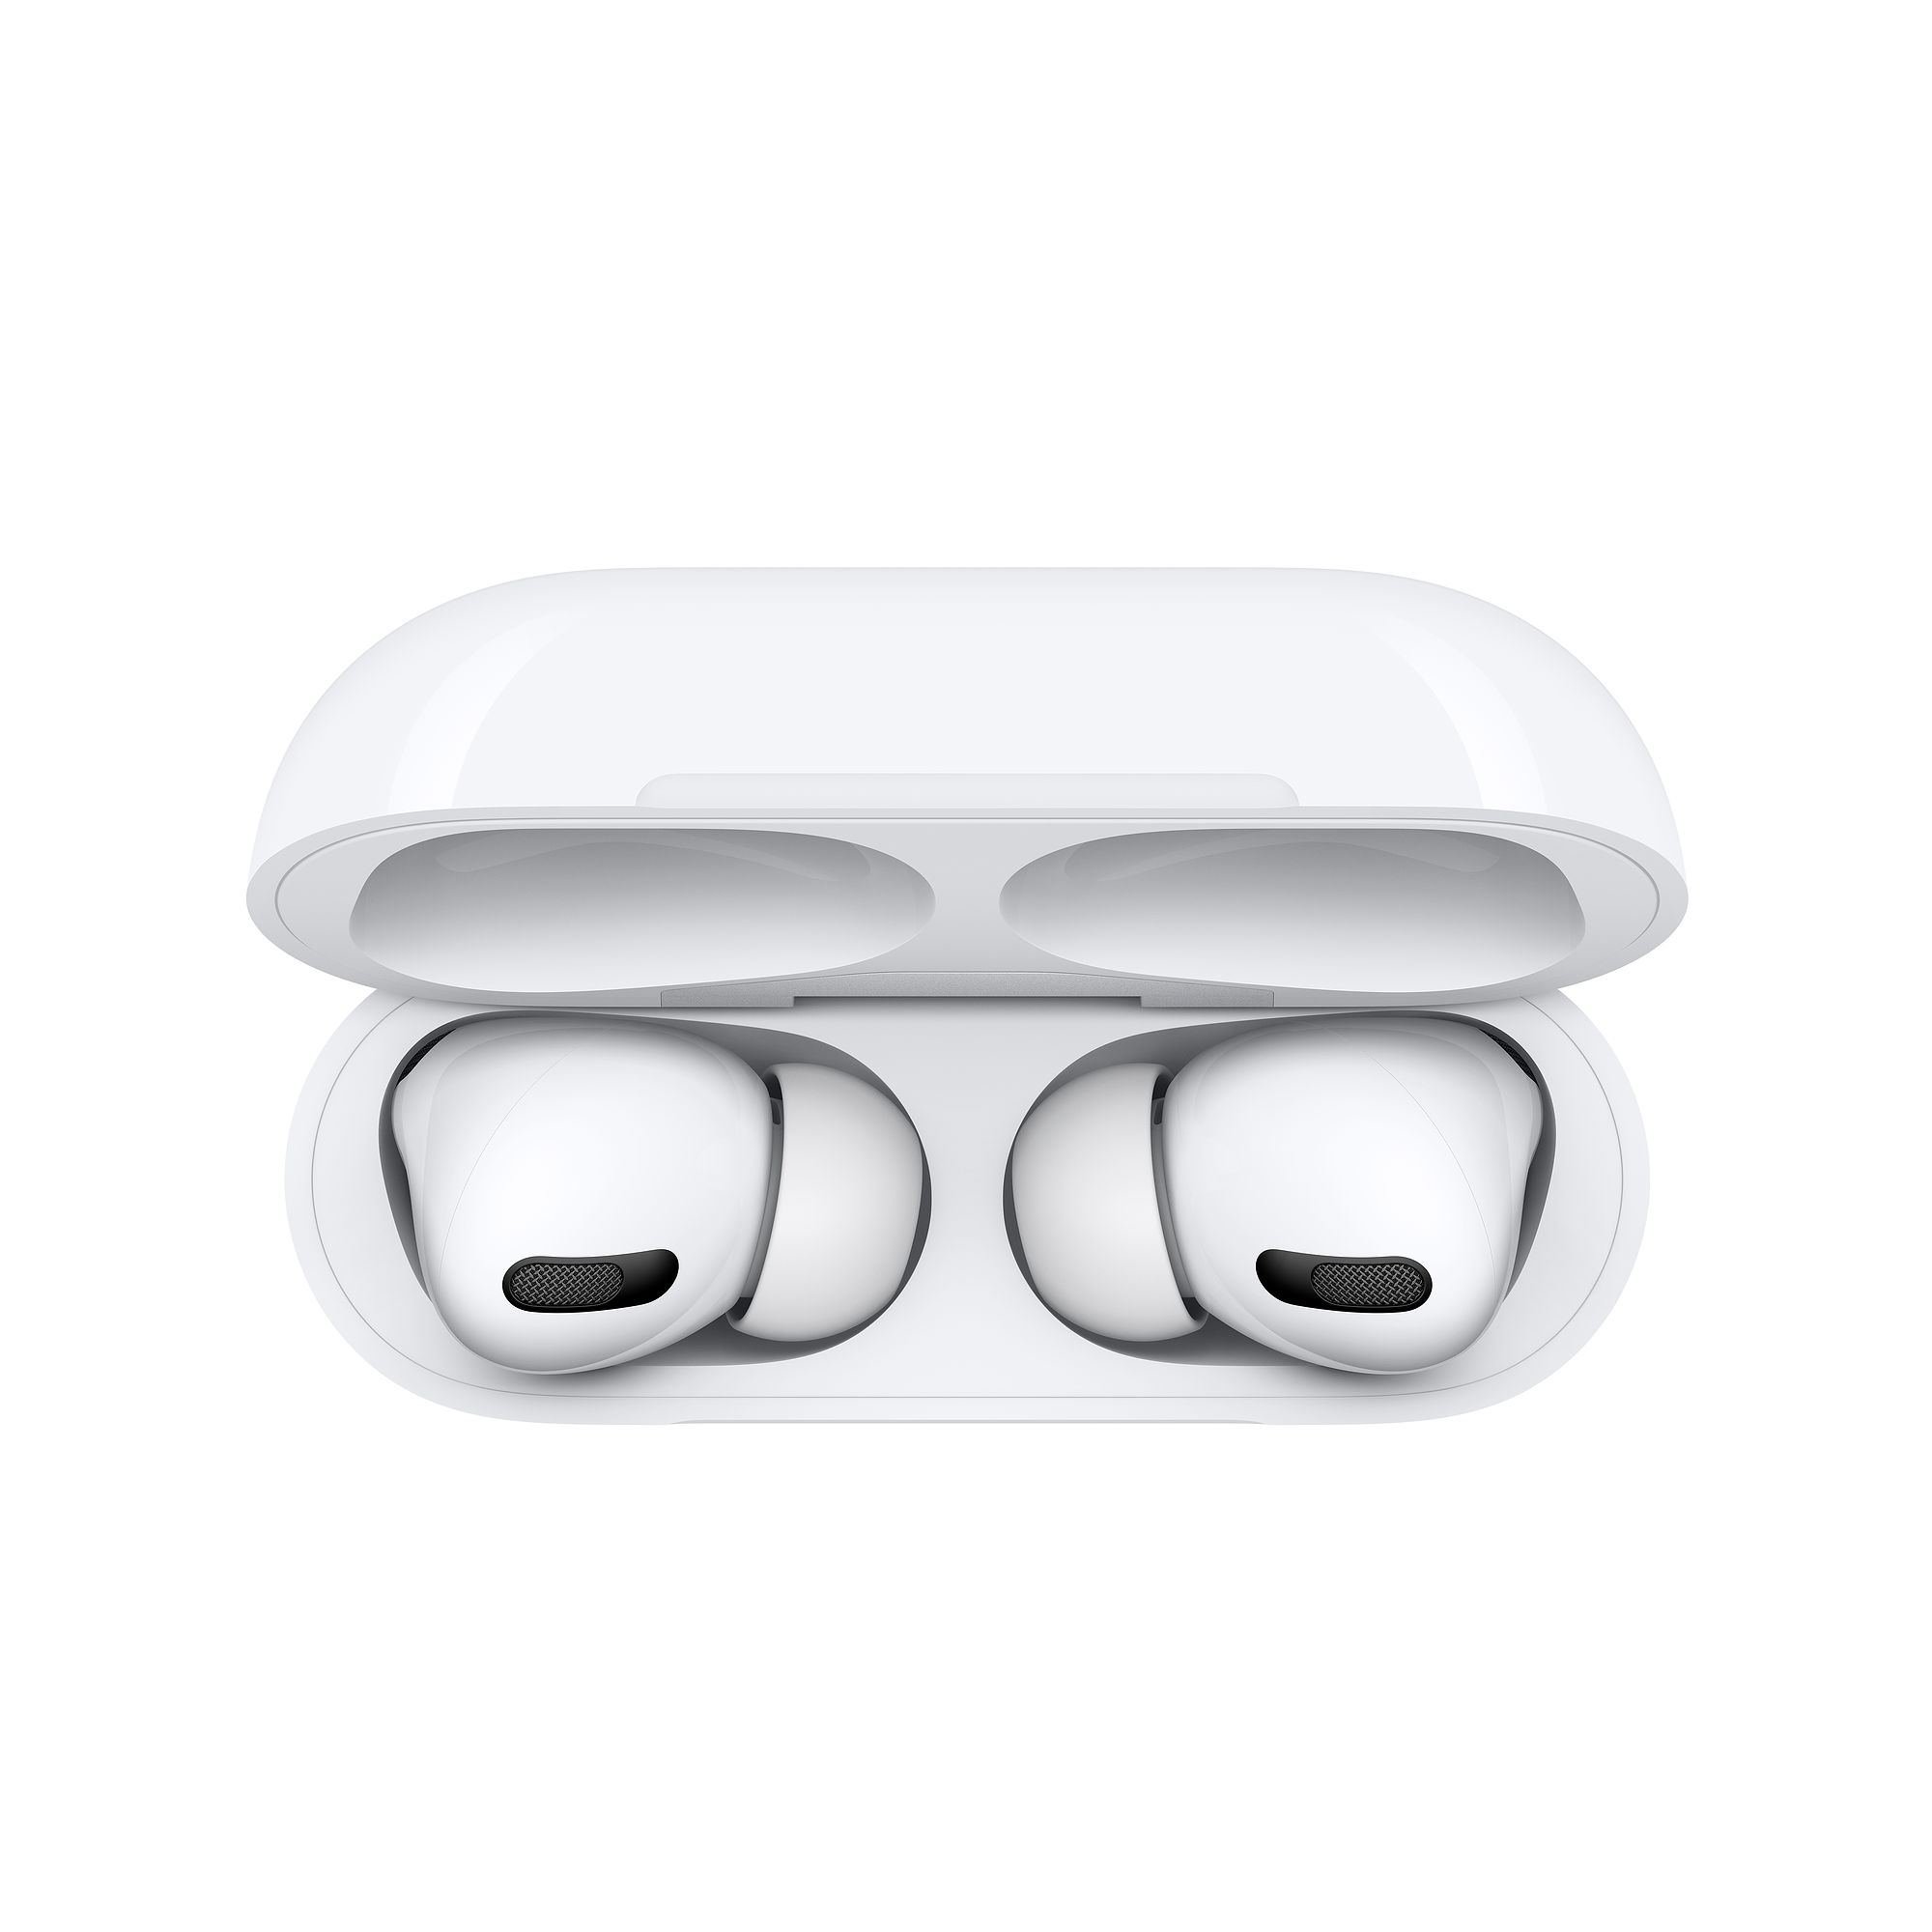
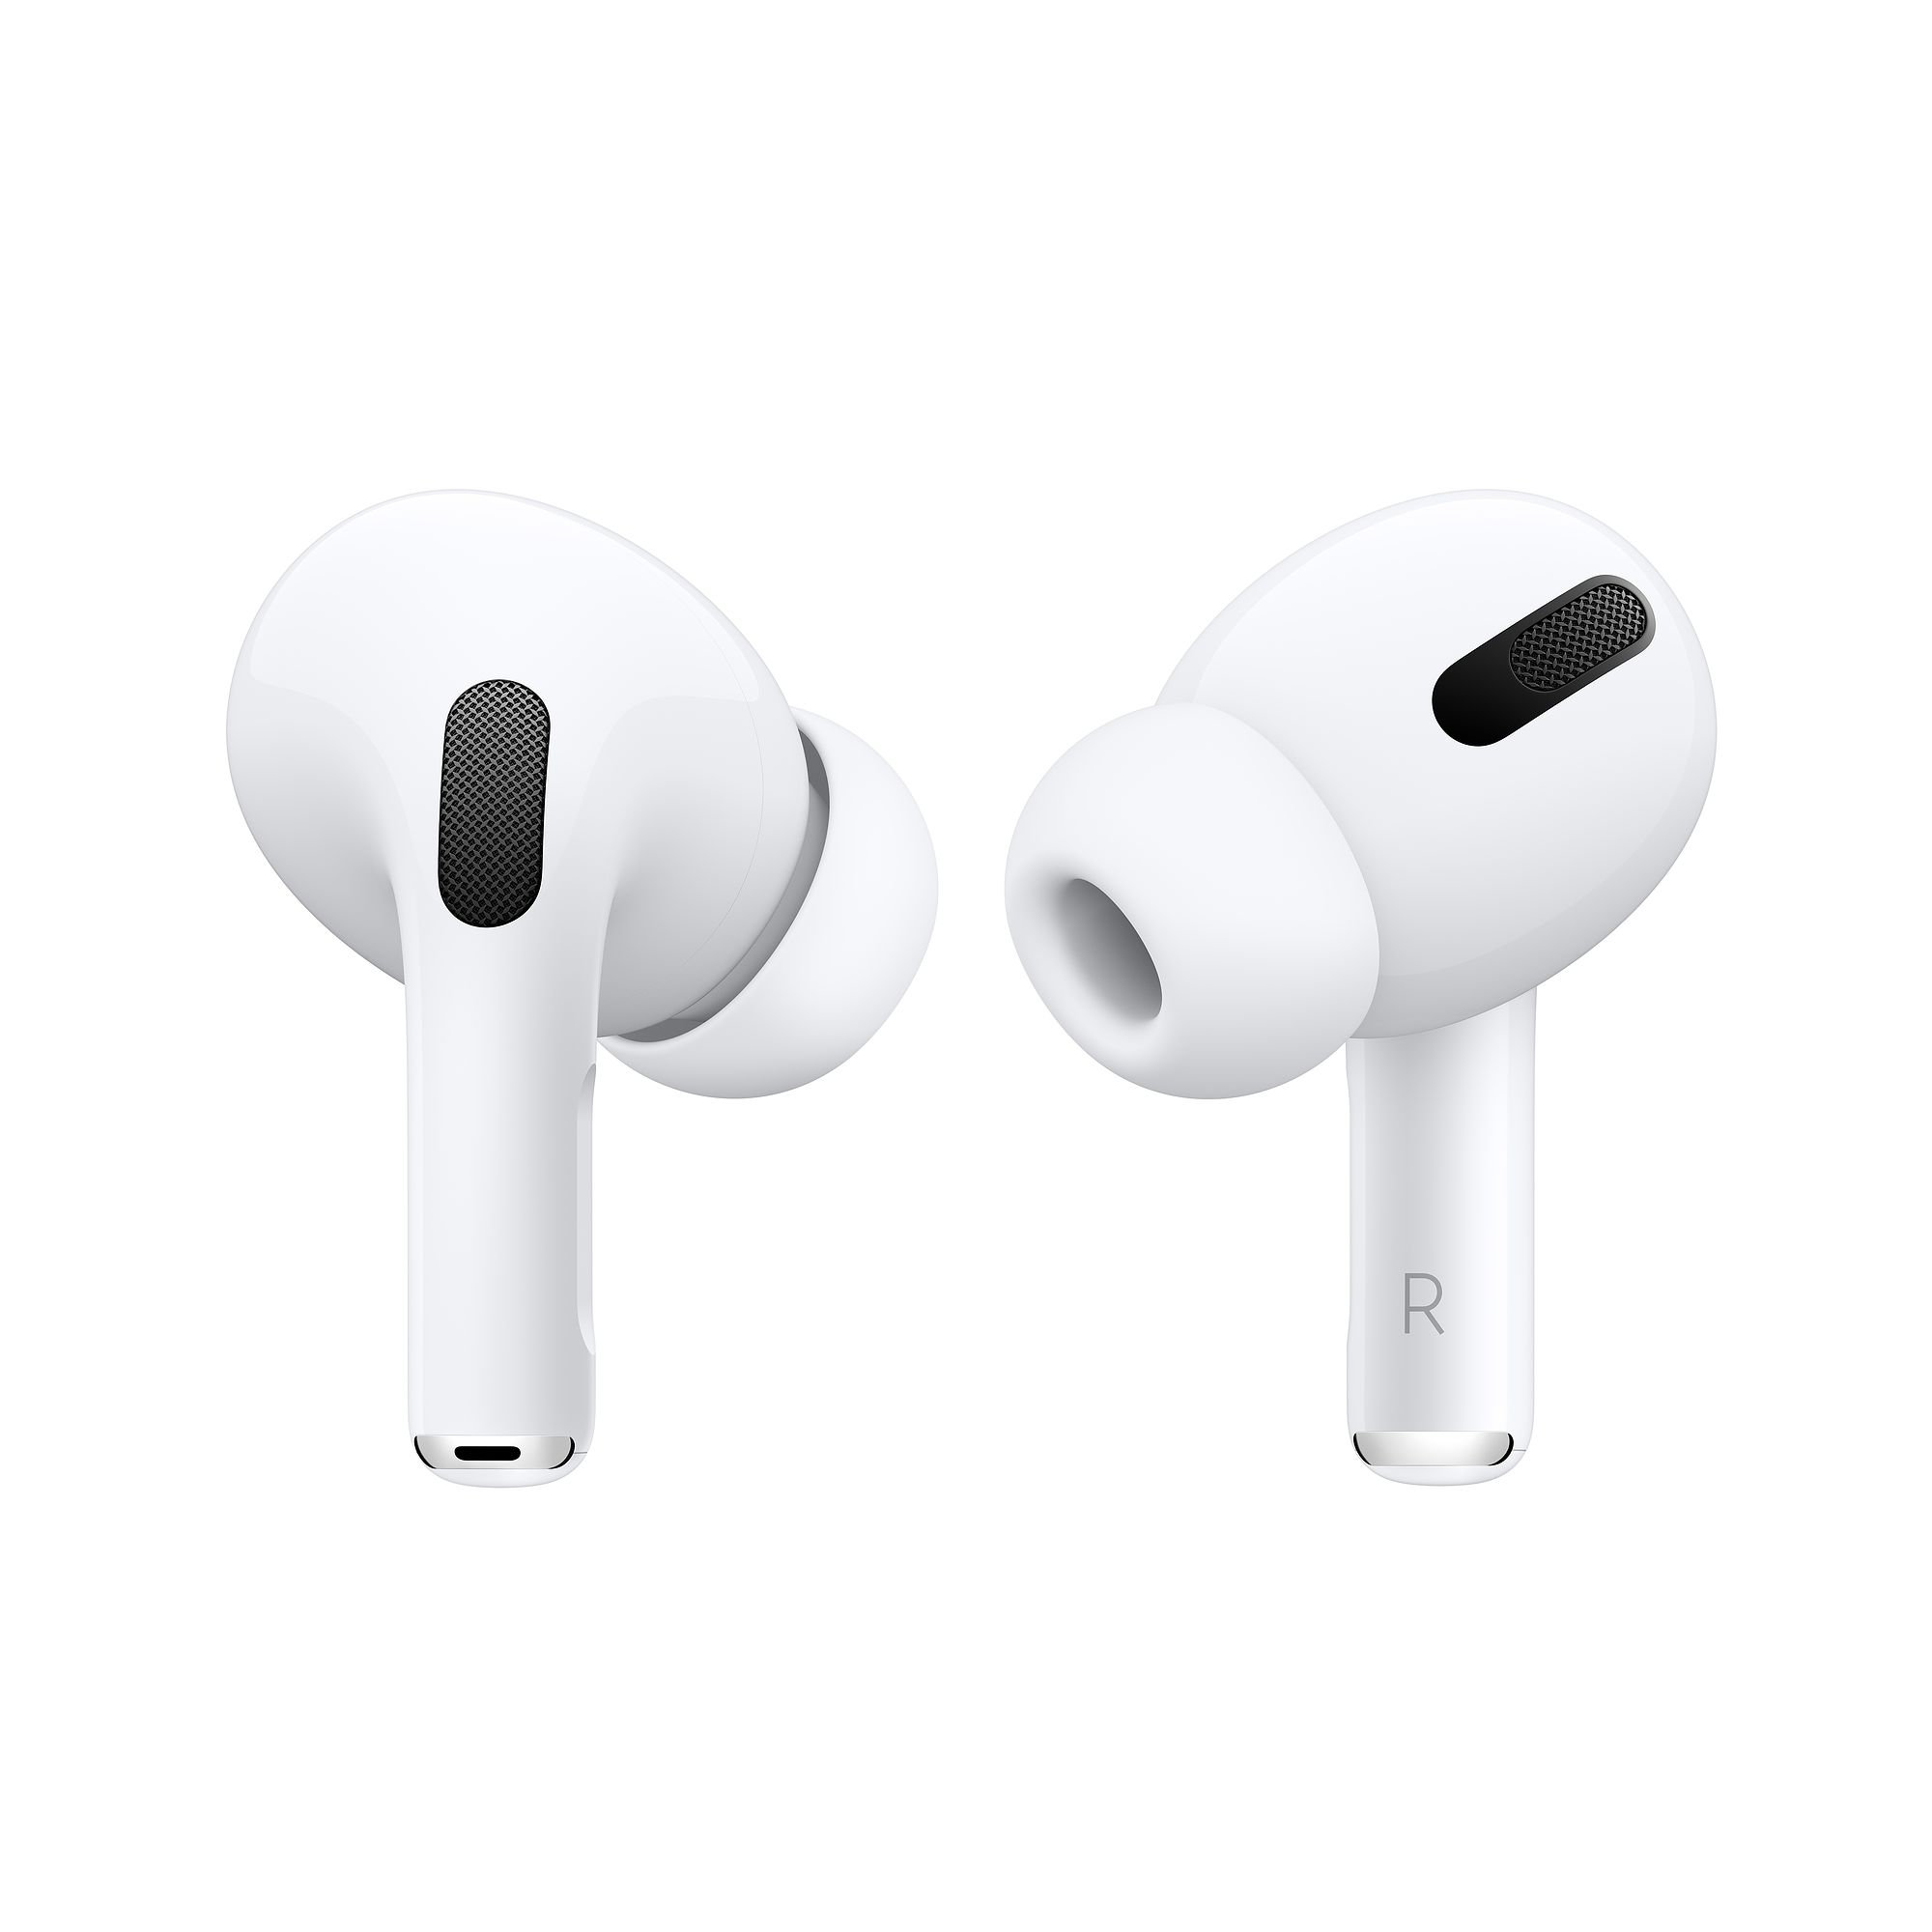
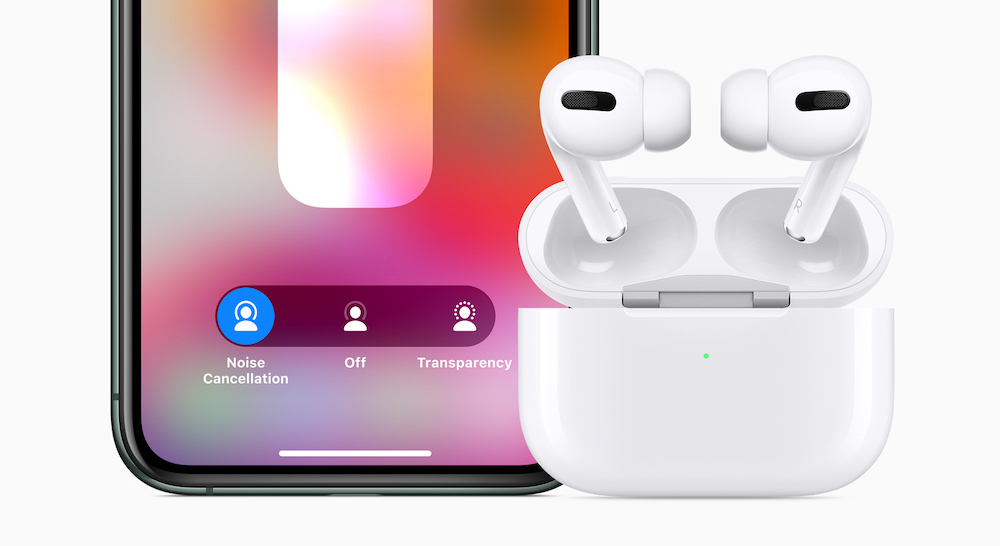
As for the AirPods Pro earphones, their control is also not complicated at all. You will find a pressure sensor below the foot, which you will receive a haptic response after pressing. Press it once to play or pause music, double and triple press to skip forward and back, then hold to switch between active noise cancellation, which literally cuts you off from your surroundings, and permeability mode, which instead sends sound to your ears through headphones.
It could be interest you
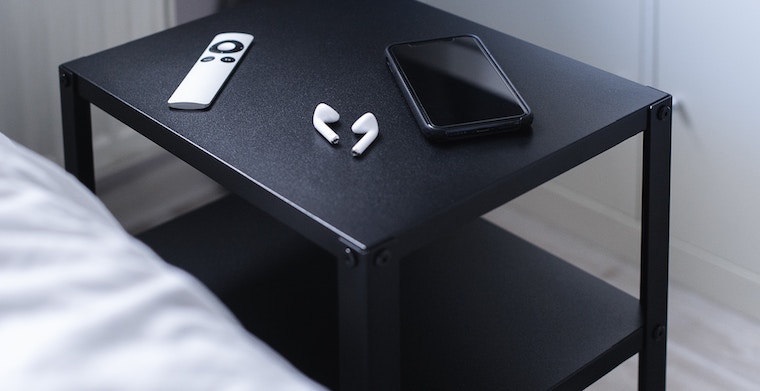
Once you discover the features, you won't want to take the AirPods out of your ears
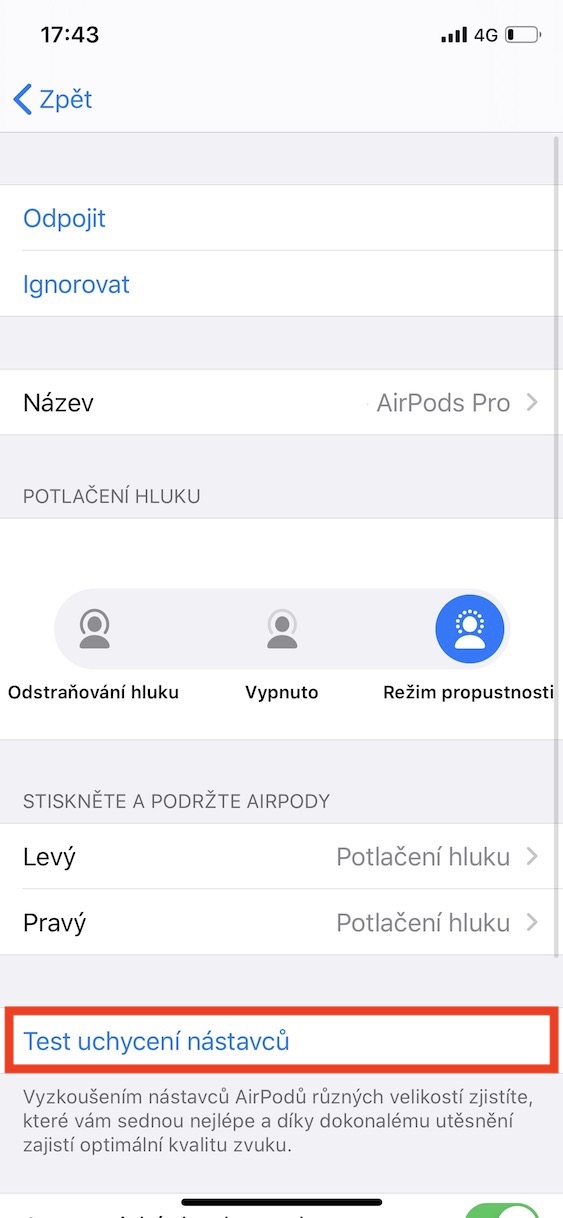
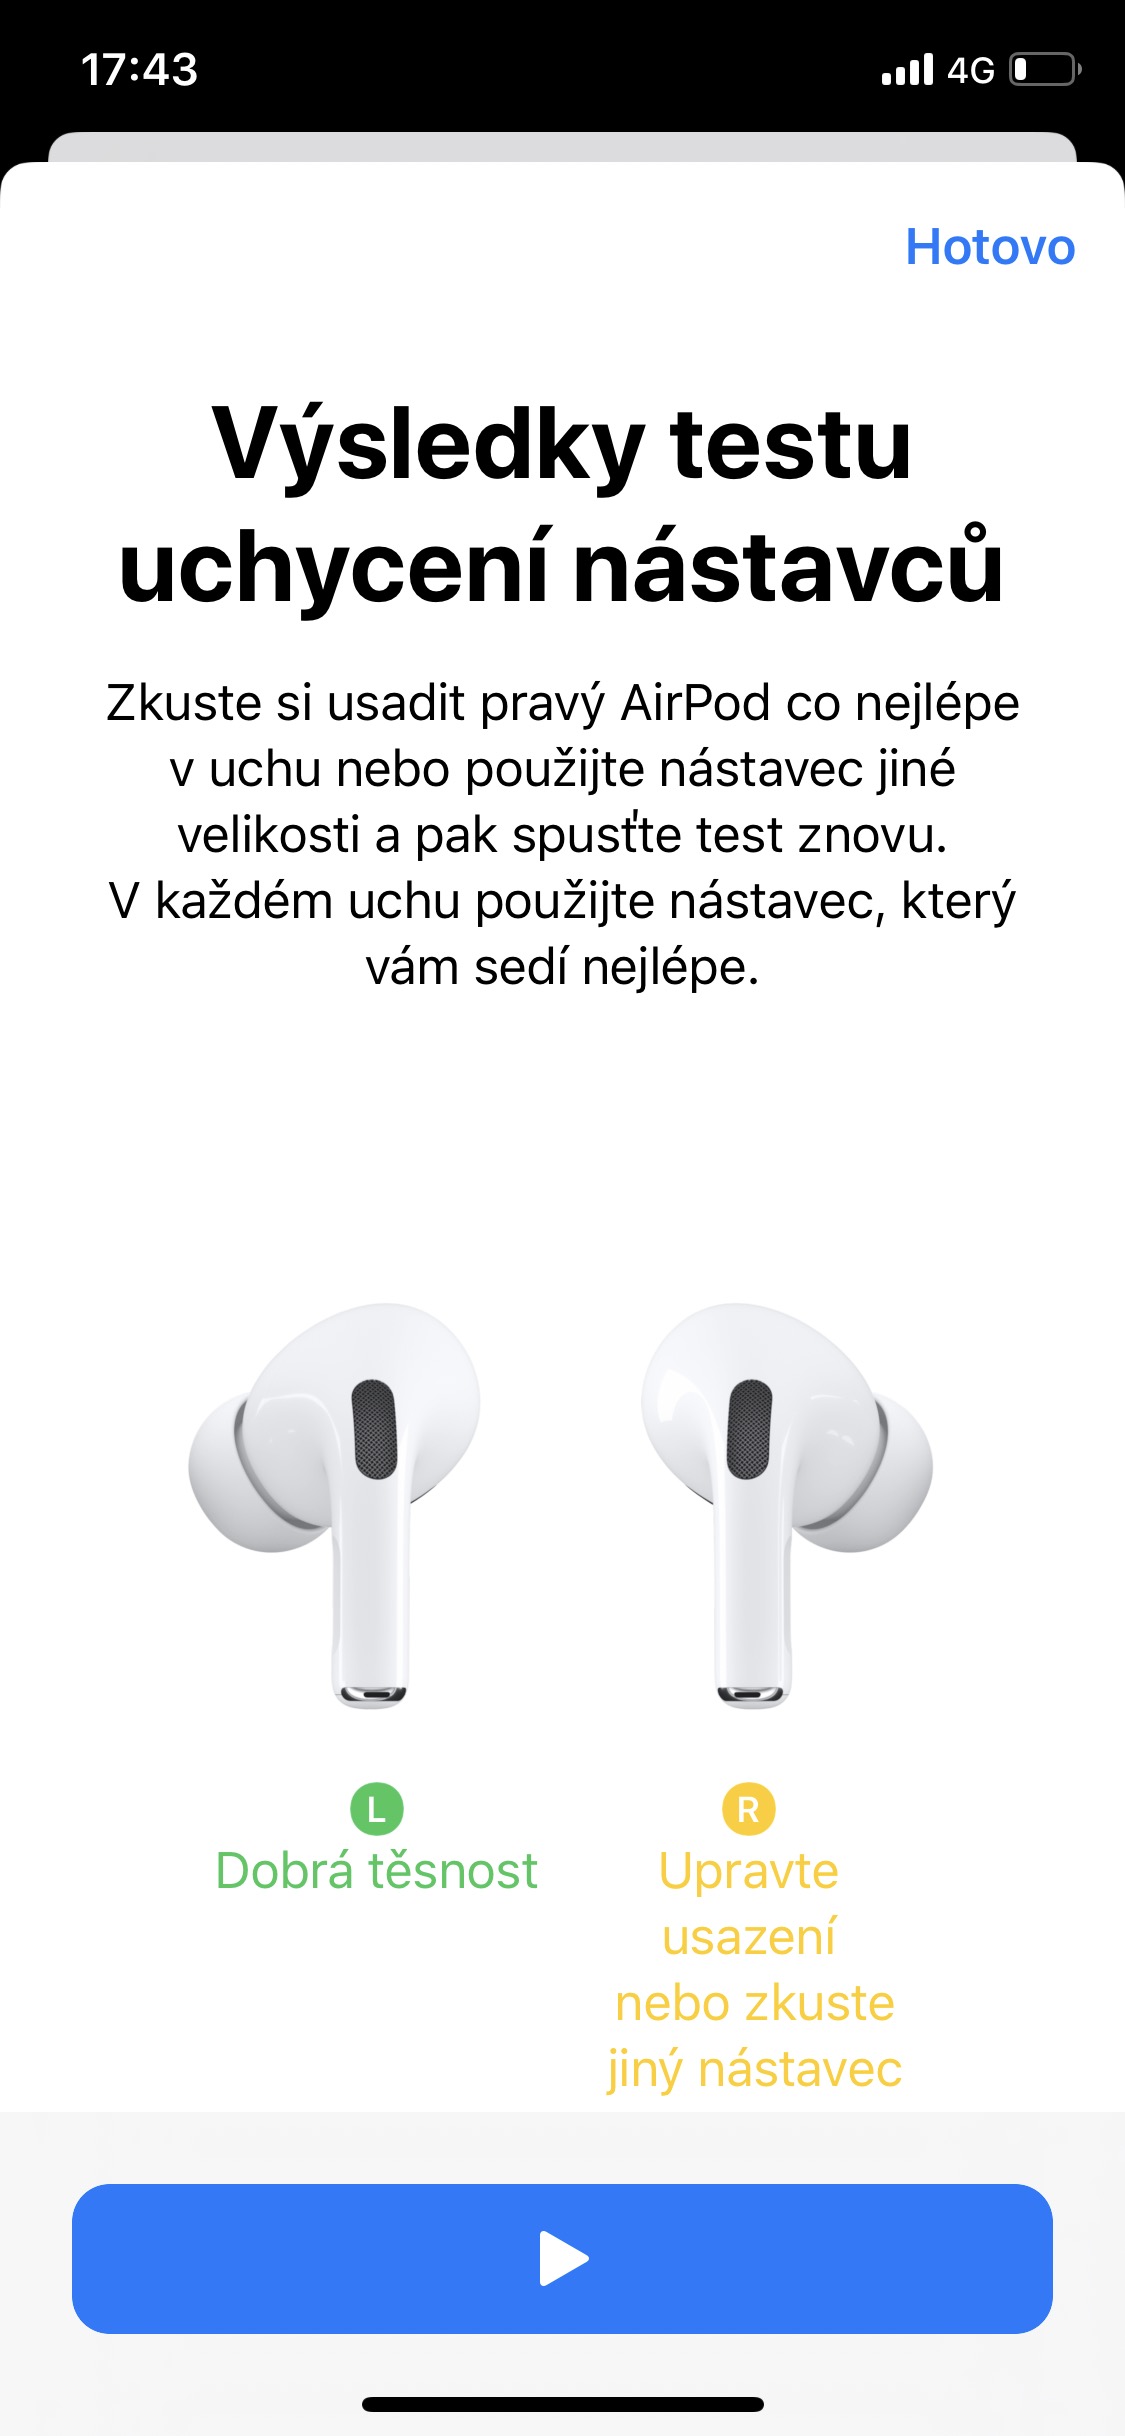
As I mentioned above, the AirPods Pro offer active noise cancellation and a pass-through mode. You can switch between these modes directly on the headphones, in the control center or in the AirPods Pro settings. If the AirPods Pro don't fit well in your ears, or if you feel like the noise canceling isn't working as it should, for example, you can do a test of the earbuds. You do this by moving to the iPhone or iPad with connected AirPods inserted in your ears Settings -> Bluetooth, for AirPods, tap icon and in a circle, and finally you choose Attachment test of attachments. After selecting the button Continue a Overheat you will find out if you should adjust the headphones in your ears.
As for the features that both AirPods and AirPods Pro have, of course there are many of them. One of the most interesting is automatic switching. The way it works is that if you're working on your iPad or Mac and someone calls you on your iPhone, the headset will connect to the phone and you can talk undisturbed. You can also disable ear detection to ensure the music doesn't pause when removed. These and many other features can be found on iPhone and iPad in Settings -> Bluetooth after tapping on icon in the circle as well for AirPods, open on Mac Apple icon -> System Preferences -> Bluetooth and on headphones, tap opportunity to choose. However, it should be noted that during setup, the AirPods must be connected to the device and inserted in the ears.
It could be interest you

Charging
The last thing we will cover in today's article is charging the headphones themselves. AirPods can play music for up to 5 hours, and you can talk on the phone for up to 3 hours. AirPods Pro last up to 4,5 hours with active noise cancellation on, or up to 3 hours of listening. In the charging case, AirPods are charged in 15 minutes for 3 hours of listening, AirPods Pro in 5 minutes for 1 hour of listening. Both earphones can play for up to 24 hours in combination with the case.
 Flying around the world with Apple