Apple is constantly trying to make the security and privacy protection of apple users in its operating systems one of the first rungs of the priority list. Virtually every major update comes with some new features that make users feel even more secure. macOS Ventura is no exception in this case, where we have seen the addition of several new features from the privacy and security sector. So let's take a look at 5 of them together in this article.
It could be interest you
Block mode
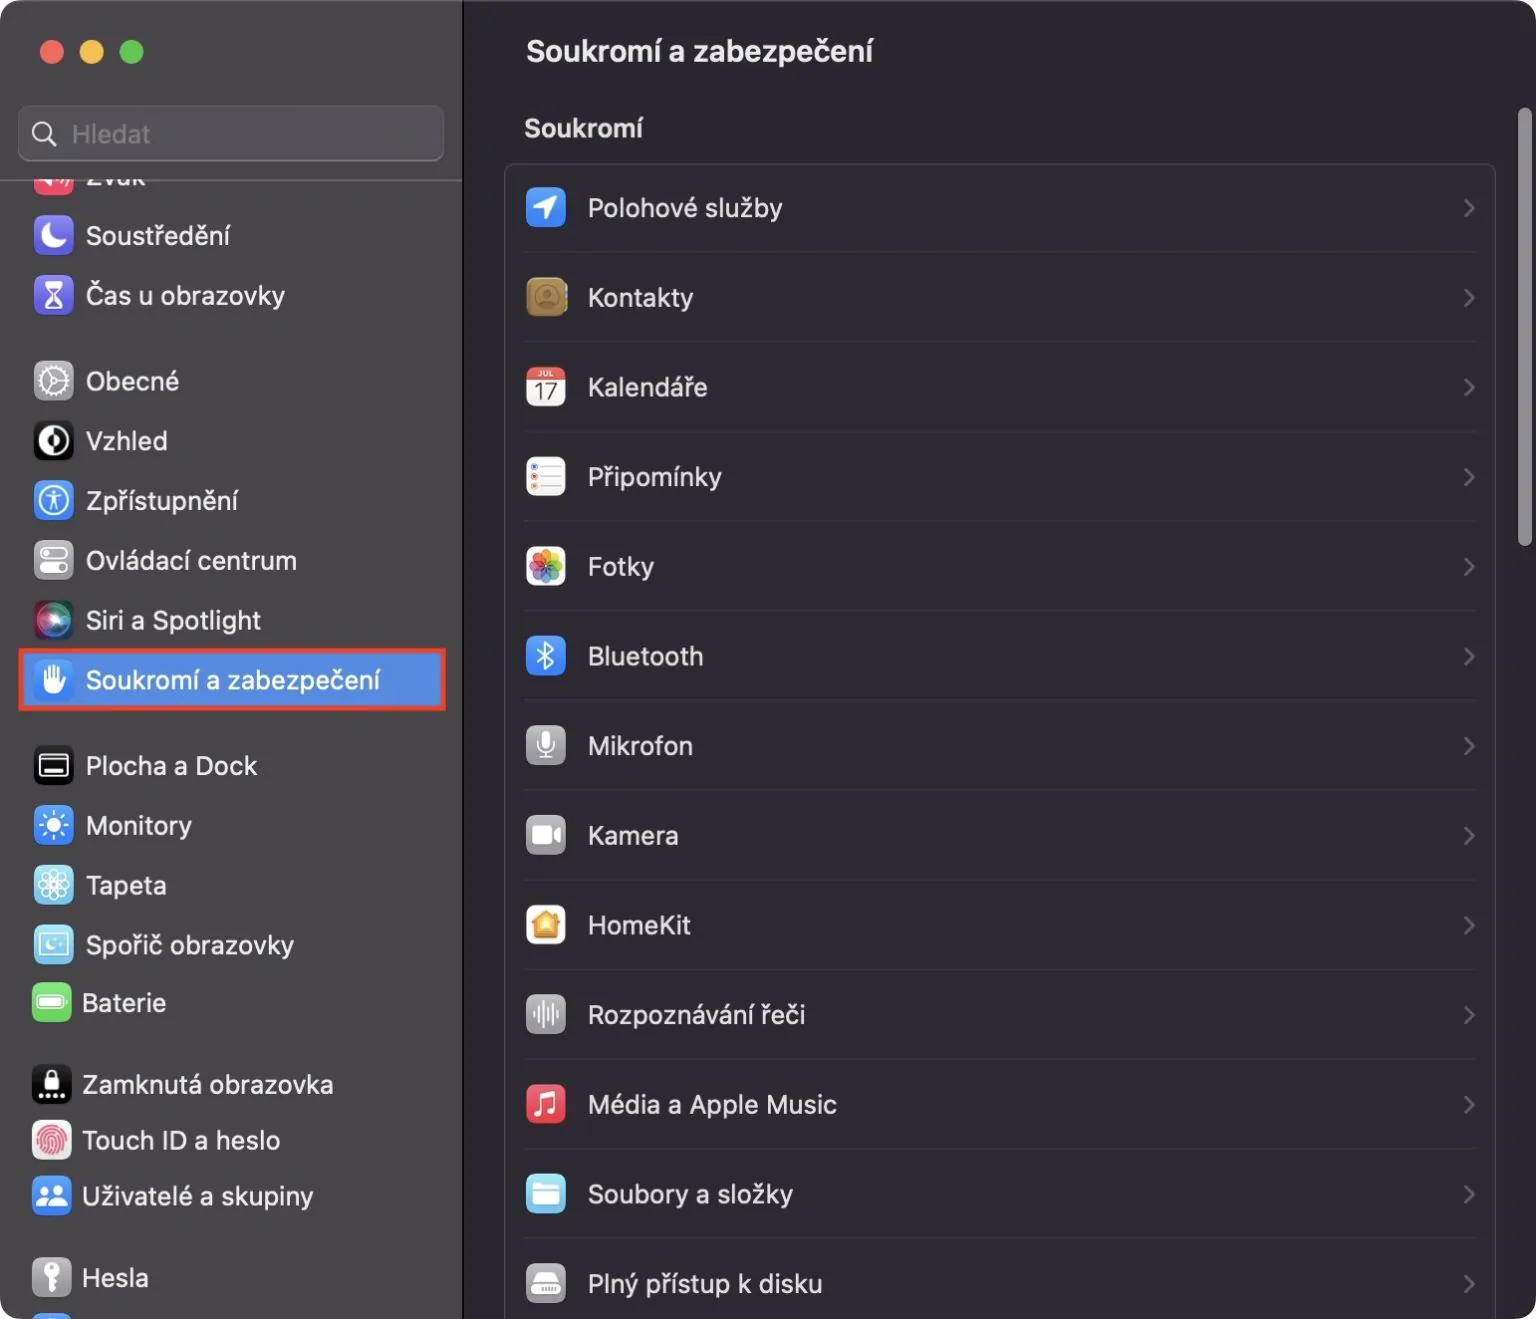
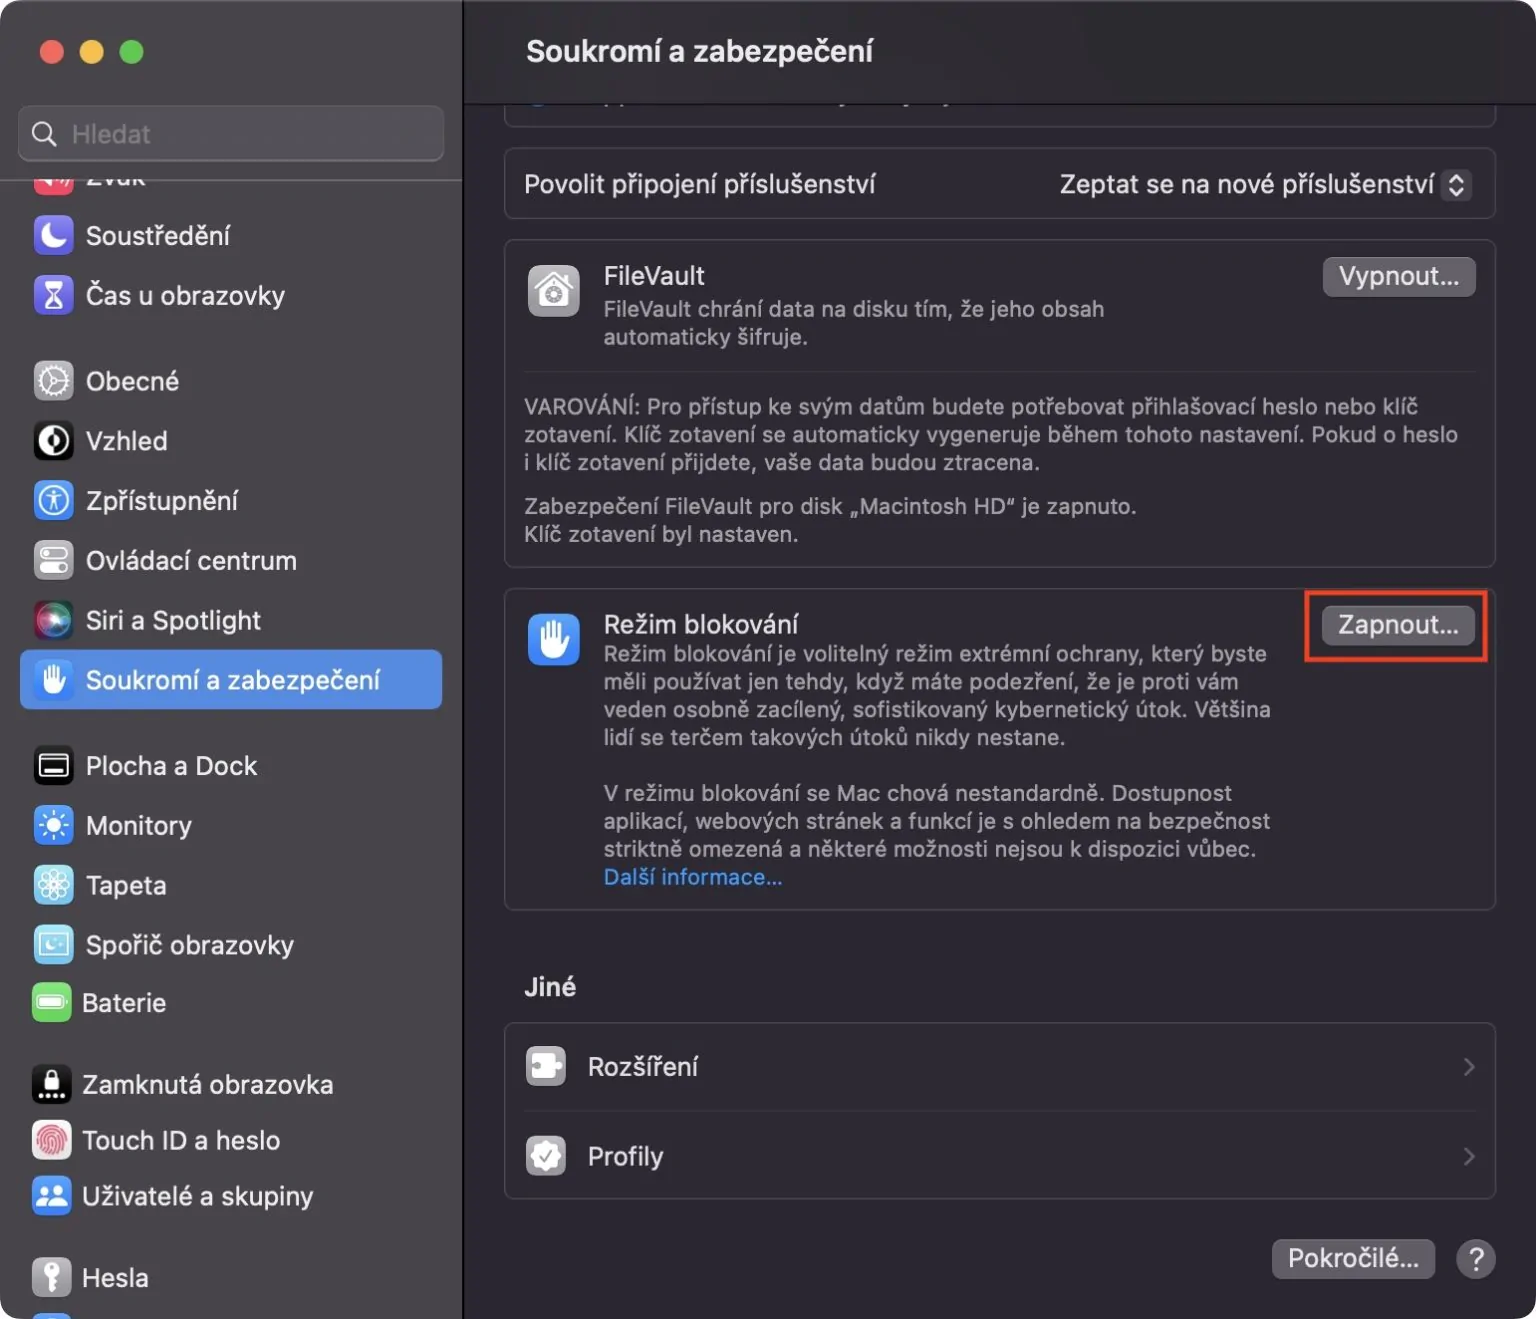
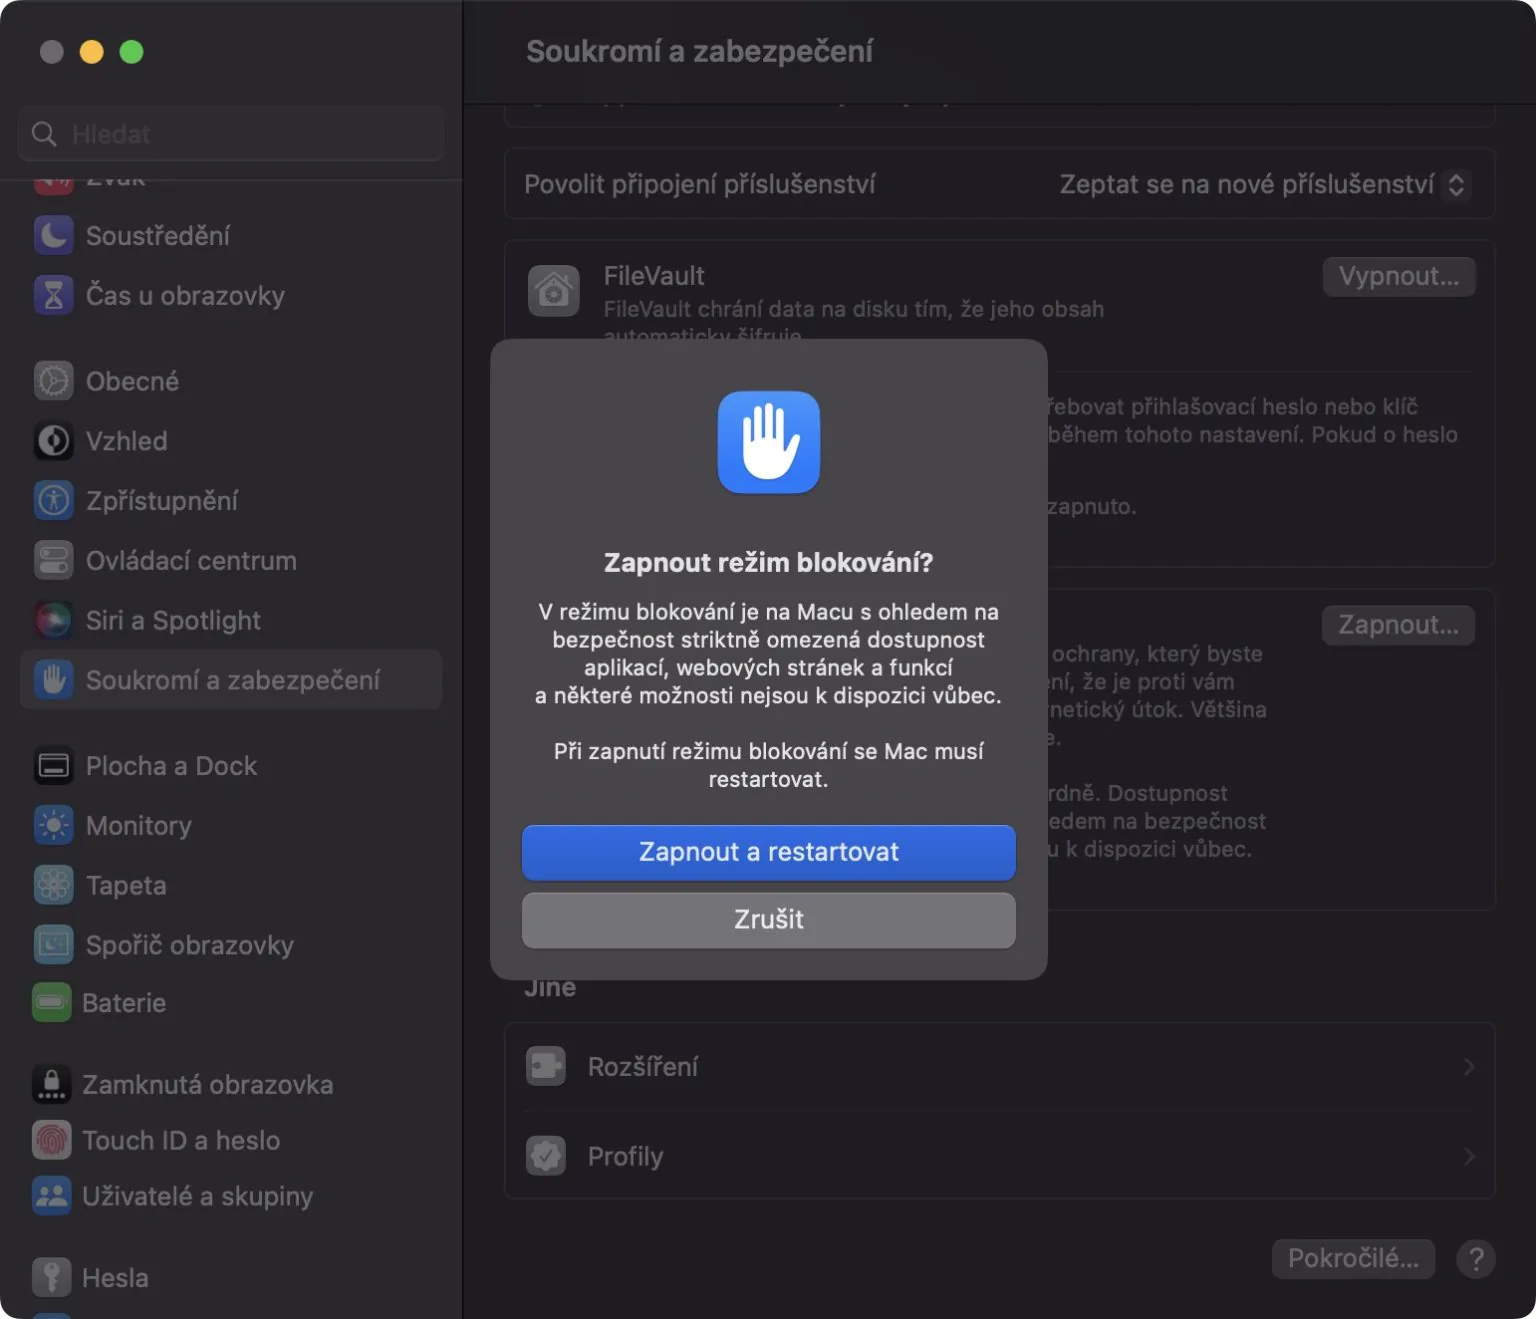
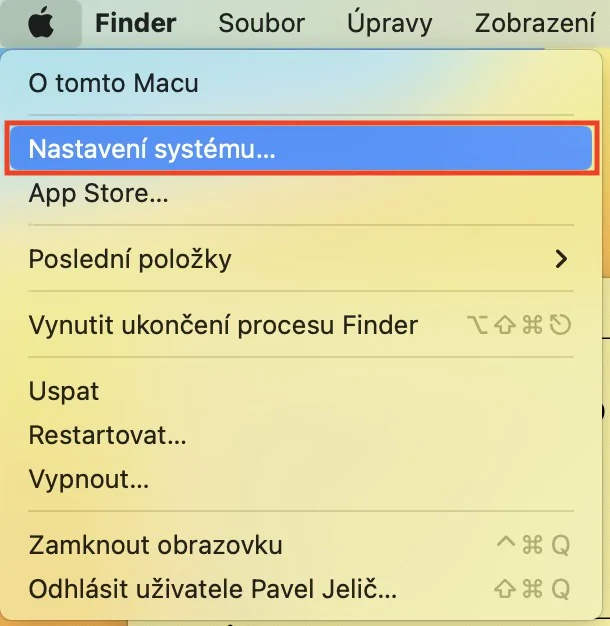
One of the main innovations in terms of privacy and security not only in macOS Ventura, but also in other operating systems from Apple, is definitely the Blocking Mode. This mode can prevent various hacker attacks, government snooping and other nefarious practices that are used to obtain user data. But it's not just like that - Blocking mode, once activated in order to protect the user, deactivates most of the functions that can be used on the Mac. Therefore, this mode is intended only for users who are at real risk of being attacked and assaulted, i.e. politicians, journalists, celebrities, etc. If you would like to activate, go to → System Settings → Security and Privacy, where to get off below and u Block mode click on Turn on…
Protection of USB-C accessories
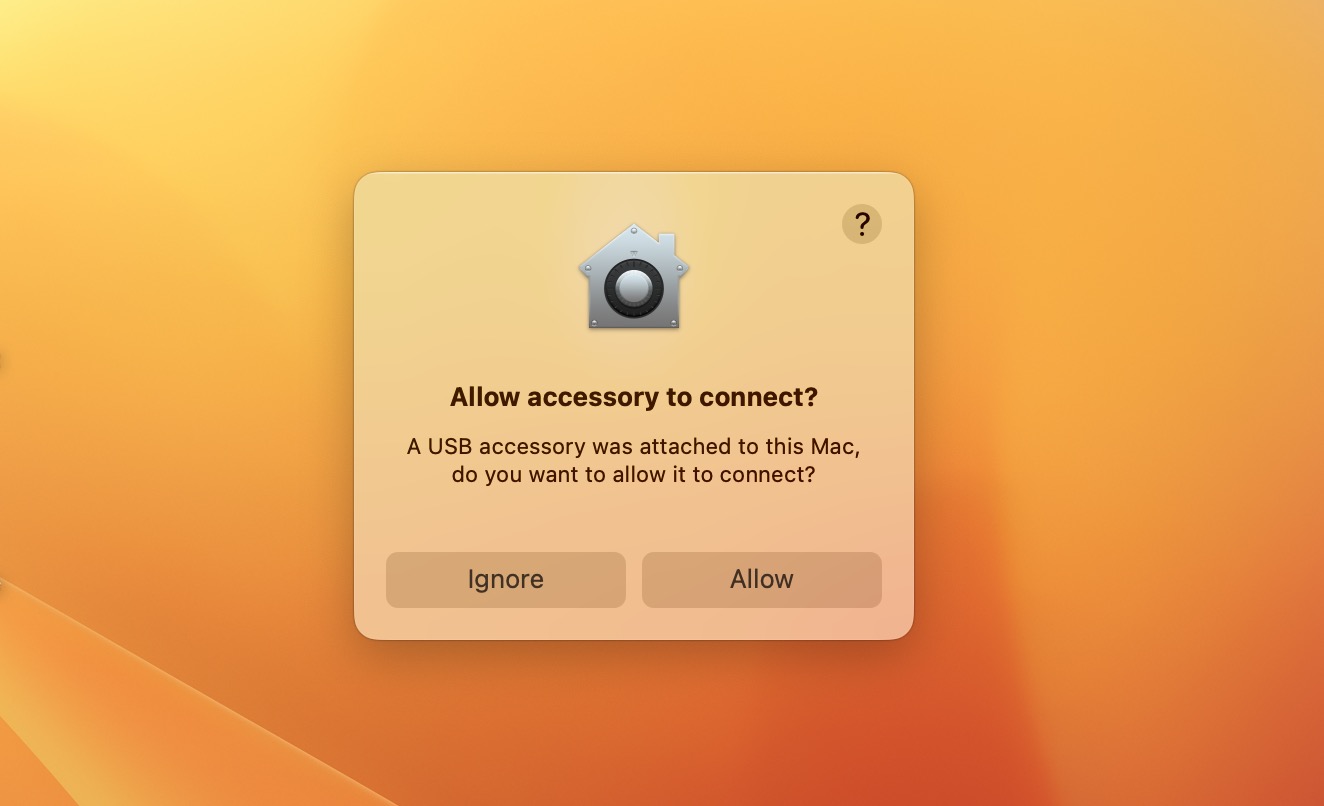
If you decide to connect any accessories to your Mac or computer via the USB connector, there is nothing stopping you from doing so. On the one hand, this is nice, but on the other hand, this creates a security risk, mainly due to various modified flash drives, etc. Apple therefore came up with a new security function in macOS Ventura that prevents the free connection of USB-C accessories. If you connect such an accessory for the first time, the system will first ask you for permission. Only once you grant permission will the accessory actually connect, so there's no need to worry about any threats until then. To reset this feature, just go to → System Settings → Privacy & Security, where scroll down to the section below Allow accessories to be connected.
Automatic installation of security updates
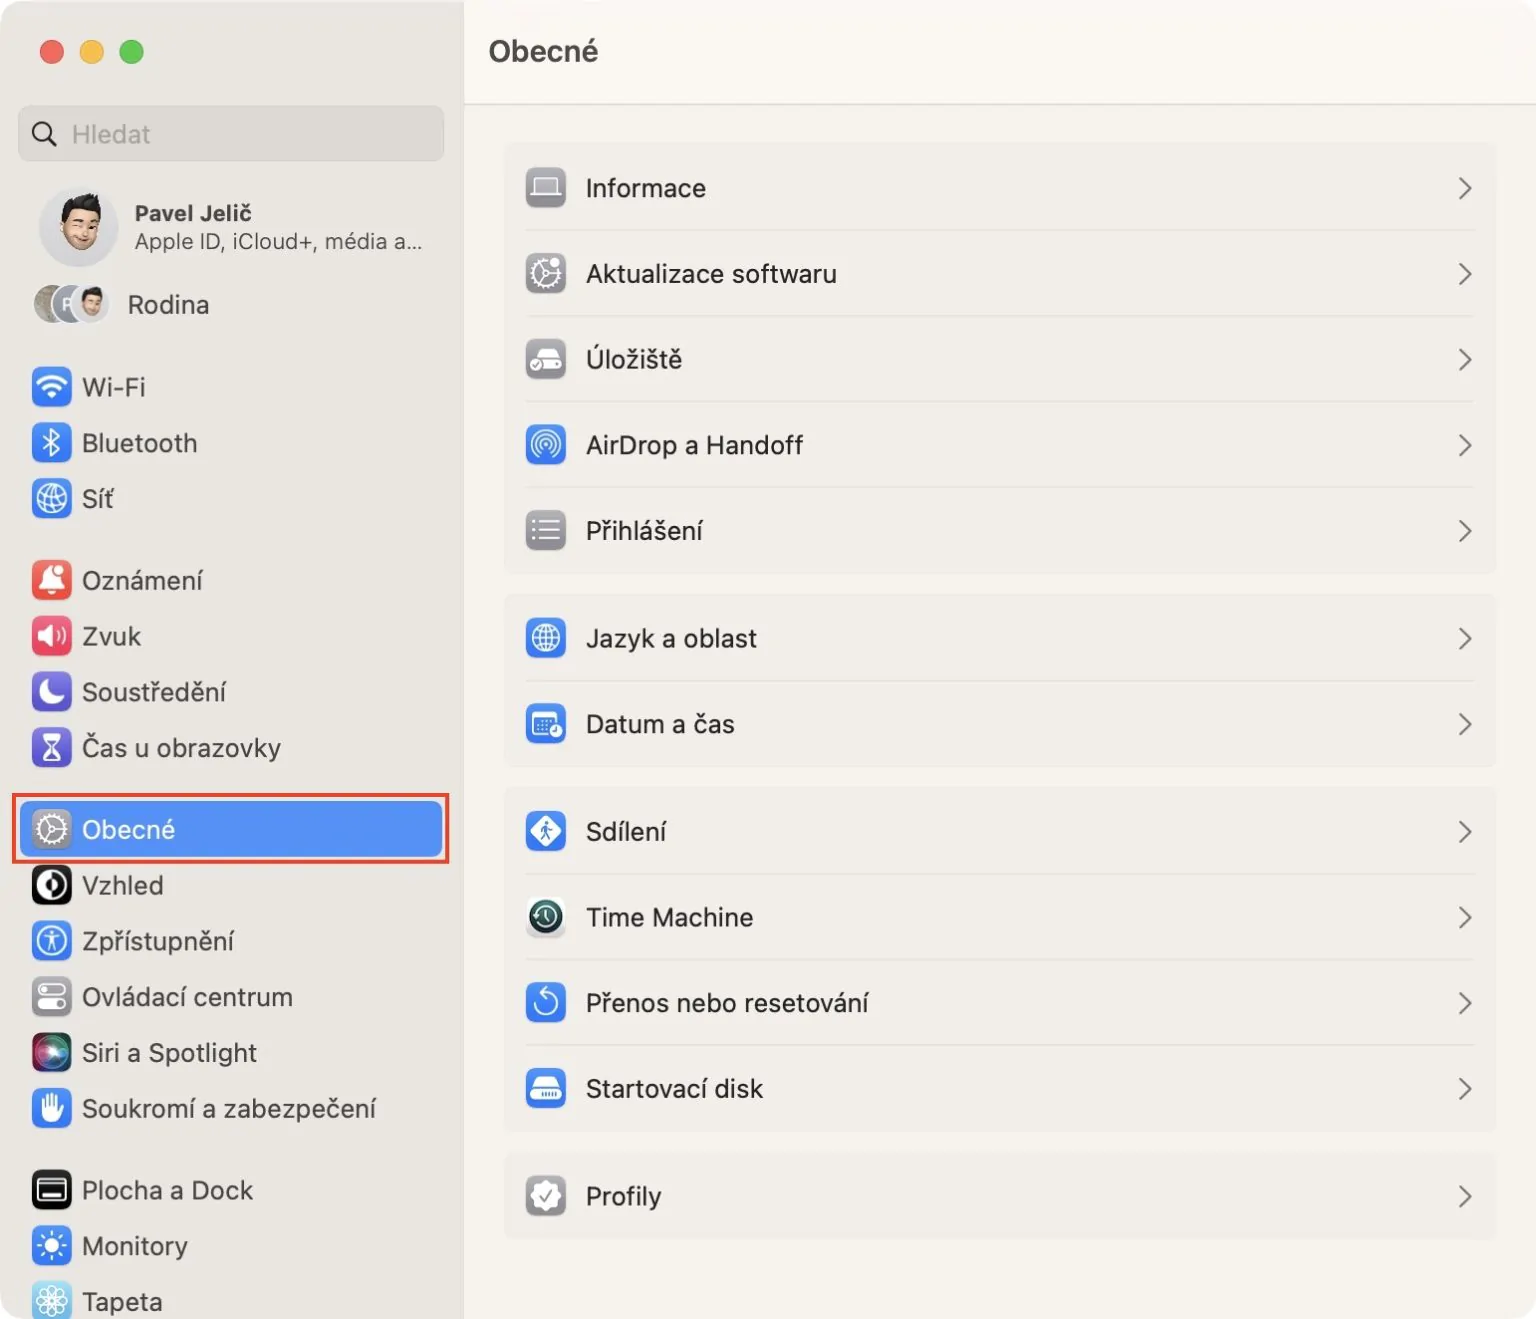
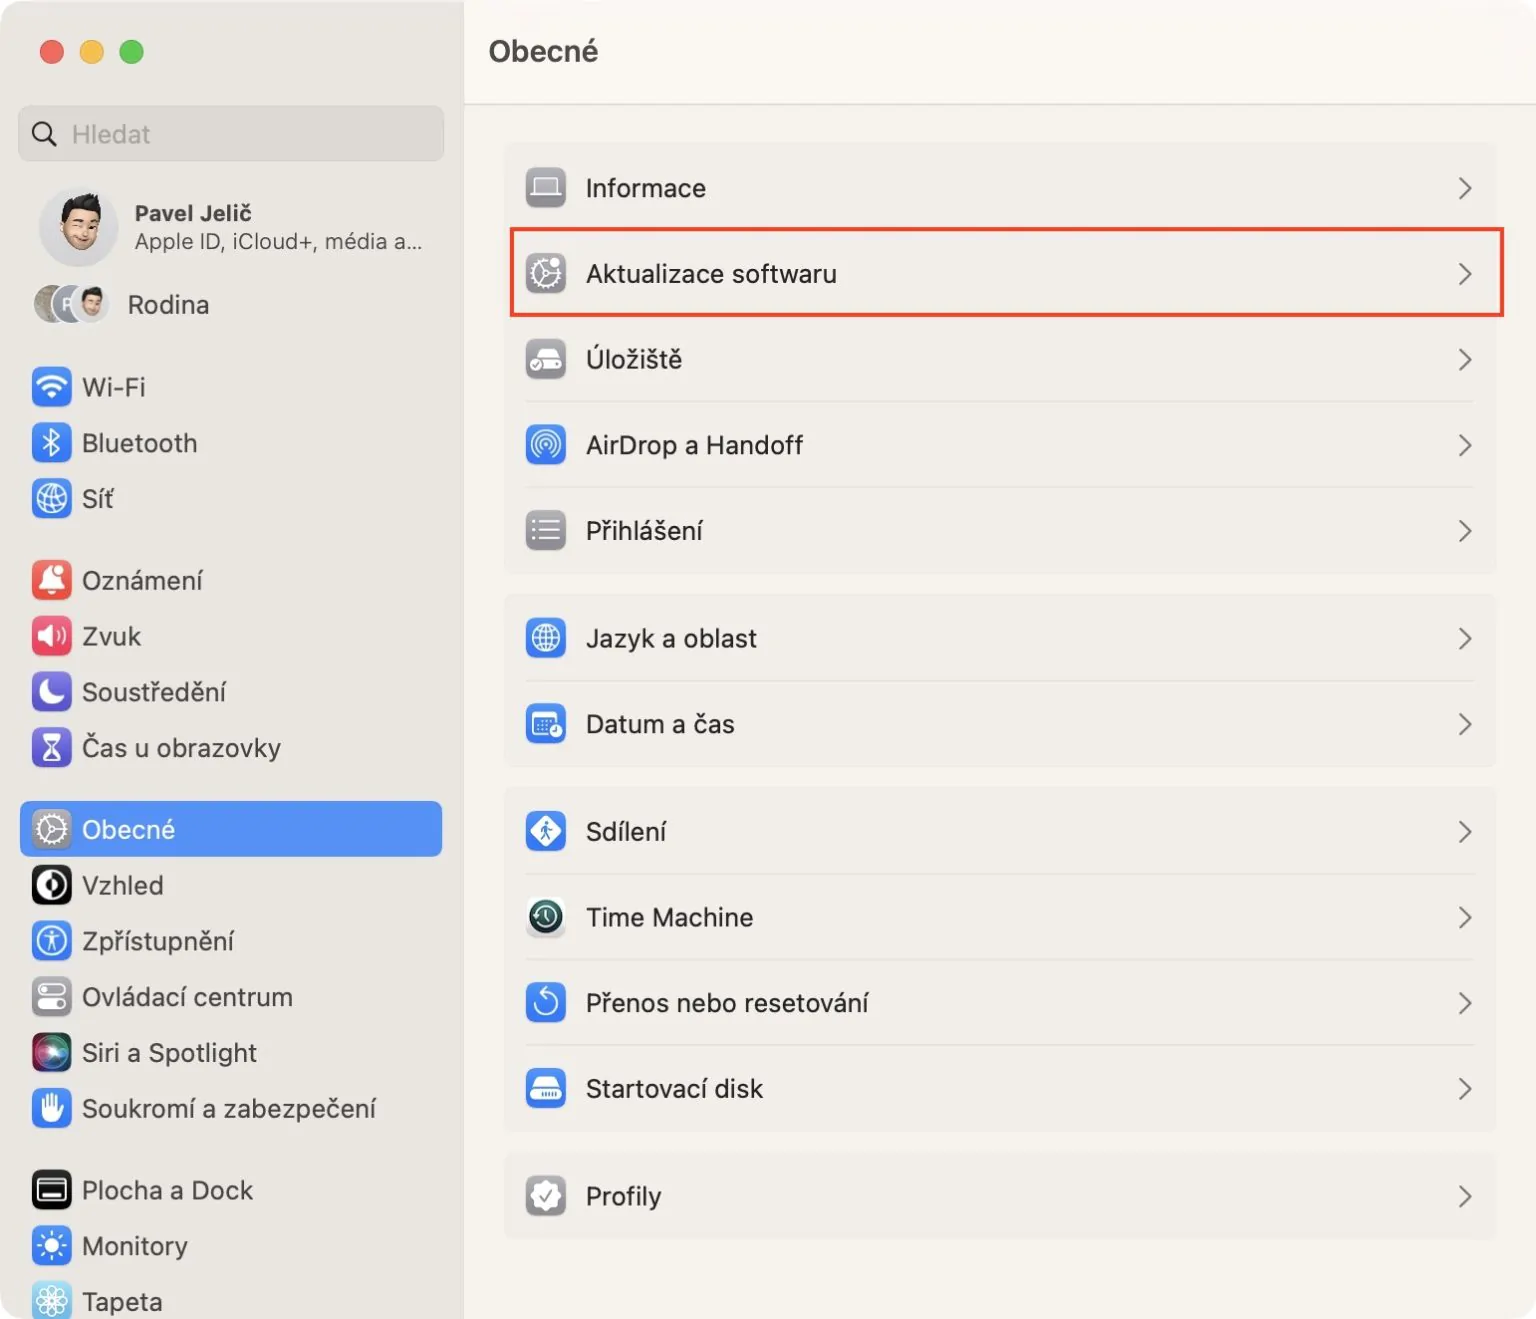
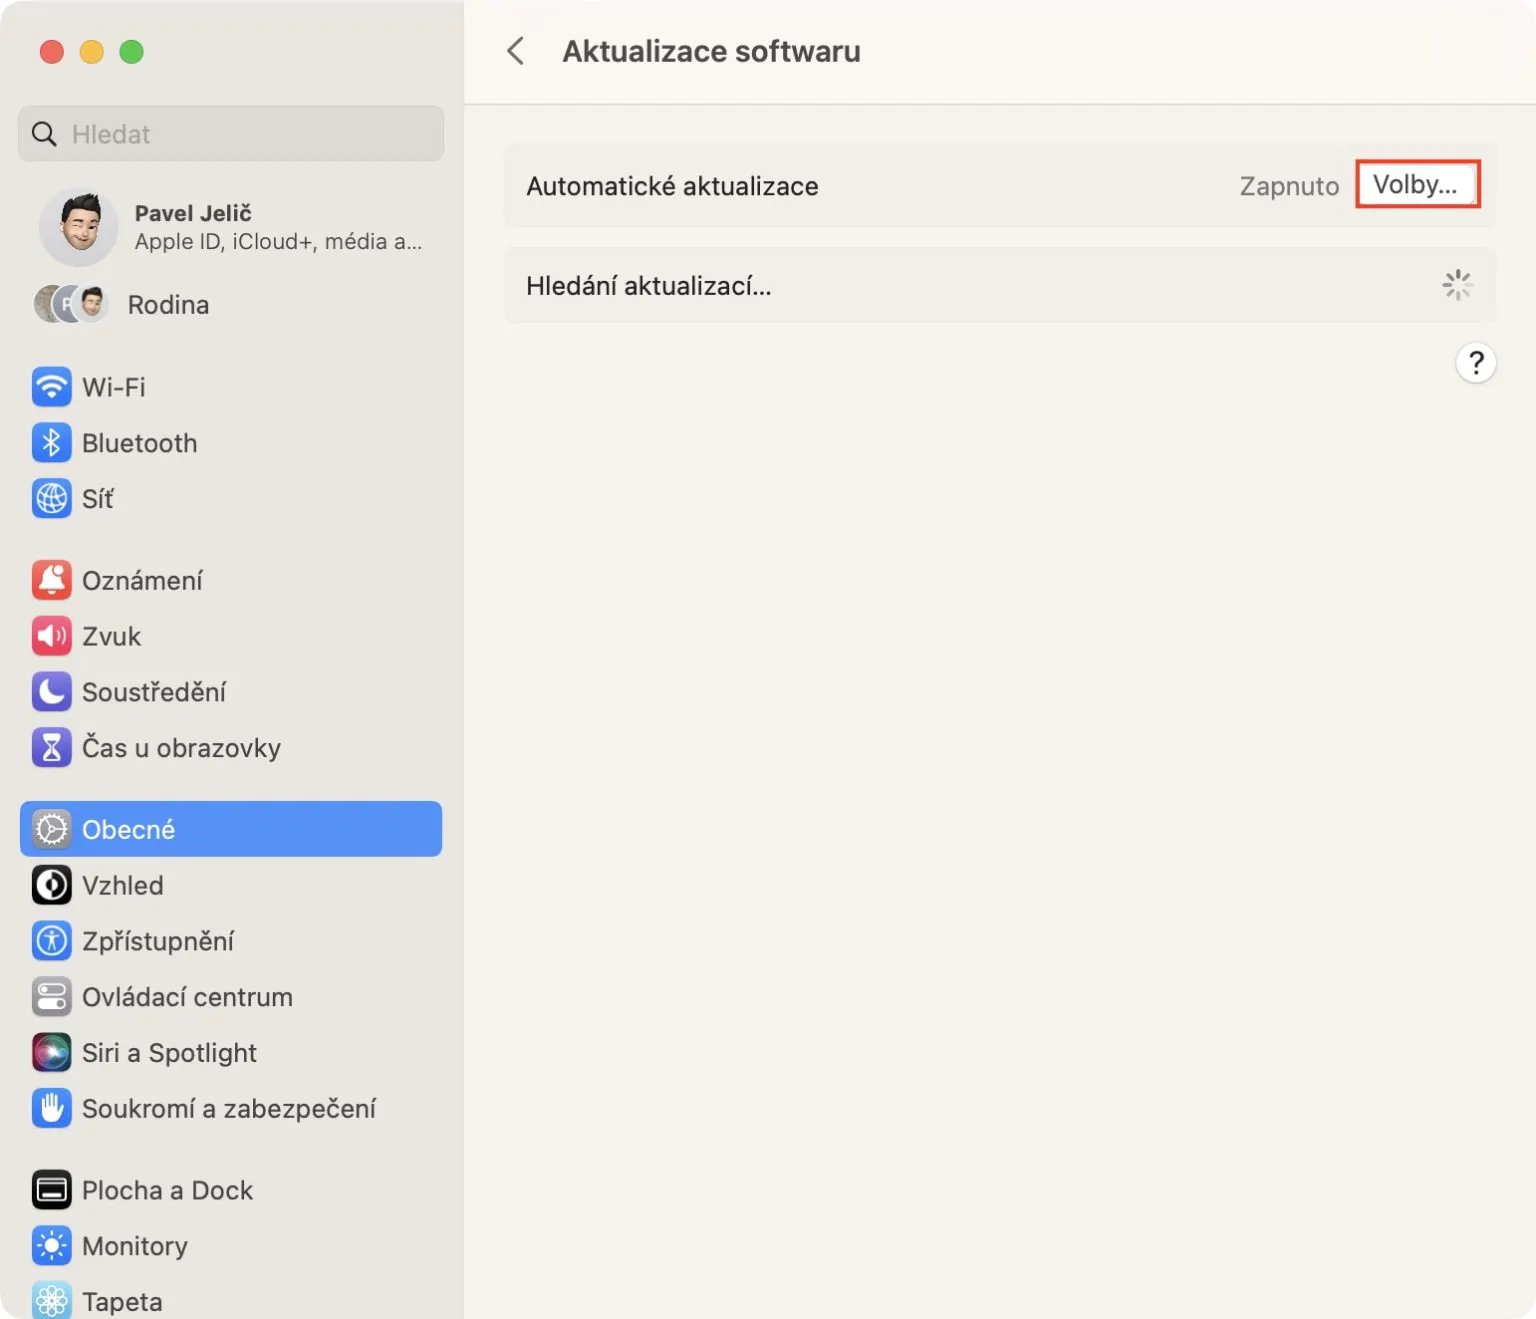
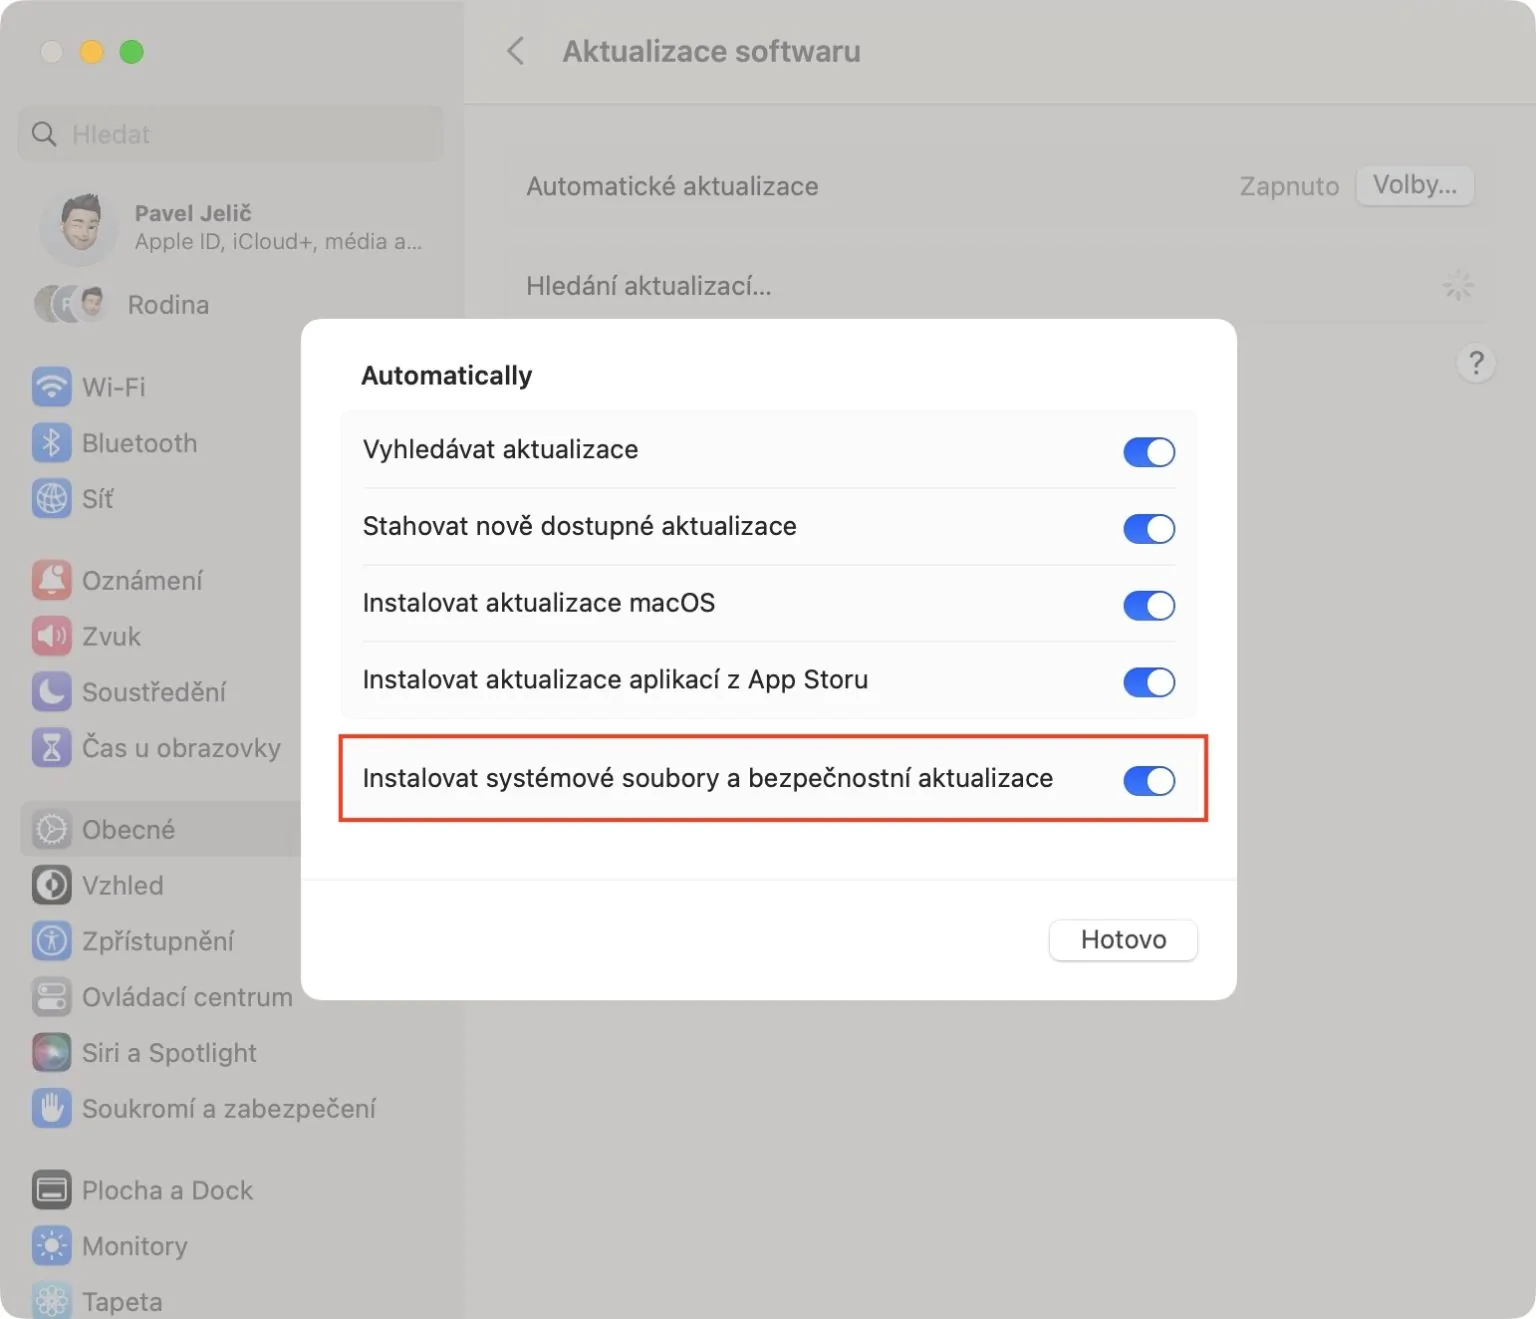
From time to time, there may be a security bug in operating systems that needs to be fixed as soon as possible. Until recently, Apple had to deal with such a security flaw by delivering it to users as part of a complete system update, which is lengthy and unnecessarily complicated. In addition, such a fix will not reach all users immediately, since it is a classic update. Fortunately, Apple has finally realized this shortcoming and in macOS Ventura came up with a solution in the form of automatic installation of security updates in the background. This novelty can be activated in System Settings → General → Software Update, where you tap on Elections… a activate Installing patches and securing system files.
How to lock notes
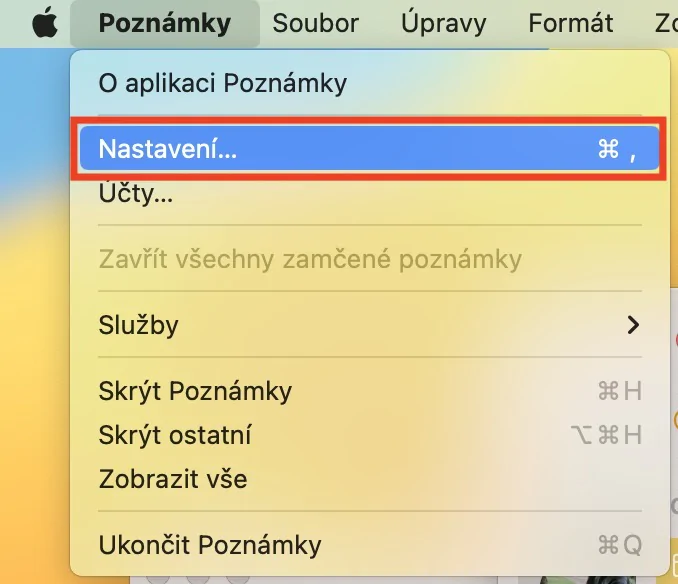
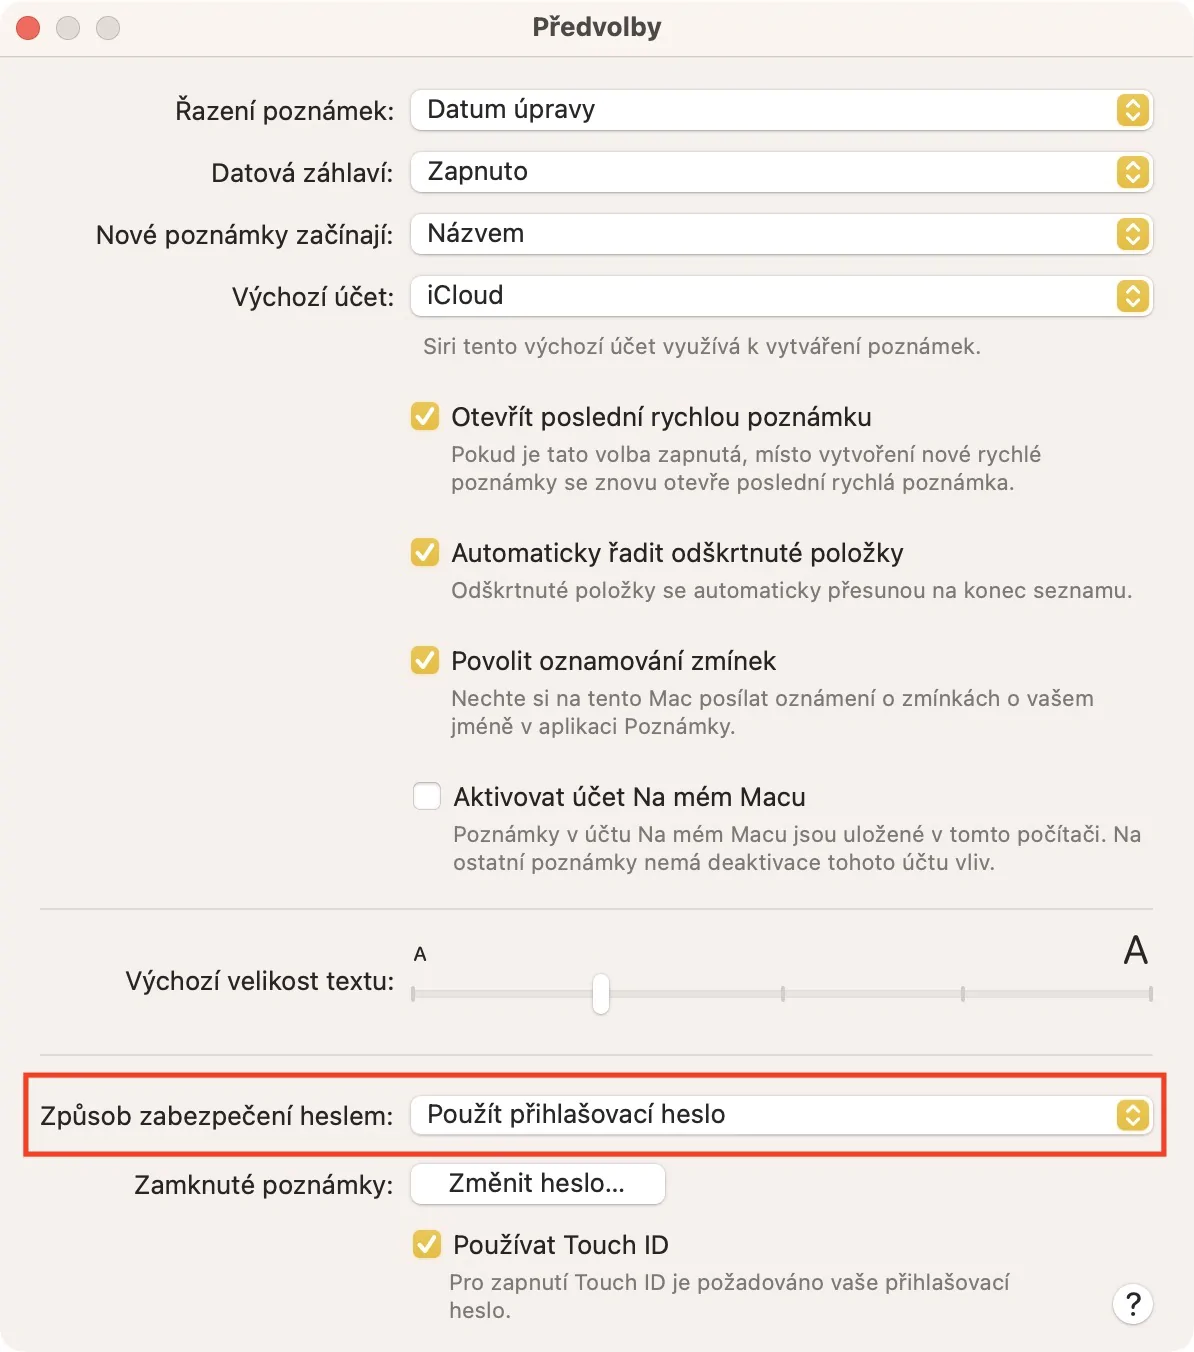
If you are a user of the Notes application, you surely know that you can lock individual notes here. Until recently, however, it was necessary to create a separate password to lock notes, which could only be used in the Notes application. Unfortunately, users often forgot this password, so they had to reset it and the old locked notes came back. However, in the new macOS Ventura, Apple finally came up with a new way to lock notes, through the password of the device, i.e. the Mac. Notes will ask you which of the lock methods you want to use after the first lock attempt. If you want to make a change later, just go to the app Comment, where then in the top bar click on Notes → Settings, where then click the menu next to the option Locked notes a choose your method, which you want to use. Below you can also activate unlocking with Touch ID.
Lock photos
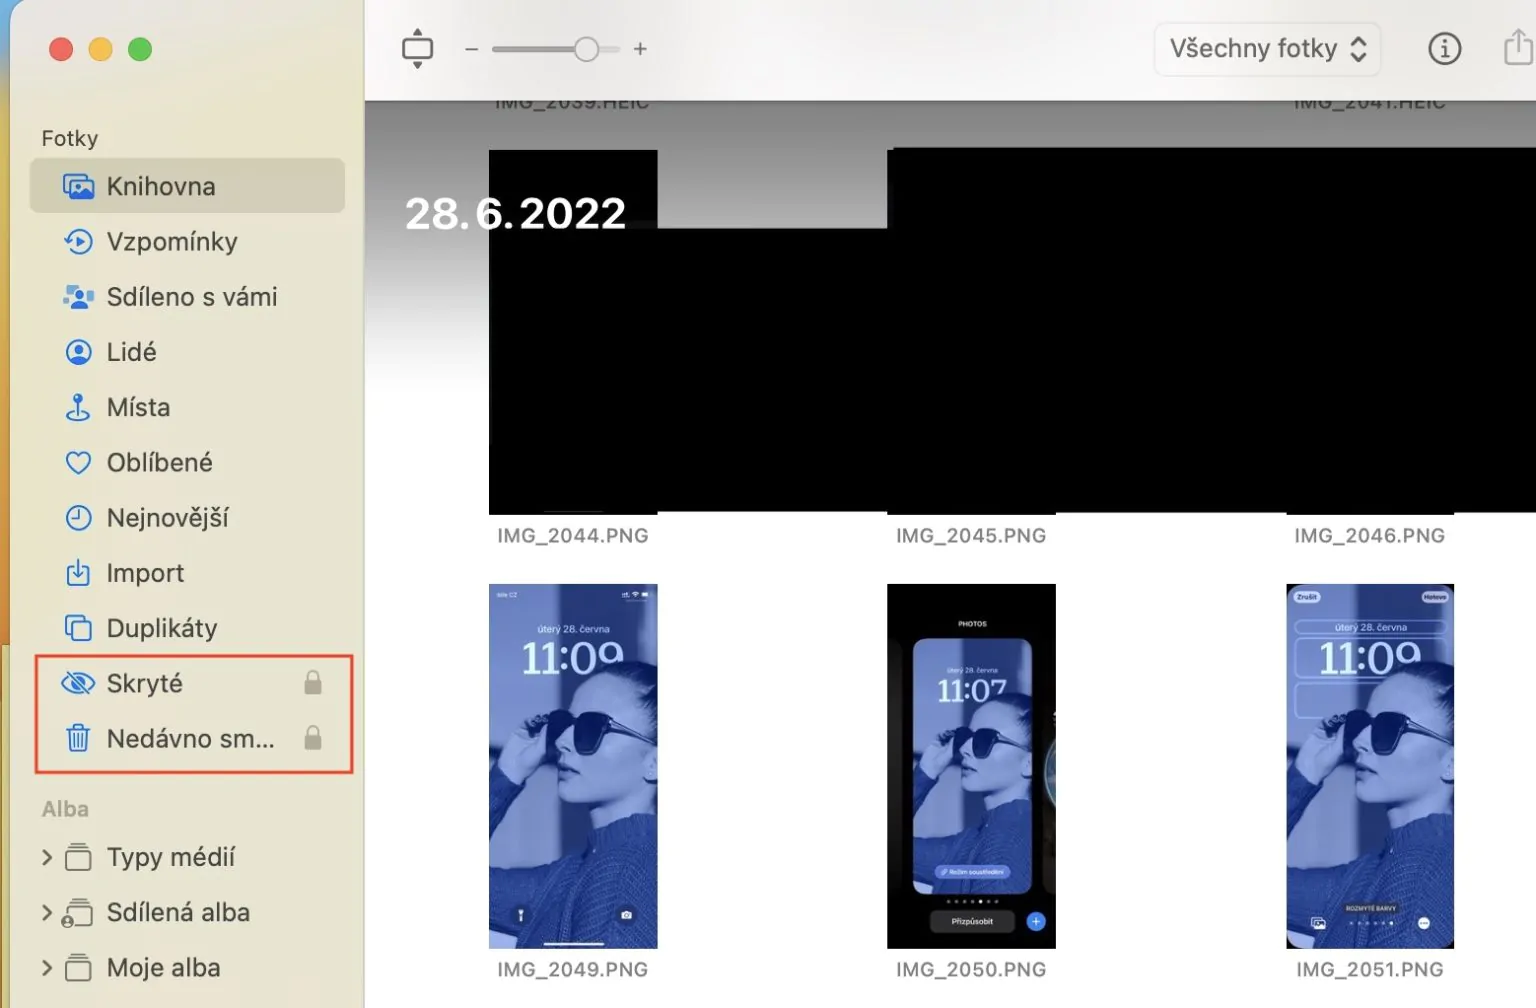
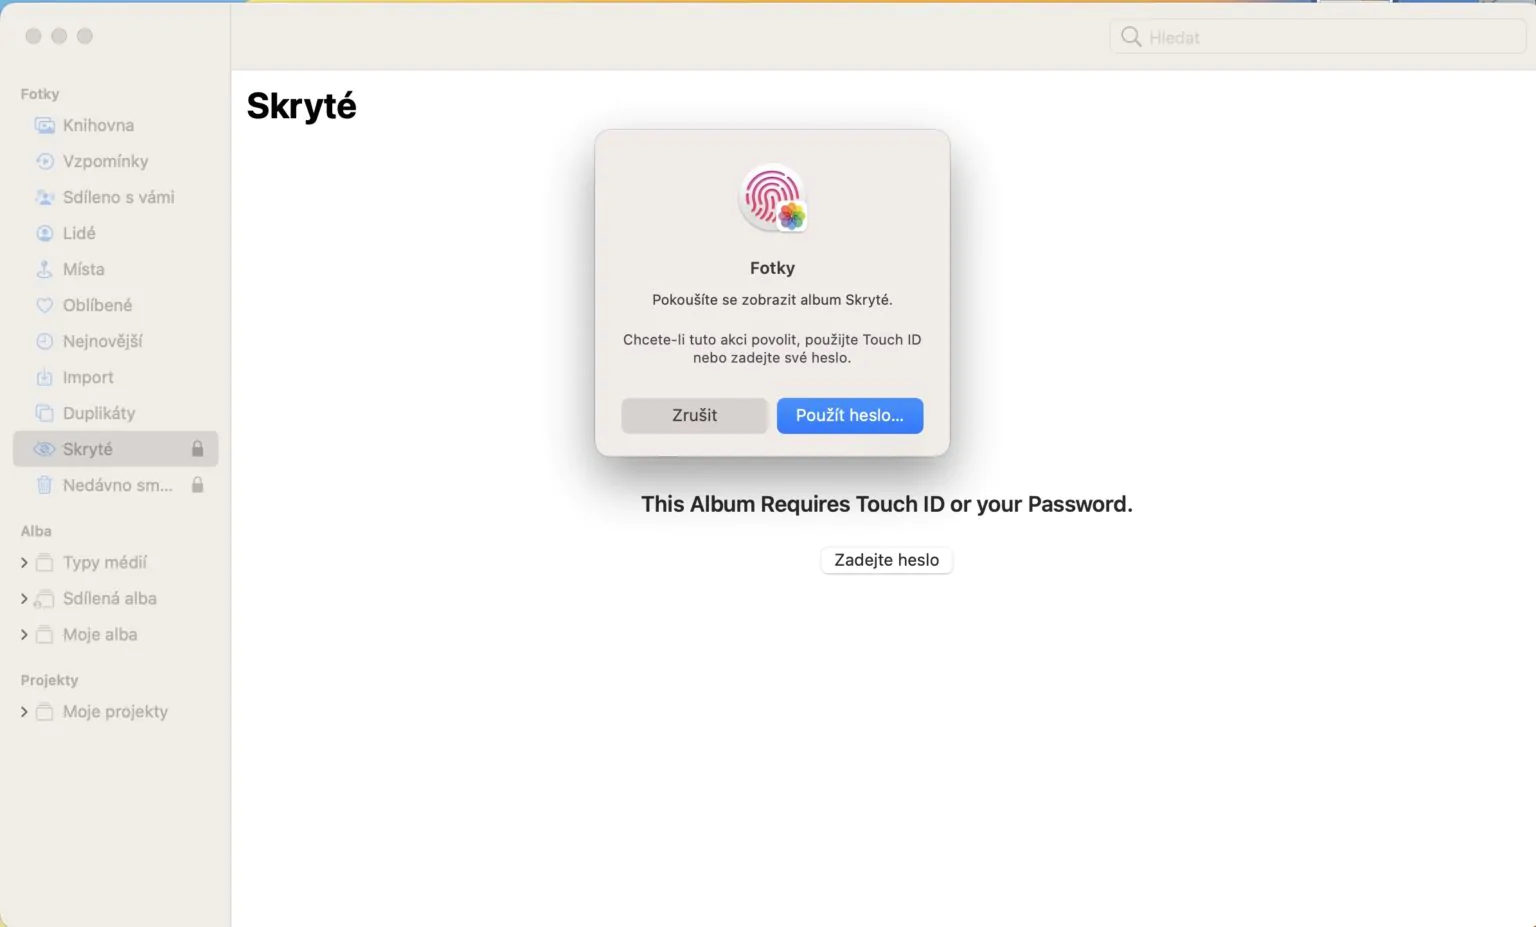
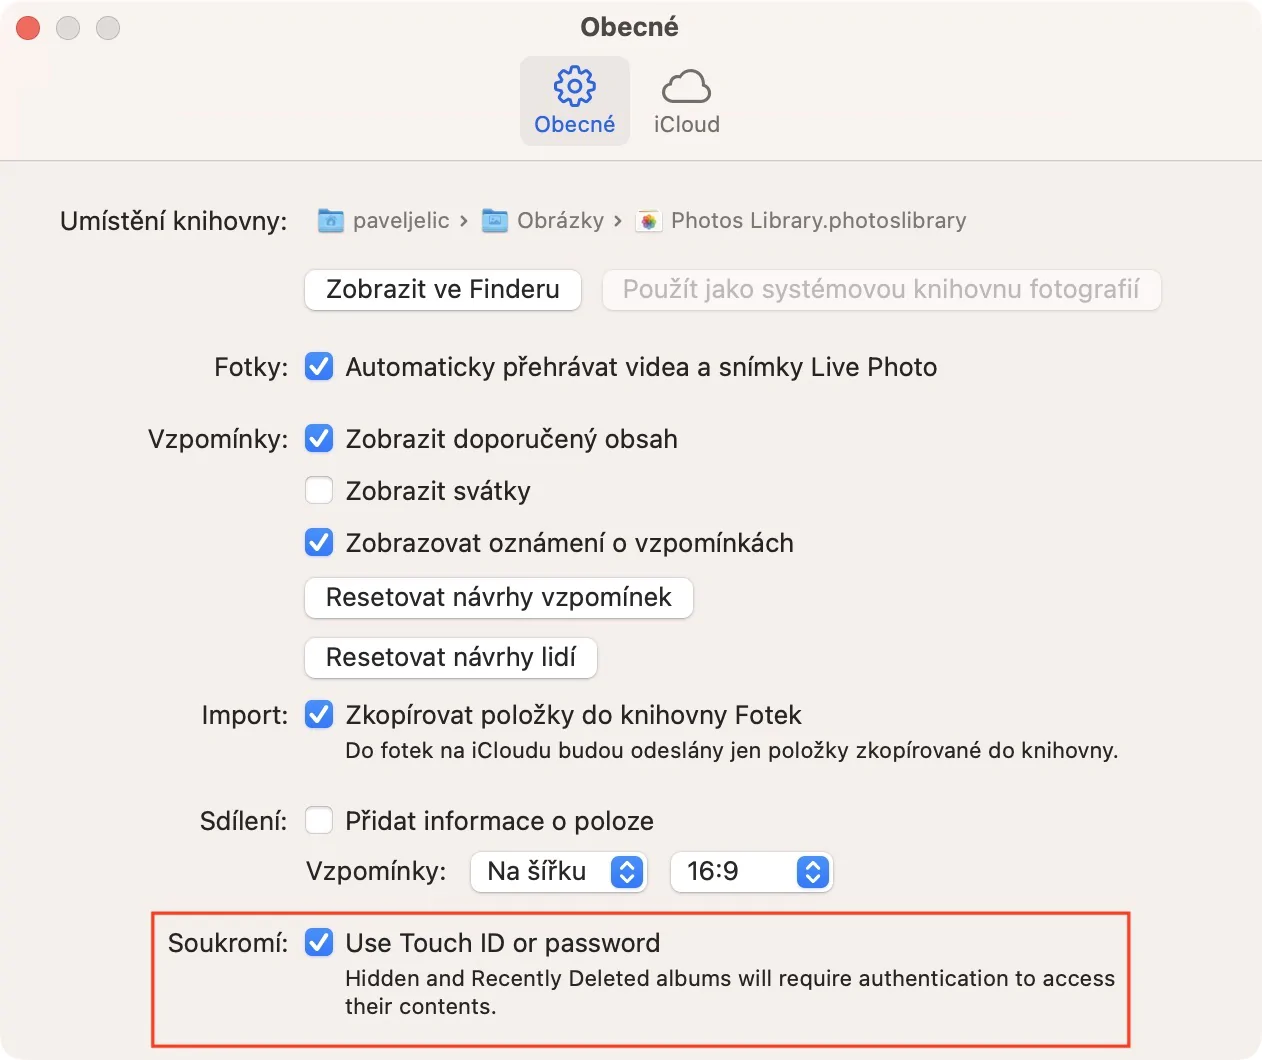
If you wanted to lock photos and videos in older versions of macOS, you wouldn't be able to do it in the native Photos app. The only thing users could do was move the content to a hidden album, but that didn't solve the problem. In macOS Ventura, however, a solution finally came, in the form of locking the aforementioned Hidden album. This means that all hidden content can simply be locked, which can eventually be unlocked using a password or Touch ID. Go to the app to activate this feature Photos, where in the top bar click on Photos → Settings… → General, where down activate Use Touch ID or password.

