Many users – especially beginners or those who are simply less experienced – avoid using Automator on Mac for a number of reasons. It's a shame, because Automator is a very useful application that, with a little practice, even complete beginners can create interesting documents and task sequences. If you want to start working with Automator, you can familiarize yourself with its absolute basics in our article today.
Action types in Automator
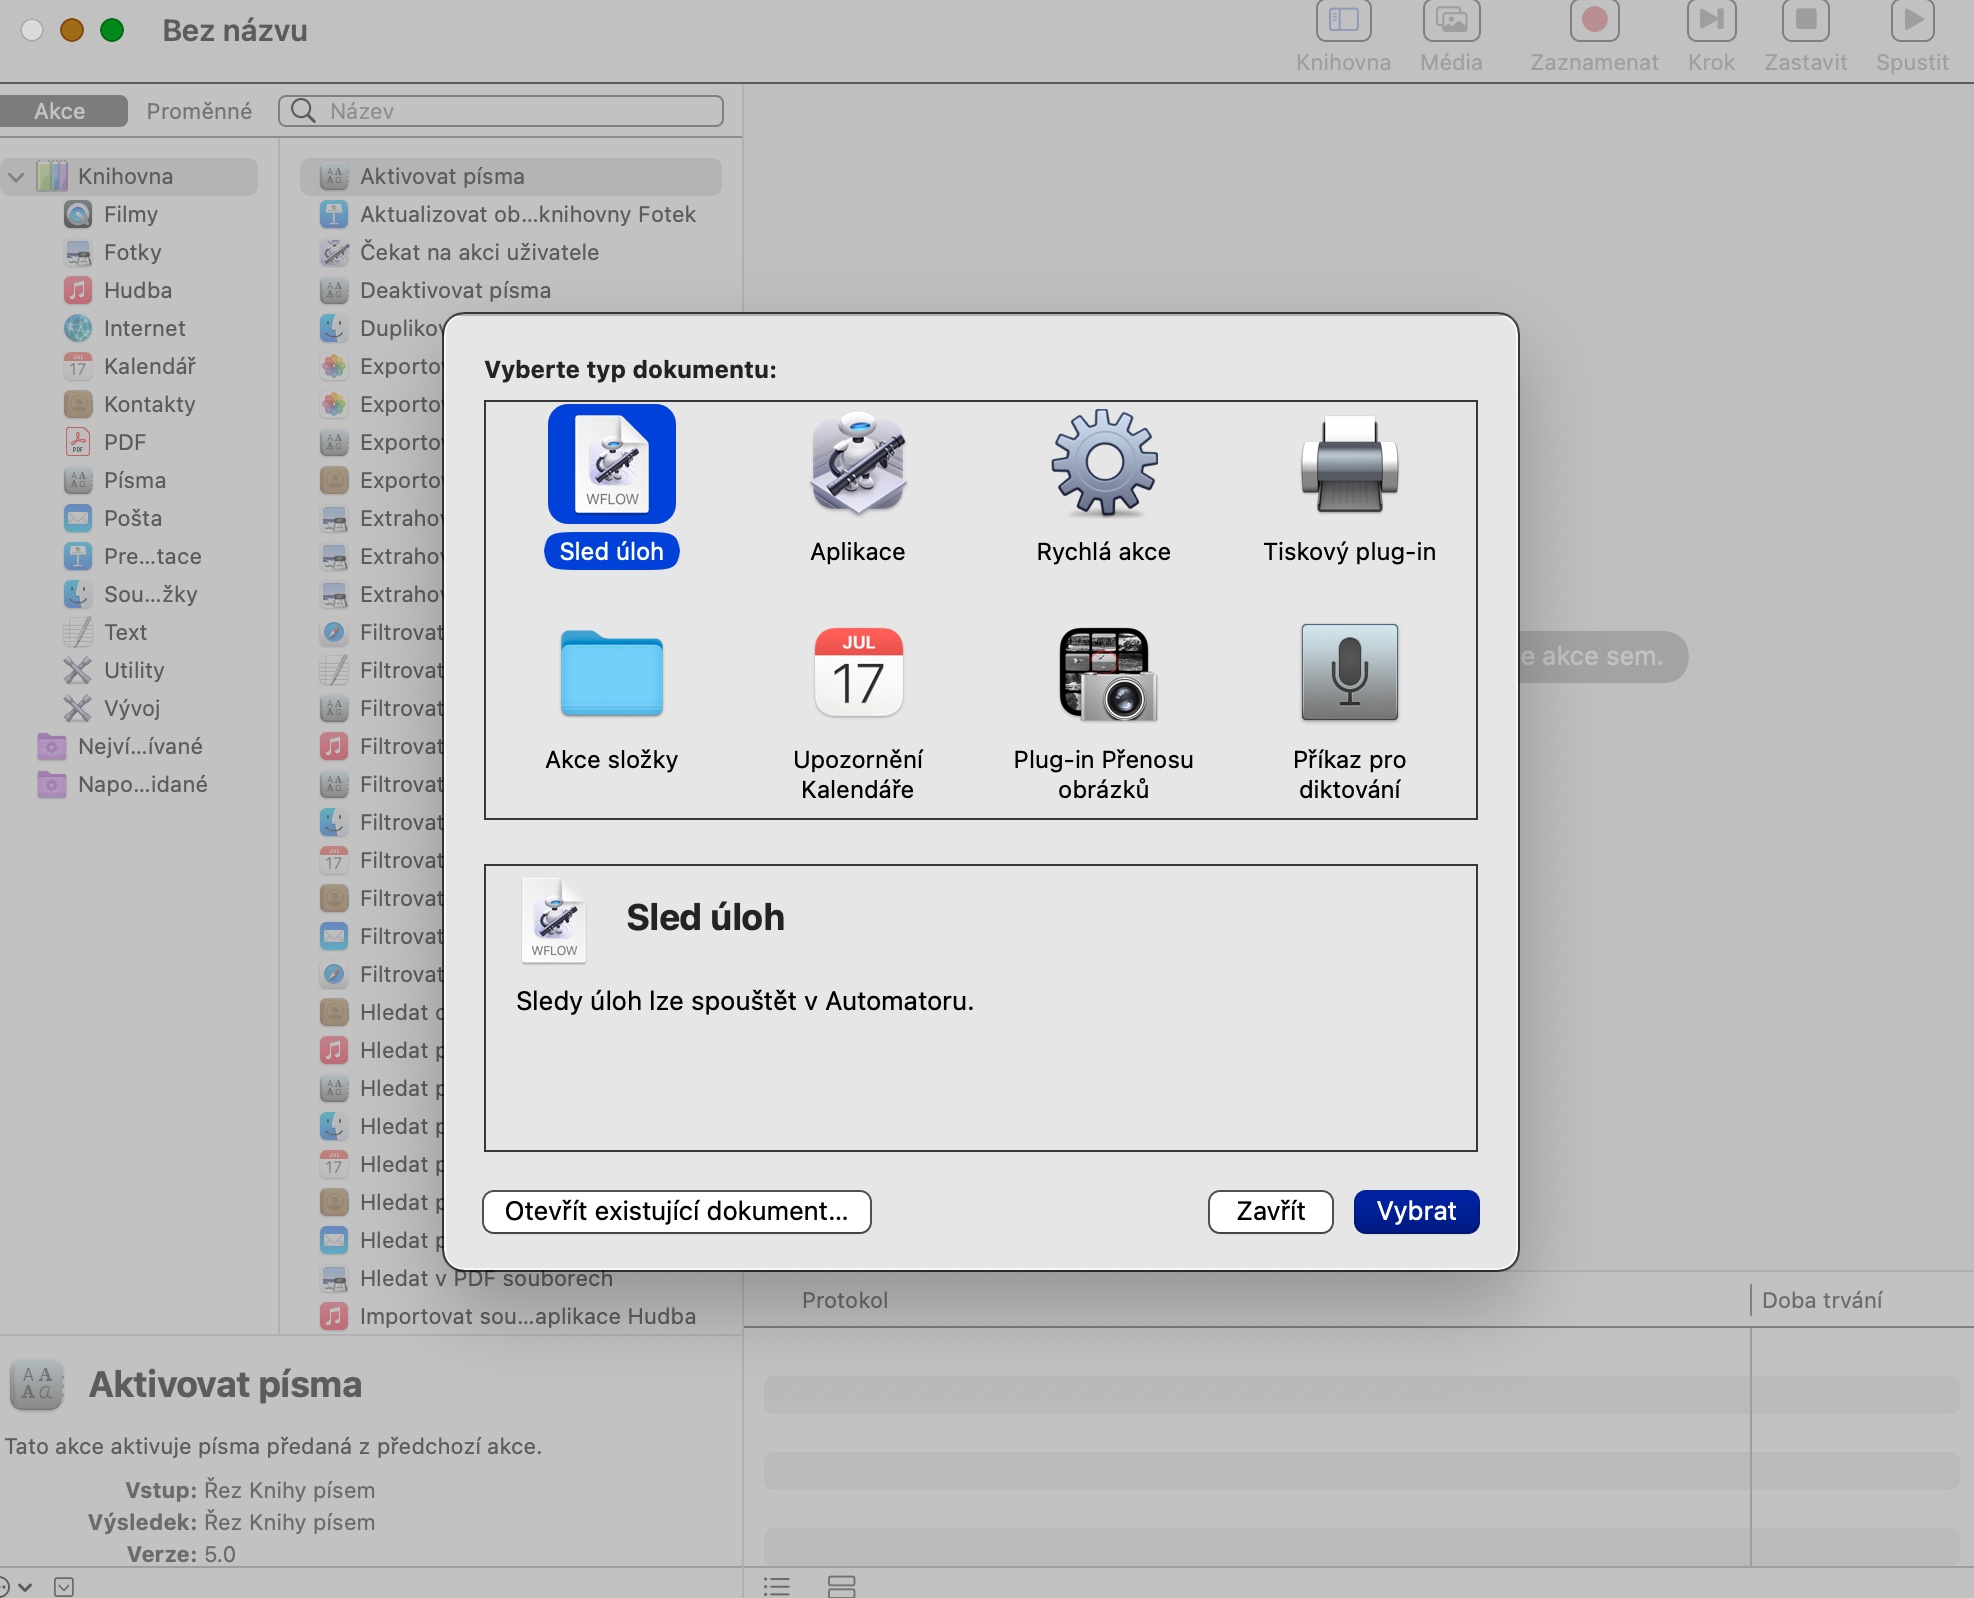
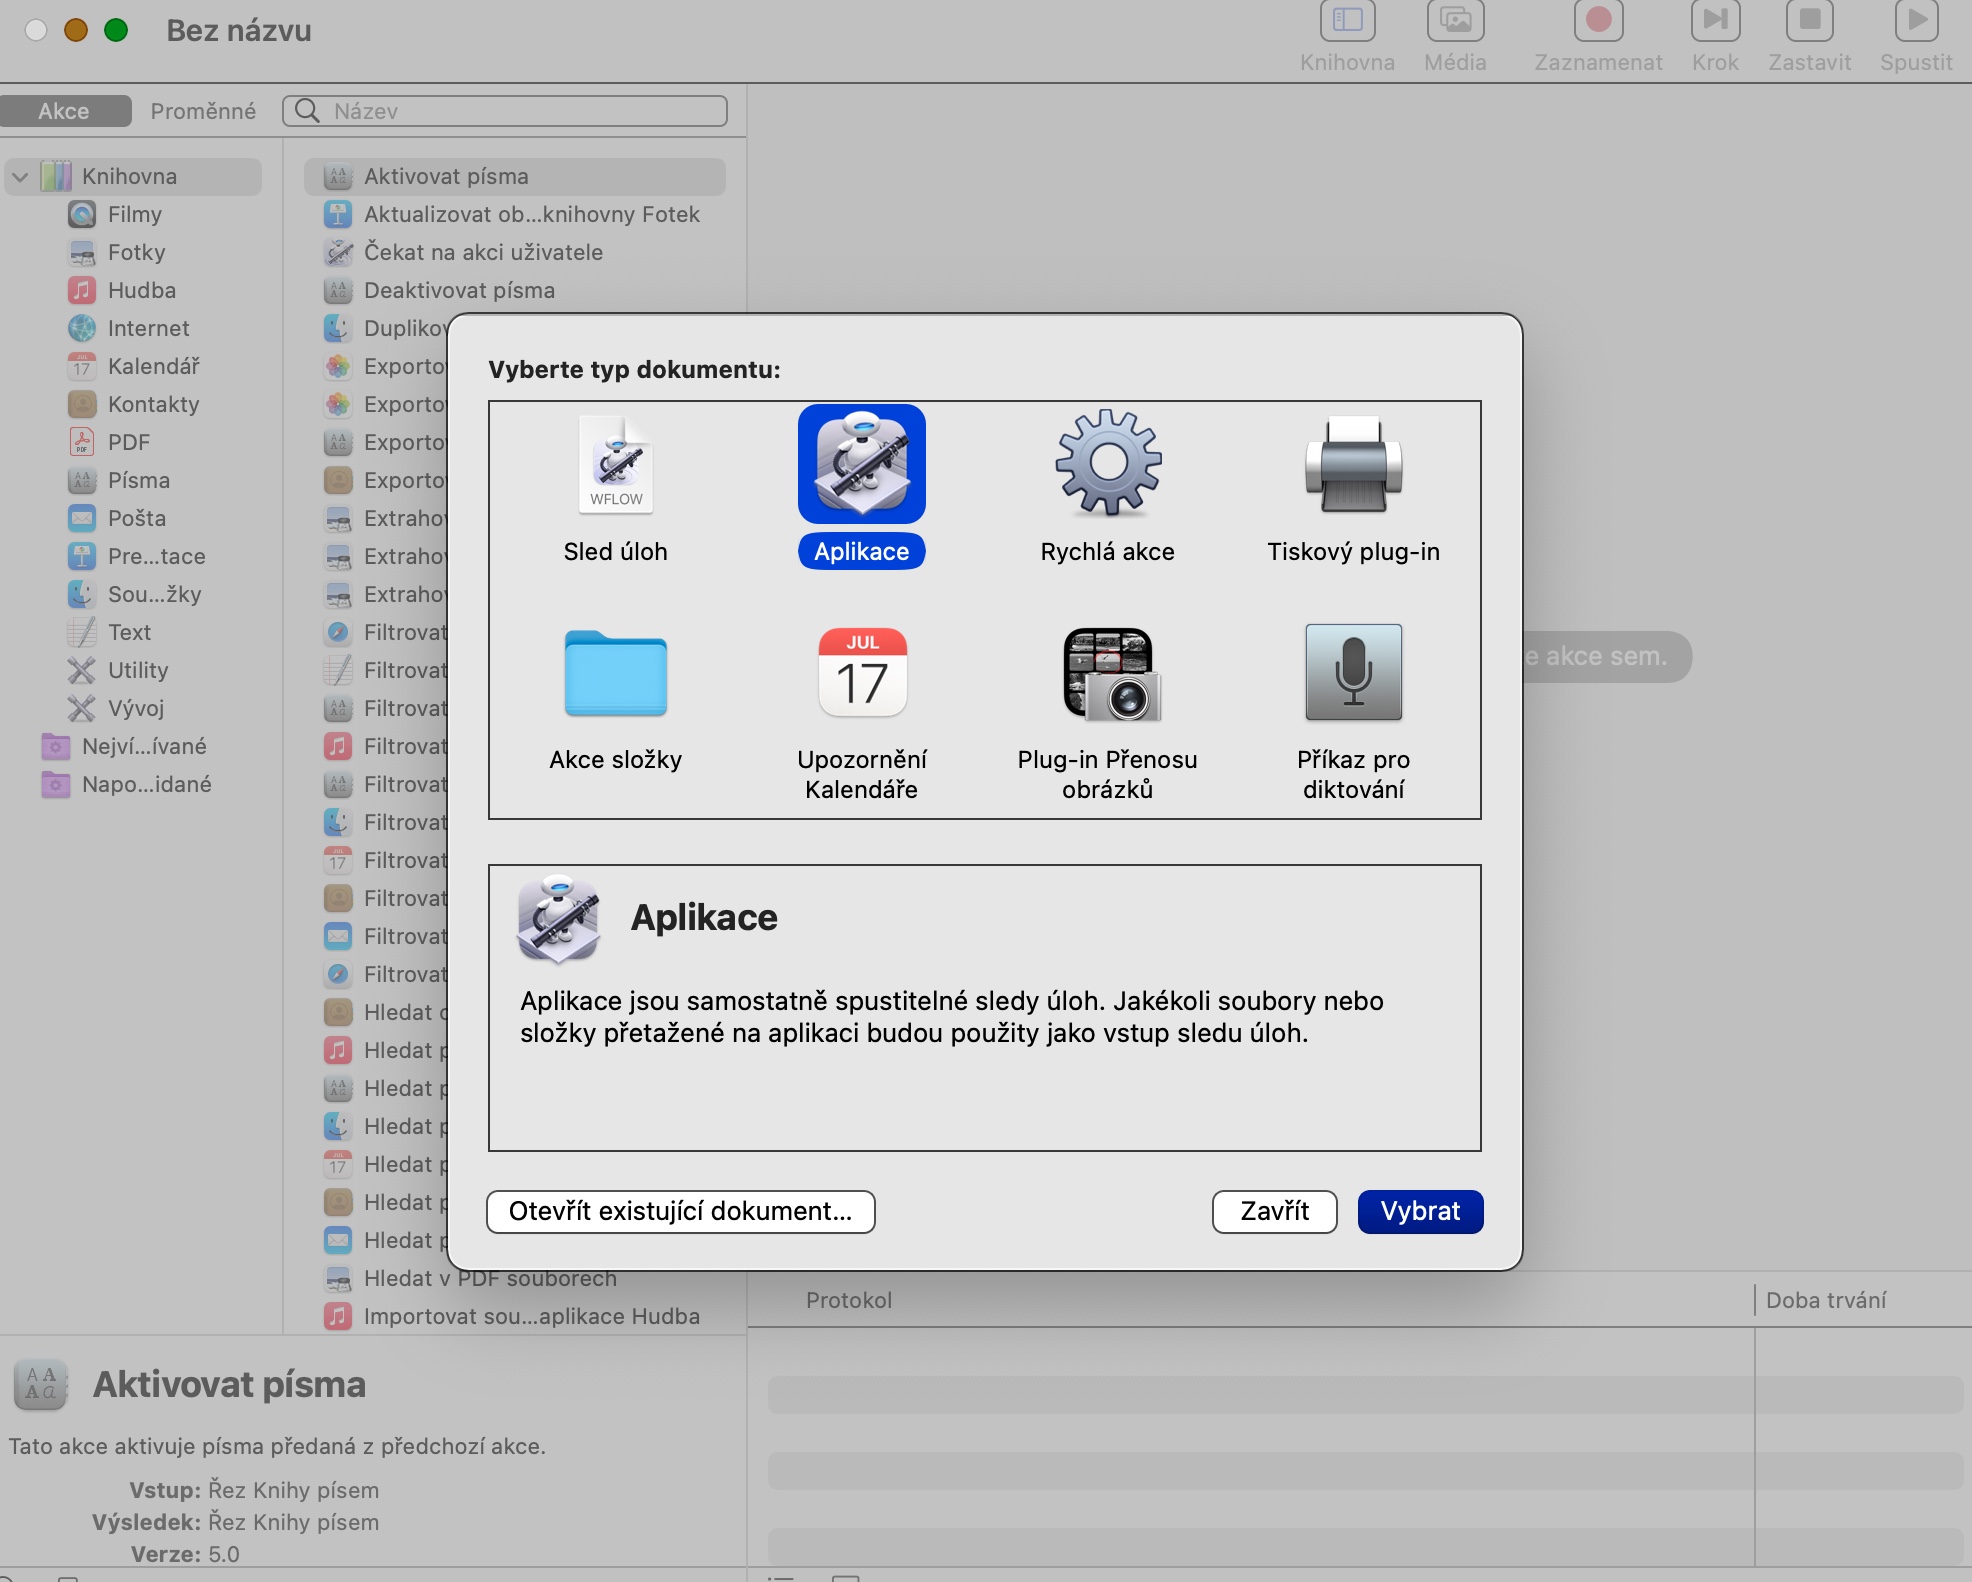
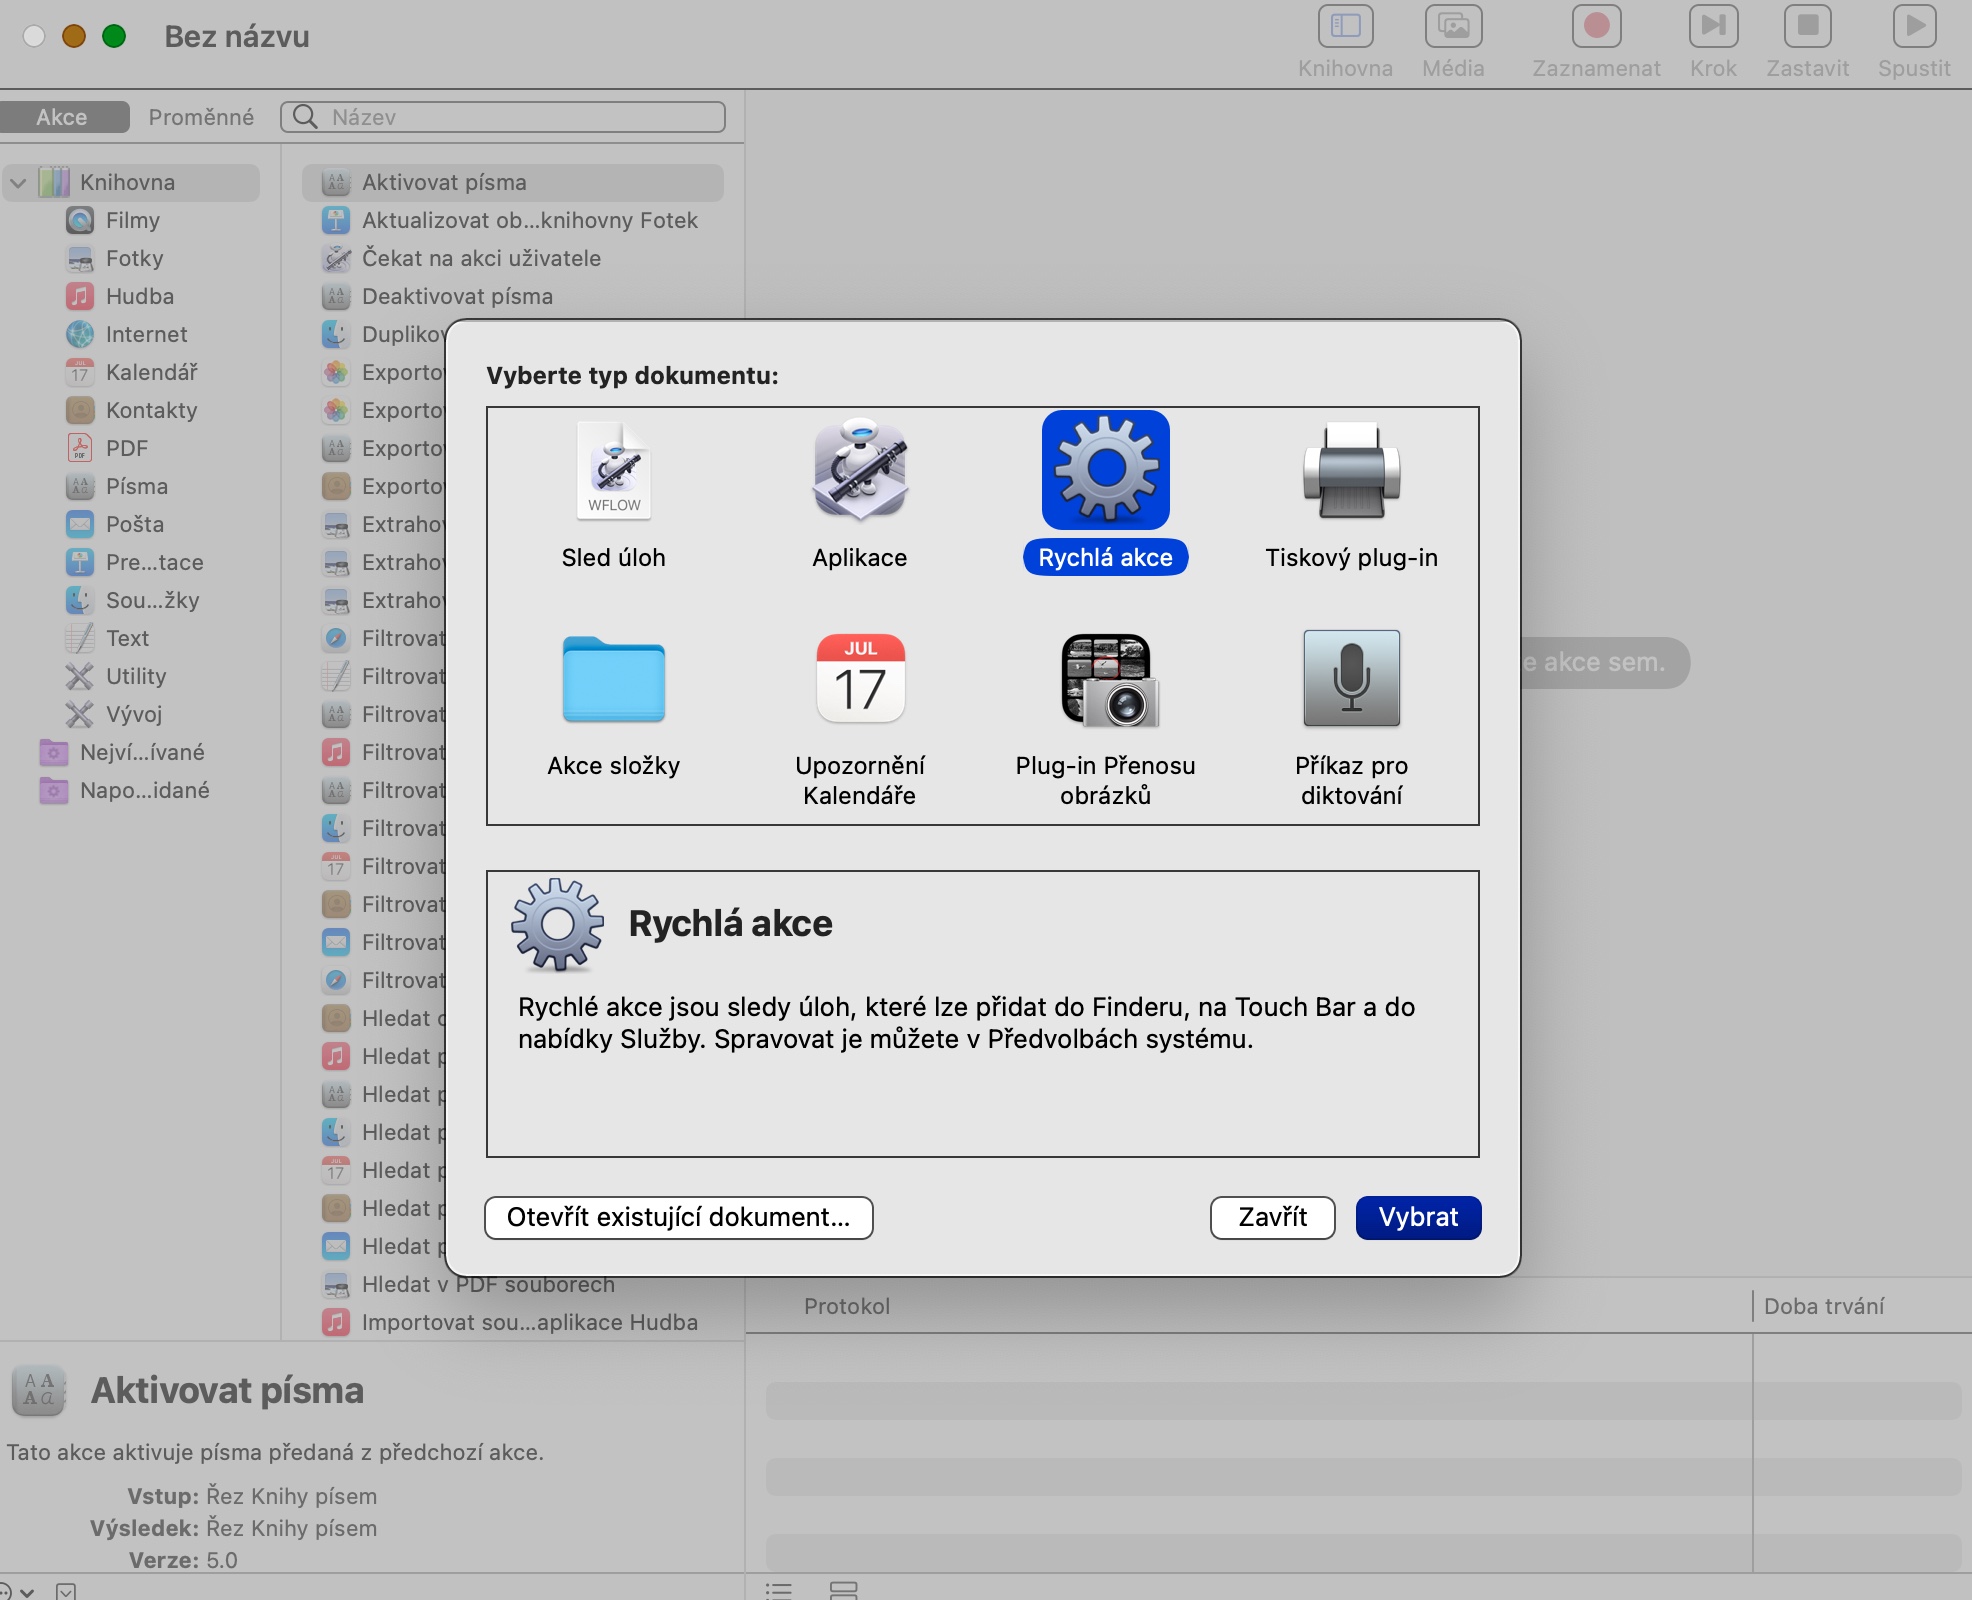
When you launch the native Automator on your Mac and click New Document, you'll be greeted with a window where you'll find several different items: Task Sequence, Application, and Quick Action, among others. A task sequence is a label for a document type that can only be run in the native Automator environment. On the other hand, you can place Application type documents, for example, on the desktop or in the Dock, and launch them regardless of whether Automator is also running there. You may be familiar with the term Quick Actions from Finder – these are actions that can be started, for example, from the menu after right-clicking on the selected item.
Appearance of the Automator main window
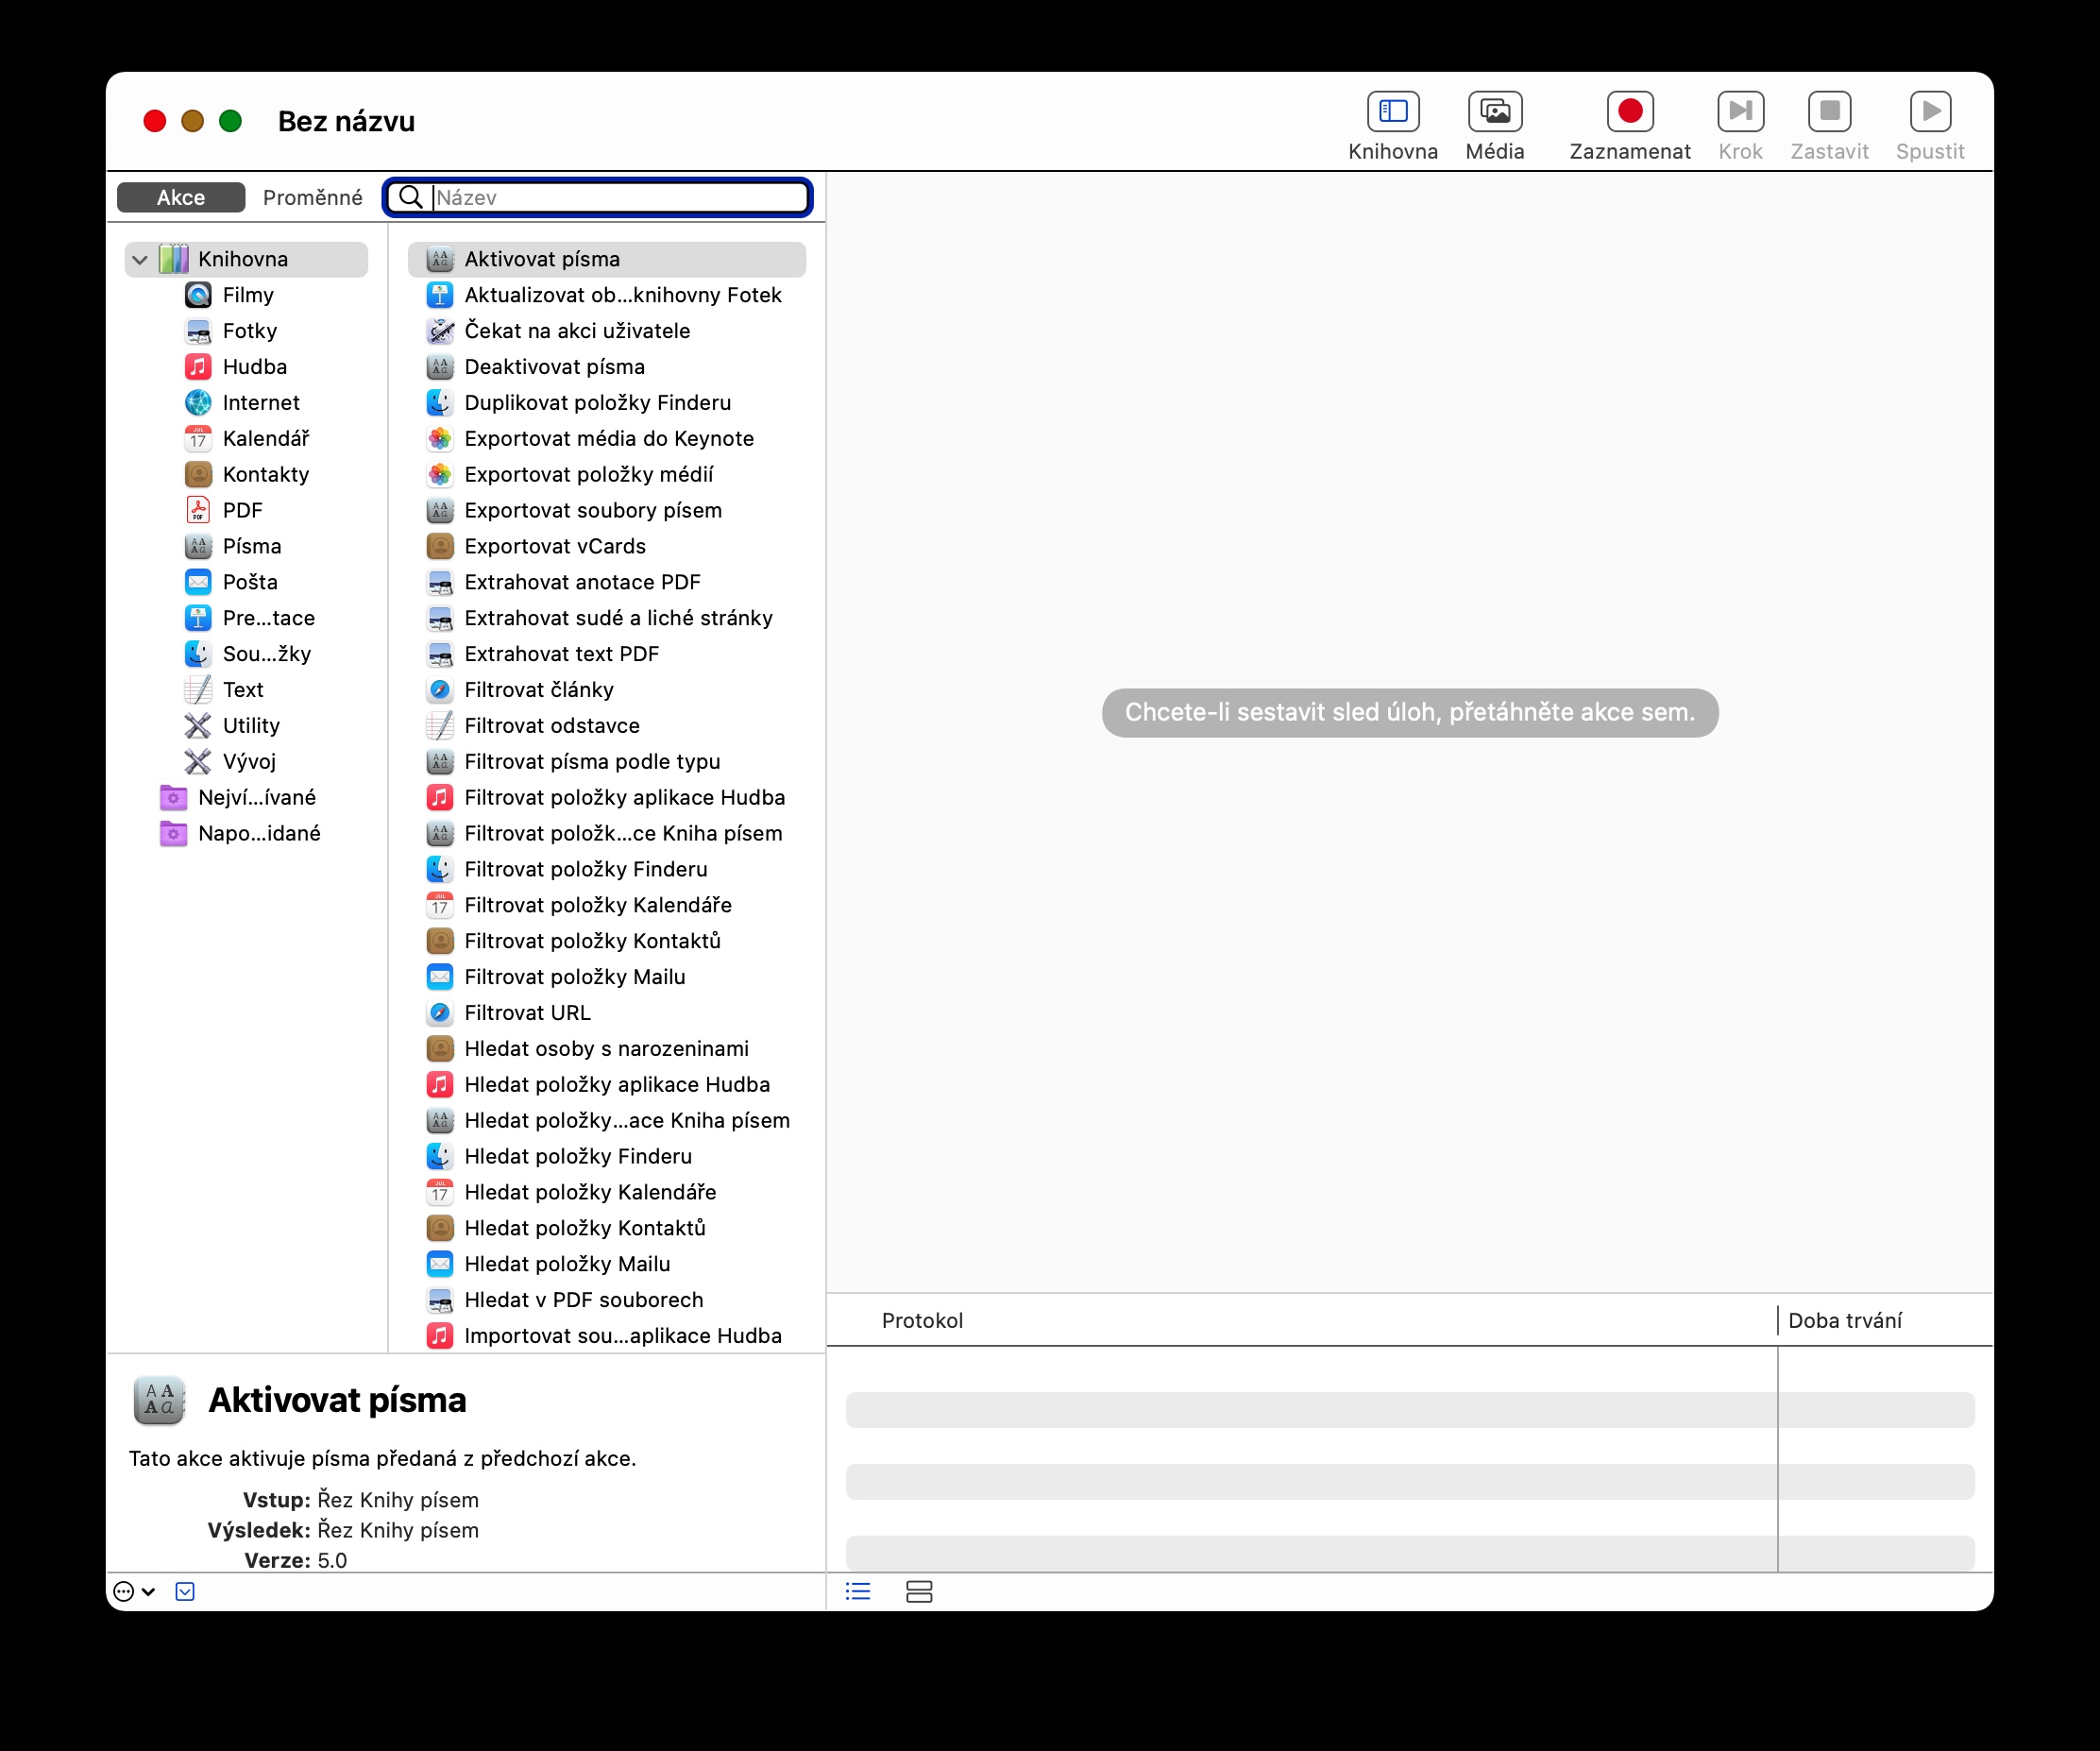
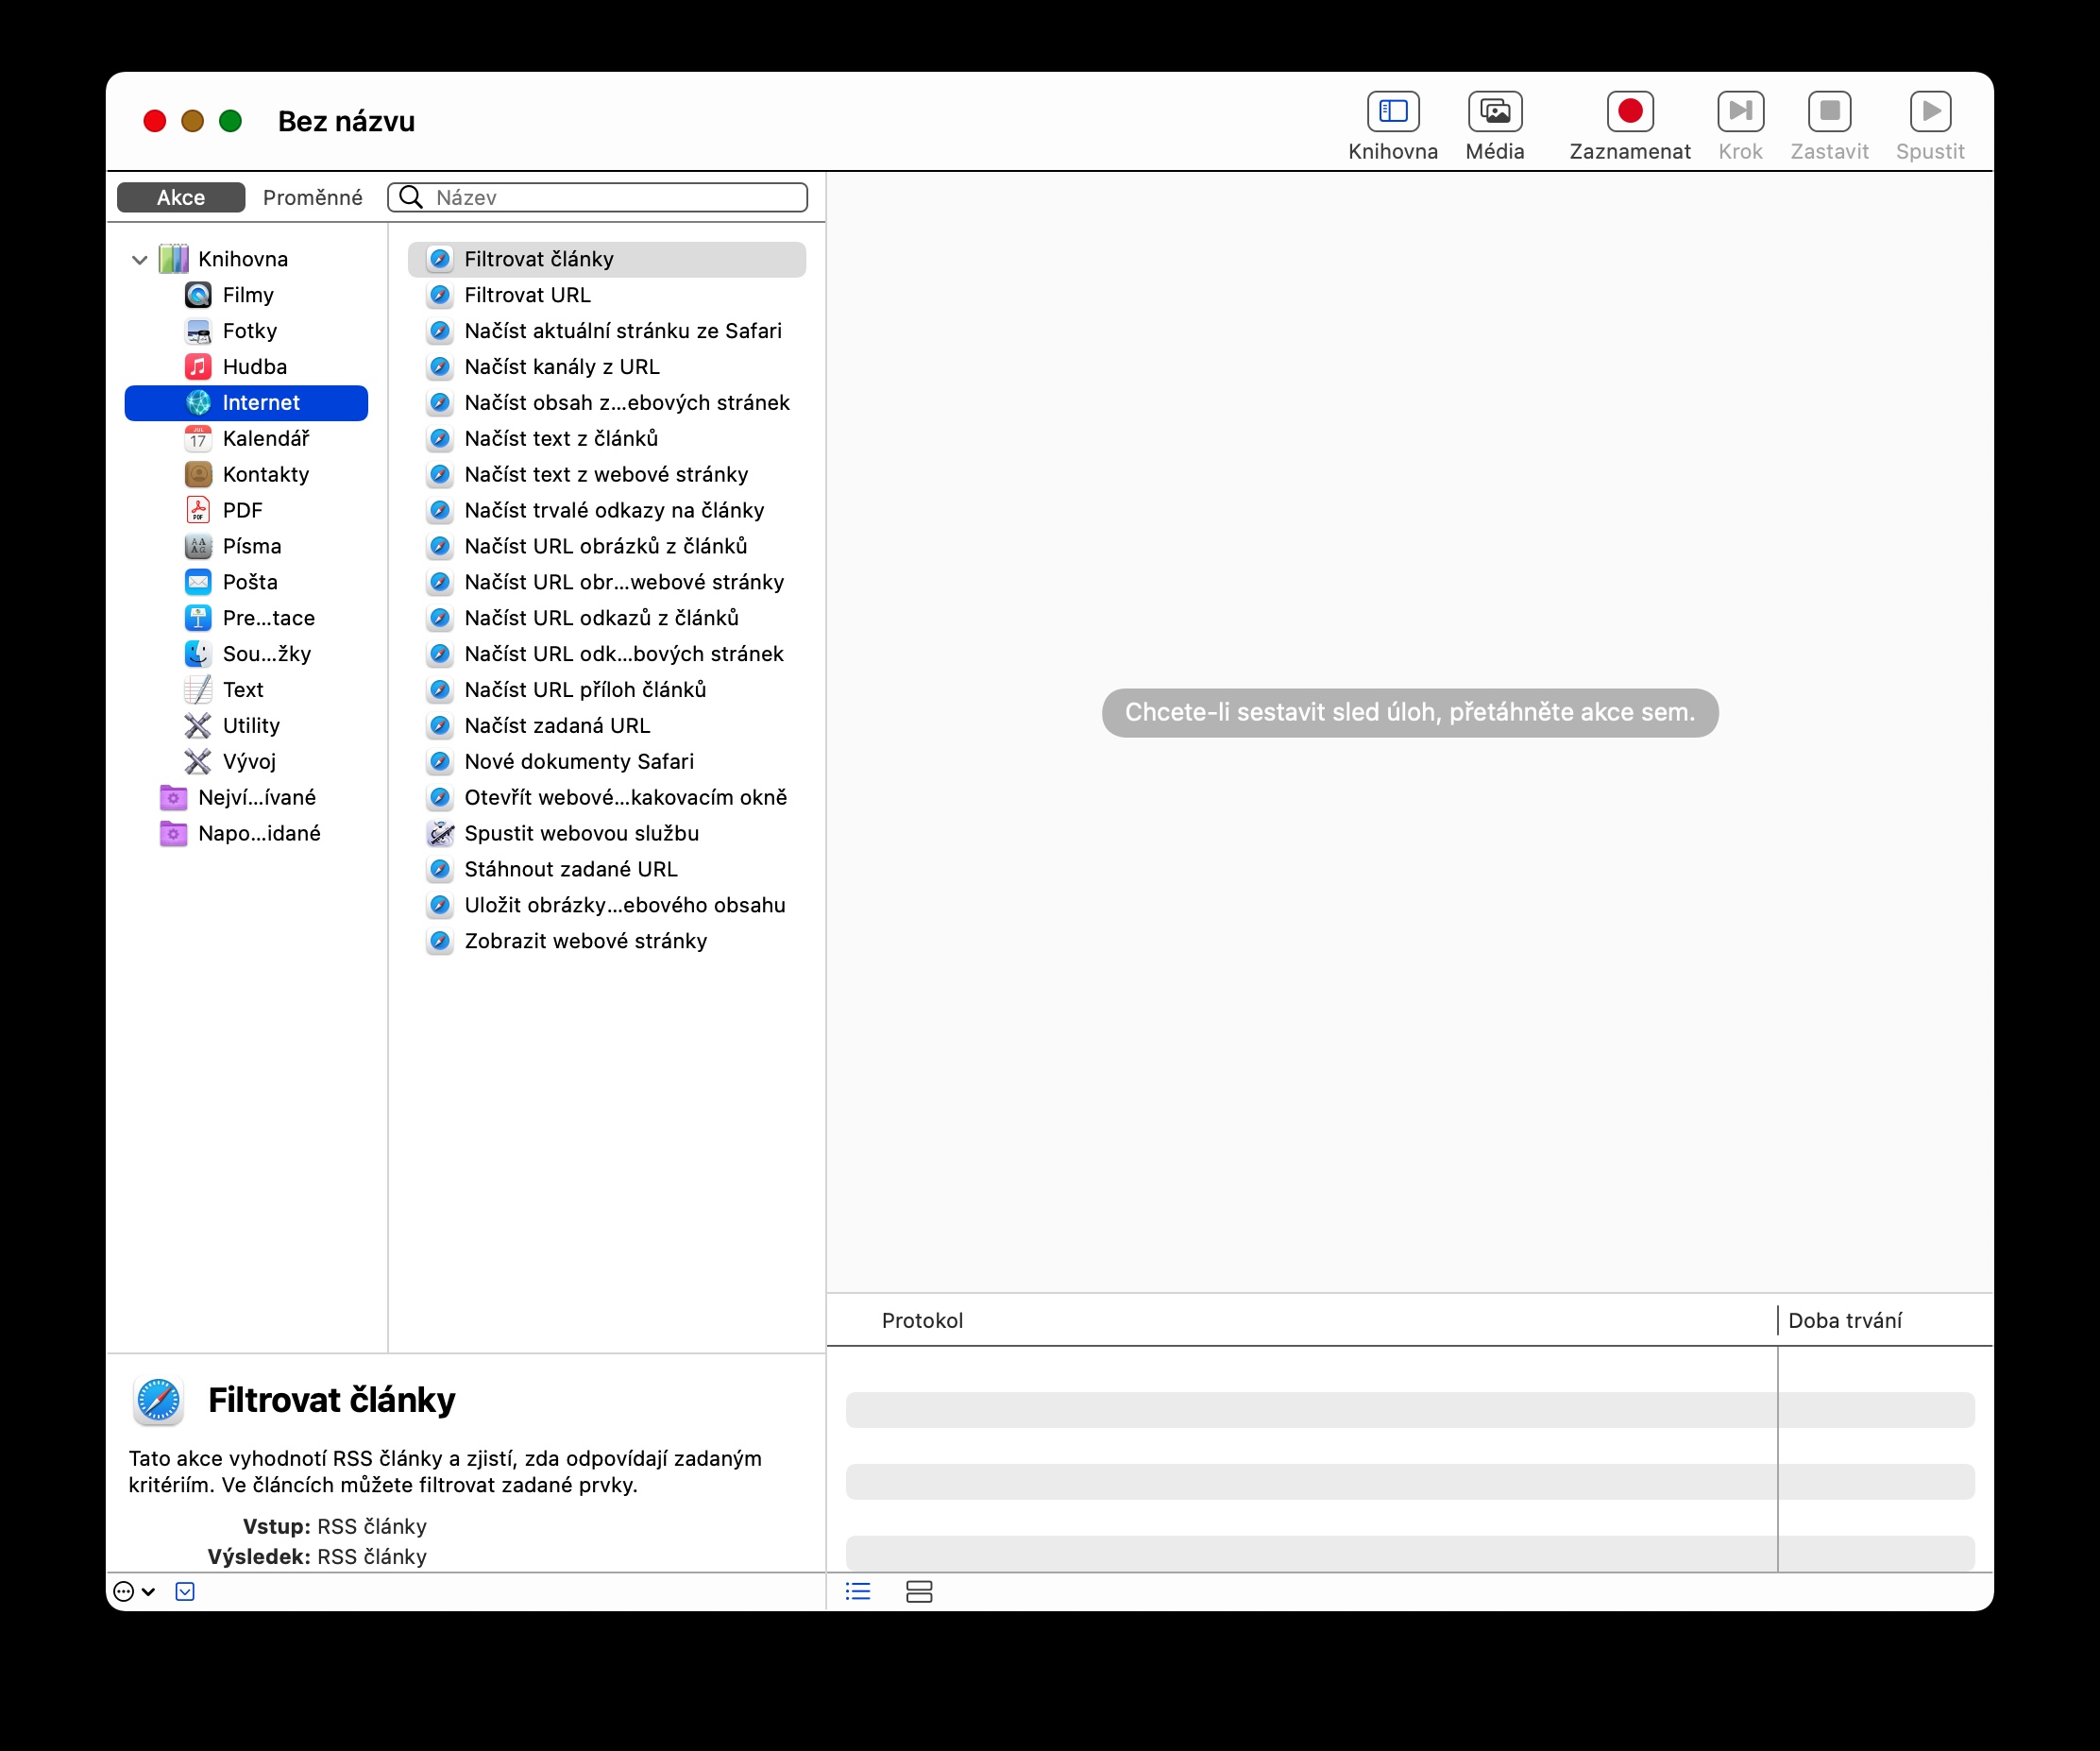
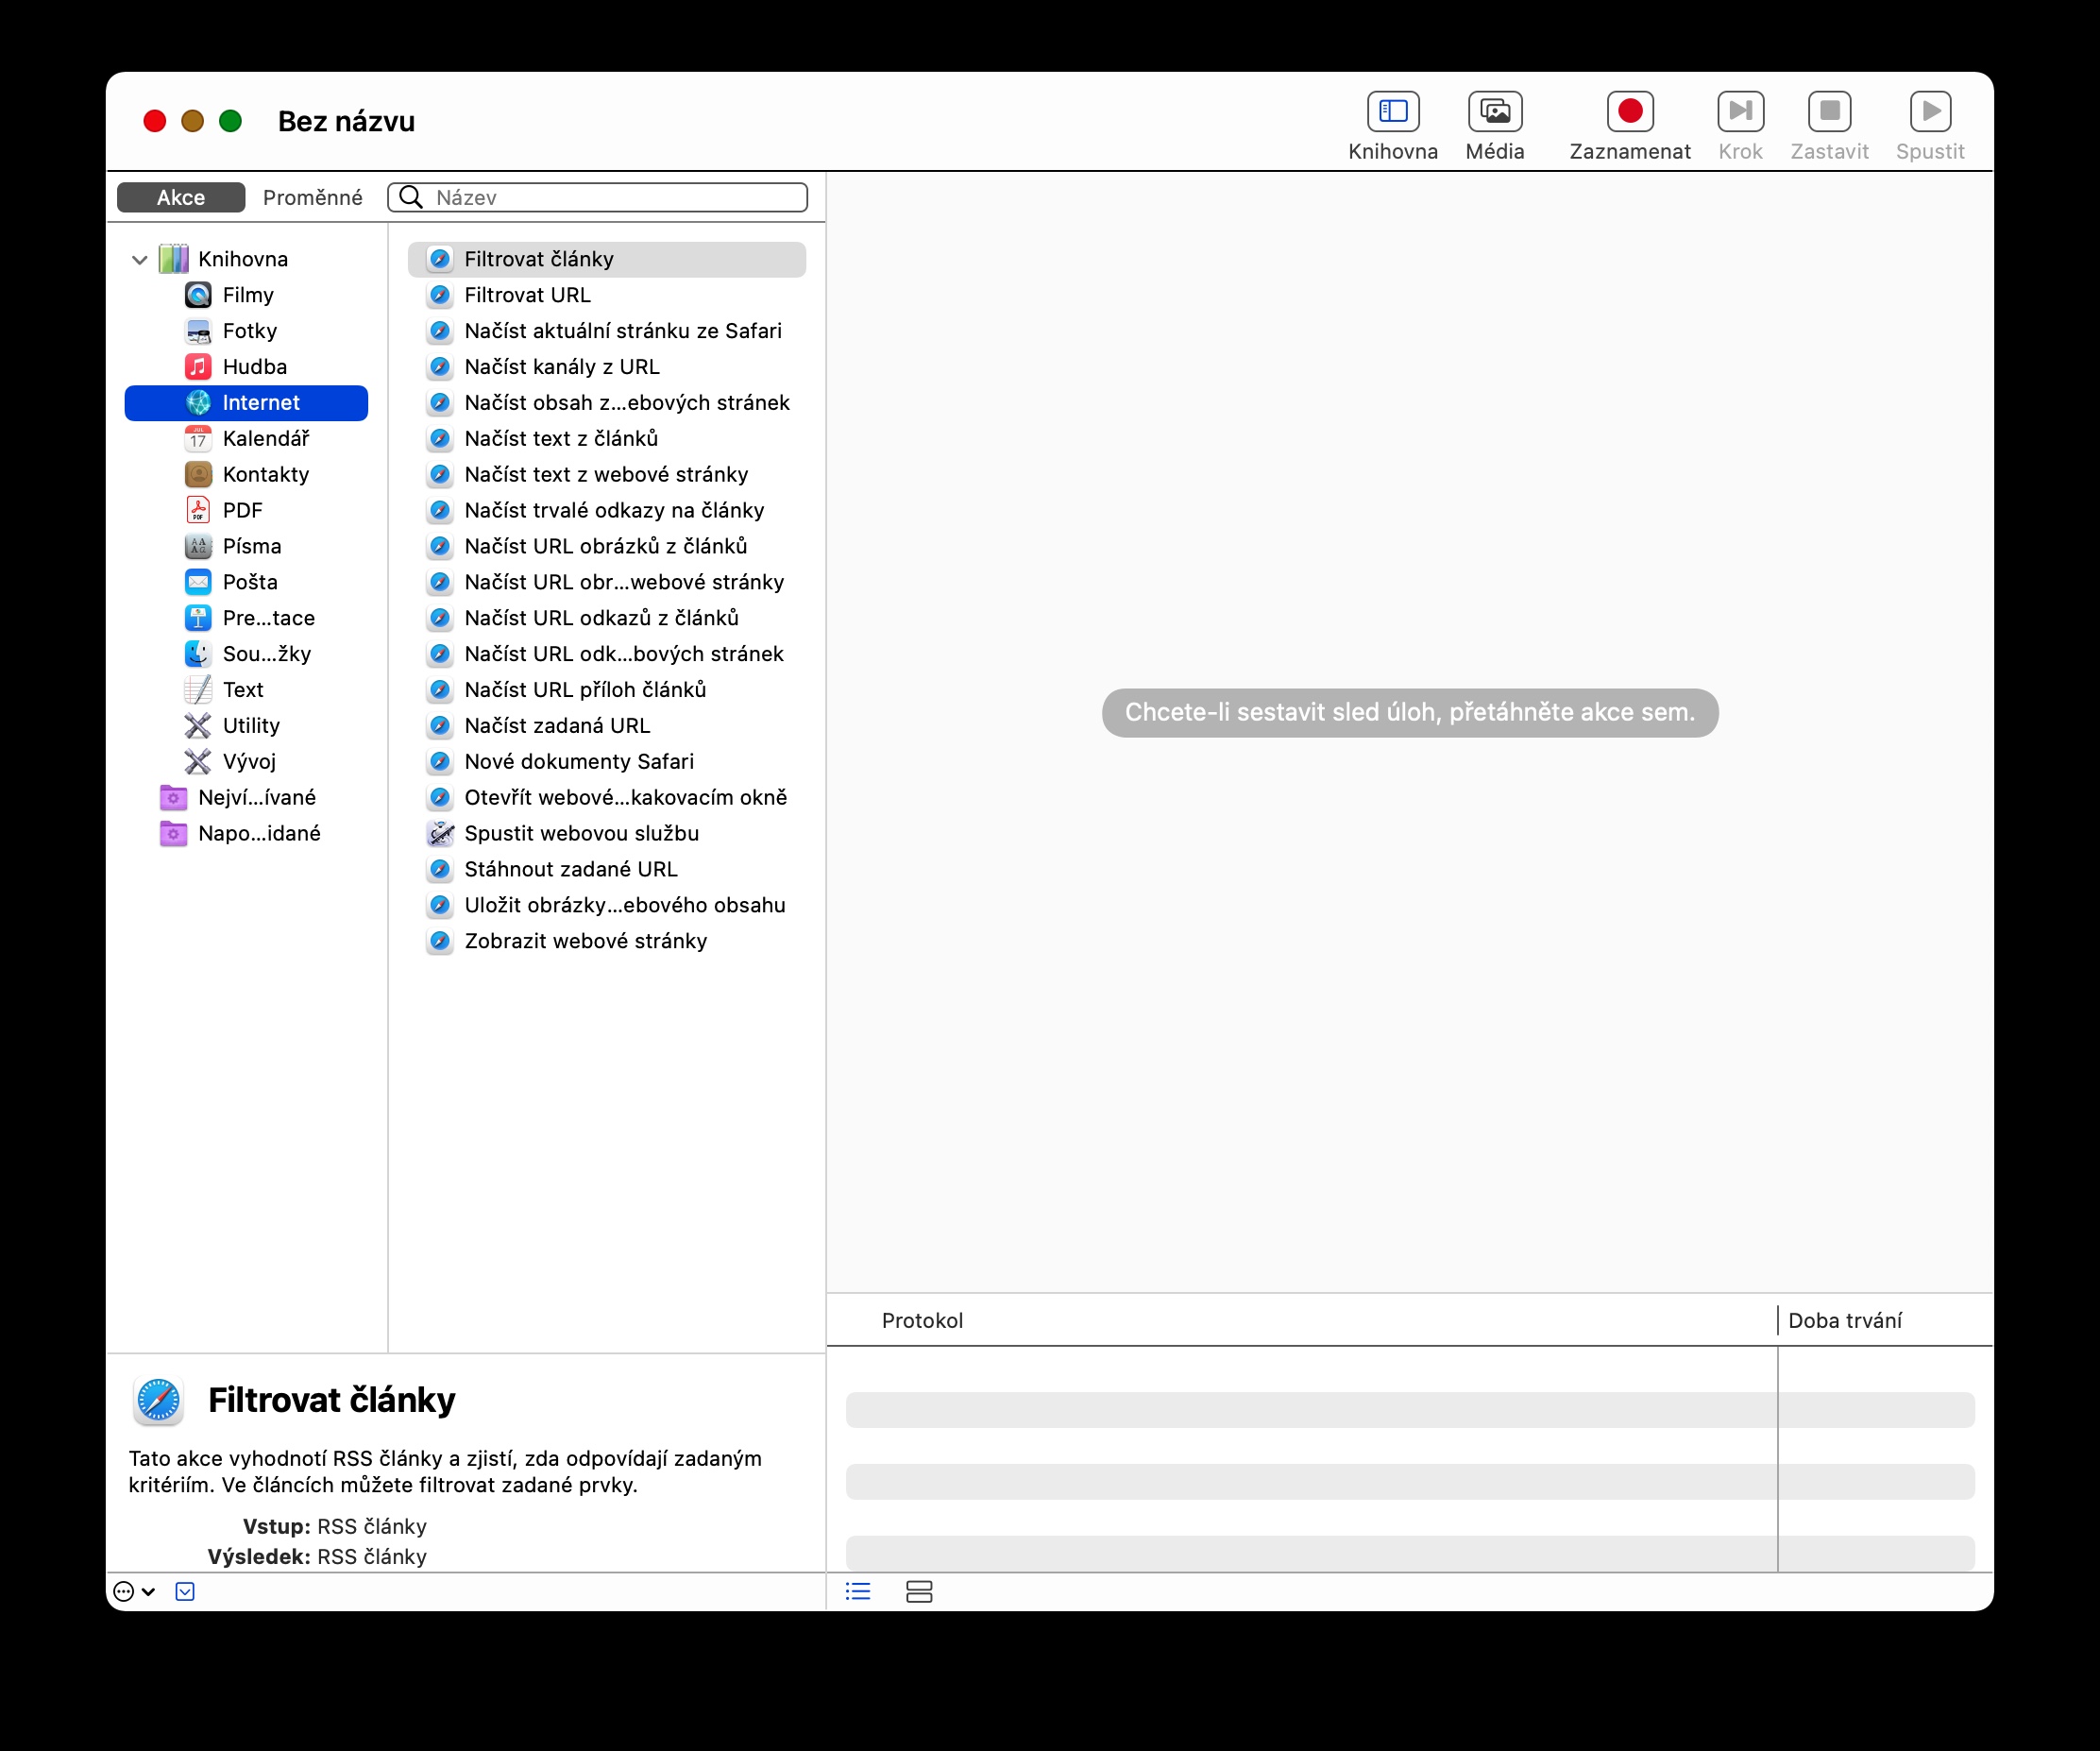
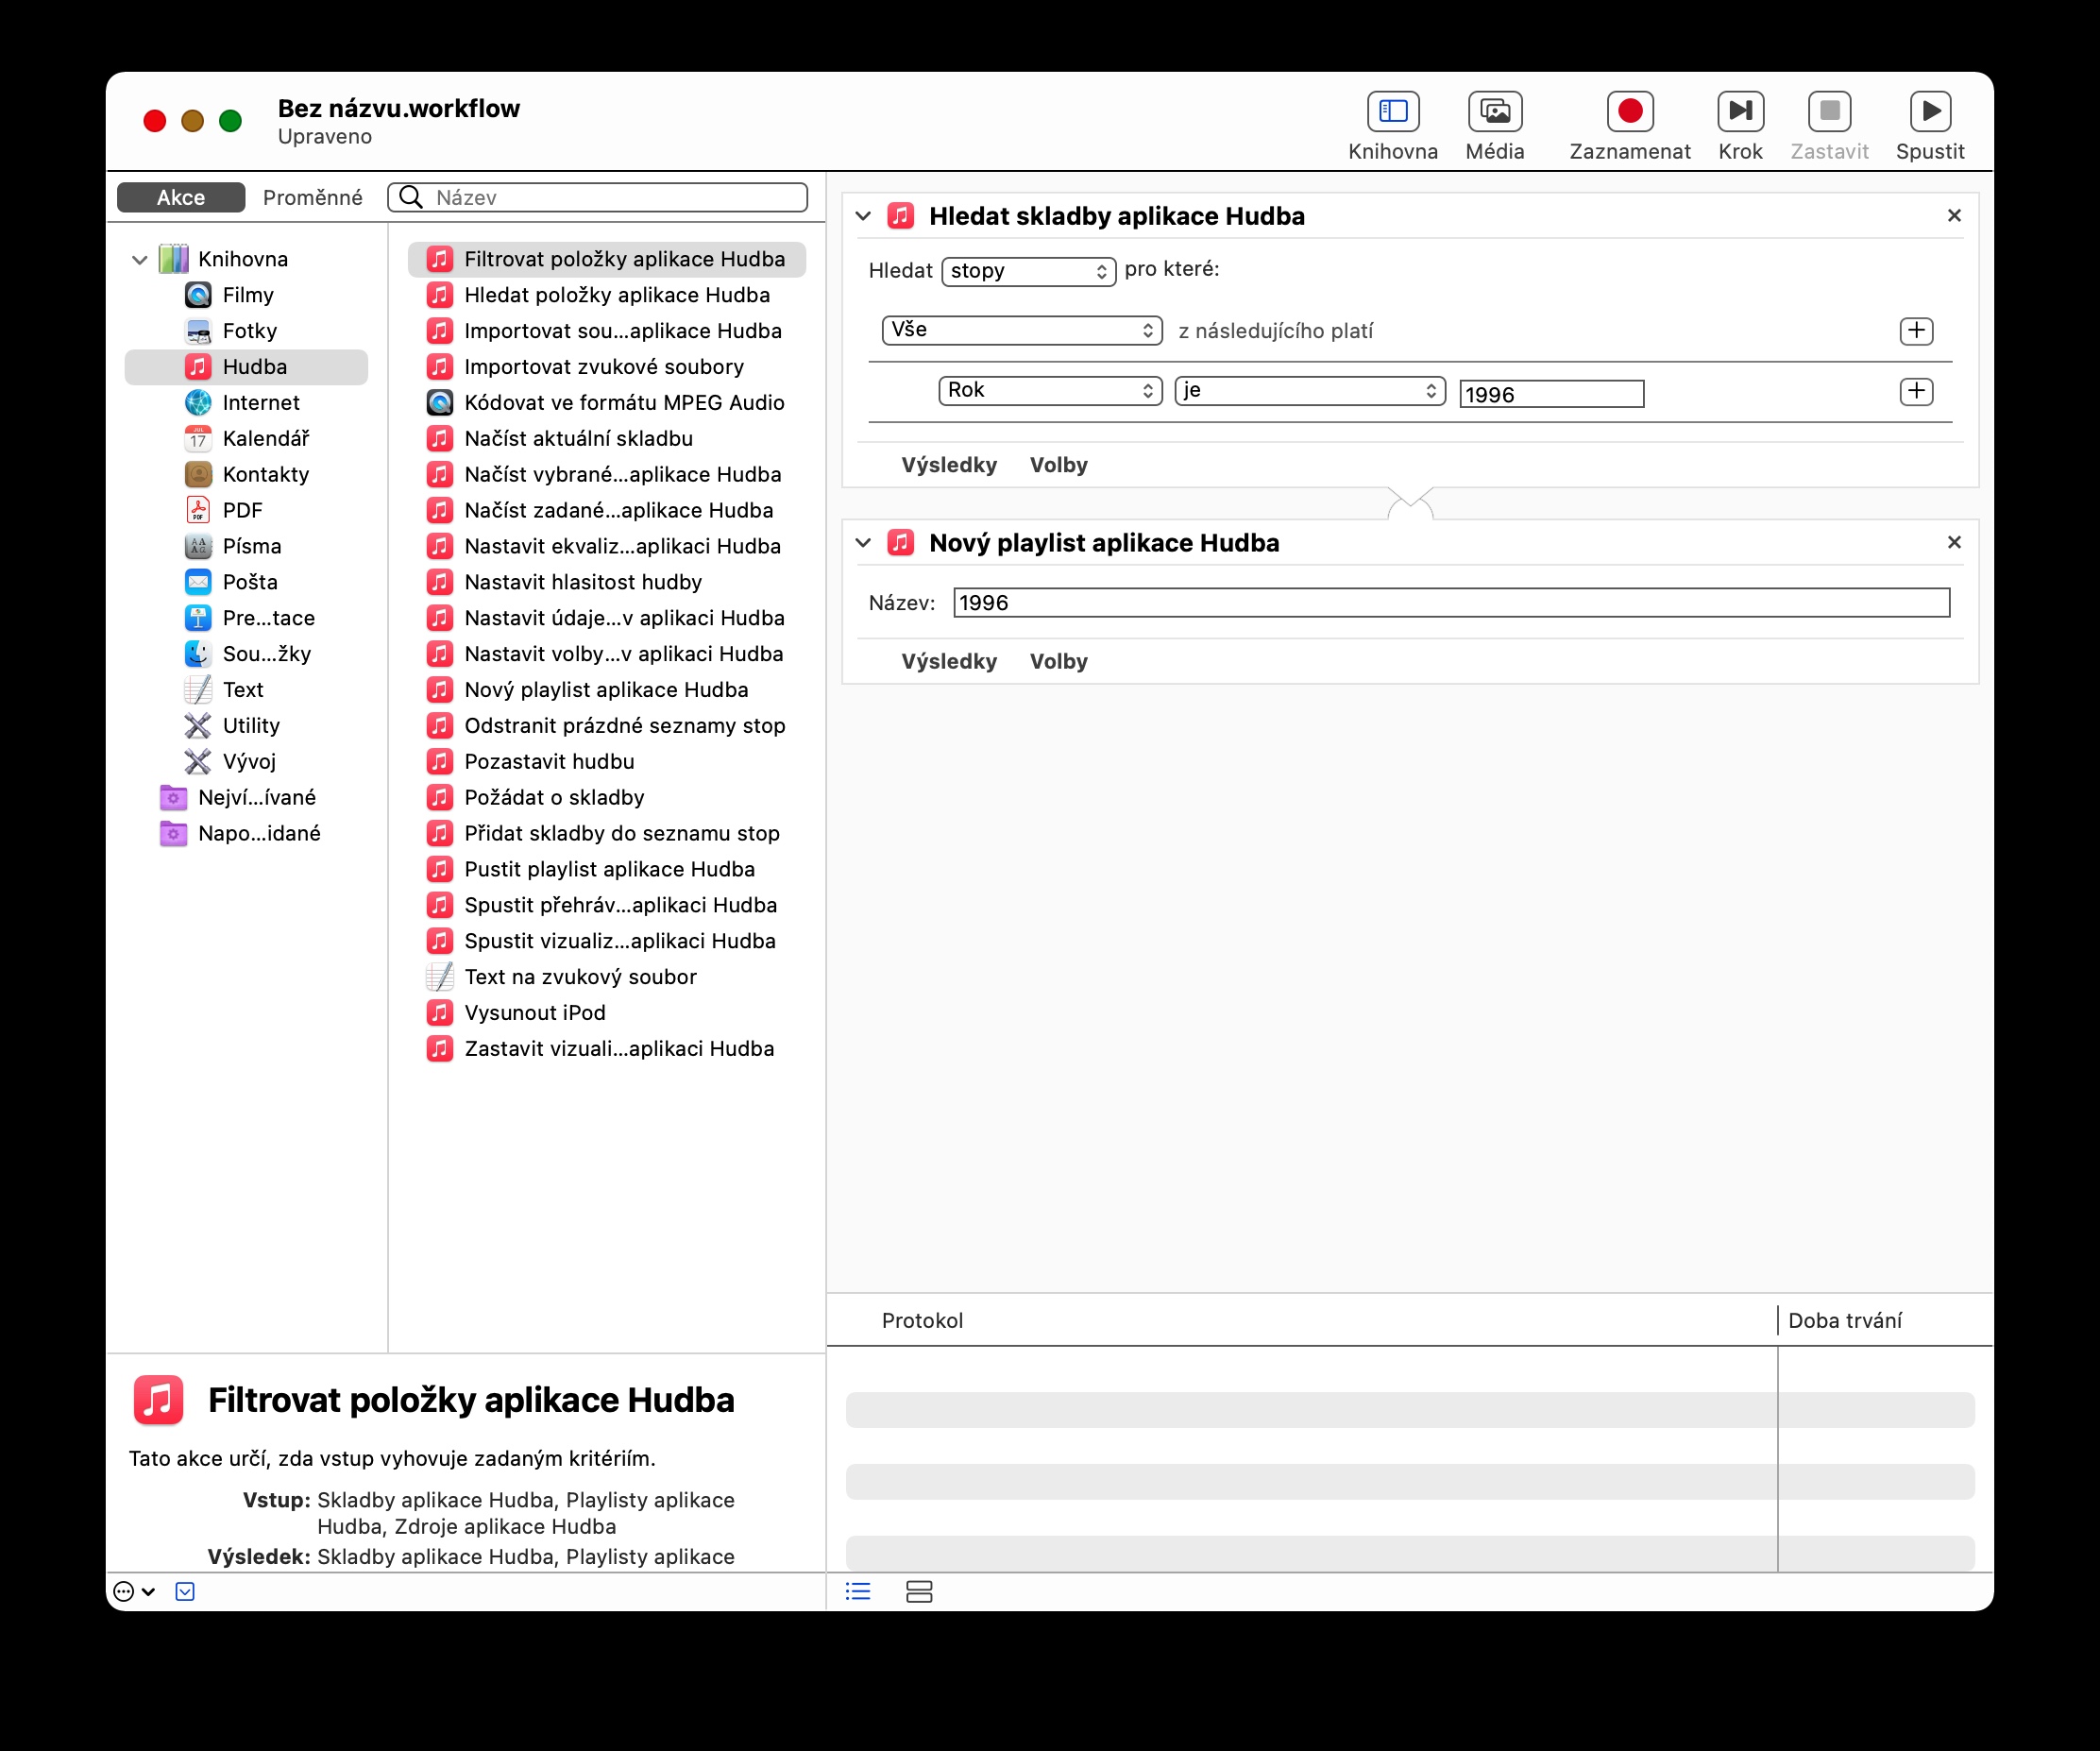
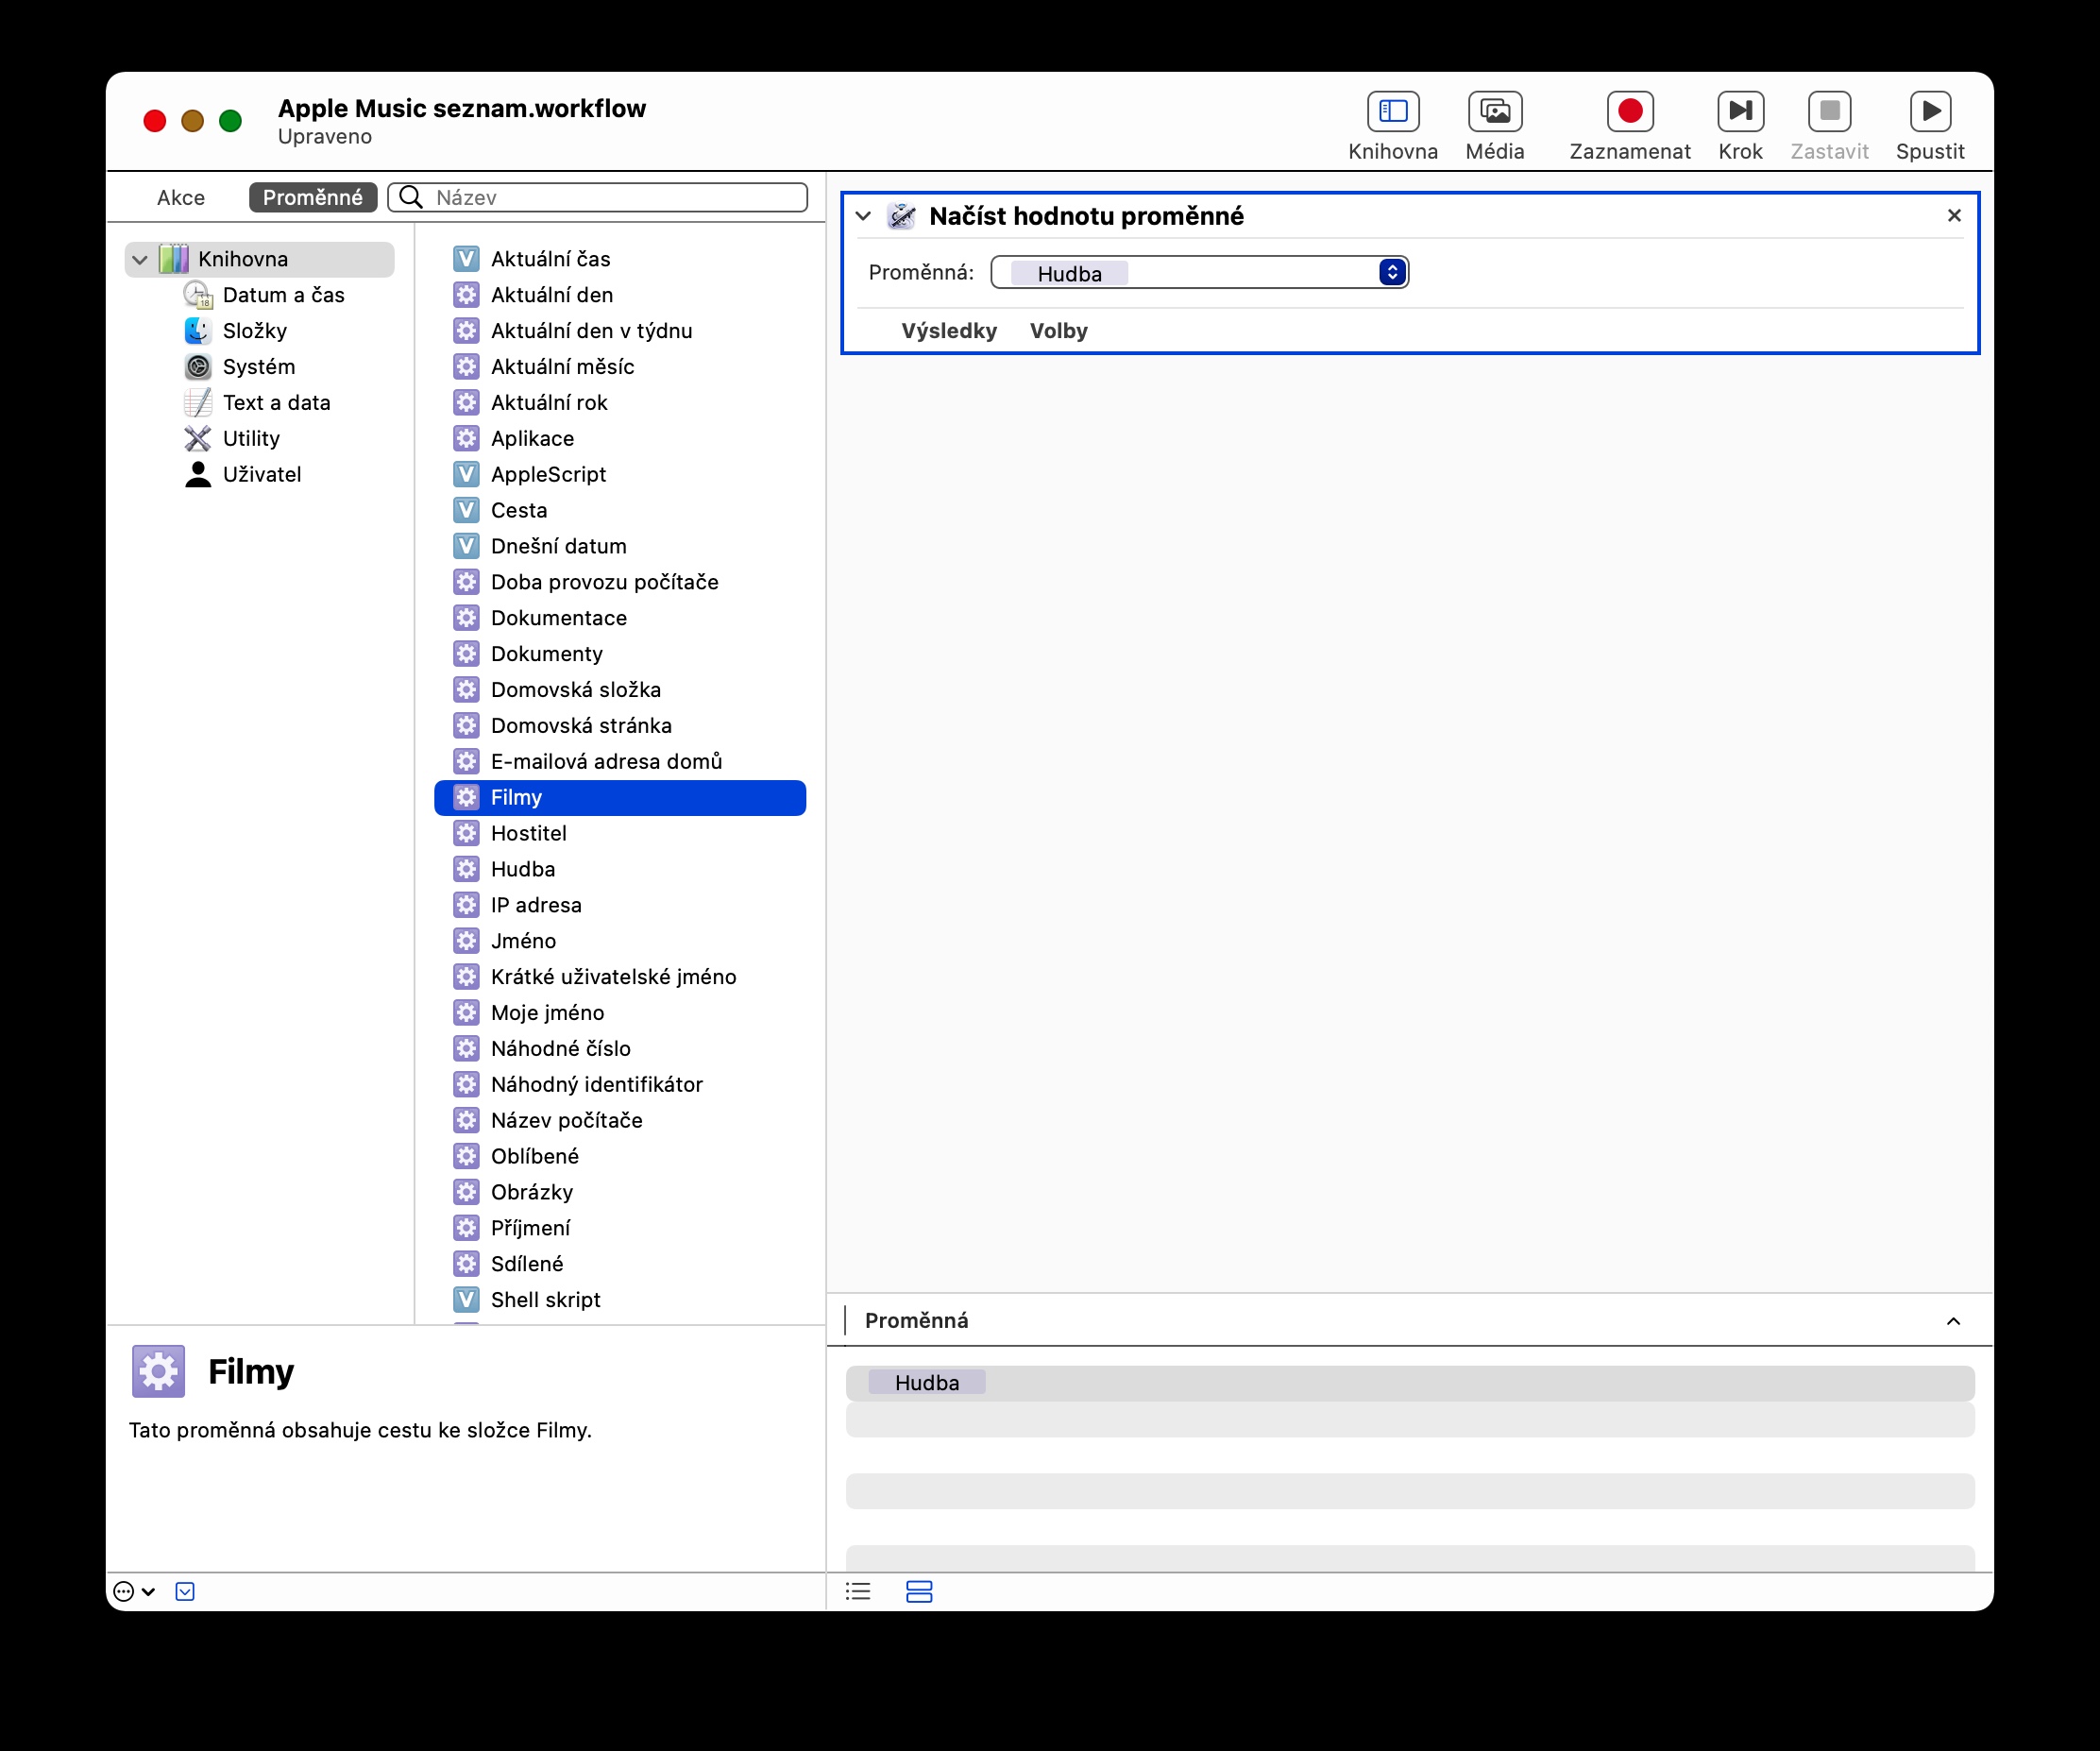
When you select the desired document type, the Automator main window will appear. It is divided into two parts. The right part is empty at the moment, on the panel in the left part of the Automator window you will find a library of actions from which you will later create individual task sequences. You can hide or display the library in Automator by clicking on the tab at the top of the Automator window, individual actions are divided into categories.
Work and events
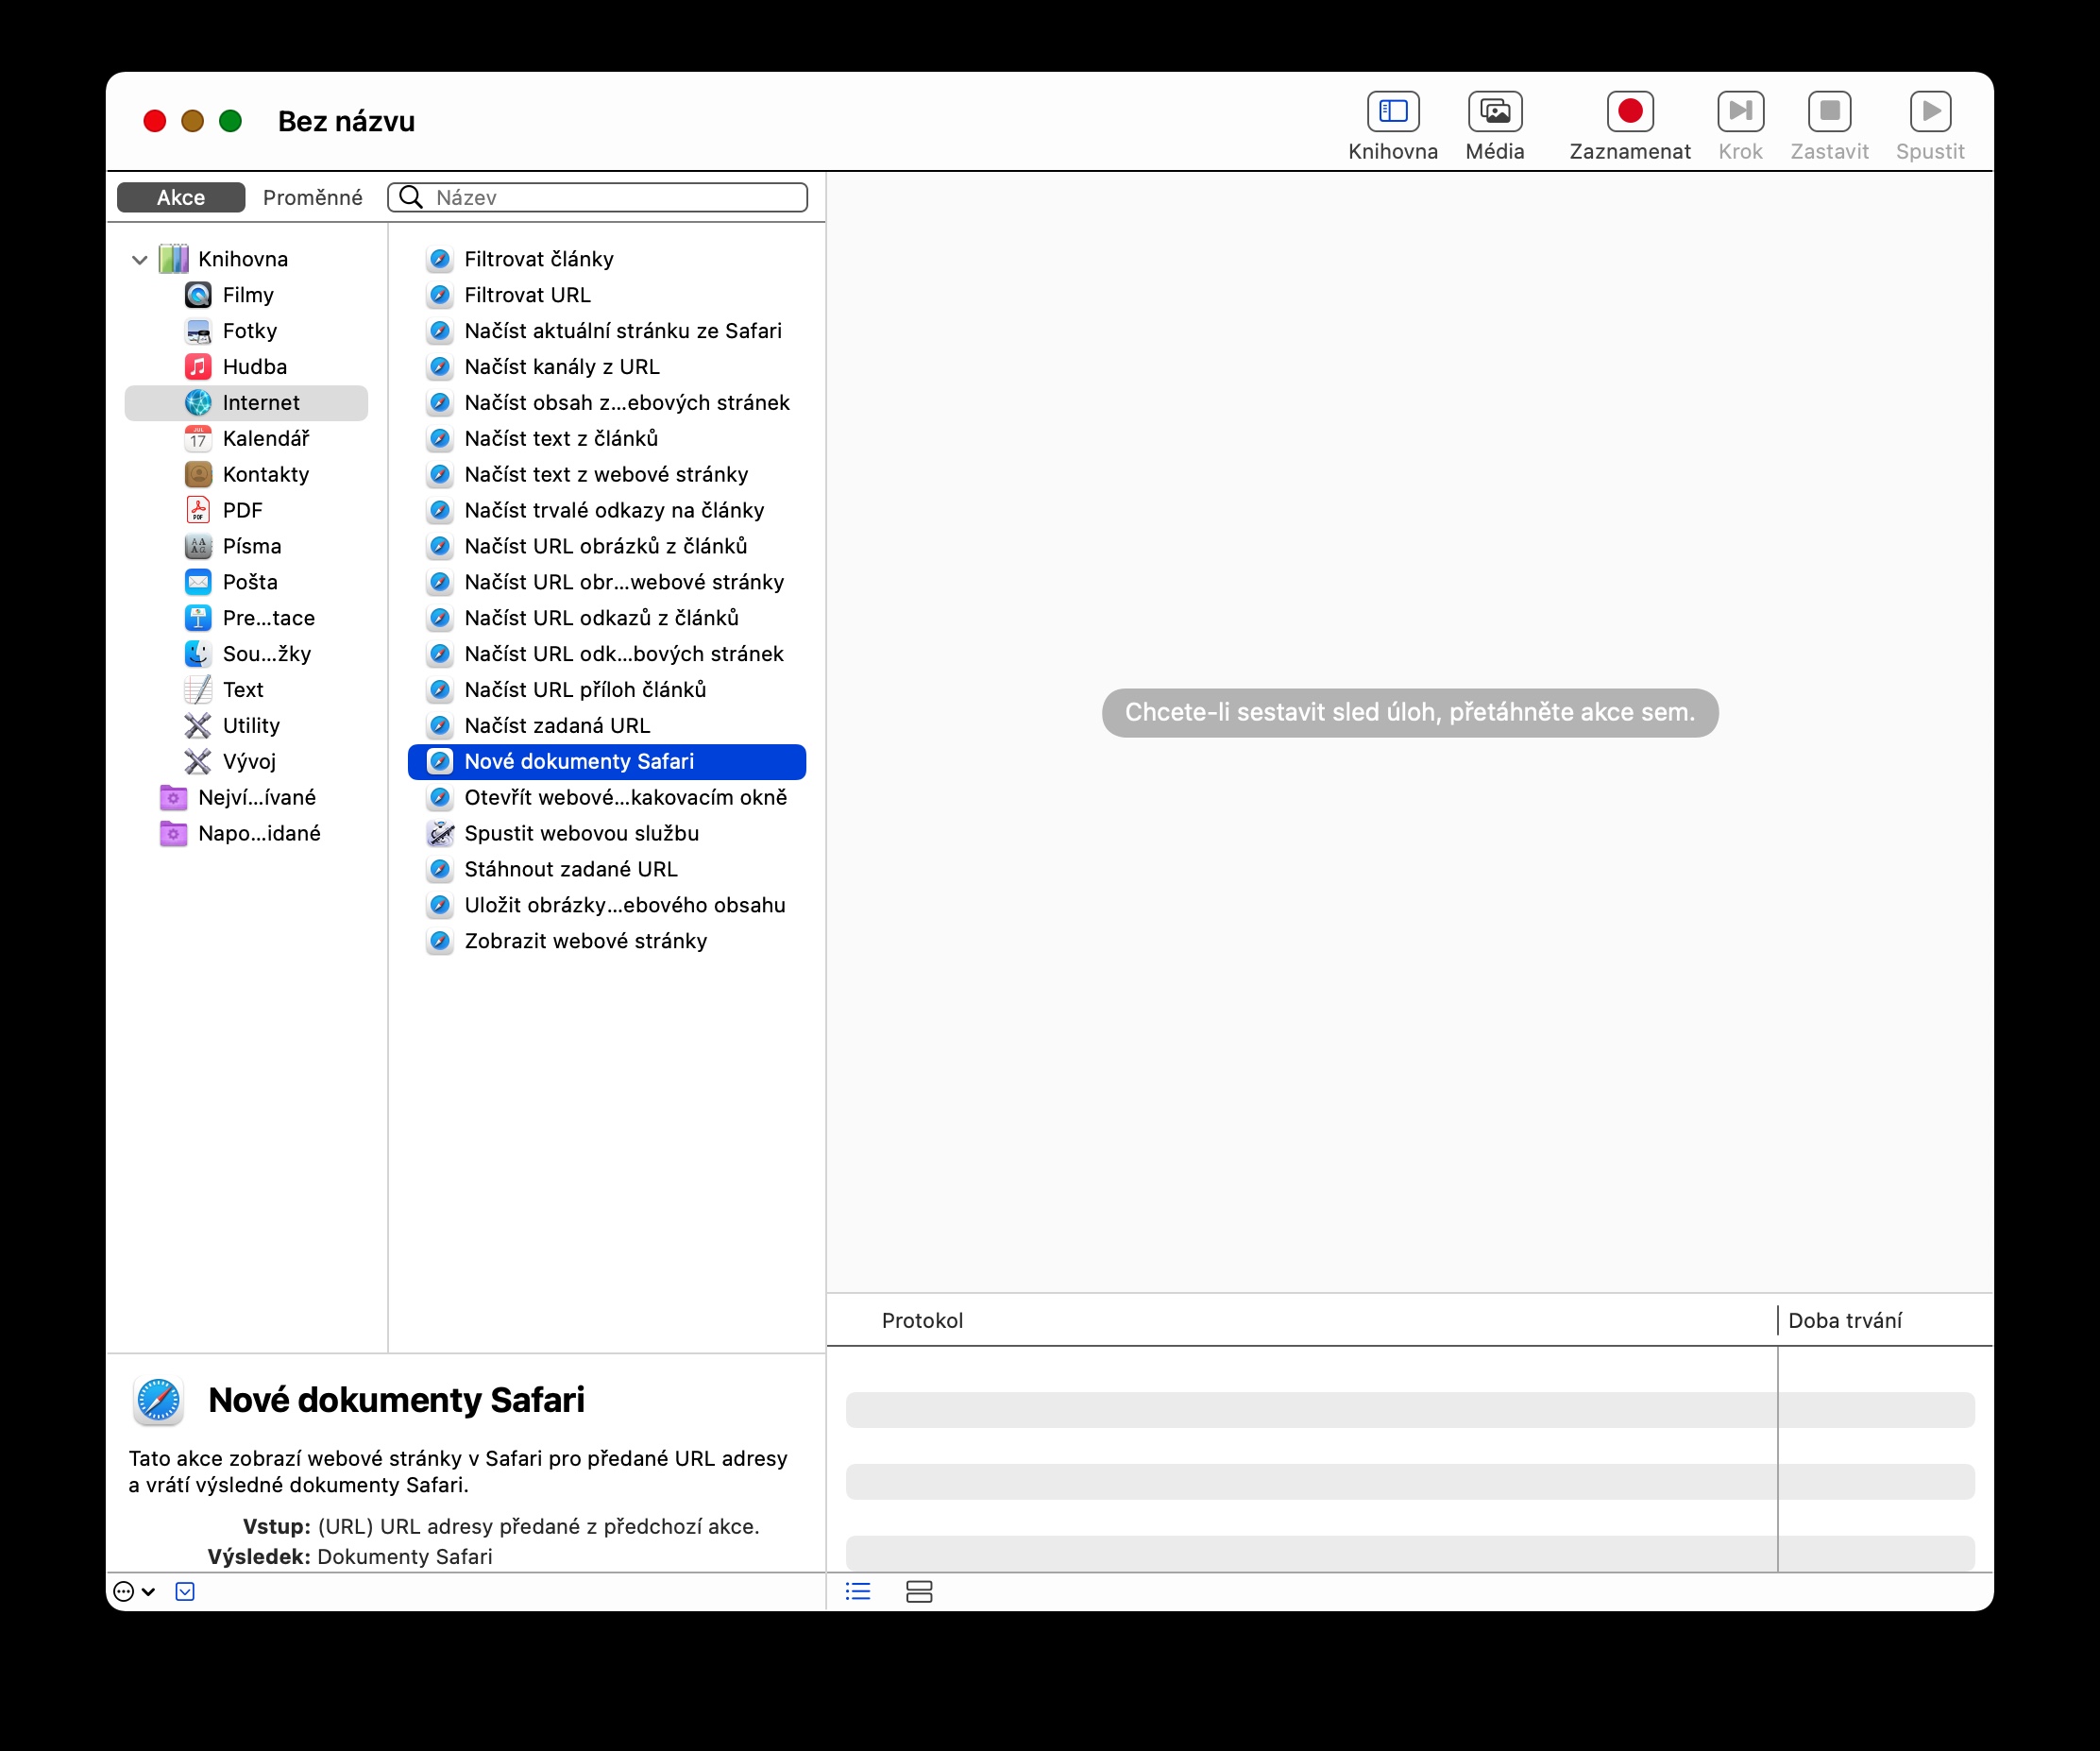
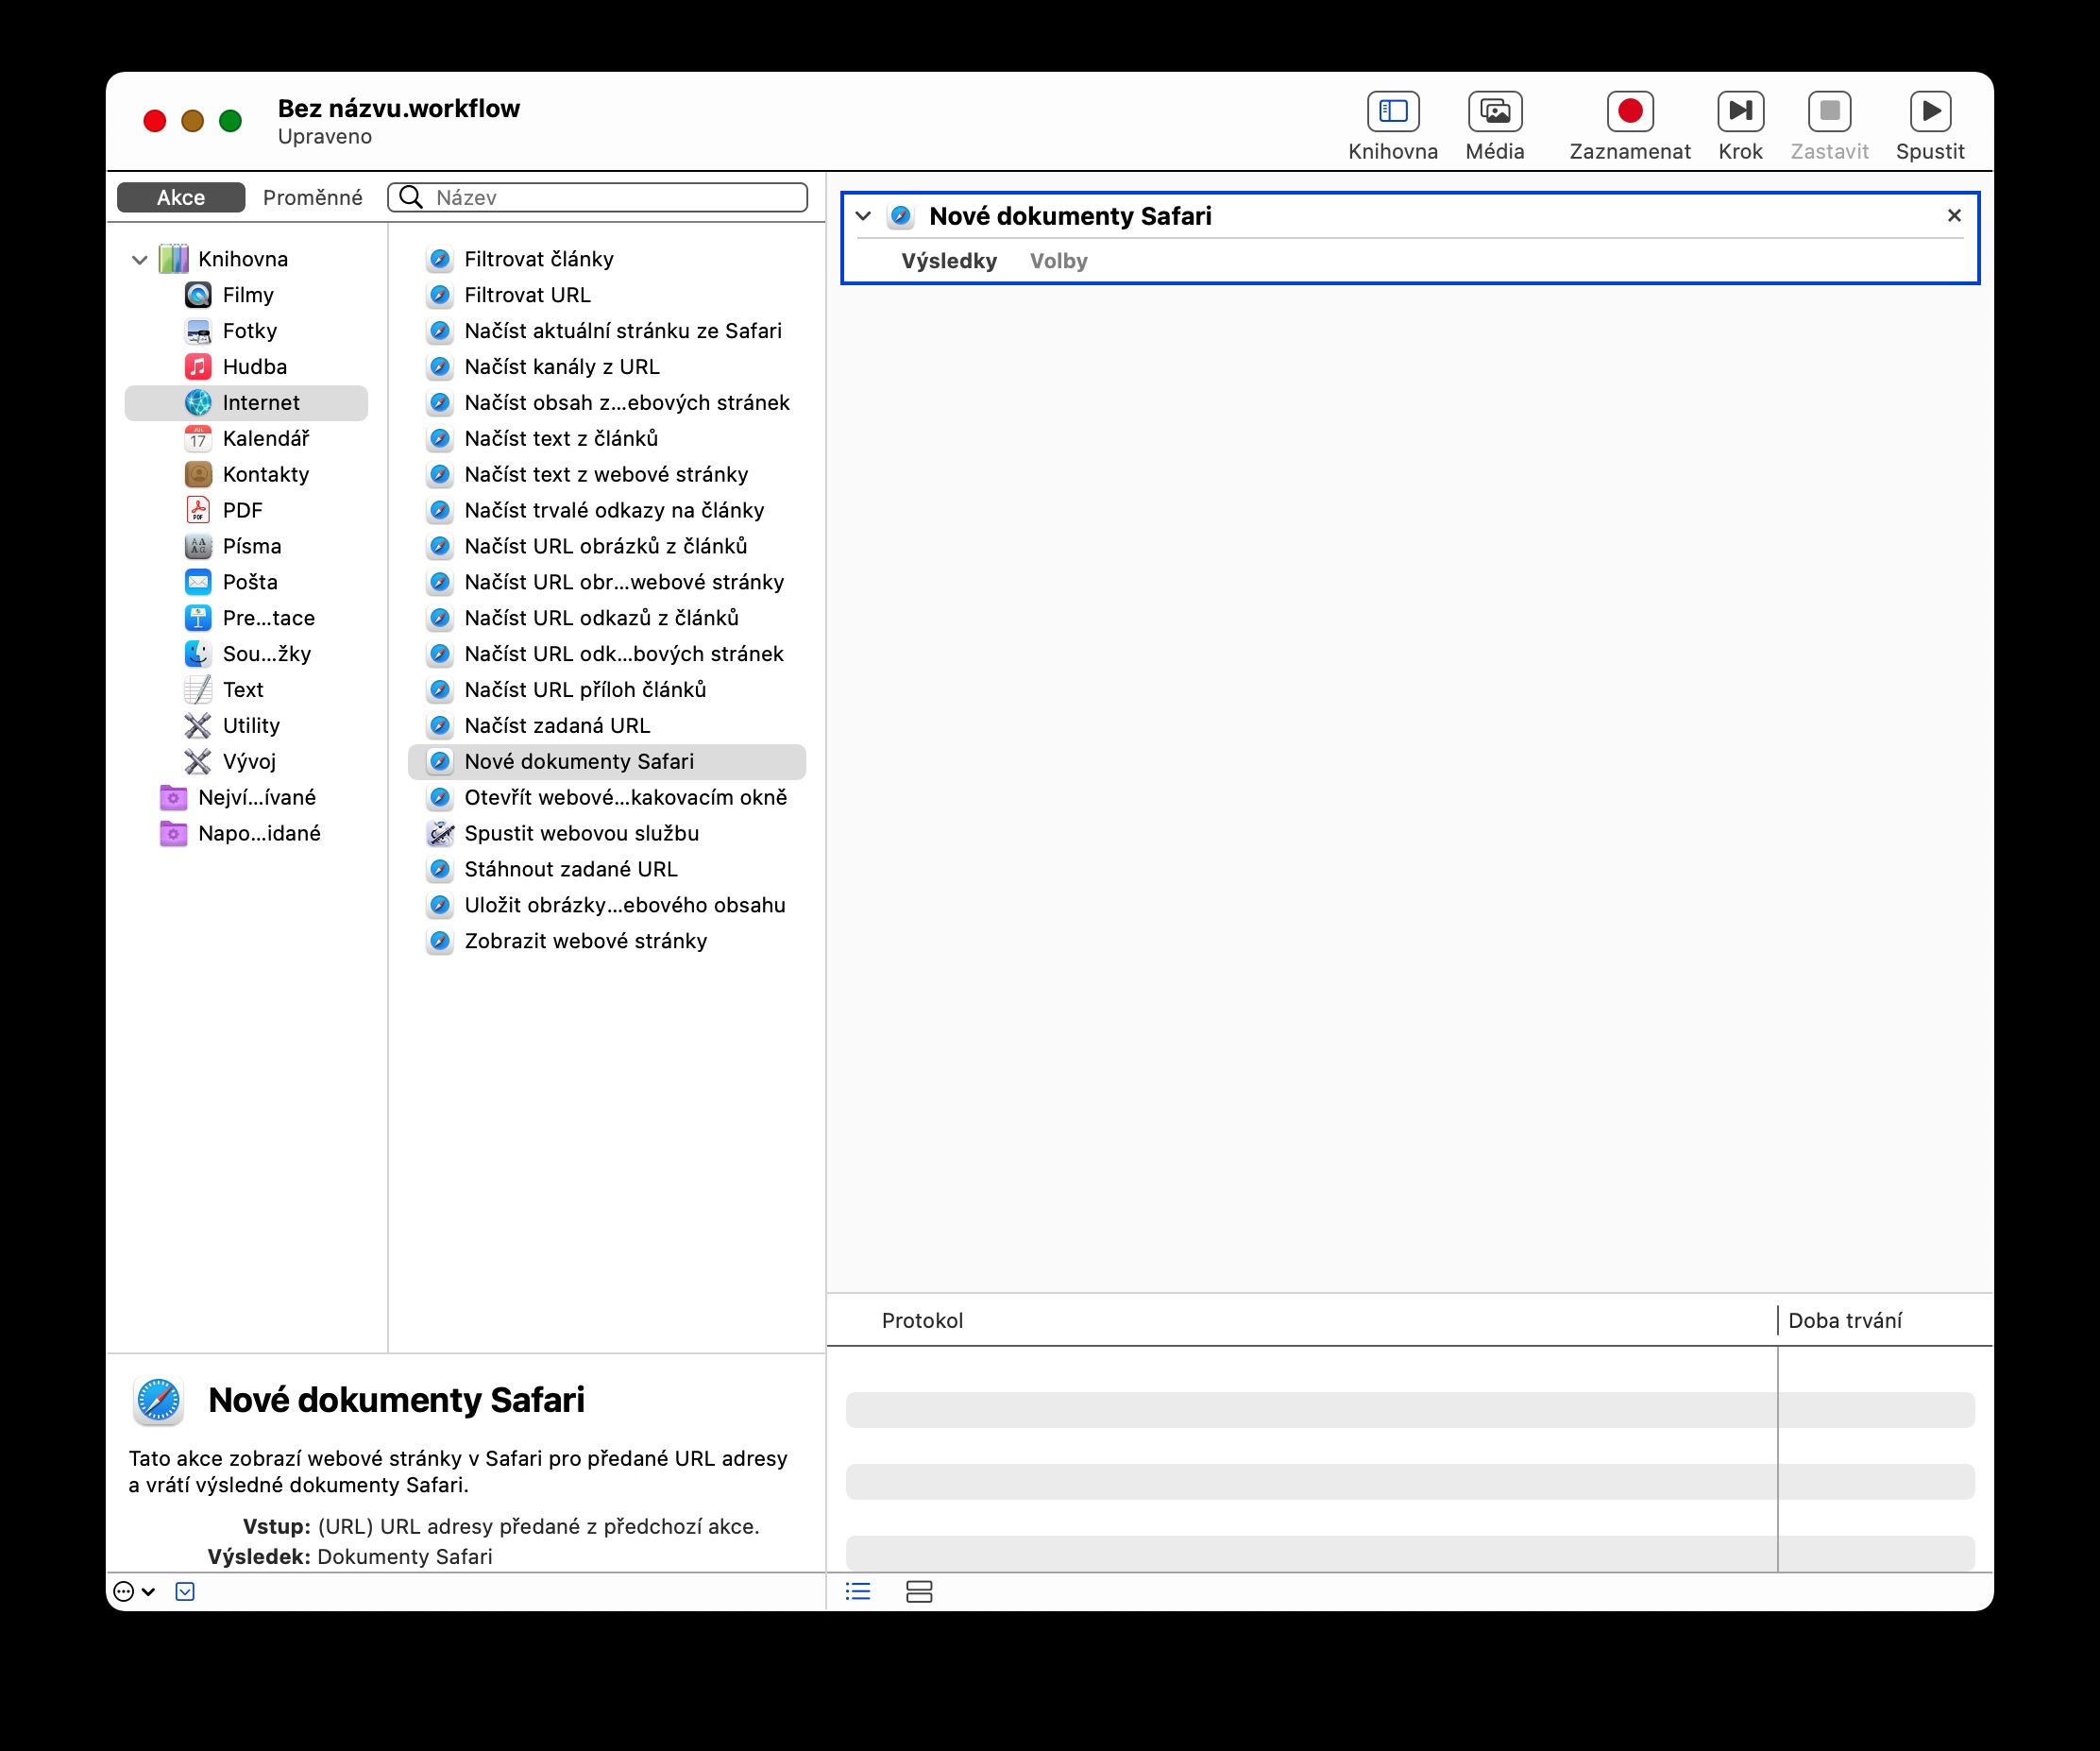
We will describe the creation of individual task sequences in the next parts of our series on getting started with Automator. However, in this paragraph you will learn how to work with actions. When you select a category in the left column of the Automator window, a list of available actions will appear in the panel to the right of the list of categories. You can find a description of what each action can do in the lower left corner of the Automator window. Adding actions to the task sequence is done simply by dragging them from the panel on the left to the empty window on the right. The action can be removed from the window by clicking on the cross on the right side.
Work with task sequences
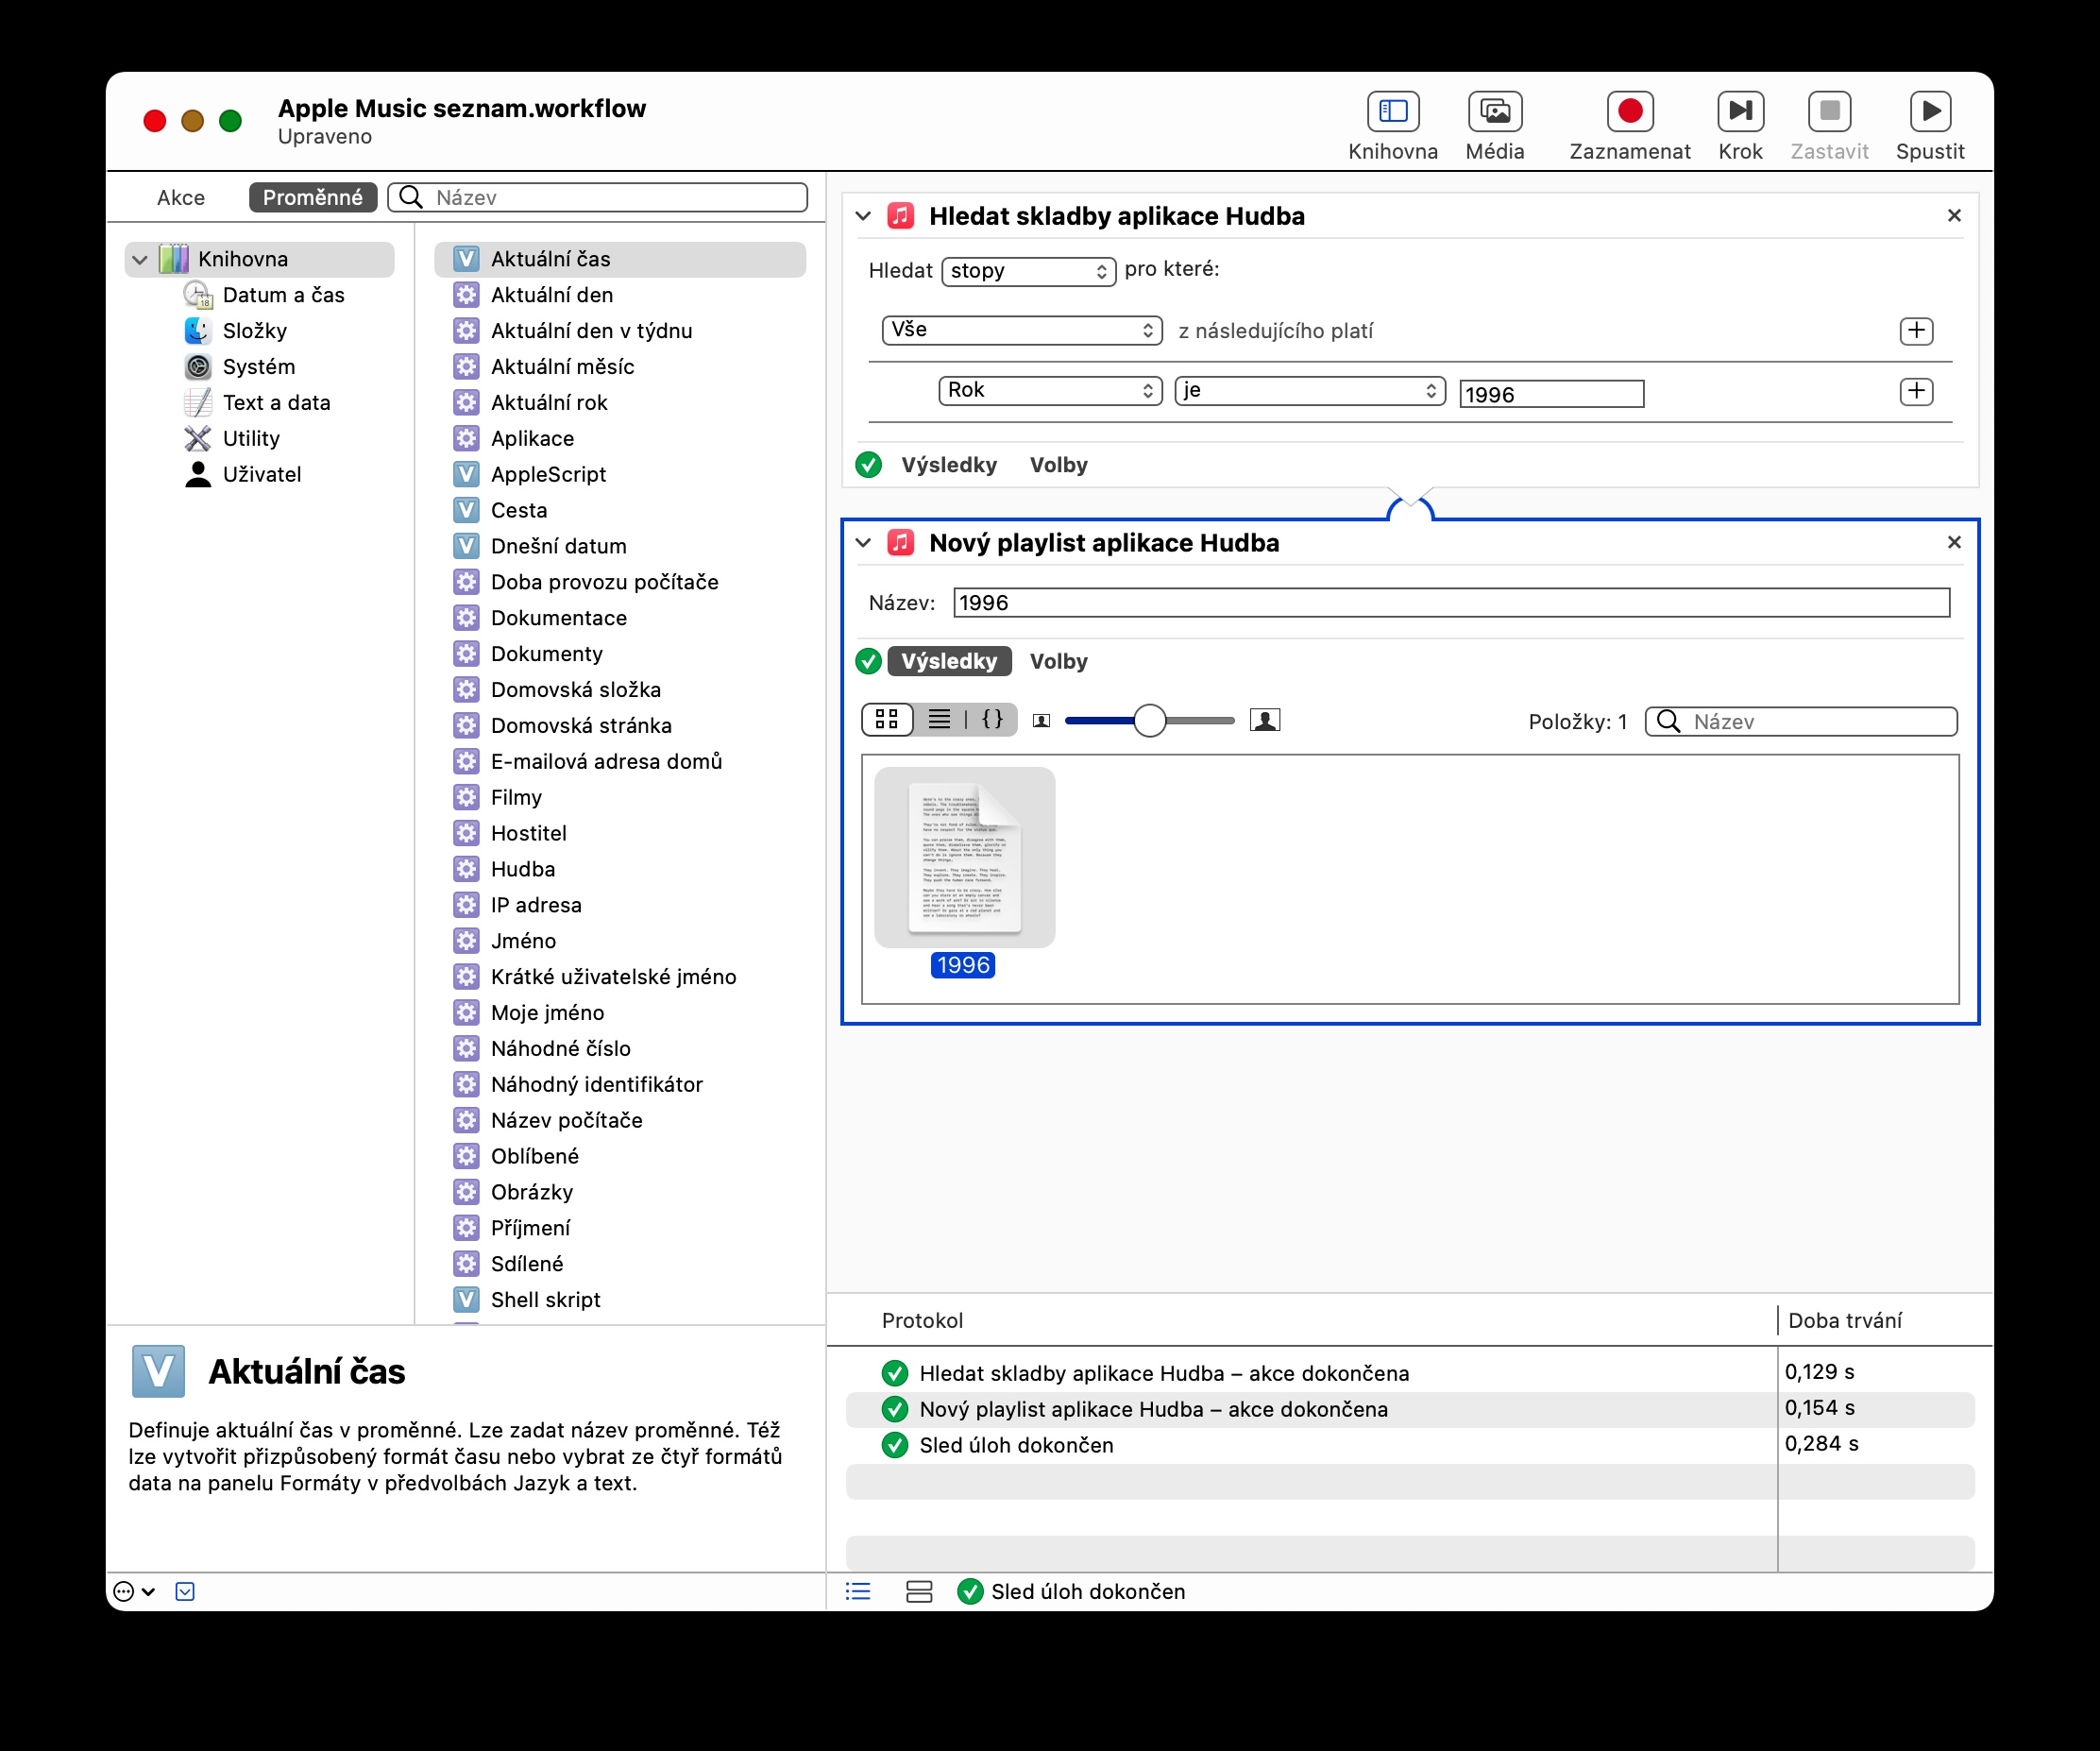
The moment you build a sequence of tasks, it's a good idea to test whether it actually works. The task sequence can be tested by clicking the Run button in the upper right corner of the Automator window. If the task sequence works, you need to save it by clicking Save in the bar at the top of your Mac screen. It is a good idea to name all created task sequences clearly for better orientation.
Working with variables
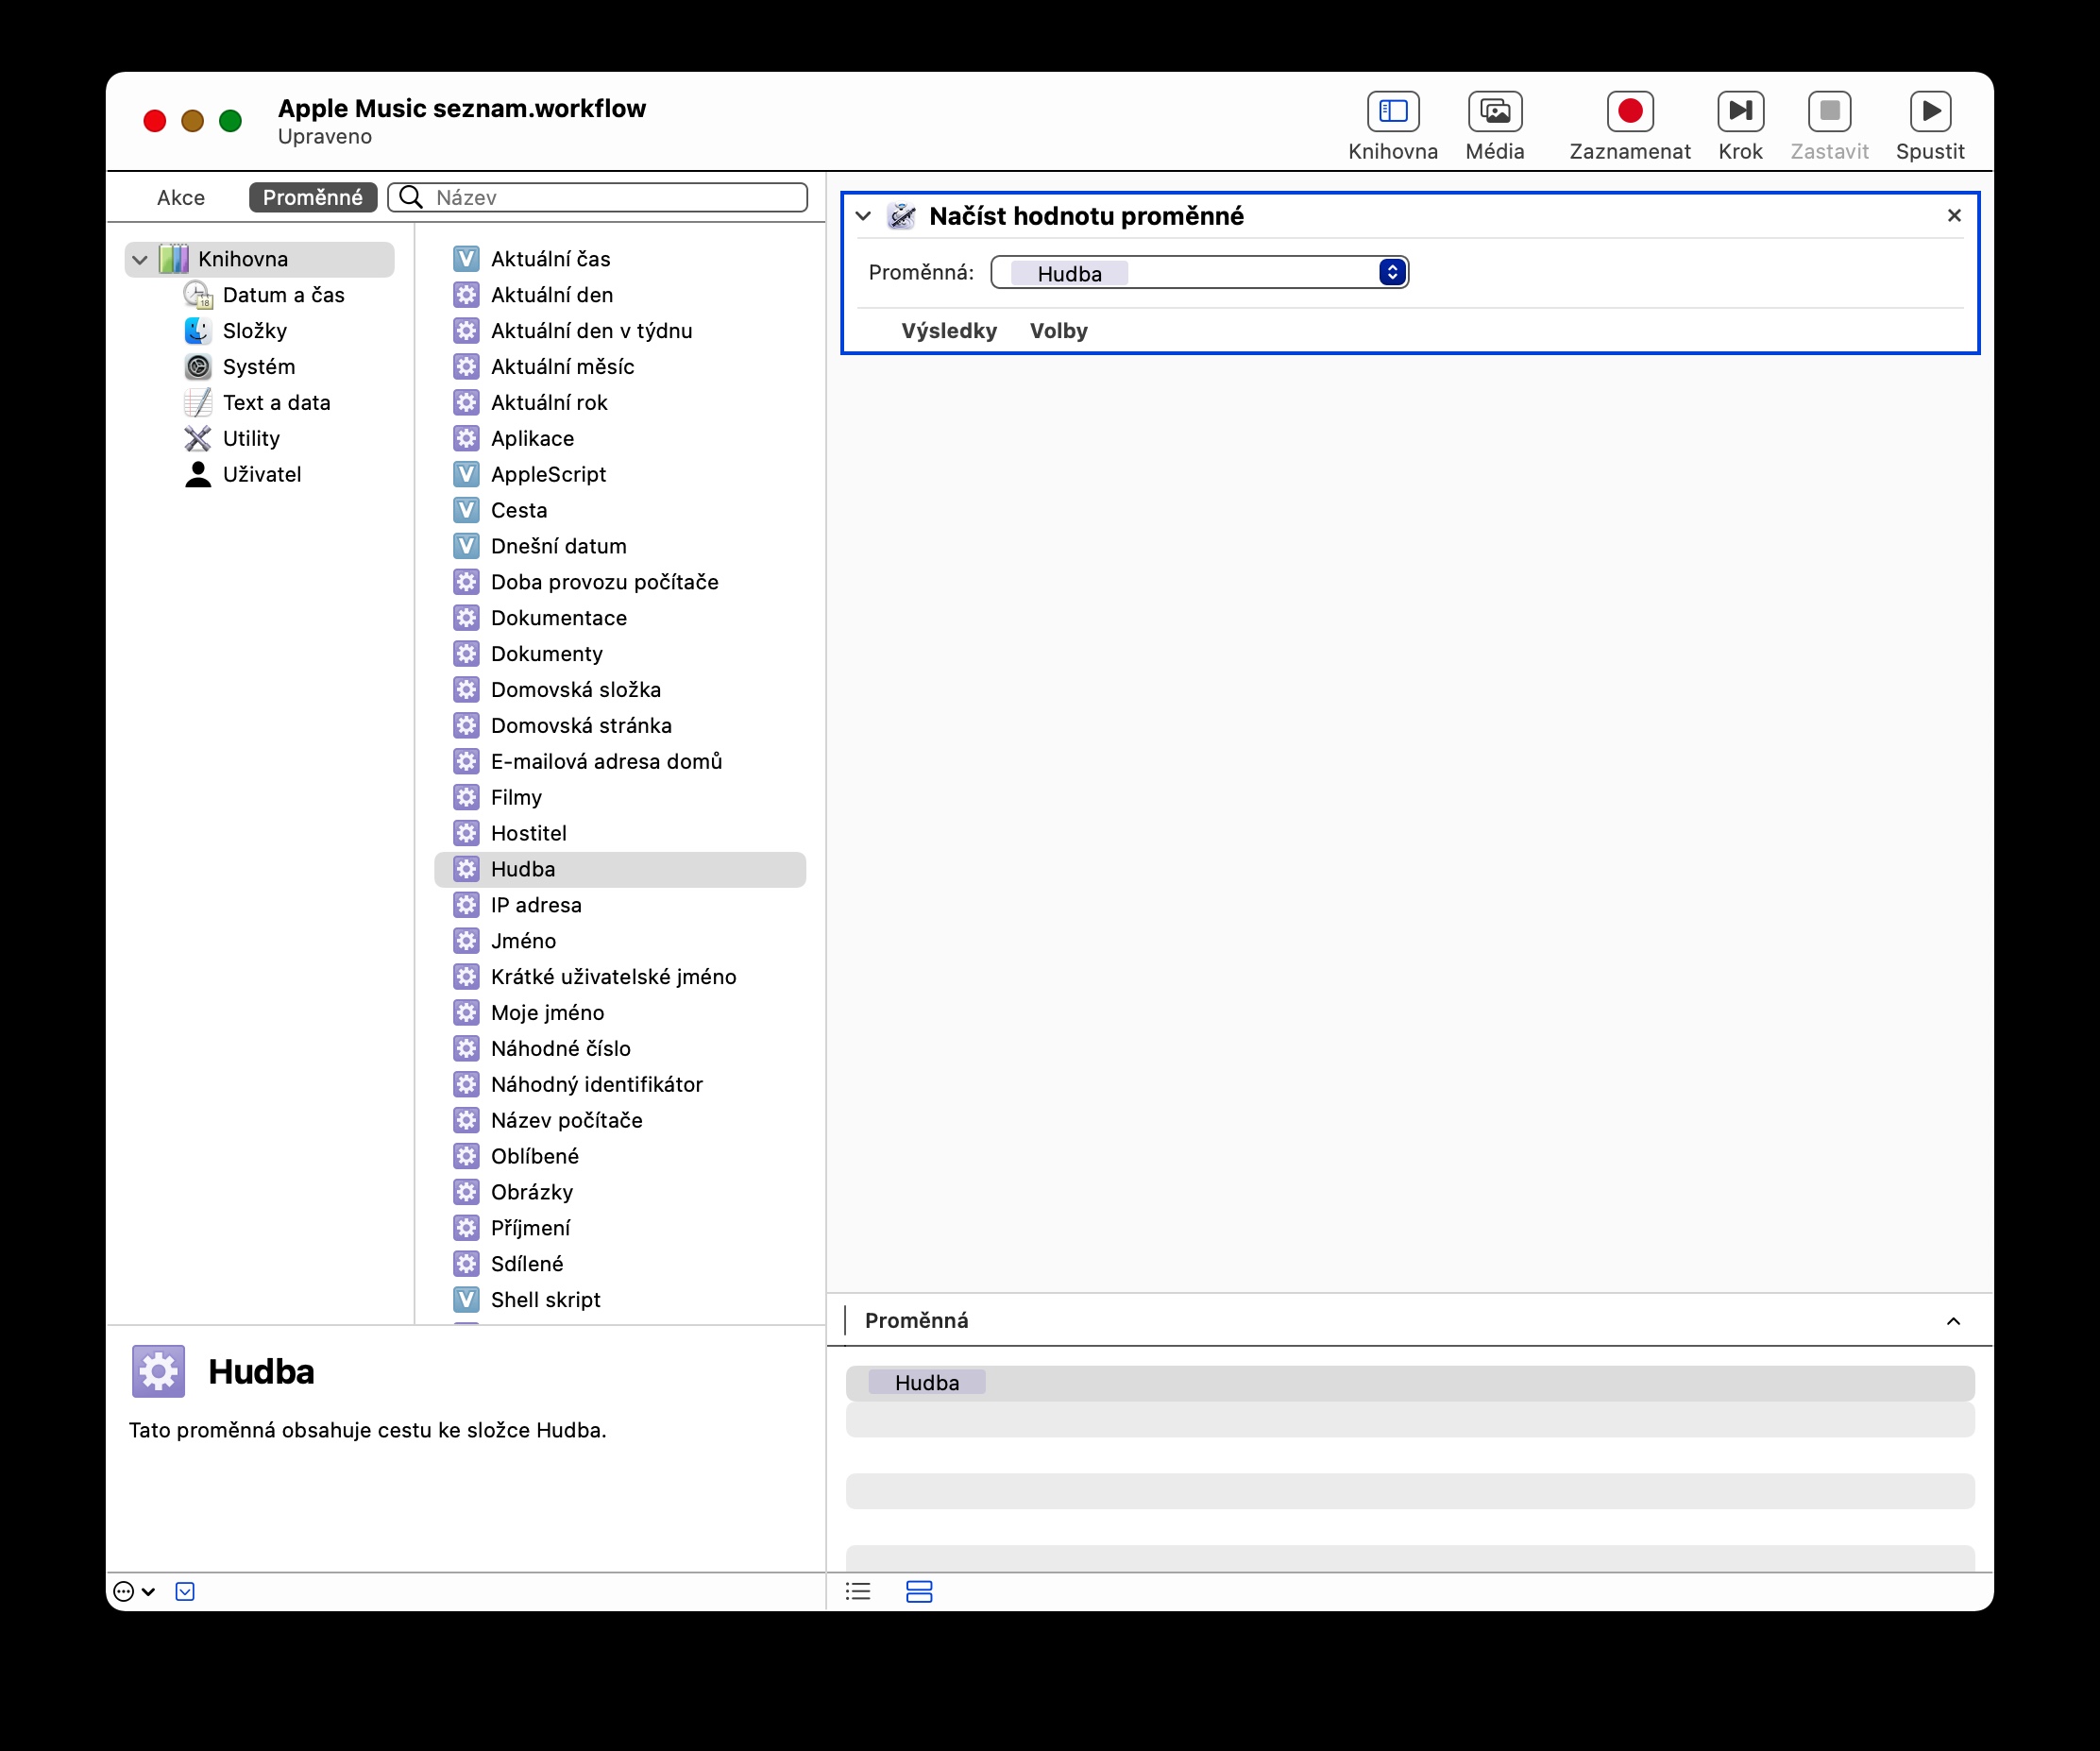
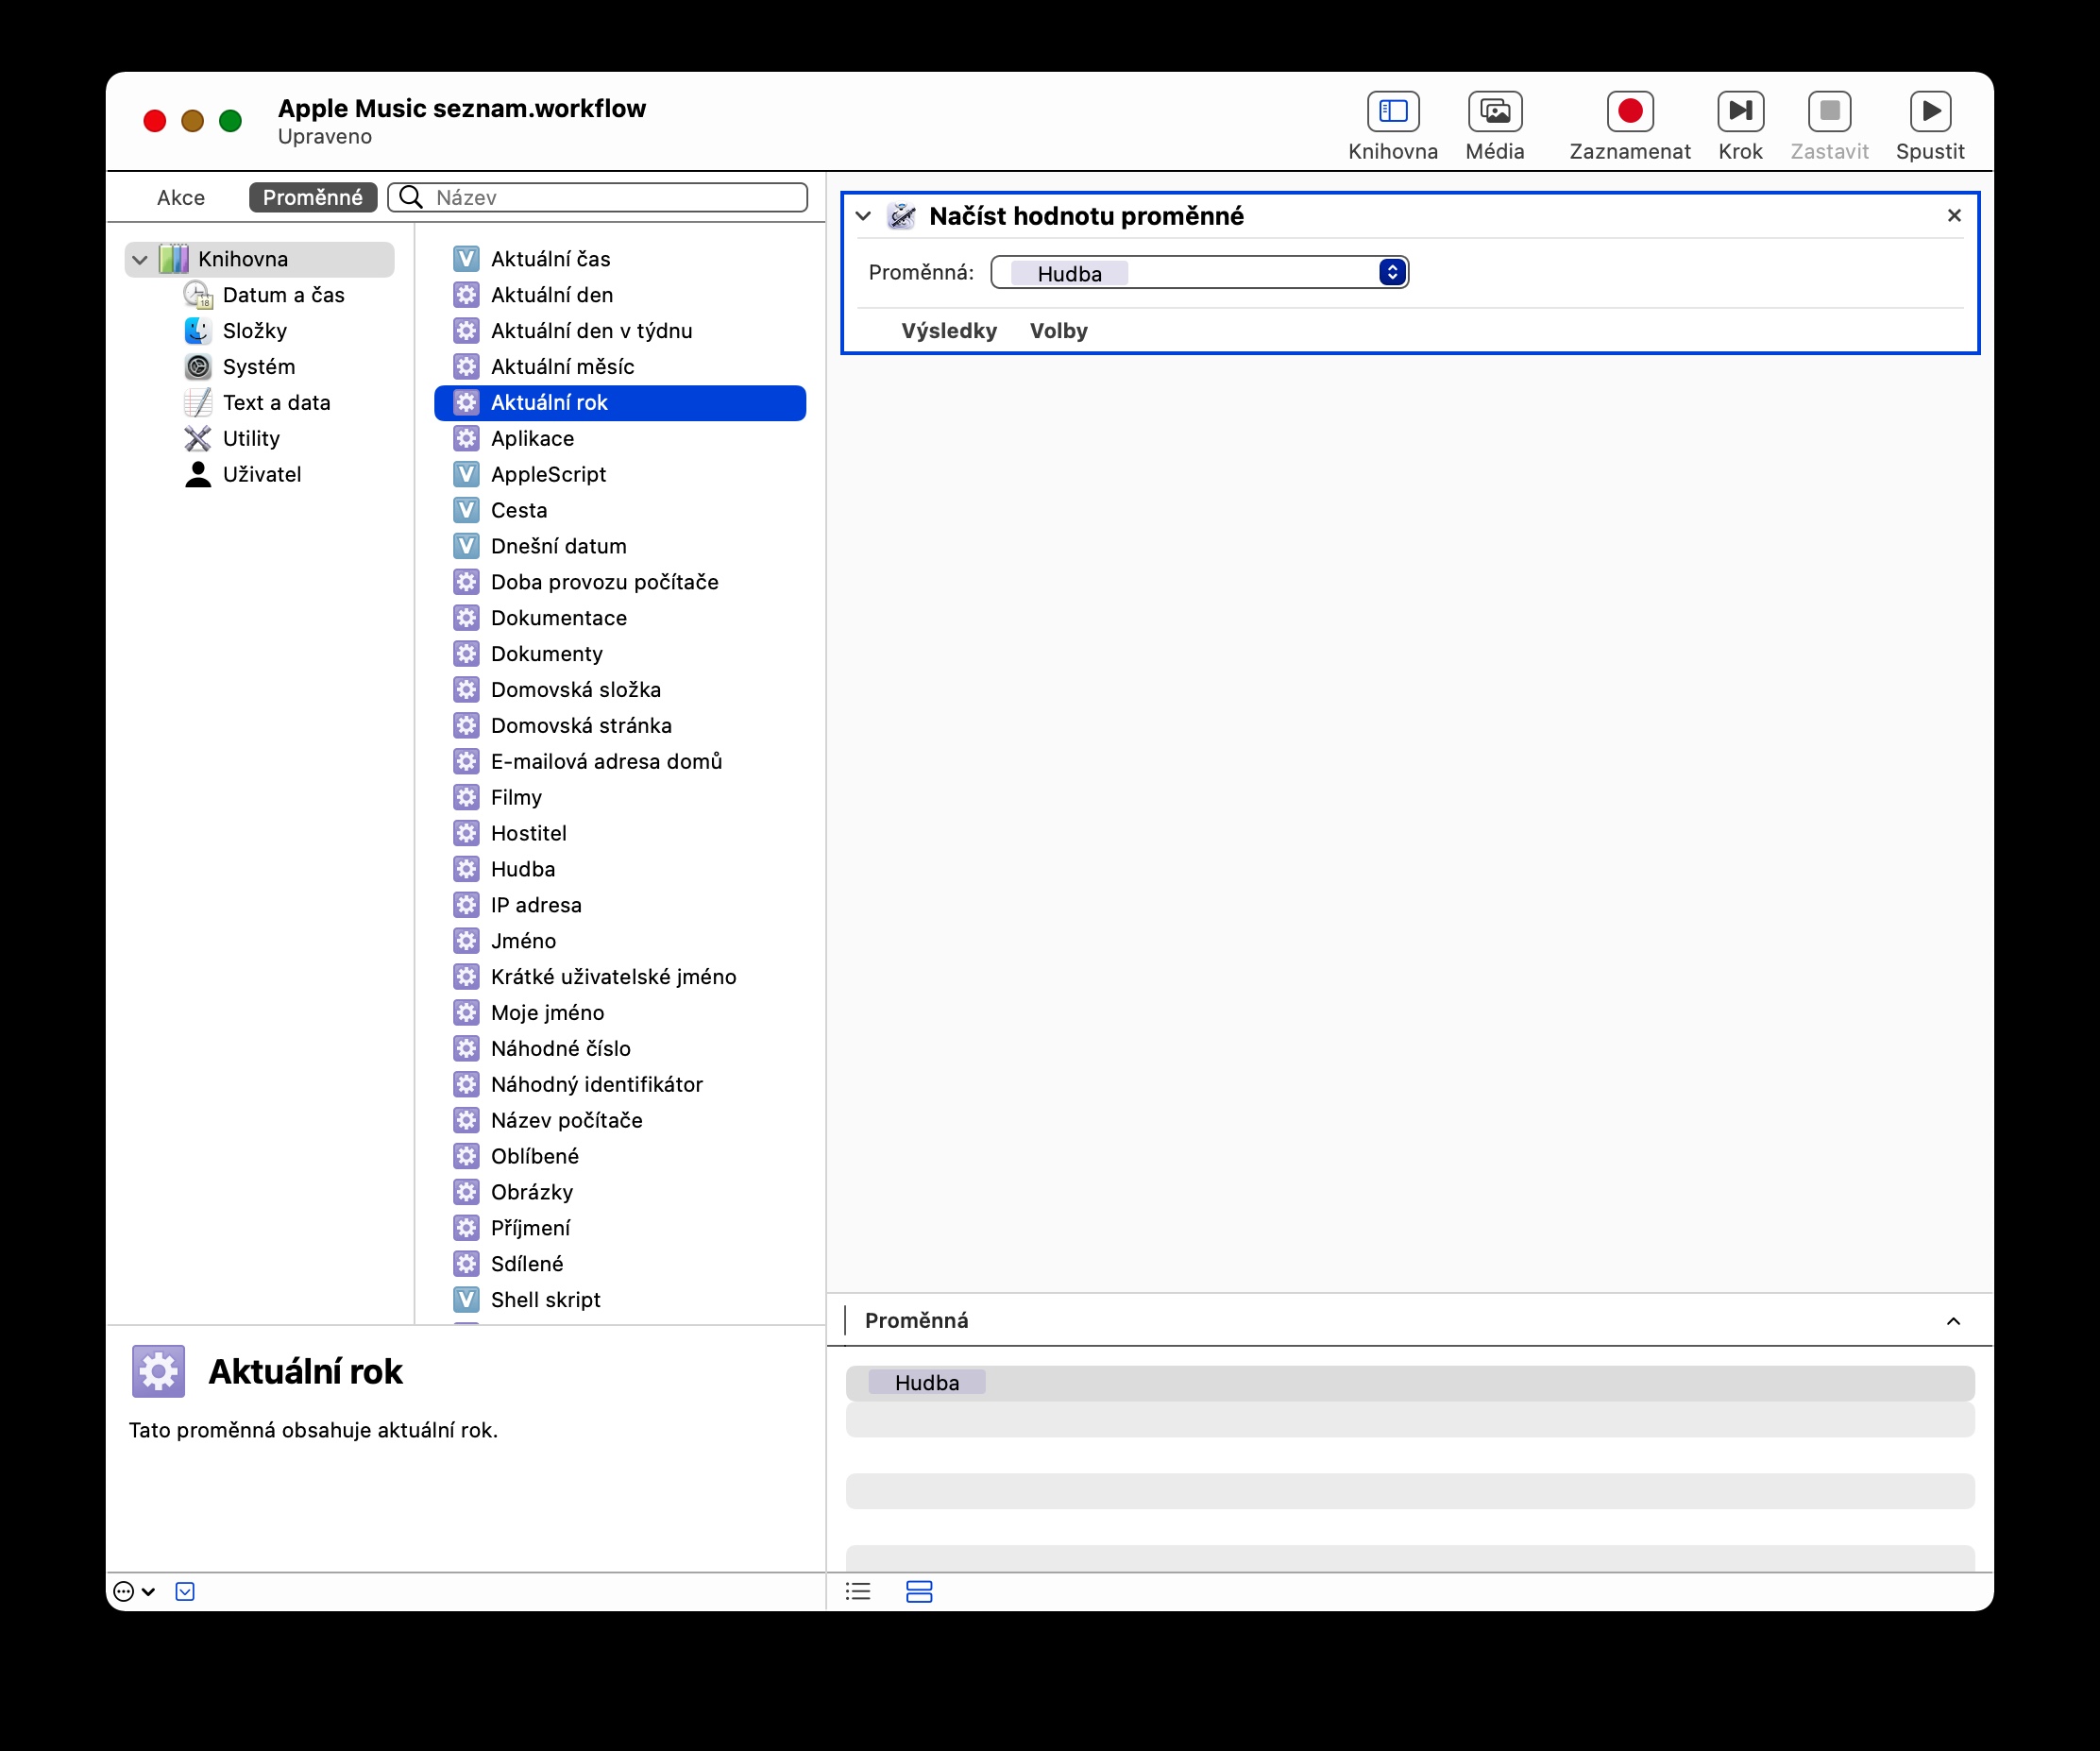
If you've ever at least partially sniffed the basics of programming, variables will be nothing unfamiliar to you. In Automator, in addition to predefined actions, you can also work with variables into which you can insert various types of data. To work with variables in Automator, click the Variables tab in the upper left corner of the Automator window. Don't be afraid of variables in any case, you can work with them really well. As with actions, you can find more detailed information about variables in the lower left corner of the Automator window.
