Smart data storage, or so-called NAS servers, are enjoying ever-increasing popularity. There is nothing to be surprised about. They significantly simplify, for example, data backup and bring a number of other options. Simply put, with the help of a NAS, you can build your own cloud storage where you literally have everything under control. In such a case, however, it is advisable to have access to the cloud from anywhere - primarily from a mobile phone. And this is exactly how we will shine a light together today.
Qfile application: What it can do and what it is for
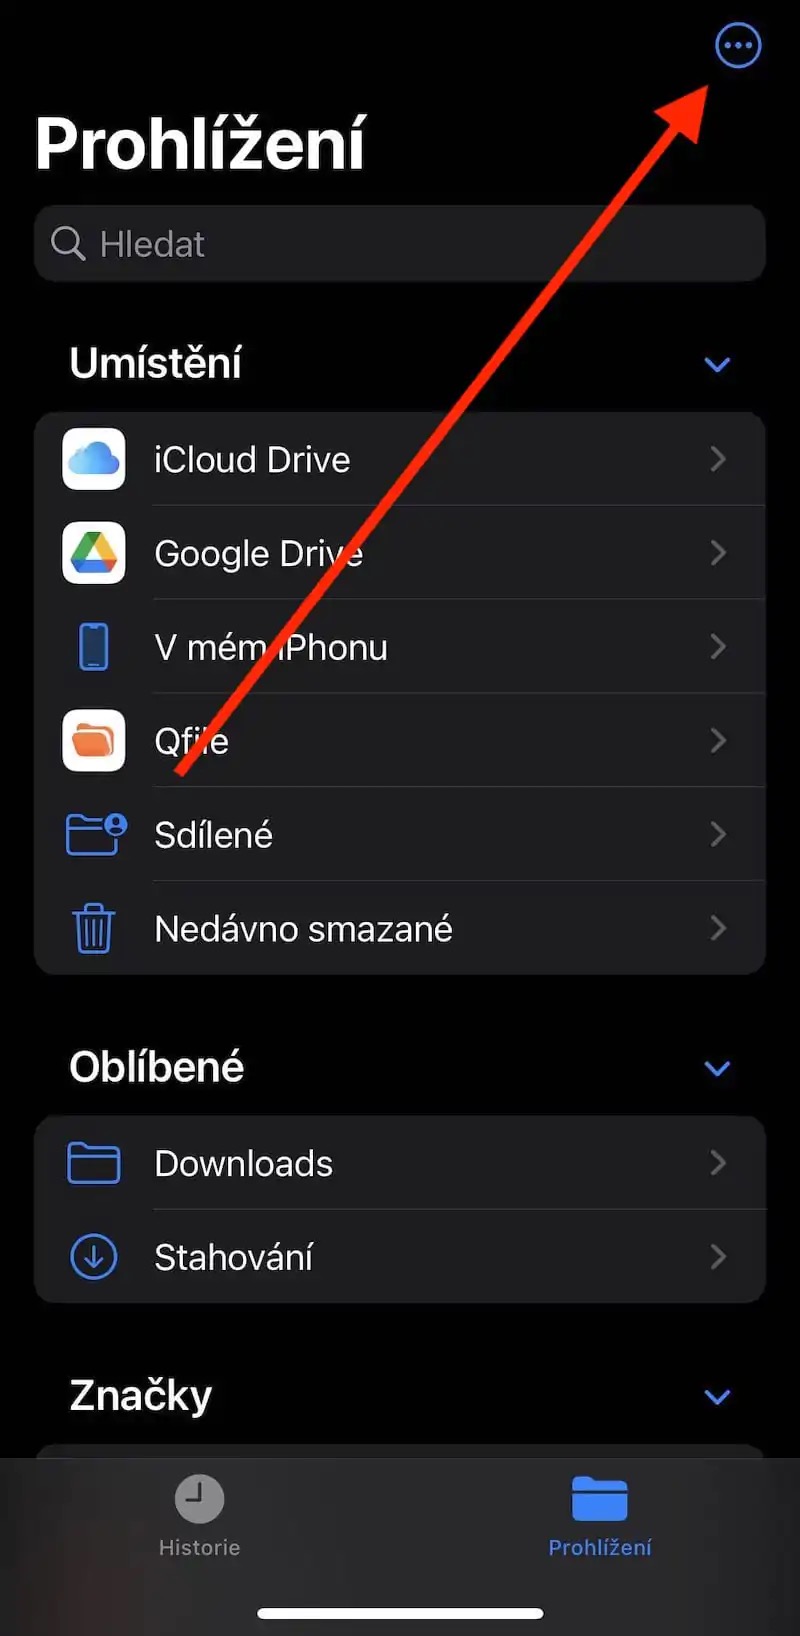
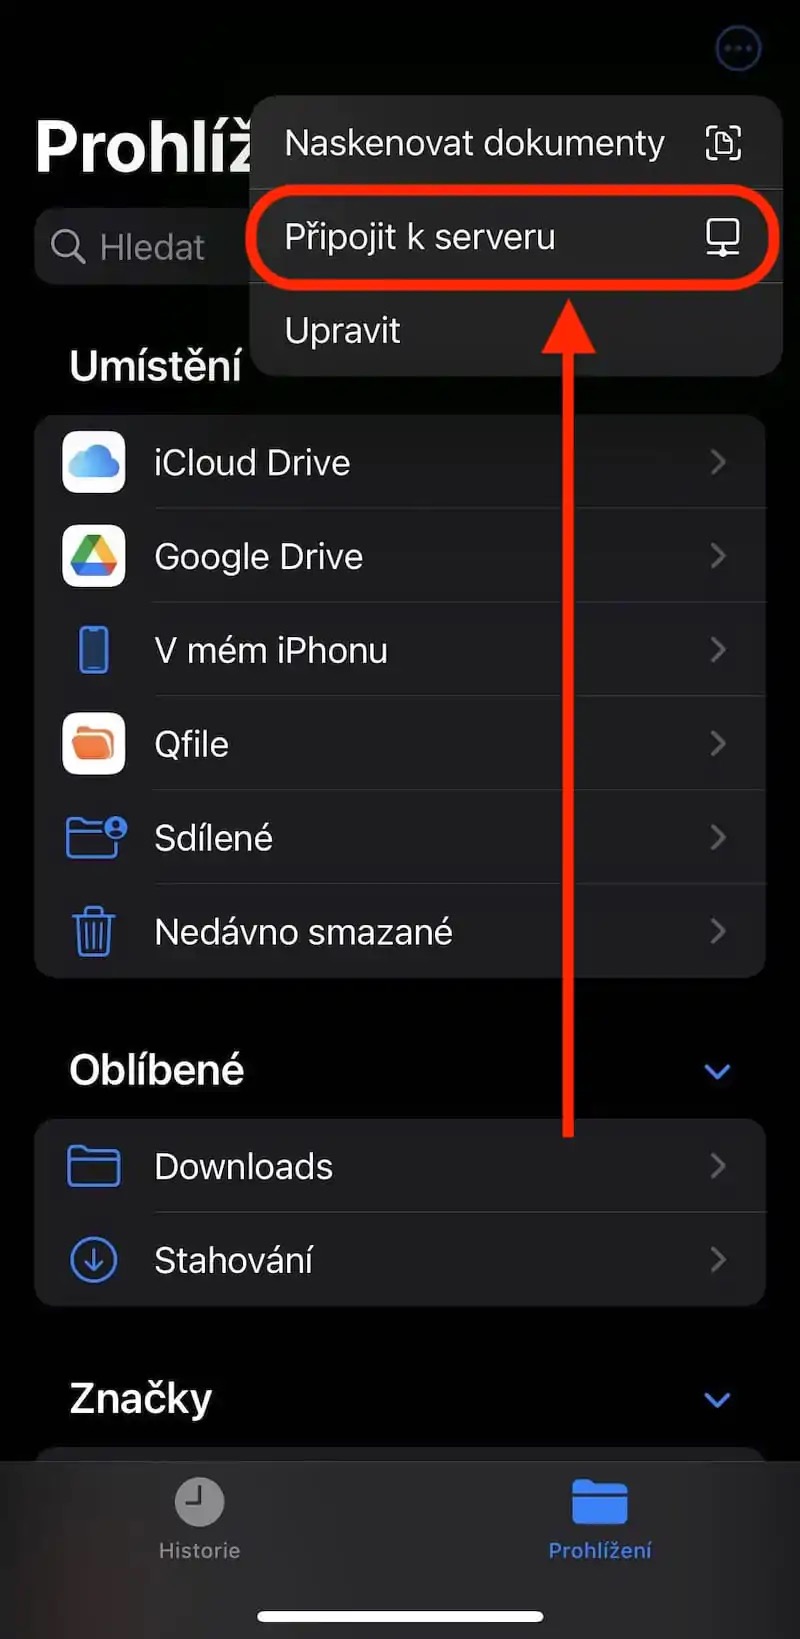
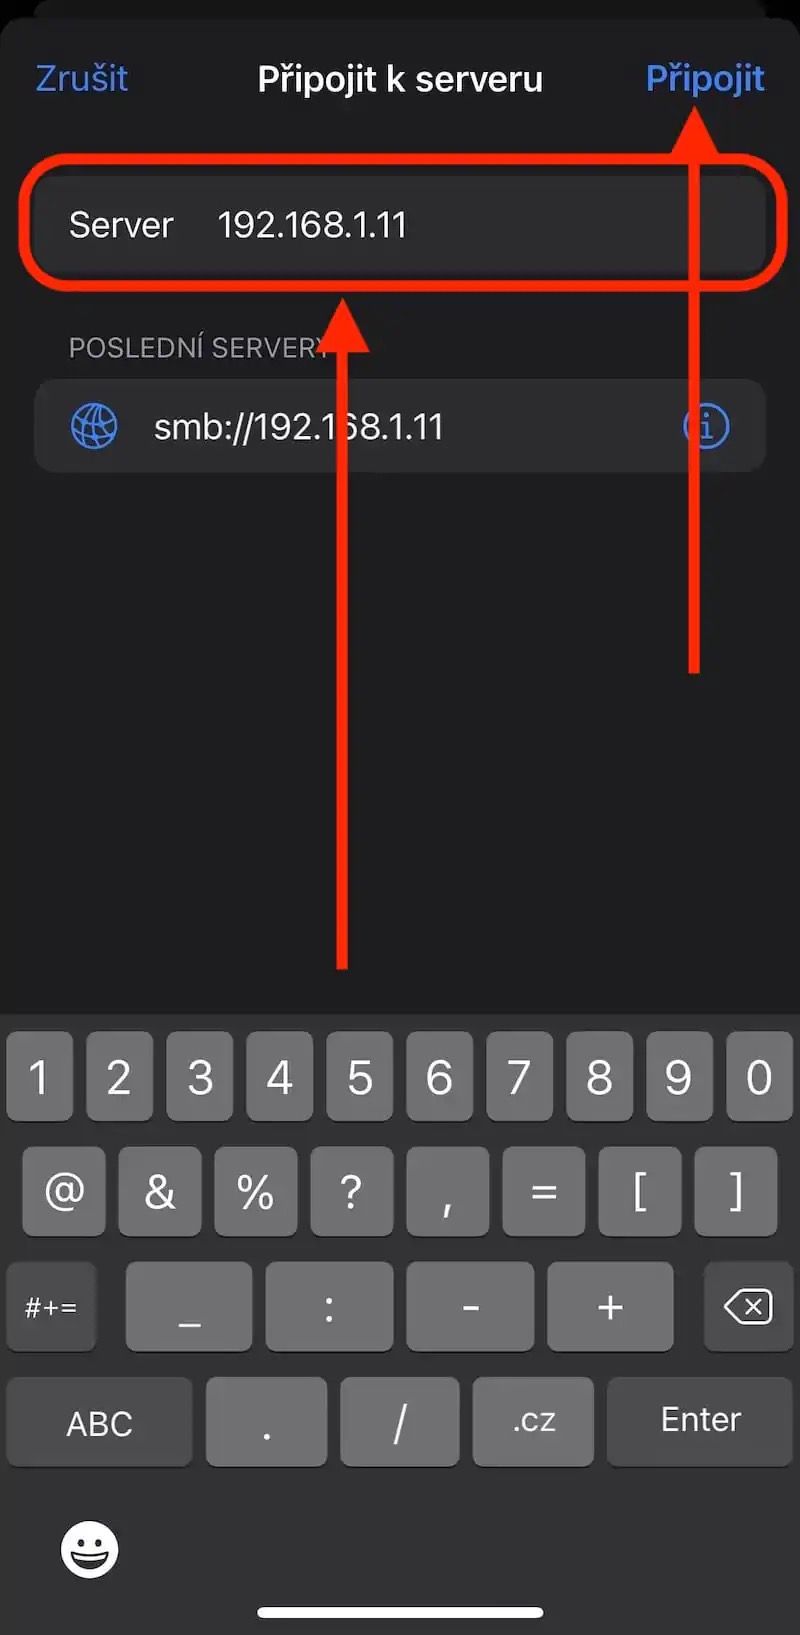
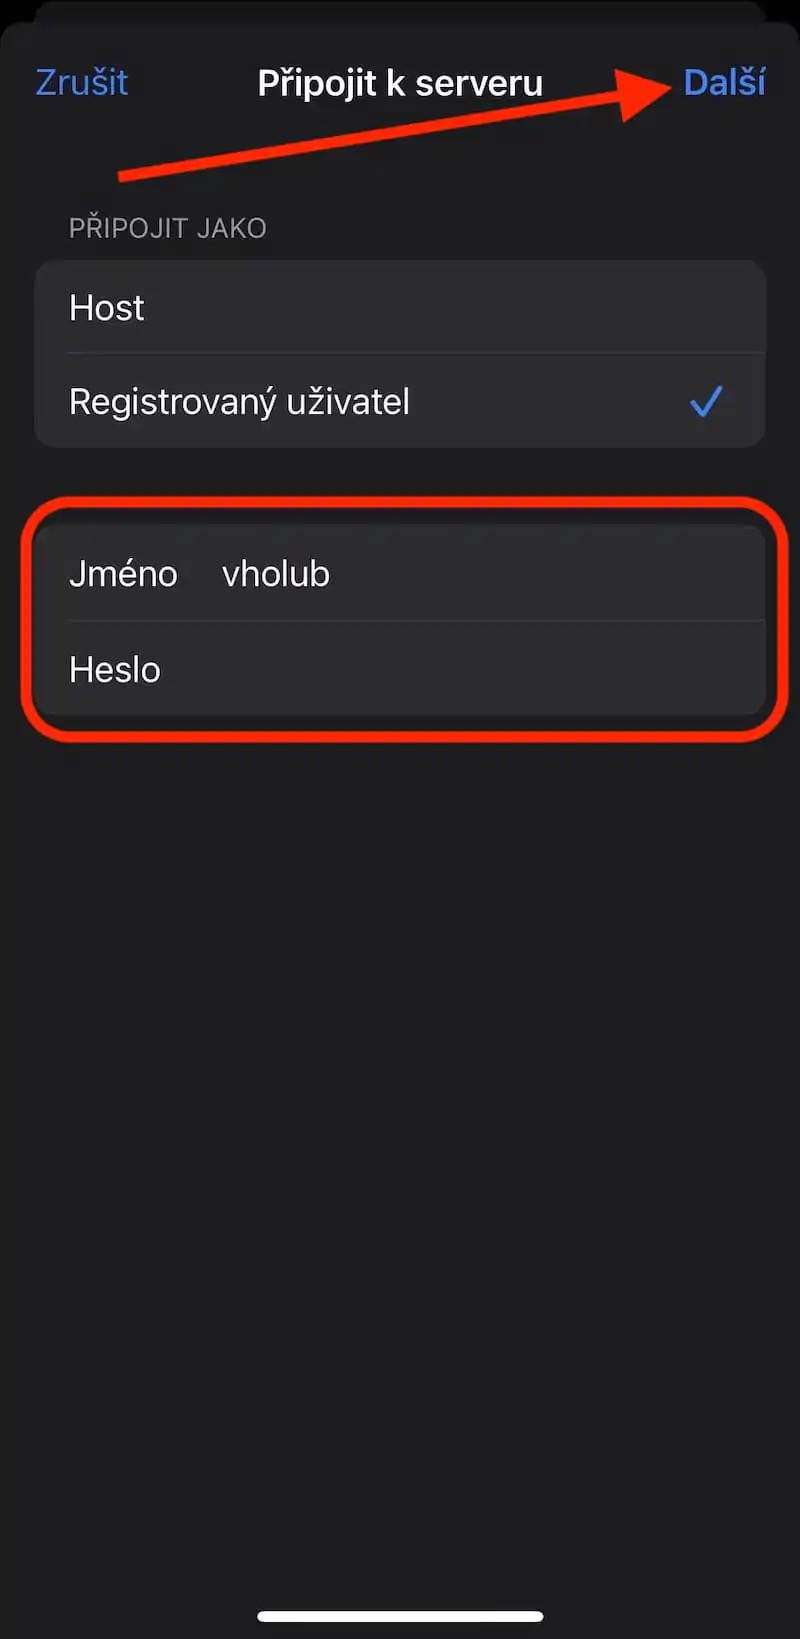
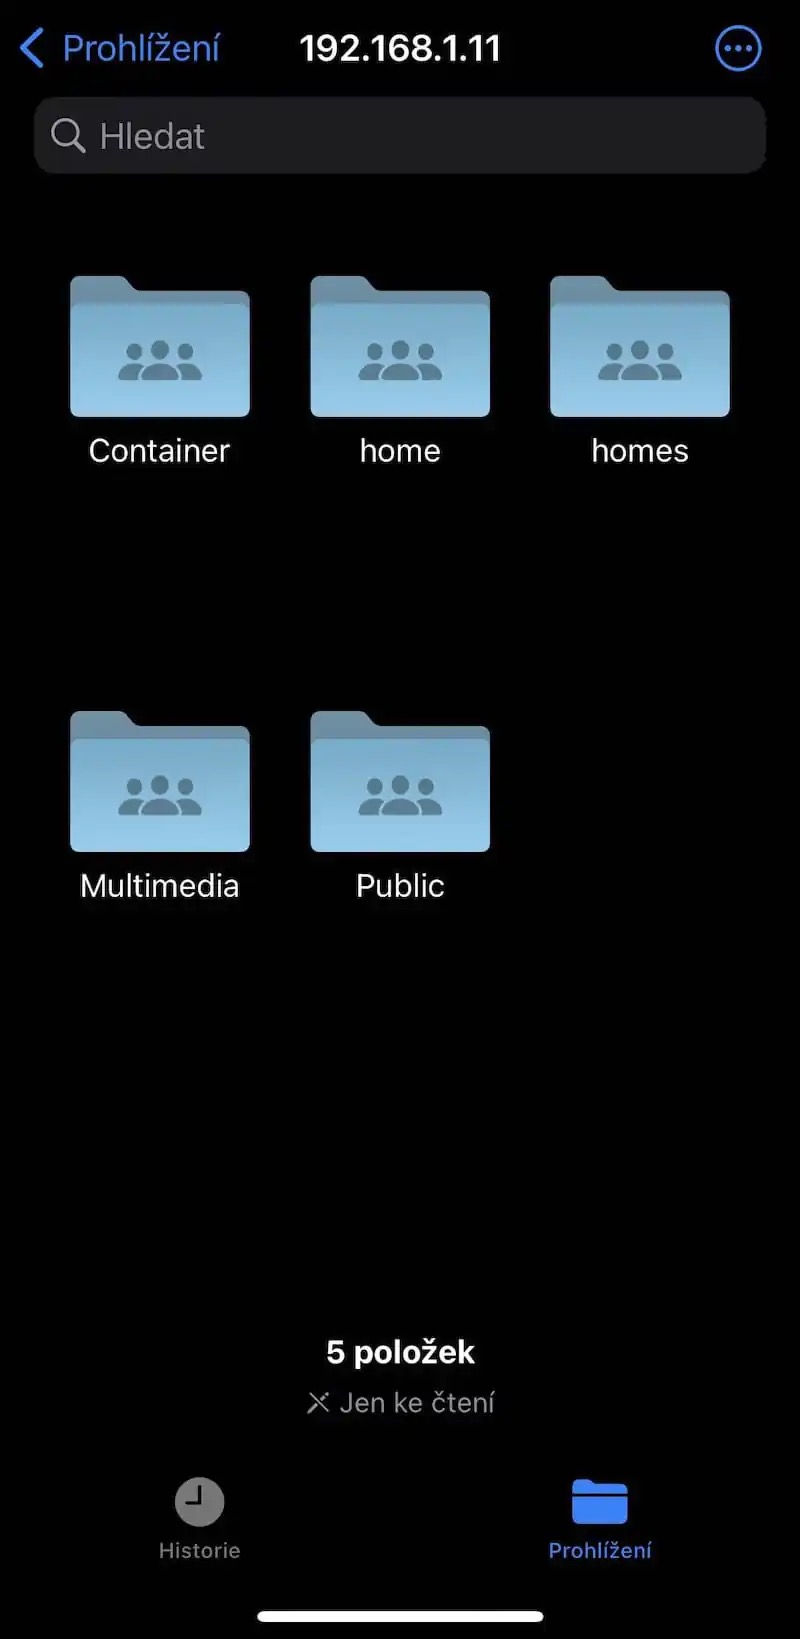
As we indicated above, in today's article we will focus on a way to access QNAP brand data storage via iPhone and iPad. In this case, you can also use the native Files application, which can also connect to servers and work with stored data as of iOS/iPadOS 13. Although this method may suit some, it is good to know that there is also a somewhat smarter and, in my opinion, more intuitive option, which also hides far more options. It is, of course, about Qfile. This app is mainly characterized by its simplicity and useful functions. So let's look at them together.
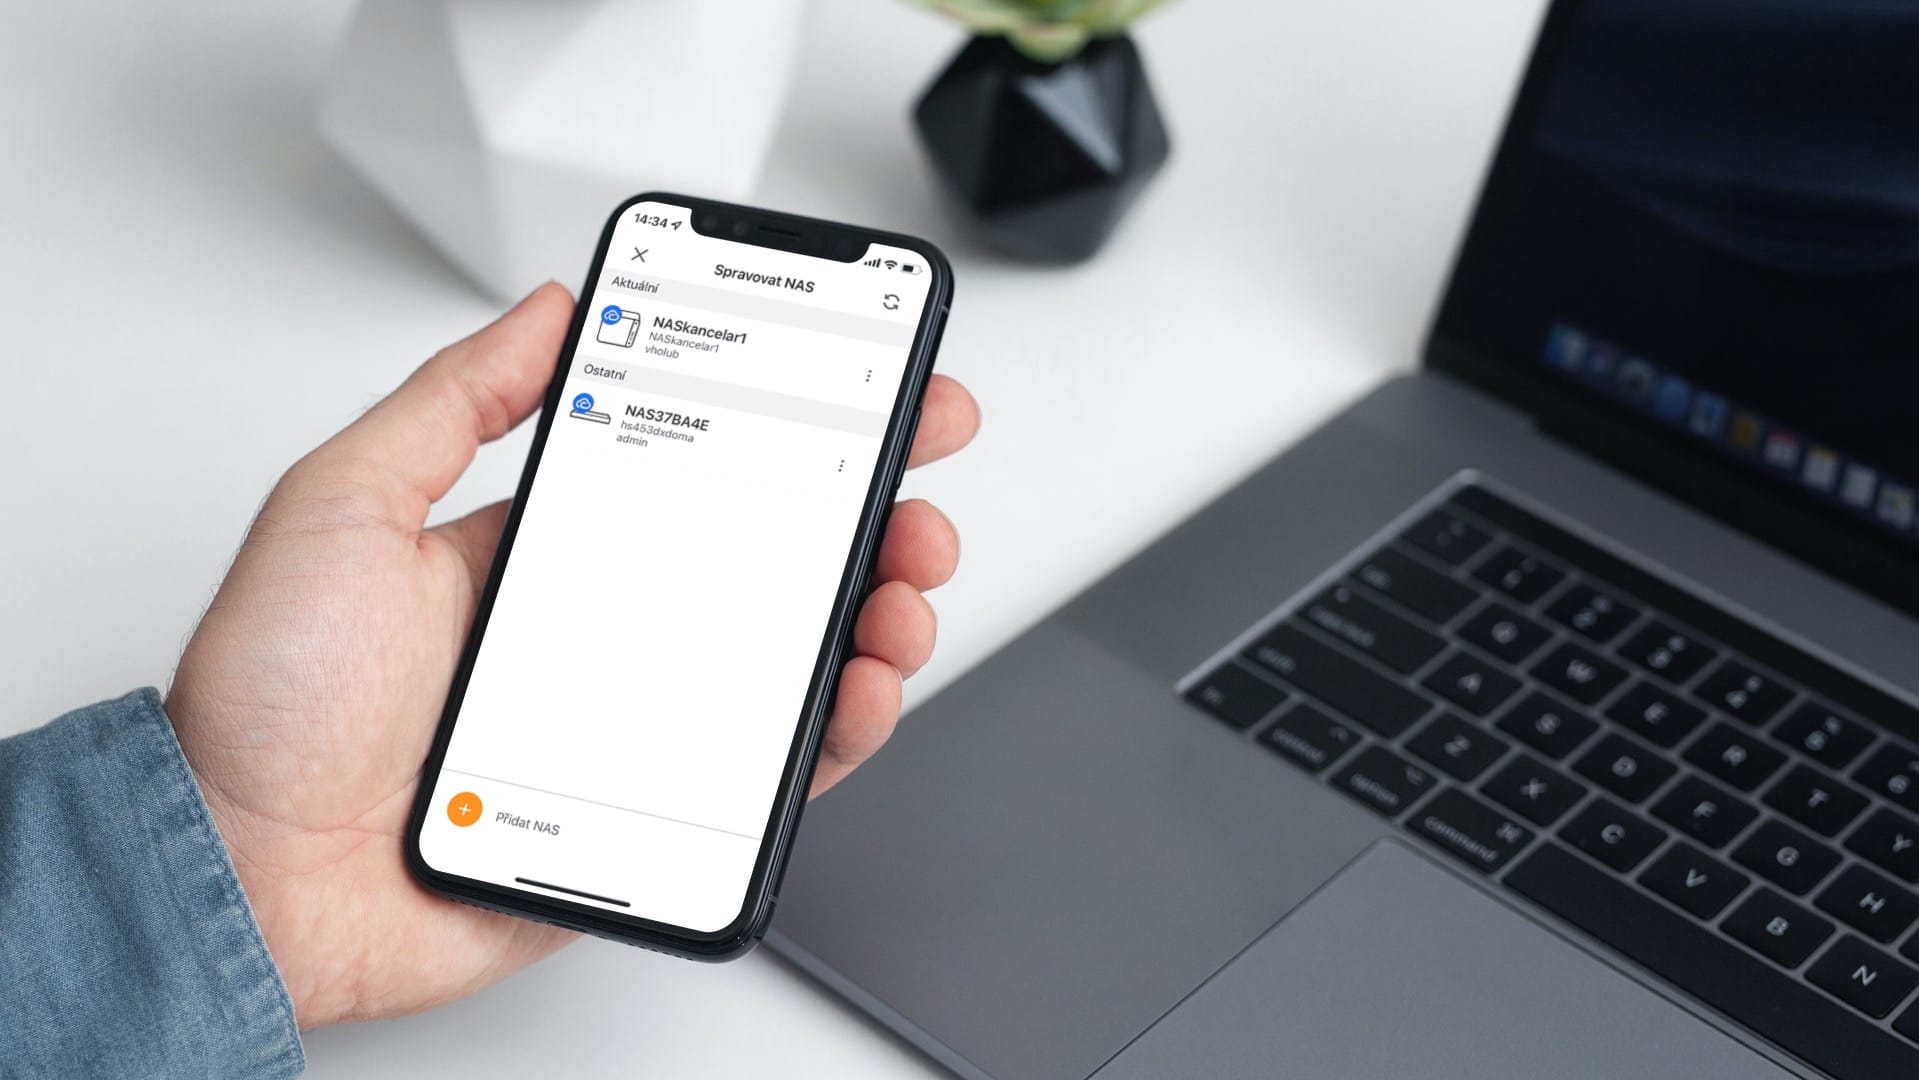
In terms of functions and options, we can summarize it quite briefly. Qfile can easily connect to all your QNAP network storage (locally or via myqnapcloud.com) and switch between them on the fly, giving you access to literally all of your data – whether you have it stored on a NAS at home or at work. Of course, the most basic option is browsing, managing and, in the case of multimedia, viewing. I see the option of so-called automatic recording as one of the biggest benefits. Thanks to this, all photos and videos can be set to be automatically uploaded to your storage and backed up virtually instantly. There is also the option of setting the backup to take place, for example, only when connected to Wi-Fi. But we will look at that later.
NAS connection options
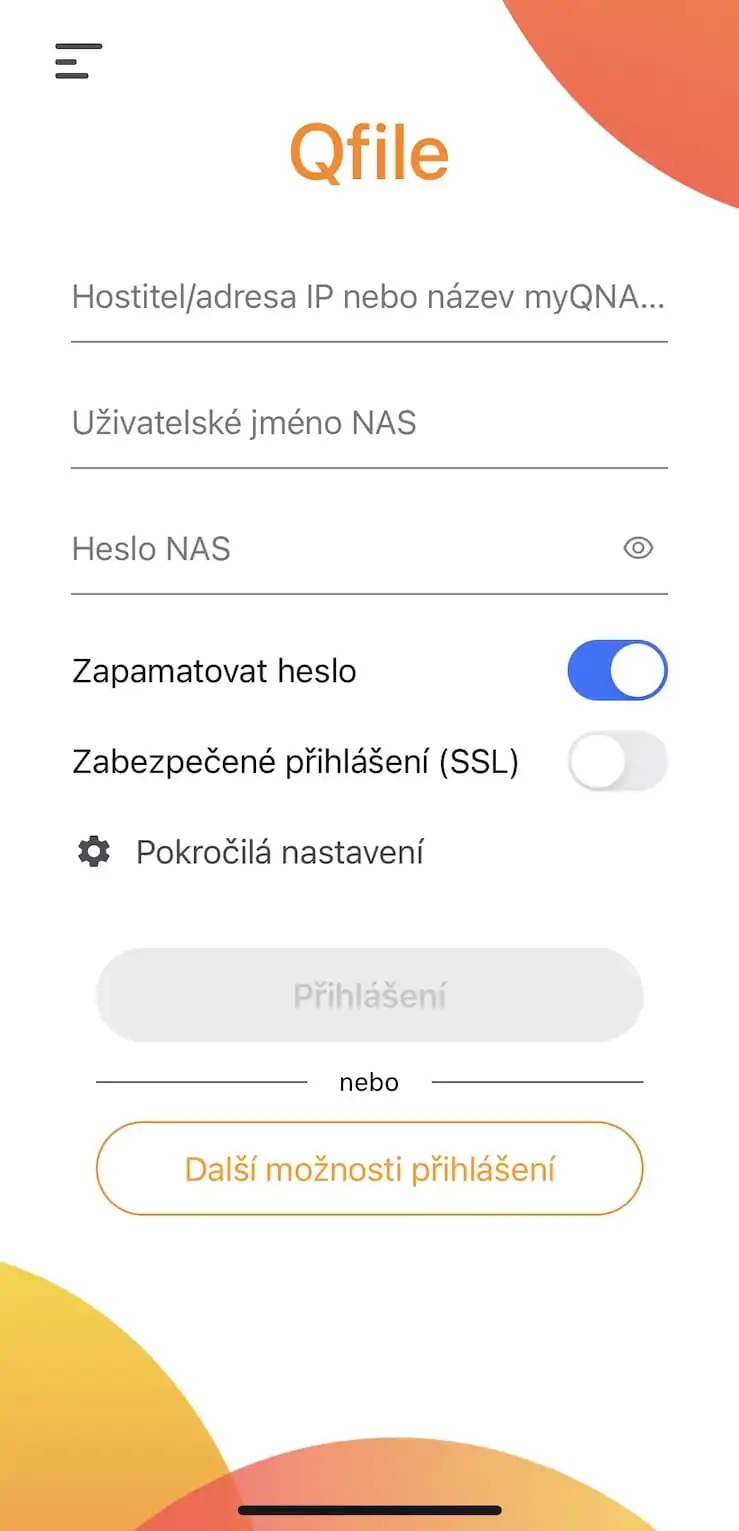
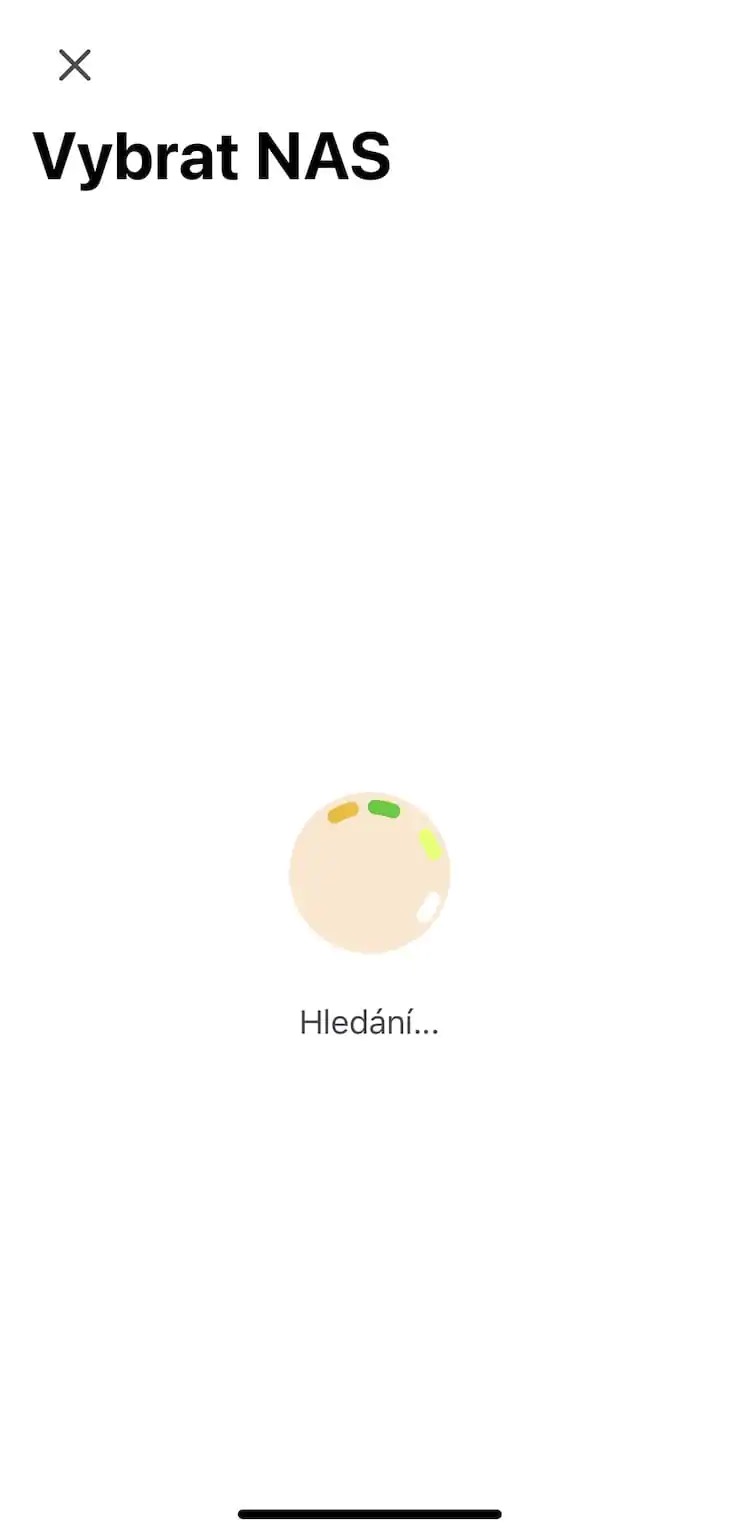
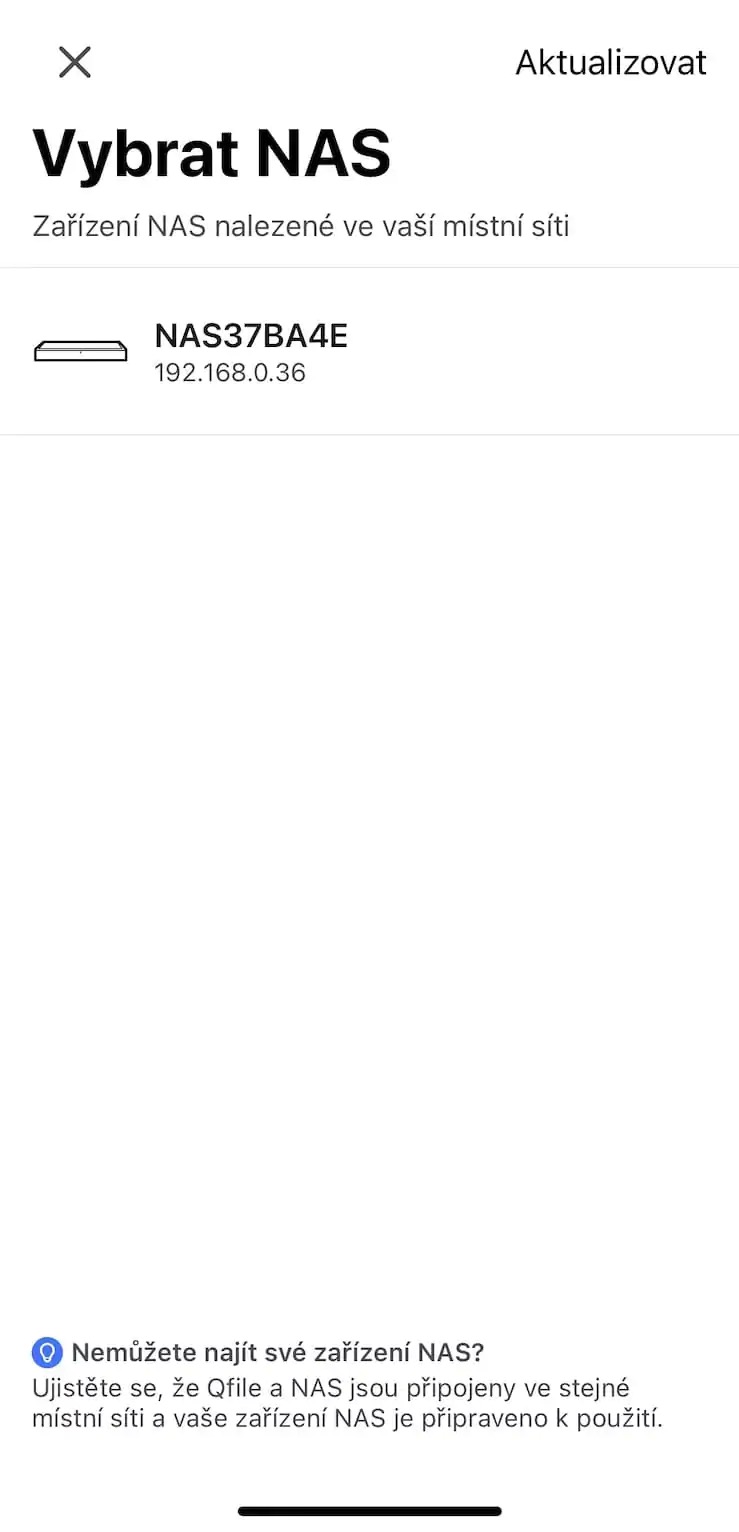
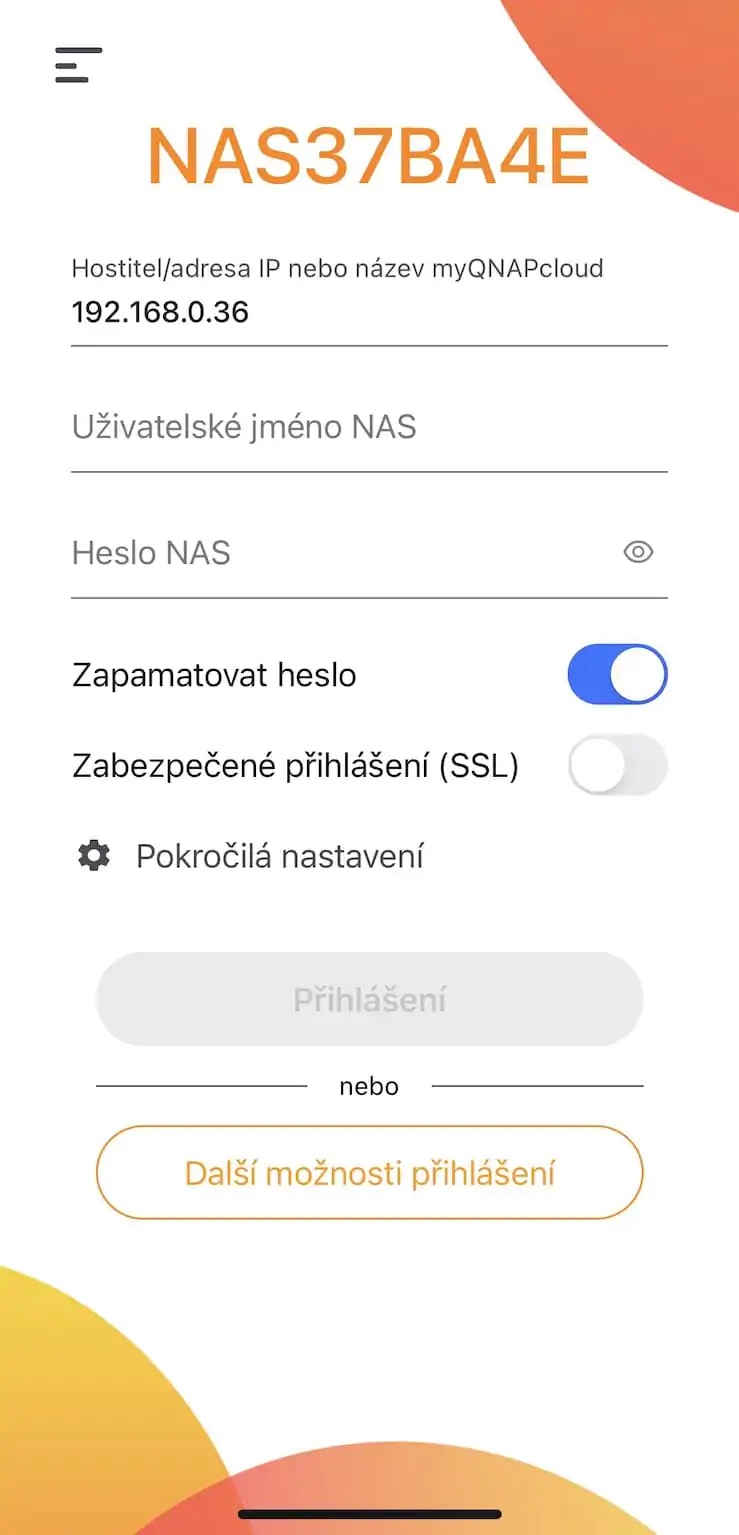
But before we look directly into the app as such, let's first show how we connect to our storage in it. As we indicated above, in this case we are offered two options. If the NAS is connected to the same network as the phone, we can find it locally. The home page of the app will thus ask for the name or IP address of the device along with the name and password of the account through which we connect to the NAS. We can make the process easier by clicking More login options > Scan for NAS on local network.
The second option, which I occasionally use myself, is connecting via myQNAPcloud.com. This is a remote access service directly from QNAP, thanks to which we can access data from practically anywhere in the world - as long as we have an Internet connection. But there is a necessary step before that. We have to associate the NAS with our QNAP ID. Fortunately, it is not complicated - just register on the myqnapcloud.com website, then download the myQNAPCloud Link application directly in the NAS from the App Center, and finally connect the given storage with the aforementioned ID. Thanks to this, you can access the NAS via Qfile at any time via the Internet.
On the other hand, the question of safety arises. When connecting to the myQNAPCloud remote access service, all data no longer flows through our closed network, but through the Internet. So if we can connect to the NAS from anywhere, theoretically anyone else can too. That is exactly why it is extremely important that we pay maximum attention to our safety and do not take the situation lightly. Setting a sufficiently strong password for our QNAP ID, but also for the account through which we log in to the NAS, is in place. In both cases, the possibility of using two-phase authentication is also offered. This is an extremely simple and safe way to protect yourself from potential attacks. We can use the Google Authenticator or Microsoft Authenticator applications for this.
All actions under supervision
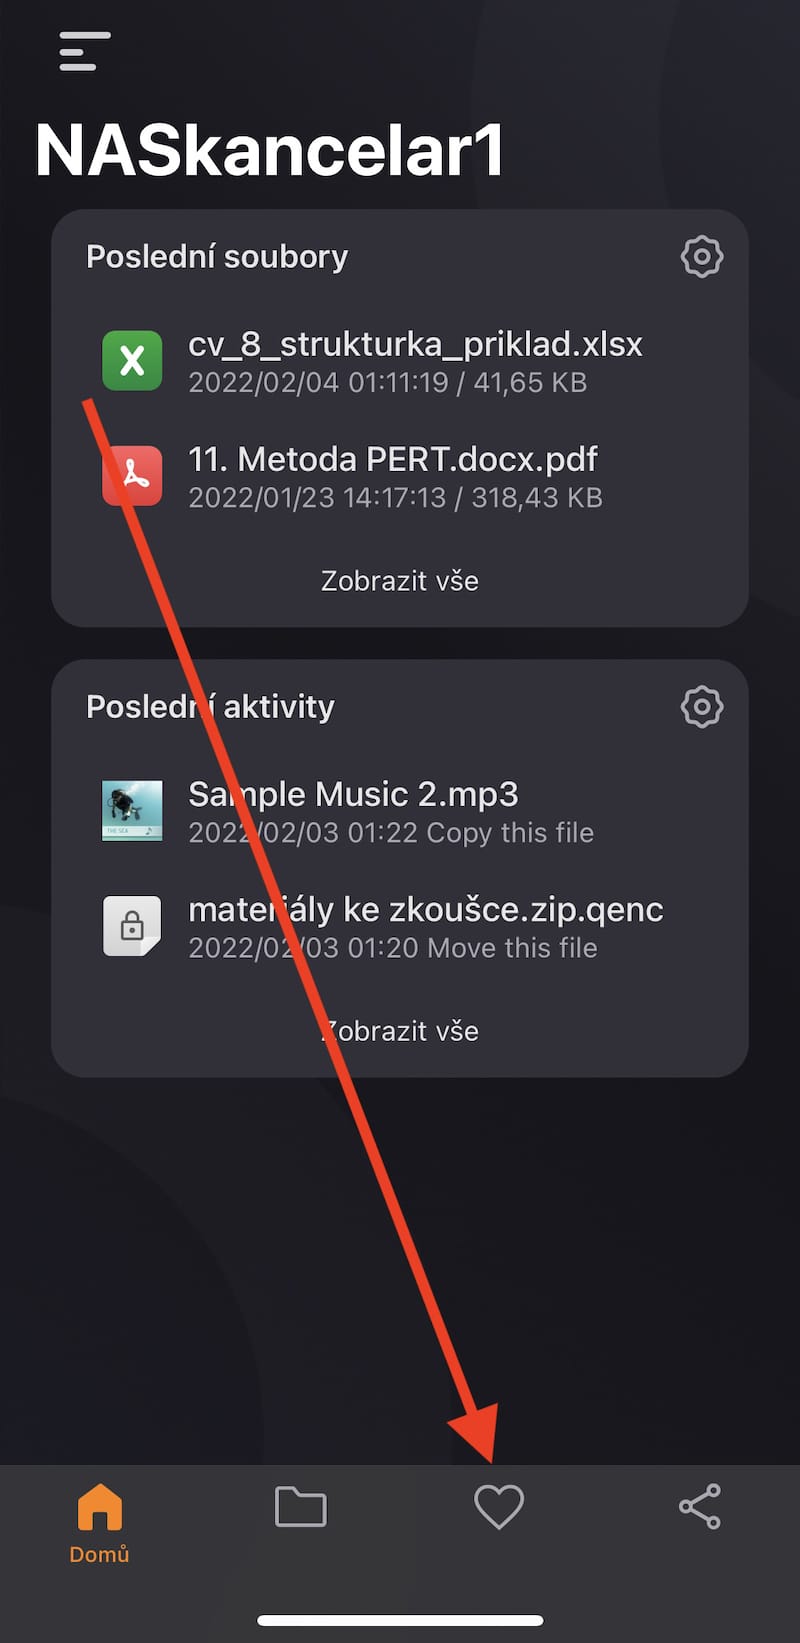
The Qfile application certainly cannot be denied a simple user interface. In this regard, I would therefore very much like to highlight the opening page itself. Every time you start the app, you will see the so-called recent files and recent activity. If, for example, you recently viewed photos, or copied or moved some files, you will see all these actions right here. A huge advantage is that every time you turn it on, you immediately see where you left off and what you were working on.
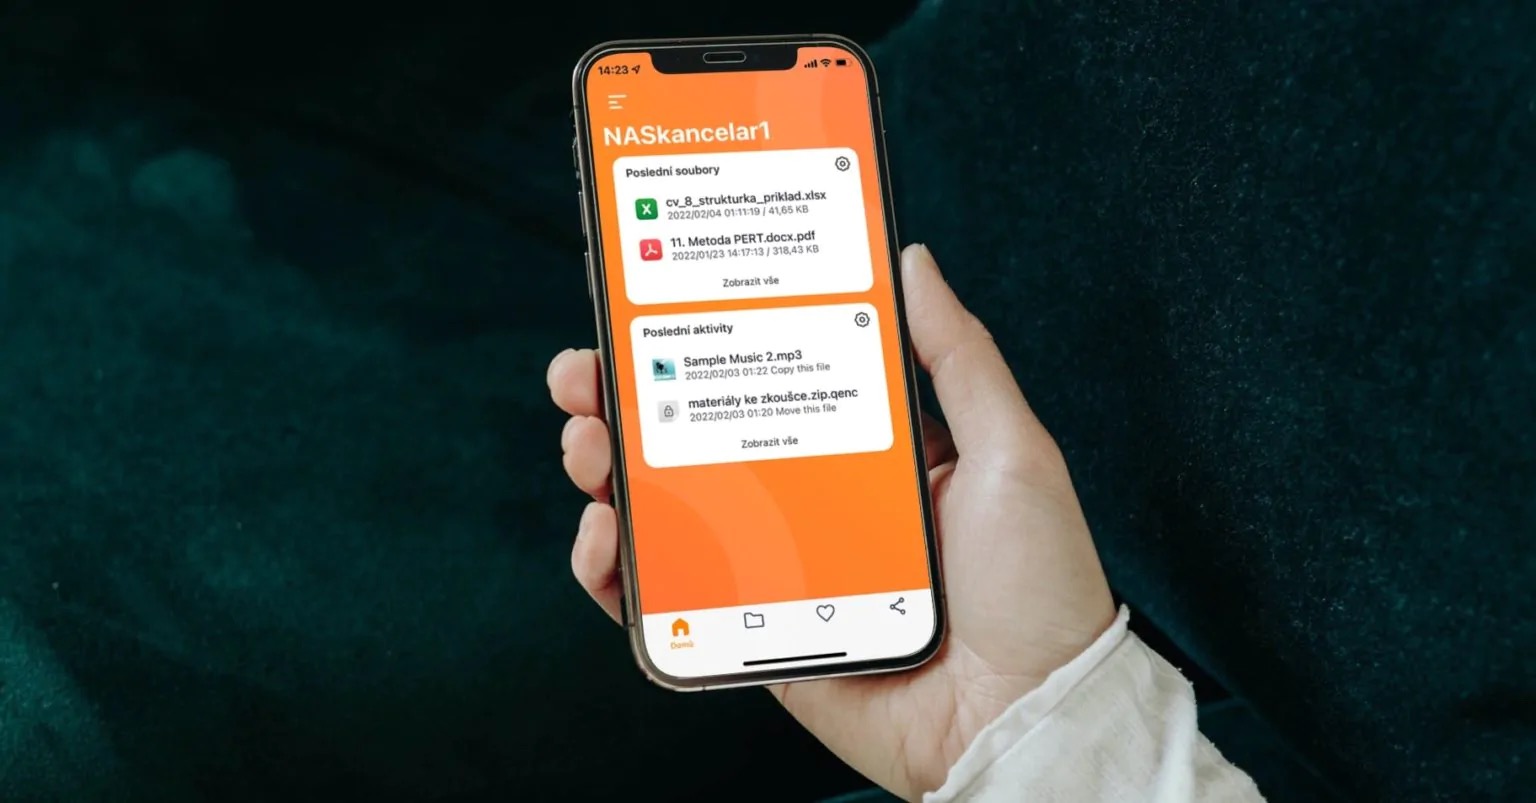
However, every person is different, and therefore this approach may not suit everyone. After all, for this reason, you can also hide recent files and recent activity using the gear icon. However, there will still be a mention of this option on the main page. In my opinion, in any case, this is an interesting little thing that can come in handy in various situations. I personally appreciated it, for example, in moments when I forgot which files I worked with last.
Favorite files
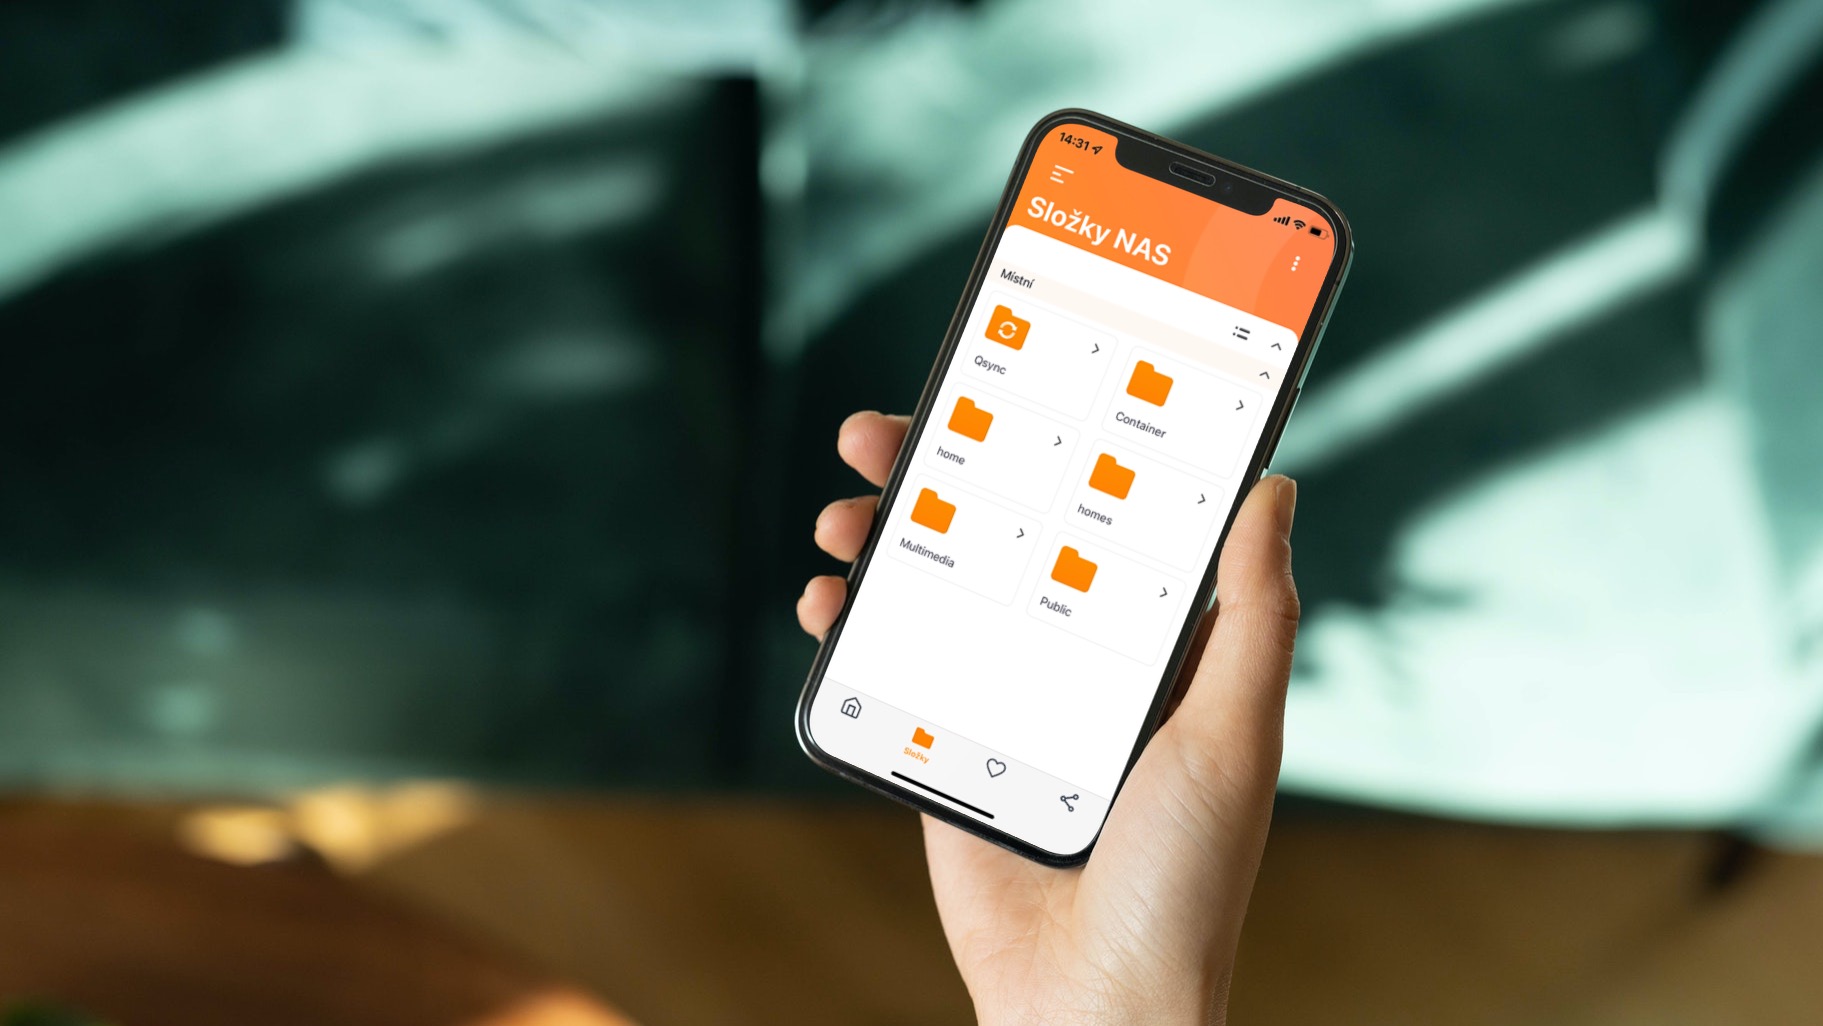
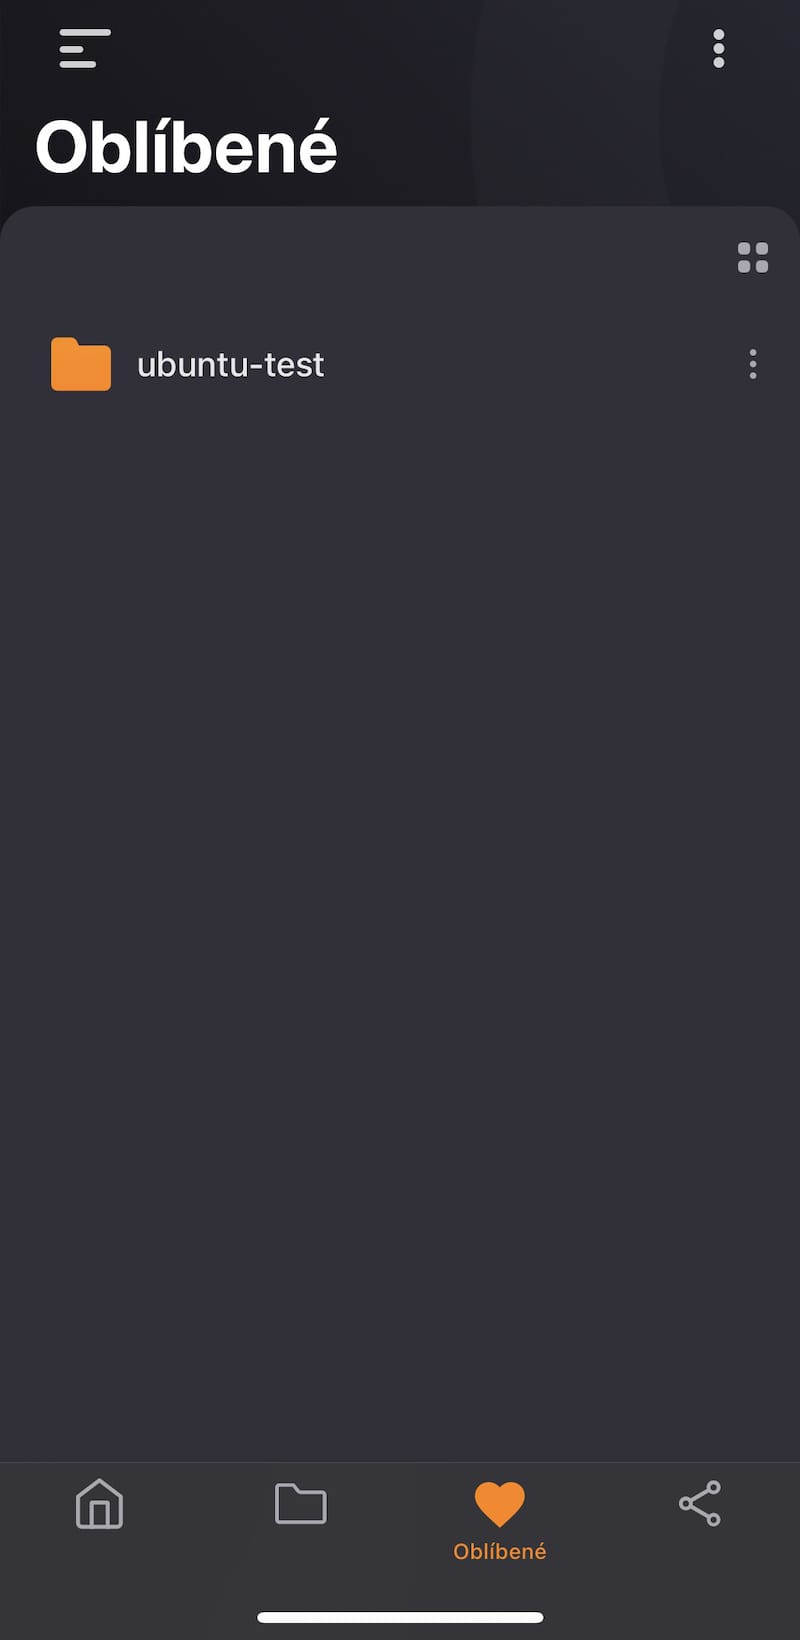
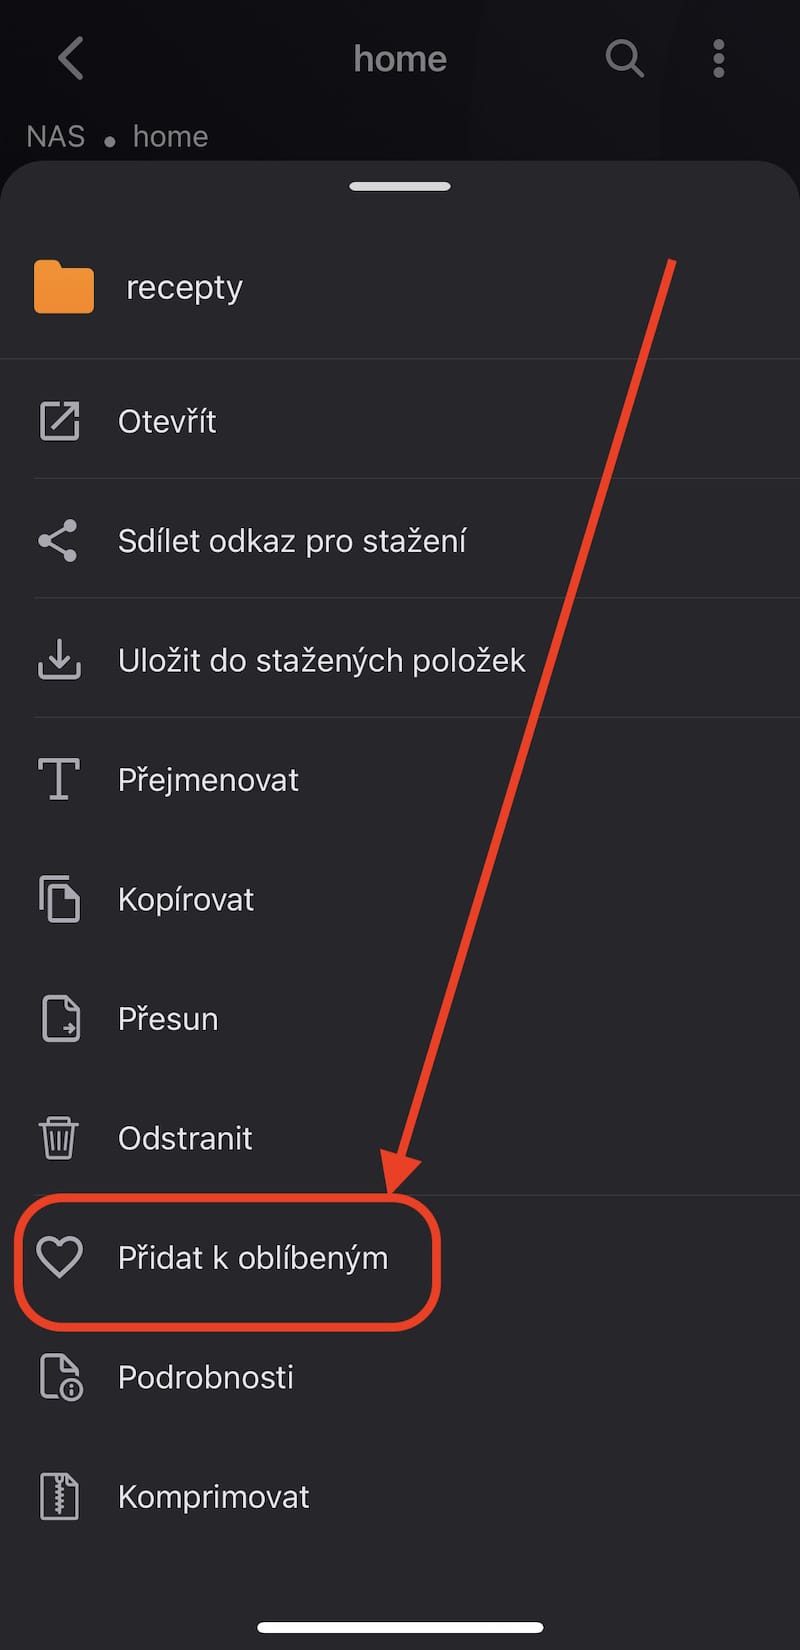
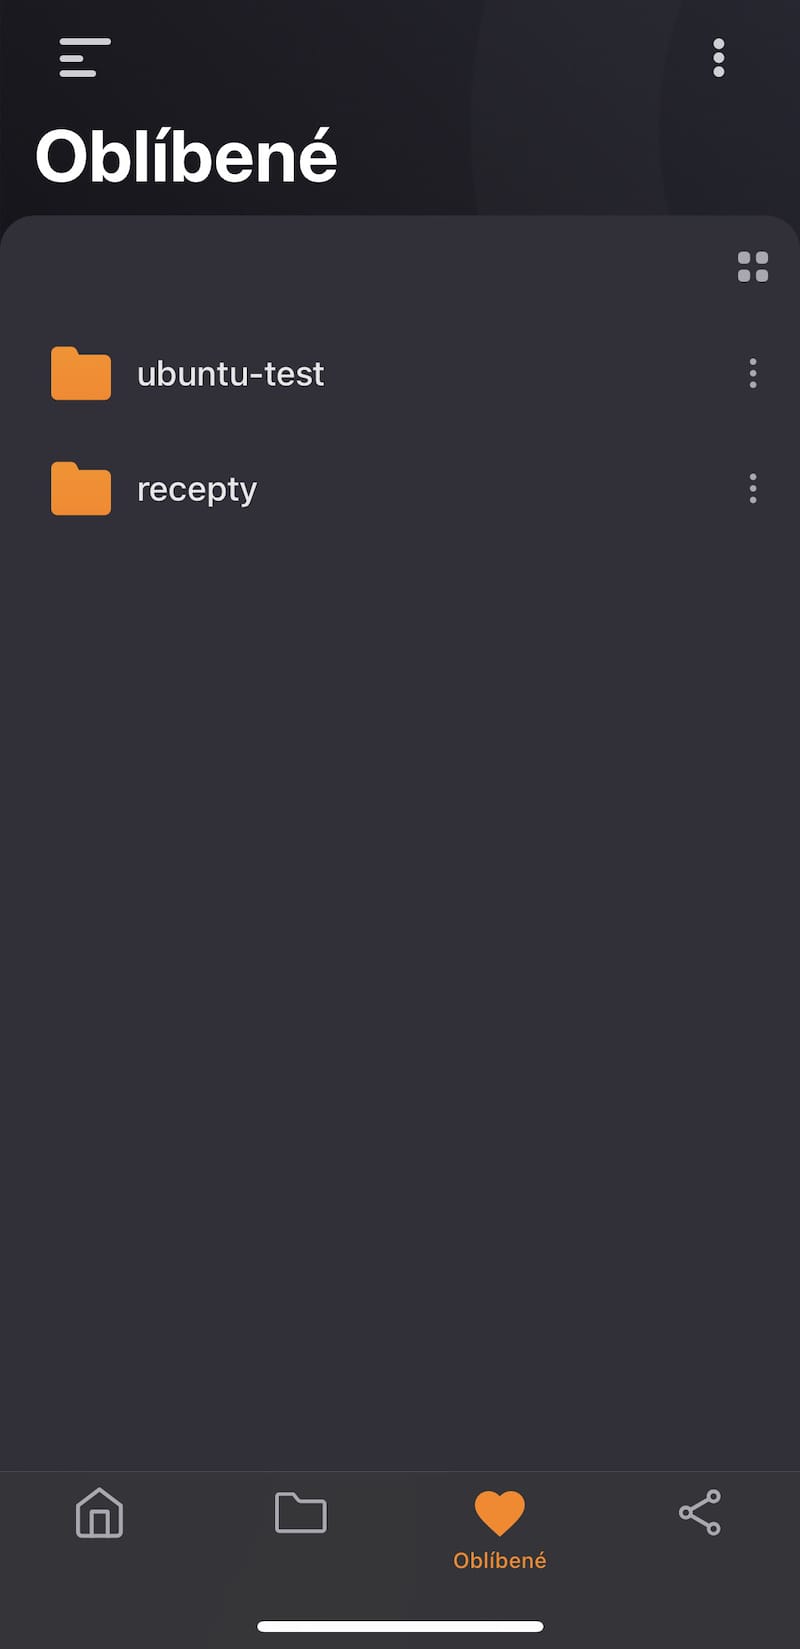
Just as you have favorite files on your computer or mobile phone that you return to often, you can have them in Qfile in exactly the same way. After all, this is also indicated by the heart icon in the bottom bar, after clicking which you will move to the Favorites category, where the files and folders just mentioned are displayed. But how do you actually set them up so that you can find them right here?
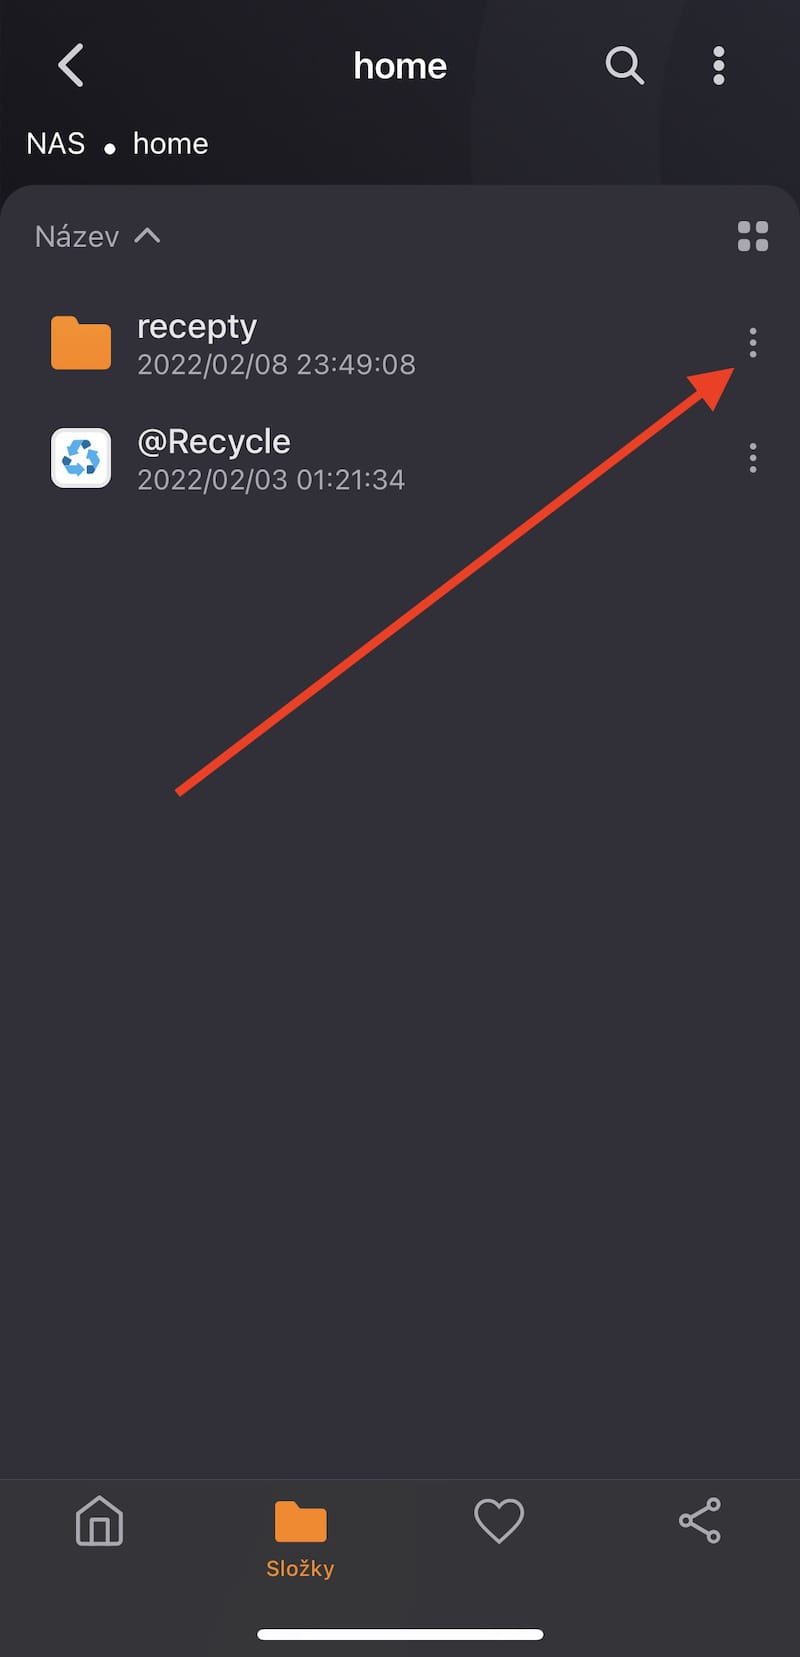
First, you need to go to the files themselves, for which you just need to click on the second Folders icon in the same lower bar. Now you will need to find the files and folders that you need quick access to, mark them and select Add to Favorites at the bottom. That's practically done. If you would like to remove any of them, the same procedure applies.
Display options
Speaking of files, we certainly shouldn't forget to mention display options. By default, individual items are displayed in the form of a list and are therefore arranged below each other. Even in this case, this solution may not suit everyone, which fortunately can be solved with just a click. Above the list of files, in the right part of the screen, there is a small tile icon. After pressing it, the display will look like this. At the same time, this option goes hand in hand with the fact that files are sorted by format. In this case, you can have a better overview of the data - it depends purely on your preferences, or what is more pleasant for you.
How to auto upload
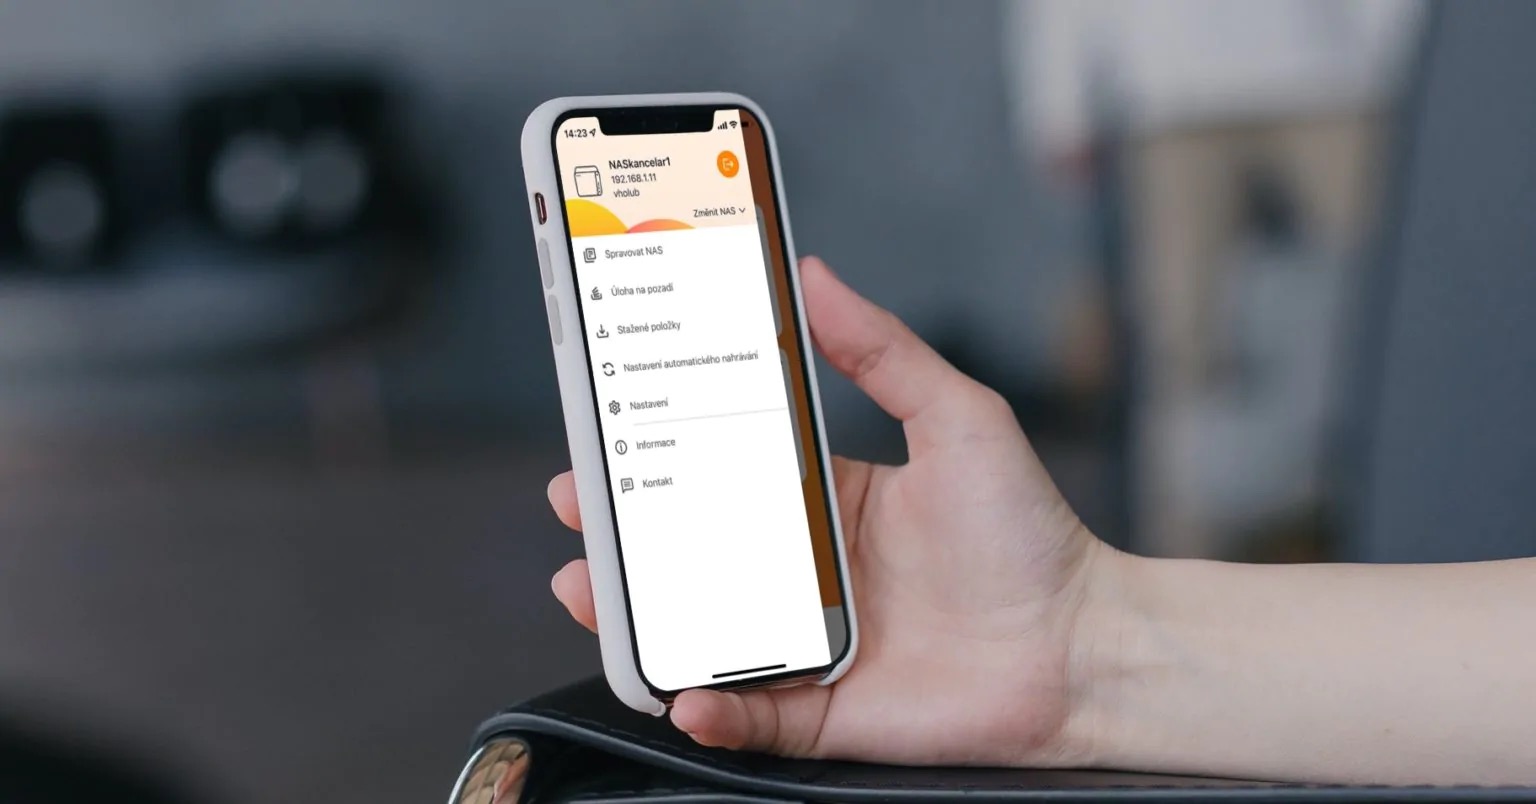
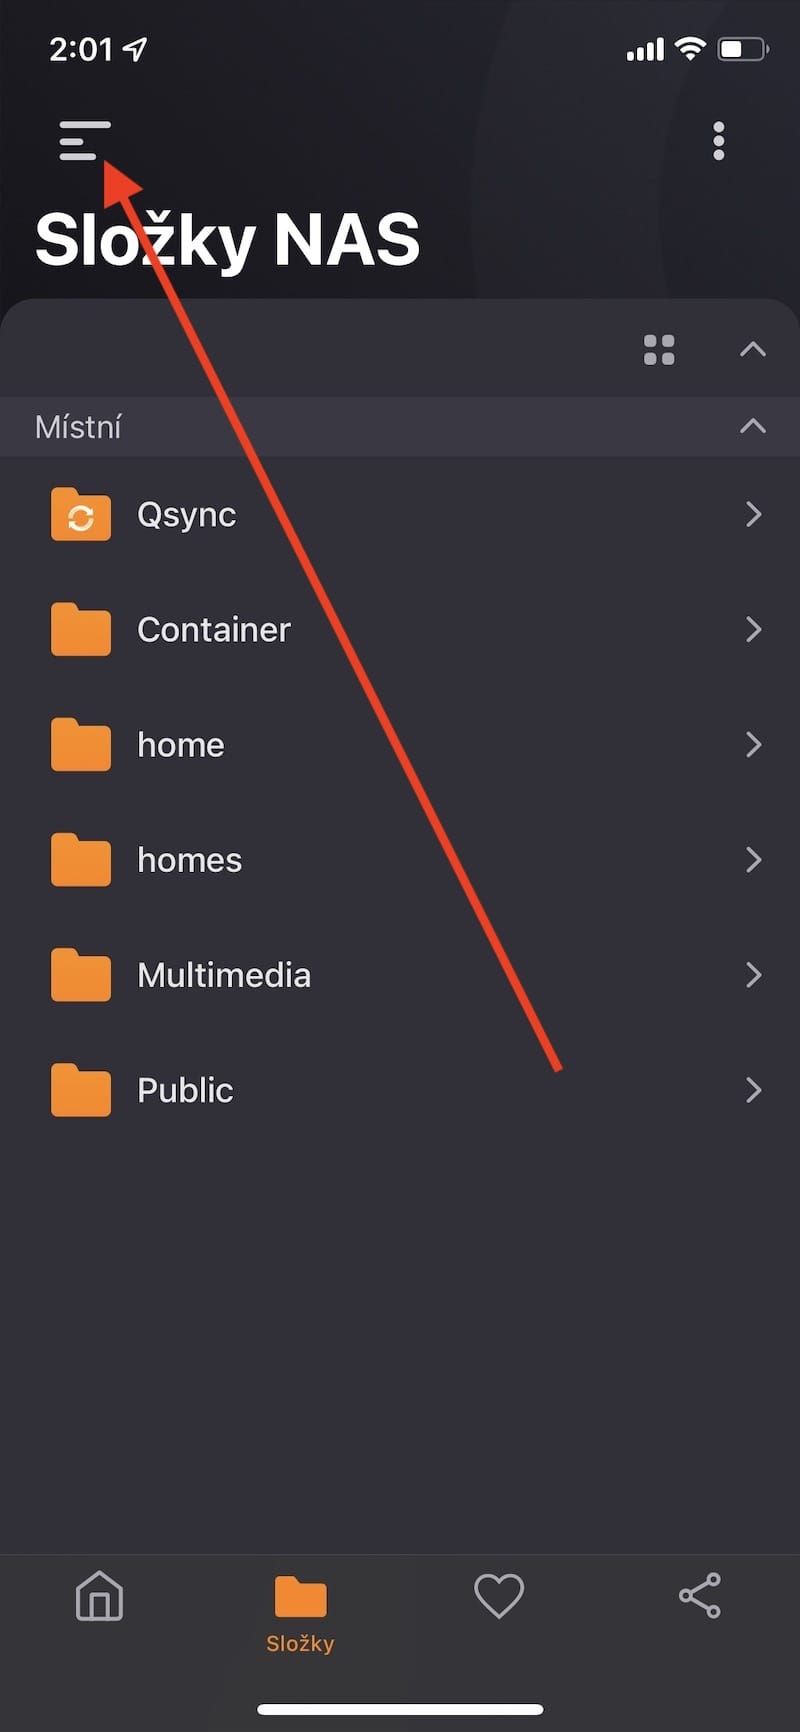
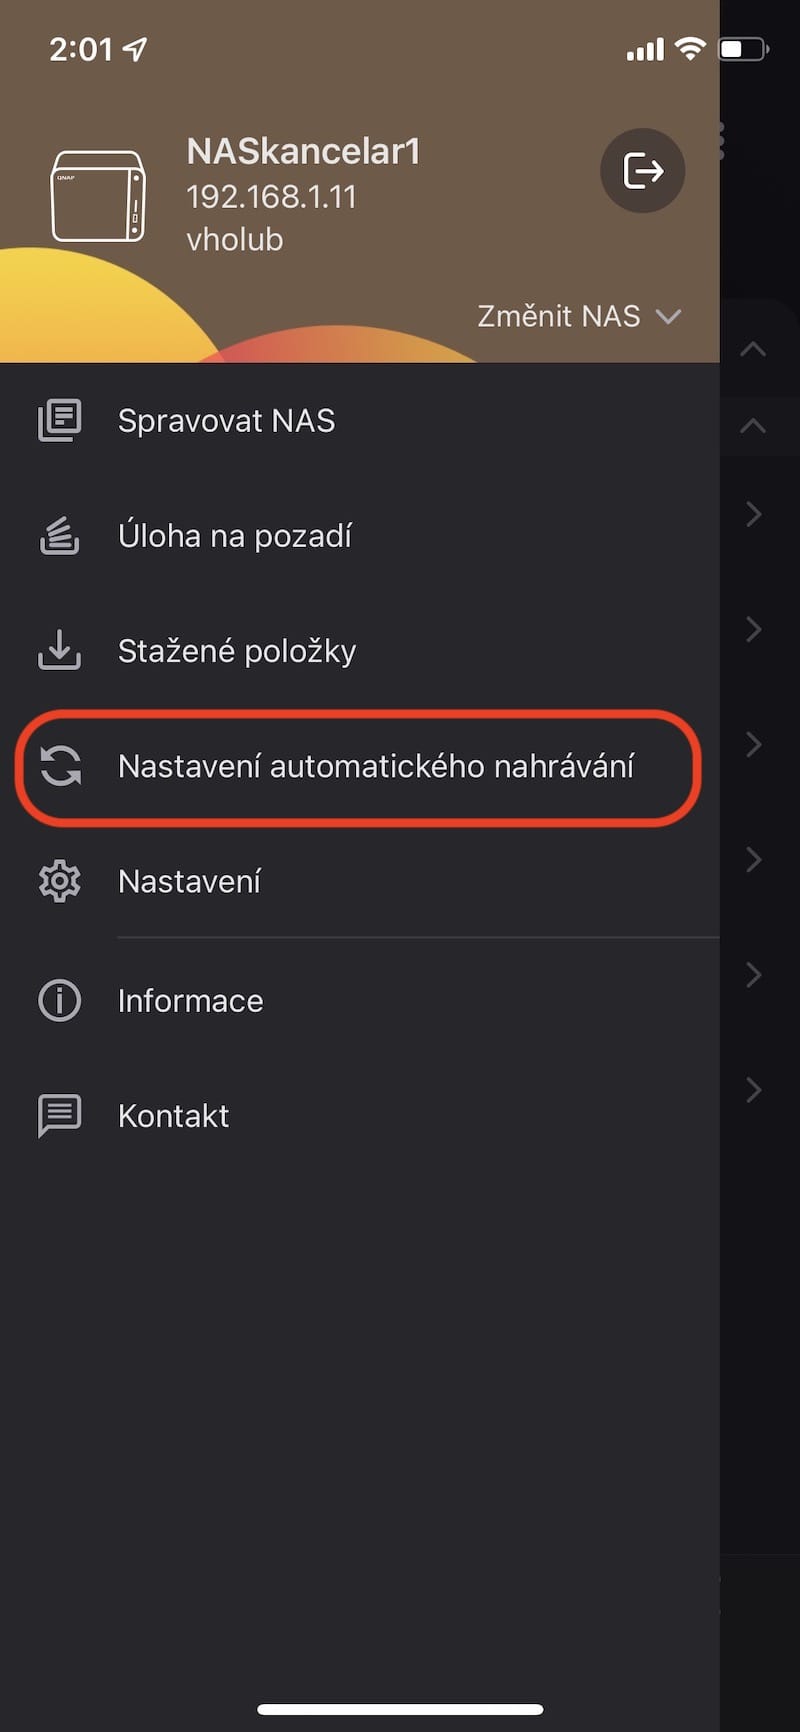
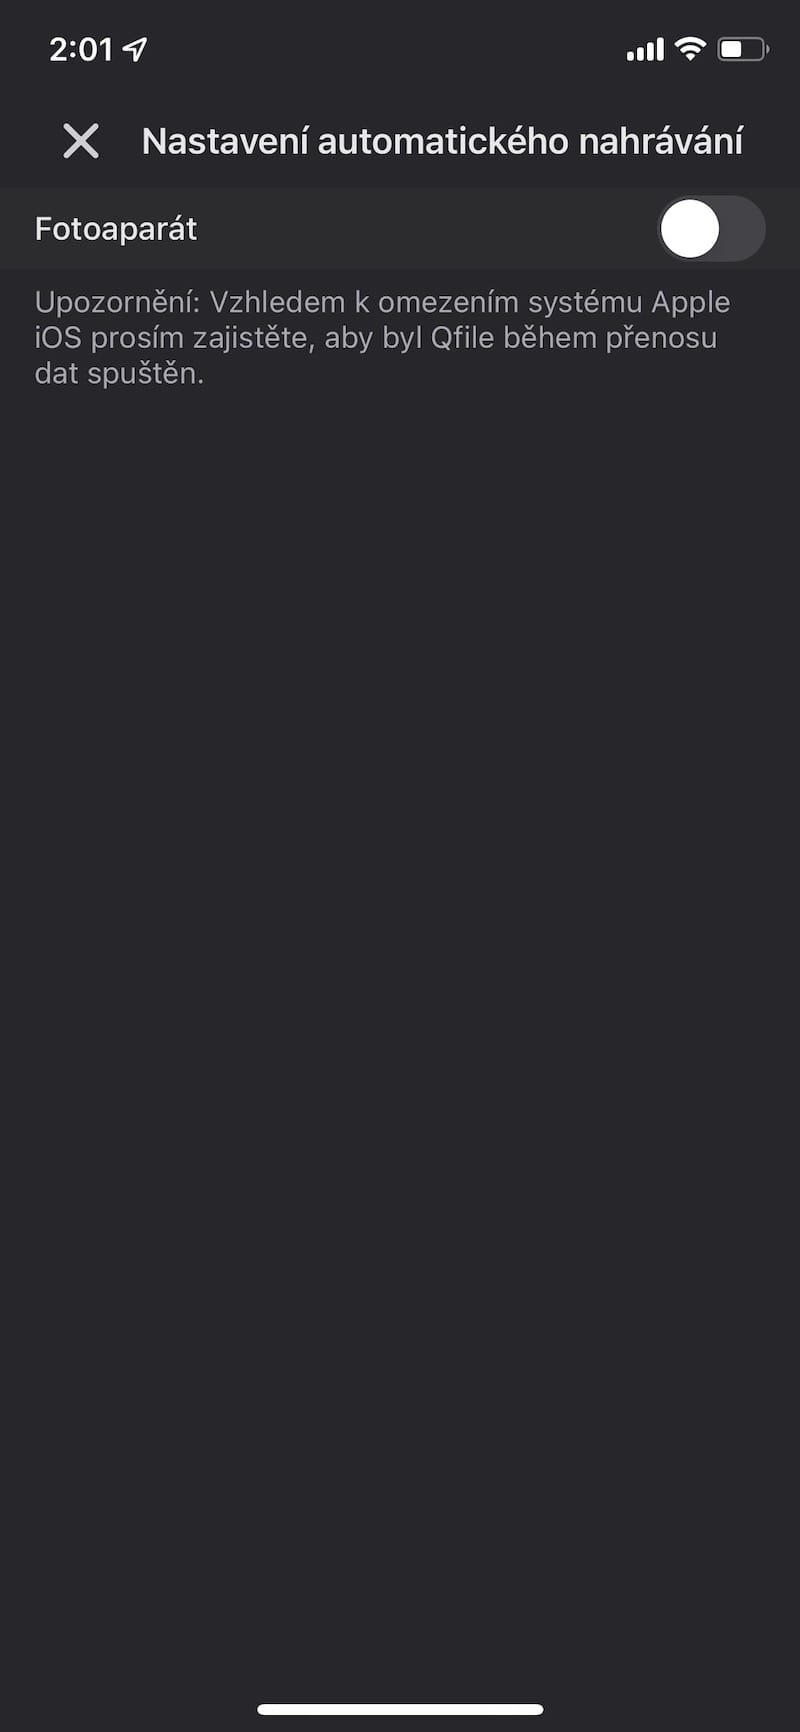
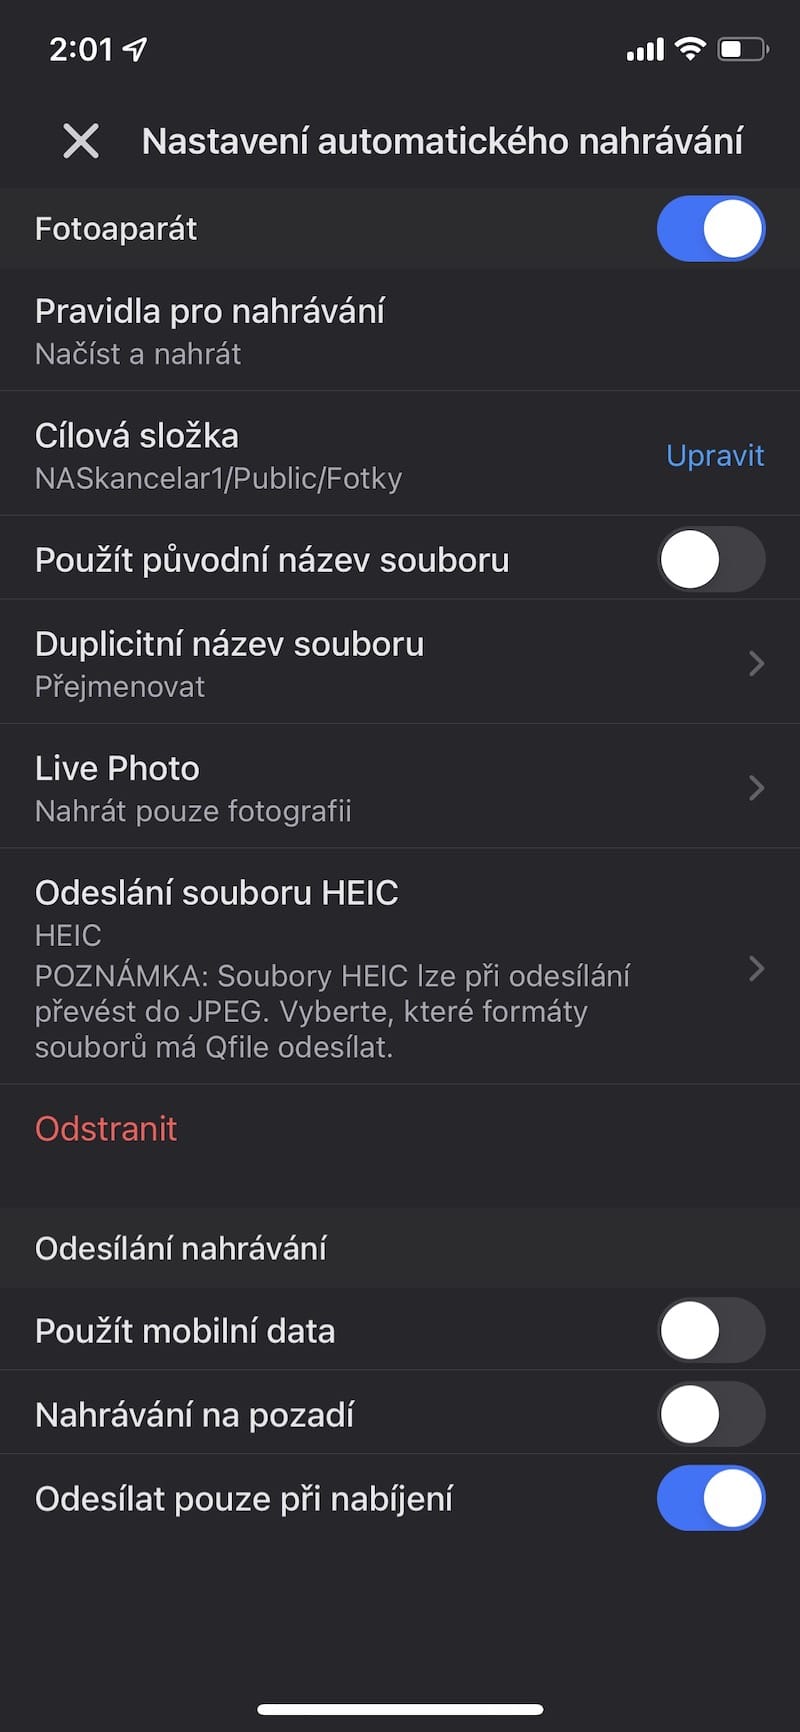
Let's also show you how to turn your home NAS into your own cloud service to back up all your memories in the form of photos and videos. The whole process is extremely simple and will only take you a few moments. After opening the Qfile application, just click on the icon in the upper left to open the side menu. Here you just have to select Automatic upload settings, where you just set the target folder, choose what to do in case of duplicate names, Live photos and how to deal with the HEIC format.
At the very bottom, there are still options for recording with the help of mobile data, in the background, or you can set here that the backup takes place only when the iPhone or iPad is connected to power. And this is practically done. Subsequently, your files will be automatically uploaded to your NAS.
Manual recording
In addition to automatic recording, of course there is also an option for manual recording, which may even surprise you. In this case, you don't have to limit yourself to just photos, for example, because you have your entire iCloud storage and many others at your disposal. However, it is best to demonstrate this with an example from practice. In this case, you must first go to the folder where you wish to upload the file, click on the icon of three dots in the upper right (next to the magnifying glass) and select the Upload option. Qfile will now ask you what type of file you will be uploading. You can now choose from your gallery, or take a photo directly, or choose from downloaded files. Then you just mark the necessary files and confirm the choice with the button.
However, in the paragraph above, we omitted the Other option. As mentioned above, you can upload practically anything, regardless of where you are in the world. After clicking on Other, the environment from the native Files application will open. Thanks to this, you have the possibility to upload any file to the NAS, which you may have stored directly on your iPhone, on iCloud or even in Google Drive.
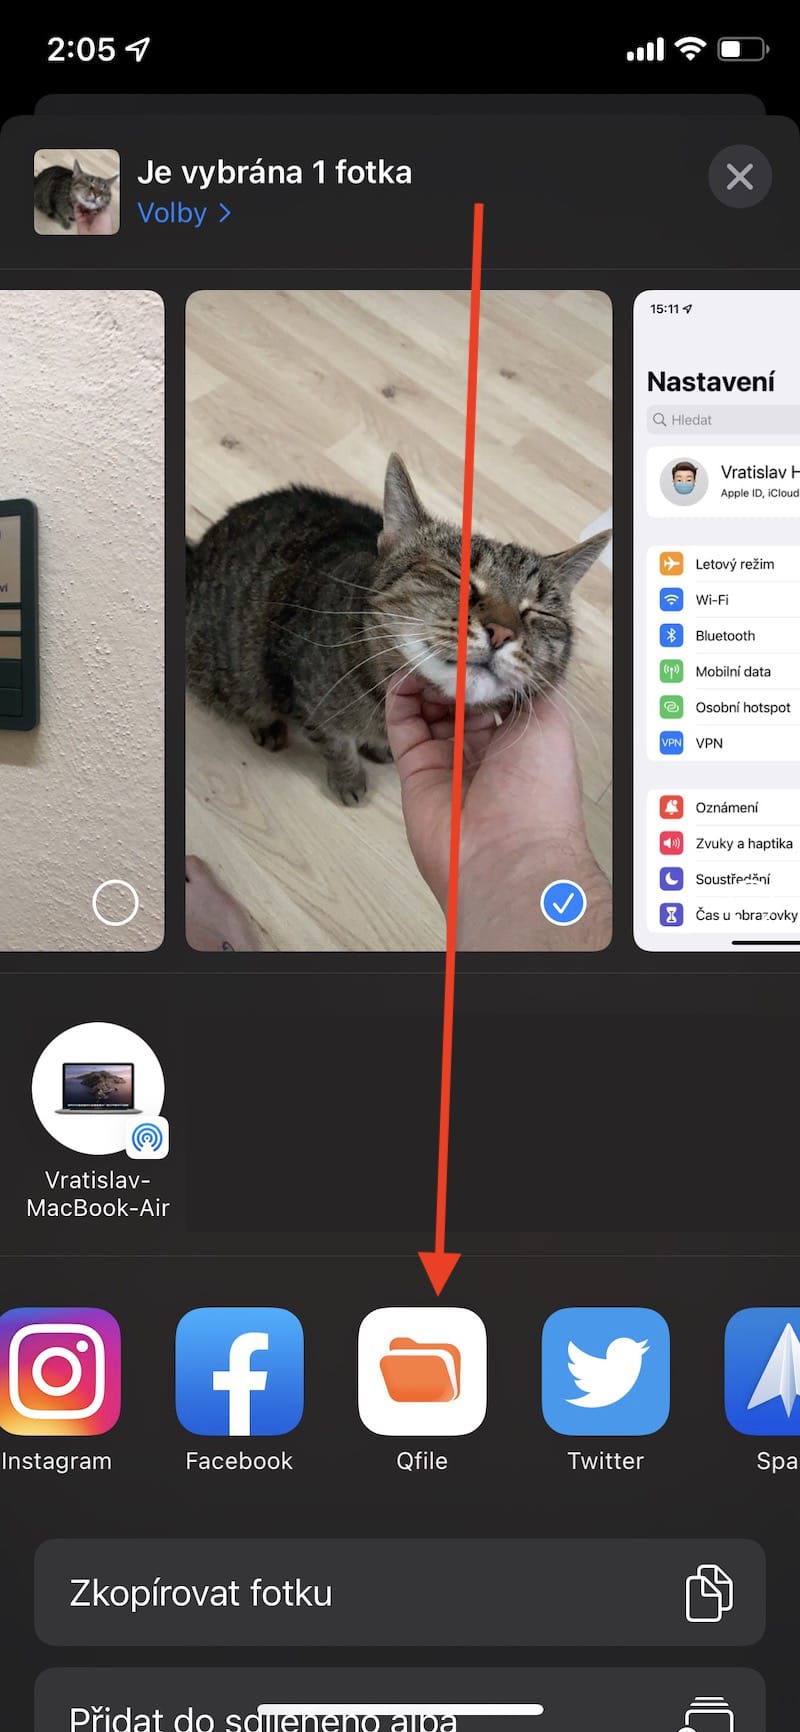
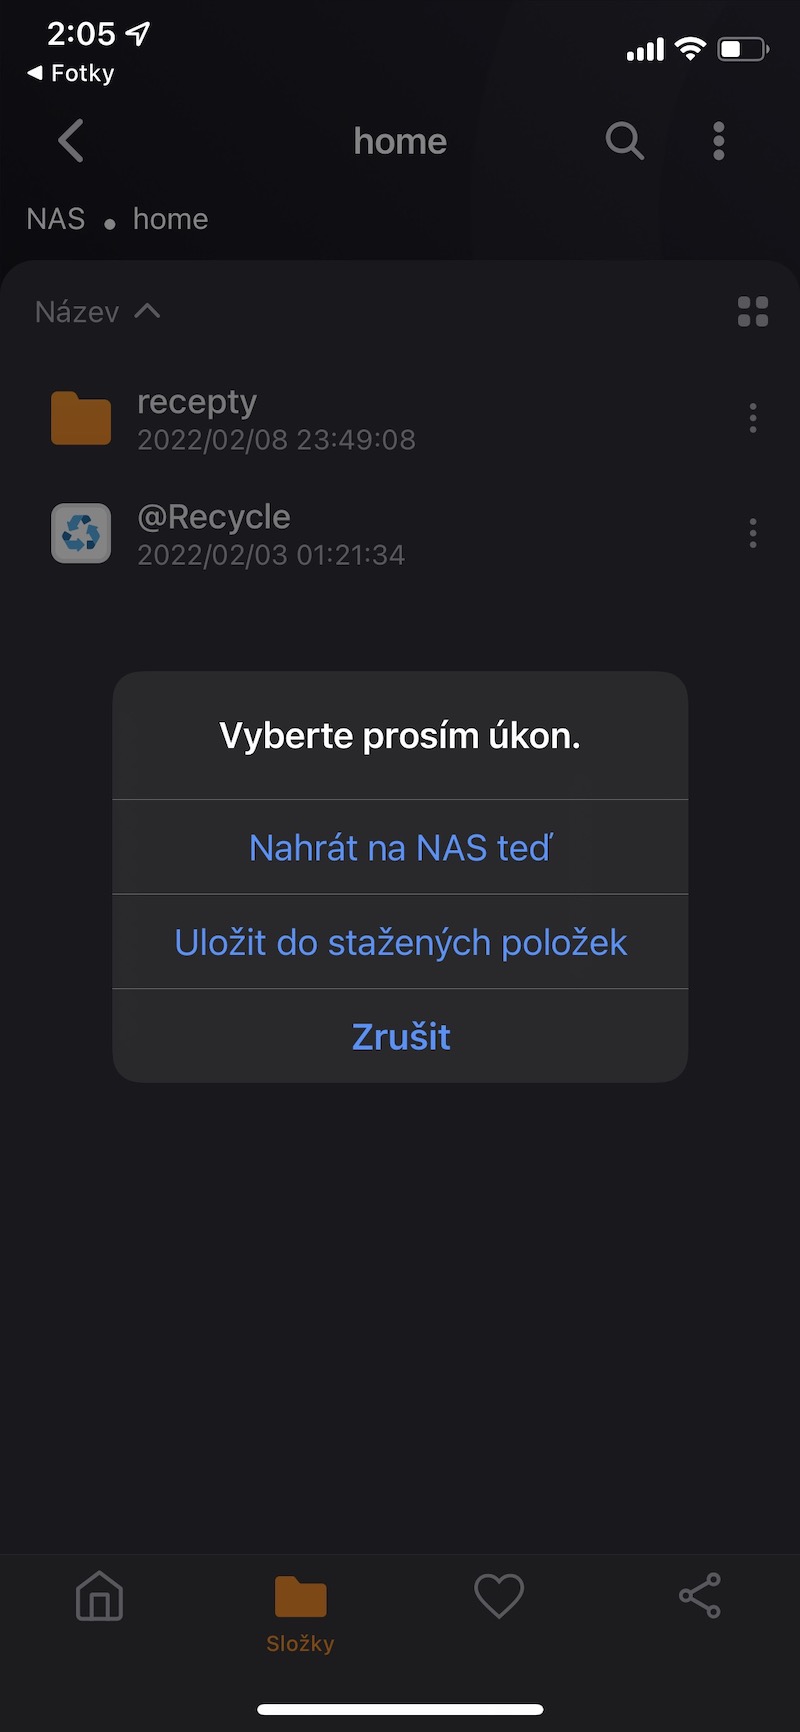
At the same time, if you need to upload something to the network storage from the iPhone, you don't even need to activate the Qfile application. No matter which application you are in, just click on the system icon for sharing, select Qfile and confirm the upload. In this way, for example, attachments from Mail, iMessage and others can be uploaded.
Sharing and encryption
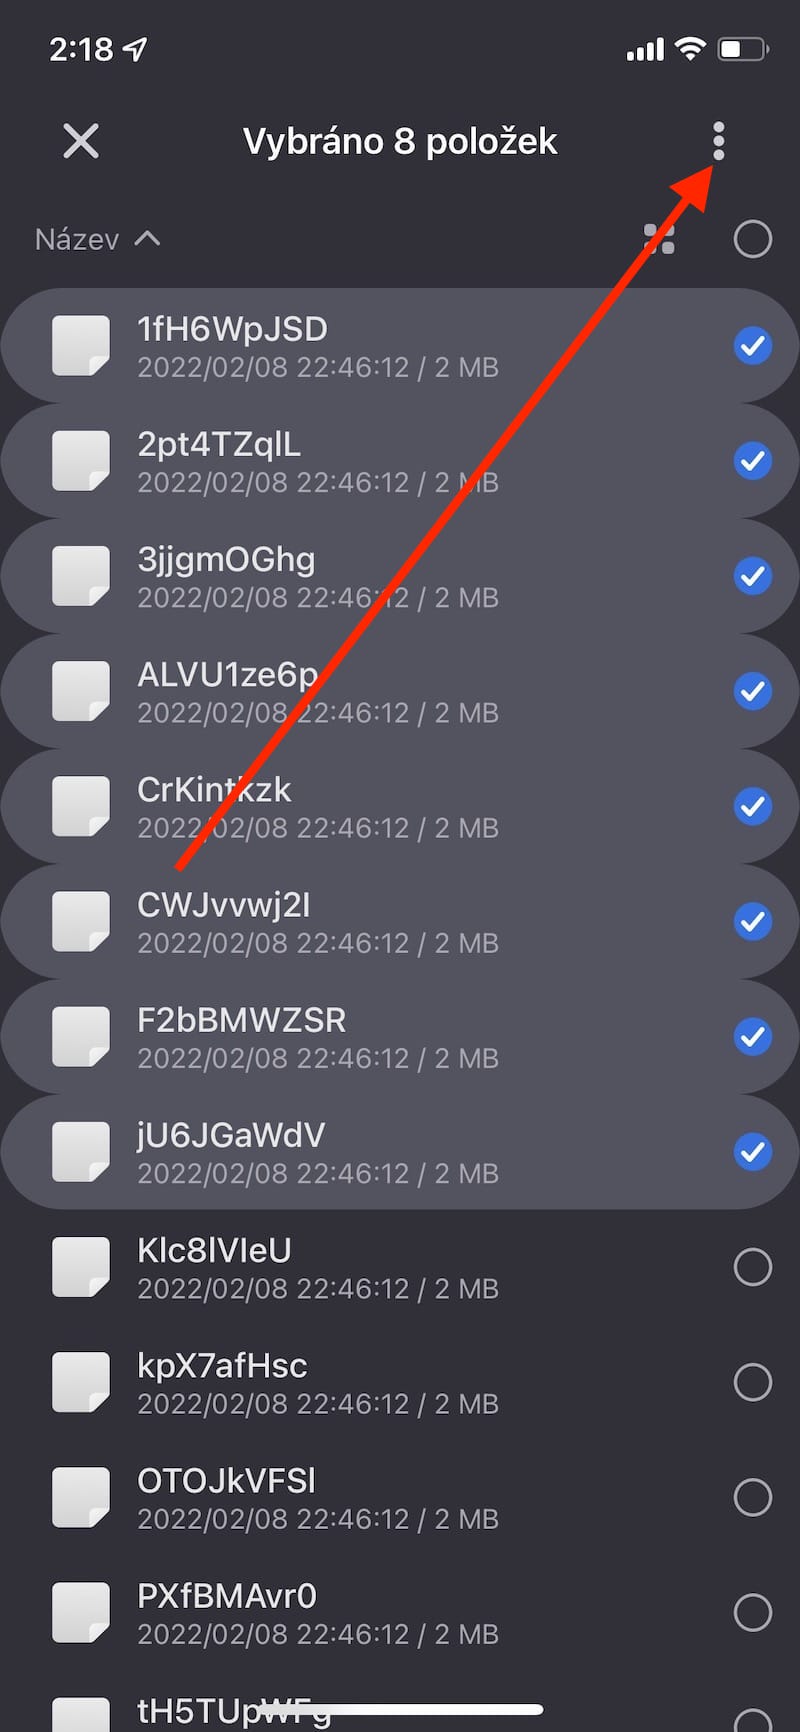
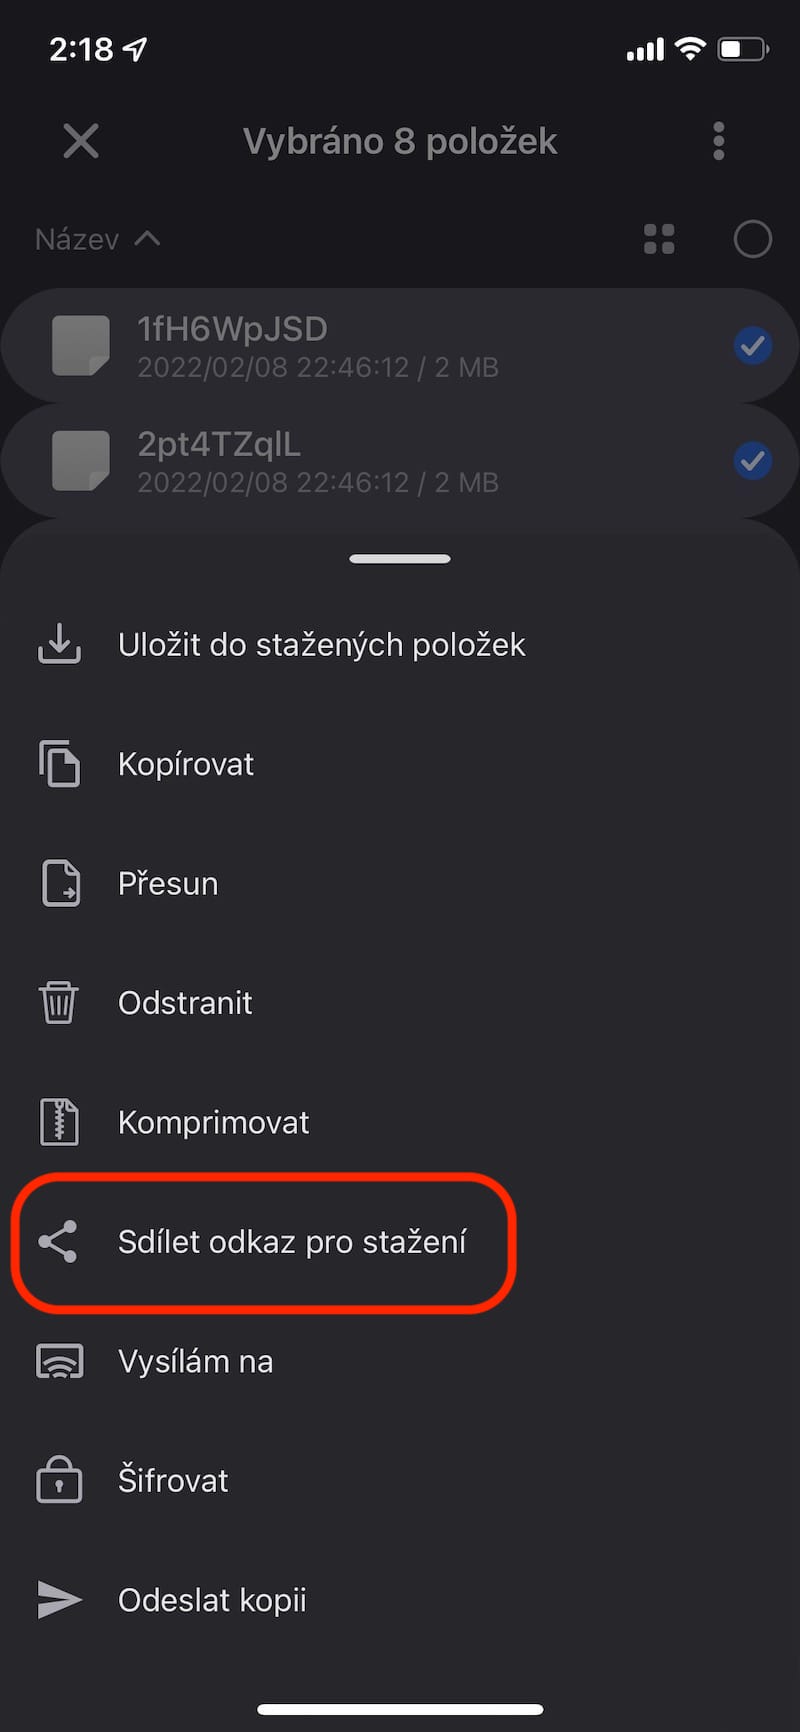
Personally, I consider another huge advantage of the Qfile application to be the possibility for practically immediate sharing of individual files, folders or archives, which you can also recognize from the QNAP NAS web interface. In that case, just mark the items in question, open the options and tap on the Share download link option. Subsequently, a few necessary settings will appear in front of you, where you can choose the name of the link, allow the other party to upload files to the given folder, or even set a password and expiration date. All you have to do is send the generated link to the desired person, who practically gains access to your NAS - but only to predetermined files.
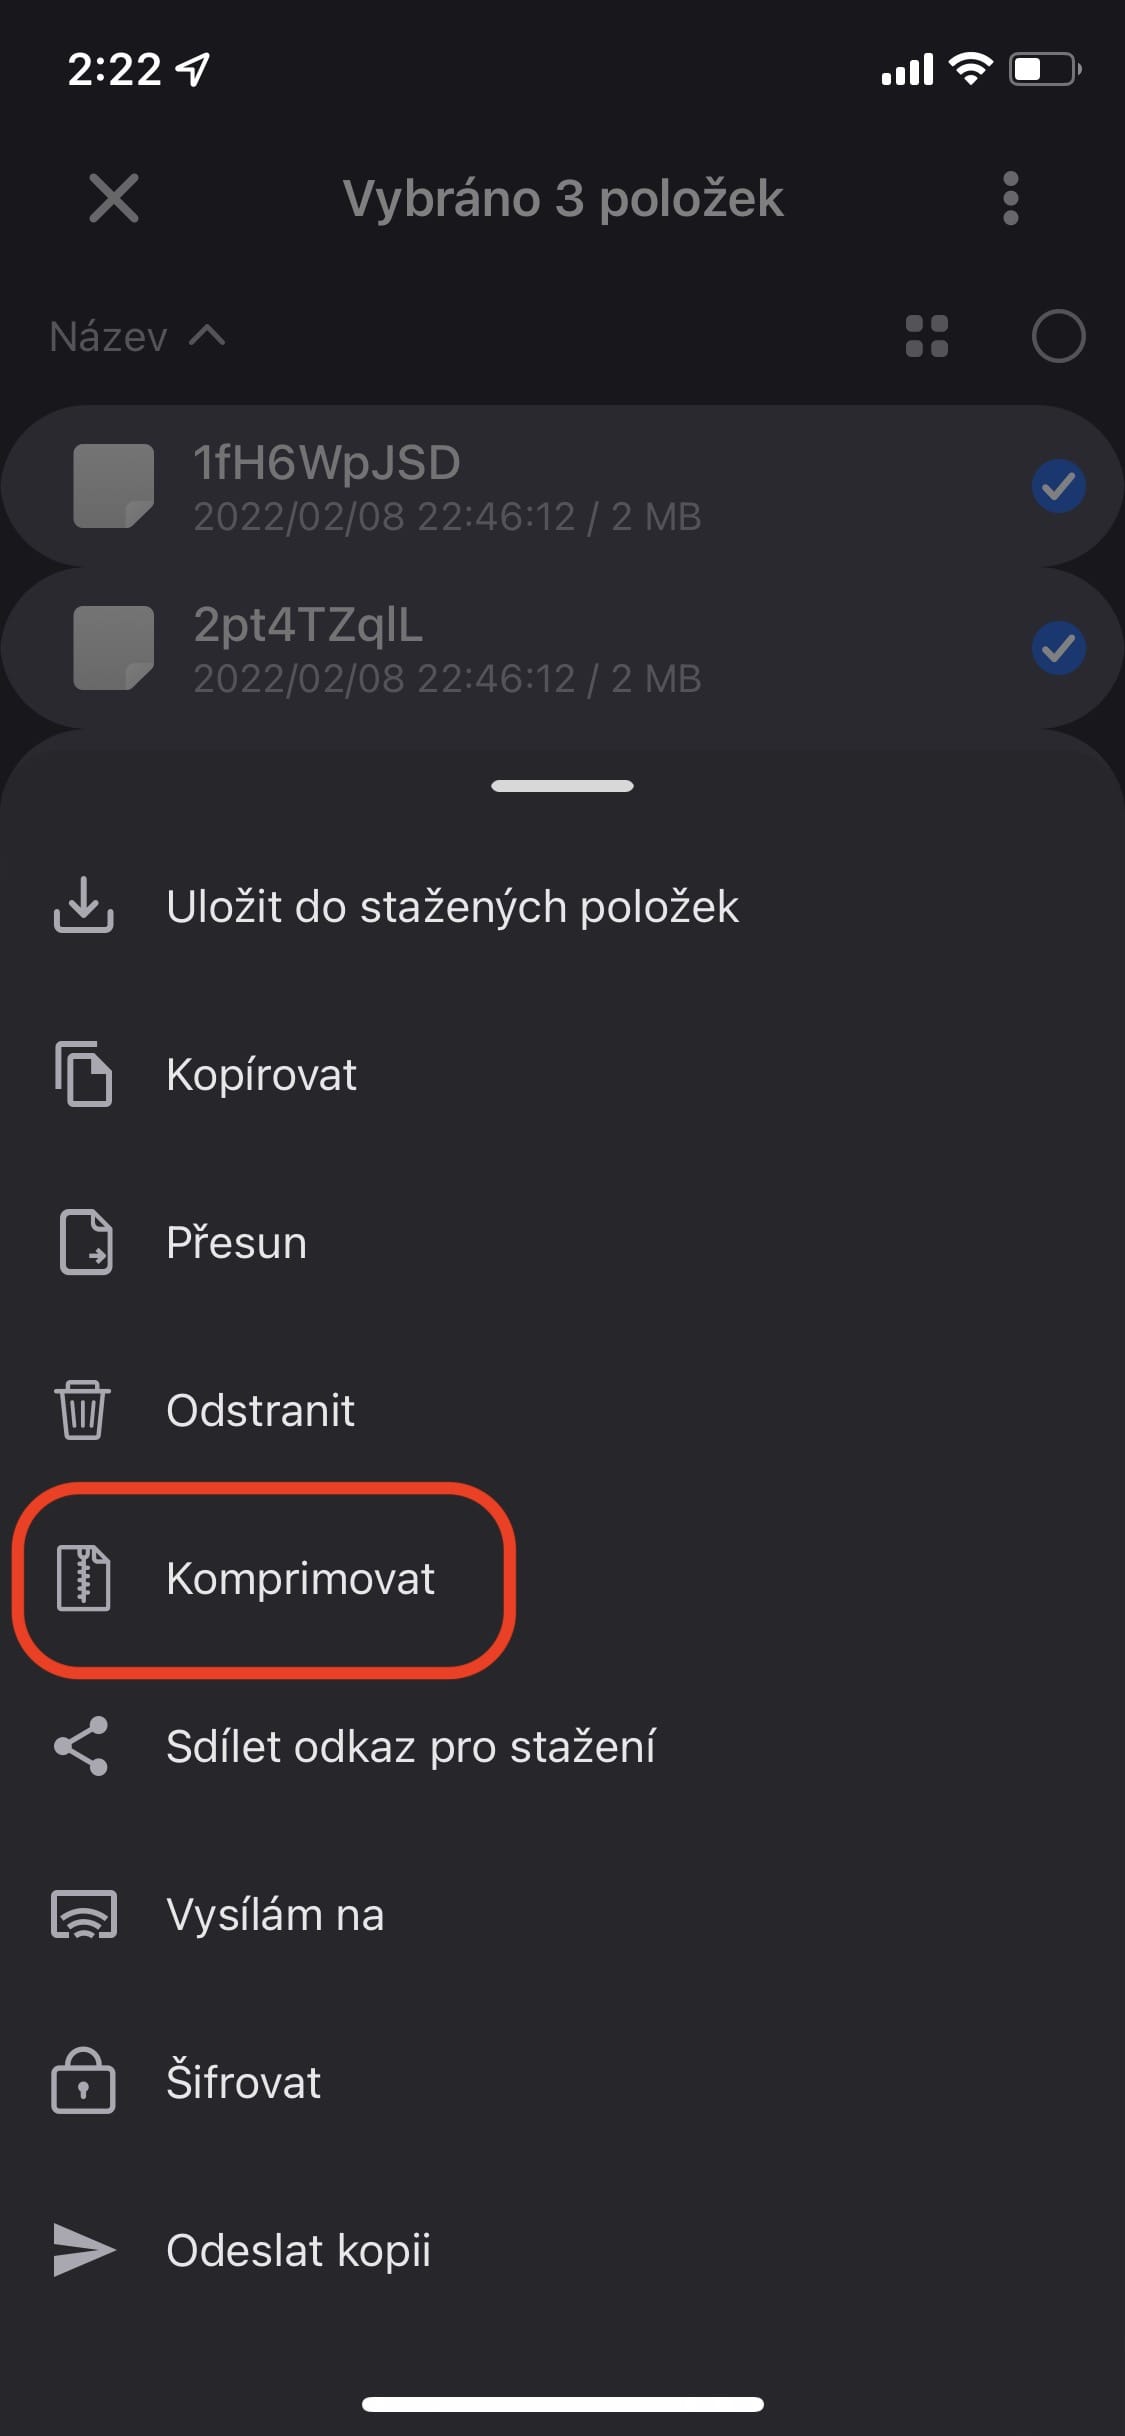
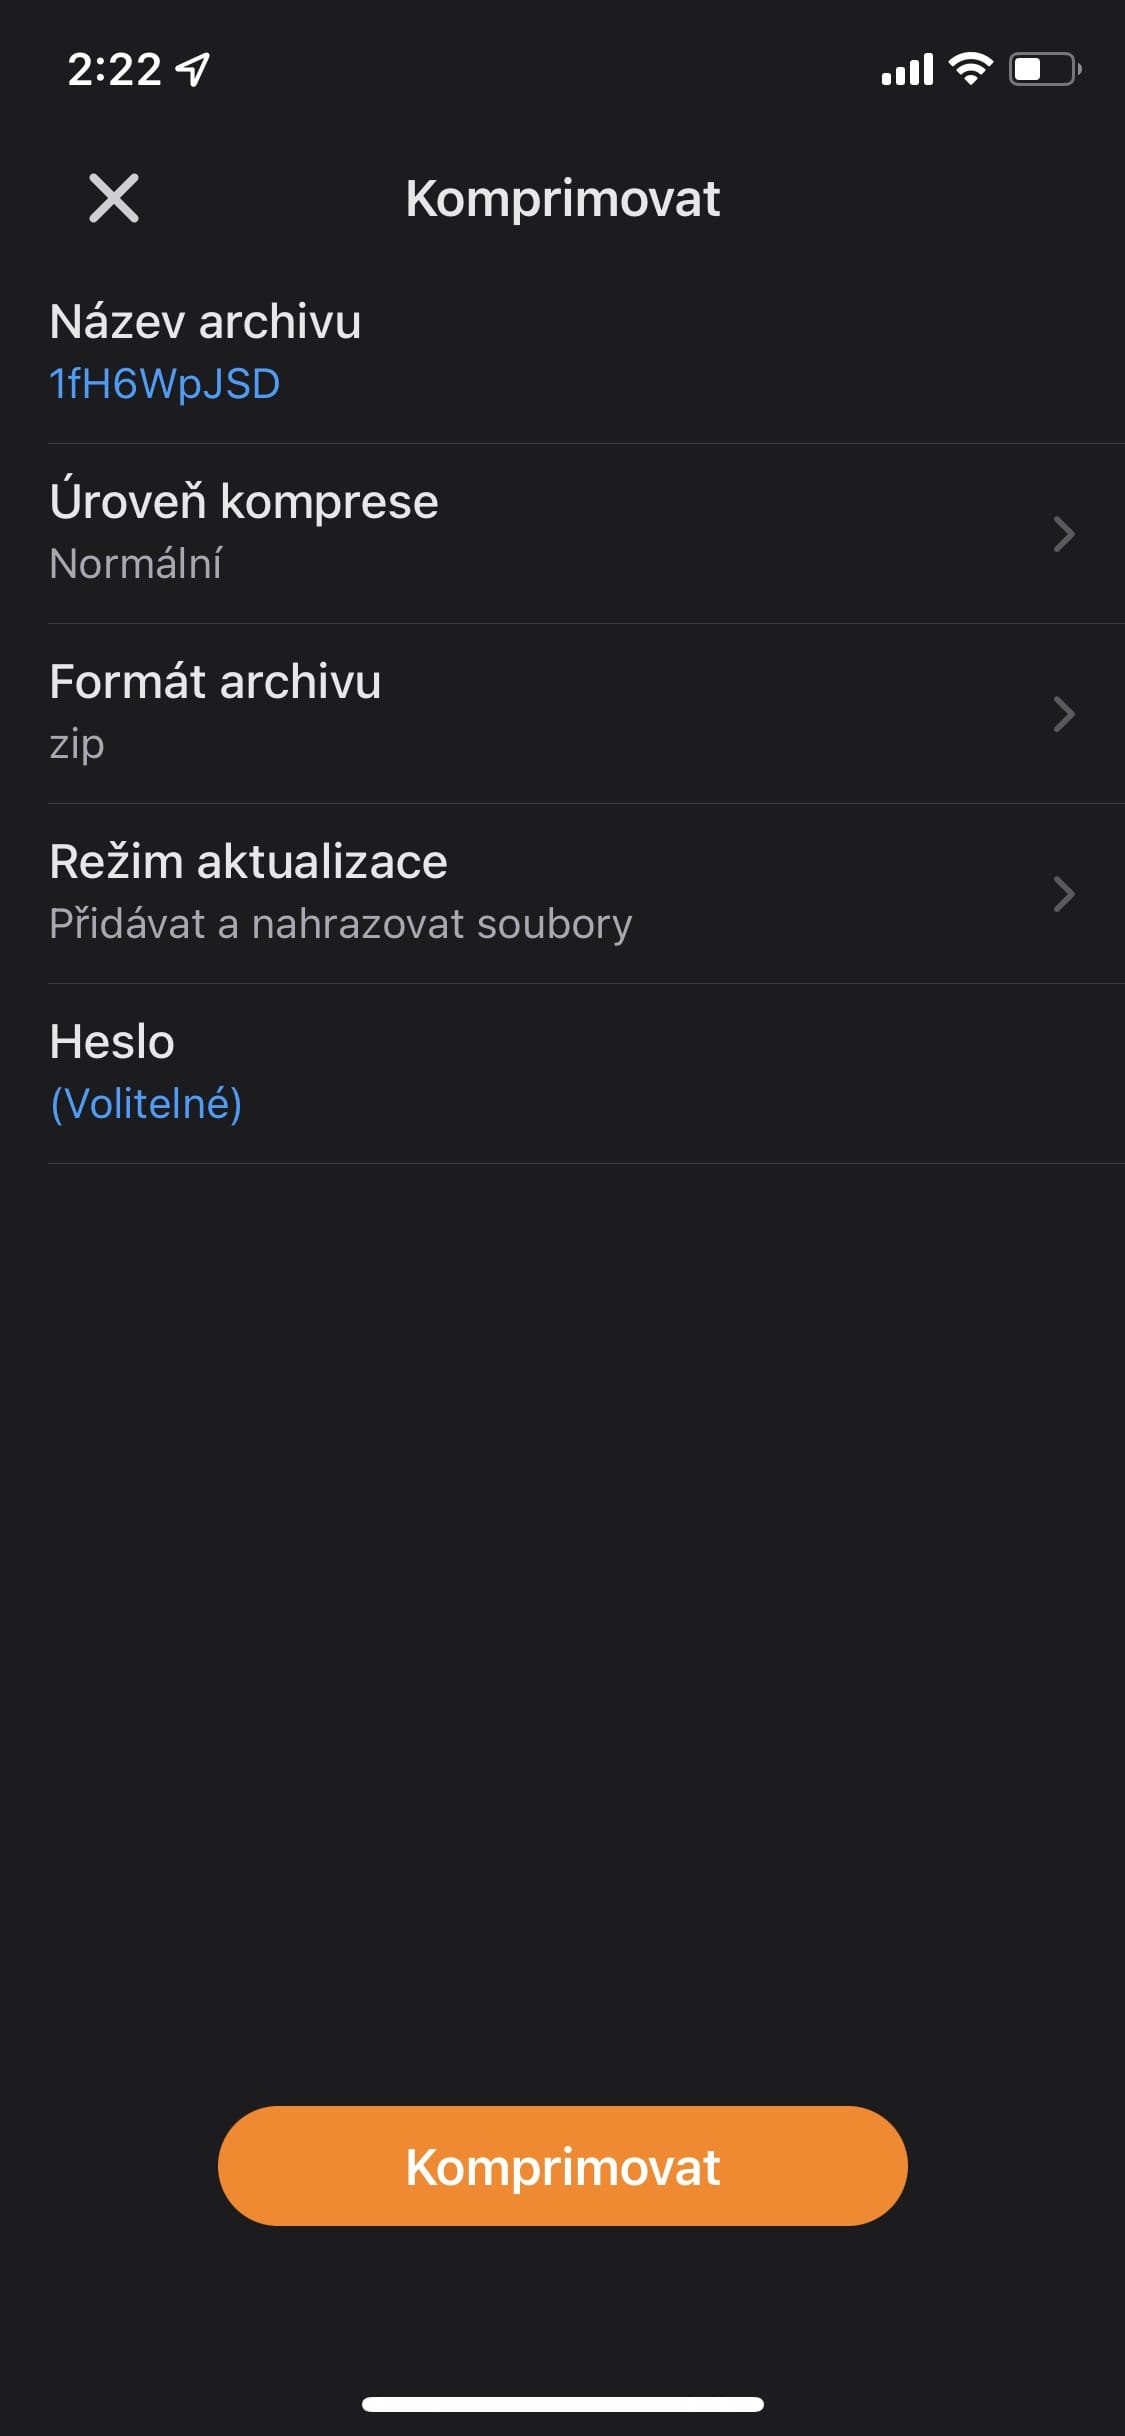
At the same time, I would like to highlight the possibility of compressing files and folders, which can be solved directly within the application. Again, just mark the necessary items, open the options and tap on the Compress option. In this step, the app will also ask for the name and format of the archive, compression level, or you can protect it again with a password. In order to achieve the maximum level of security, you can additionally encrypt the given archive (or individual files) and lock it again with another password.
Content Broadcasting
The function for broadcasting multimedia content is also an interesting option. This way you can stream to things like Chromecast and other supported devices in no time. In this case, it is enough to open the required folder with the contents in Qfile, click on the icon of vertically arranged dots in the upper right corner and then select the Send to option. You will now be shown the currently available network media players, from which you just have to choose. Immediately after that, the content from the Qfile will start streaming.
Qfiles in general
All in all, the Qfile application should definitely not be missing from the iPhone/iPad of any QNAP NAS user. I personally use this tool practically every day and I honestly have to appreciate its mentioned simplicity, extensive options and speed. Compared to the aforementioned native Files application, Qfile has a noticeable advantage. It allows you to connect to the NAS from anywhere via myqnapcloud.com, thanks to which you can work with your data in virtually any situation.
You can download the Qfile application for free in the App Store






Hello, I've only been using this app for a few days and so far it's doing what I expected. I just have a question about one thing that I haven't been able to identify yet. When I save photos to the NAS, some of them give me the message "No content: File size is zero" and they simply won't download to the NAS. Can you help?