Most photos in the world are now logically produced by mobile phones. iPhones are generally among the best camera phones, thanks to their advanced lens system (especially iPhone Pro). But if you want to squeeze more out of your mobile photos, you can, here's how.
Automatic adjustment
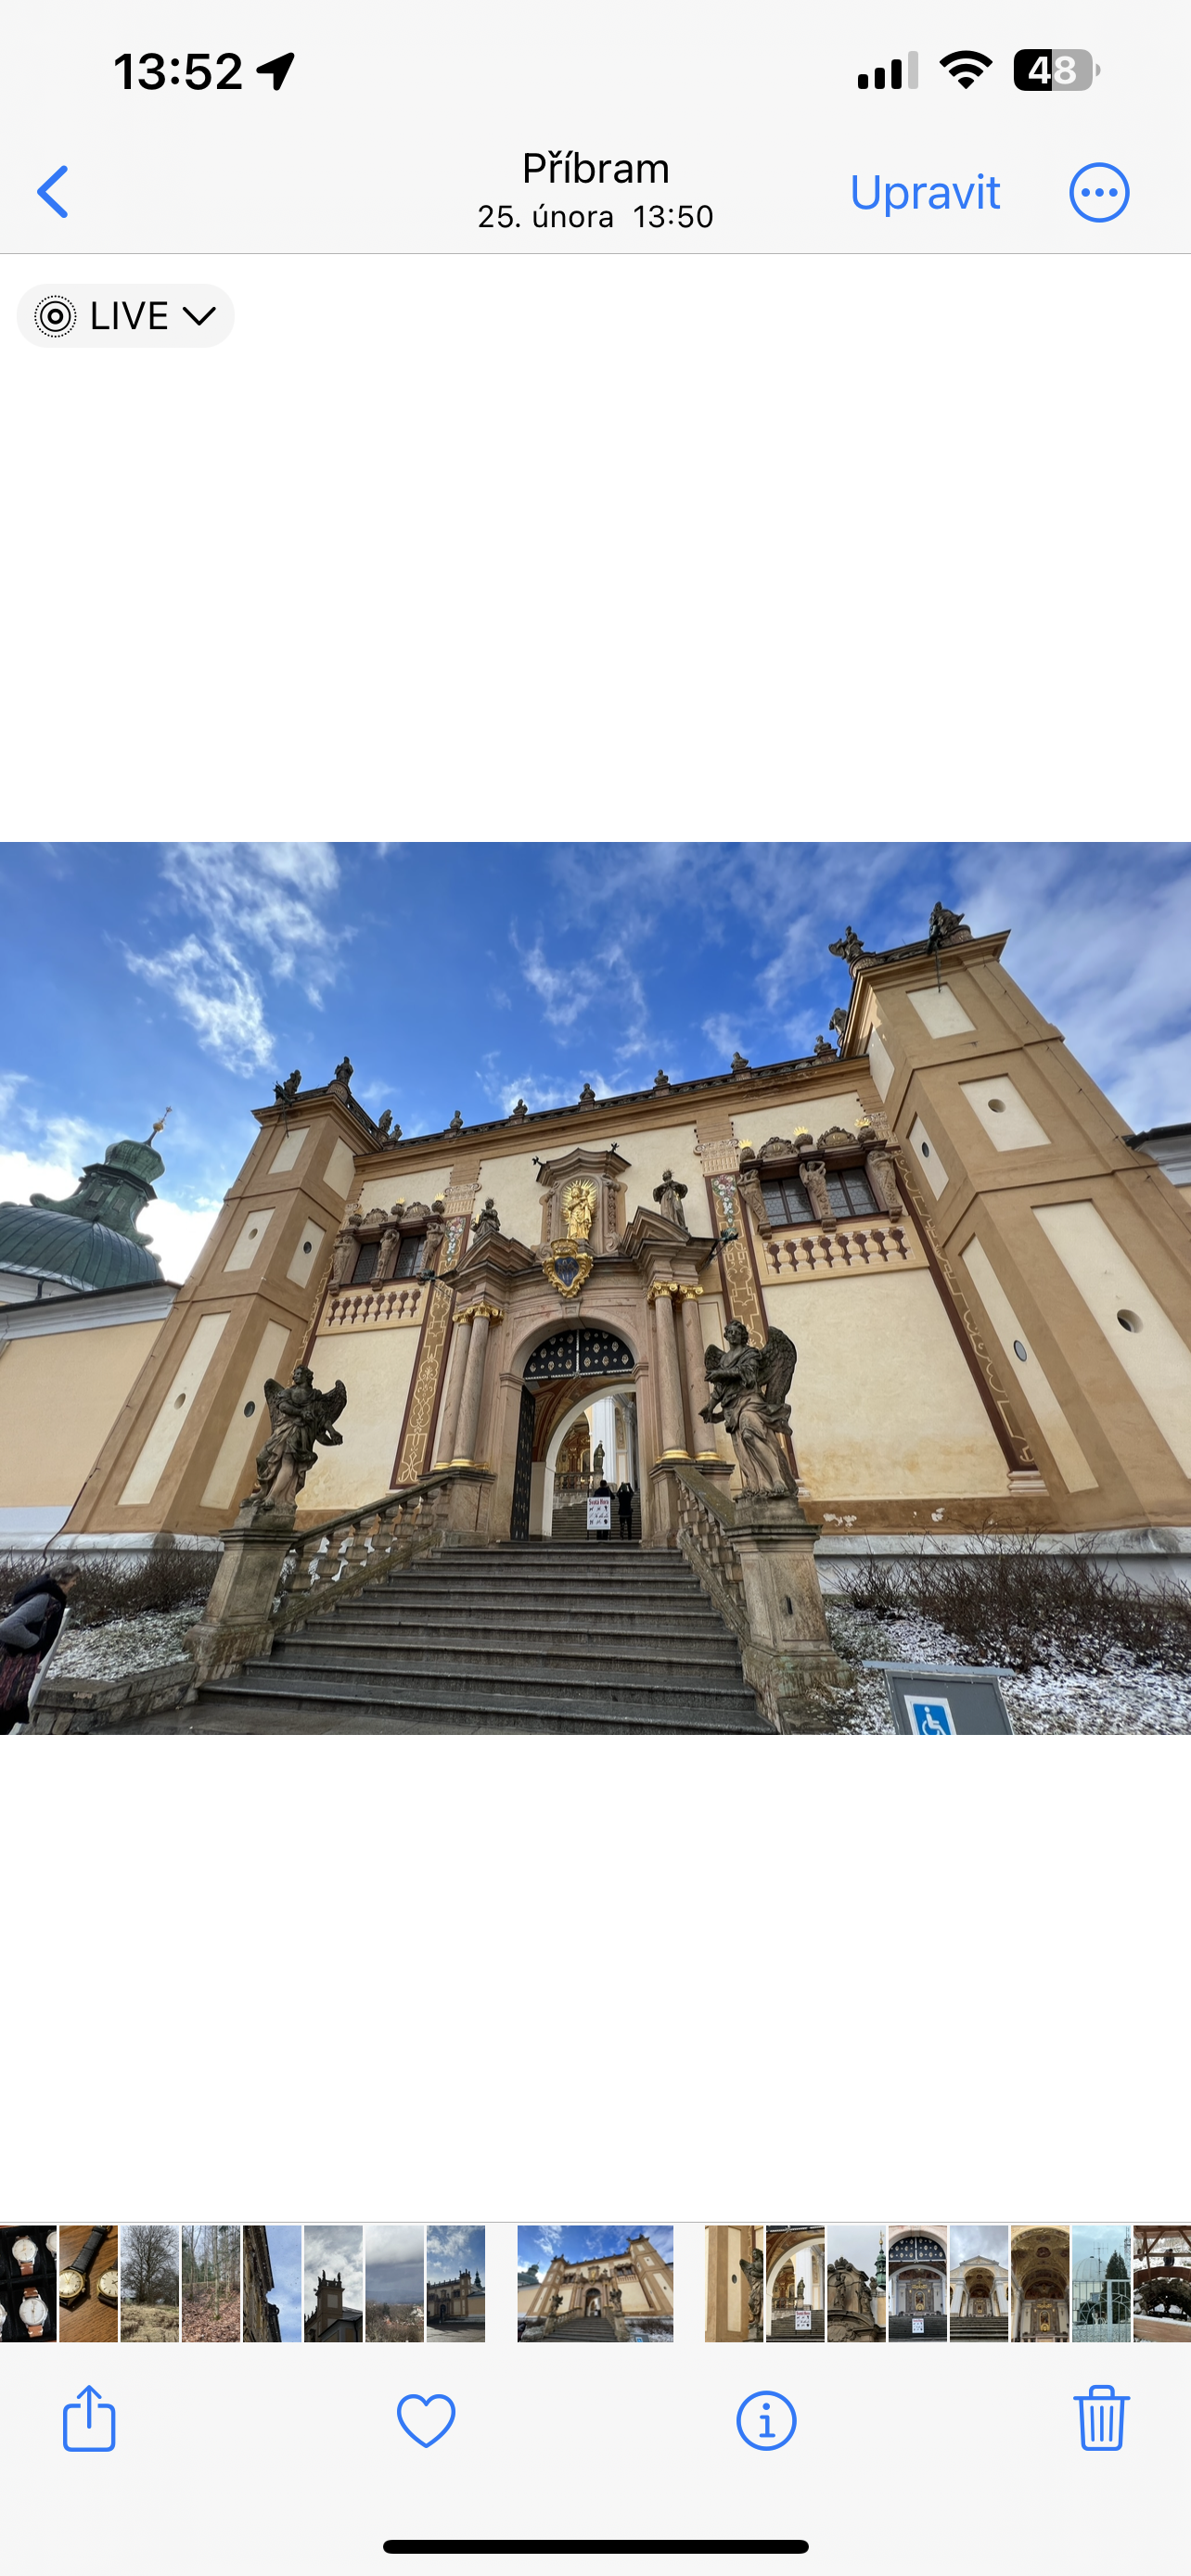
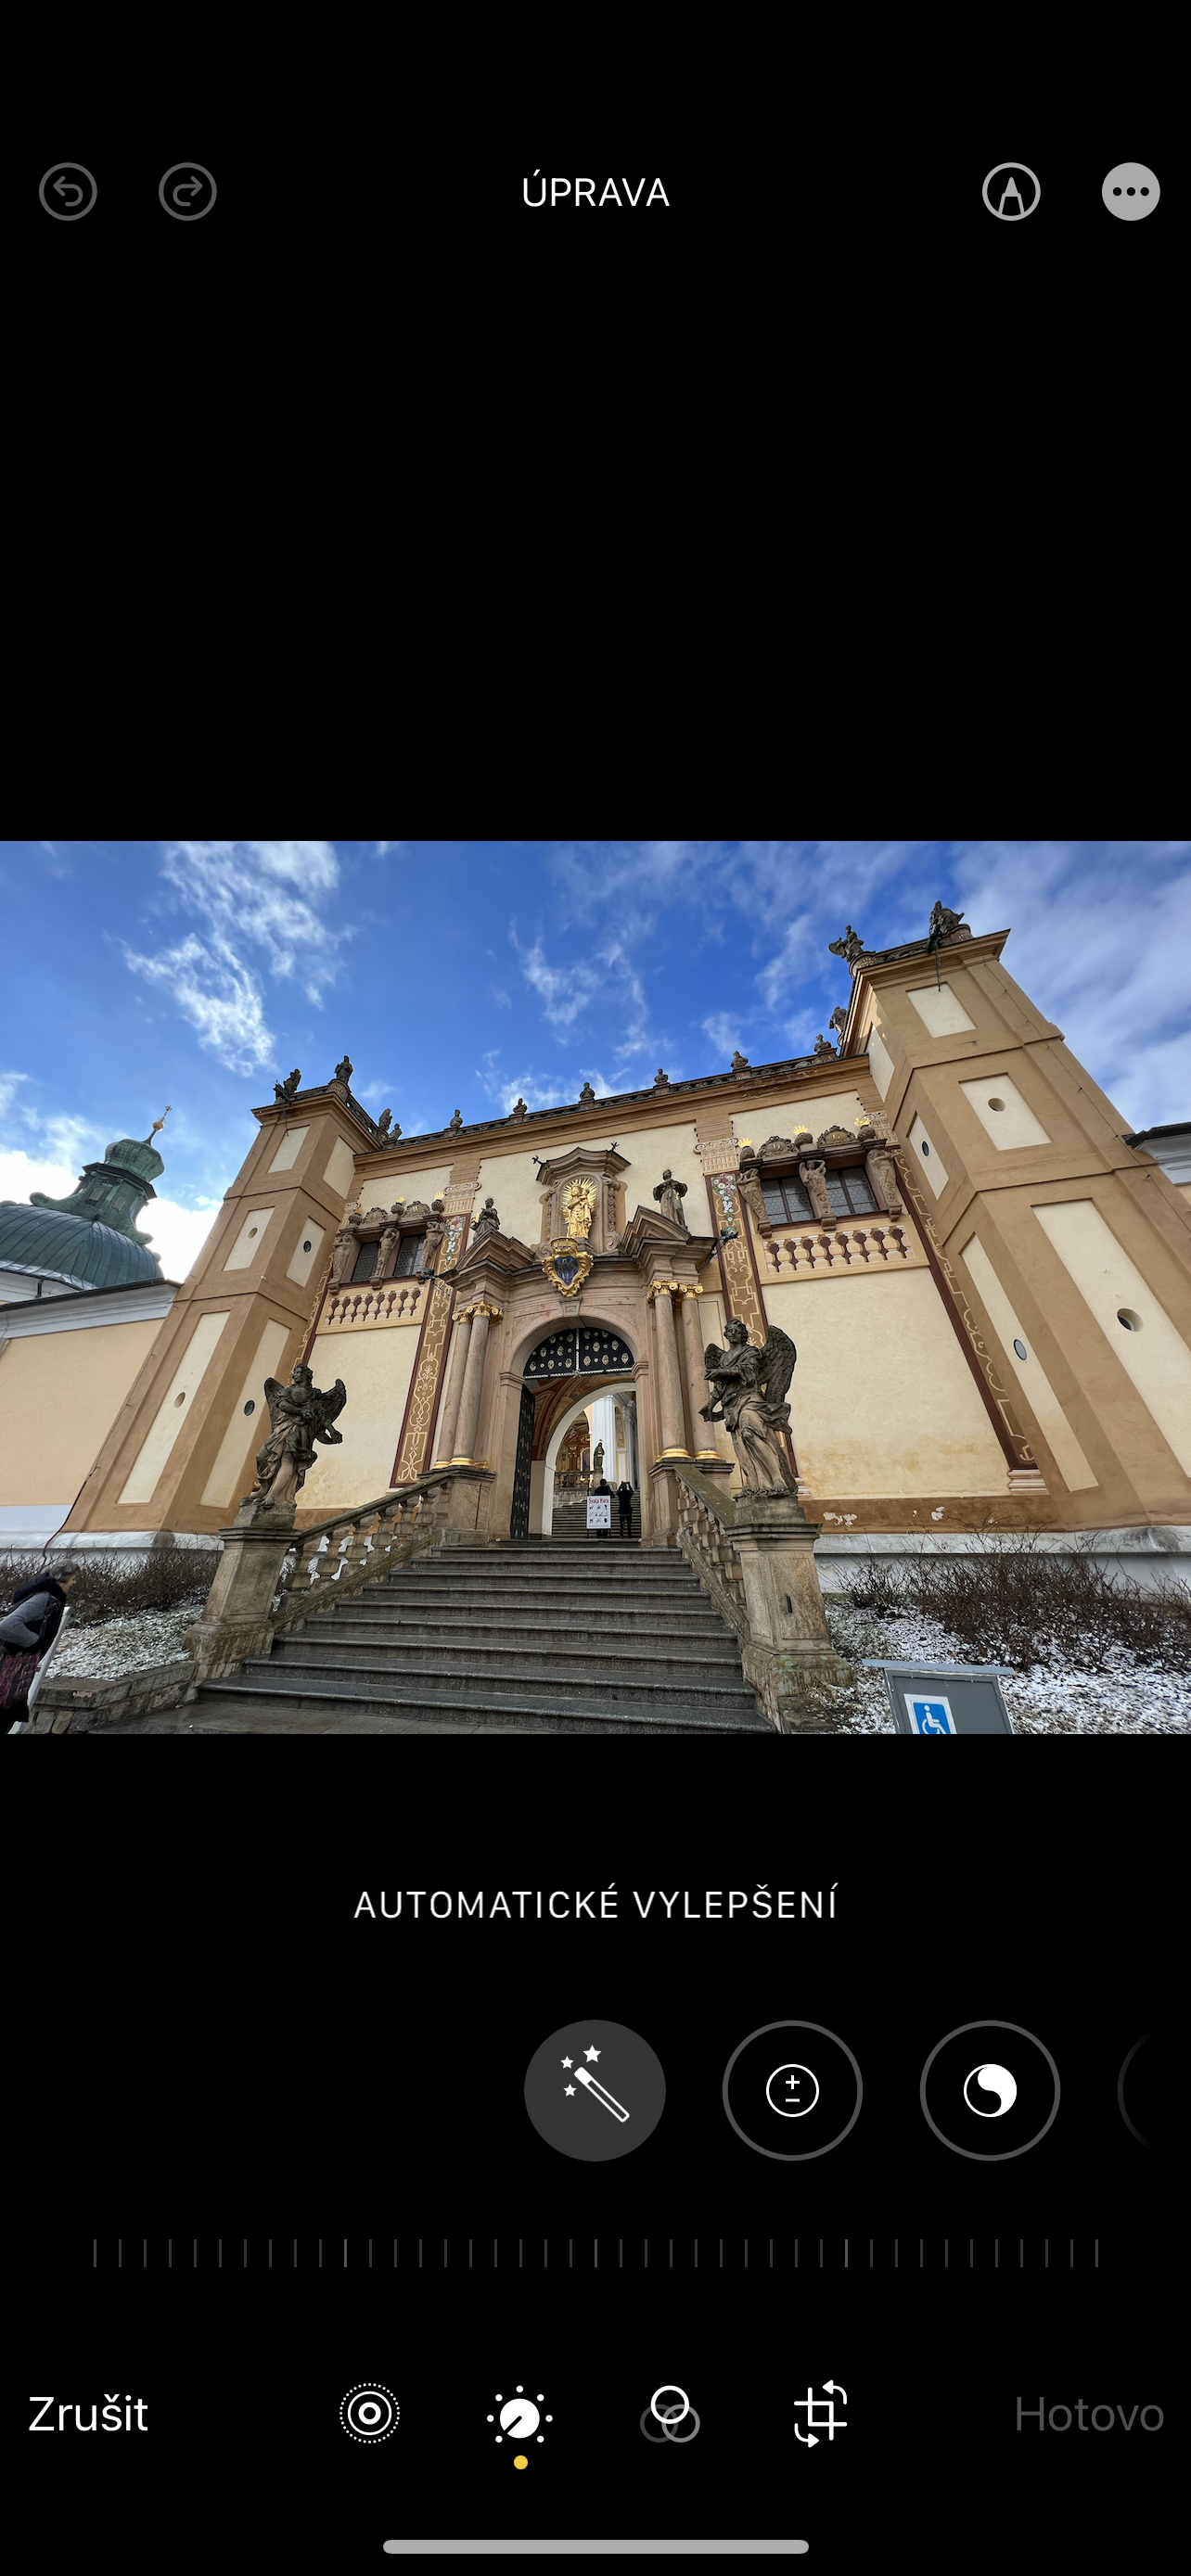
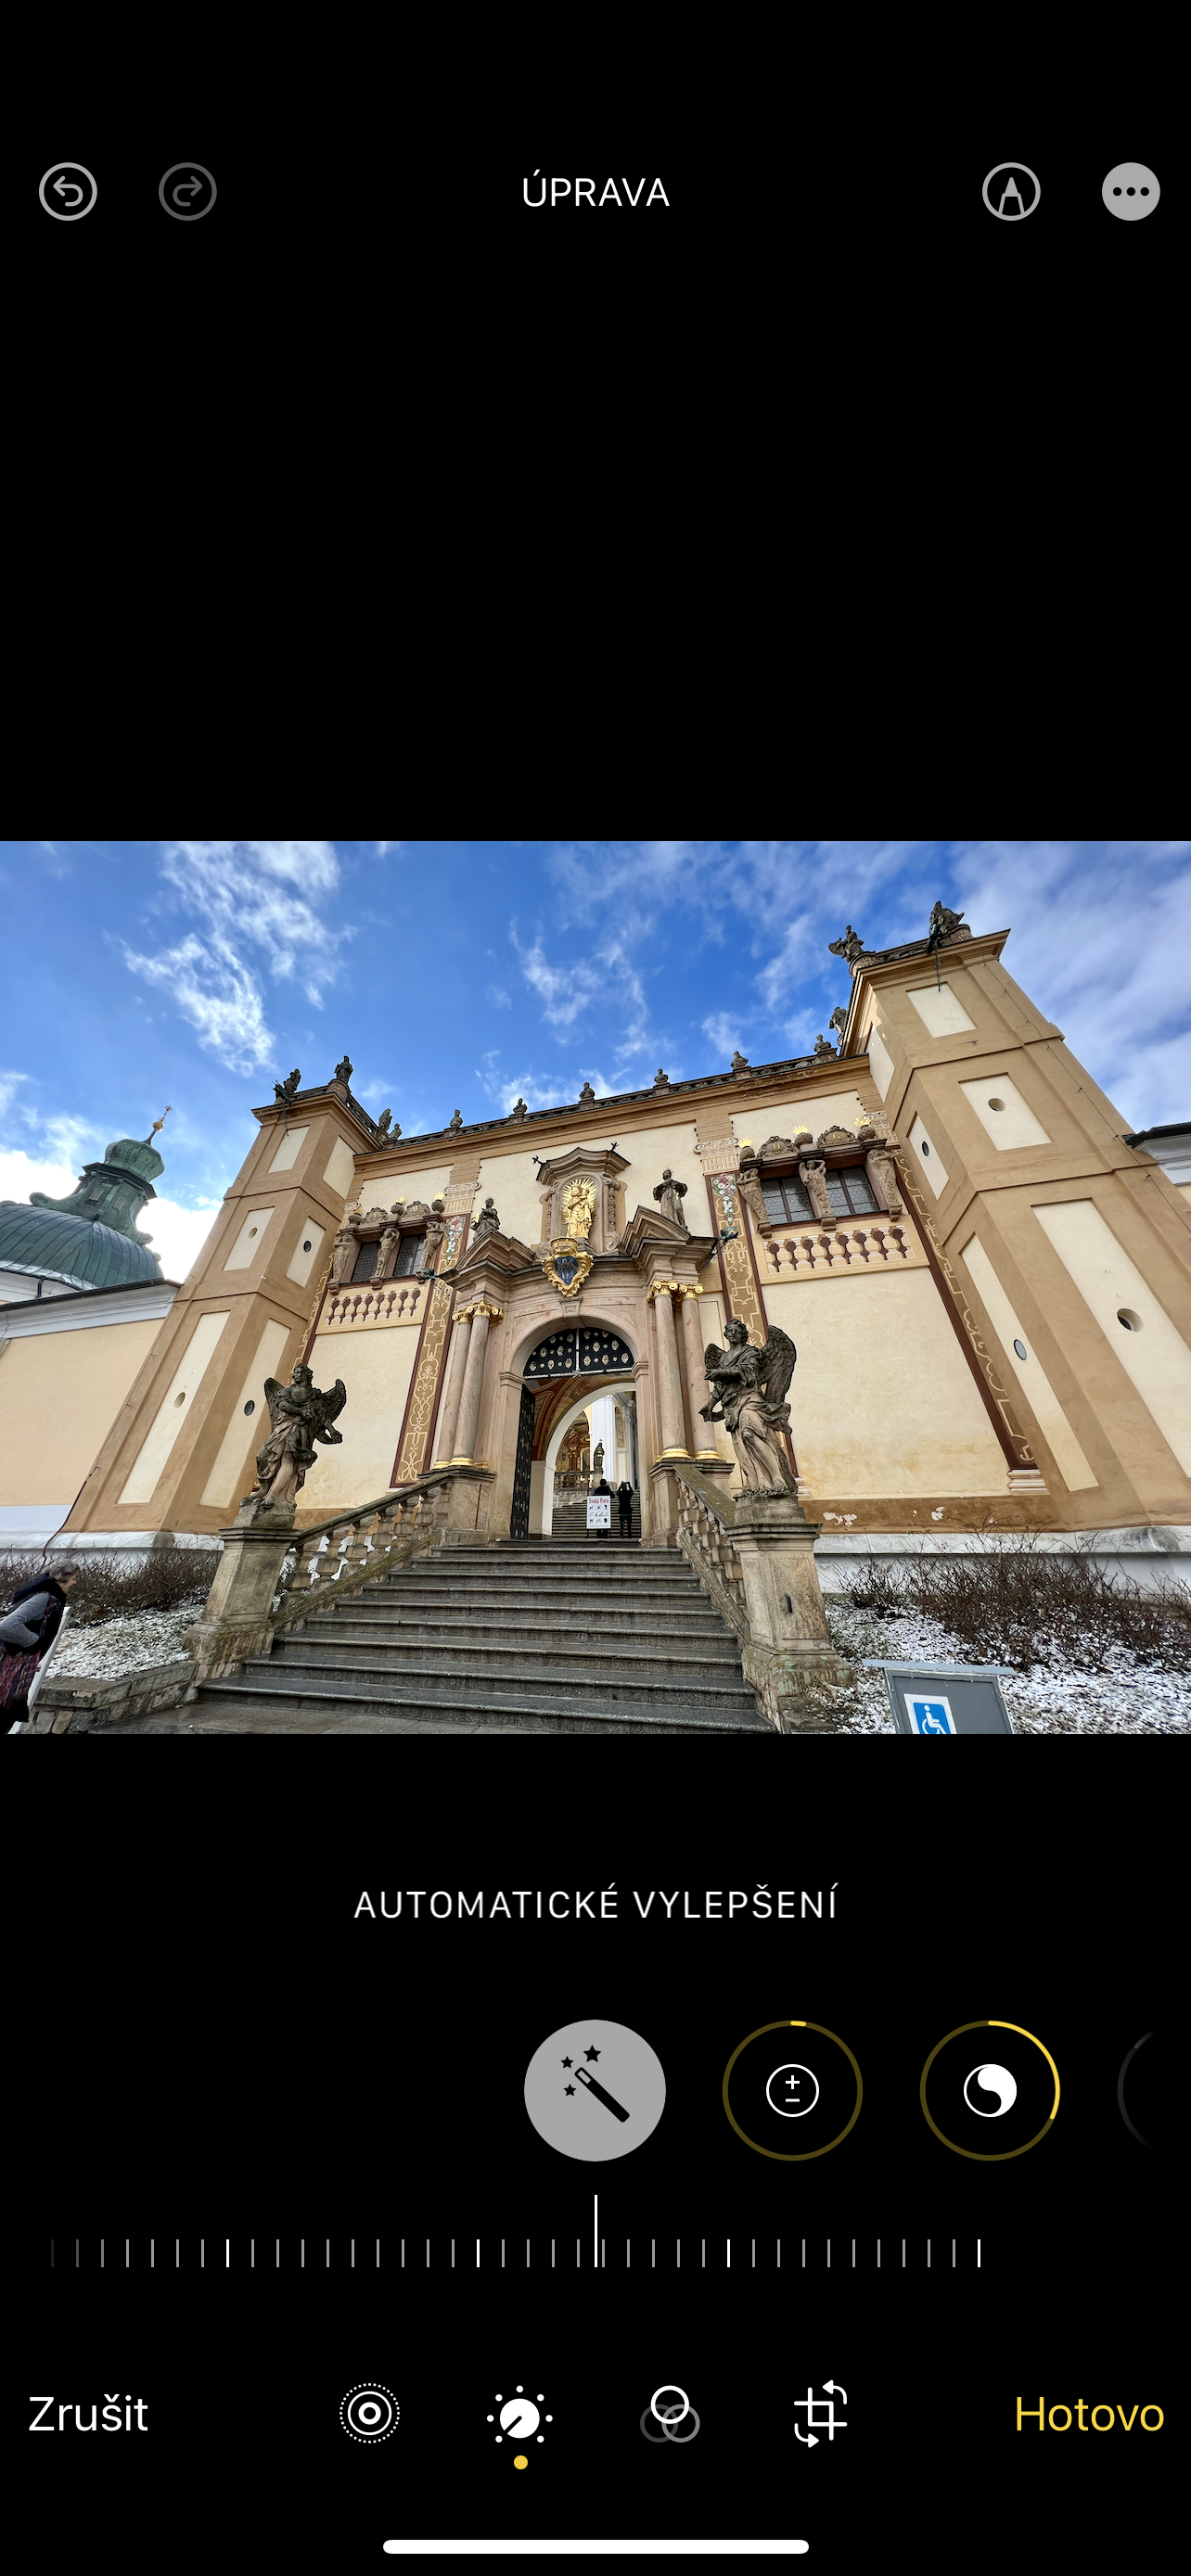
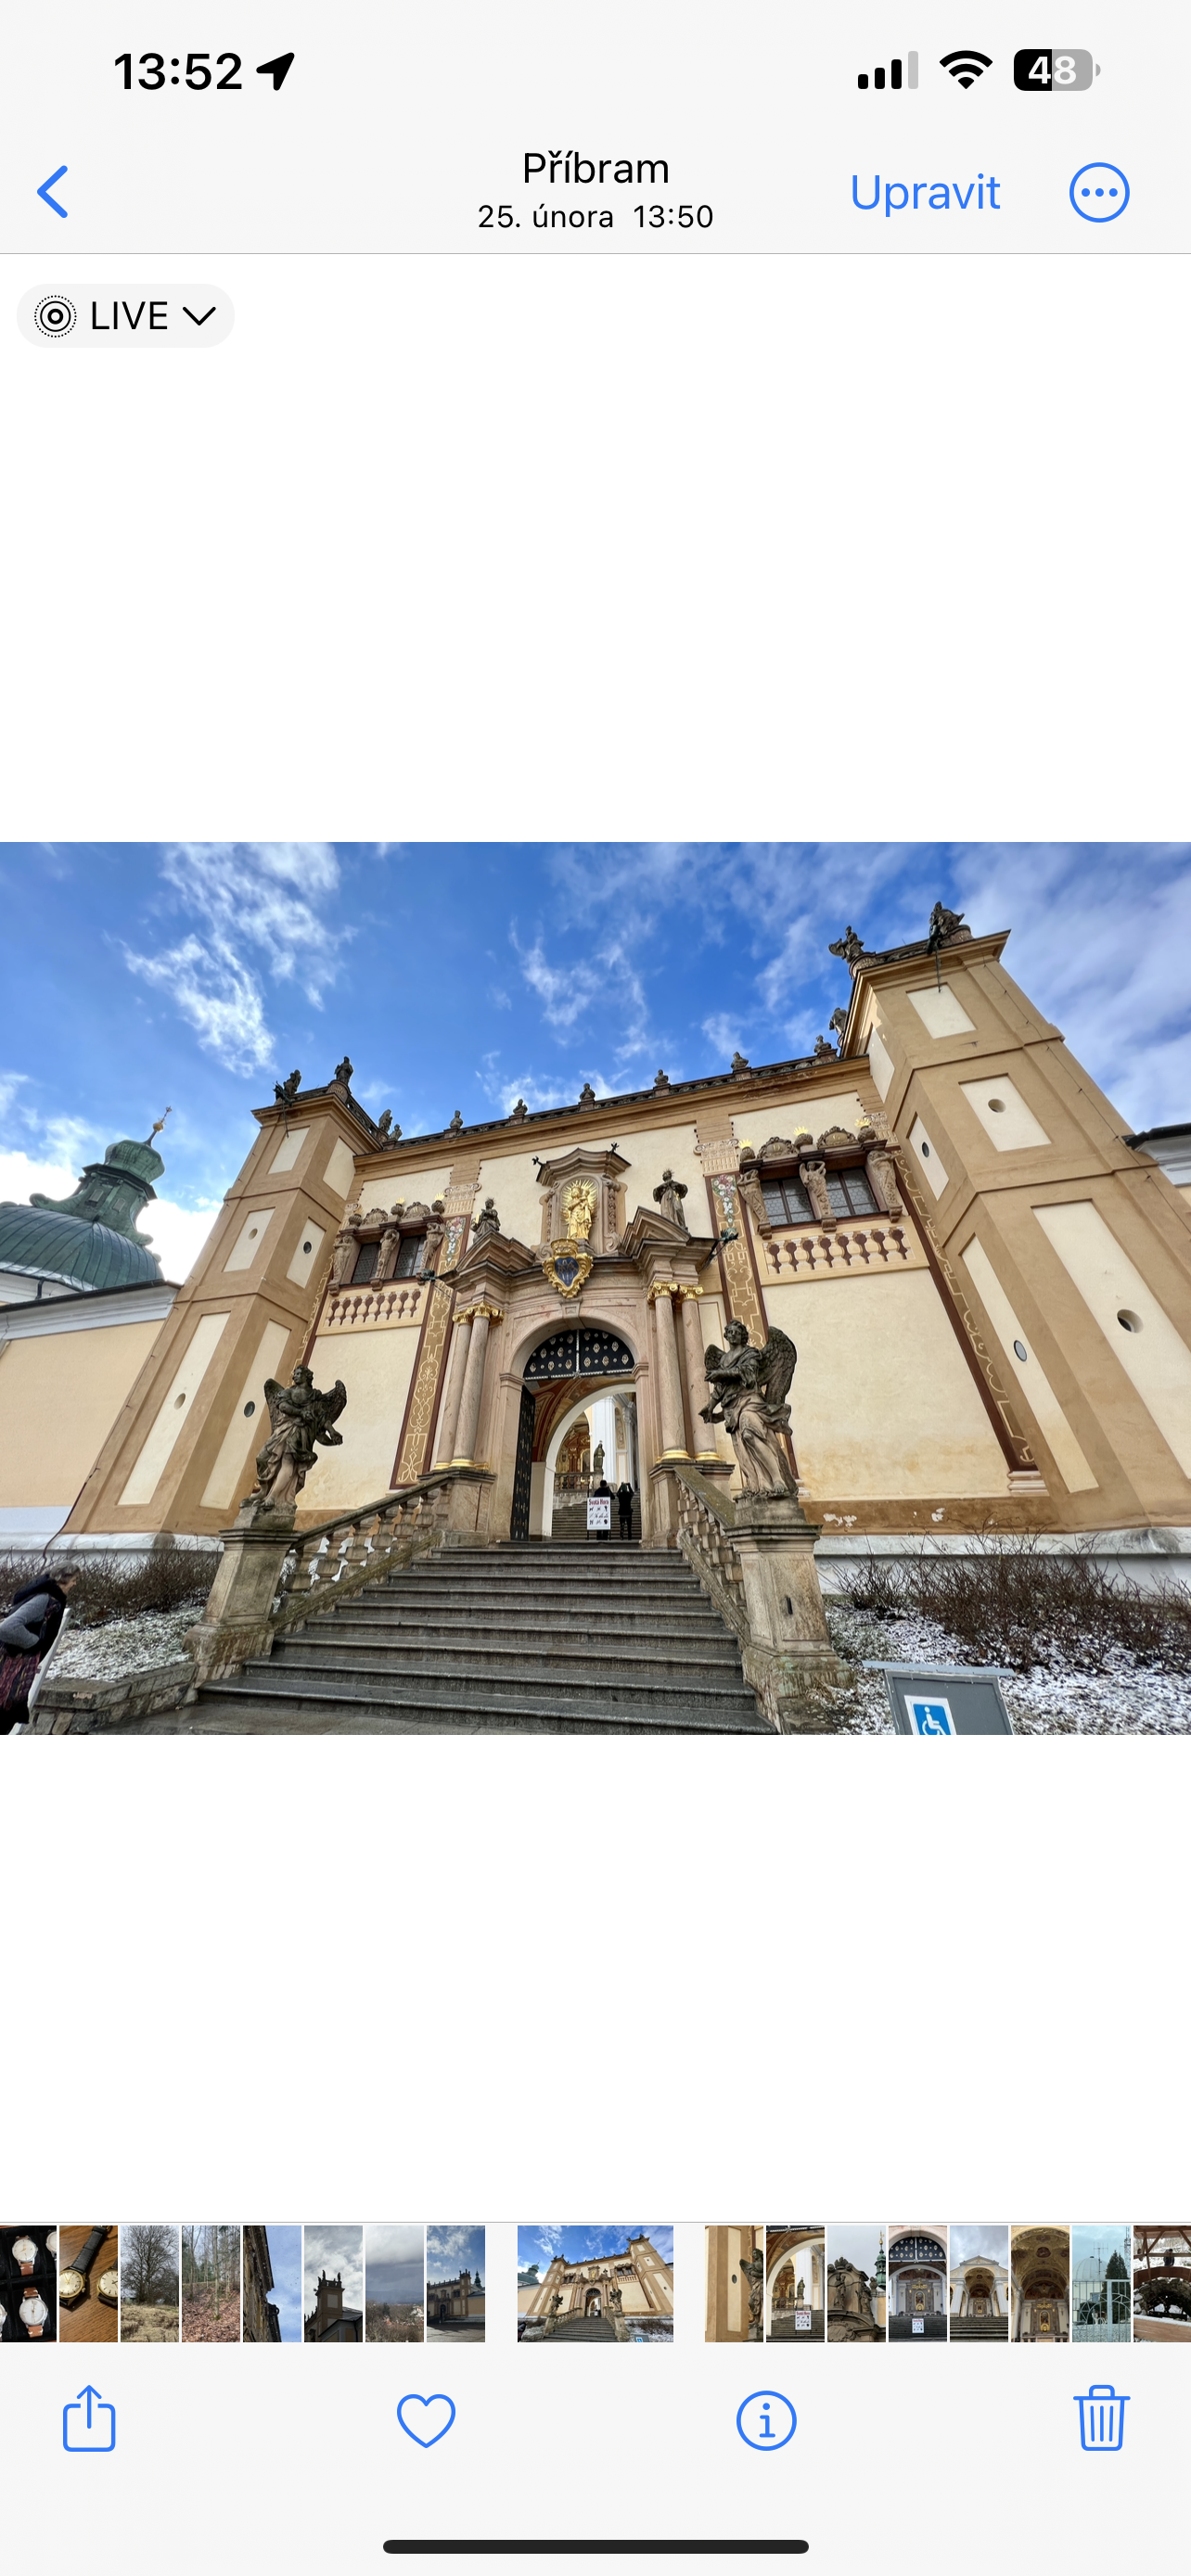
We know it might sound a bit simple, but according to our tests, the automatic editing is really good. In all the scenes tested, it simply managed to create a more pleasing image than the source one. This modification is also very simple, because you only need to do it in the application Fotky choose a menu for the given photo Adjust and tap on the magic wand, while confirming the edit by choosing Done. That is all.
Keep settings
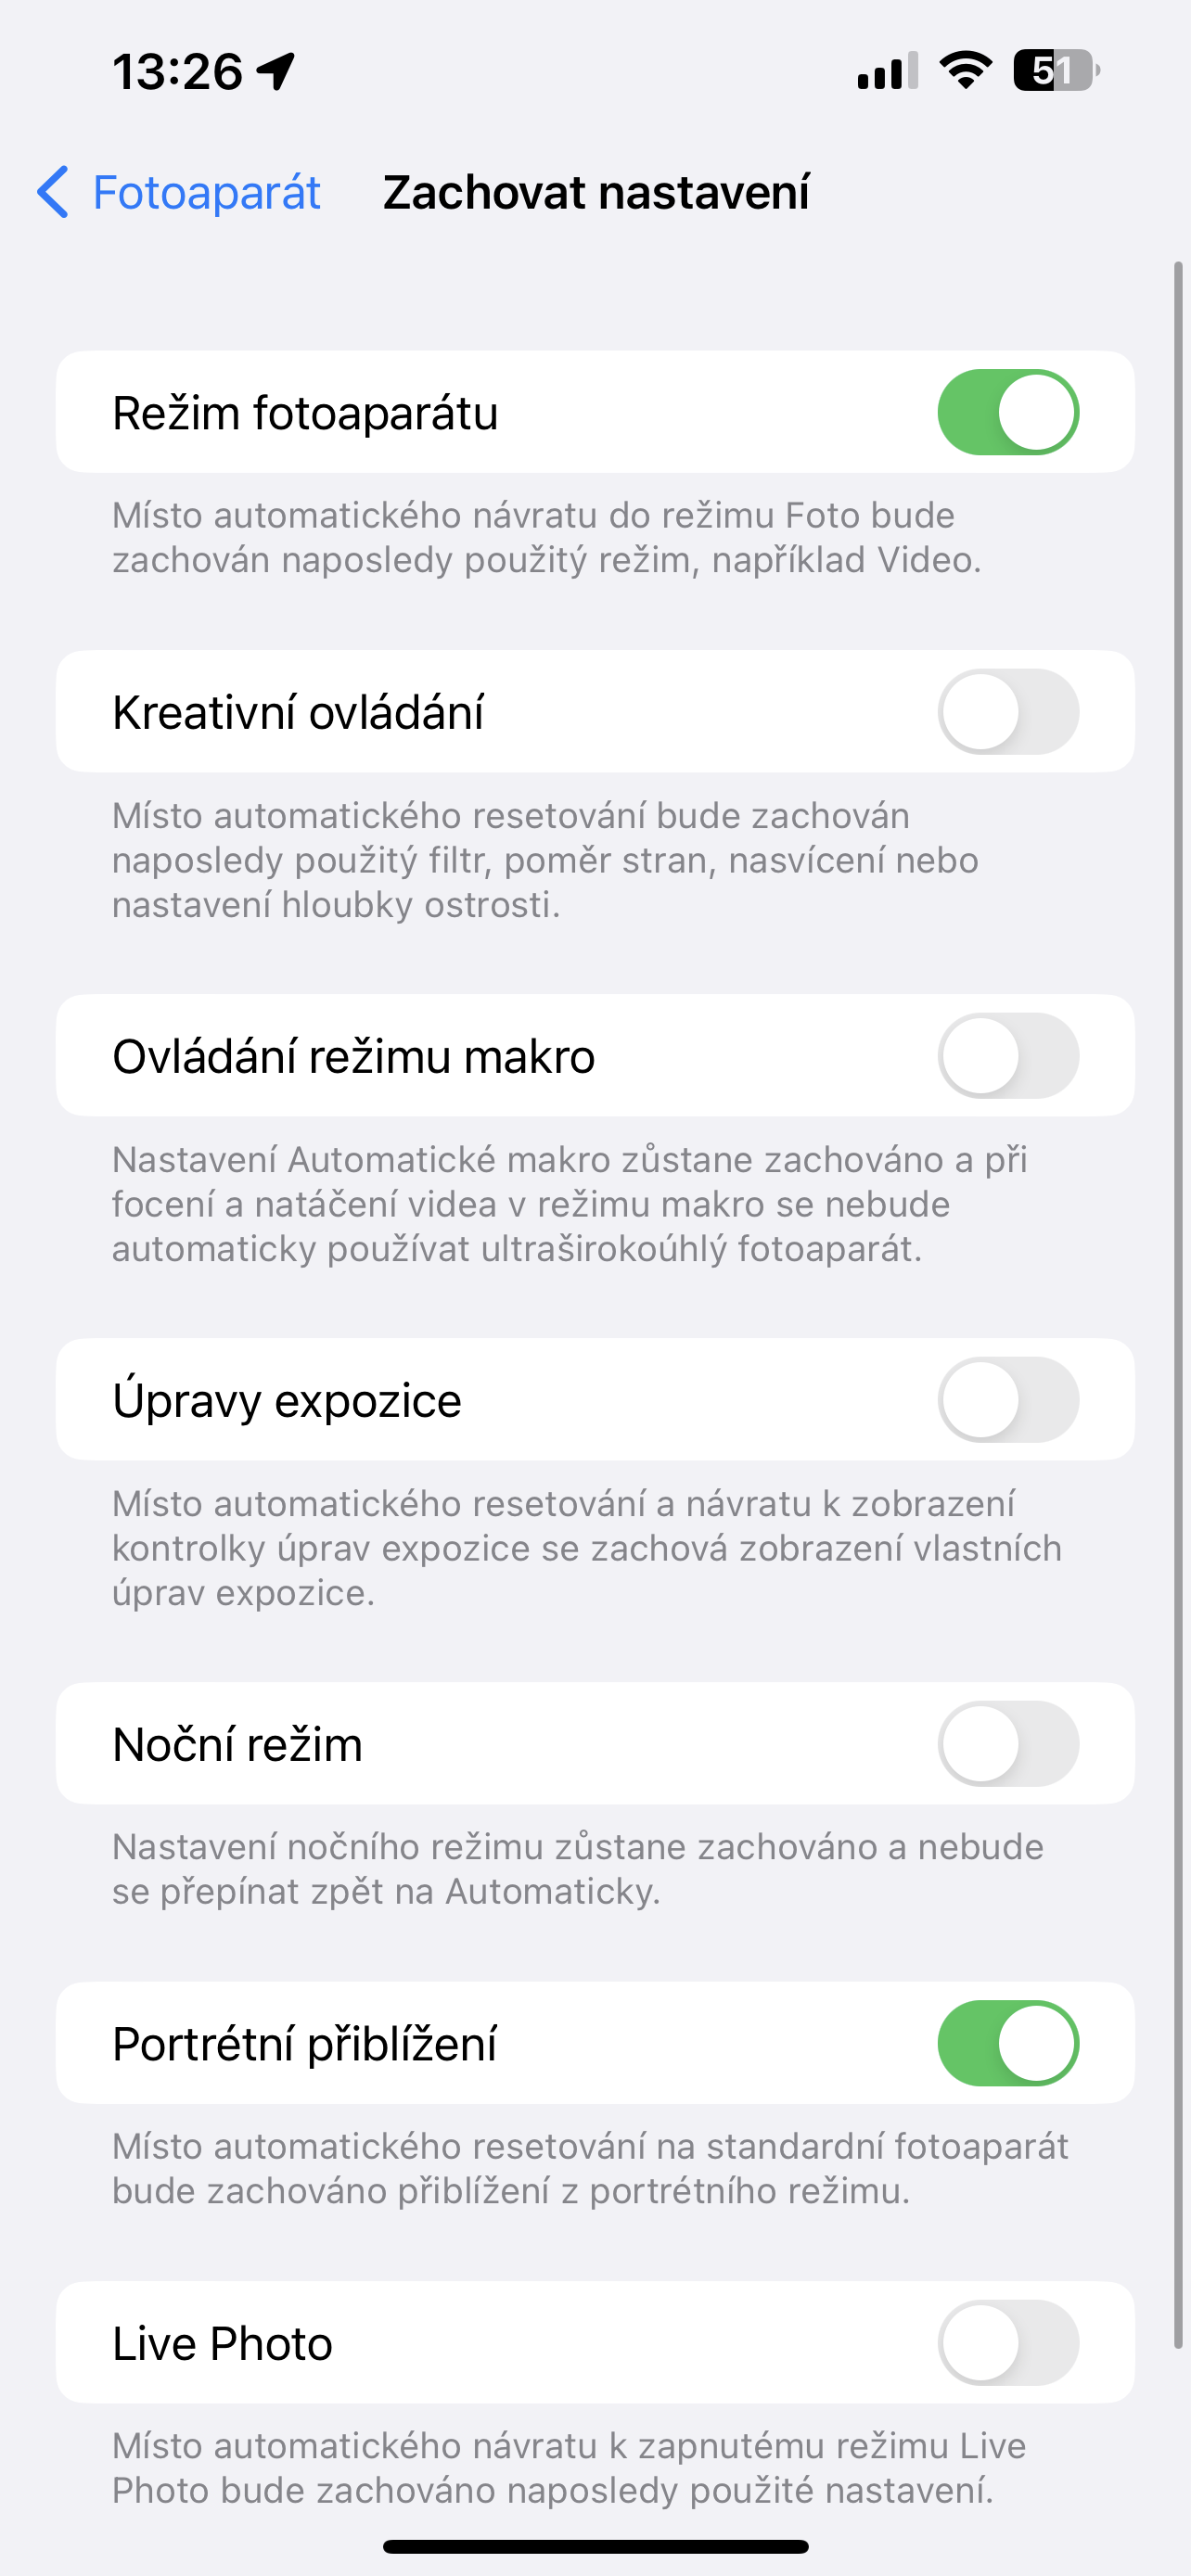
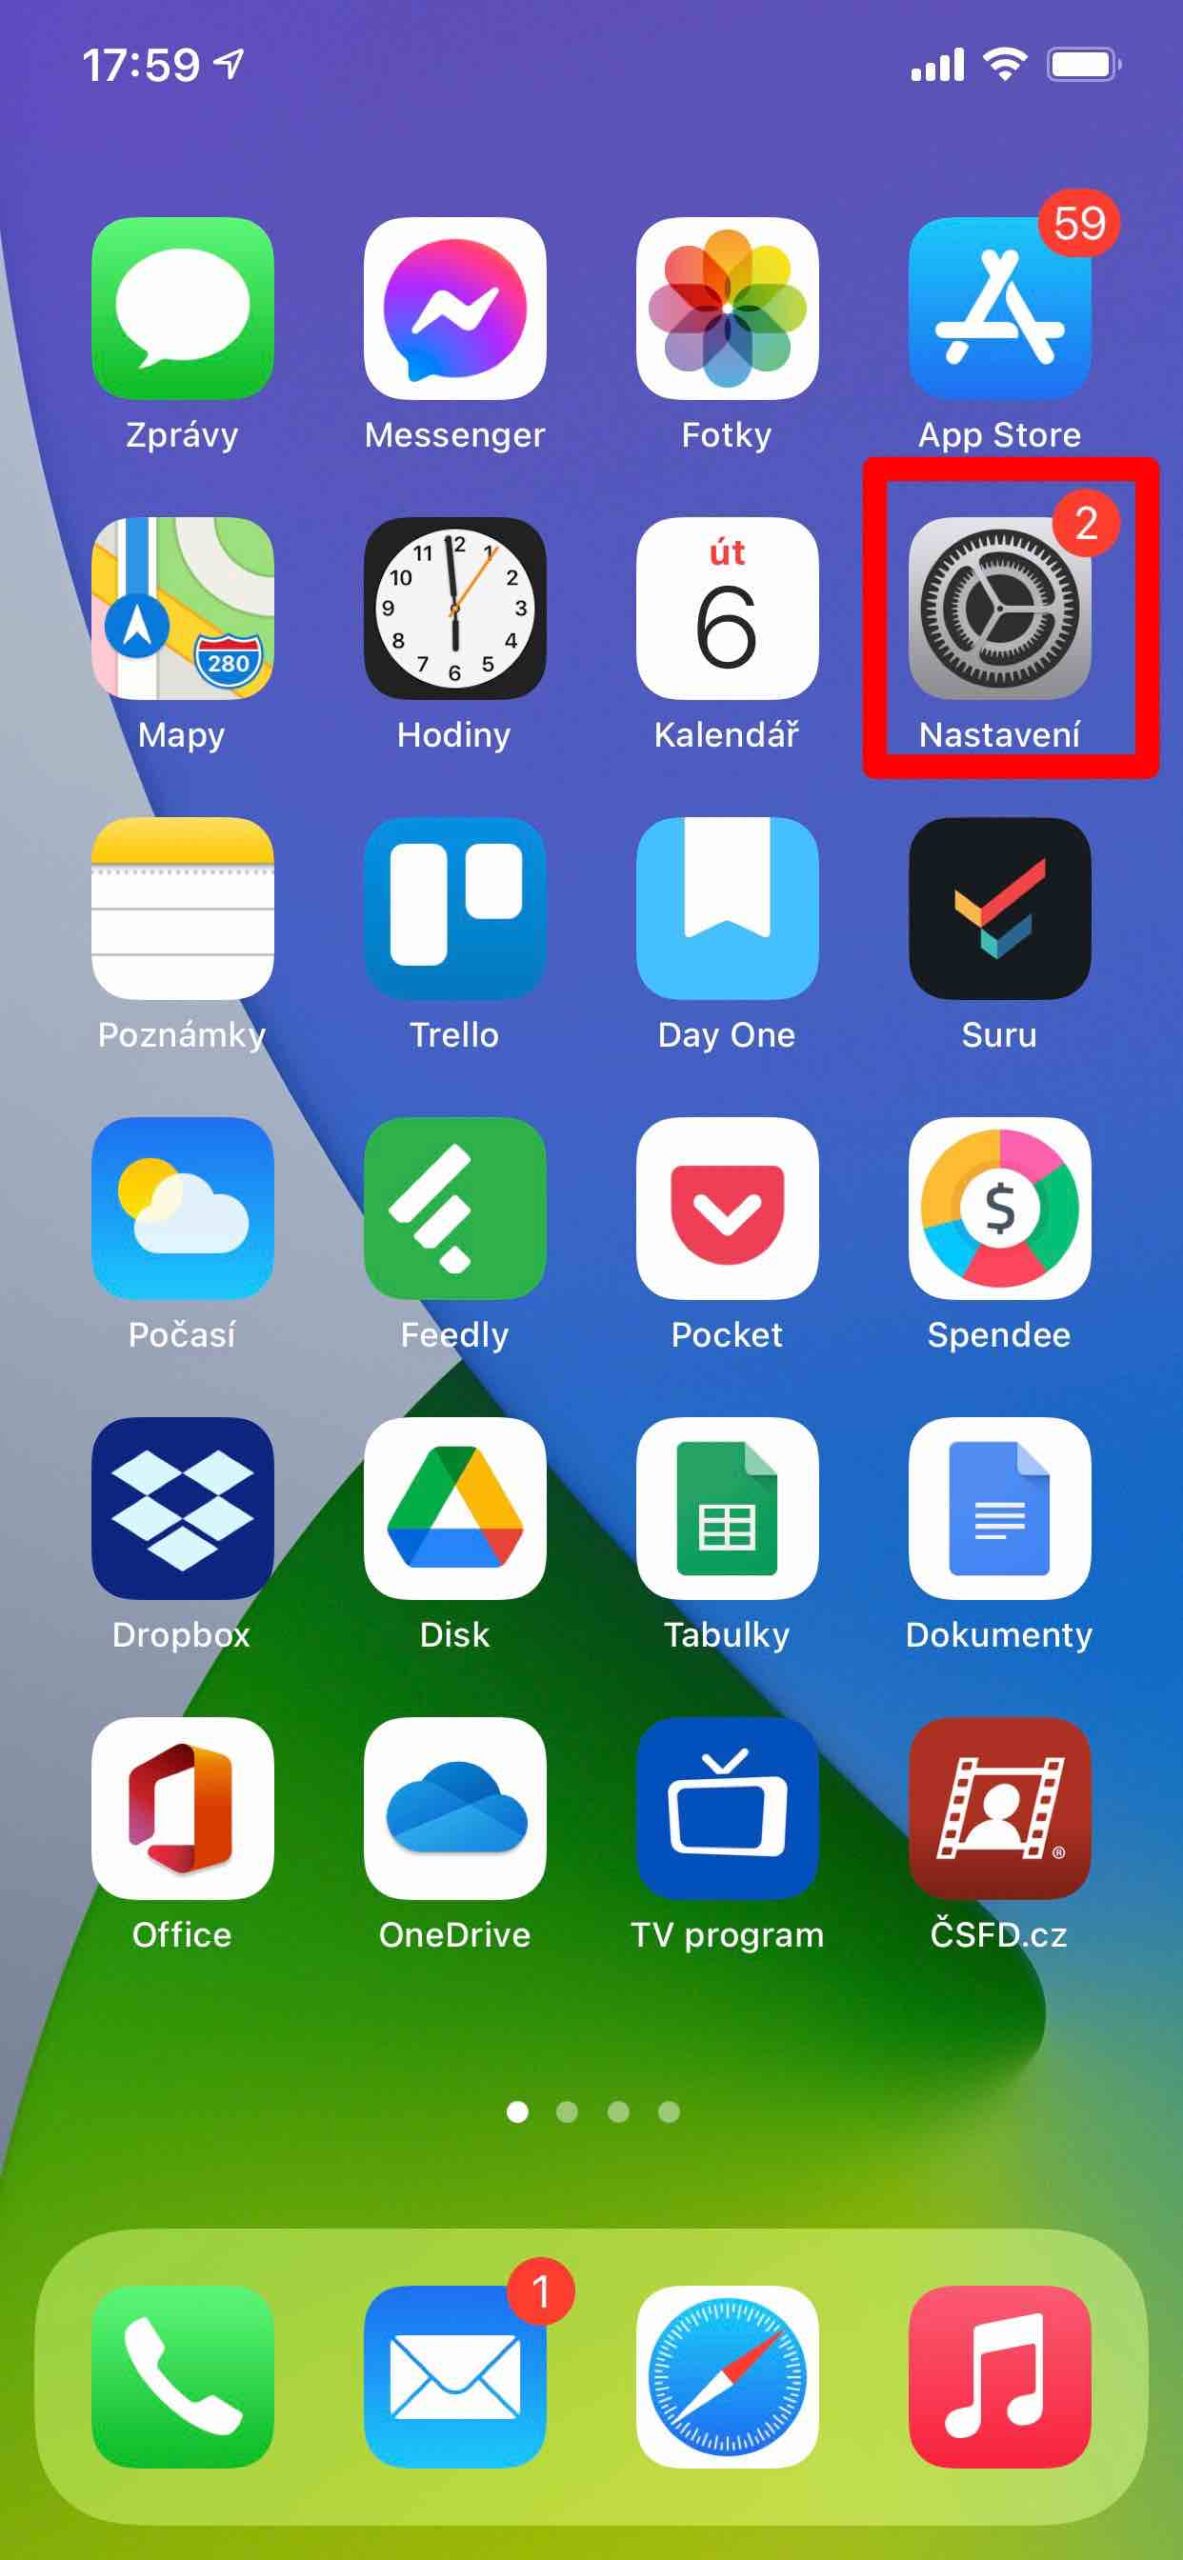
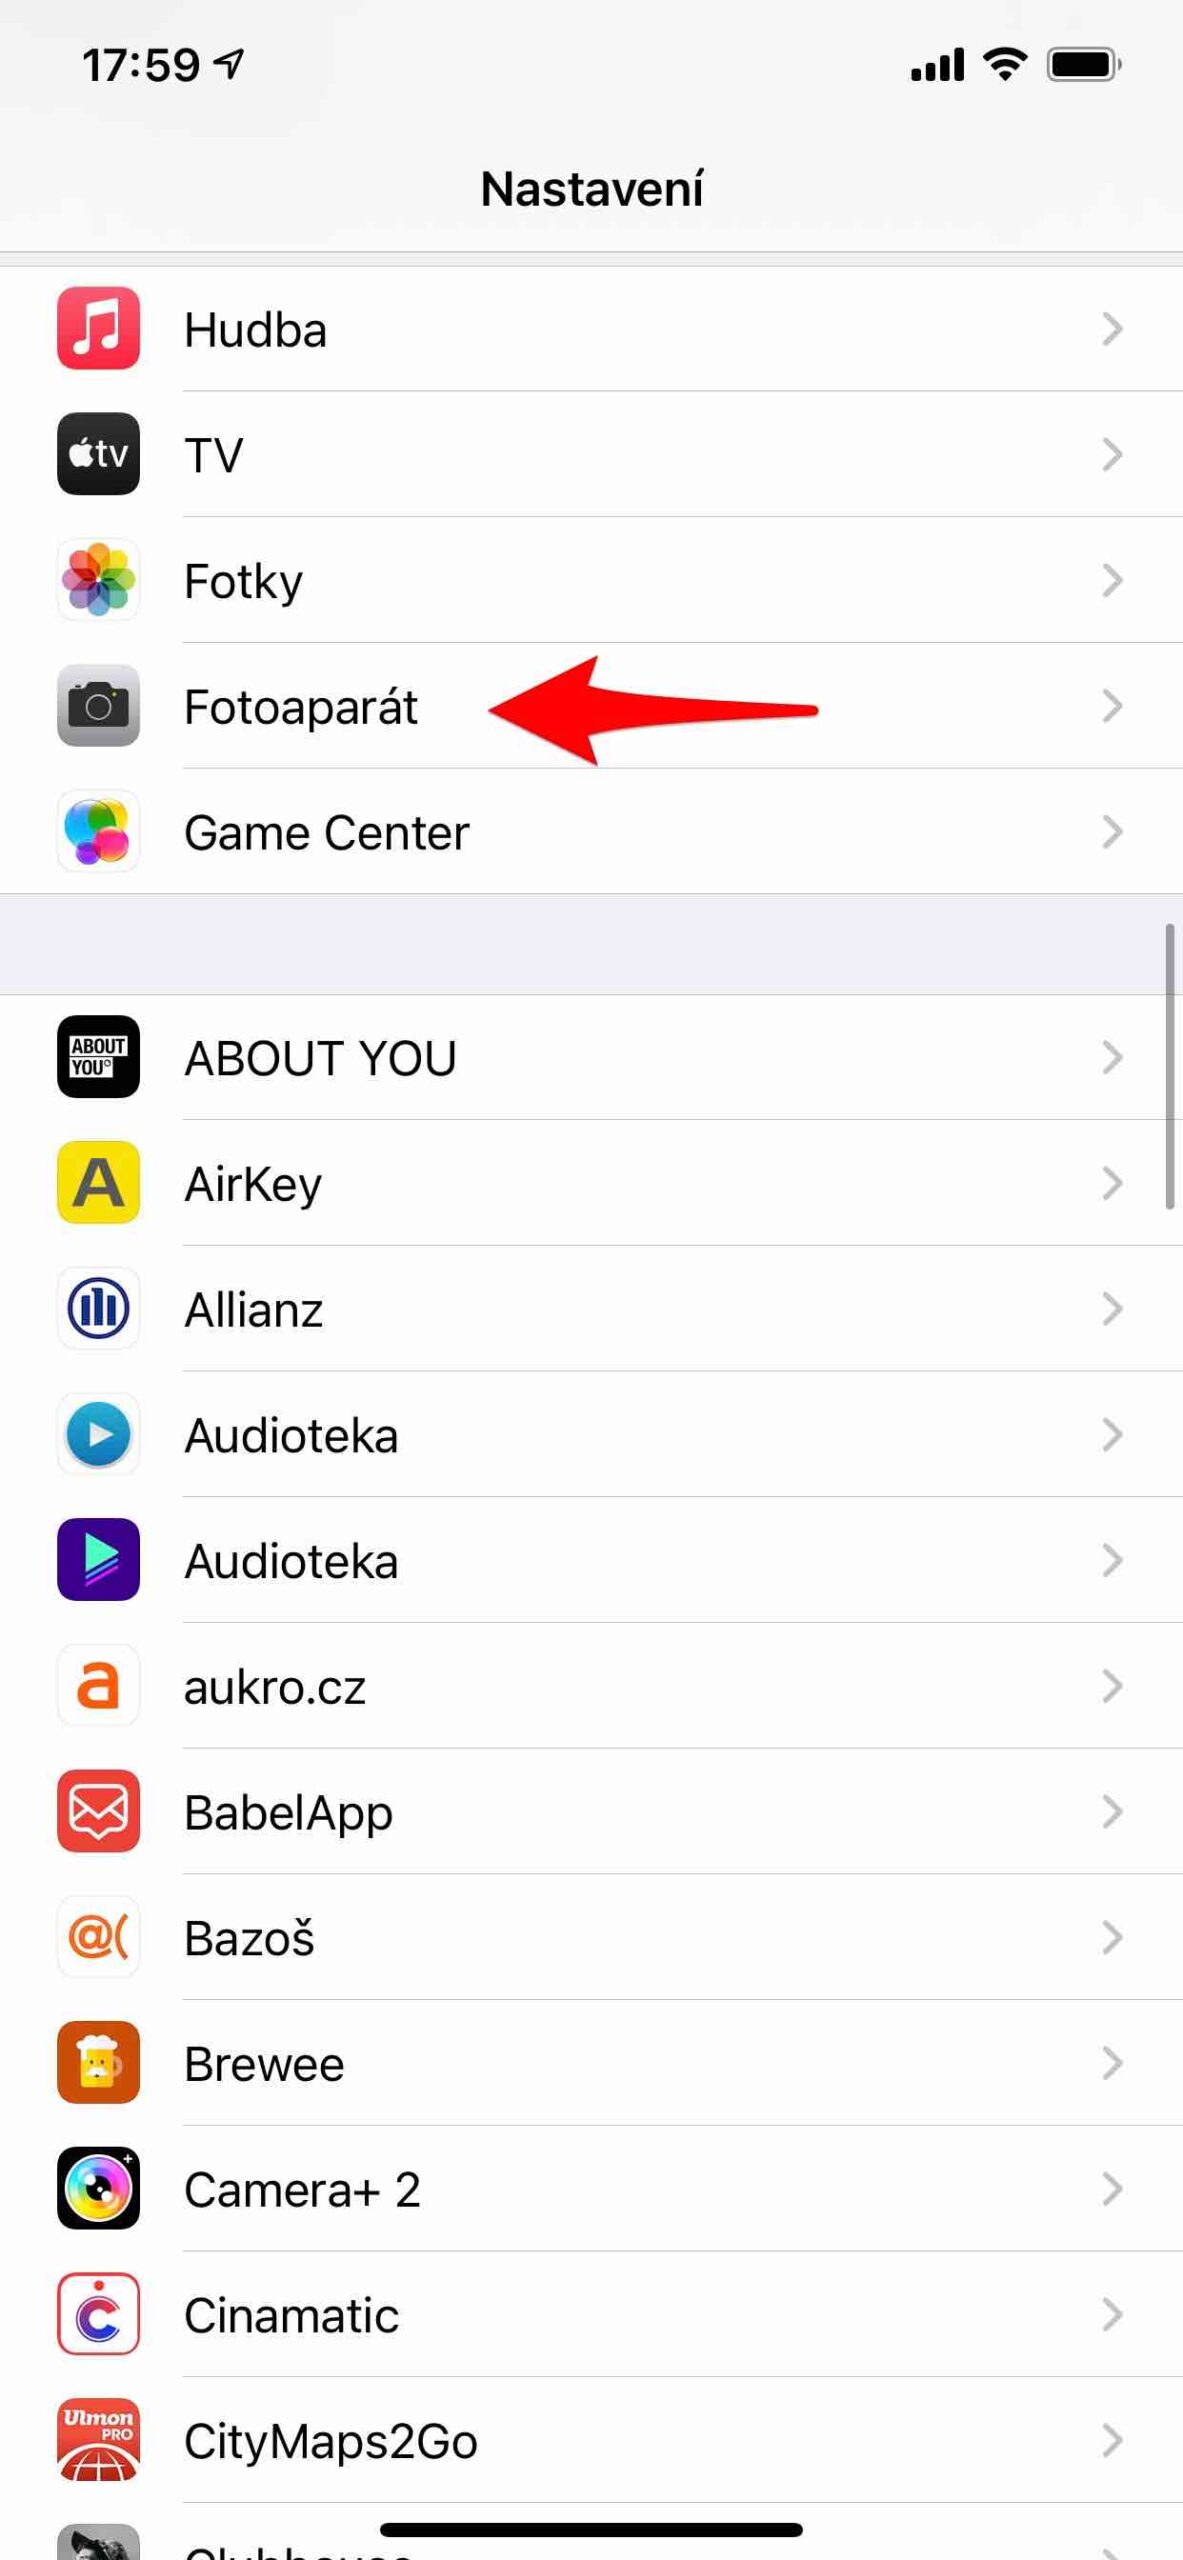
Apple may mean well, but not everyone is comfortable with the constant restart of settings to their original state. By default, it is set that as soon as you turn off the Camera application for a while, it starts again only in Photo mode. IN Settings -> Camera so it is convenient to choose the right option Keep settings and you can define the behavior for camera mode, creative control (filters), or macro control, night mode, etc.
Composition
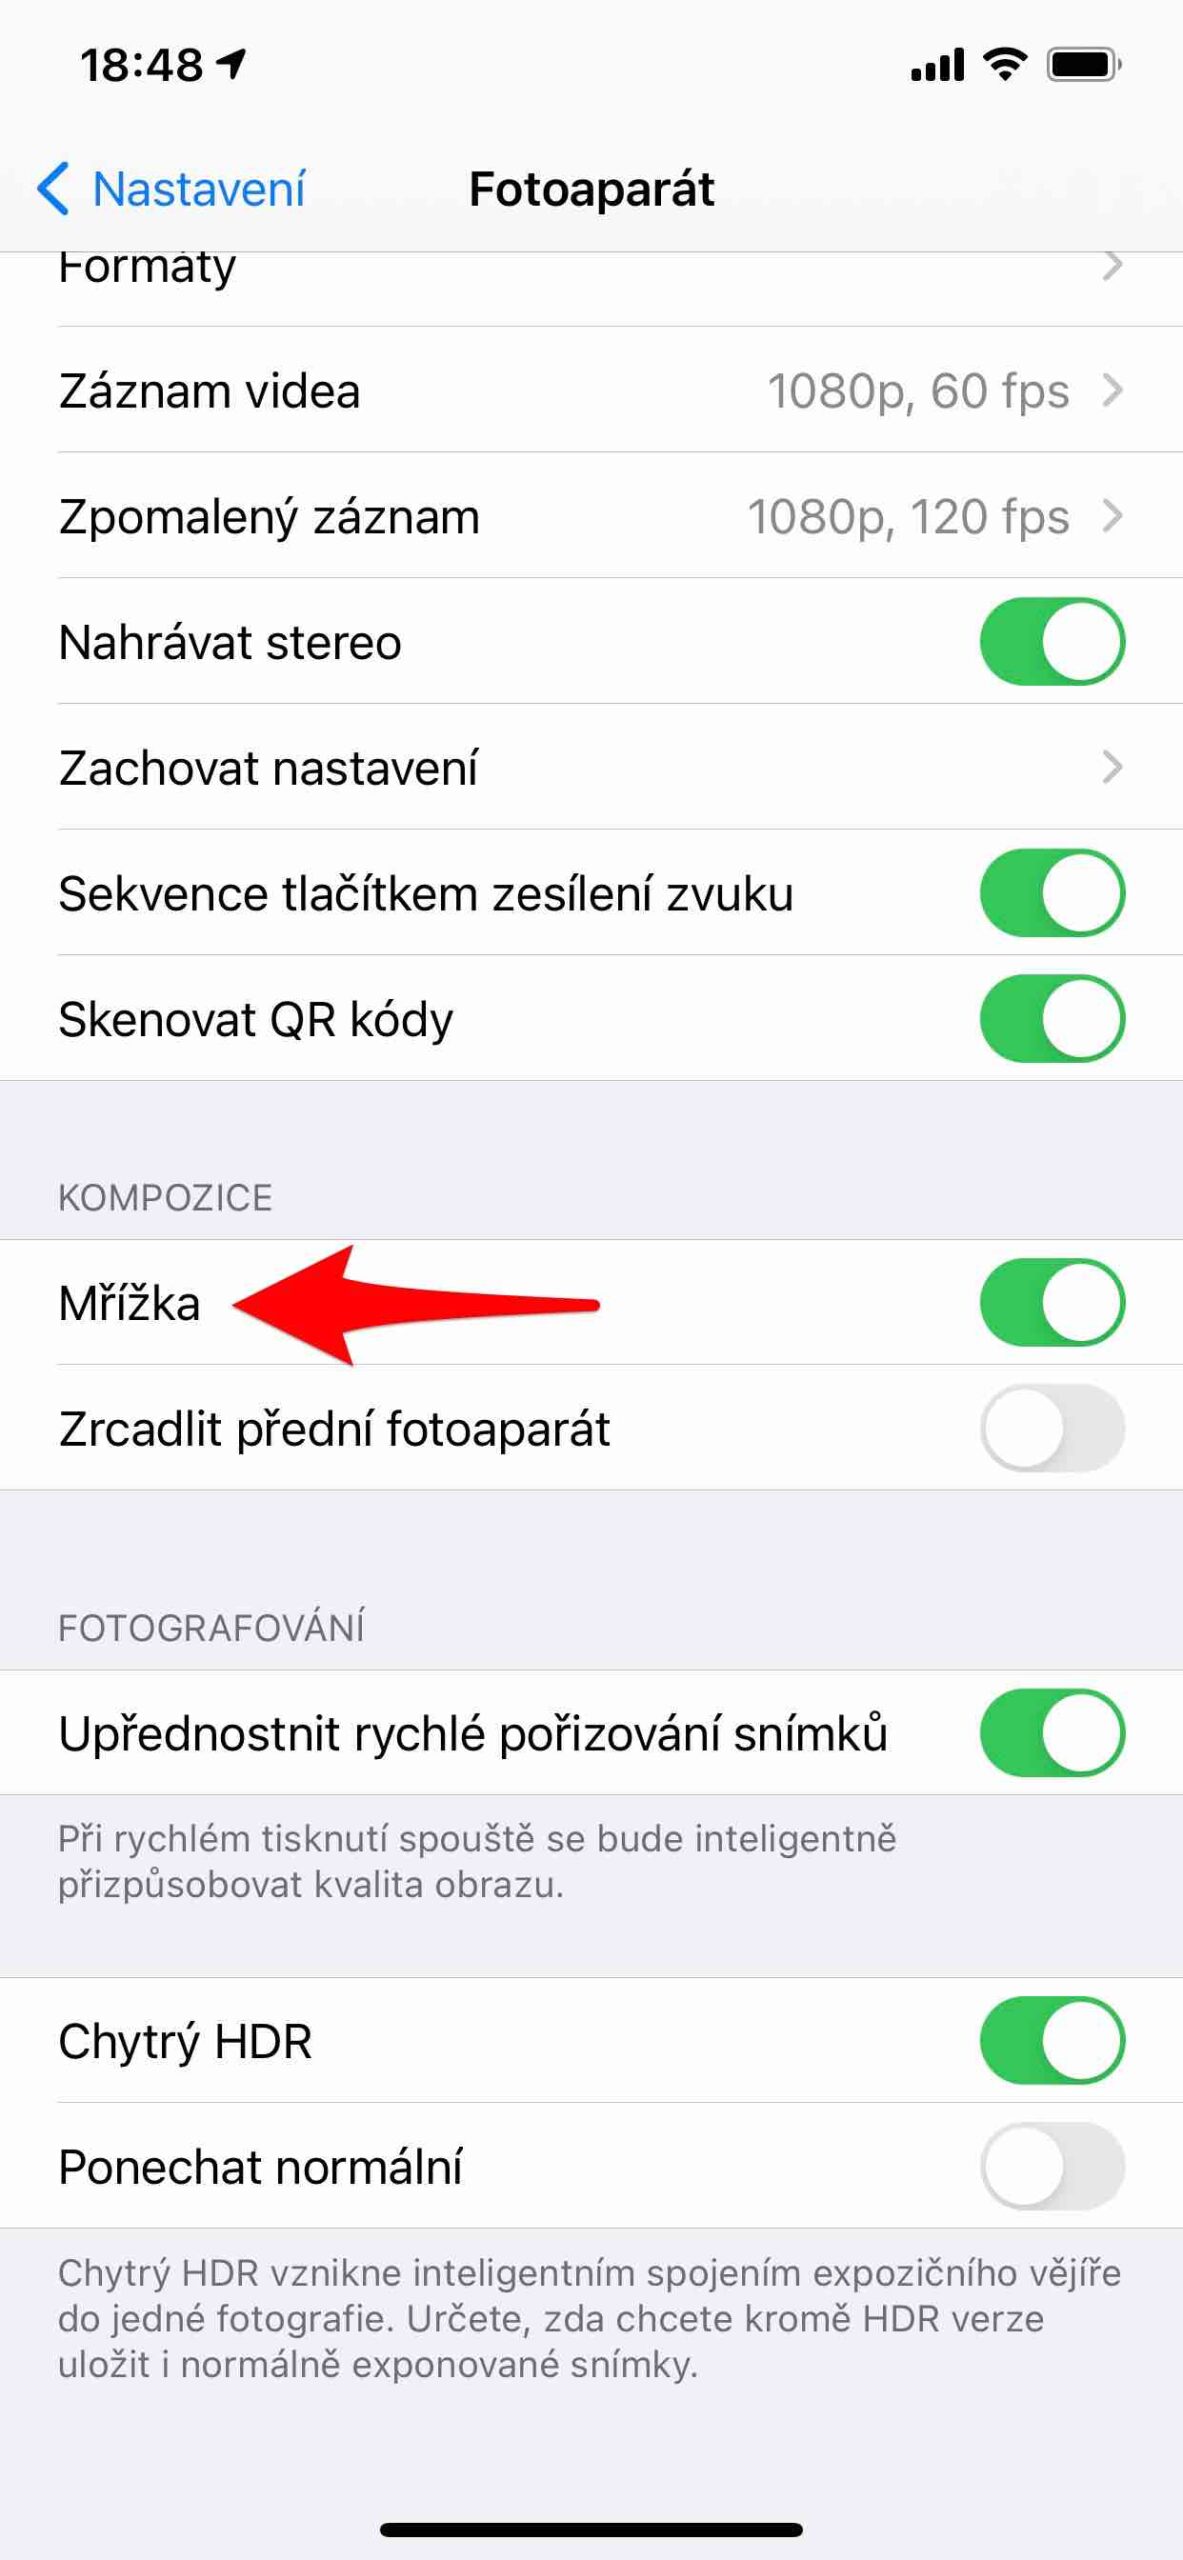
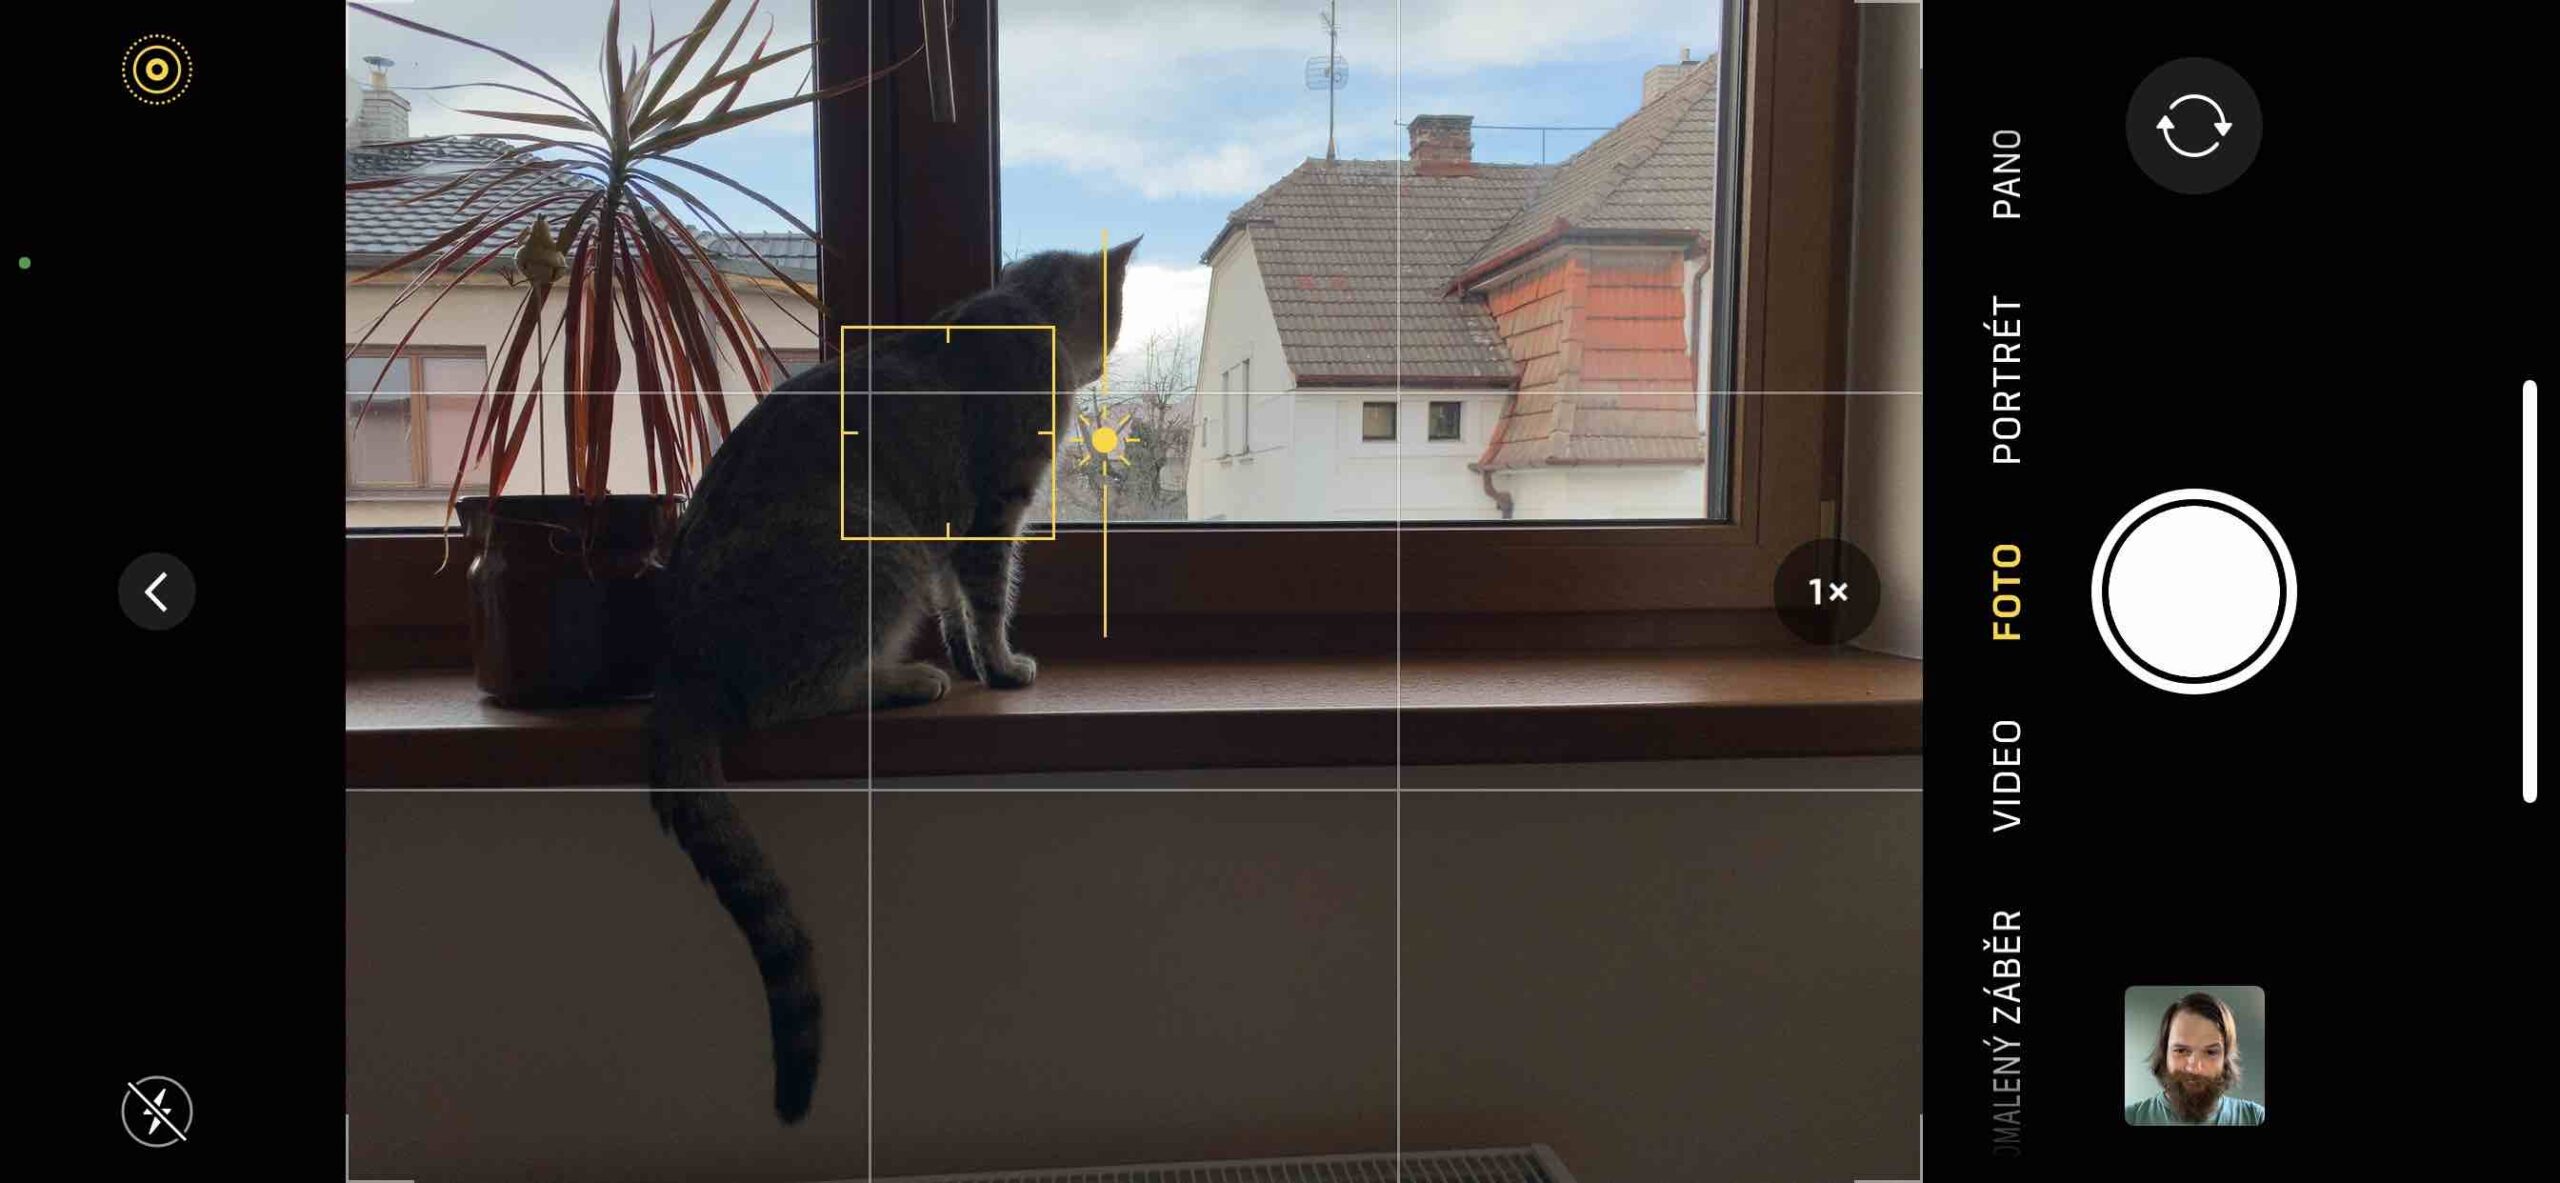
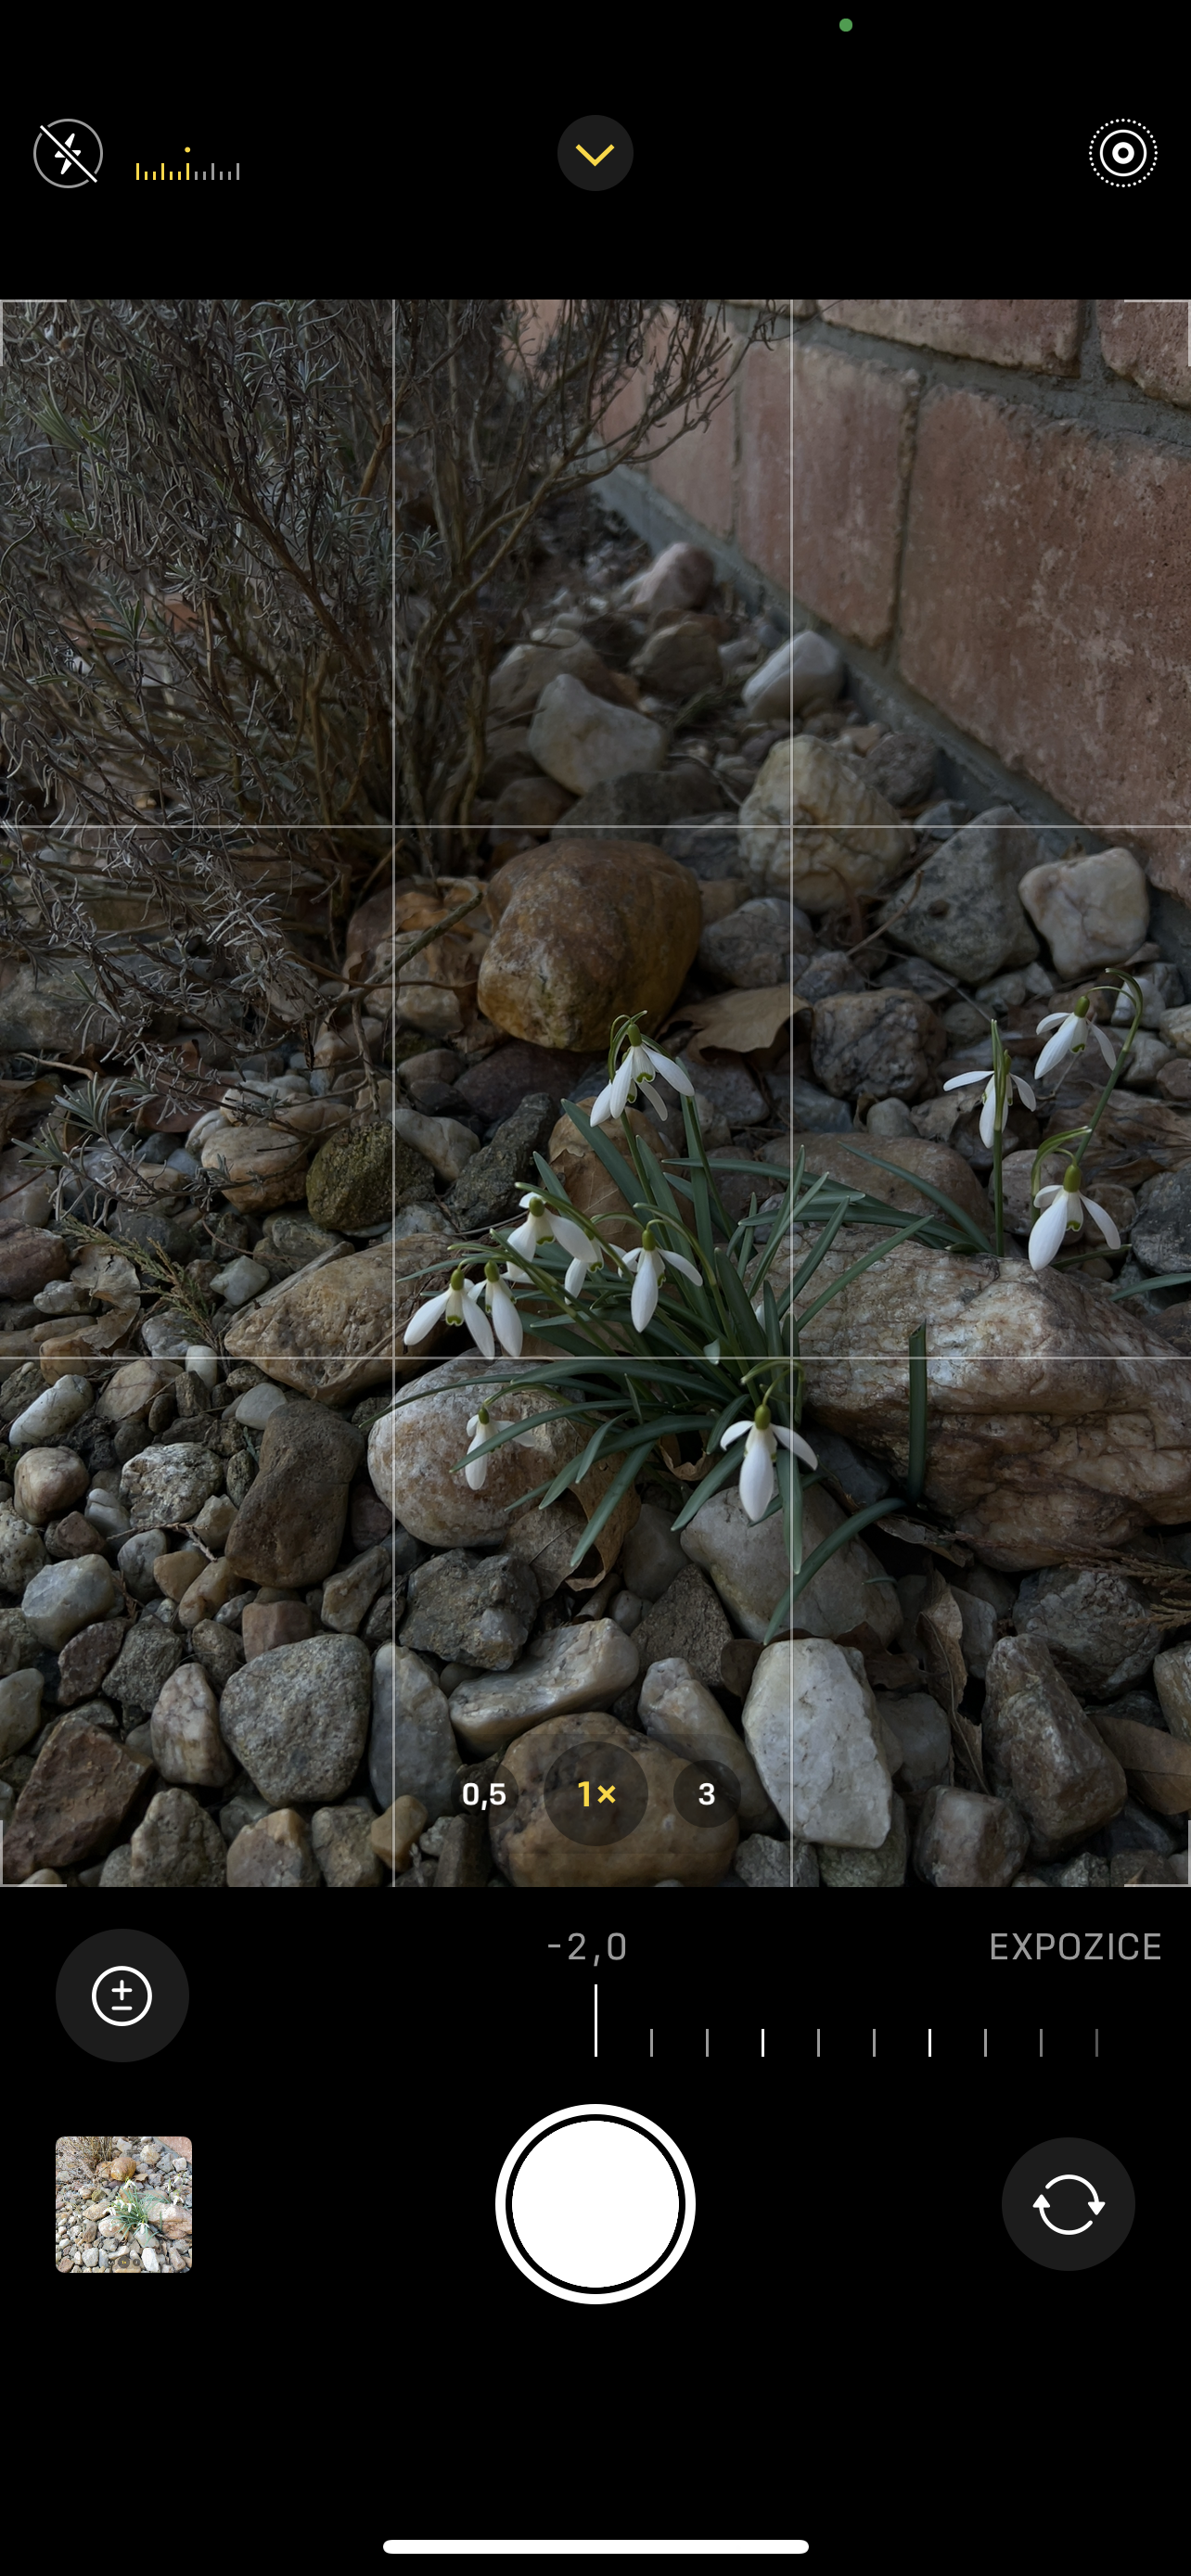
Everyone should have the grid turned on, regardless of how advanced their skills are. It helps with composition and with its help you can better maintain the horizon. The grid thus divides the scene according to the rule of thirds, which is a basic rule used not only in photography, but also in other visual arts such as painting, design or film.
Change exposure
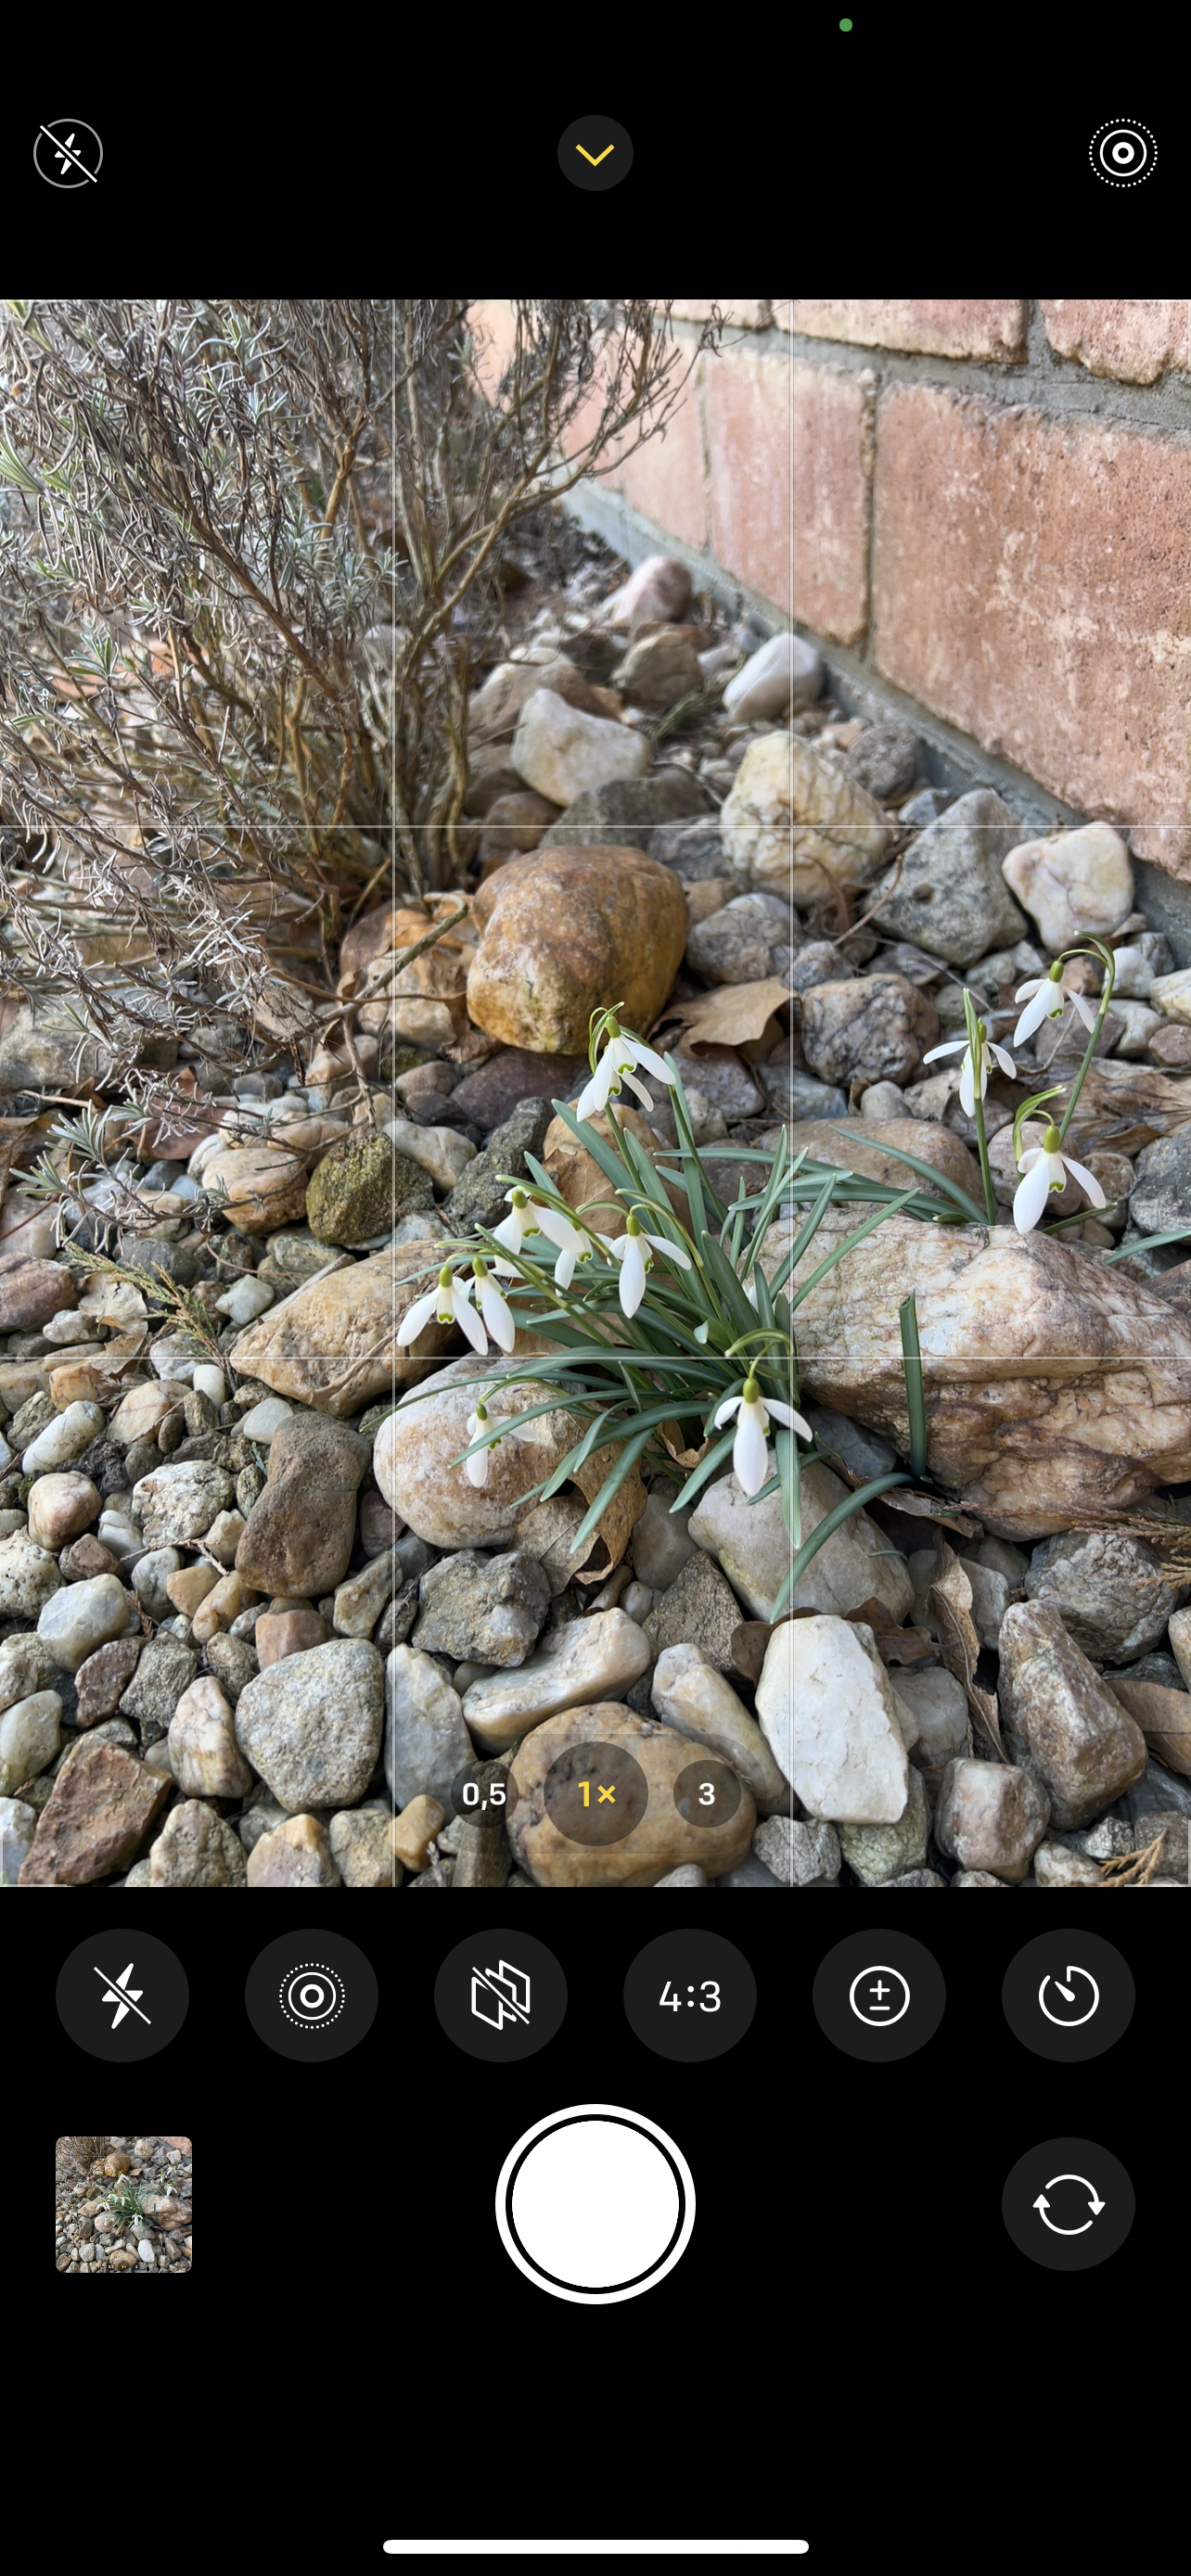
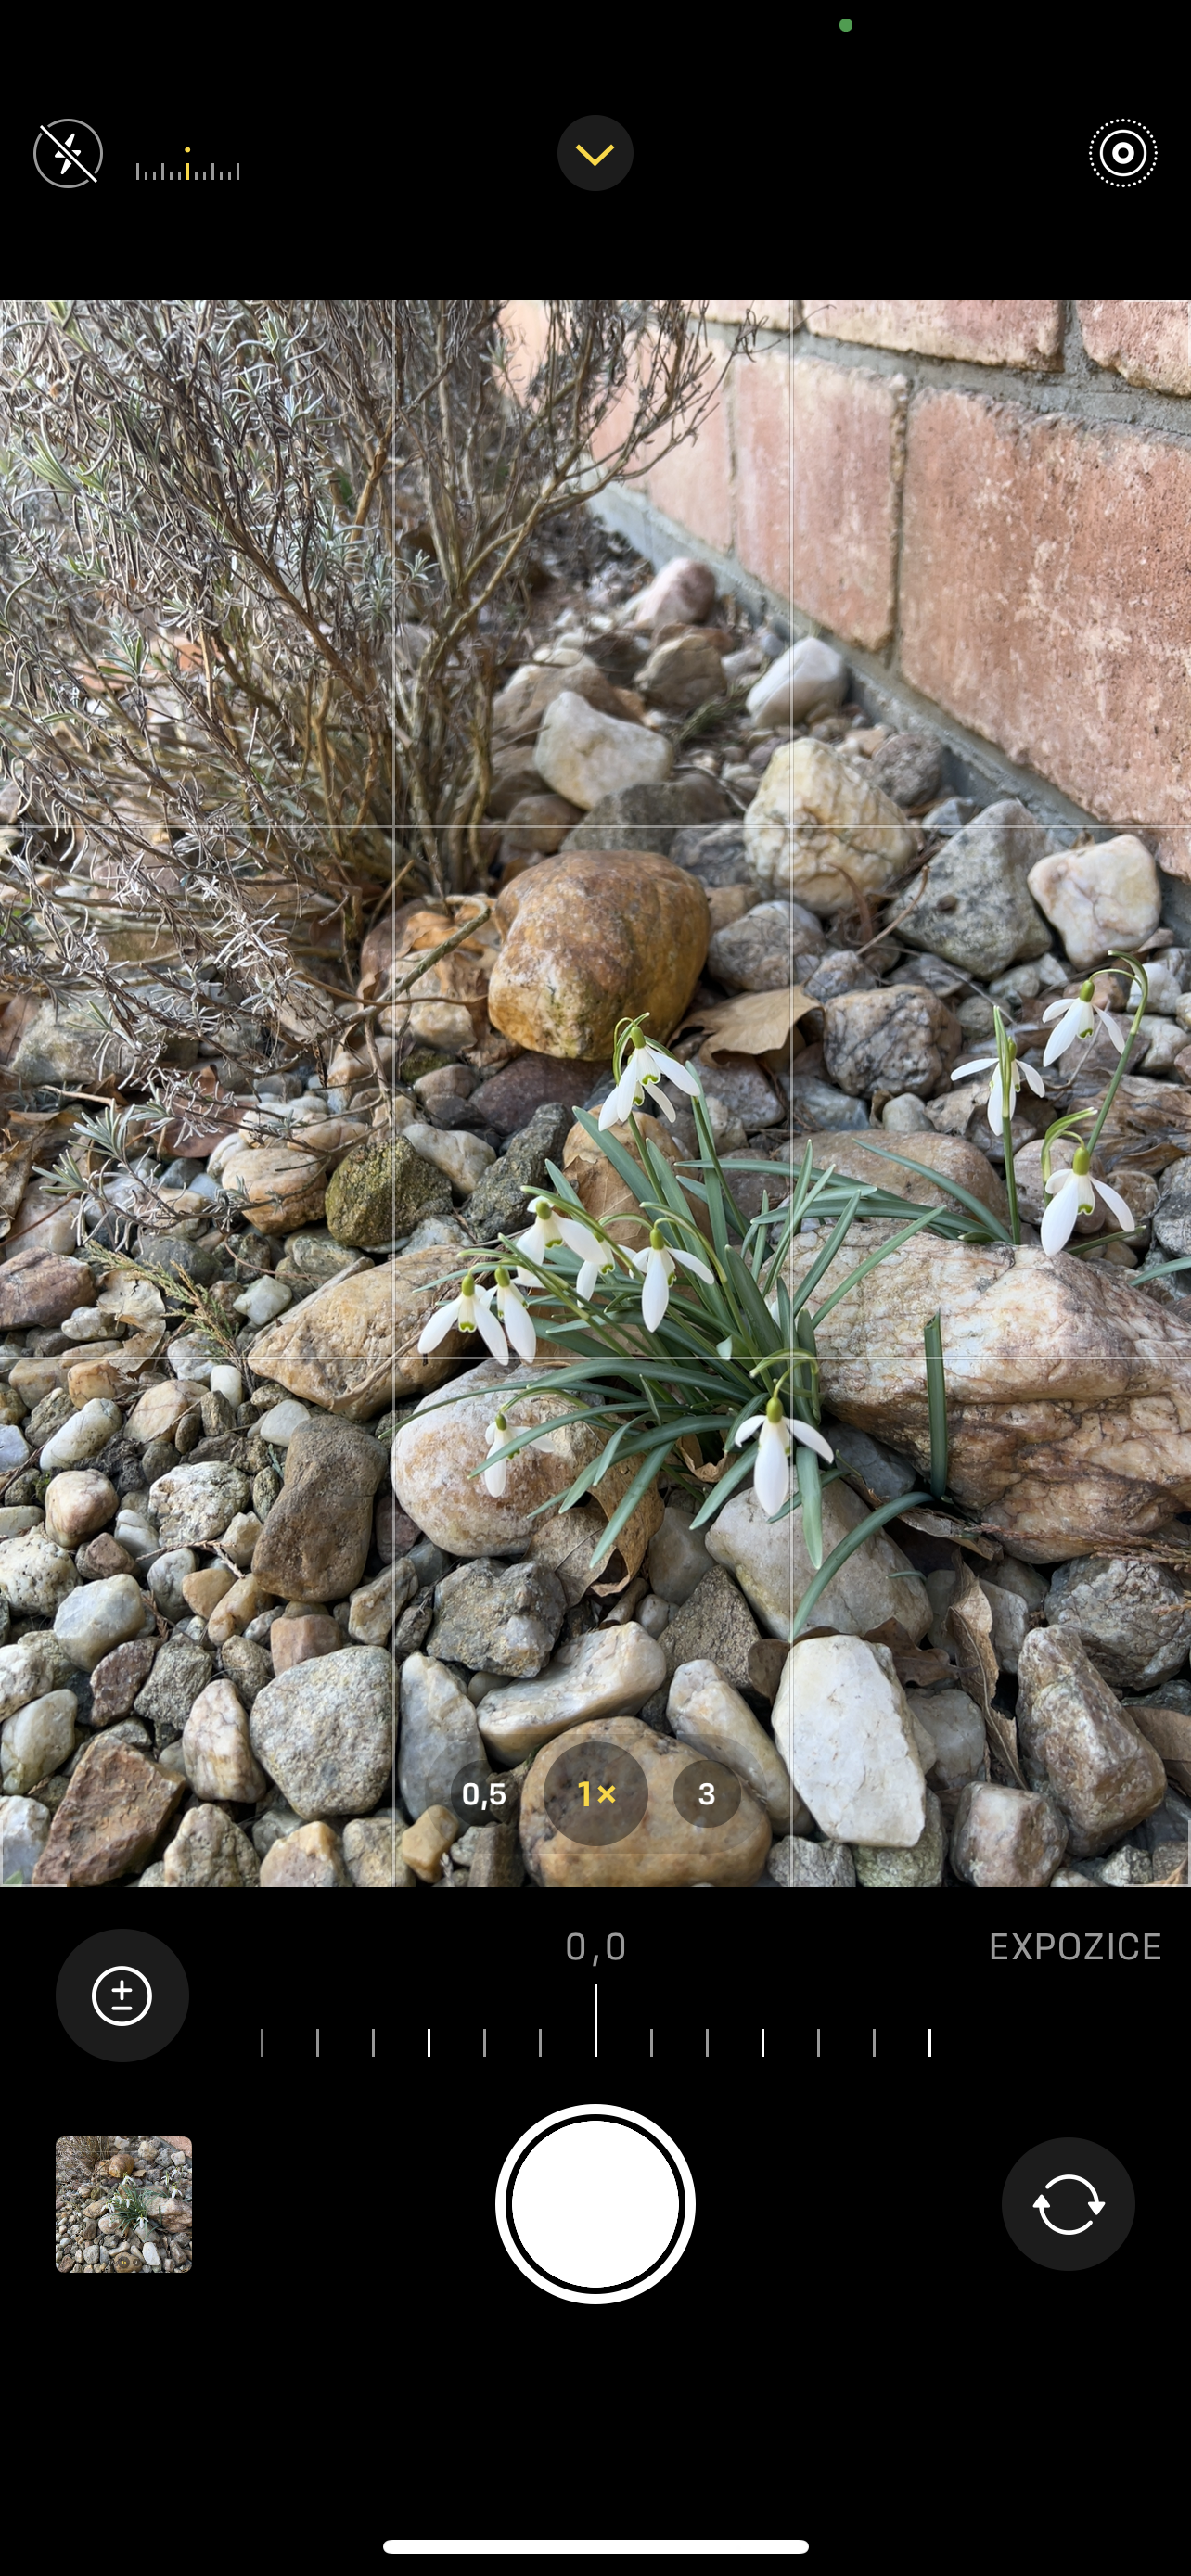
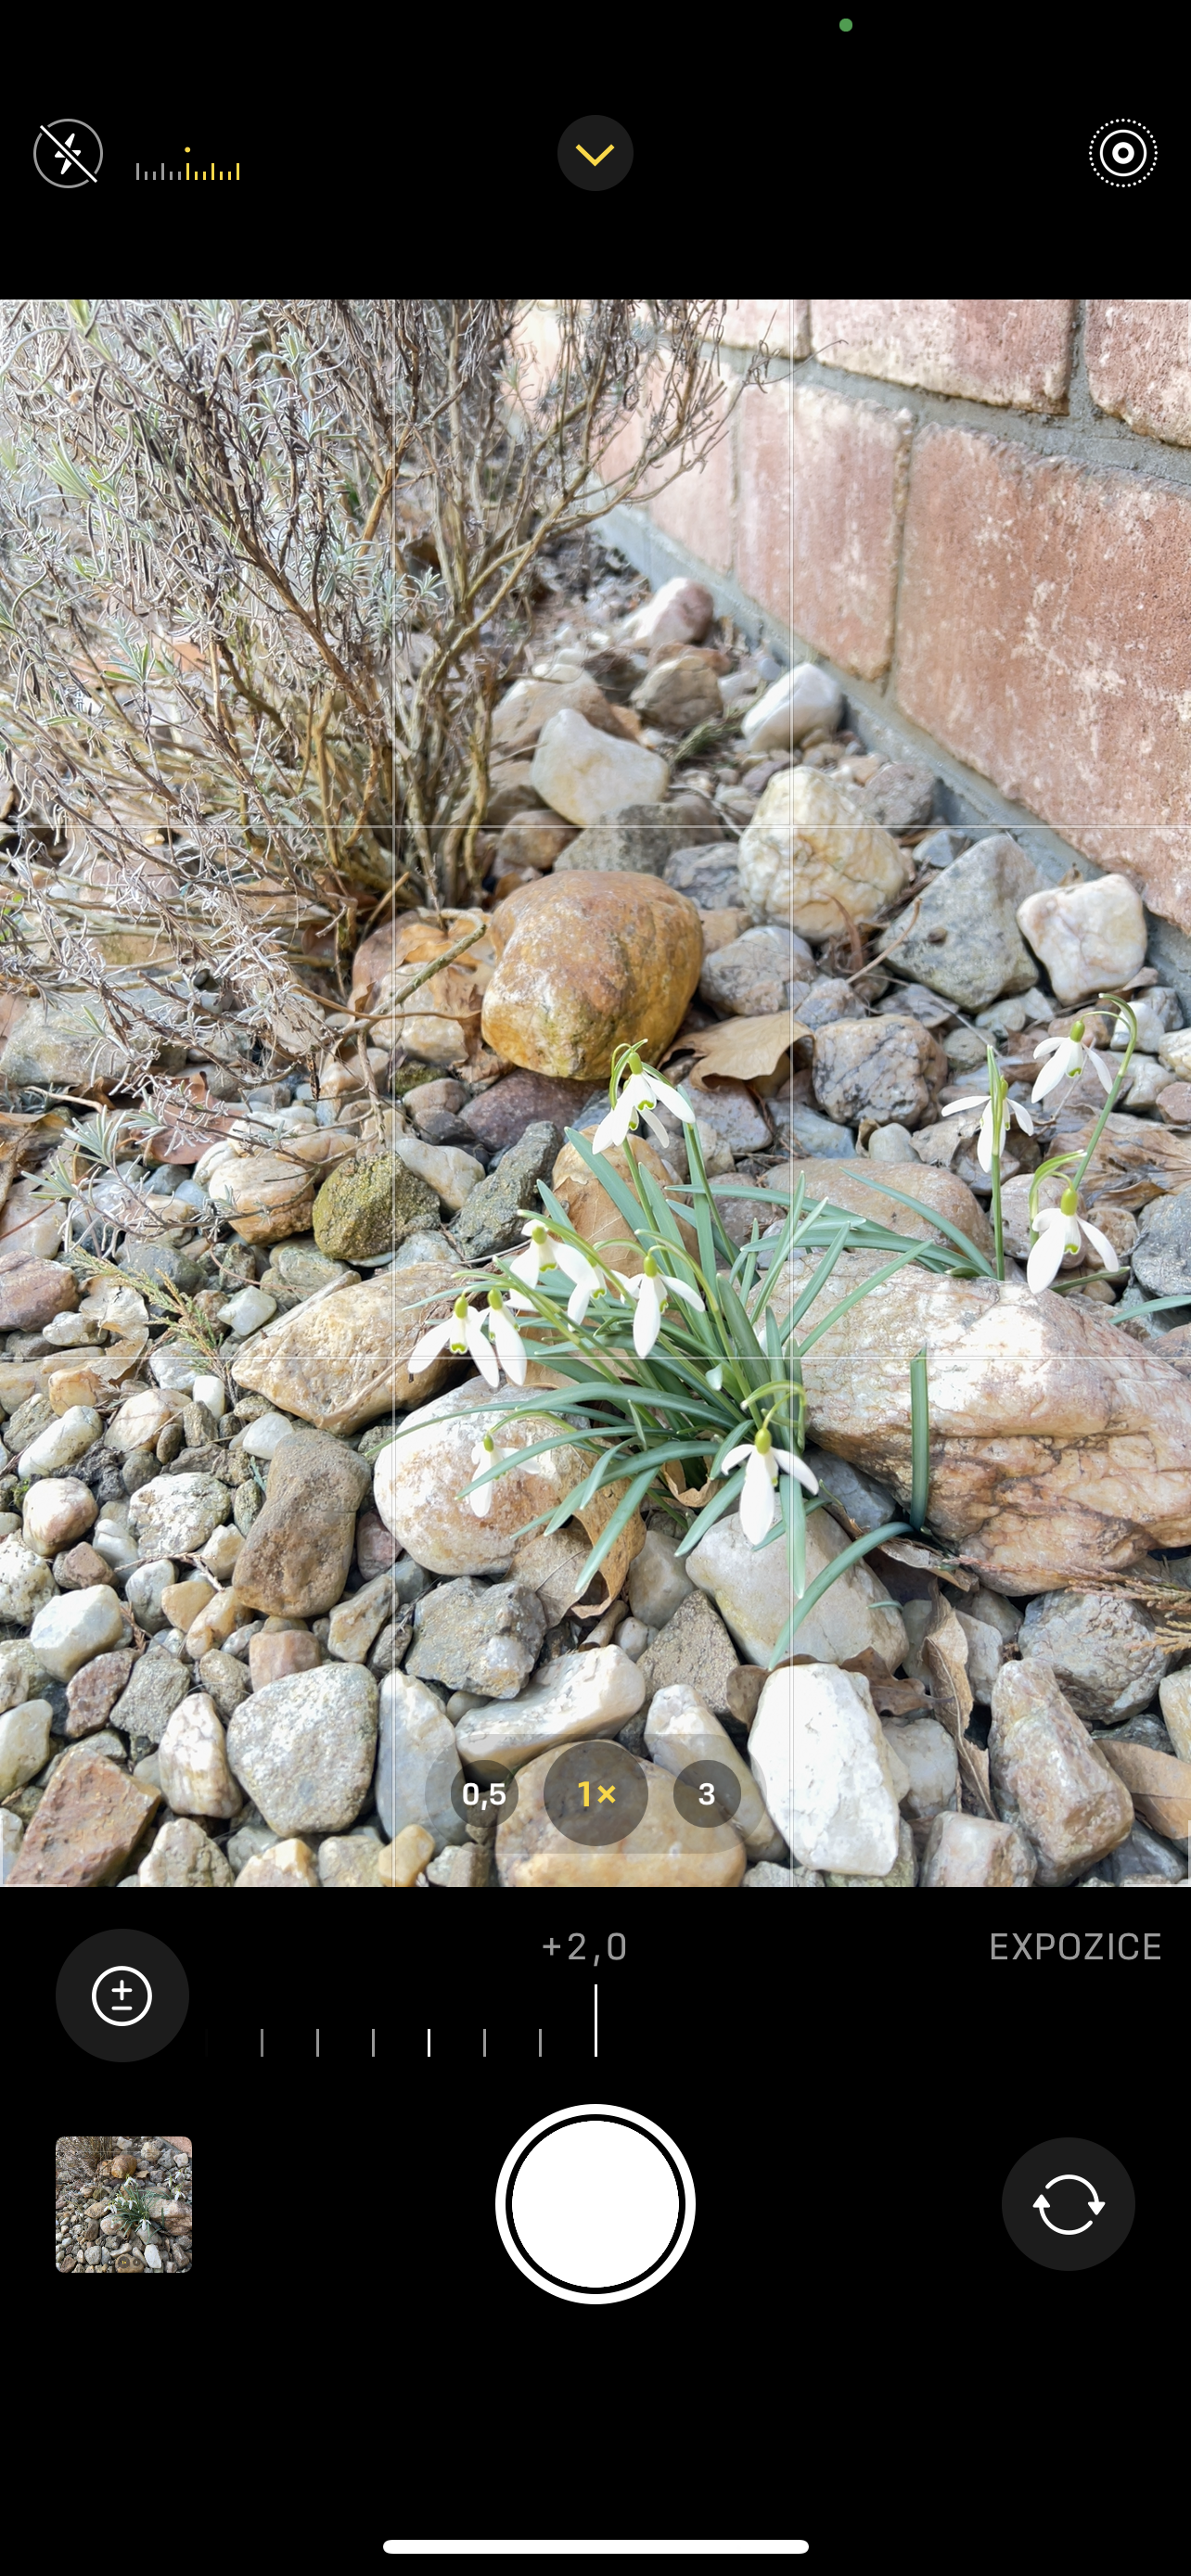
You probably know that when you tap on the focus point in the application, the Sun symbol will appear, which you can use to determine the exposure. But it is not the only option. Even before that, you can determine the exposure by moving the menu arrow and choosing the plus/minus symbol here. Subsequently, here you see a scale from +2 to +2, where you can tune the exposure much more precisely.
Smooth zoom for video
If your iPhone has multiple lenses, you can switch between them in the Camera app with the number icons above the trigger. There can be variants of 0,5, 1, 2, 2,5 or 3x depending on which lenses your iPhone is equipped with. So if you want to change lenses, just tap on this number with your finger. Then there's digital zoom. Its maximum range is again due to the lenses that your iPhone is equipped with. For video, it's useful to zoom in and out smoothly, not by jumping through lens selections. You hold your finger on the index indicating the selected lens, and then a fan with a scale starts up. All you have to do is move your finger over it without lifting it from the display, and you can define the zoom completely according to your needs. The second option is to use the pinch and open finger gesture (which is less accurate, however).
Photographic styles
Photo styles apply a default look to the photo, but you can also fully edit it - i.e. determine the tone and temperature settings yourself. Unlike filters, they preserve the natural rendering of the sky or skin tones. Everything uses advanced scene analysis, you just decide whether you want a Vivid, Warm, Cool or rich contrast style. You can also set your own style, when you will have it immediately ready for use next time. But be careful not to keep it on all the time even in scenes where it doesn't really fit. So it is more useful to use styles consciously and not permanently.
ProRAW
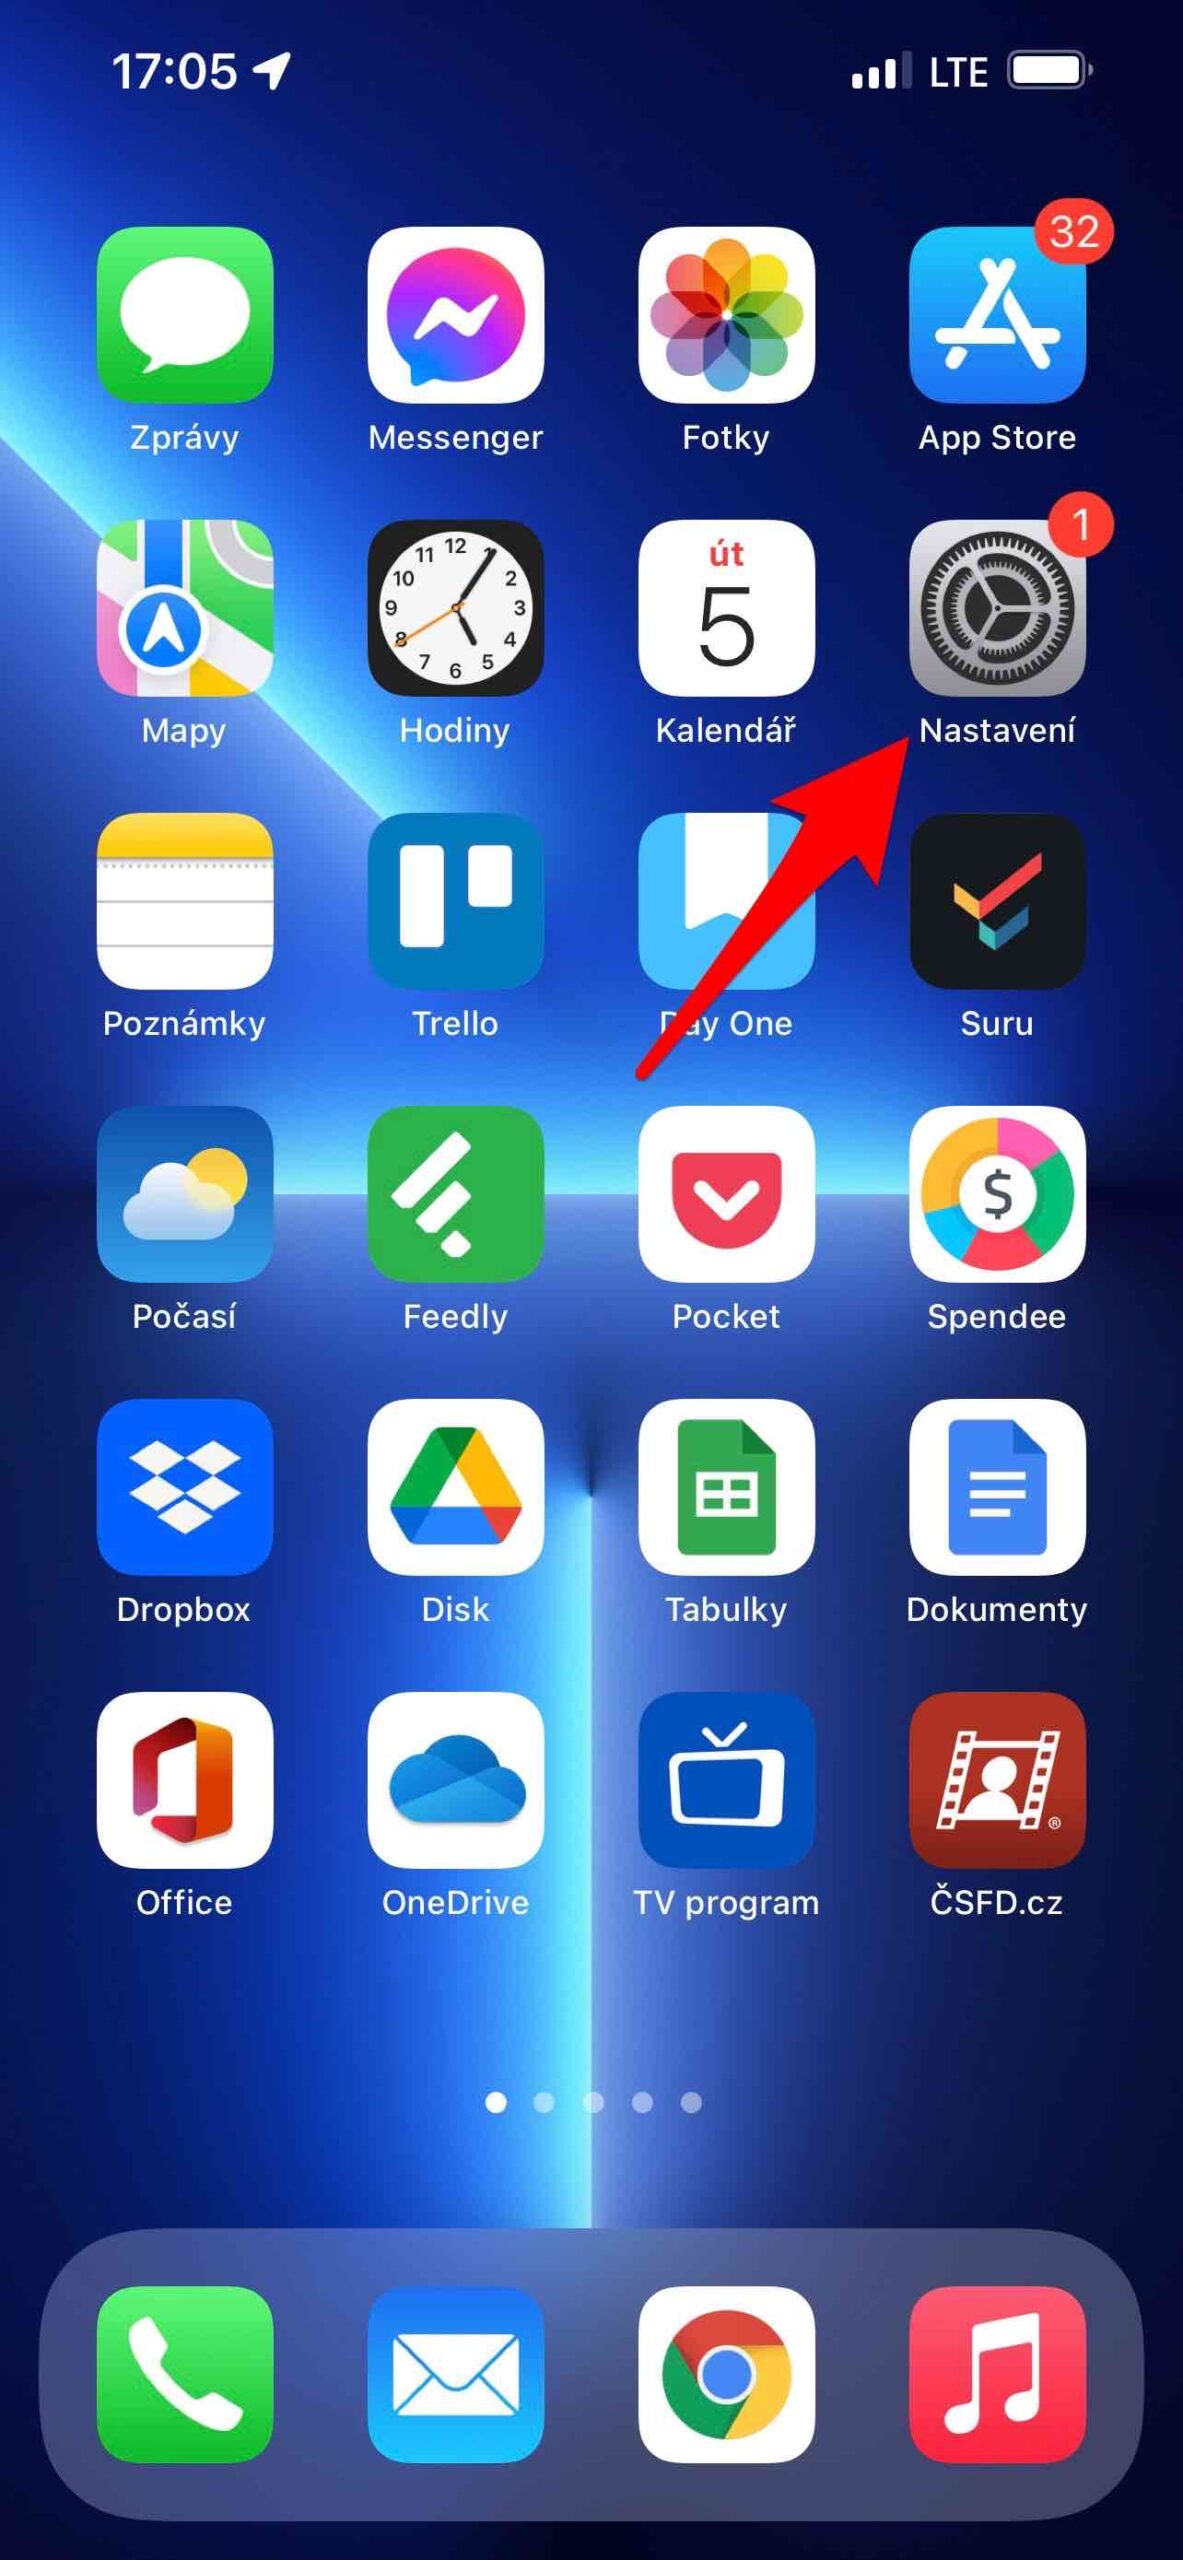
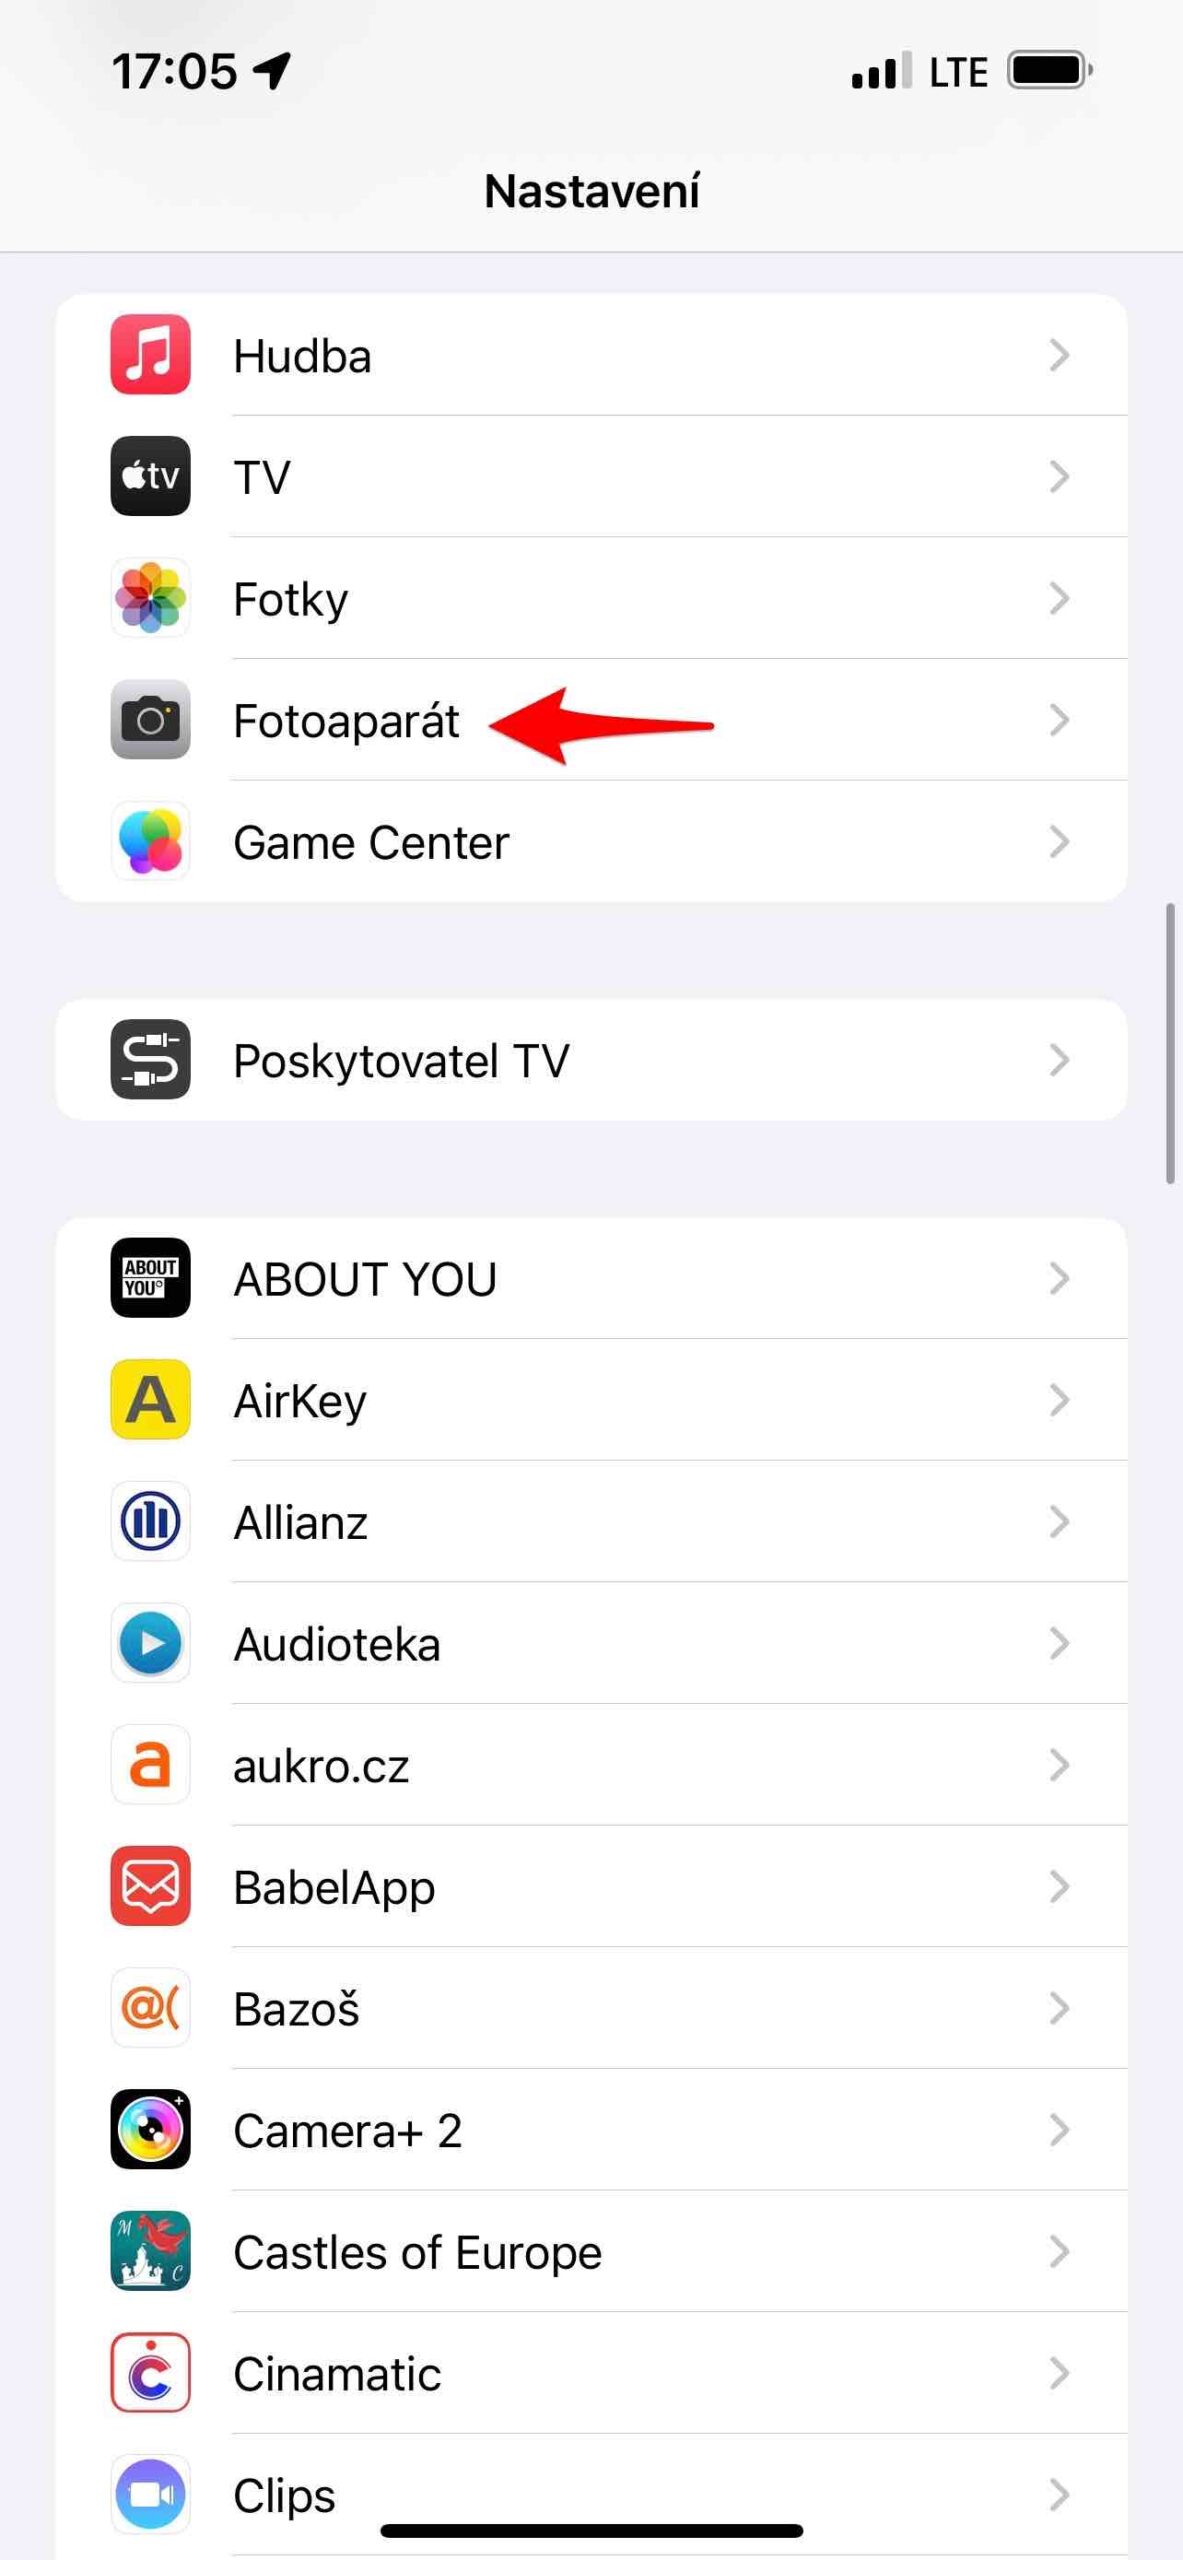
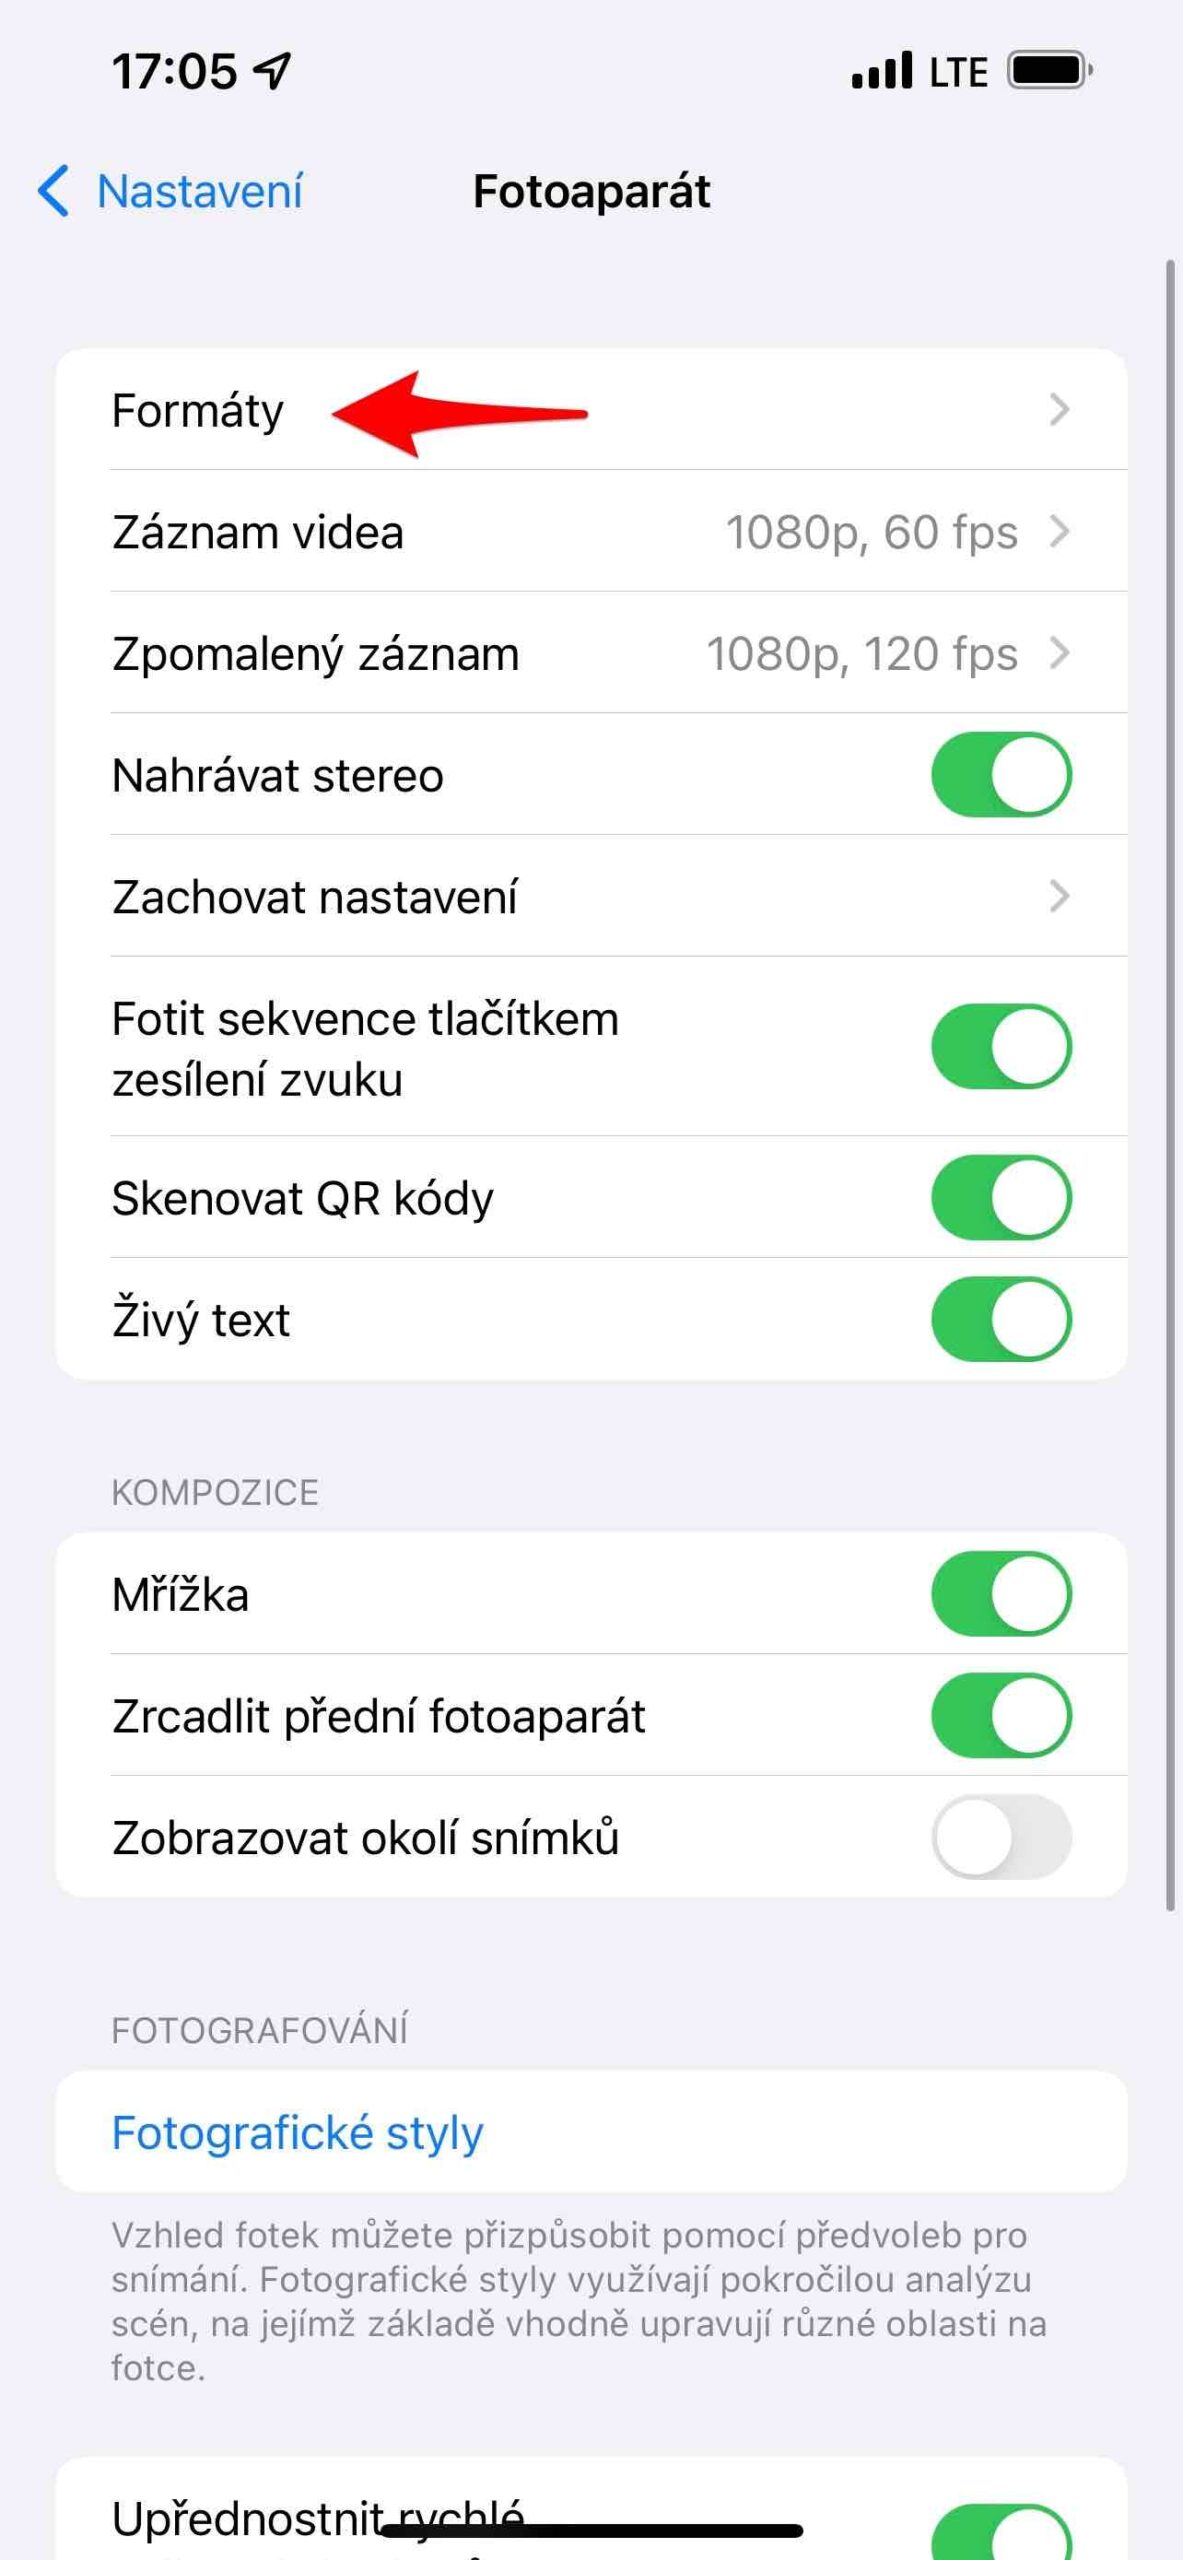
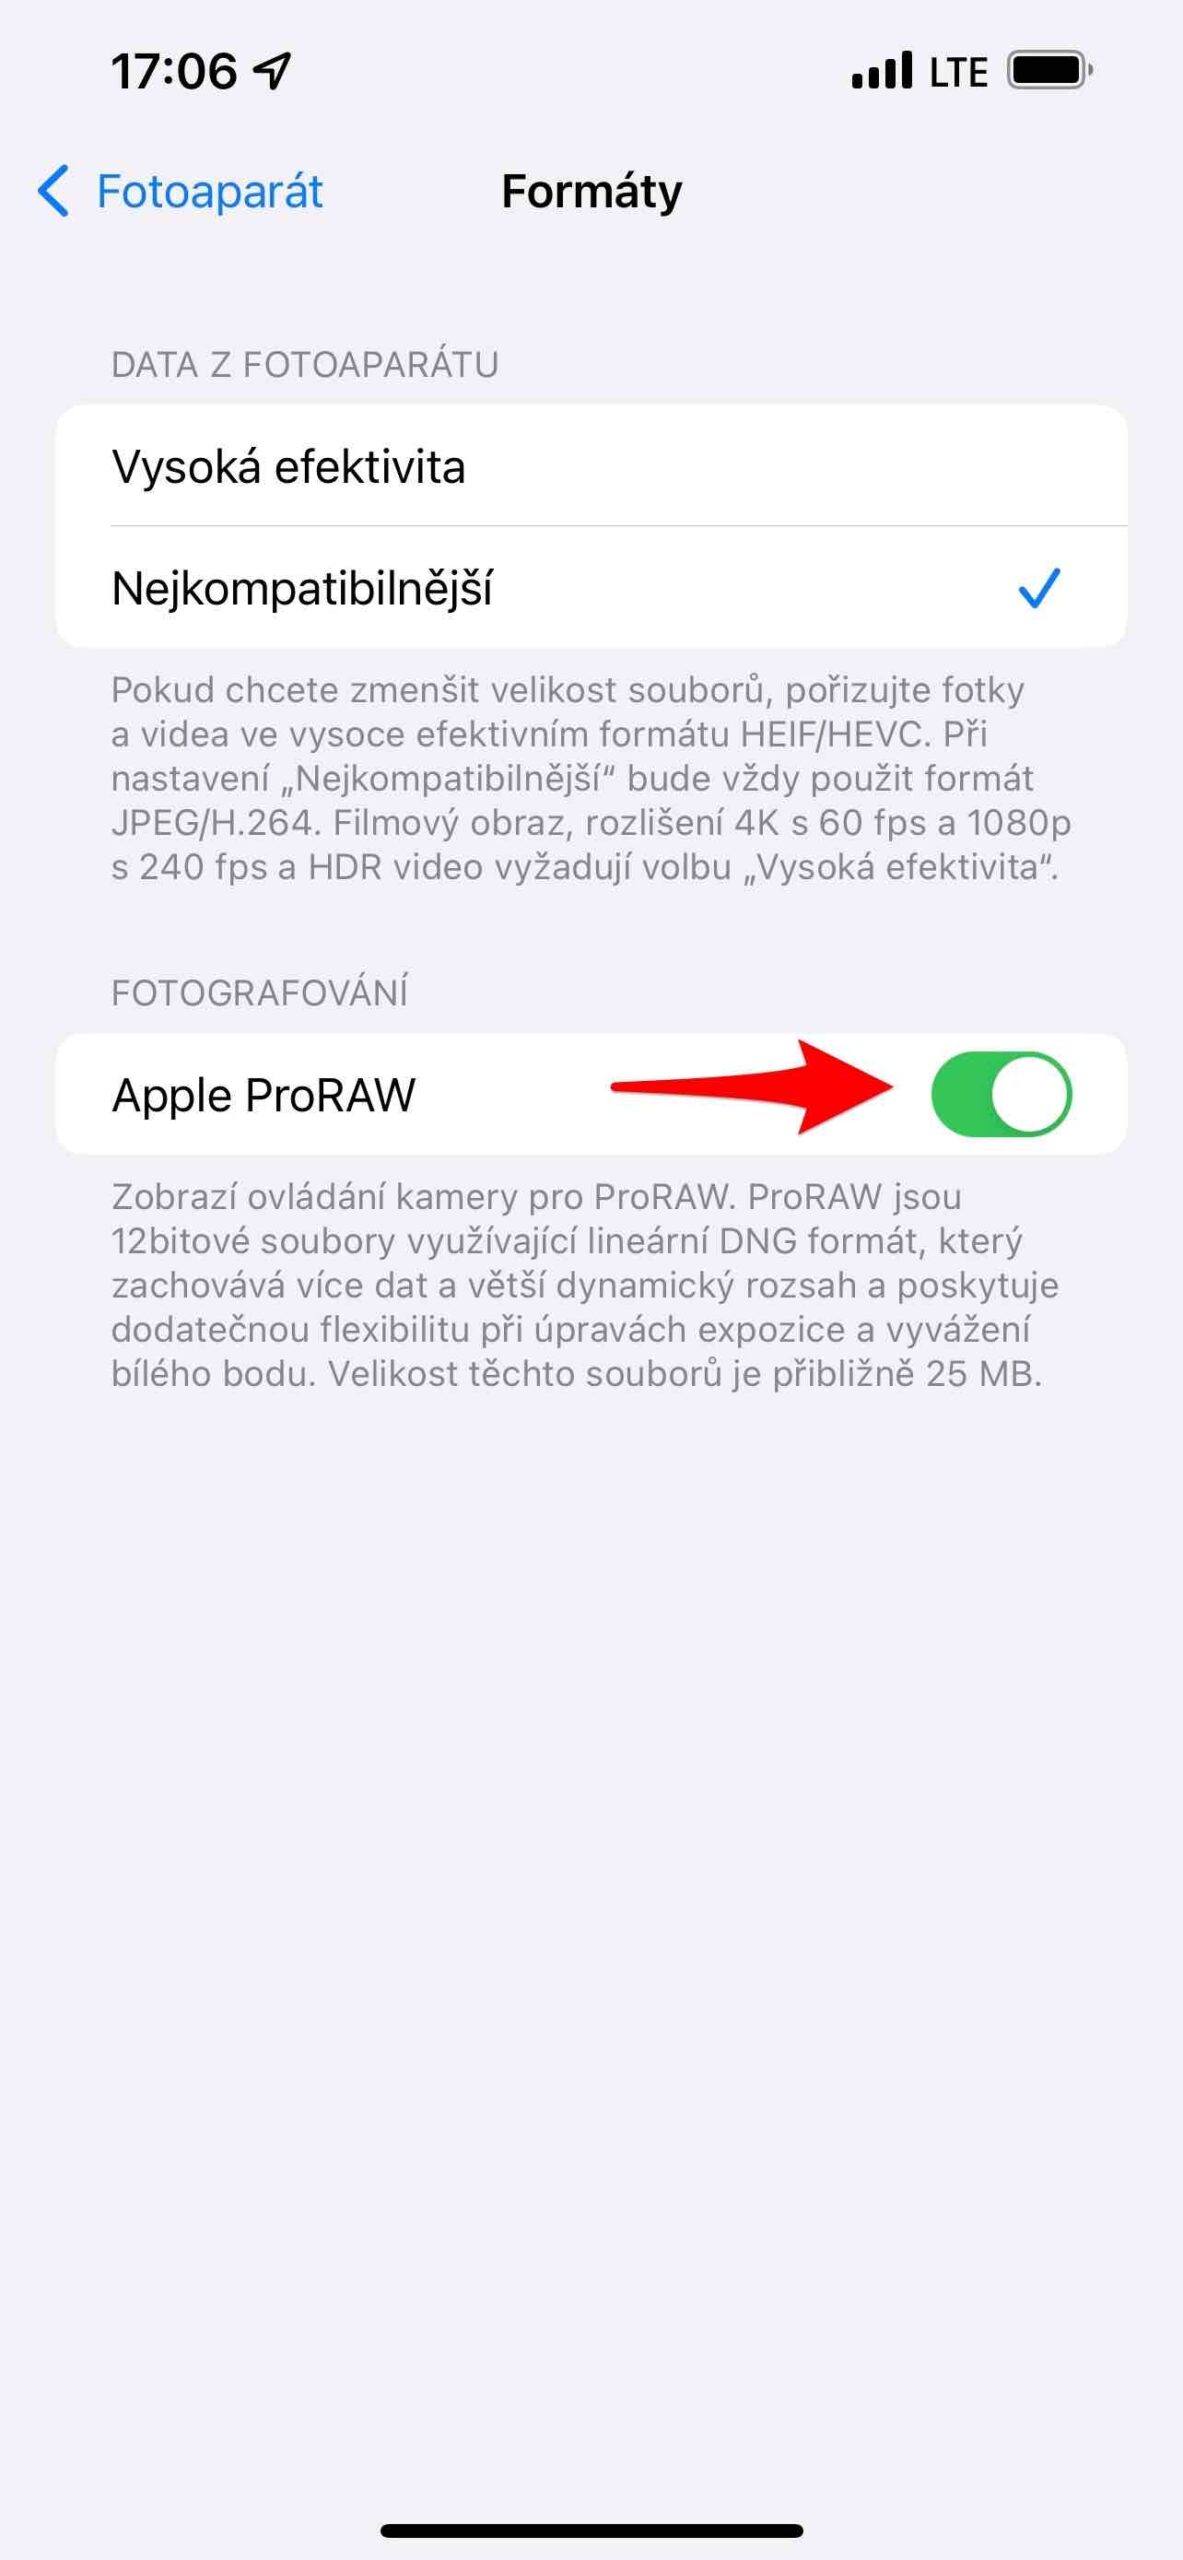
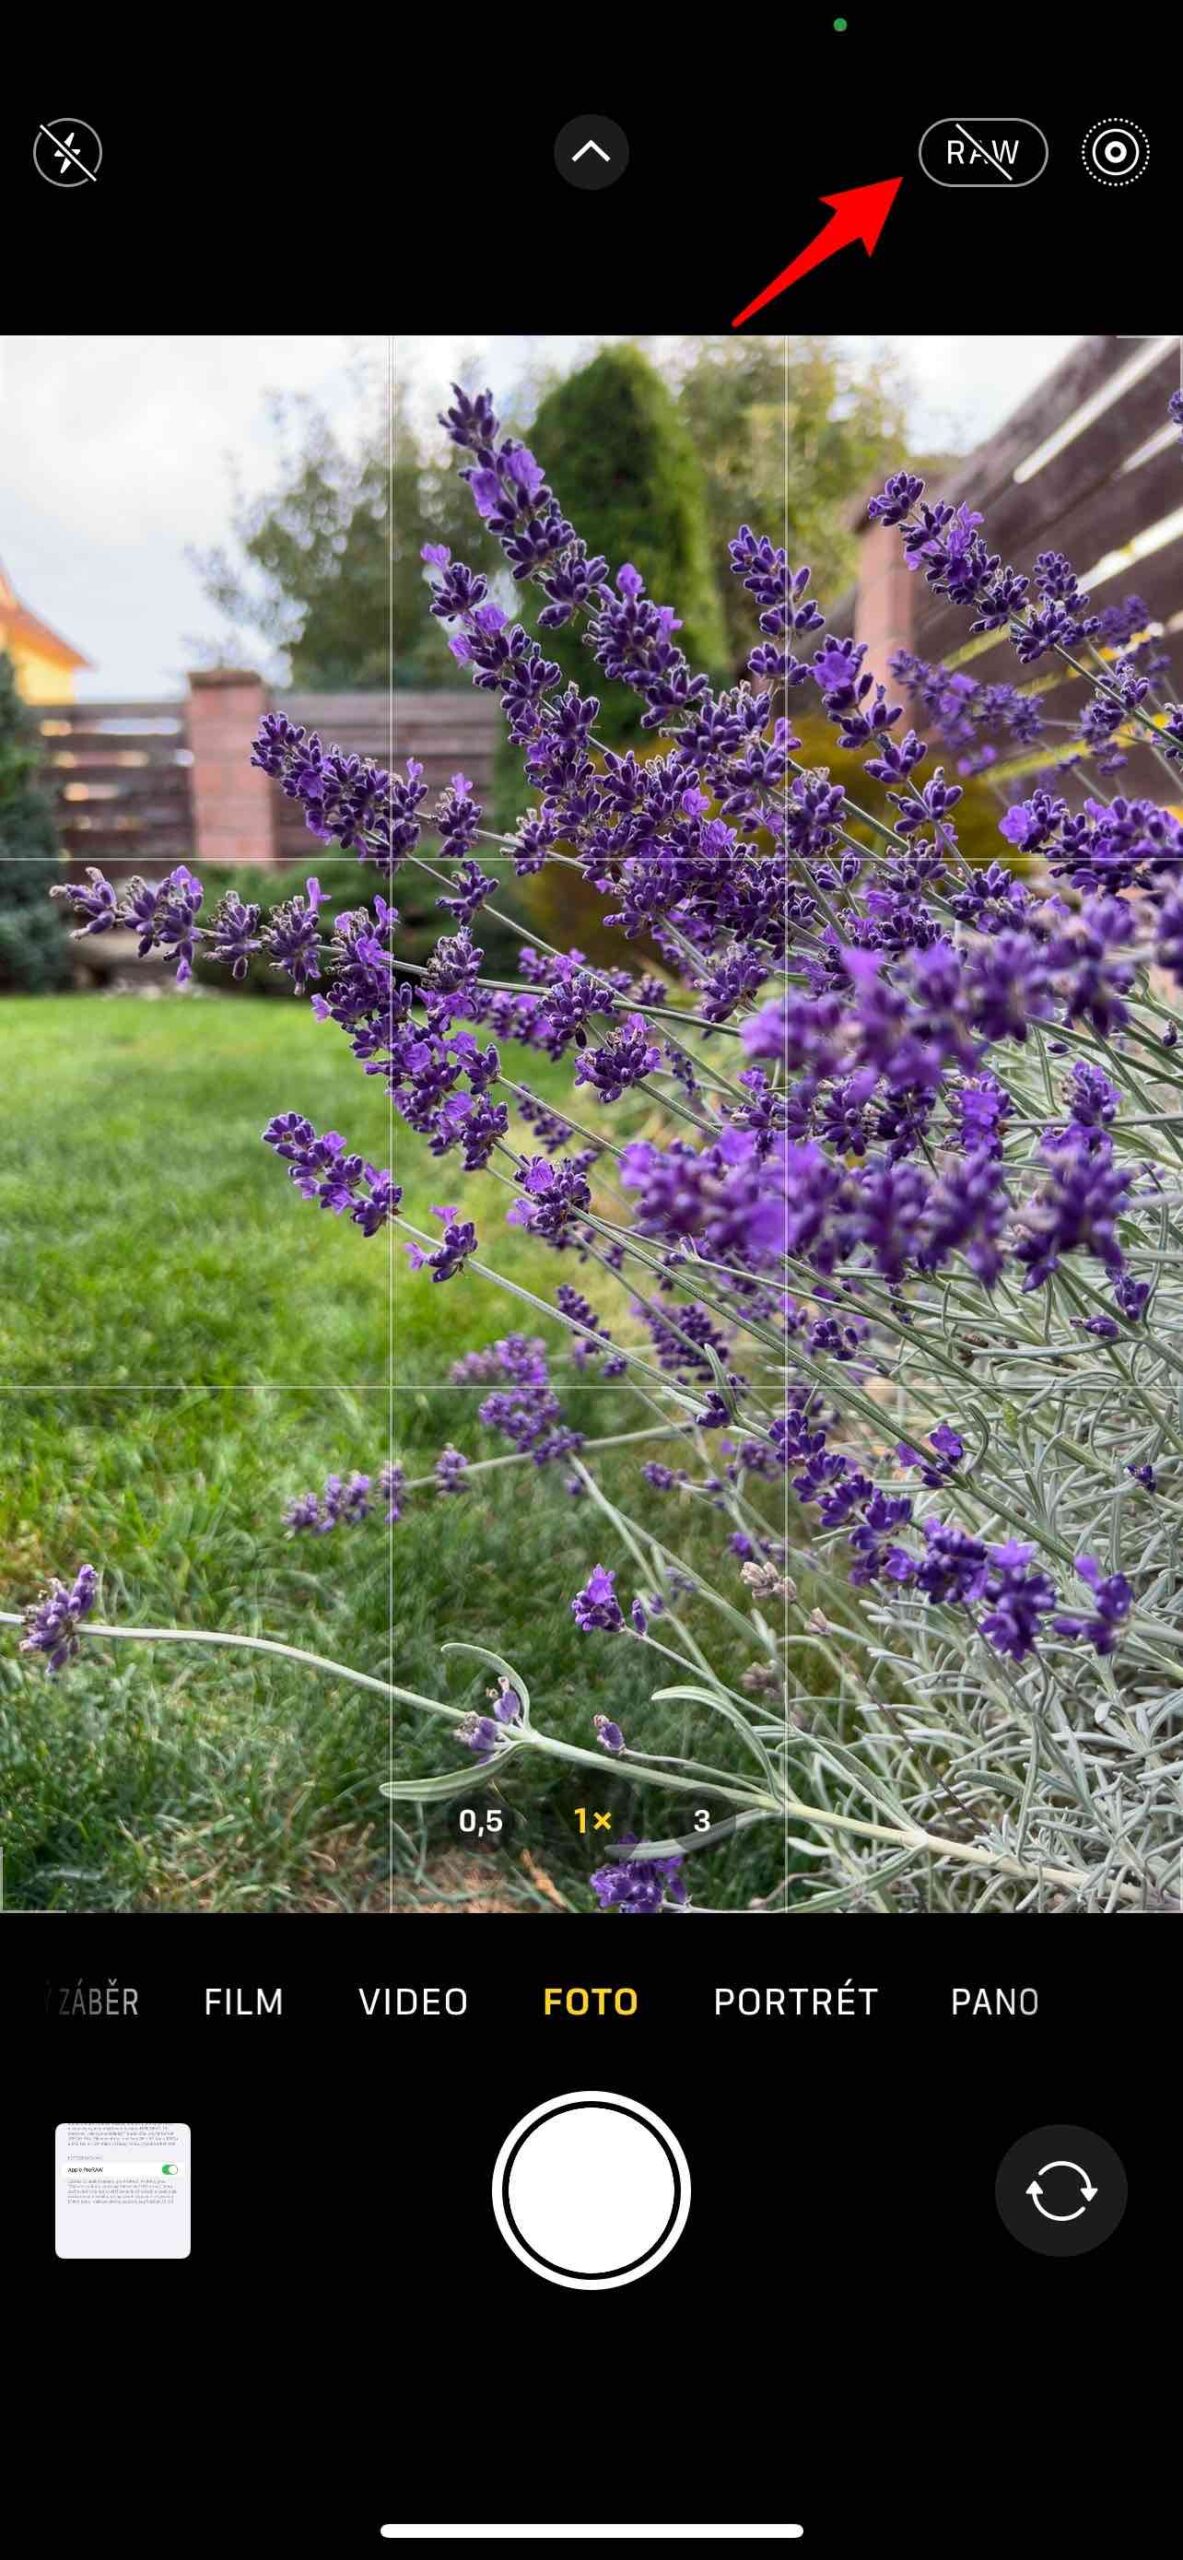
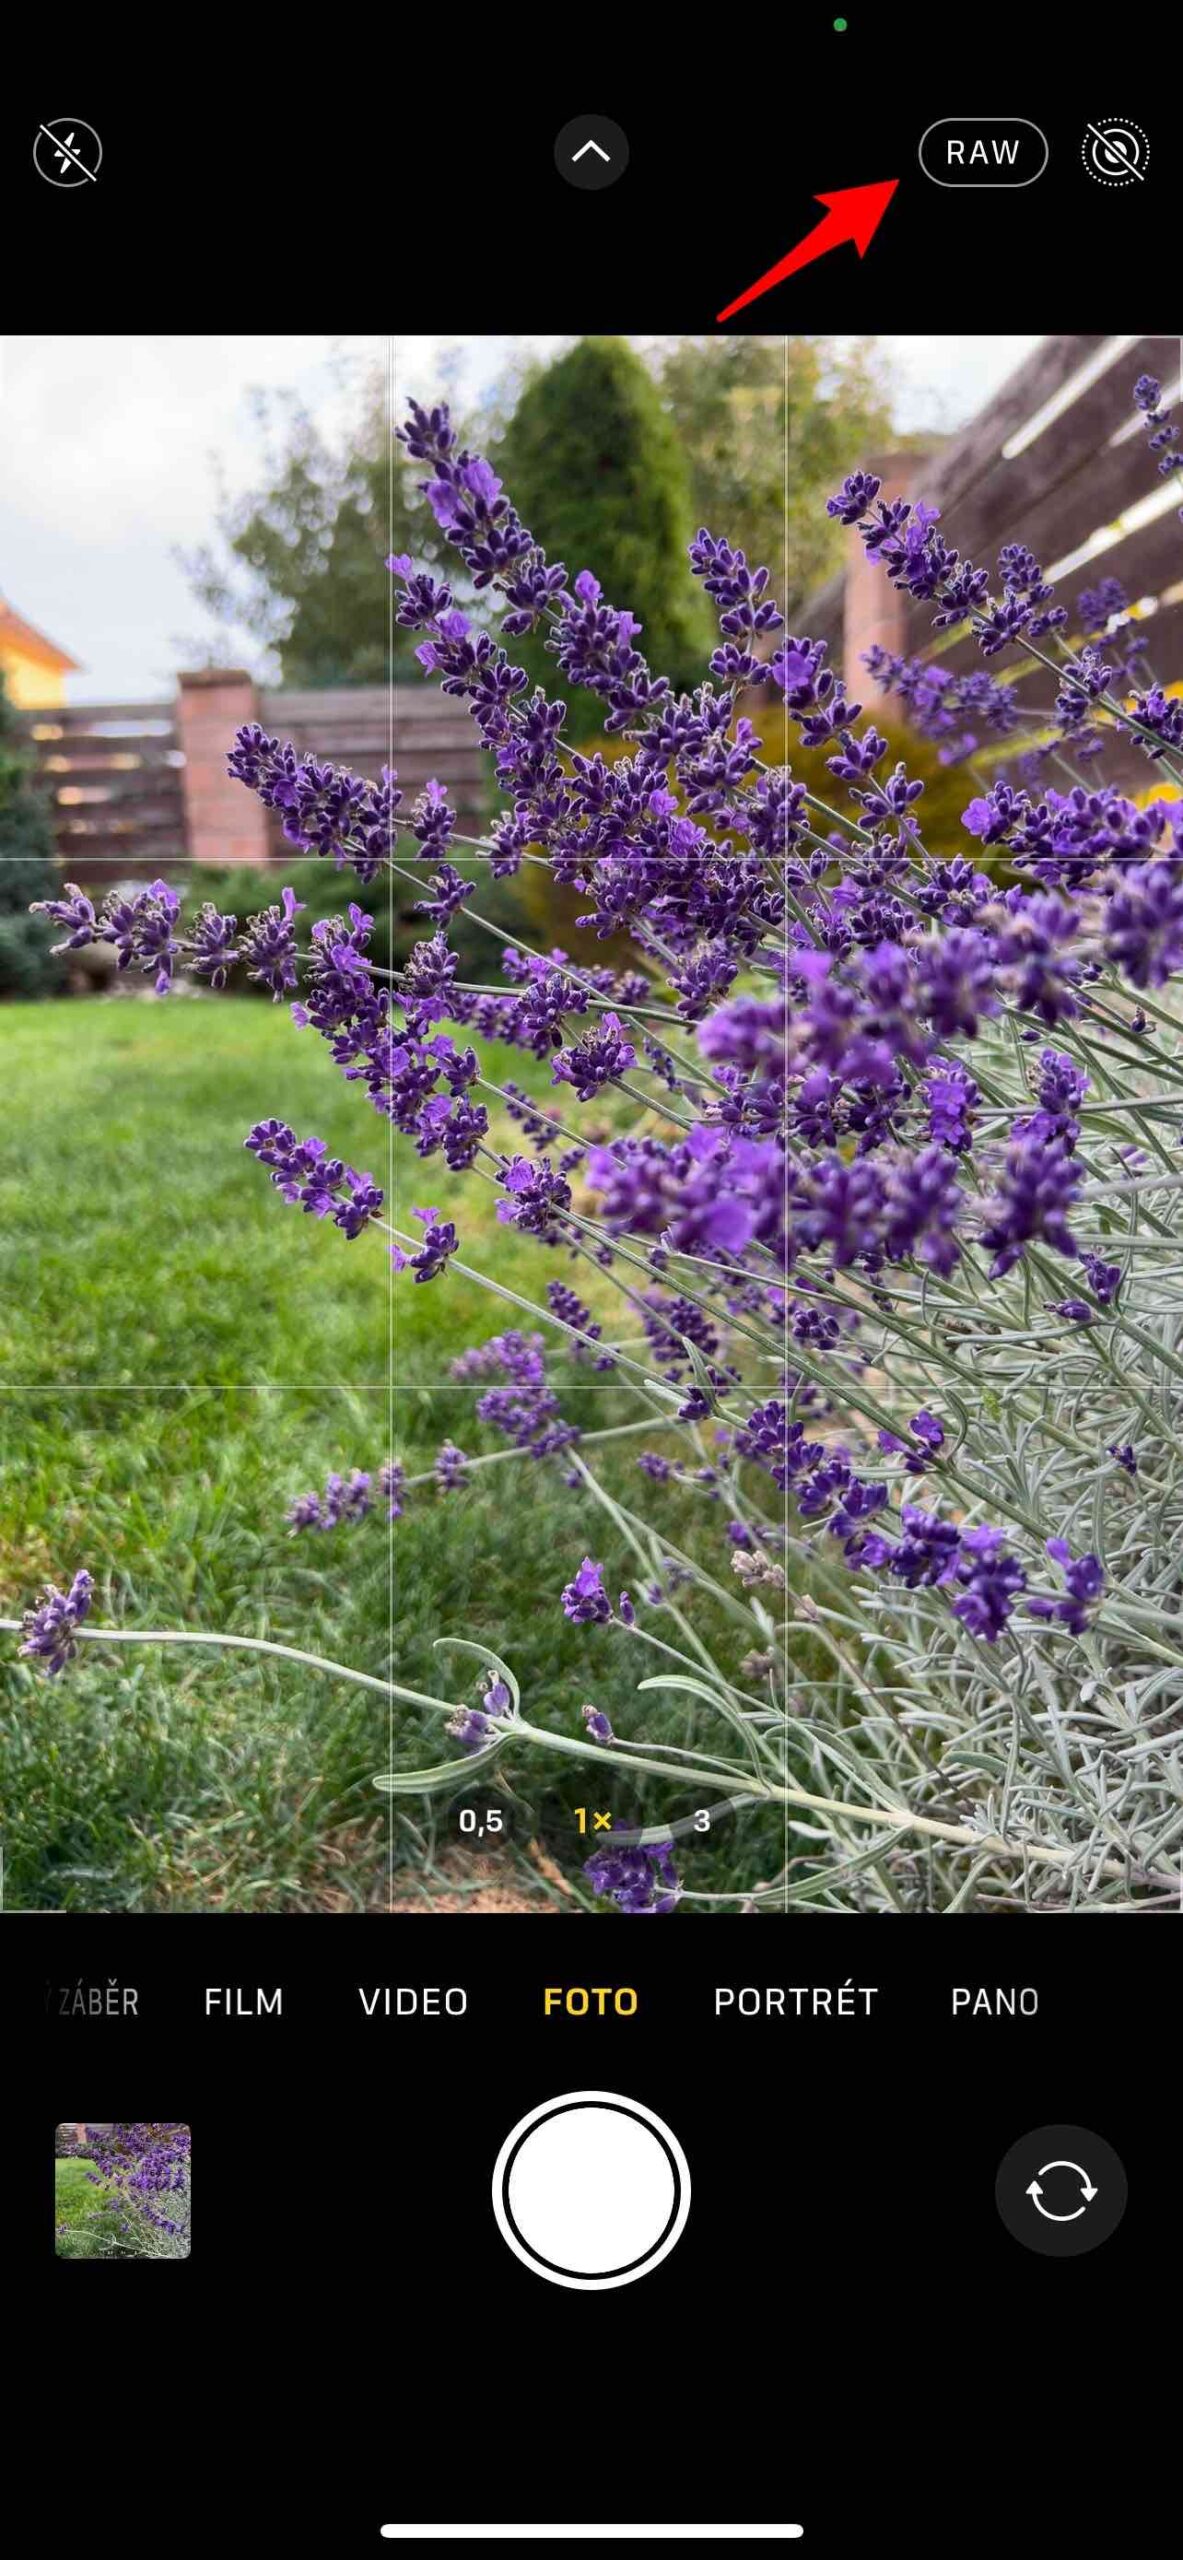
If you are a more professional photographer and want to shoot in ProRAW format, you need to activate this function. It is only available on iPhone Pro models. You can find it in Settings -> Camera -> Formats, where you turn on the option Apple ProRAW. The Live Photos icon in the Camera interface now shows you the RAW tag, where you can turn it on and off directly in the interface. If the mark is crossed out, you shoot in HEIF or JPEG, if it is not crossed out, Live Photos are disabled and images are taken in DNG format, i.e. in Apple ProRAW quality.
