Nowadays, most of us already use a smartphone, such as an iPhone, to take photos. The latest Apple phone models are already proud of such photo systems that can capture absolutely great pictures - some of them you could even say were captured with a mirror camera. In addition to the fact that you can take pictures on the iPhone, you can of course also view them here. Of course, the display of apple phones is extremely high quality and photos look great on it, but in some cases you might want to display them on a different, larger screen. Therefore, let's take a look together in this article at 5 ways you can use to transfer photos from iPhone to Mac.
It could be interest you

Use AirDrop
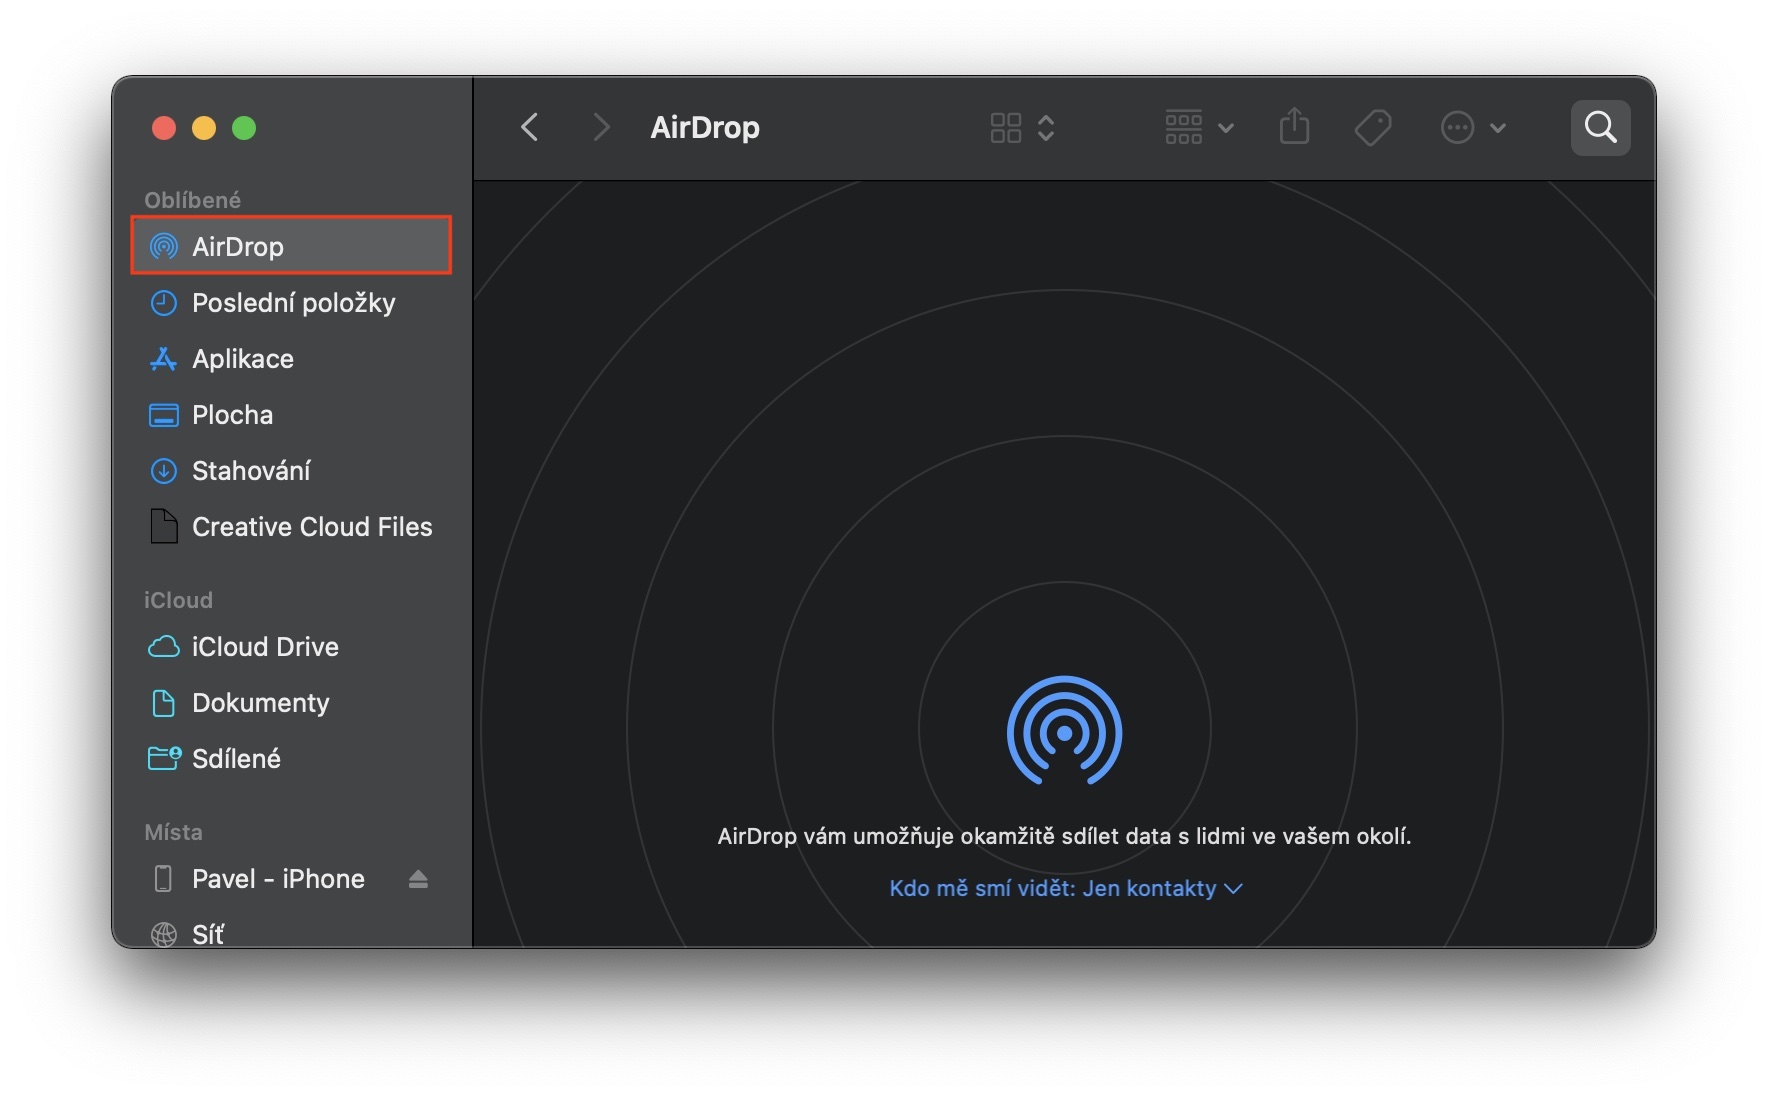
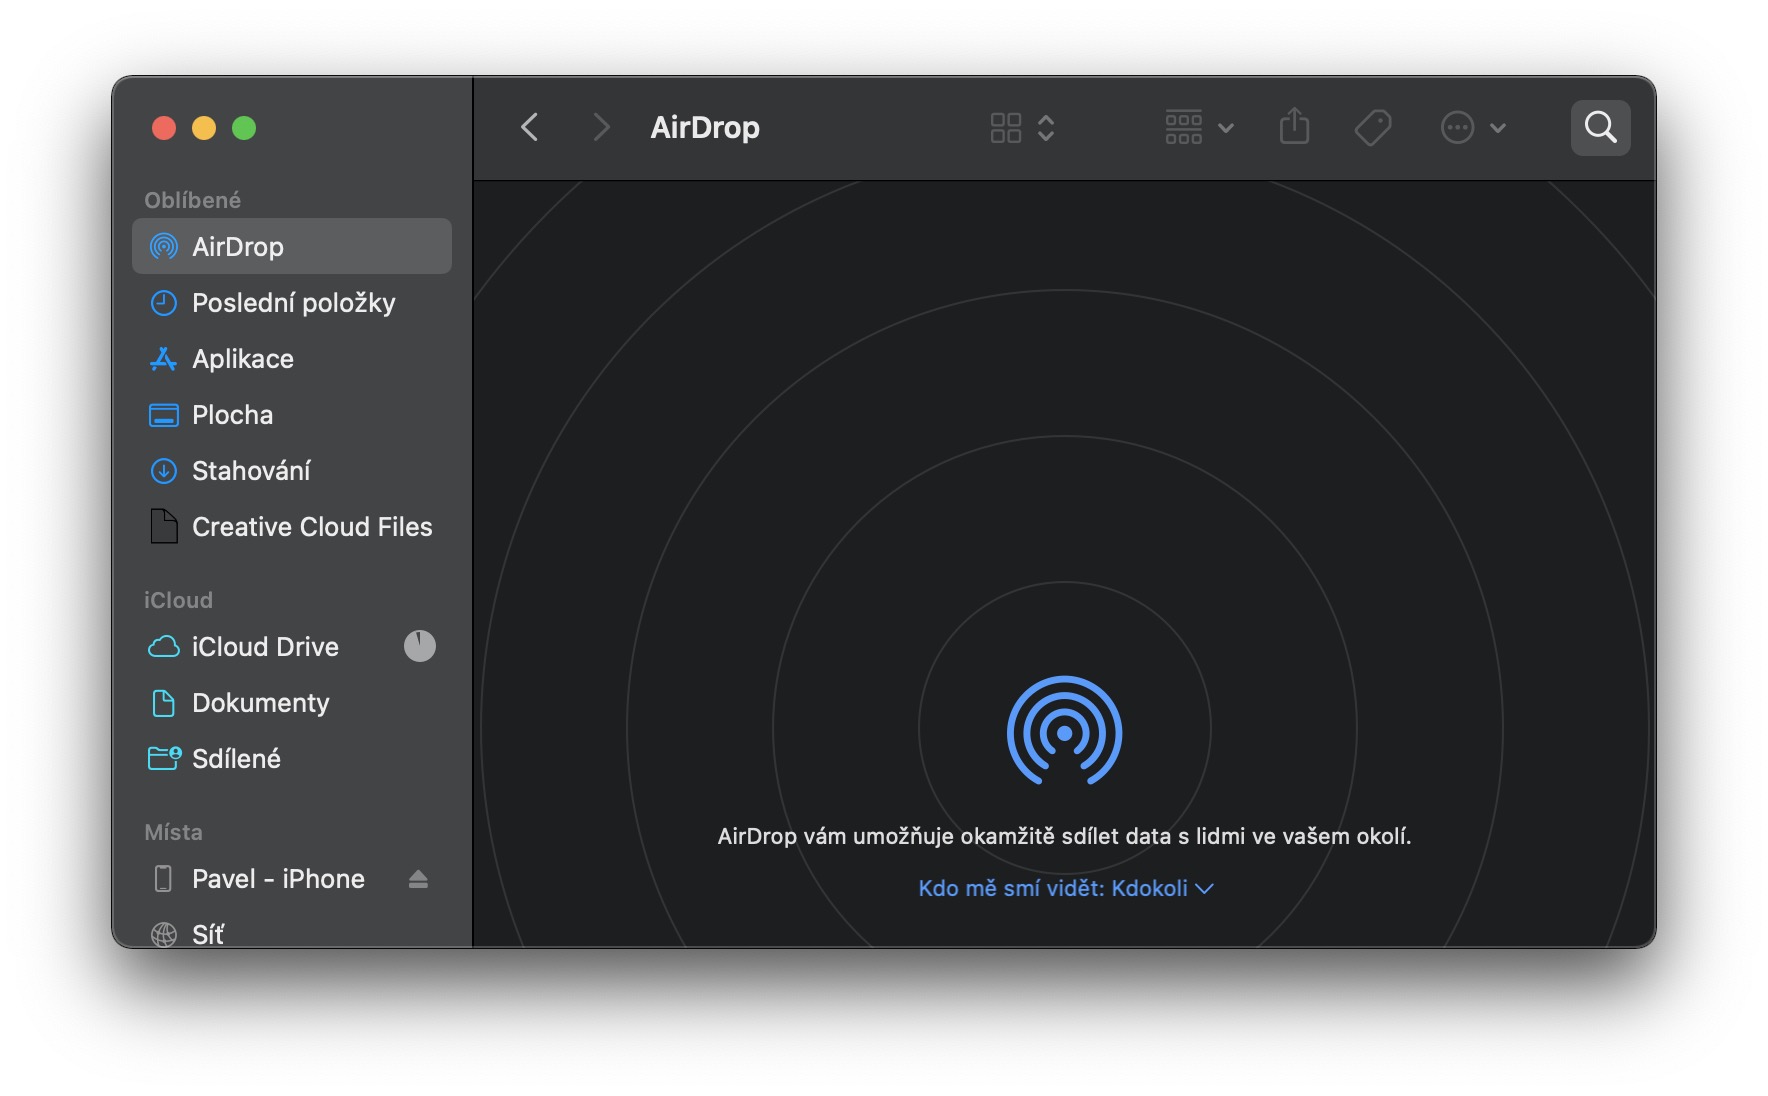
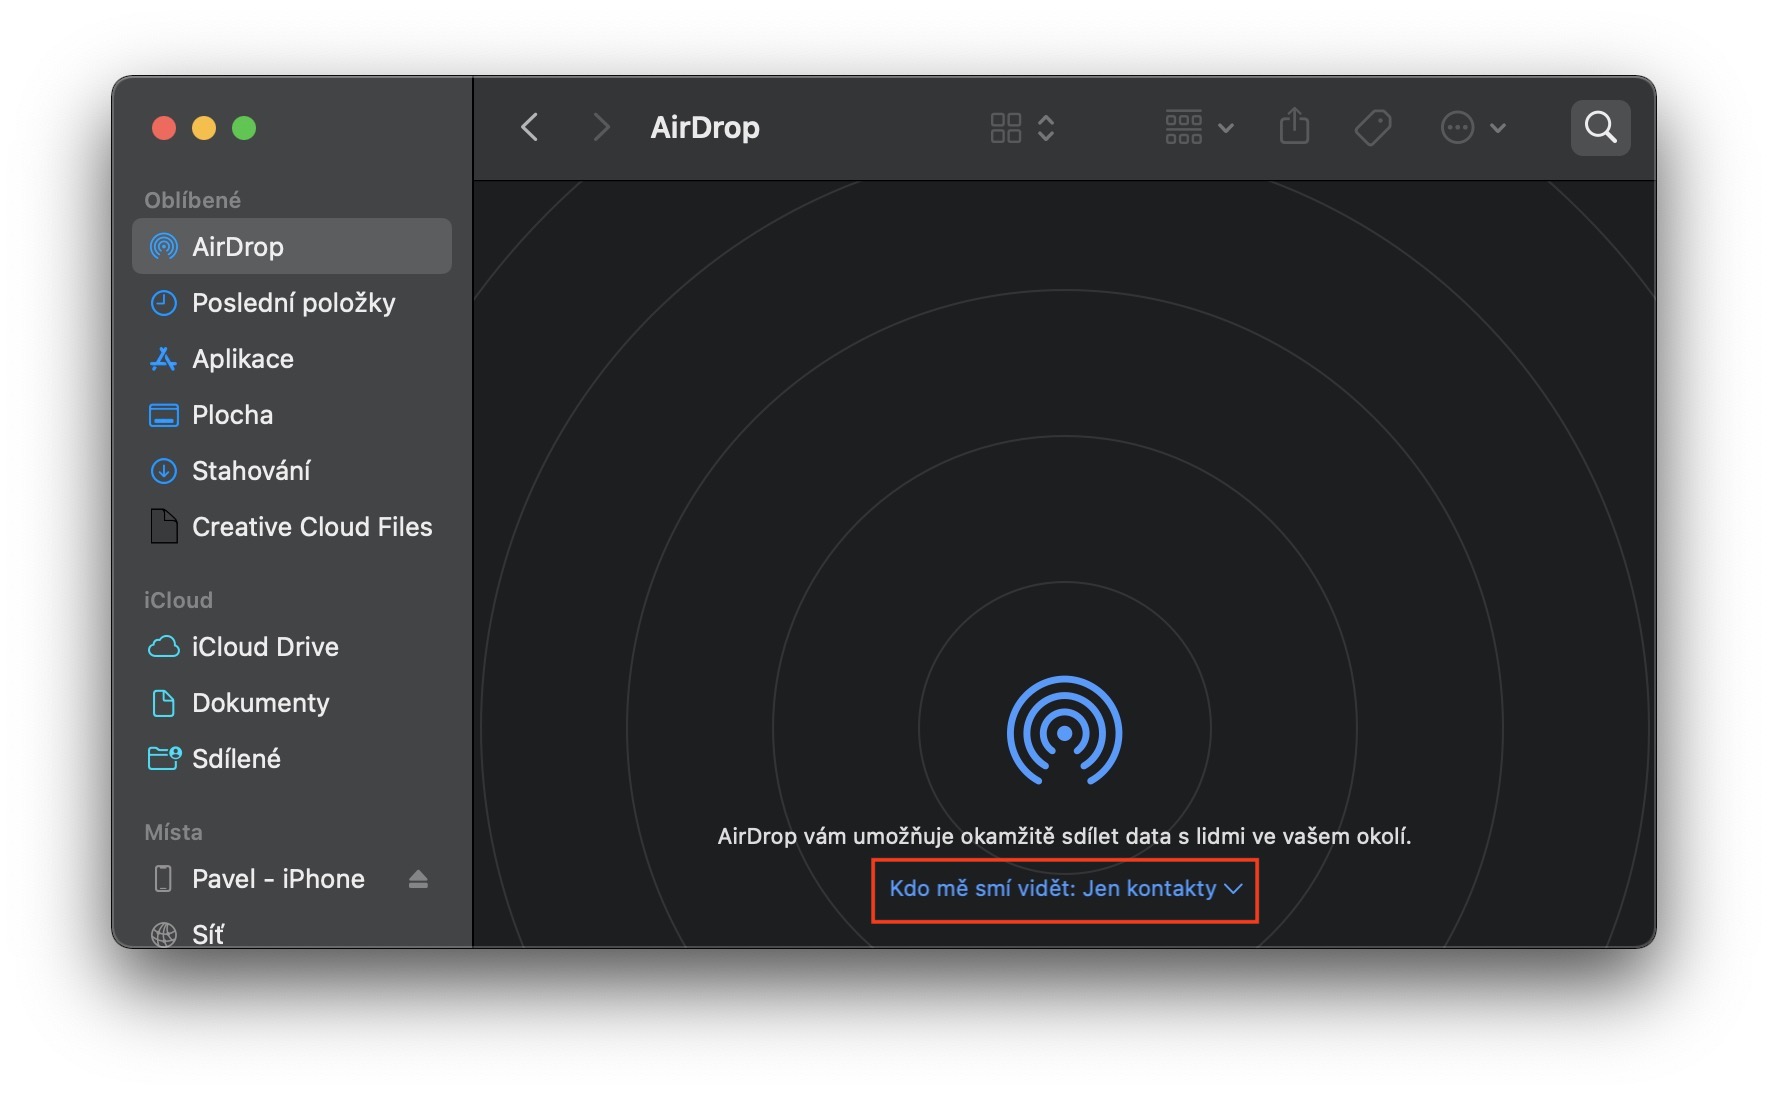
AirDrop is undoubtedly the easiest way to transfer any photos or videos from iPhone to Mac. This is a special feature that is available on practically all Apple devices and is used to move any type of data between them. Everything happens completely wirelessly and, above all, quickly - you just have to choose the photos, send them and it's done in a few seconds. If you want to transfer photos from iPhone to Mac using AirDrop, you must first activate this function. On a Mac, just open it Finder, pal AirDrop and below select to were available to all. Subsequently, on the iPhone in tag pictures in photos, that you want to transfer, then tap share icon and at the top of the menu tap on the target device. For AirDrop to work, both devices must have Bluetooth and Wi-Fi turned on.
Importing photos
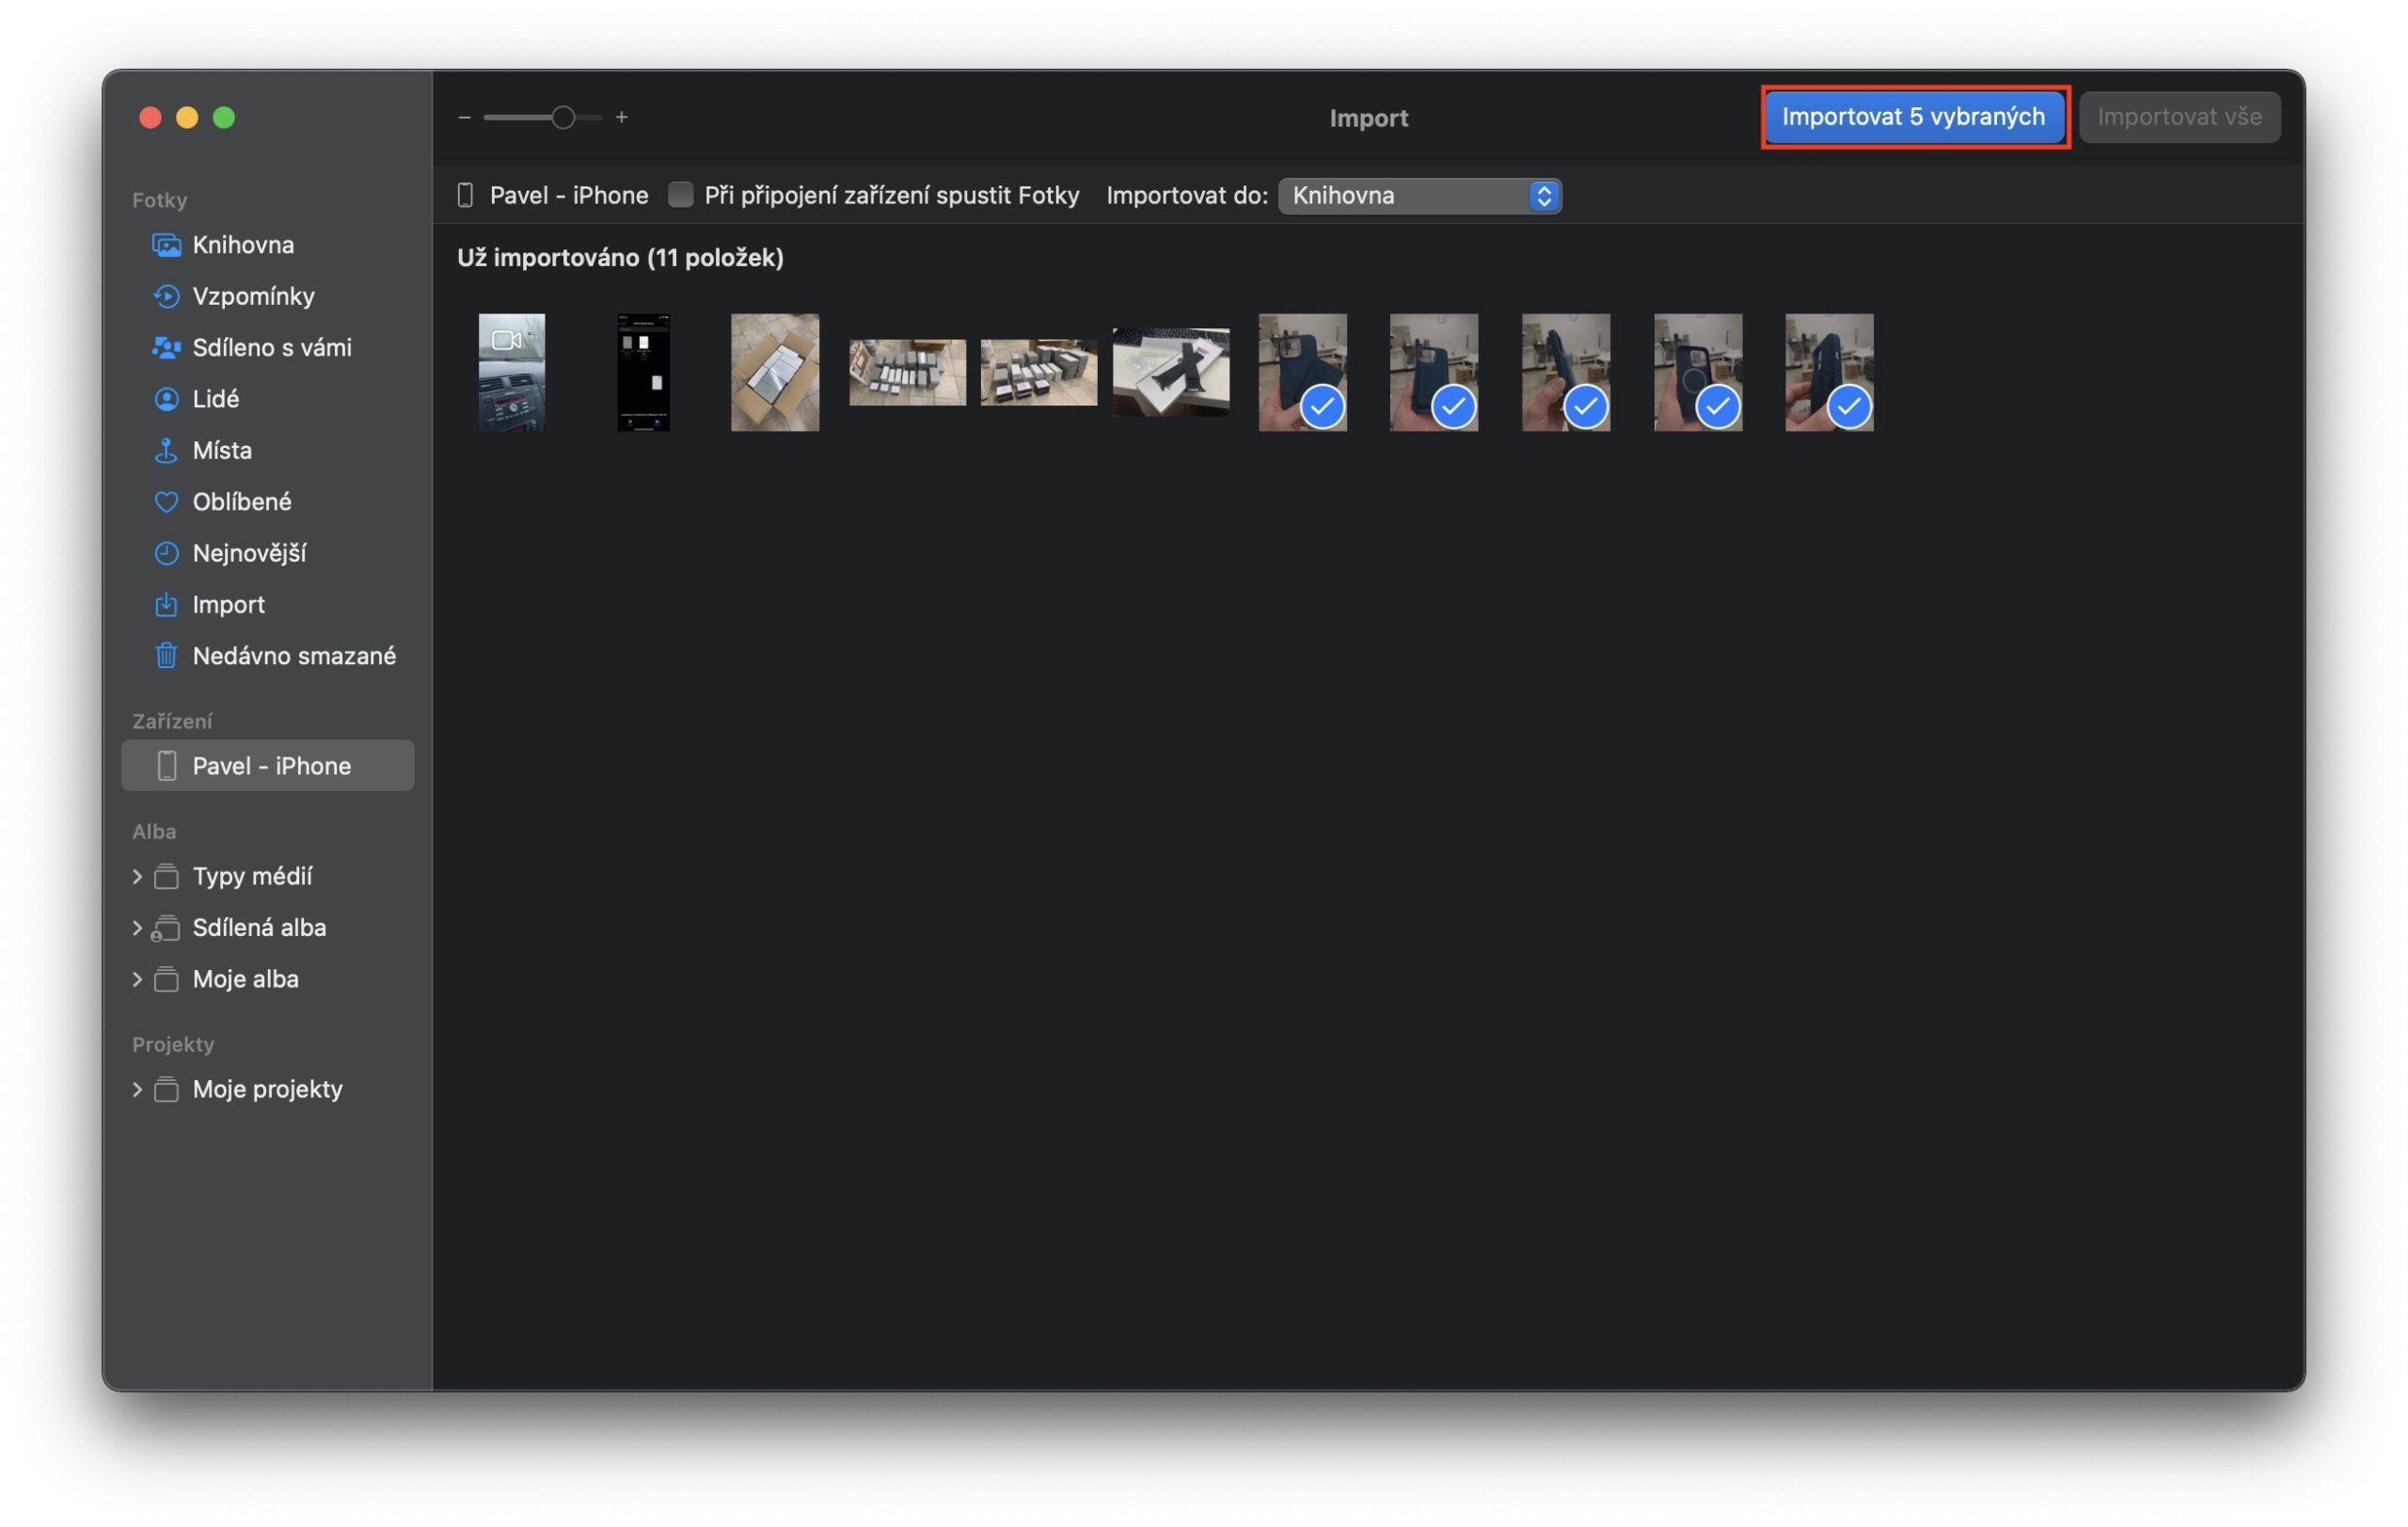
The mentioned AirDrop is, of course, absolutely perfect, but if you find yourself in a situation where you need to transfer several hundred or thousands of photos, you will do better if you use a good old cable. Not that AirDrop can't handle this transfer - I've personally moved several tens of gigabytes of data through it and everything went smoothly. It is more about the speed of the whole event, as well as reliability and less susceptibility to cancellation or failure. To import photos from iPhone to Mac, you just need to using a Lightning cable to connect your iPhone to your Mac. Then launch the application on it Fotky and click on in the left menu the name of your apple phone. Of course, confirm the connection if necessary by entering the password on the iPhone, and then choose the option for trusting. You will then see all the photos that you can import. Subsequently you mark photos for import and press Import selected, or choose the option for import all photos.
Move using iCloud
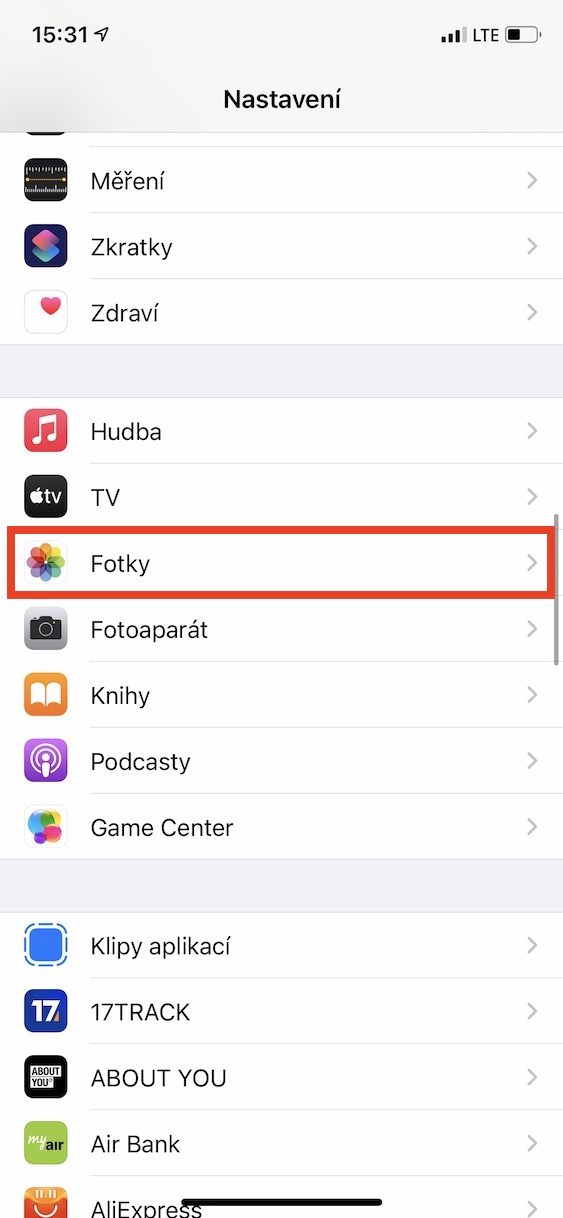
If you subscribe to Apple's iCloud service, you most likely also use Photos on iCloud. This function can send all your photos to a remote iCloud server, from where you can then access them from anywhere. You can either simply view them in the Photos app on your Mac or any other Apple device, or you can view them anywhere else within the iCloud web interface. In addition, the photos are always available here in full quality, which is definitely useful. To activate the iCloud Photos feature, just go to the native app Settings, where to click Photos, and then activate Photos on iCloud.
Use of cloud service
We've already mentioned that you can easily view iPhone photos on your Mac (or elsewhere) via iCloud. But not everyone is necessarily a fan of this Apple service, and of course there are those individuals who can use other cloud, for example Google Drive, OneDrive, DropBox and others. But this is definitely not a problem, since you can download an application for your iPhone from practically all of these services. It often contains a function that automatically sends photos to a selected cloud storage. After uploading photos to this cloud, you can of course also access them from virtually anywhere. On some devices, the application is directly available, on others you can use the web interface. However, we mustn't forget about the other cloud functions, where you can send some photos to anyone immediately via a link - and much more.
It could be interest you

Sending via e-mail
The last option you can use to transfer photos from Mac to iPhone is to send via email. This is certainly one of the most outdated options, but in certain situations this option can simply come in handy. Personally, I use sending images via e-mail relatively often, when I need to get them to a Windows computer, for example. Of course, I could log into the website, go to the iCloud interface, and then find and download the photo. But I find it simply easier to send it to myself. It is necessary to mention that through most e-mail boxes you cannot send attachments larger than about 25 MB, which nowadays is really only enough for a few photos. However, if you use native Mail from Apple, you can use the Mail Drop function, with which you can easily send a large amount of data via e-mail - see the article below.
It could be interest you






 Flying around the world with Apple