Despite the fact that Apple still complains about repair options for home repairers, there are still those who resist. It is still possible to replace, for example, the battery, display or camera relatively easily with iPhones - you just have to put up with the fact that a message about the impossibility of verifying the spare part will appear on the device. The problem only arises if you want to replace Touch ID or Face ID, which you will not be able to do while maintaining functionality. But this is an old familiarity and we have already reported on it in several articles in our magazine. Let's take a look at the 5 things you should watch out for when repairing your iPhone together in this article.
It could be interest you
Opening the iPhone
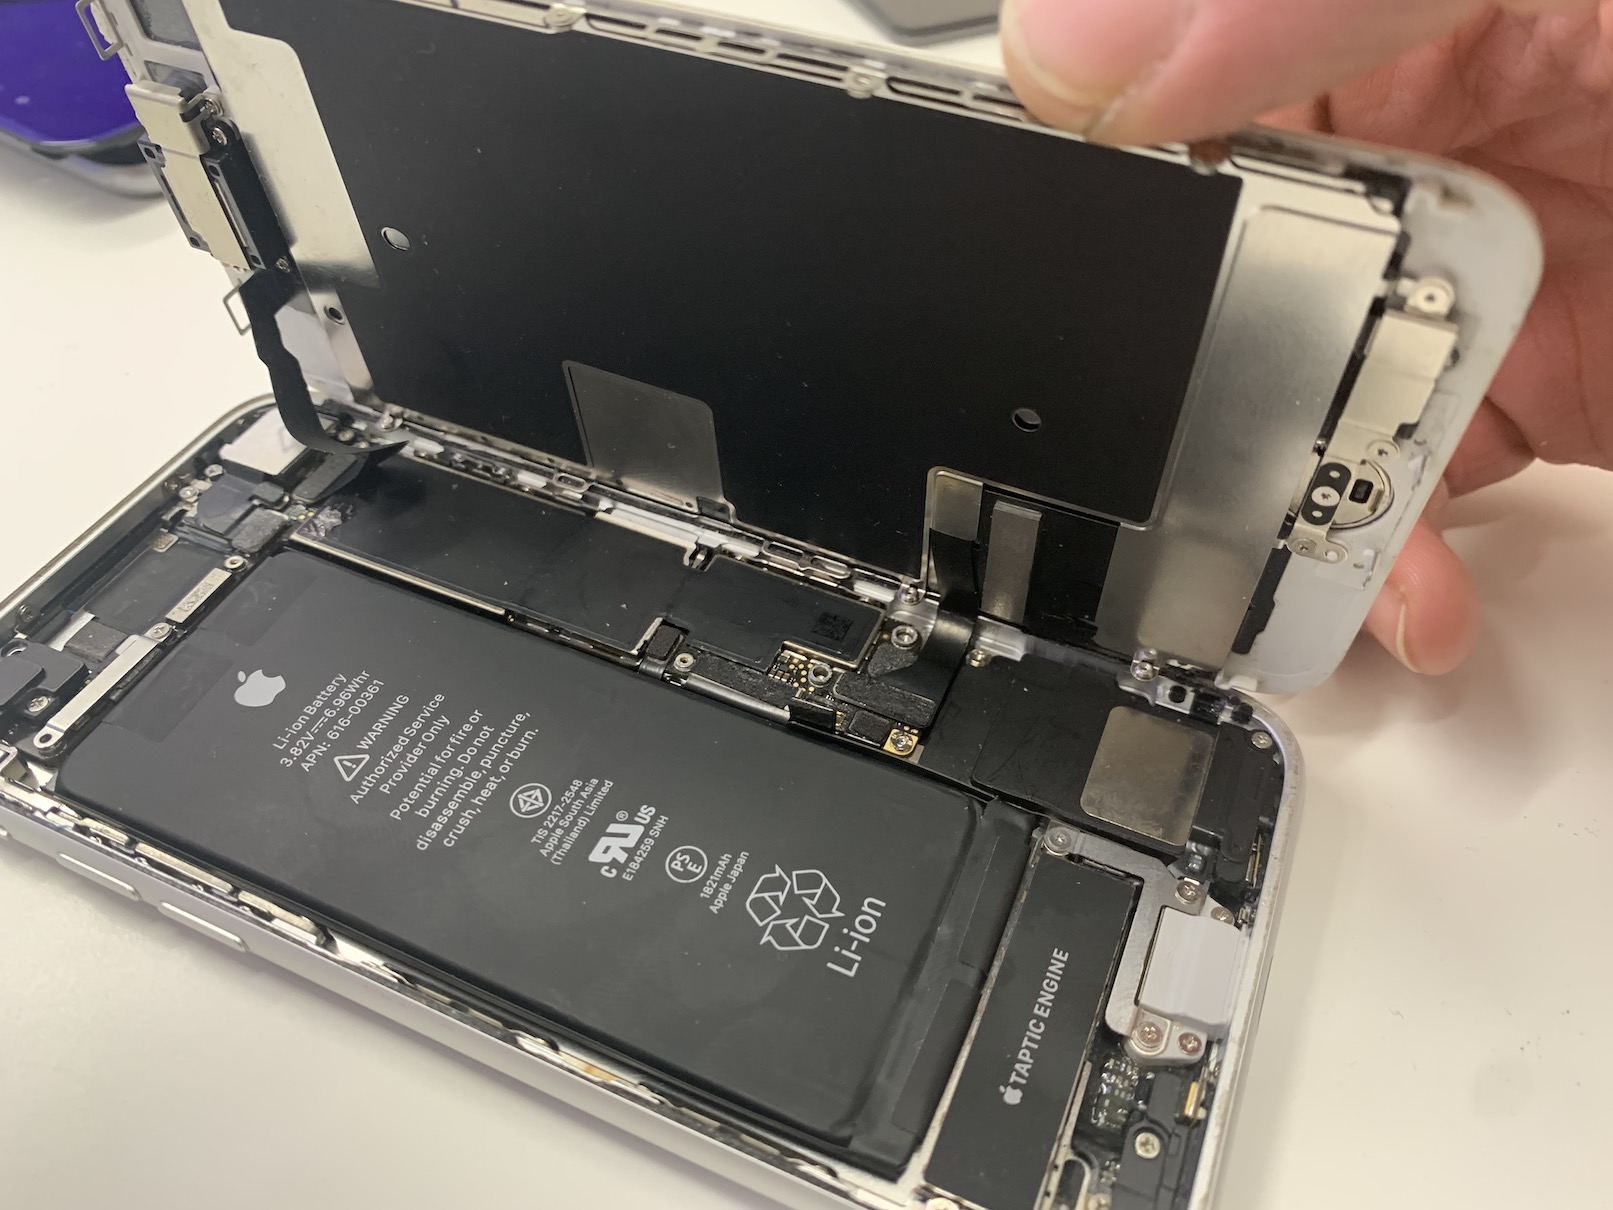
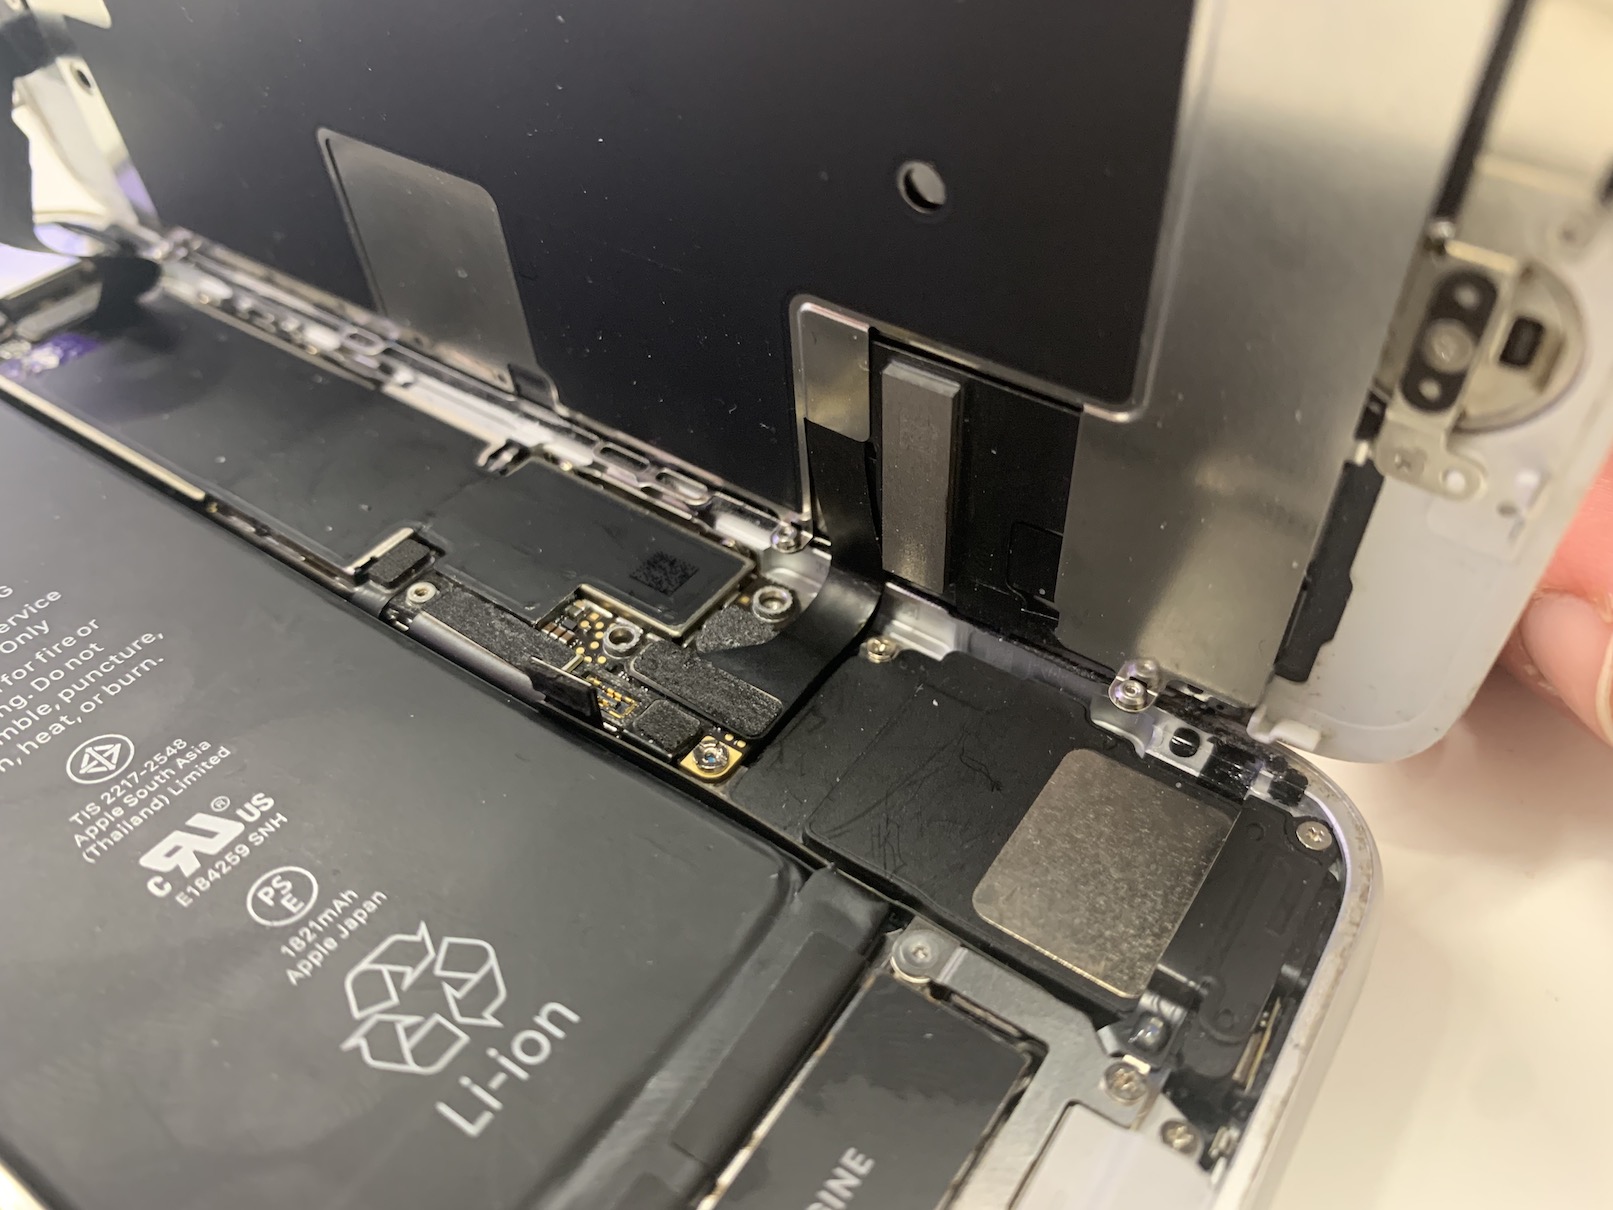
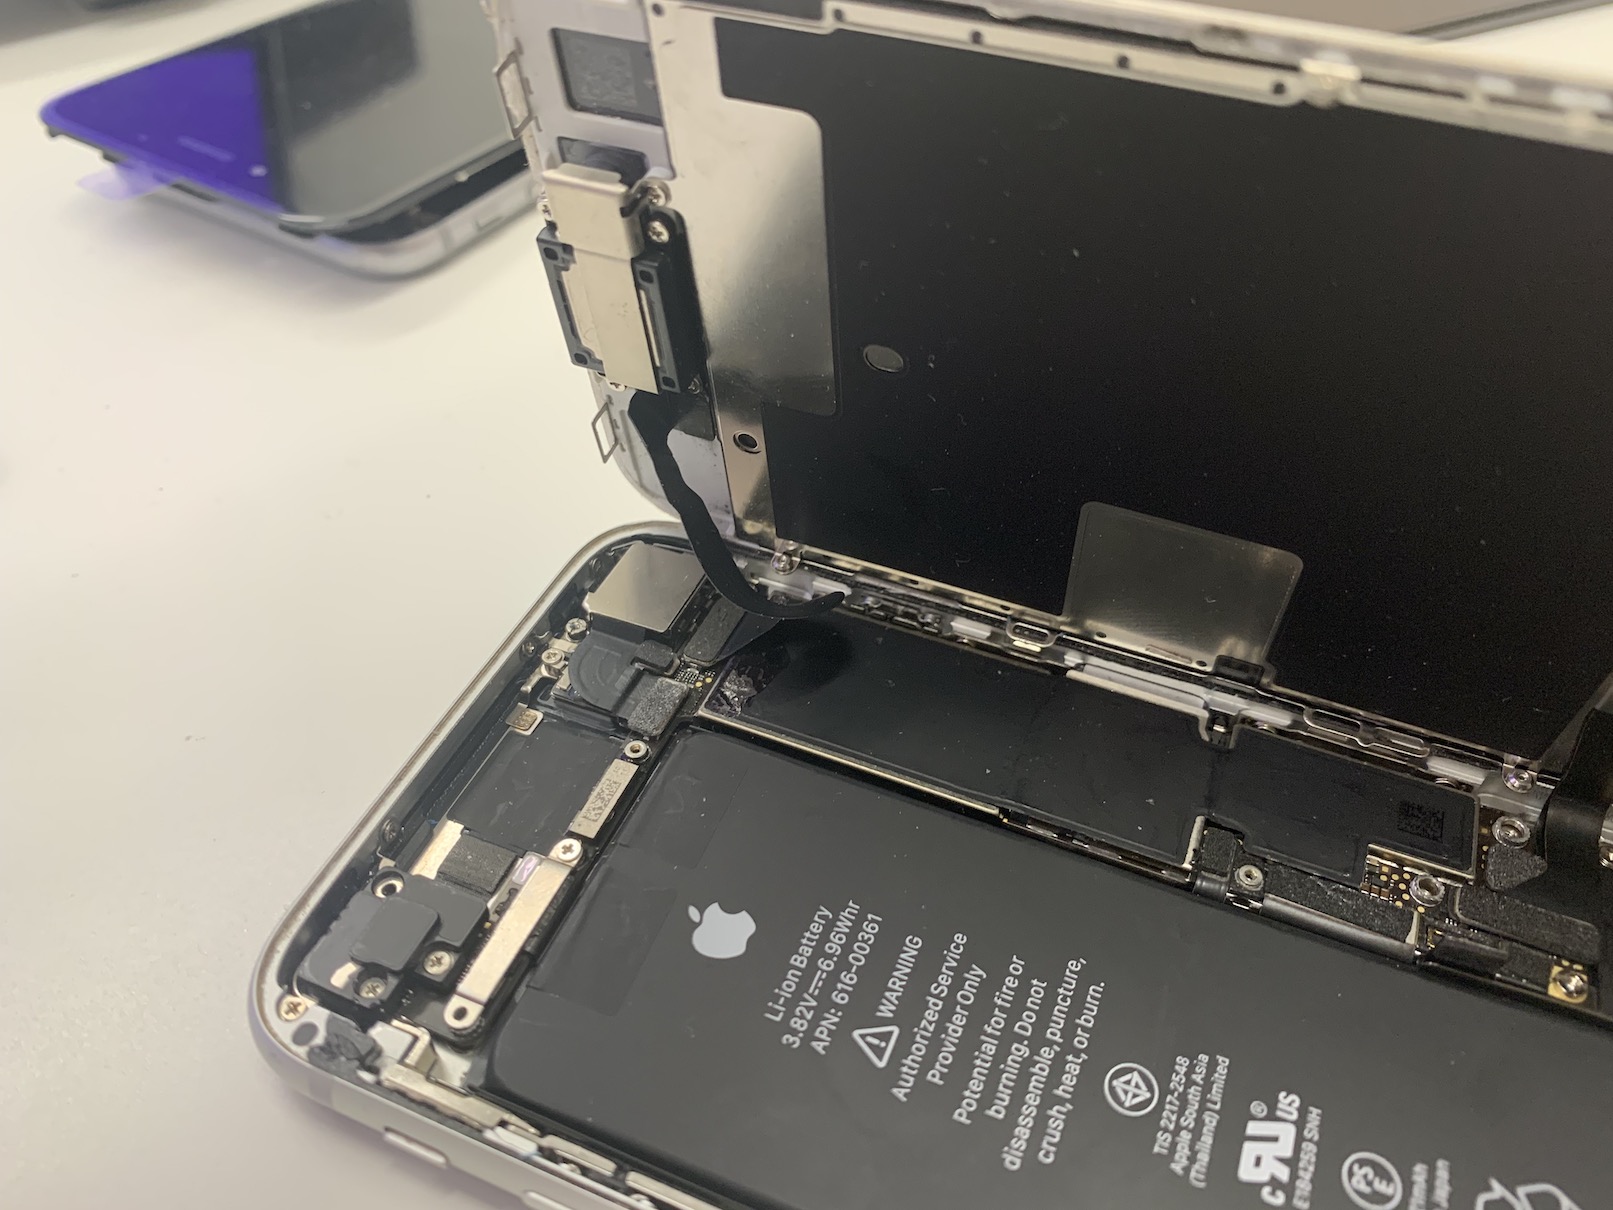
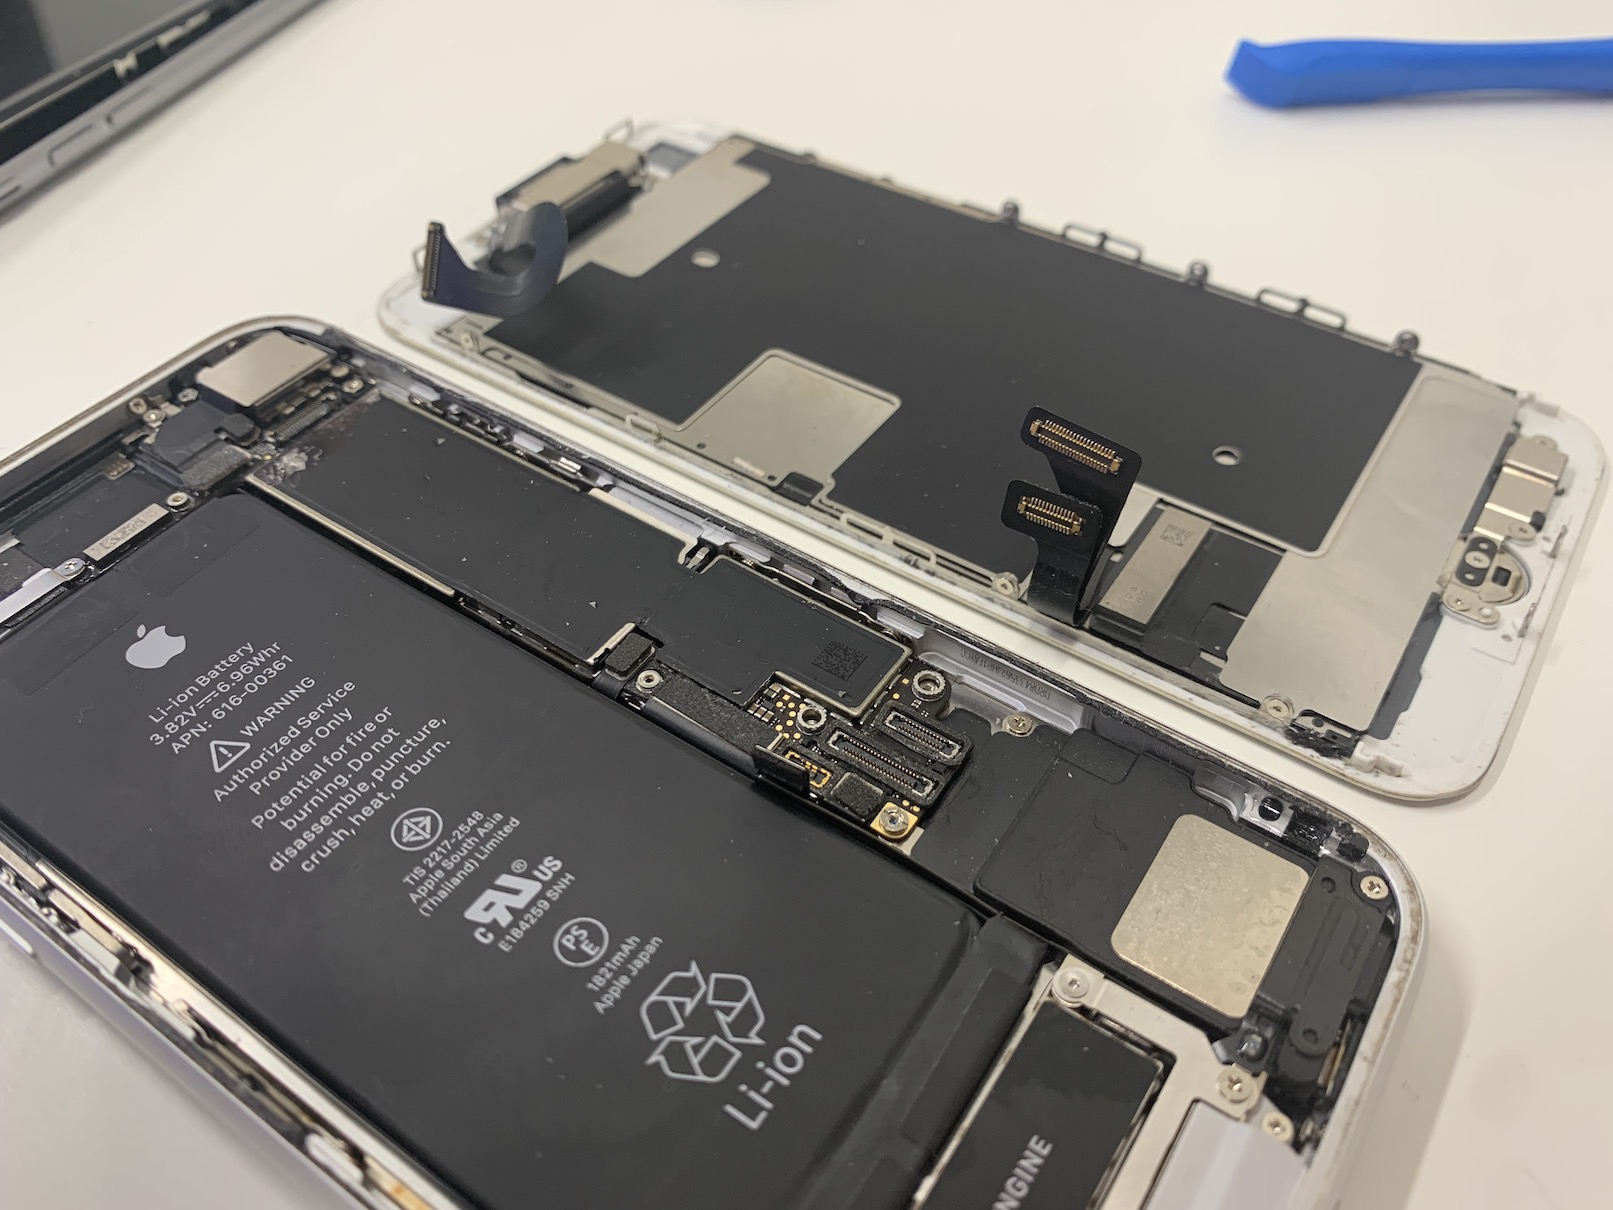
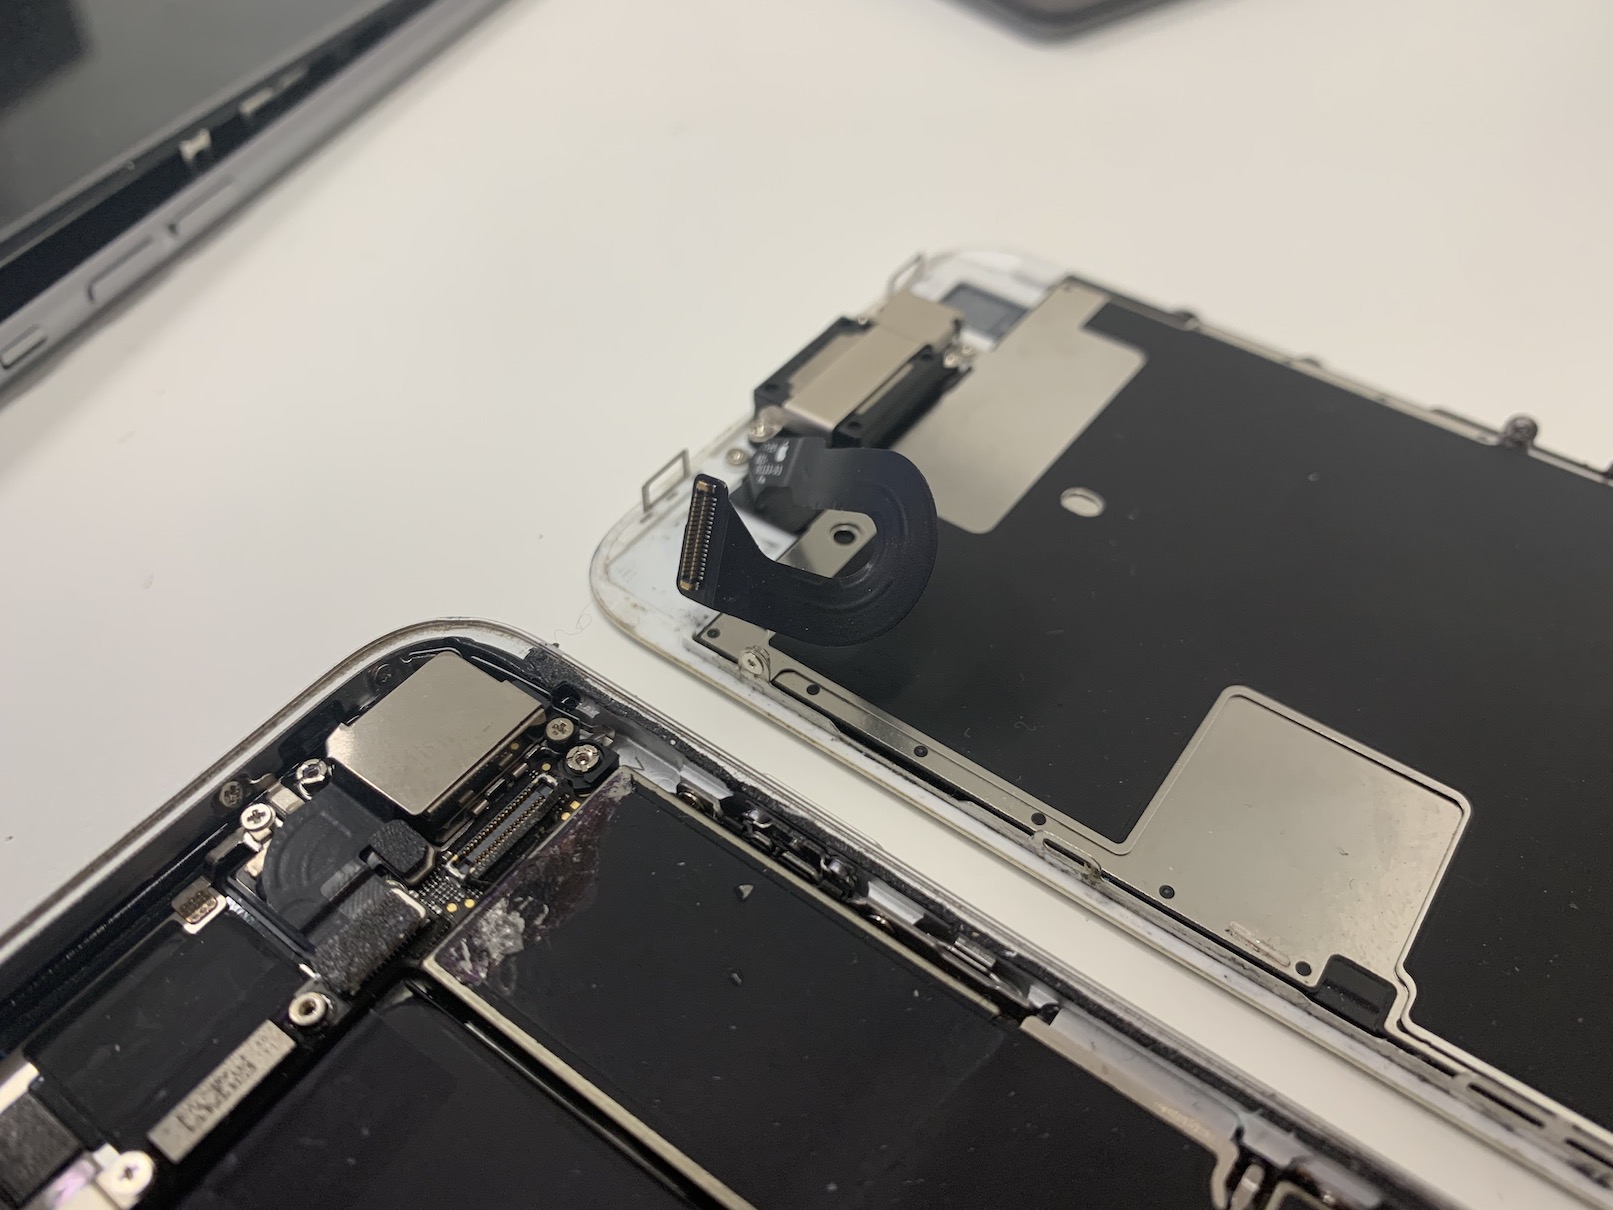
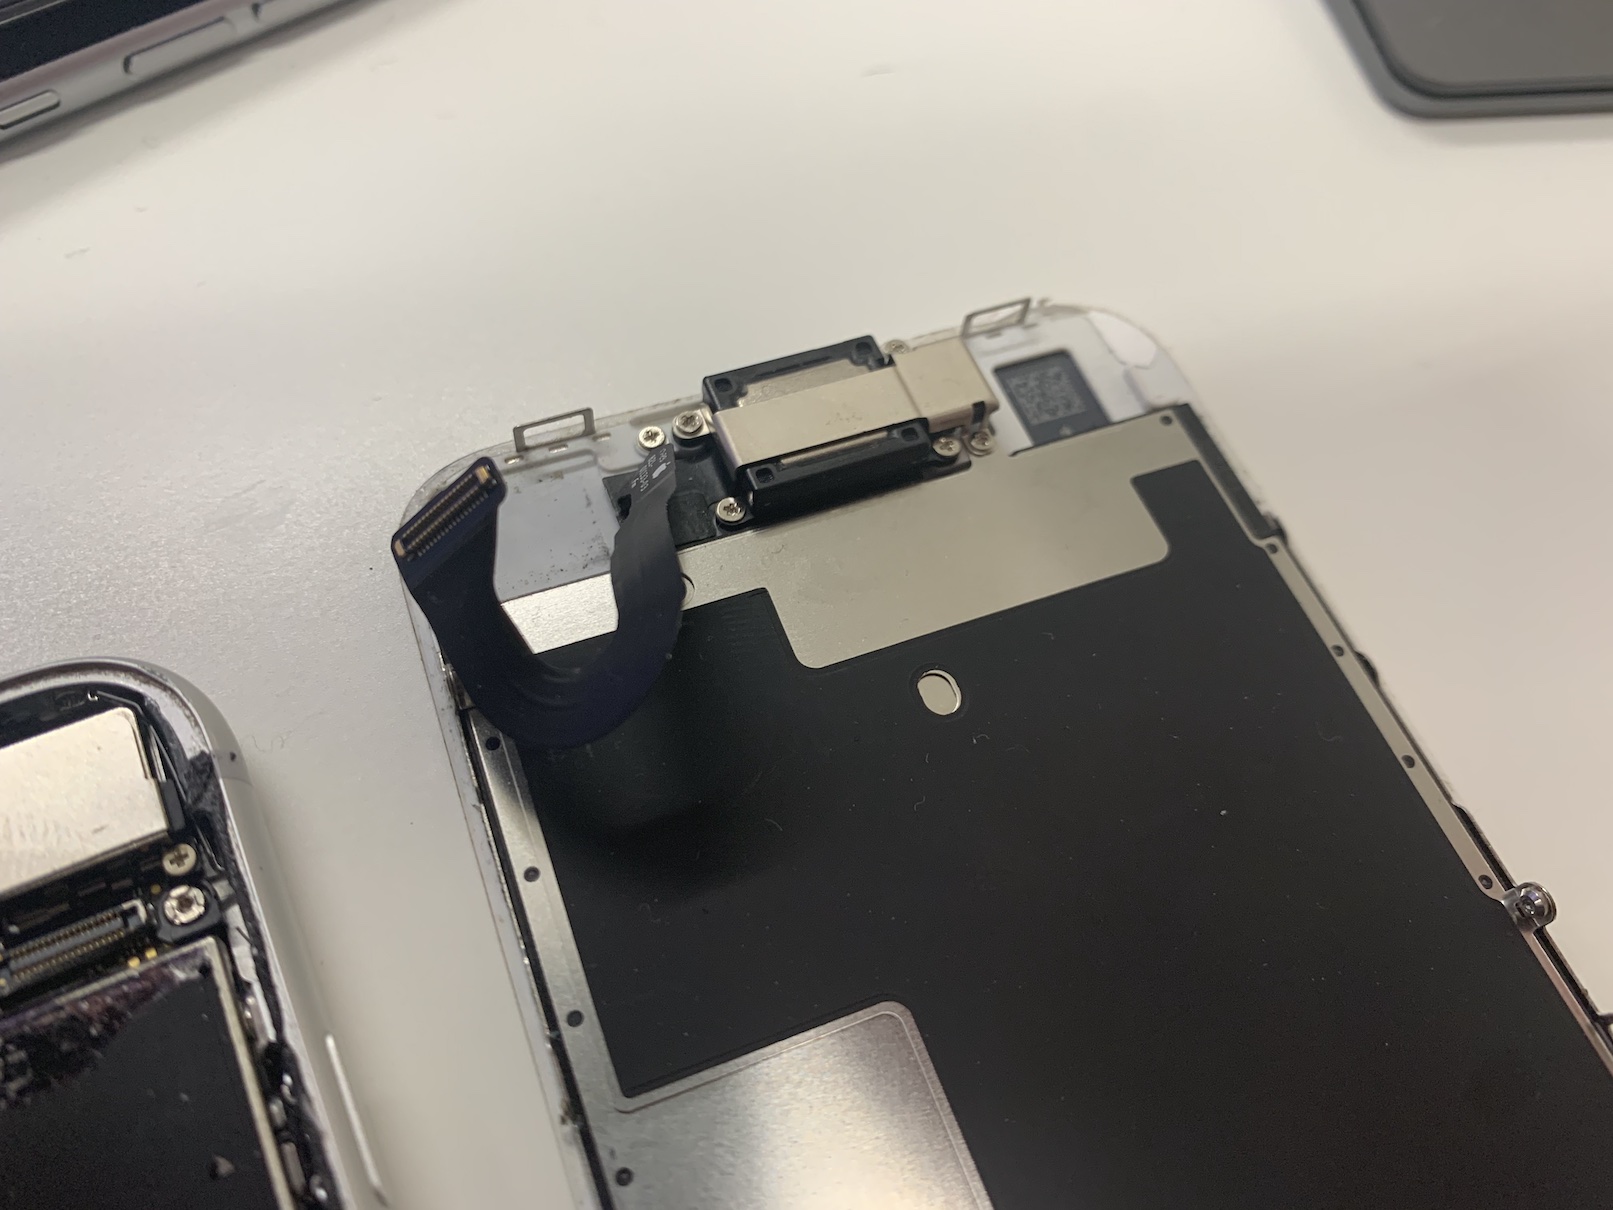
We'll start gradually, and pretty much from the beginning. If you want to repair virtually any iPhone, it is necessary that you first open the display. You can achieve this by unscrewing the two screws that hold the display from the bottom of the frame. Subsequently, you have to pick up the iPhone display in some way - you can use a suction cup to lift the display. With newer iPhones, you still have to loosen the adhesive after picking it up, which can be done with a pick and heat. But as for inserting the pick between the display and the frame, it is necessary that you do not insert it too far into the guts. It could happen that you damage something inside, for example the flex cable that connects the display or the front camera and the handset to the motherboard, or perhaps Touch ID or Face ID, which is a big problem. At the same time, be careful how you lift the iPhone display. For iPhone 6s and older, the display tilts upwards, for iPhone 7 and later, it tilts to the side like a book. I note that the battery is always disconnected first!
Scratching the body of the device
When repairing an iPhone, it can very easily happen that you scratch it. iPhones with glass backs are even more susceptible. Scratches can occur especially if you do not use a pad and perform the repair directly on the table. It is enough to have some dirt between the back of the iPhone and the table, and the constant shifting is suddenly a problem in the world. It is therefore absolutely necessary that you place the device on a rubber or silicone mat to prevent scratching. The same also applies to the removed display, which should ideally be placed on a microfiber cloth to prevent it from being scratched... that is, of course, if it is in good condition and functional.
It could be interest you
Sort your screws
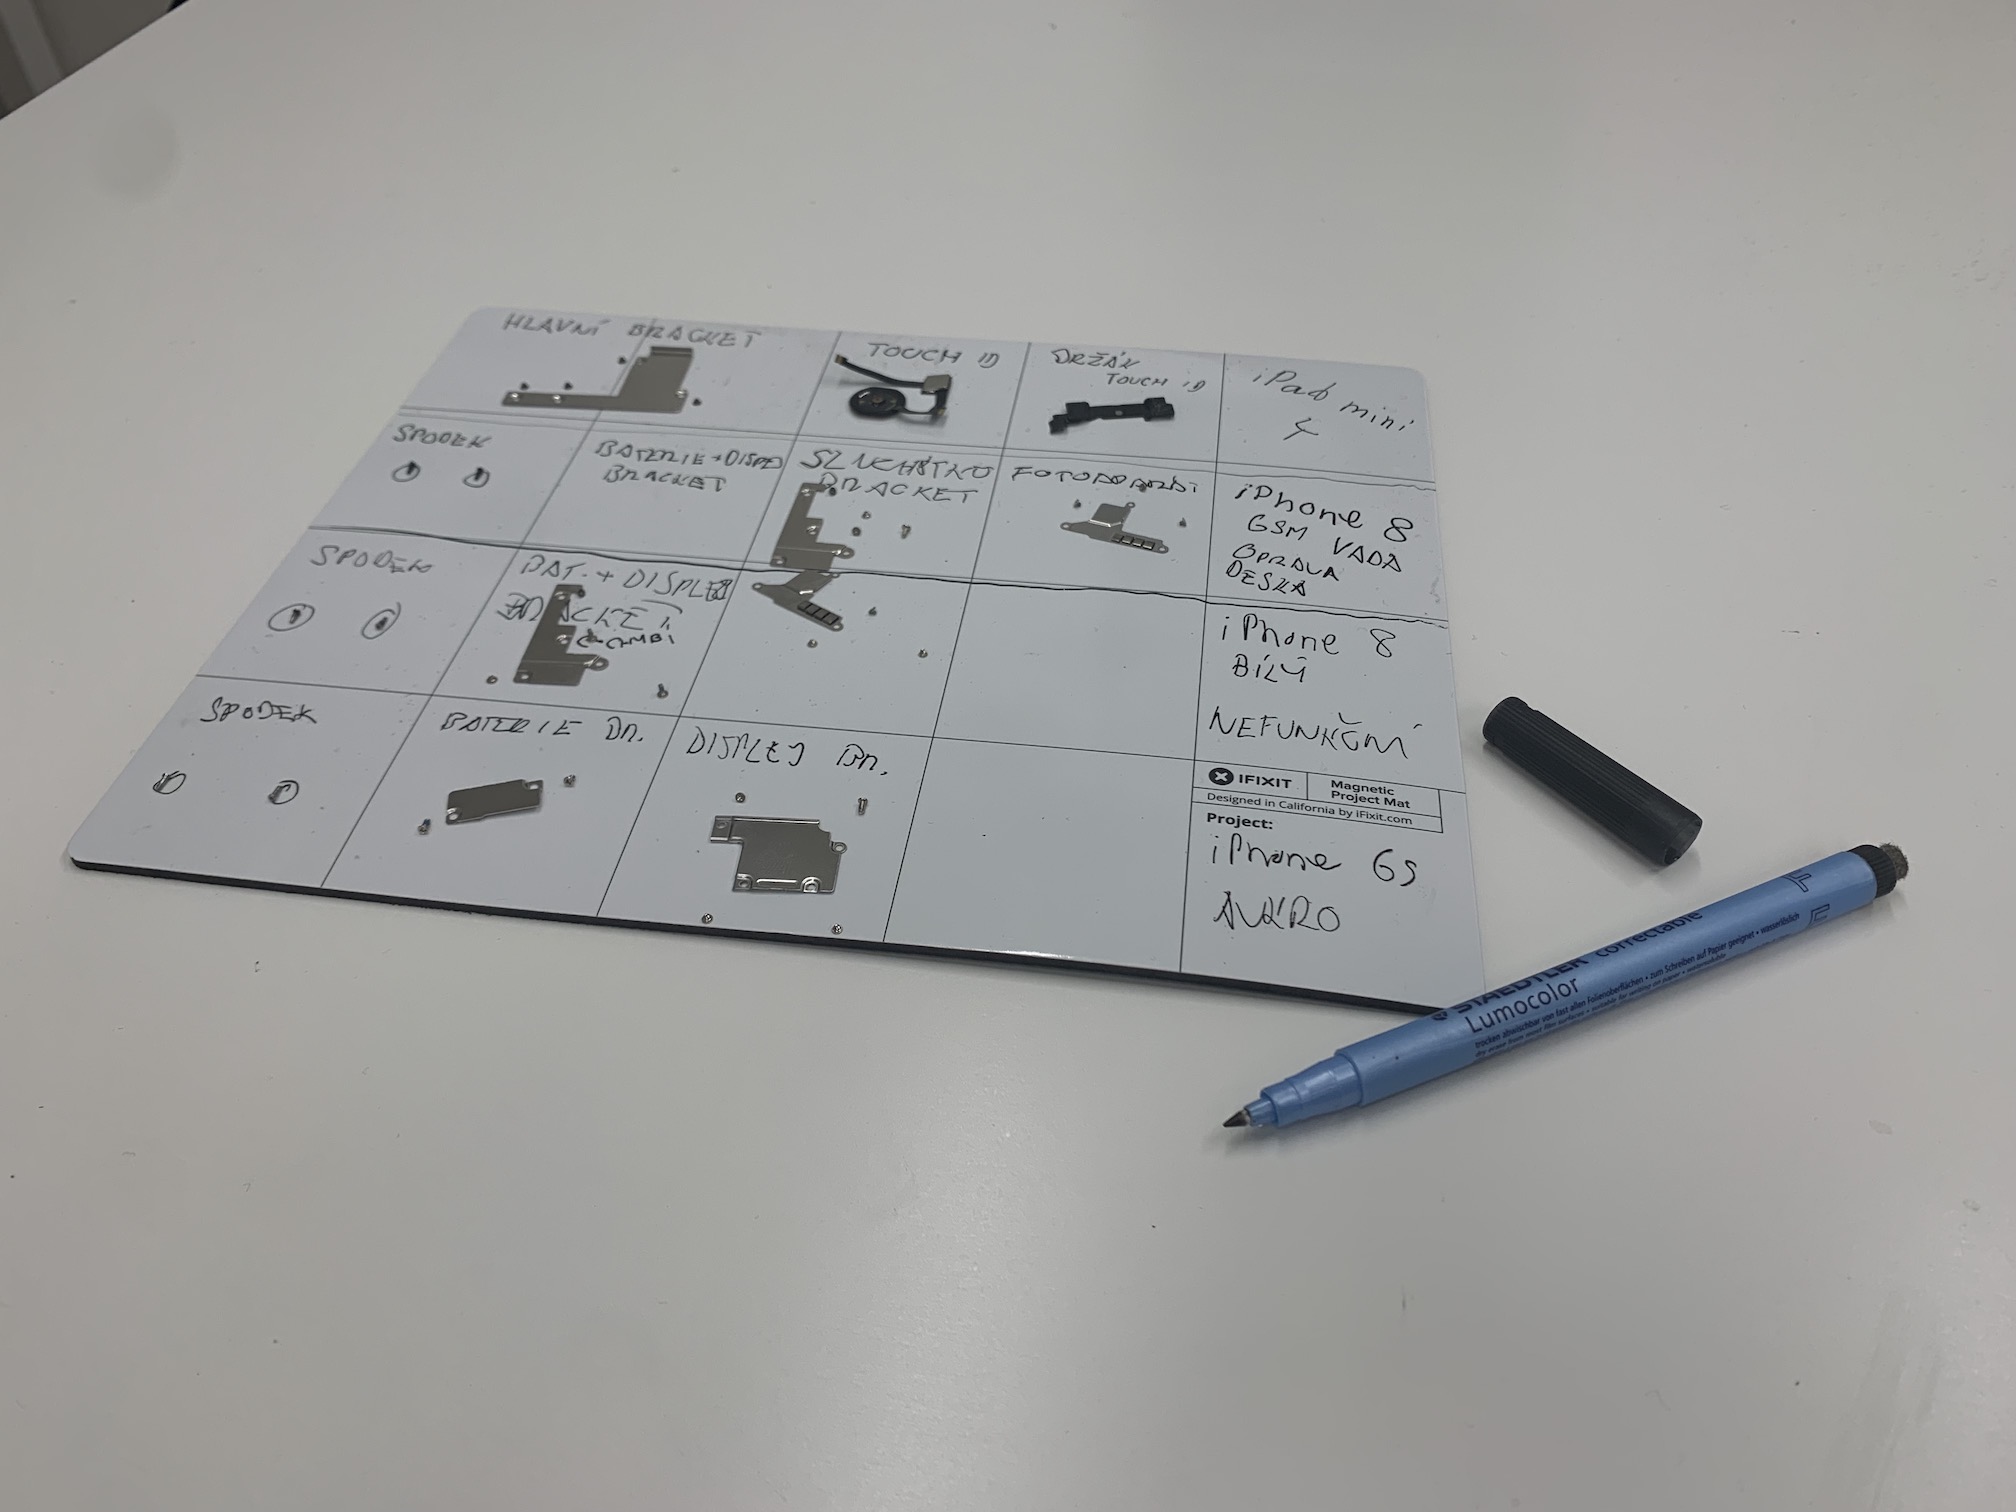
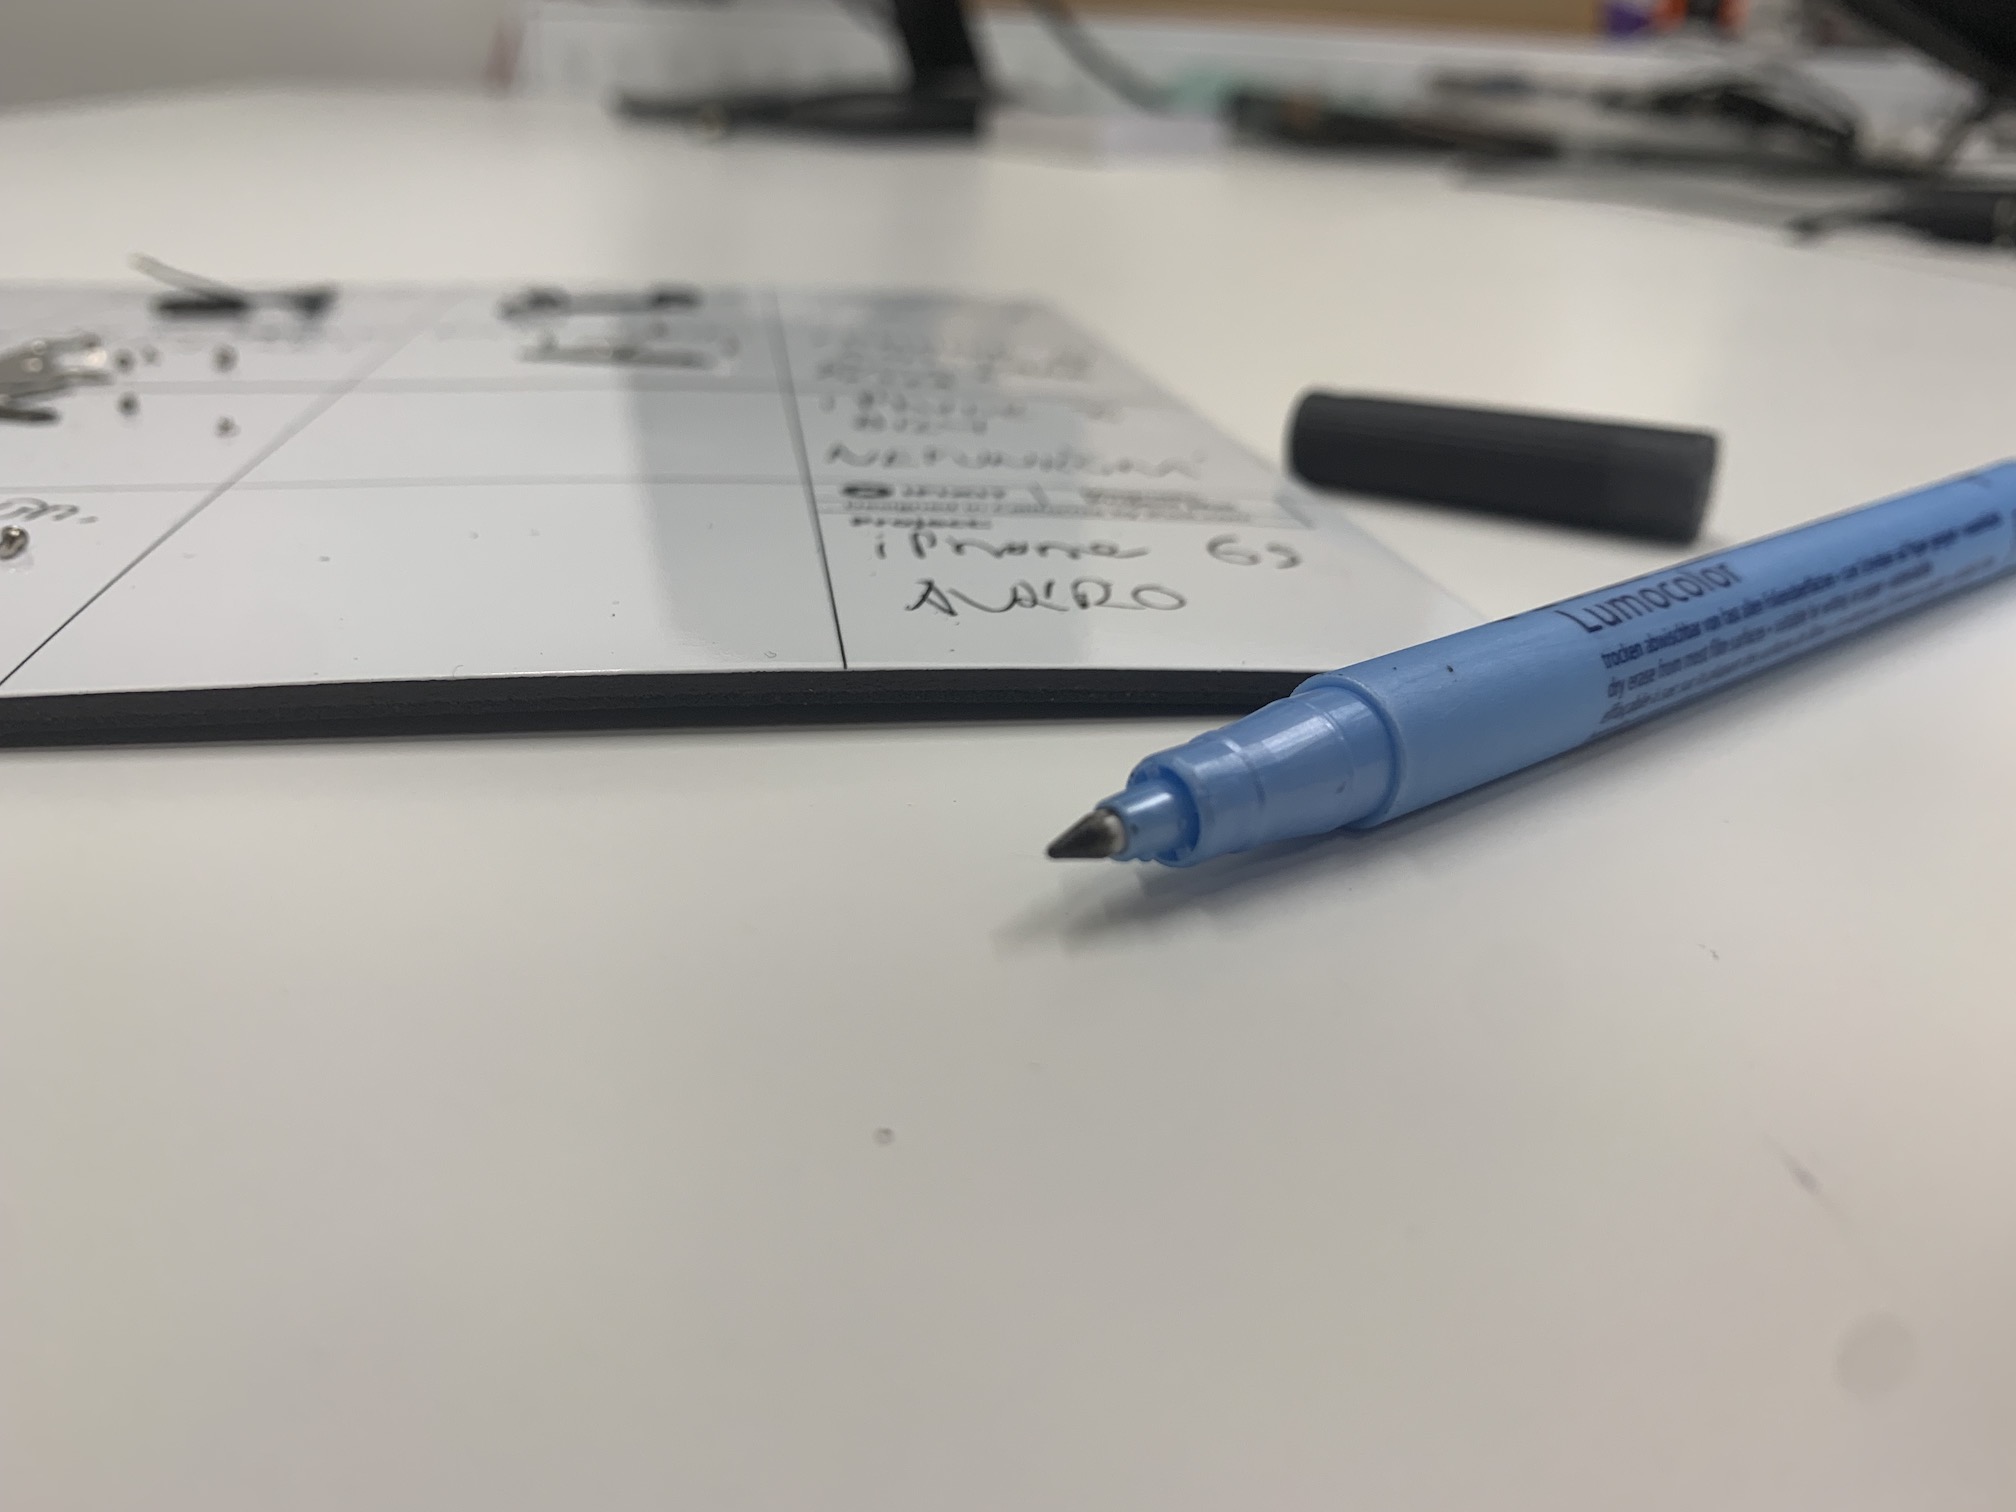
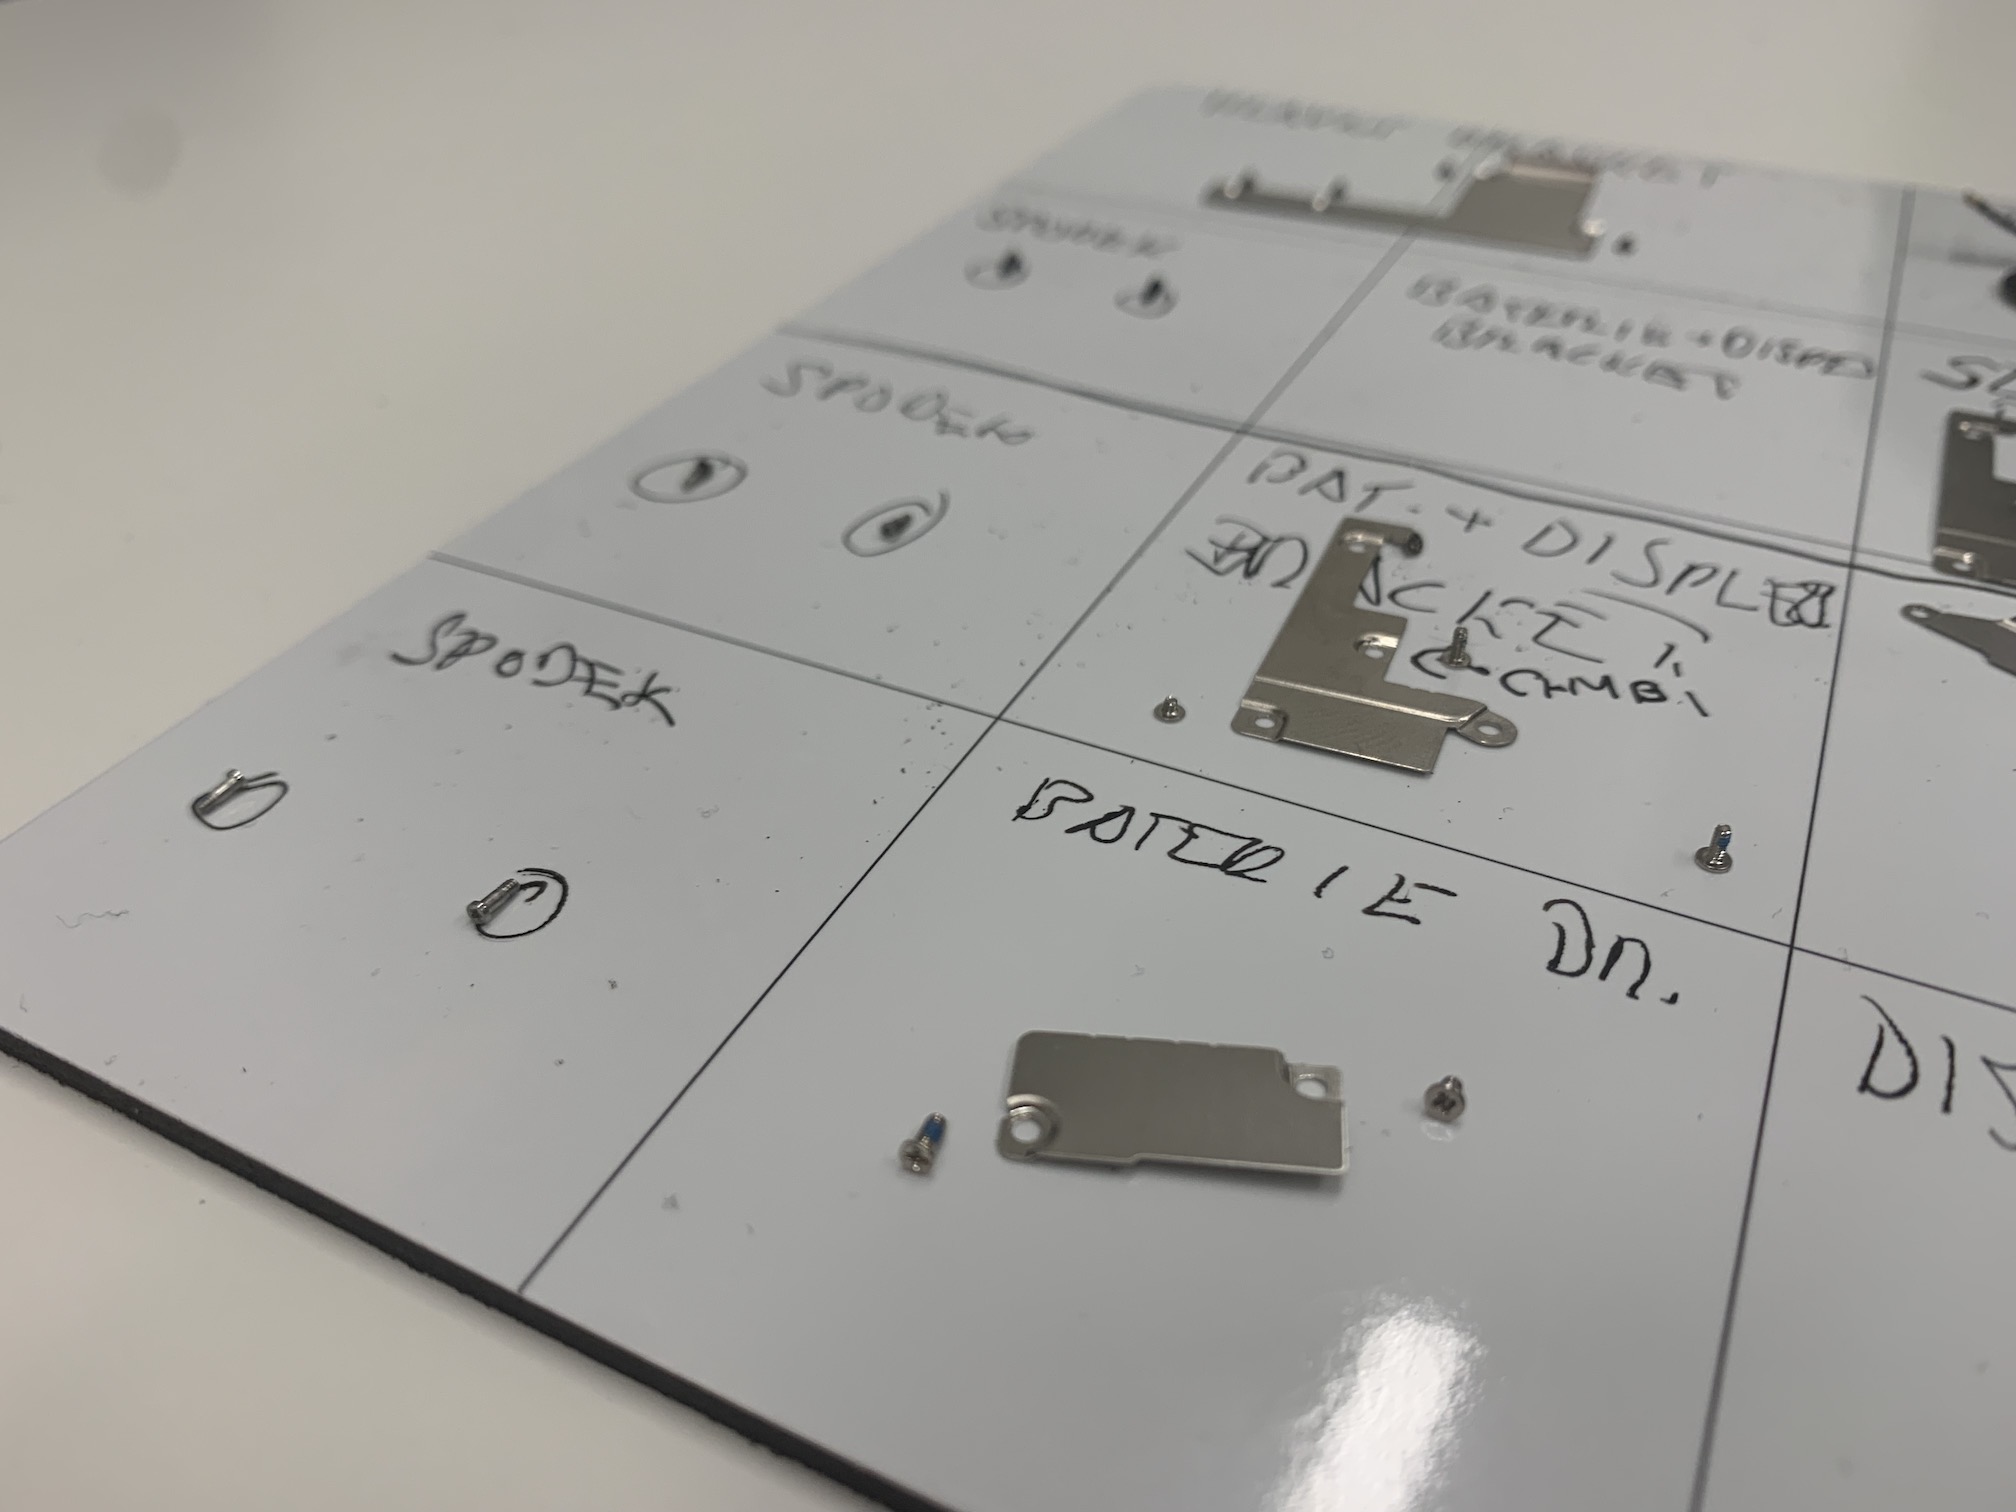
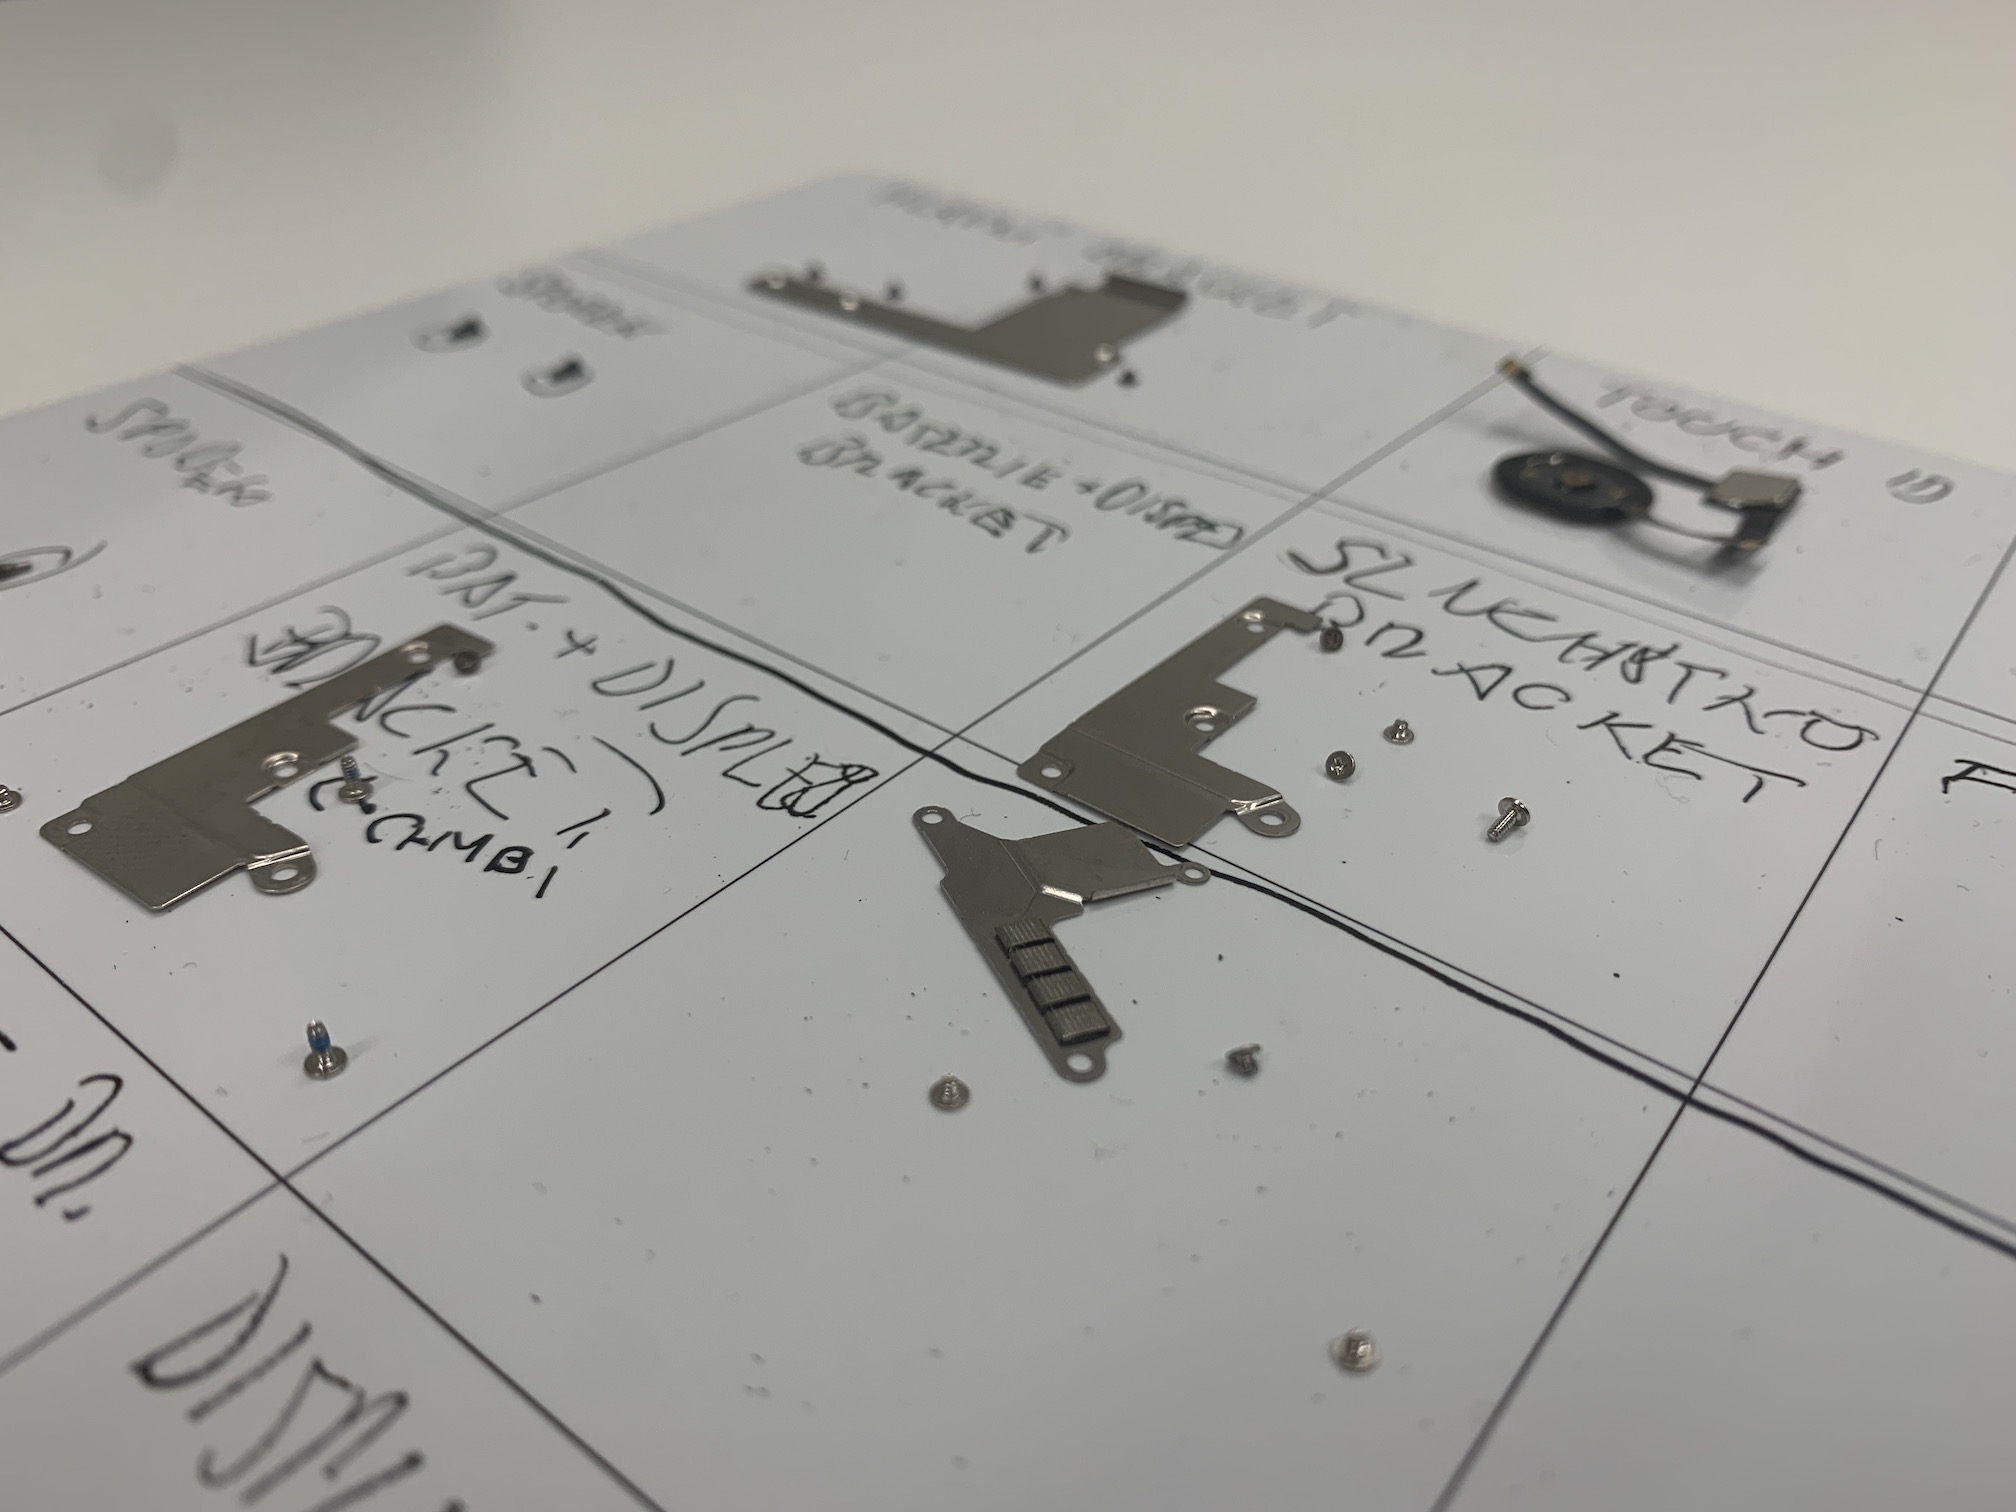
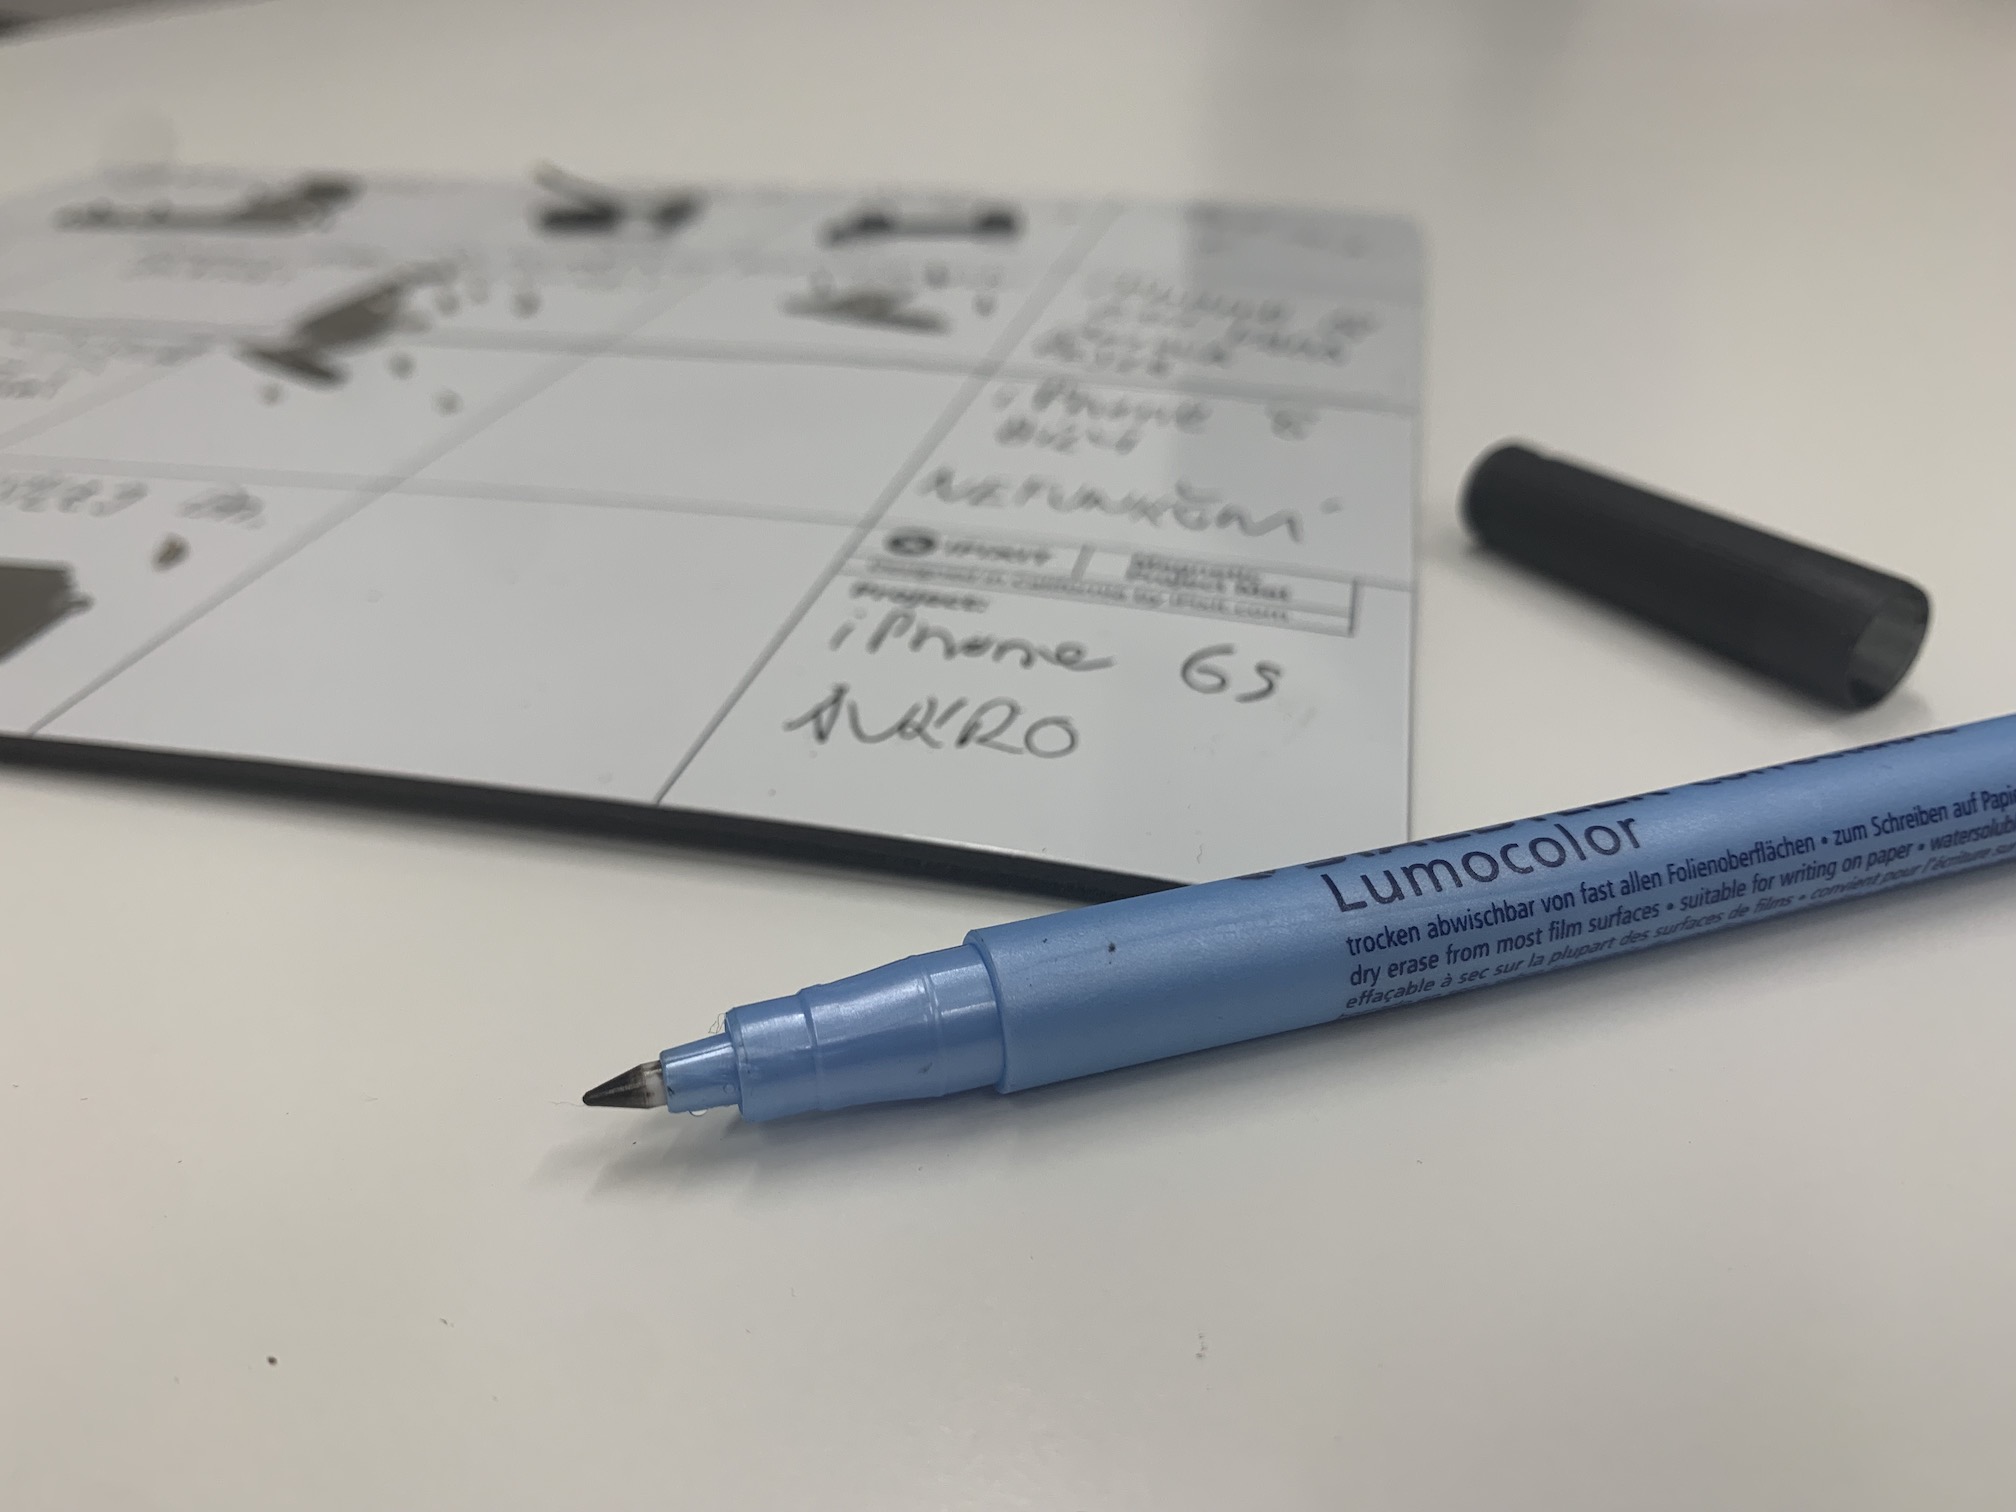
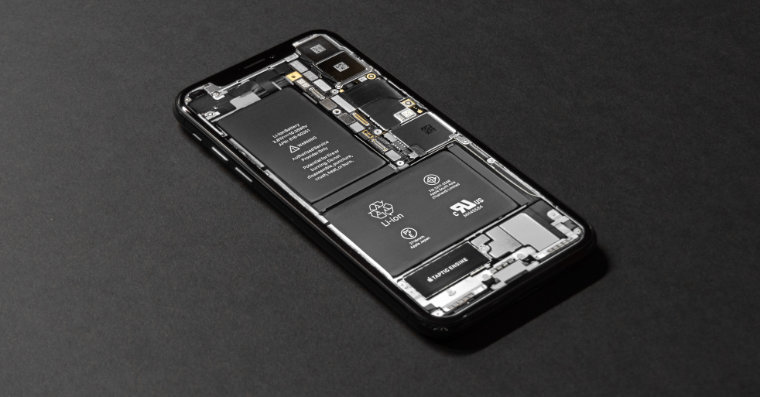
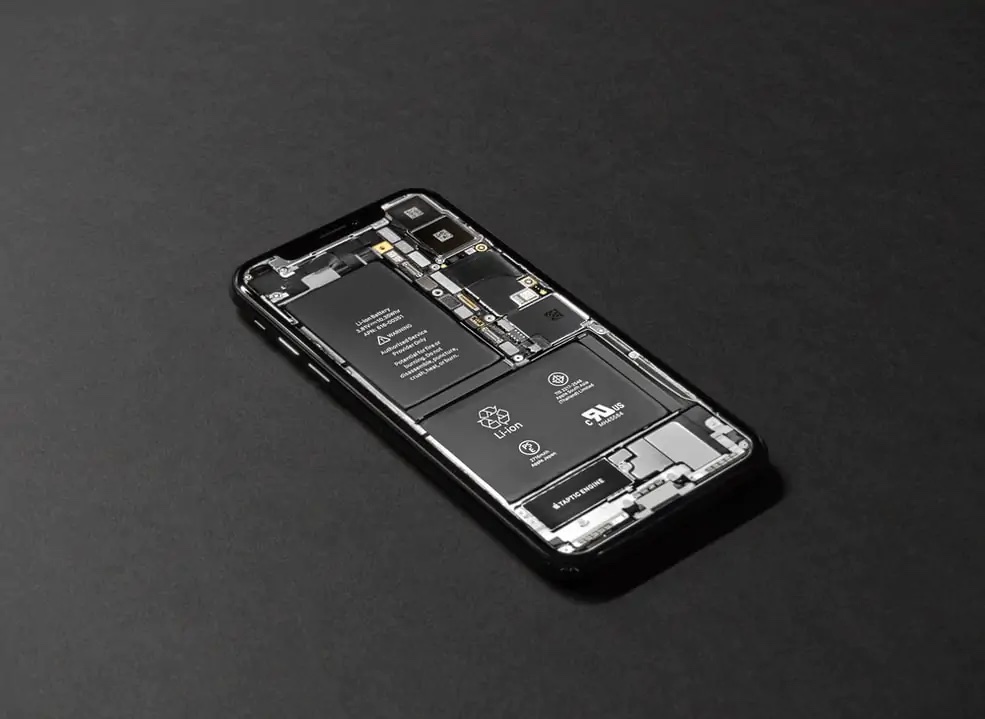
Even when disconnecting the battery and the display, you have to unscrew the metal plates that both protect the flex cables and connectors and ensure a solid connection. These protective plates are of course secured with several screws. It is necessary to mention that you really need to have a hundred percent overview of where you pulled each screw from. They have different lengths, heads and, possibly, diameters. At the beginning of my repair career, I didn't pay any attention to the organization of the screws and simply took the screws that came to hand when reassembling. So I inserted one longer screw where the shorter one should have been and started tightening. Then I just heard a crack - the board was damaged. The magnetic pad from iFixit can help you organize the screws, see gallery and link below.
Do not pull out the battery with a metal object
Battery and display replacements are among the most common tasks performed by iPhone repairmen. As for the battery, it loses its properties over time and with use - it is a consumer product that simply has to be replaced once in a while. Of course, the display does not lose its quality, but here again the problem is the clumsiness of users, who can drop the iPhone, which damages the display. When repairing an iPhone, you can use countless different tools that are able to help you with the repair. Some are plastic, others are metal... in short and simply, there are more than enough of them. If you are going to replace the battery and manage to destroy all the "magic pull glues" that are used to easily remove the battery, then you have to do something different. The best thing to do is to take a special plastic card to put under the battery and use isopropyl alcohol. Never use anything metal to pull out the battery. Do not try to insert a metal card under the battery, or try to pry the battery with a metal object. It is very likely that the battery will be damaged, which will start burning within a few seconds. I can confirm this from my own experience. If I had inserted the metal "pry" the other way around then, I would most likely have burned my face with serious consequences.
Buy the great iFixit Pro Tech Toolkit here
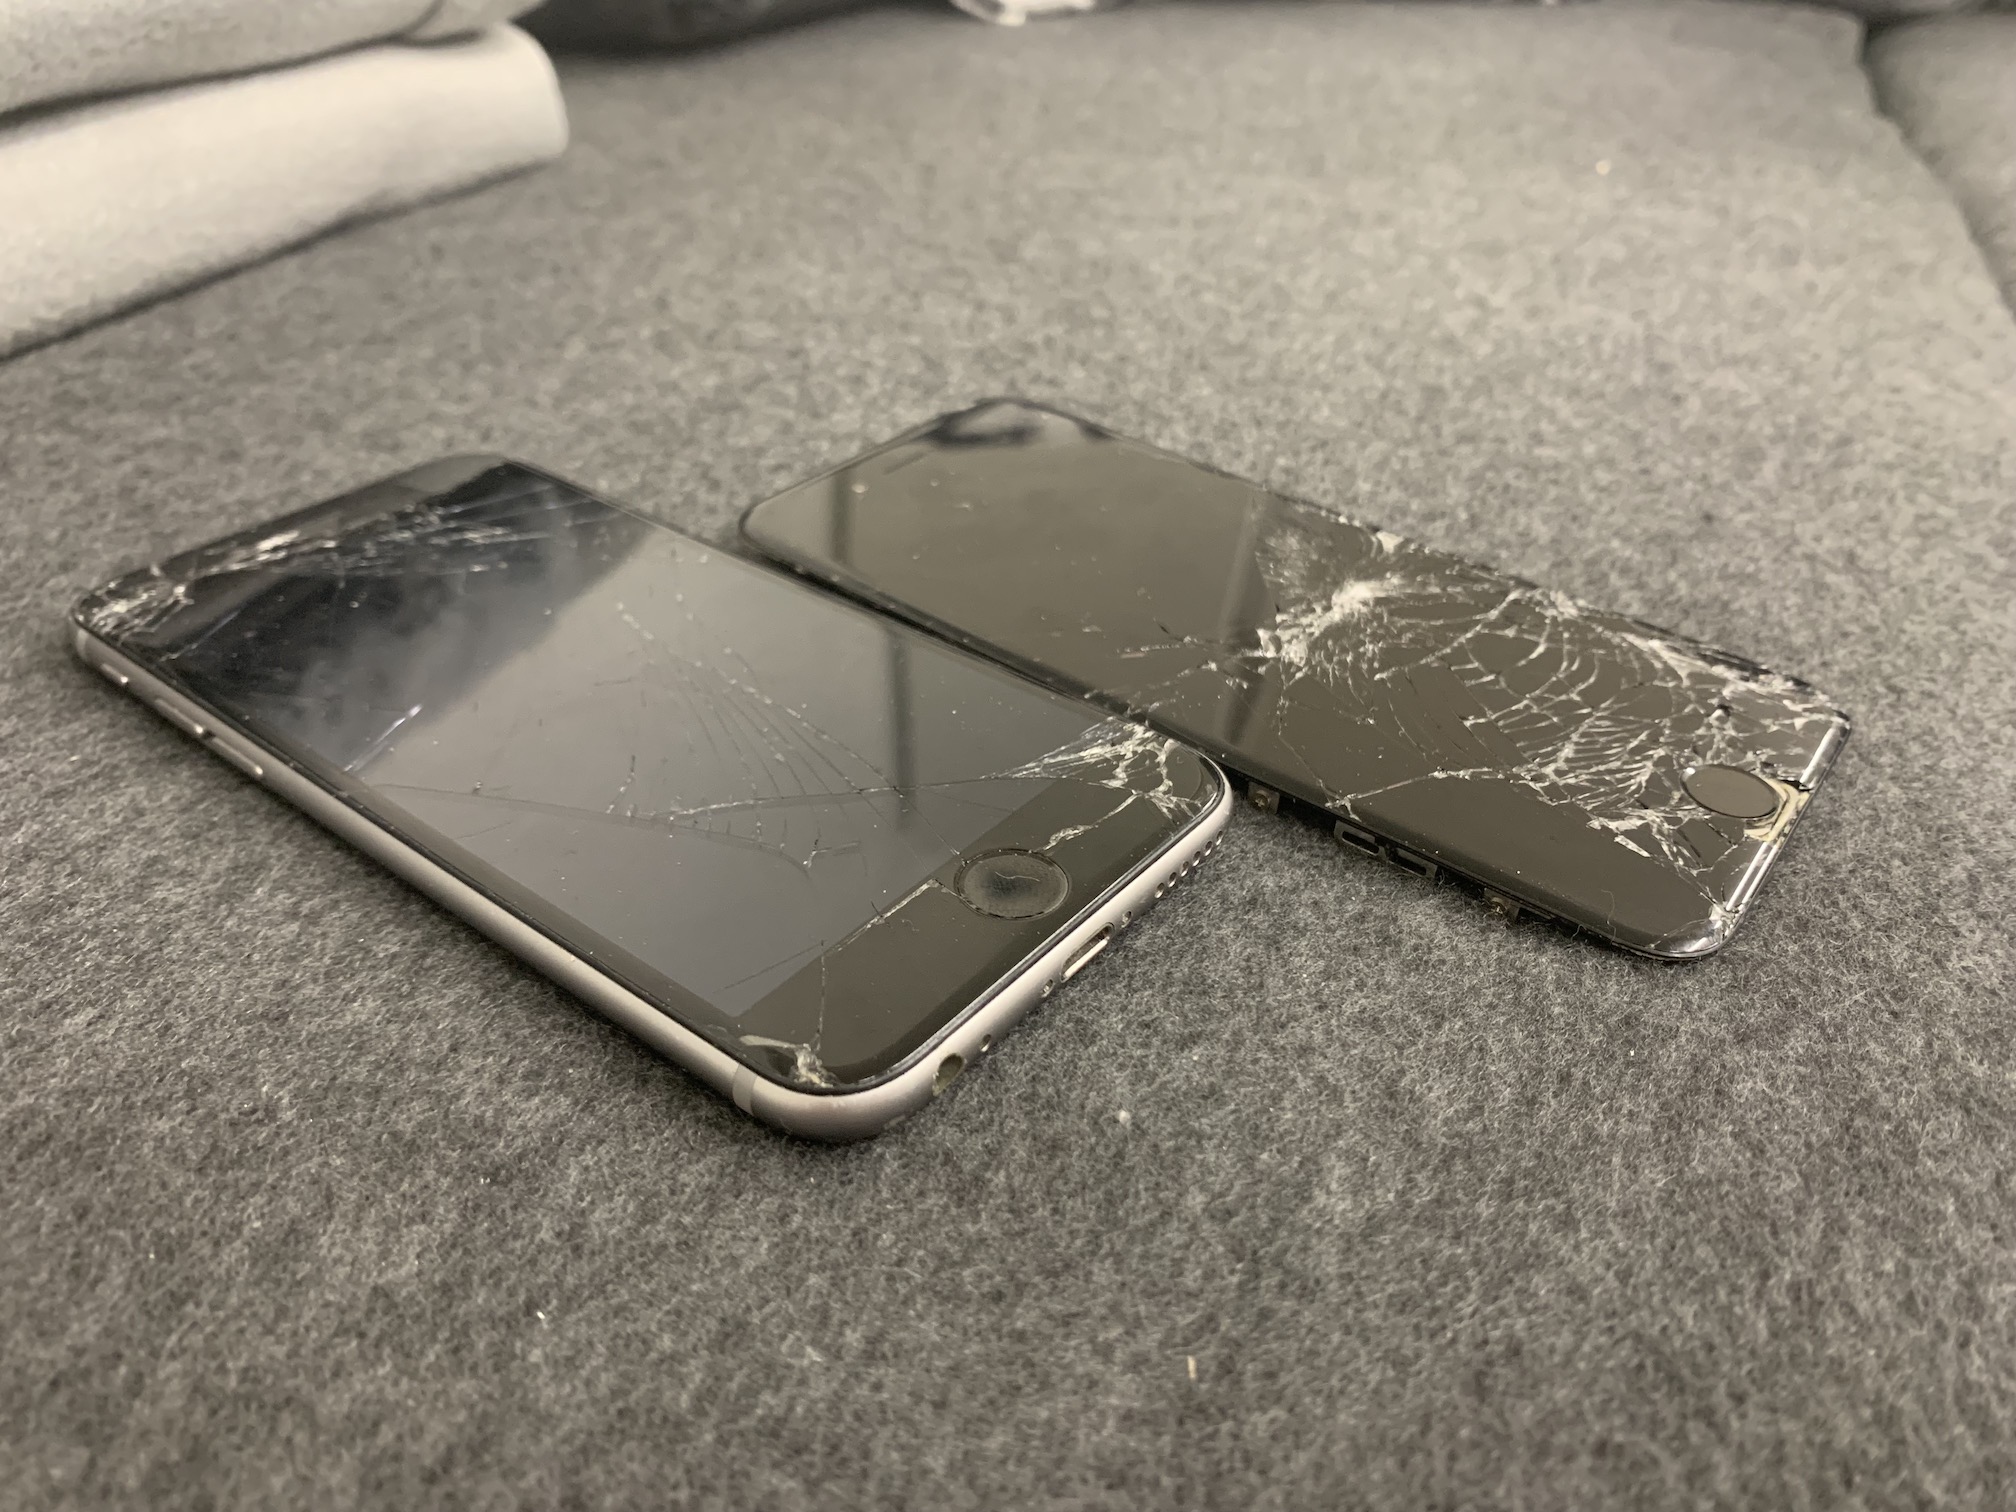
Cracked screen or back glass
The second most common service operation, right after replacing the battery, is replacing the display. As already mentioned, the display changes if the owner manages to break the device in some way. In most cases, there are a few cracks on the display, which is not a problem. Sometimes, however, you can encounter an extreme case where the glass of the display is really cracked. Often with such displays, pieces of glass even break off when handling them. In such a case, the shards can easily stick into your fingers, which of course is extremely painful - I confirm this again from my own experience. Therefore, when working with an extremely cracked display or glass back, definitely put on protective gloves that can protect you.
