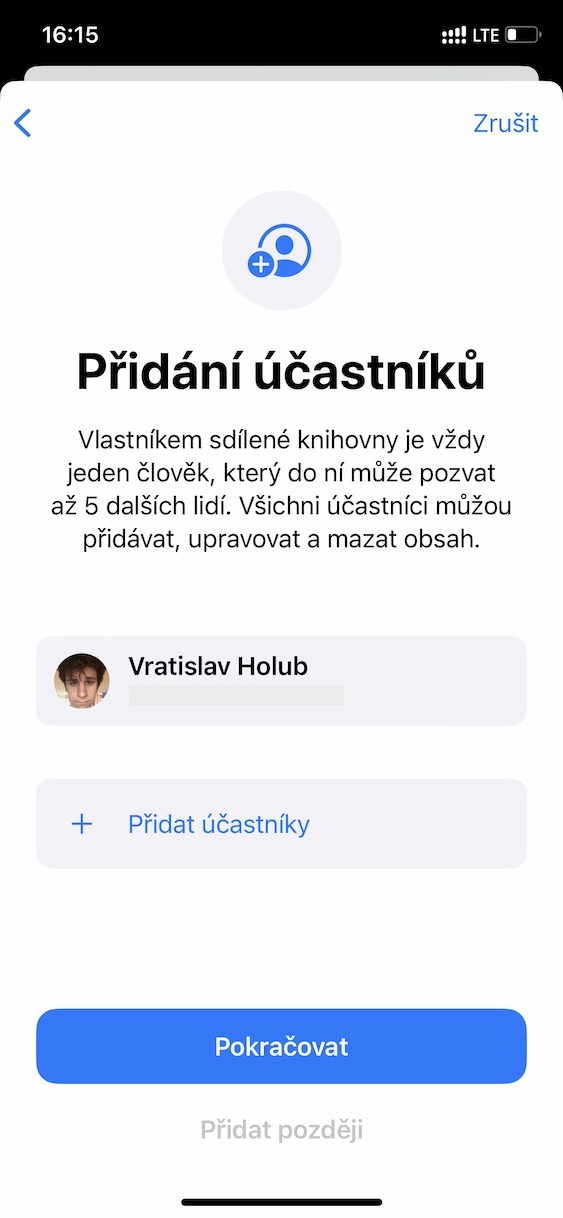
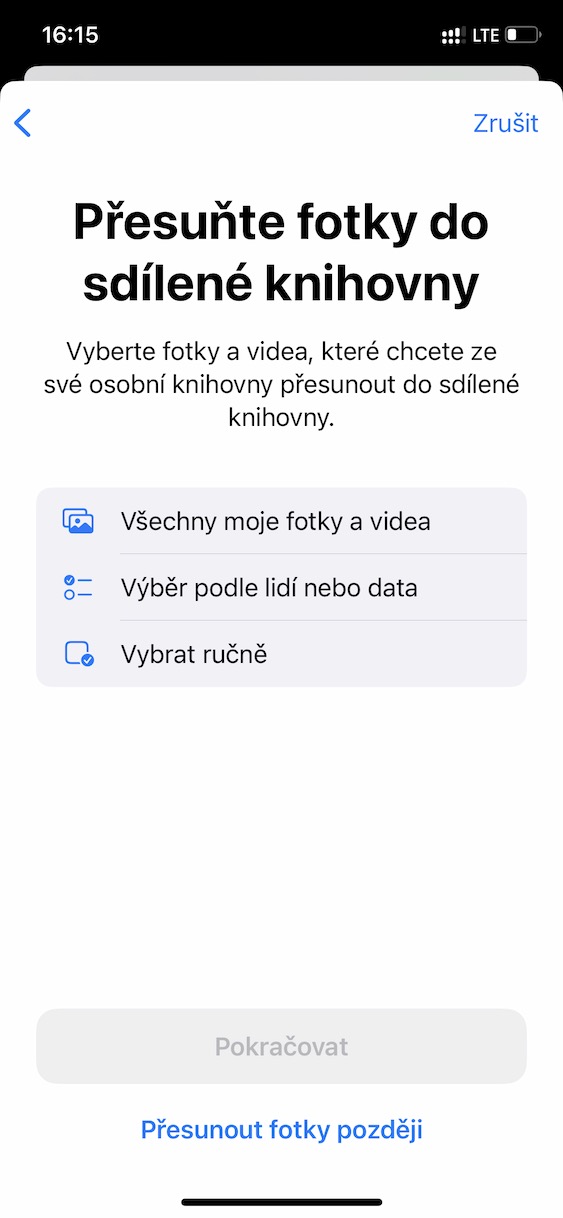
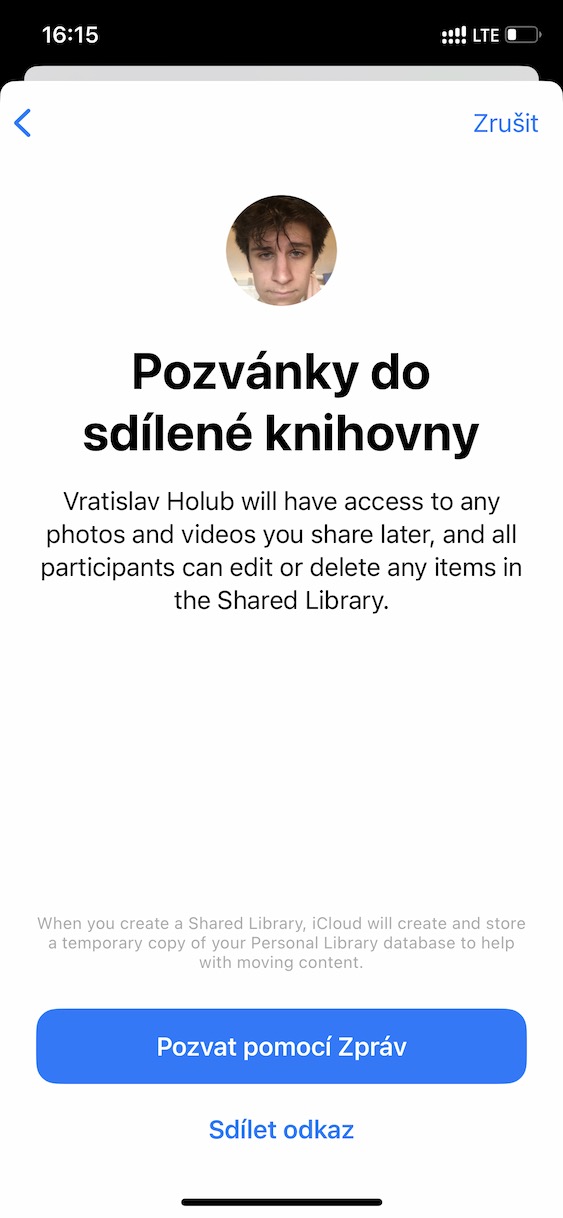
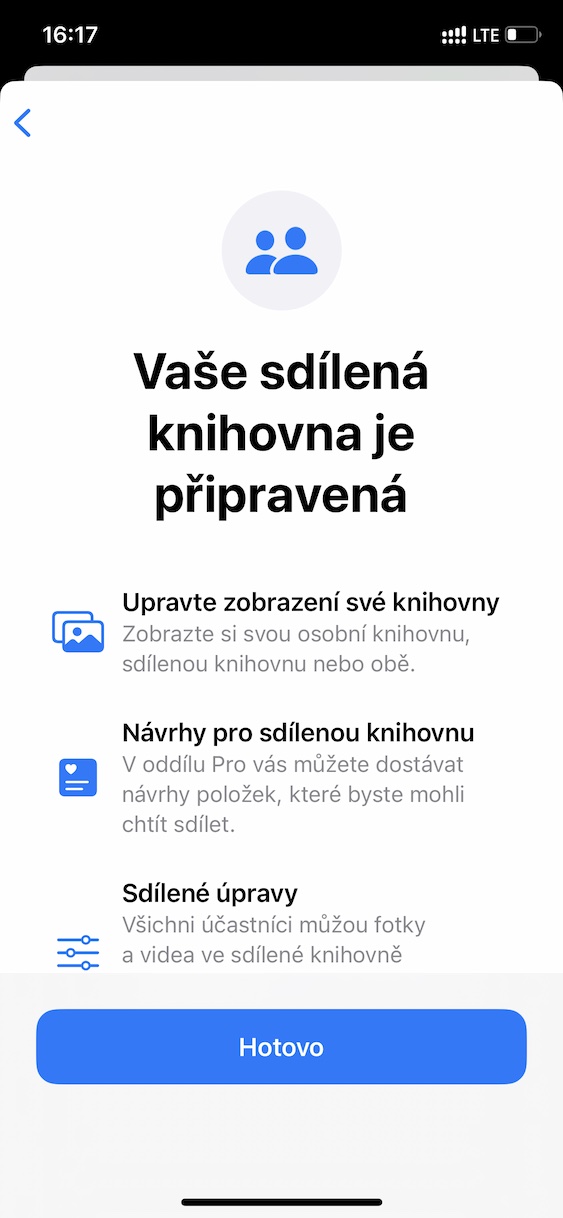
Not long ago, the Californian giant released the first major update of the iOS 16 operating system to the public, namely iOS 16.1. Included in this update are fixes for all kinds of errors and bugs, in any case, there are also several expected features that Apple did not have time to finish and place in the first version of iOS 16. One of the new features is the Shared Photo Library on iCloud, to which you can invite participants and then share photos together and videos. However, in addition to adding content, participants in a shared library can also edit and delete it, so you need to be careful about who you add to it. In this article, we'll look at 5 iCloud Shared Photo Library tips from iOS 16.1 that are good to know.
Here are 5 more tips on Shared iCloud Photo Library
It could be interest you

Activating a shared library
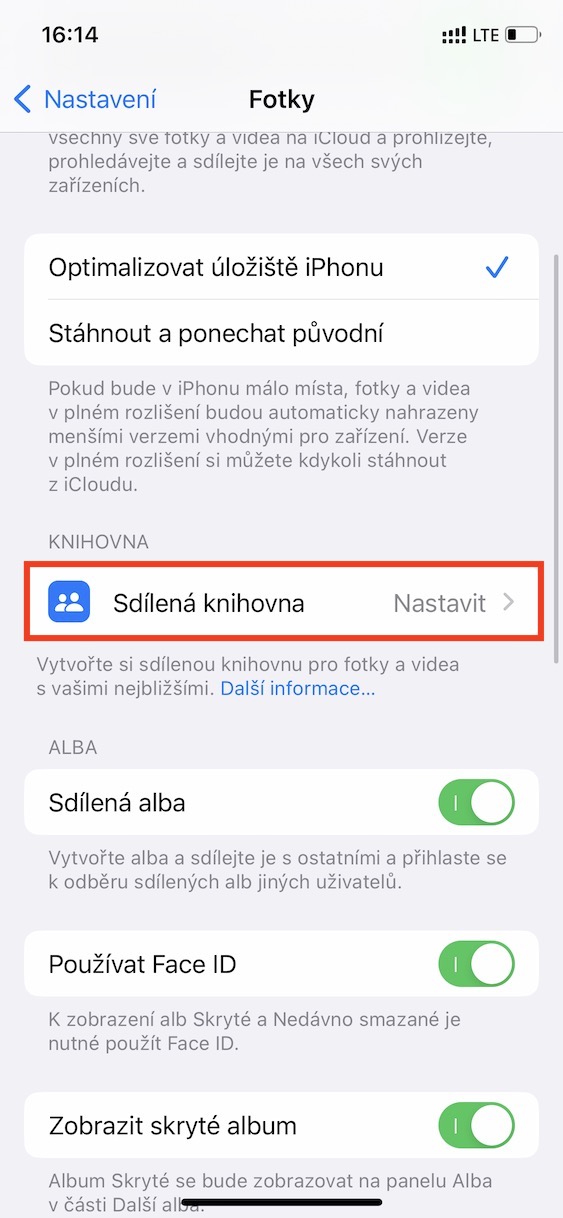
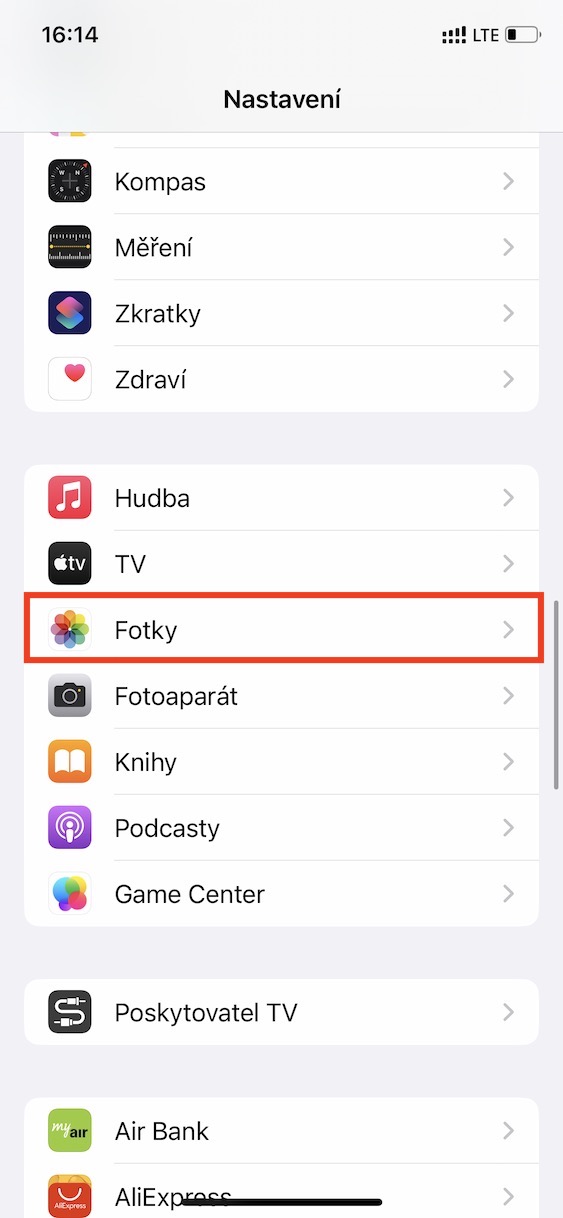
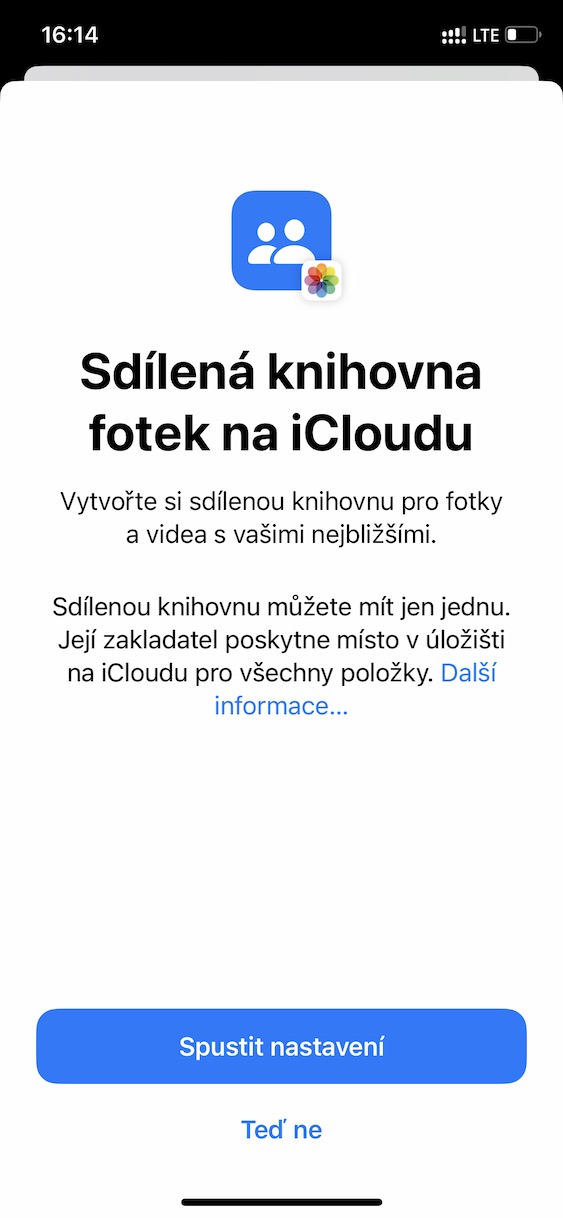
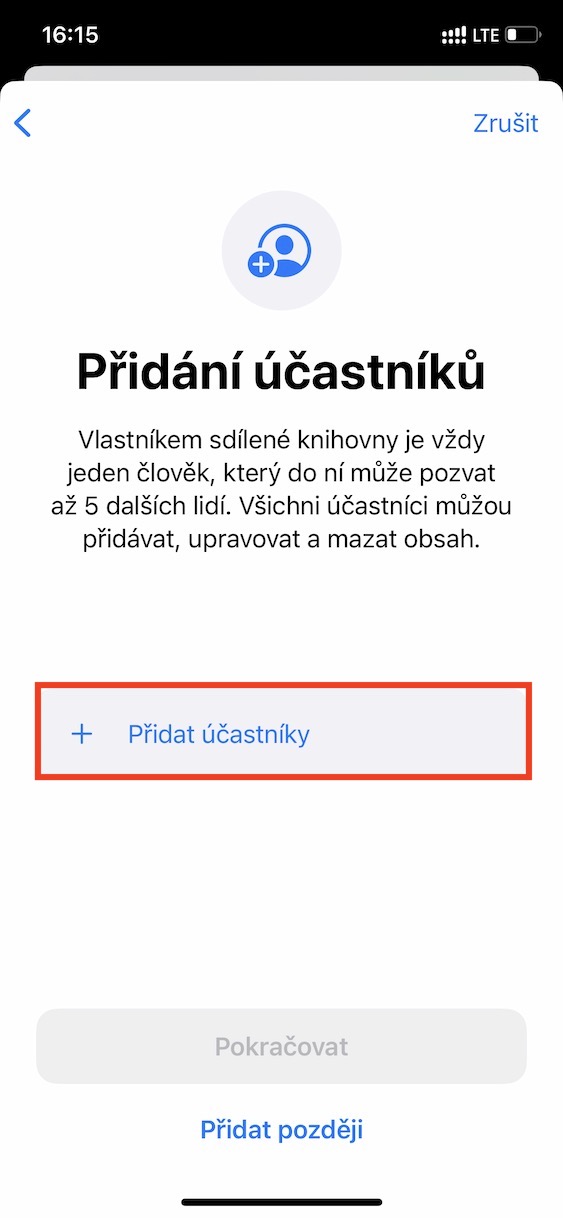
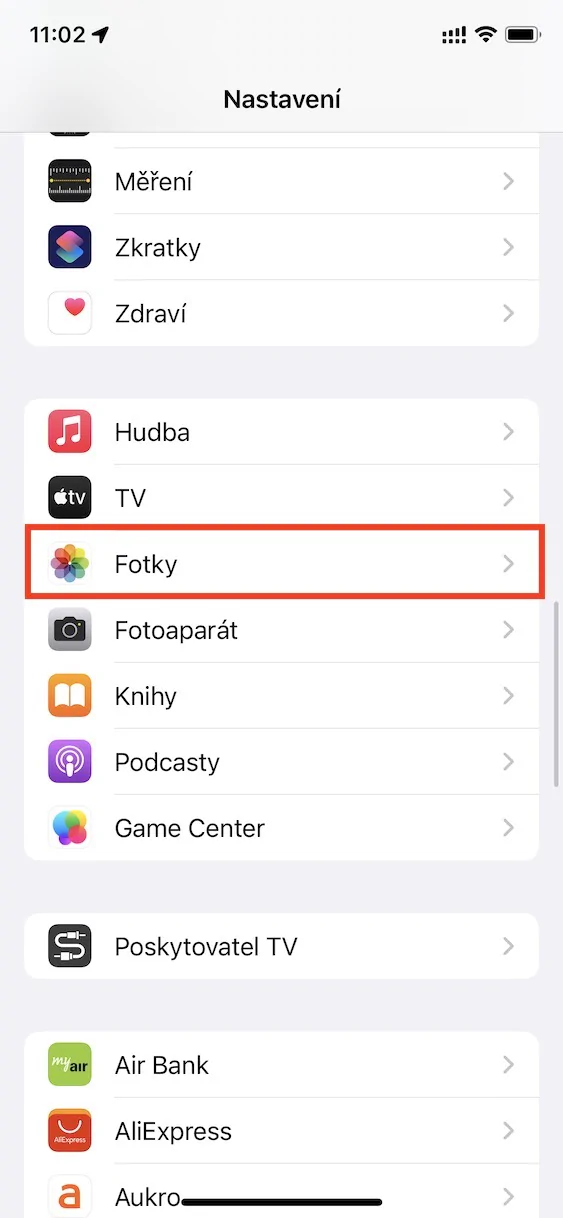
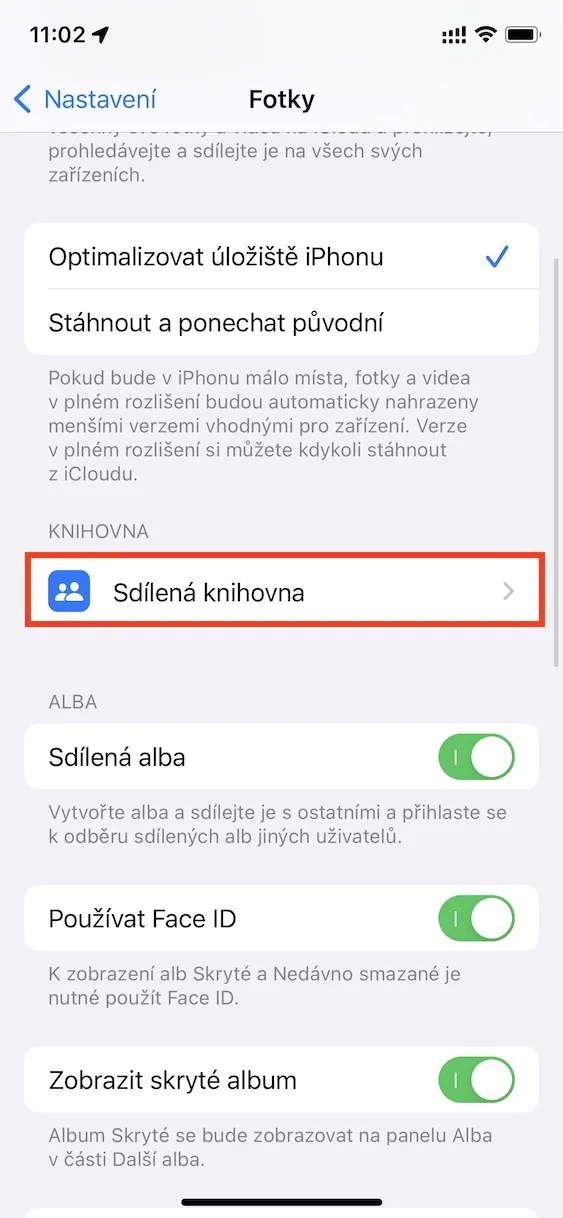
In this first tip, we will show you how to actually set up and activate the shared library, which is of course the basics. After updating to iOS 16.1, you may be prompted to activate iCloud Shared Photo Library when you first launch the Photos app to walk through the wizard. However, if you closed this wizard or did not finish it, it can of course be started again. Just go to Settings → Photos → Shared Library.
(De)activation of automatic save switching
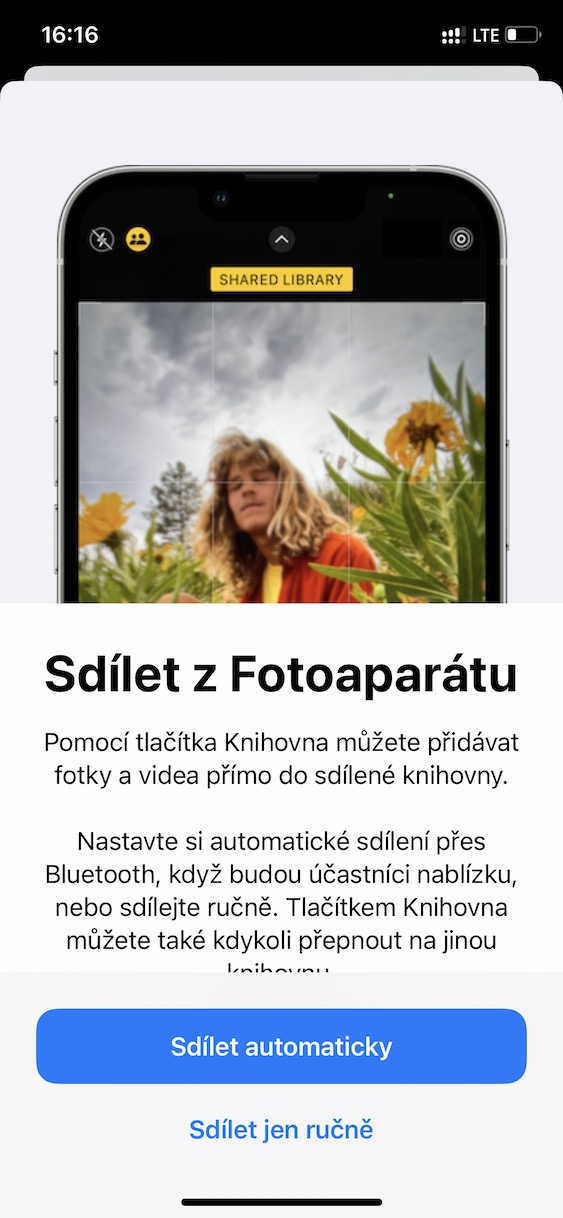
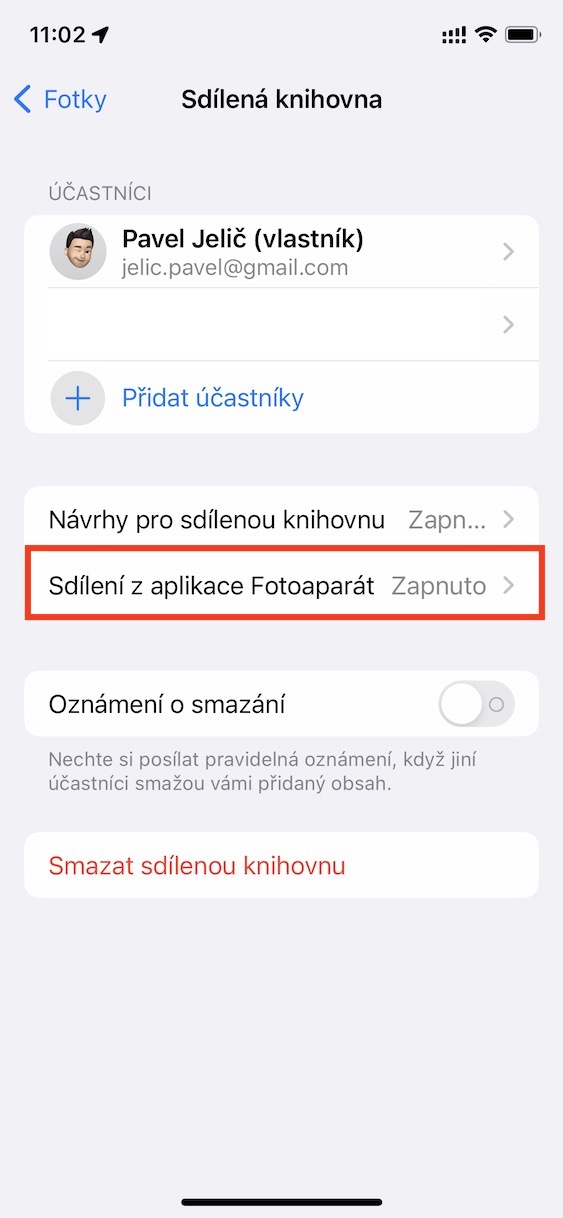
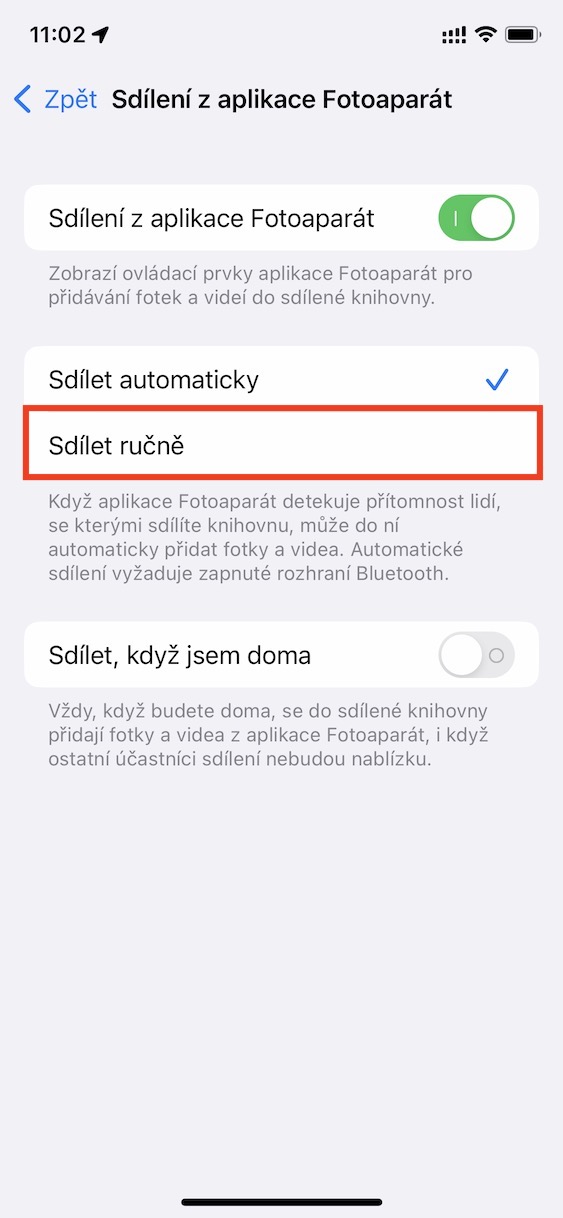
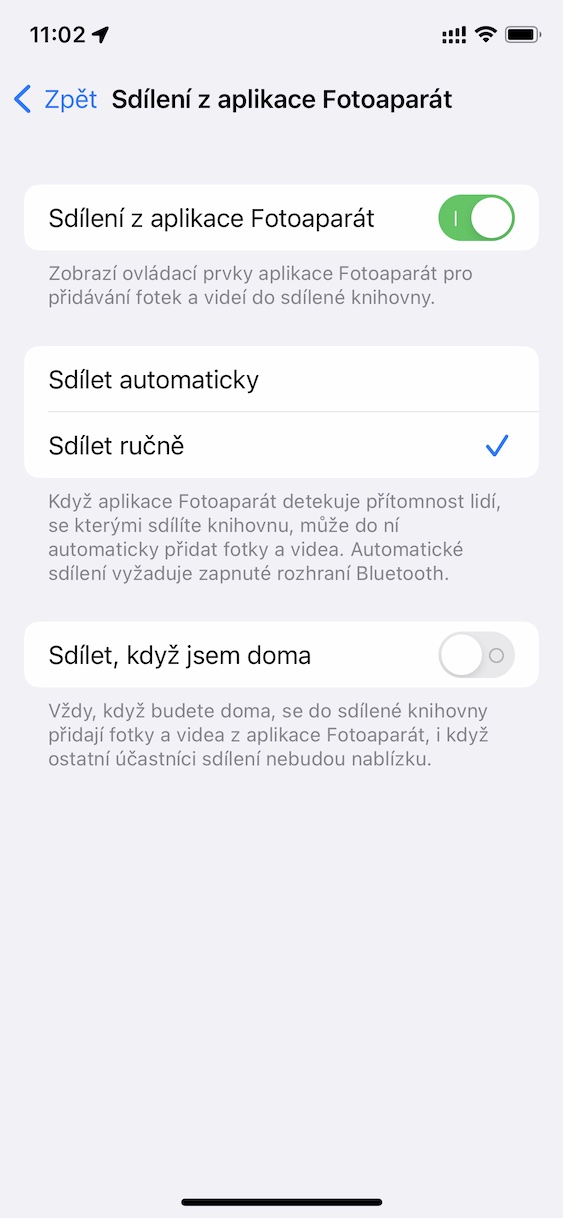
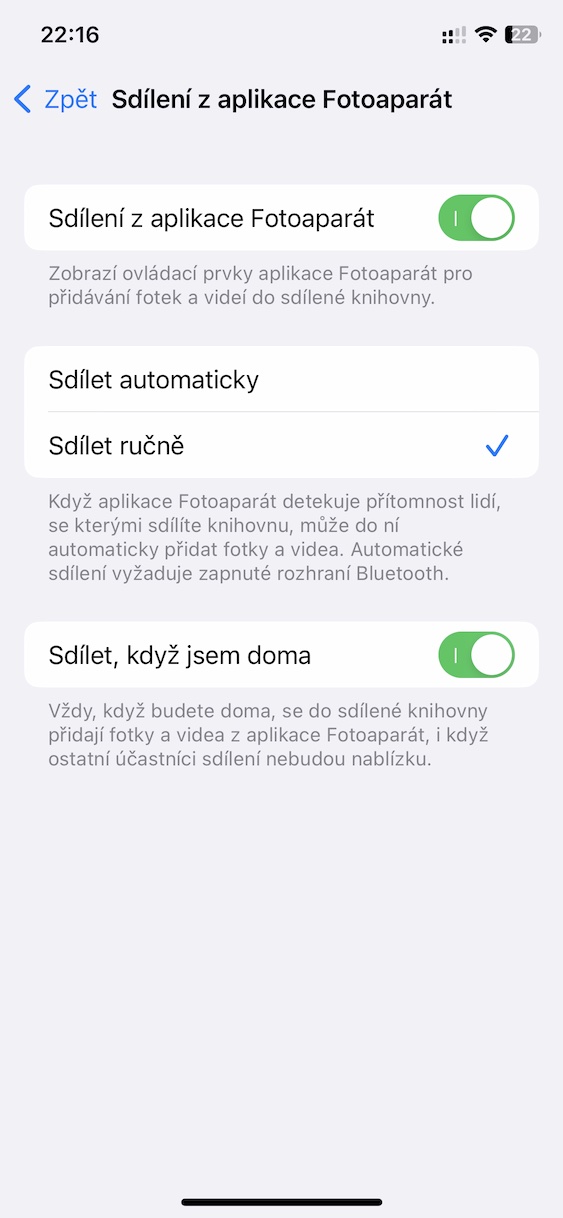
Among other things, part of the initial shared library wizard is an option where you can set whether you want to enable content sharing directly from the Camera application. Thanks to this, the captured content can be immediately moved to the shared library with a single click. In addition, however, iPhone can also automatically switch to save to a shared library depending on the circumstances, such as when people with whom you share the library are nearby. If you would like to (de)activate, just go to Settings → Photos → Shared Library → Sharing from the Camera app, where then tick possibility Share manually.
Deletion notice
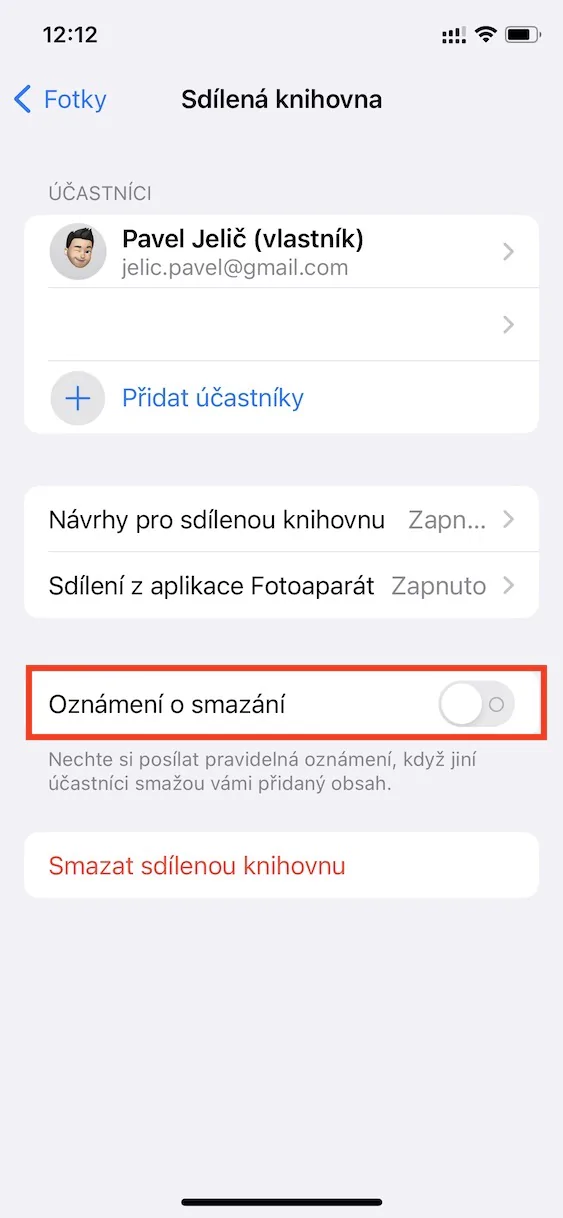
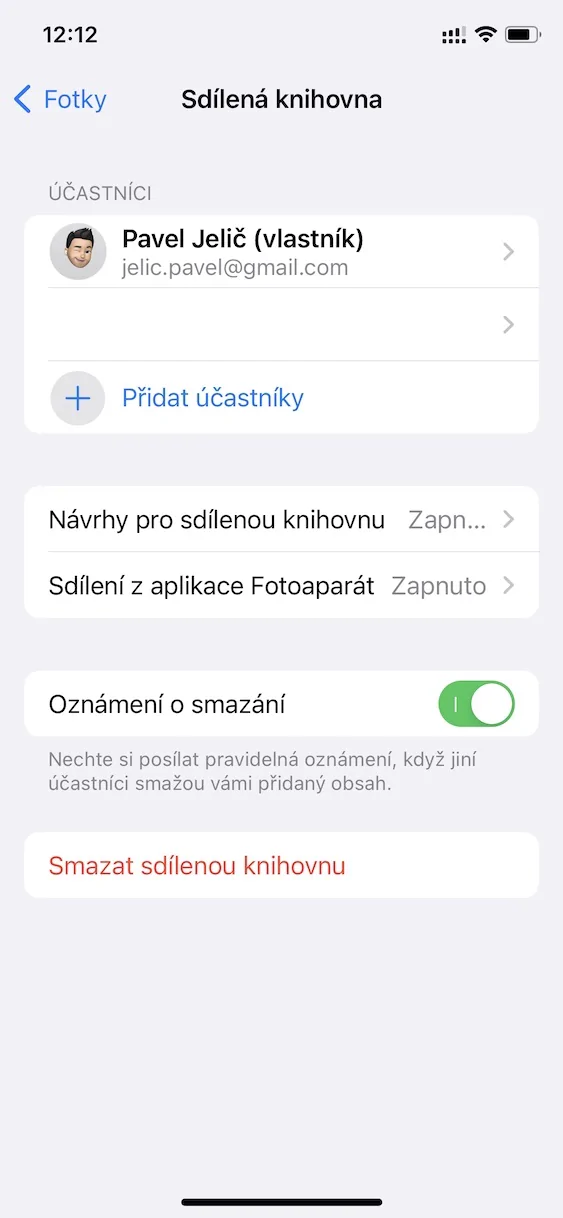
As I mentioned in the introduction, all participants can add content to the shared library, but they can also edit and delete it. If, after using the shared library for some time, you find that some photos or videos are disappearing from it and you would like to find out who is behind it, you can activate the content deletion notification. Just go to Settings → Photos → Shared Library, where then down with the switch activate function Deletion notice.
Participant removal
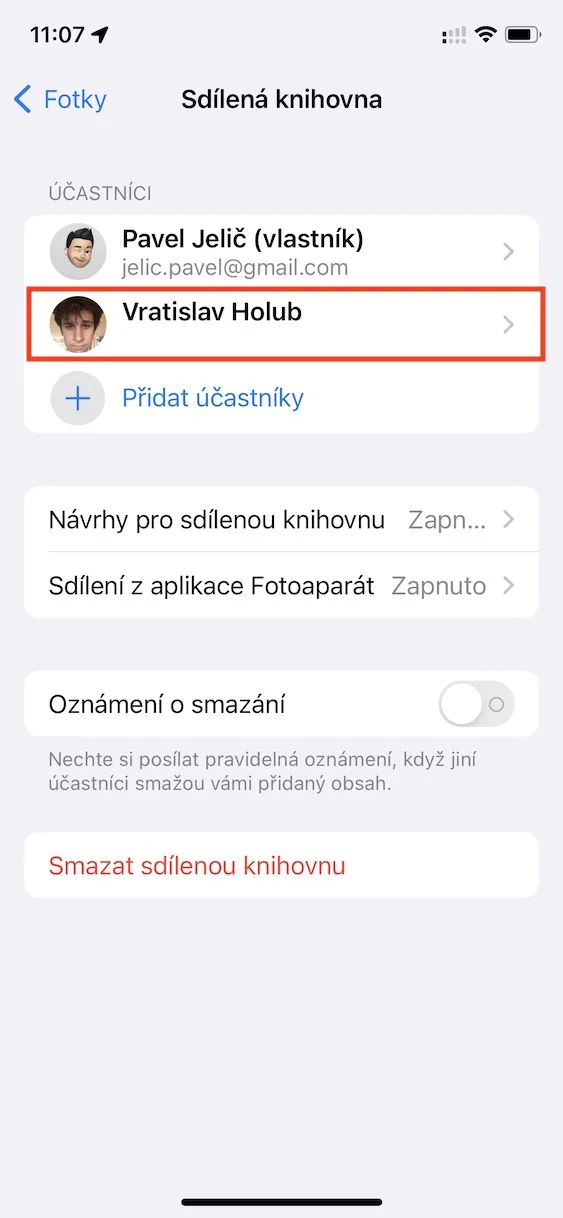
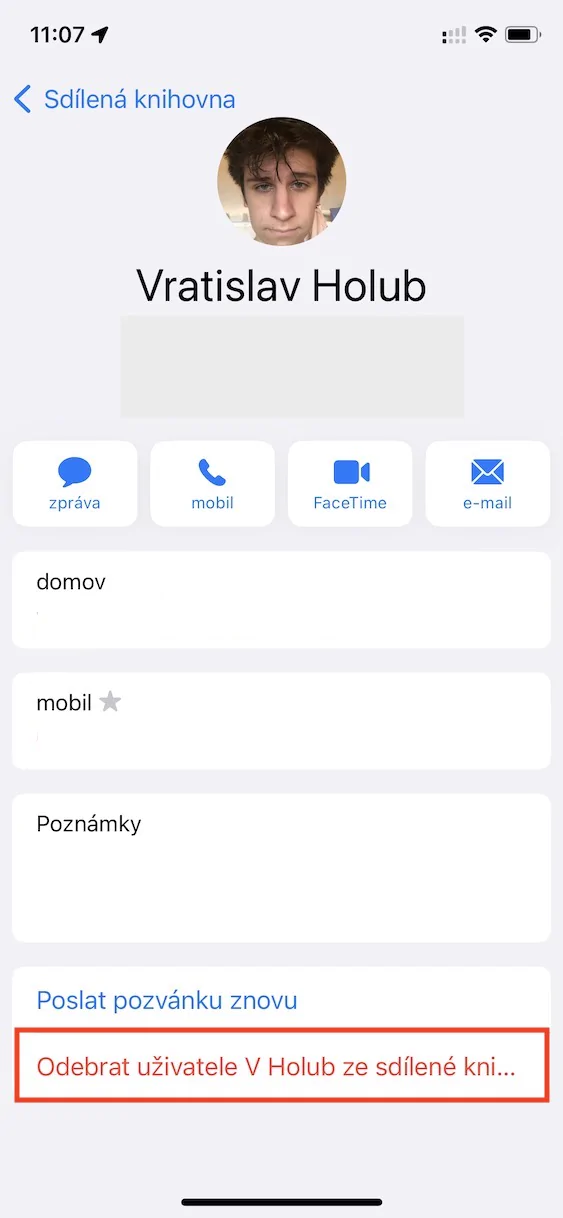
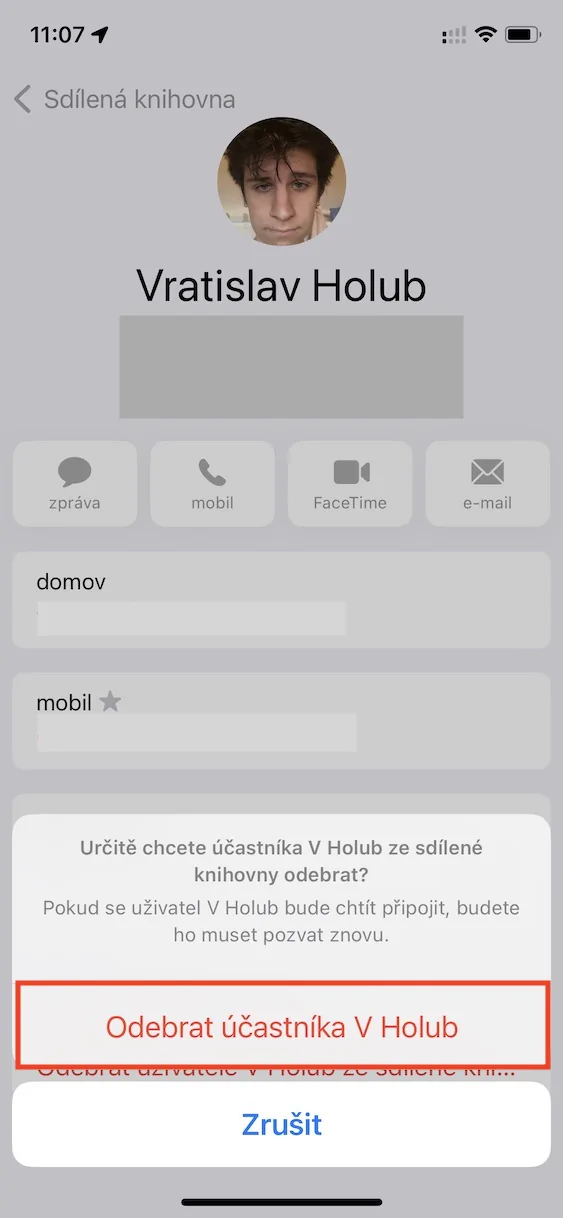
Have you added a participant to your shared library, but realized it wasn't a very good idea? If so, the organizer can of course also remove participants. There can be several reasons for removing from a shared library, but one of them, of course, is the aforementioned deletion of shared content. To remove a participant from the shared library, just go to Settings → Photos → Shared Library, where above click on the one in question. Then just tap on Delete from shared library and action confirm.
Shared library at home
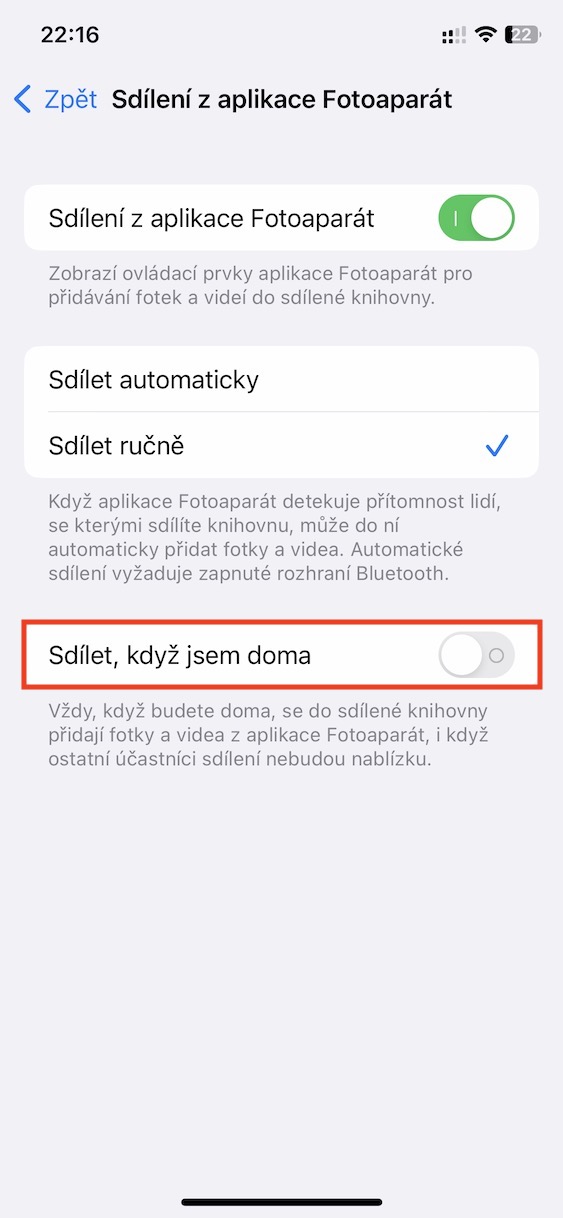
We have already said that photos and videos can be automatically saved to the shared library directly from the Camera. You can either turn on saving to the shared library manually, or you can set automatic saving in case one of the participants is near you. In addition, it can be set to save content directly from the Camera to the shared library when you are at home, without the need for the participants to be nearby. To (de)activate, just go to Settings → Photos → Shared Library → Sharing from the Camera app, where you just need to use the switch below for the Share when I'm at home option.
