A few weeks ago, Apple released the macOS Ventura operating system to the public. He did so after a delay of about a month, during which he fortunately managed to polish most of the features so that they could be released to the public. As with other new operating systems, macOS Ventura includes countless great new features and enhancements. In our magazine, of course, we cover all the news, and in this article we will specifically look at 5 tips in Photos from macOS Ventura that are useful to know. So let's get straight to it.
It could be interest you

Mass editing
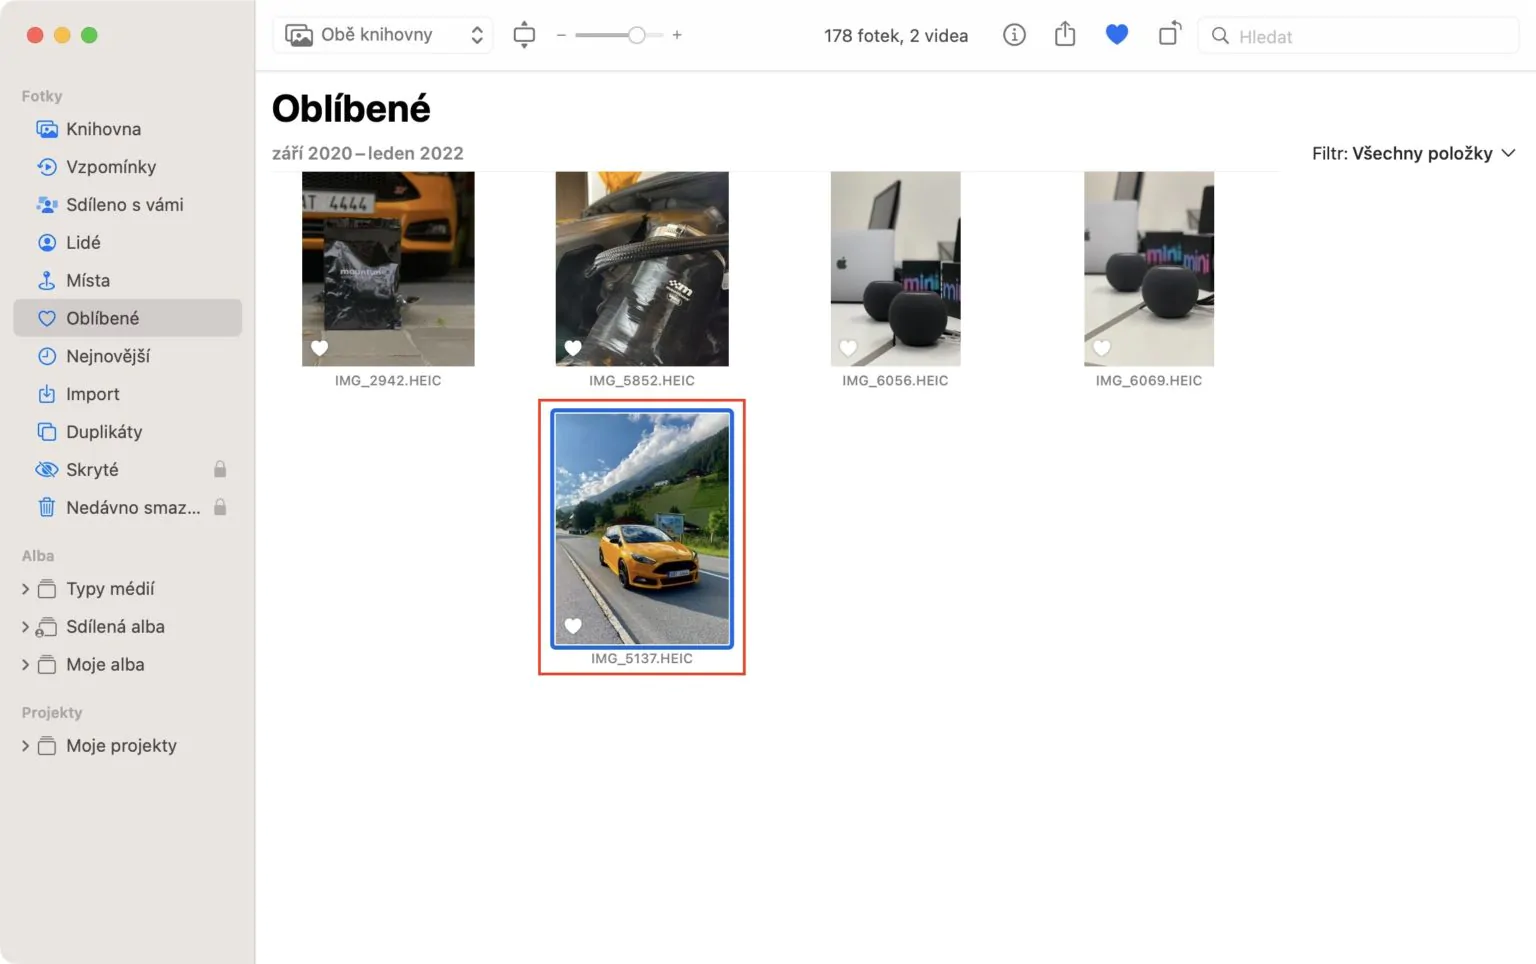
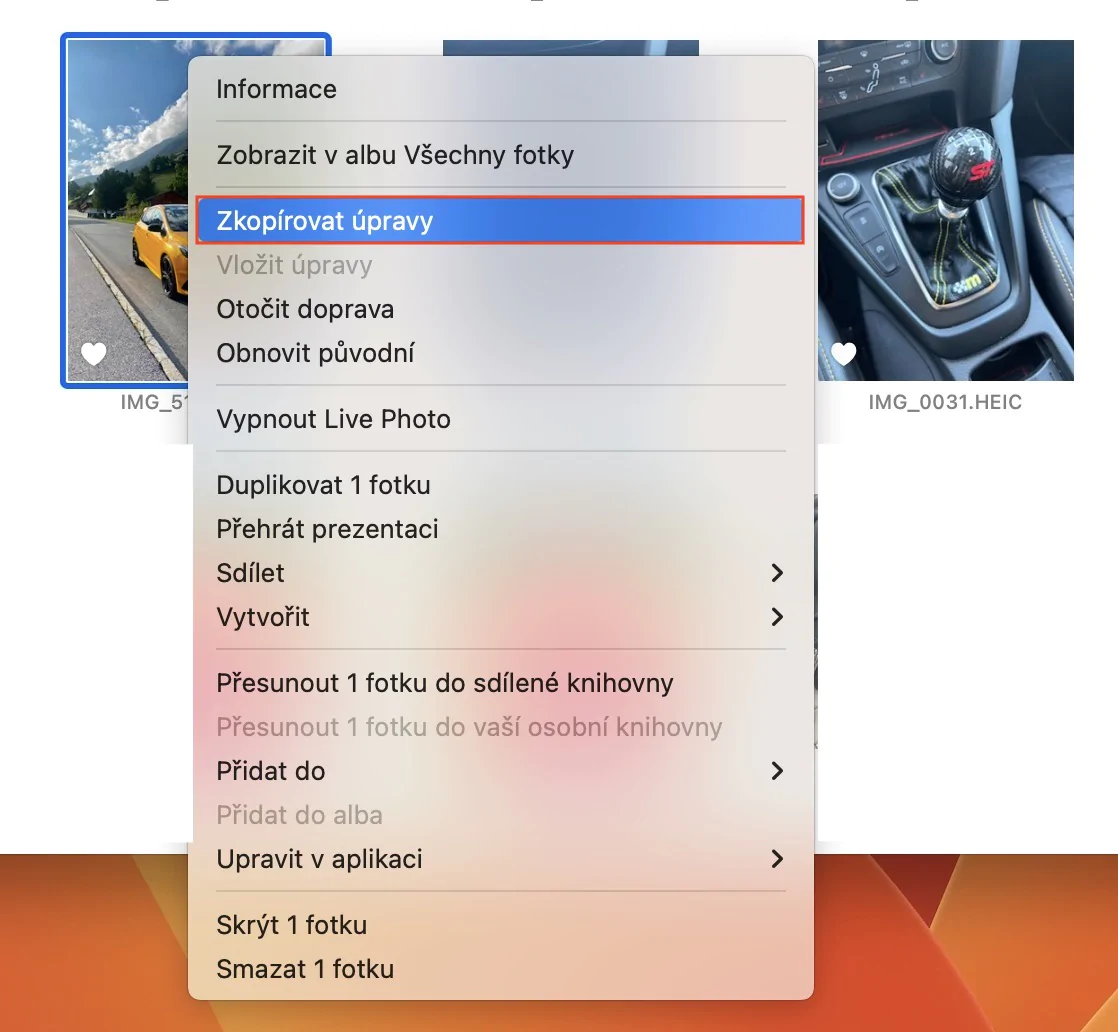
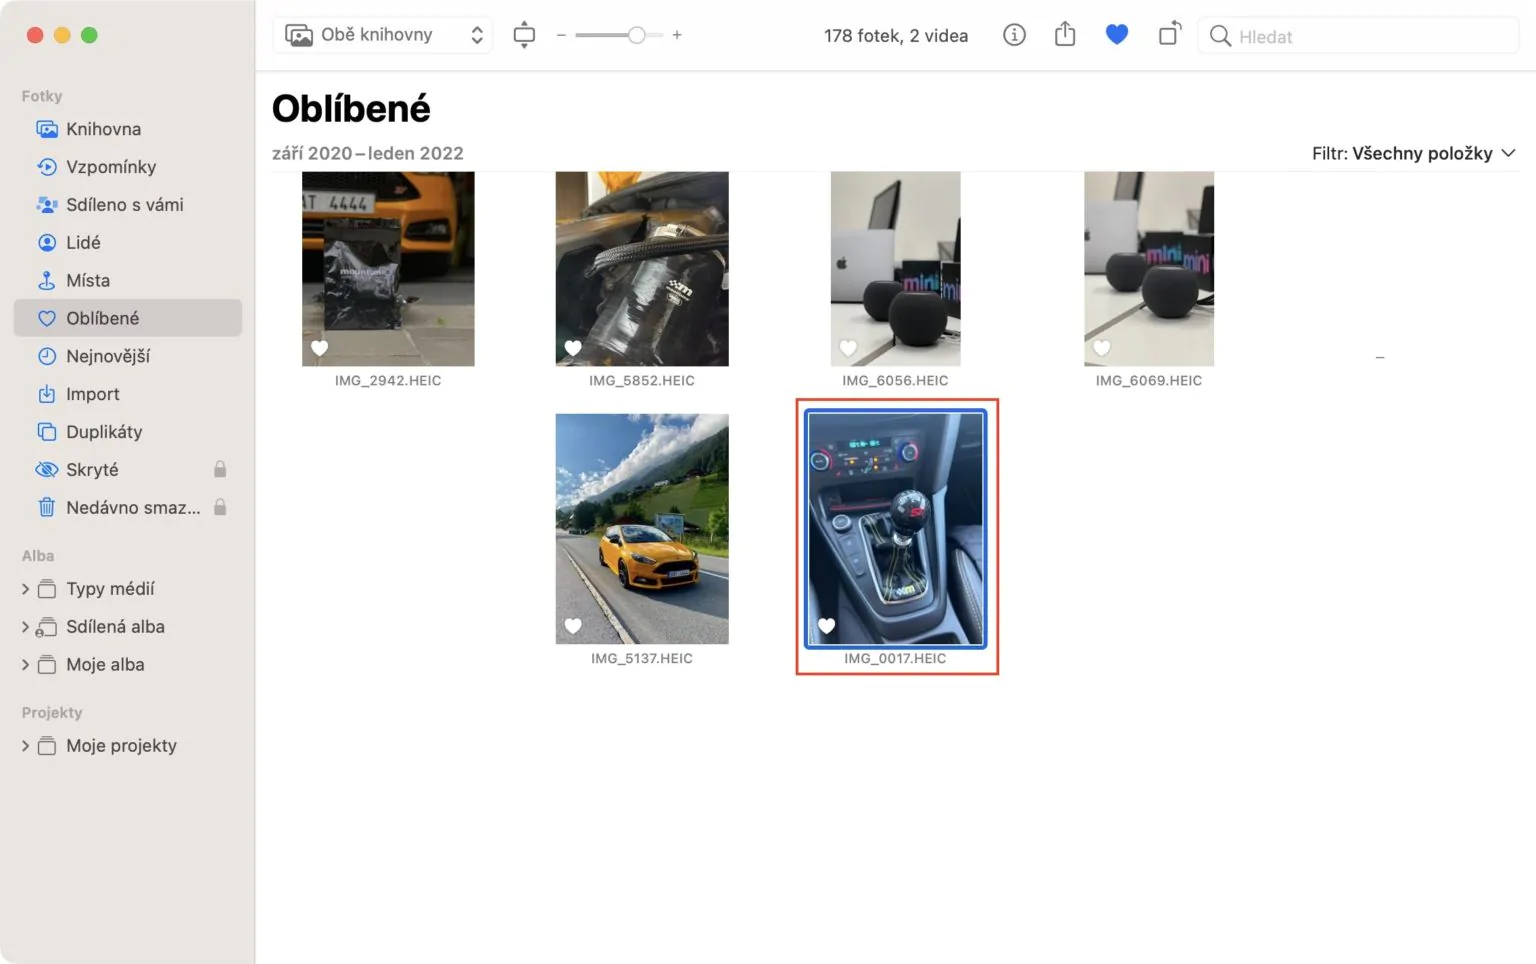
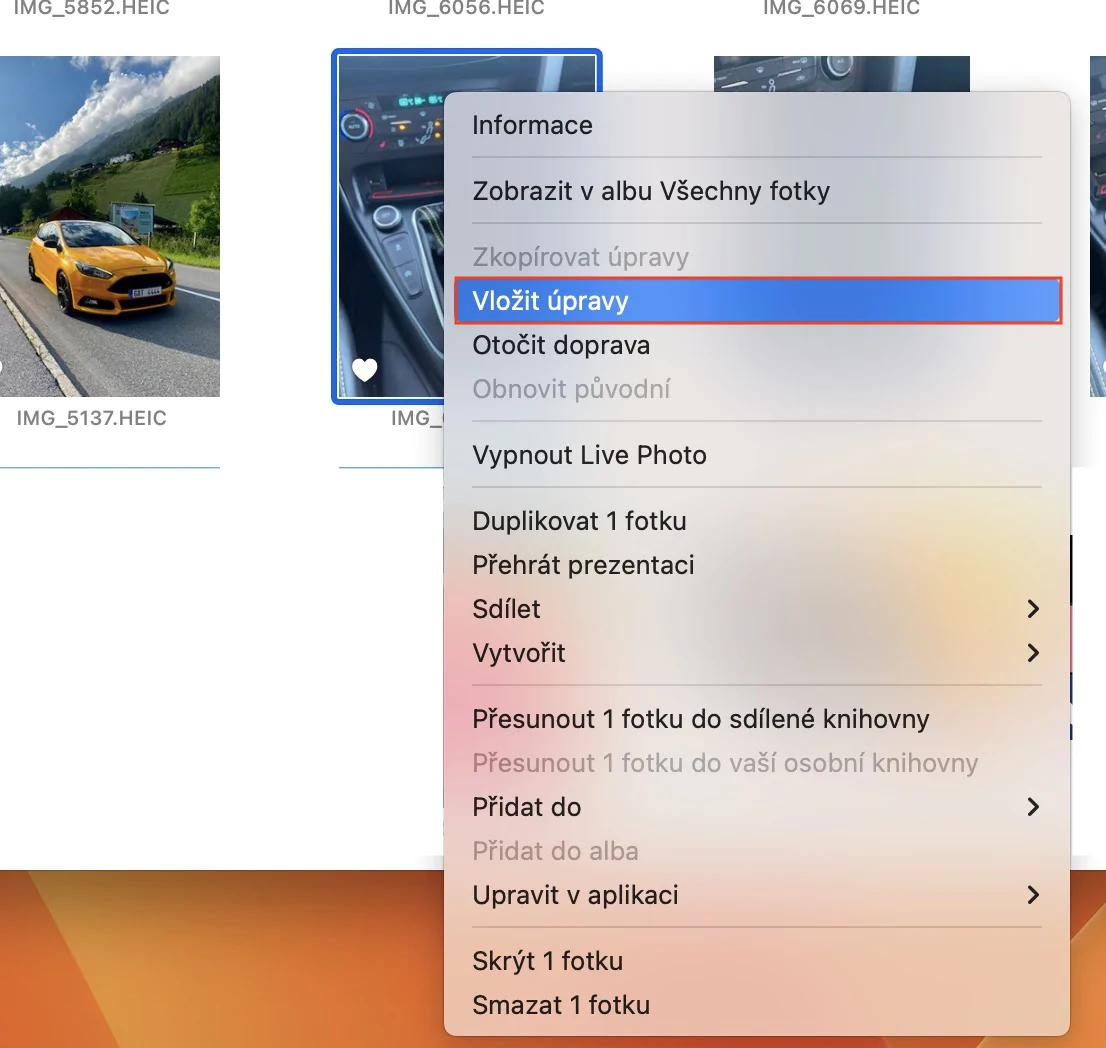
For several years now, the Photos application has included a really great photo and video editor that is sufficient for most users. They do not have to reach for third-party applications, which are often paid for. However, the huge shortcoming of this editor so far has been the impossibility of bulk editing of content, i.e. copying and pasting edits to other photos and videos. However, this very option came as part of macOS Ventura, and if you would like to use it, right-click (two fingers) on the edited photo (or video), and then click Copy edits. Subsequently you select one (or more) photos, to which you want to apply the adjustments, tap it right click (two fingers) and press the option in the menu Embed edits.
Removing duplicates
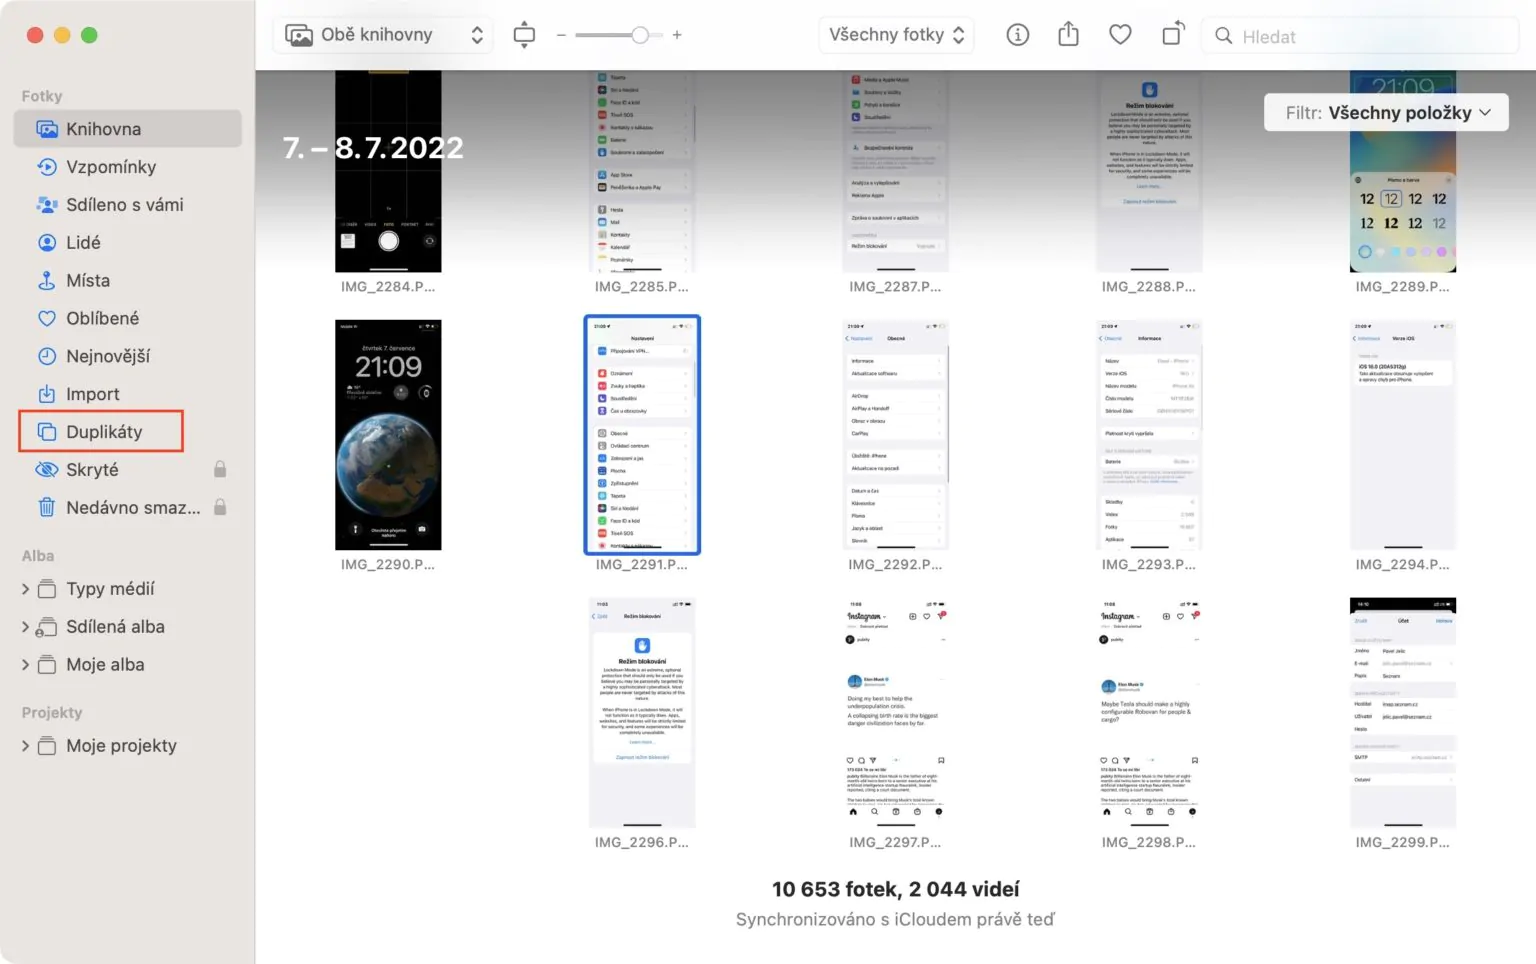
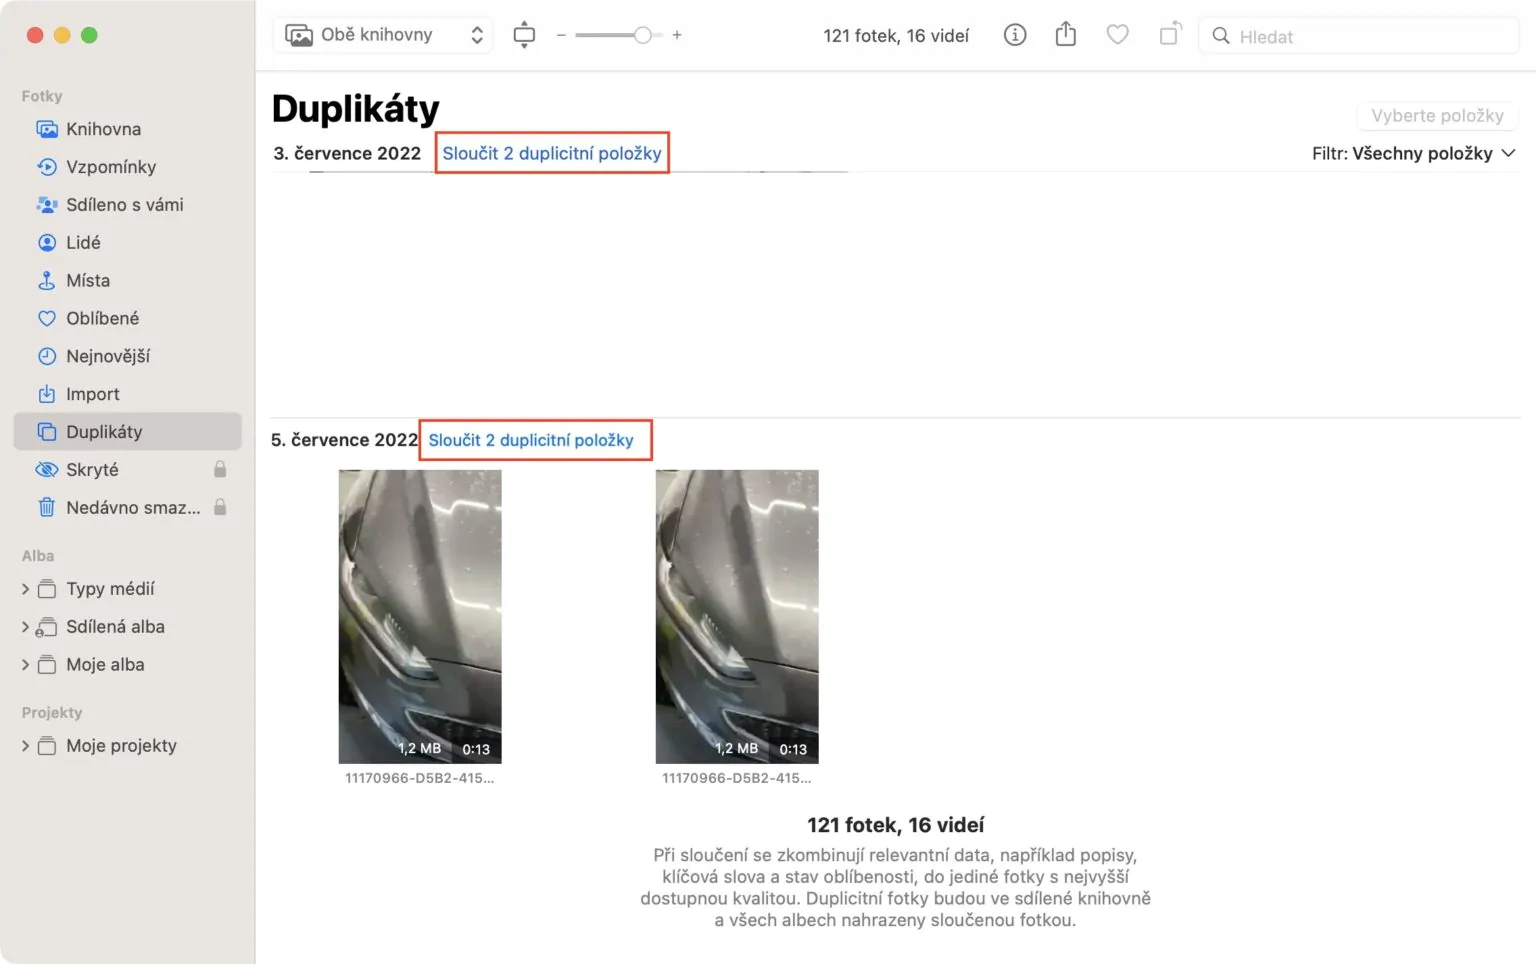
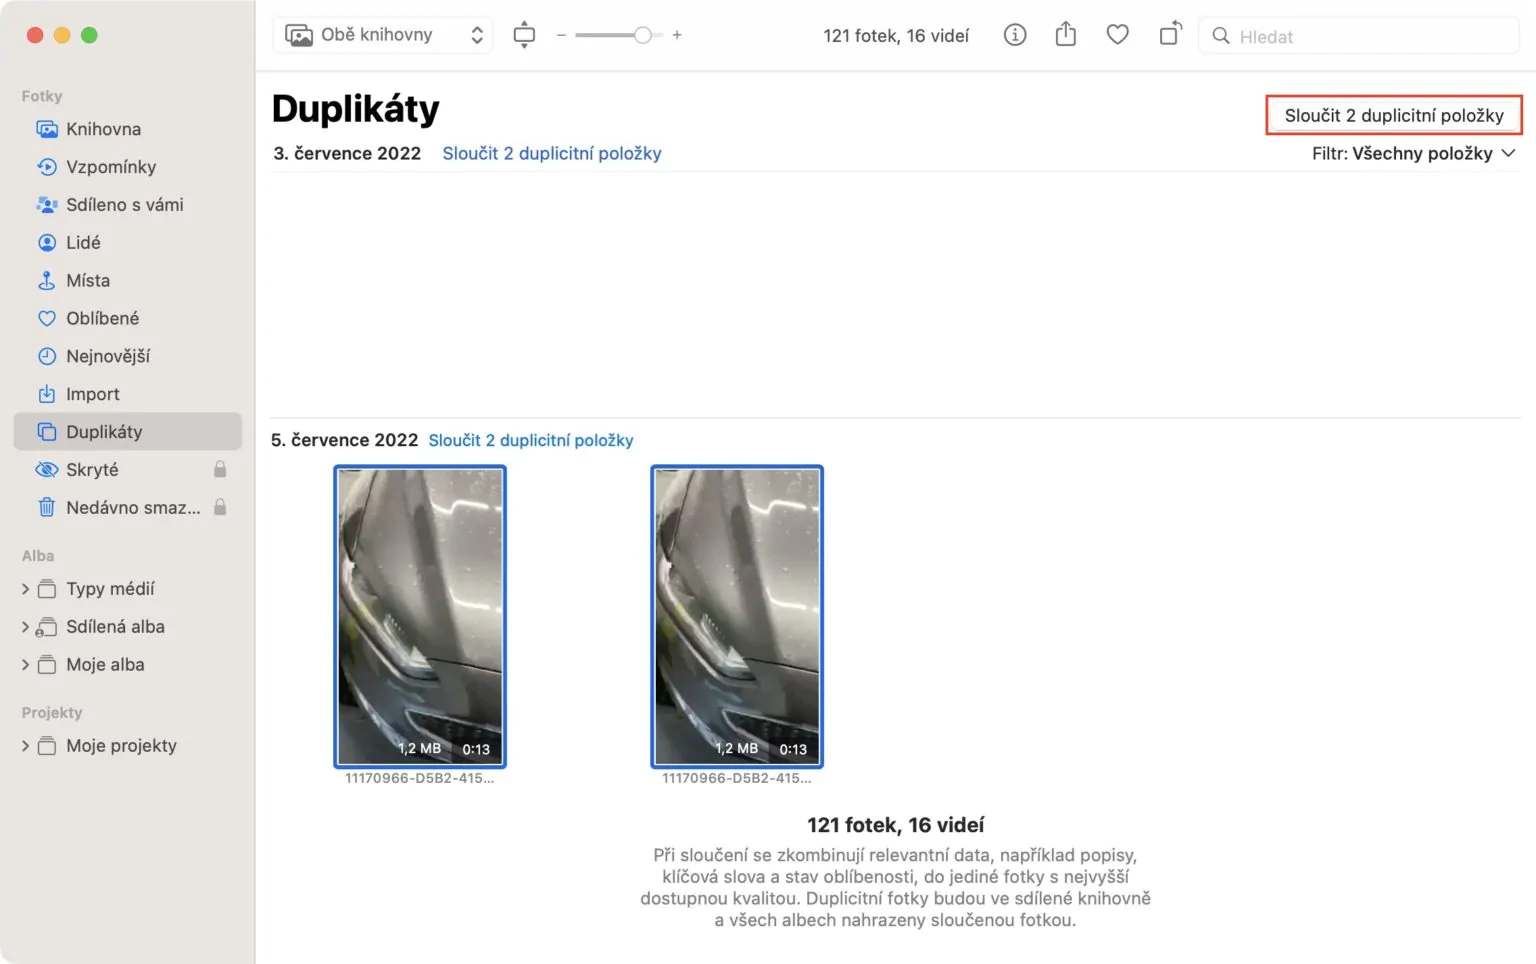
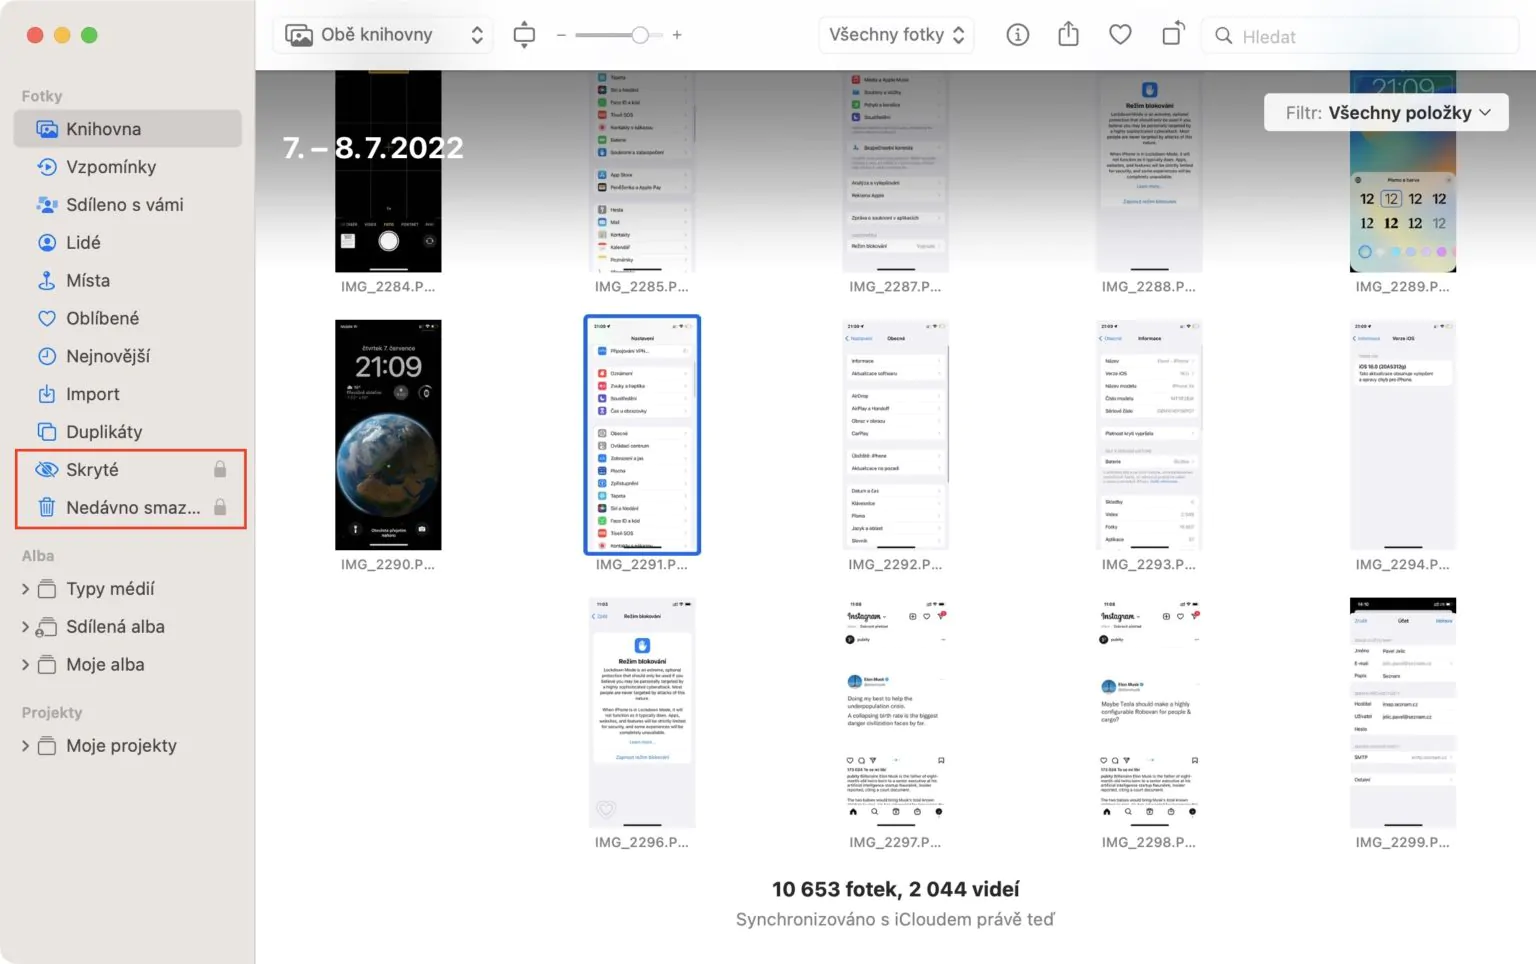
In the vast majority of cases, photos and videos take up the most storage space on our devices. That's why it's essential that you take a moment from time to time to tidy up the native Photos app. Very often, you can also come across duplicates, i.e. the same photos or videos, among your content. Until recently, it was necessary to use third-party applications to recognize them, but this is changing in macOS Ventura and other new systems. Apple has integrated a function for detecting duplicates directly into Photos, which works with the use of artificial intelligence. If you would like to view duplicates and possibly remove them, just ve Photos in the left menu, click on Duplicates.
Lock photos and videos
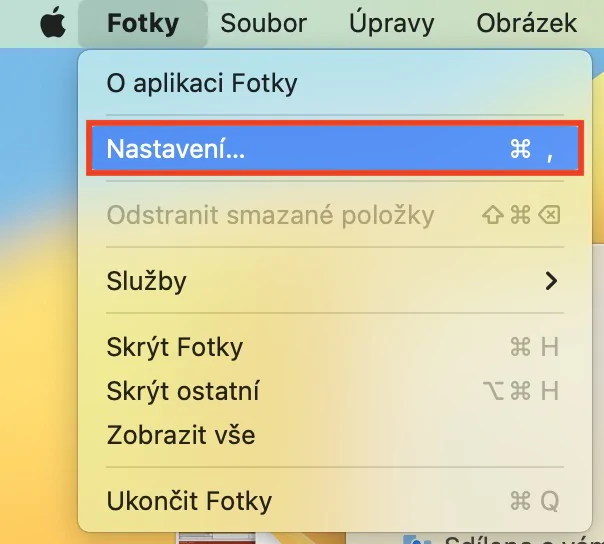
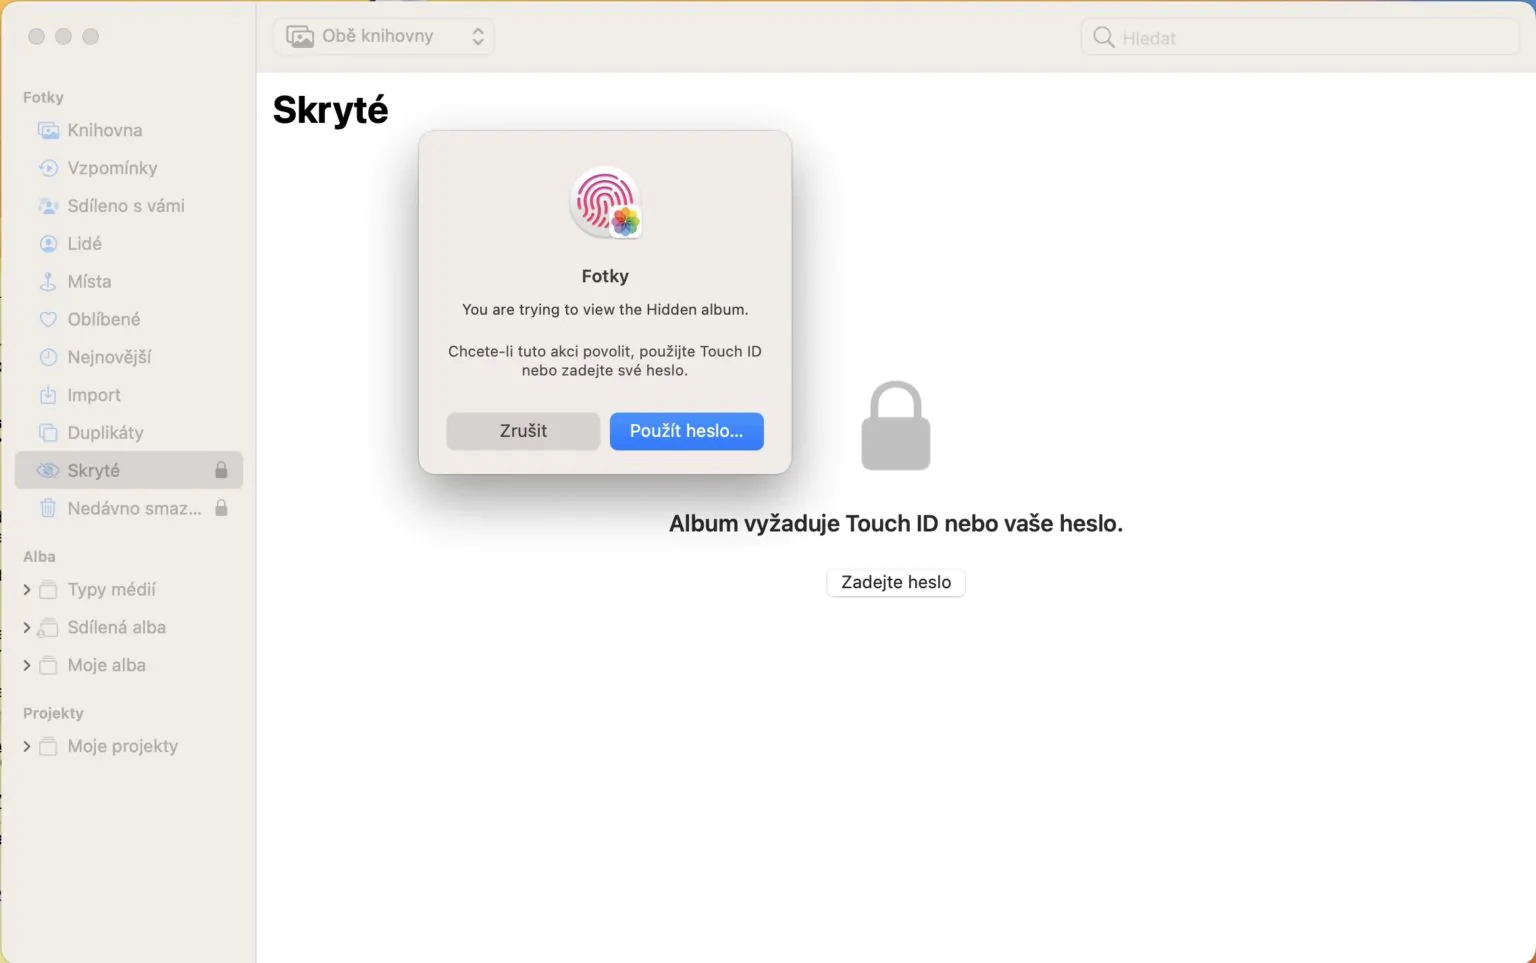
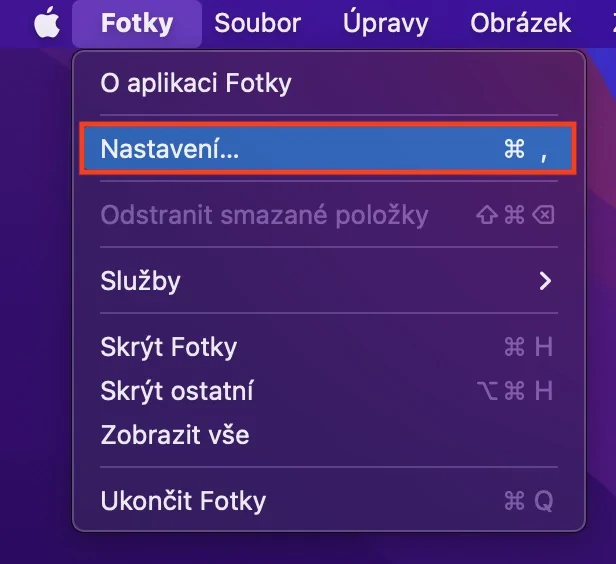
If you wanted to lock any content in Photos until now, you couldn't. There was an option only to hide photos and videos, but this did not solve the problem, since in practice only the selected items were moved to a separate album. Many users thus solved content locking by third-party applications, which is not ideal from the point of view of privacy protection. However, in the new macOS Ventura it is finally possible to lock photos and videos natively, or you can lock the aforementioned Hidden album, which is really handy. To activate this news, you only need to Photos in the top bar tap on Photos → Settings → General, where down enable Use Touch ID or password.
Remove background from photo
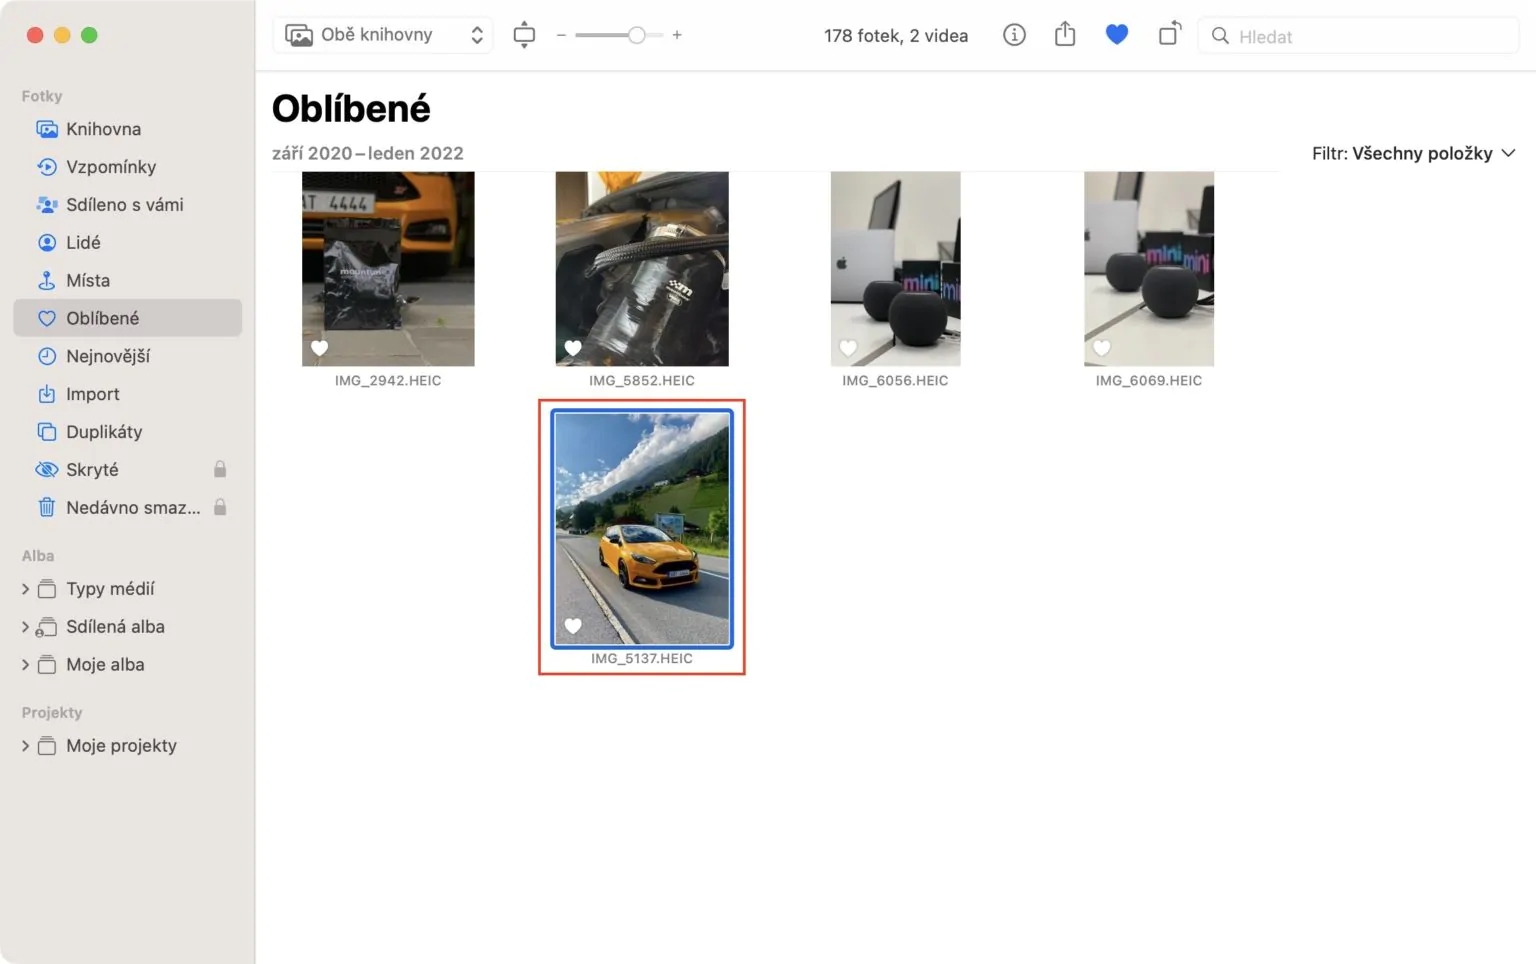
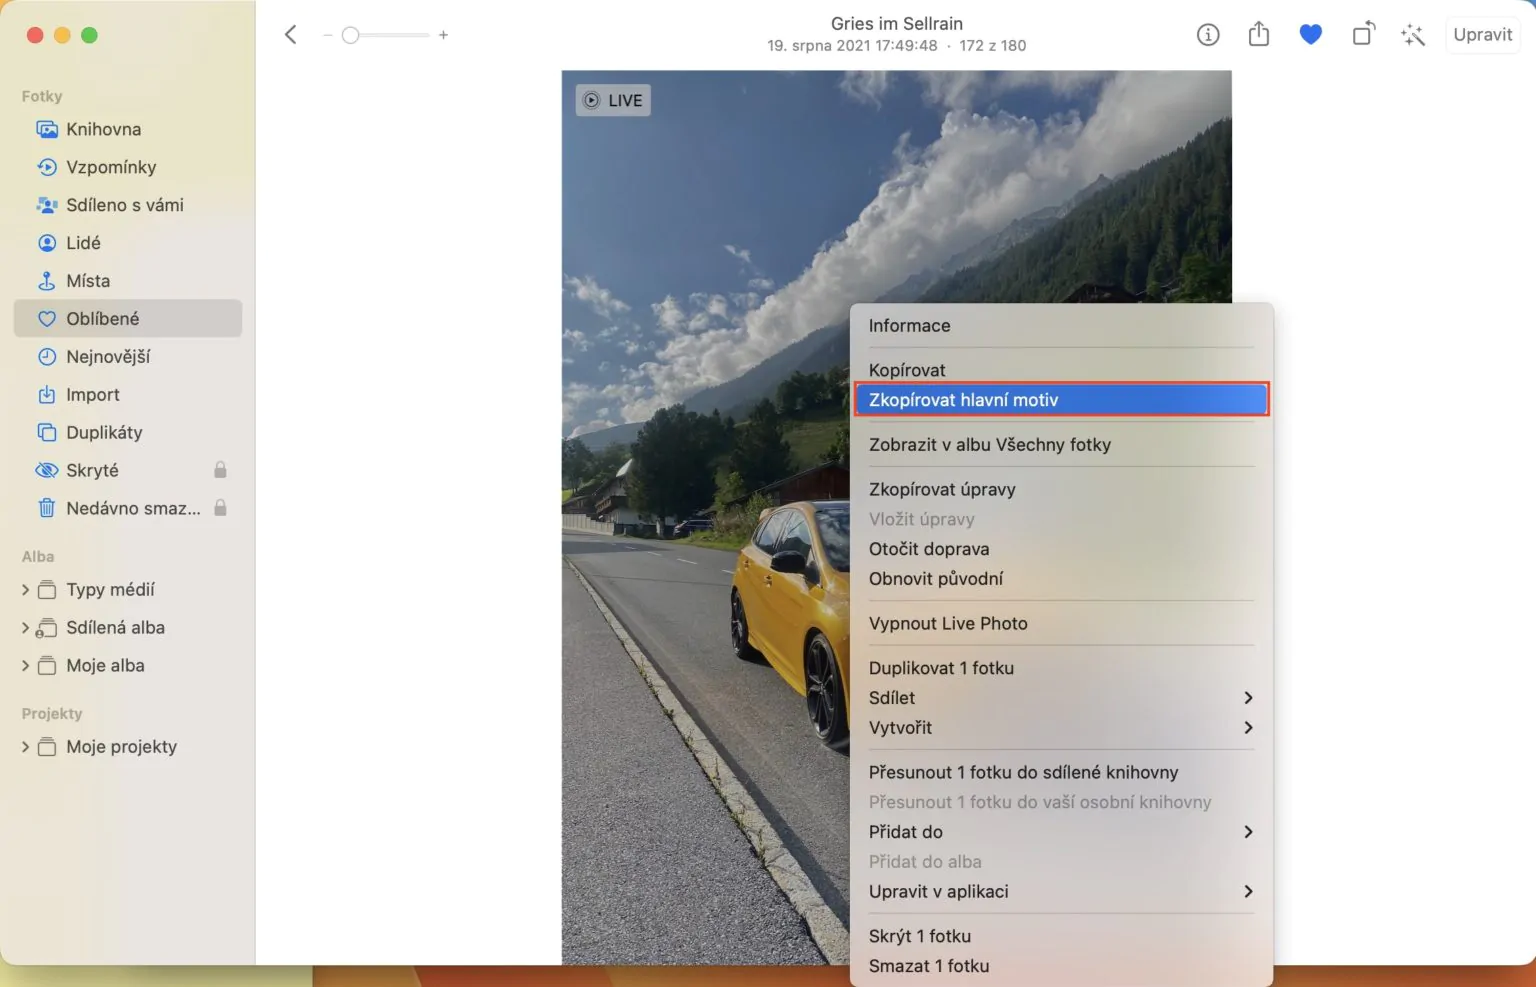
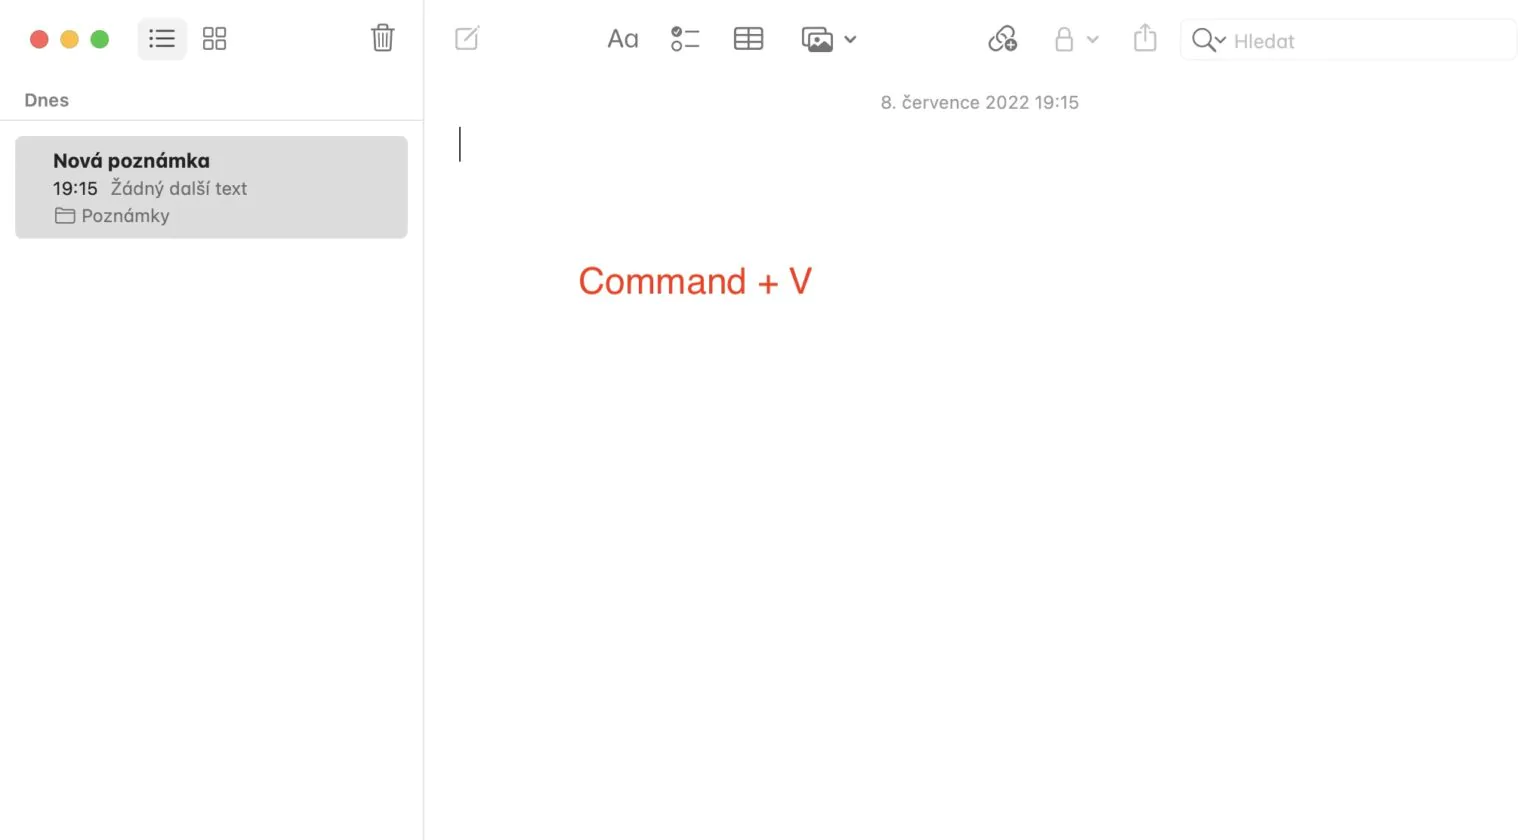
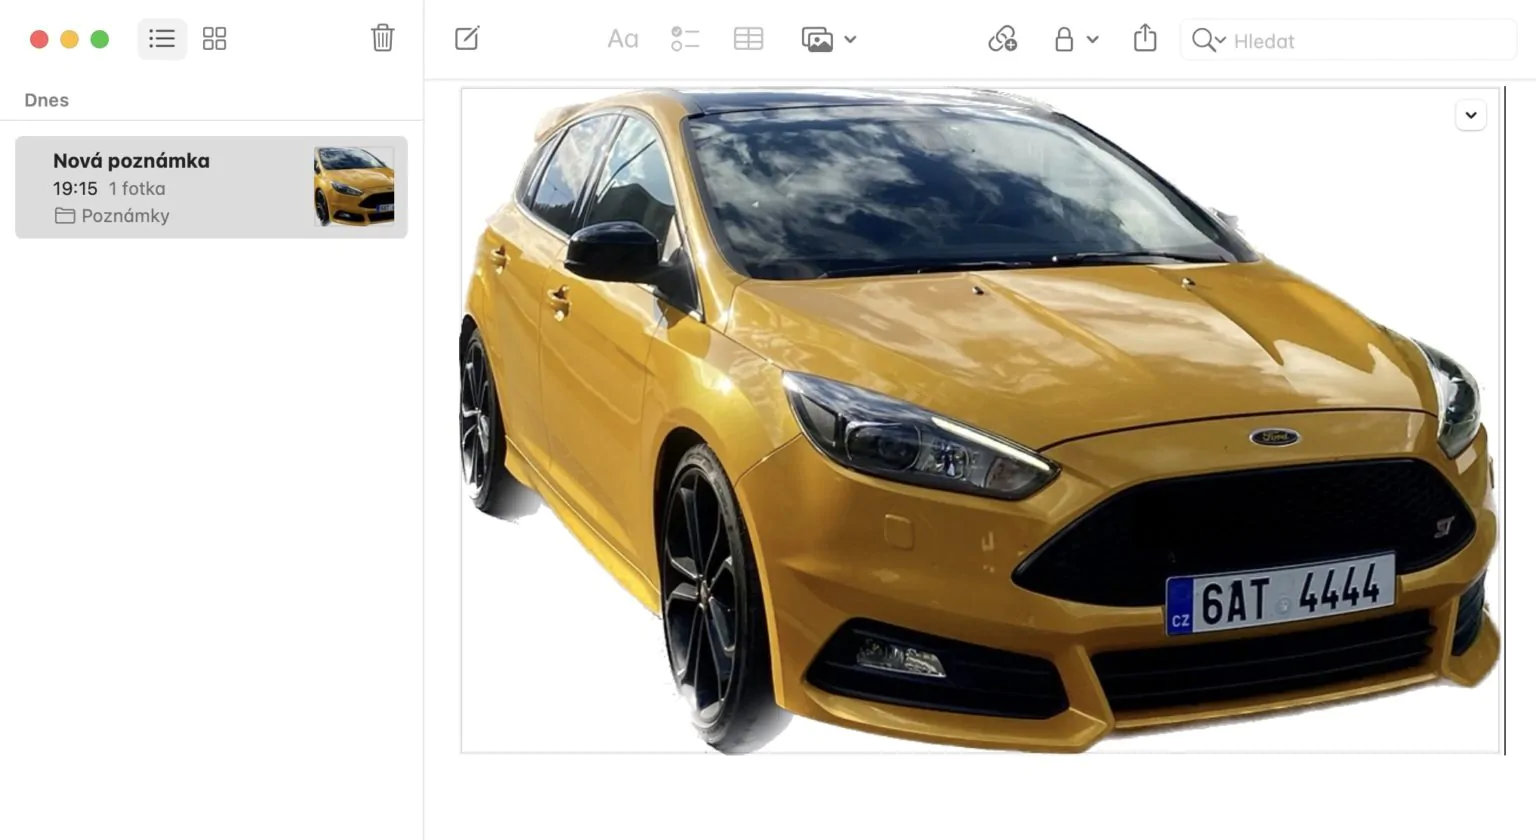
One of the very interesting innovations that we have seen in the new systems definitely includes the possibility of removing the background from the photo, i.e. cutting out the object in the foreground. If you would like to use this gadget in Photos, then it is definitely not complicated. You simply are find and click the photo, from which you want to remove the background, and then right-click the object in the foreground (two fingers). From the menu that appears, just tap on Copy the main theme. Then just move to where you want the cut insert object from foreground, and then paste it here, for example with a keyboard shortcut Command + V
Shared iCloud Photo Library
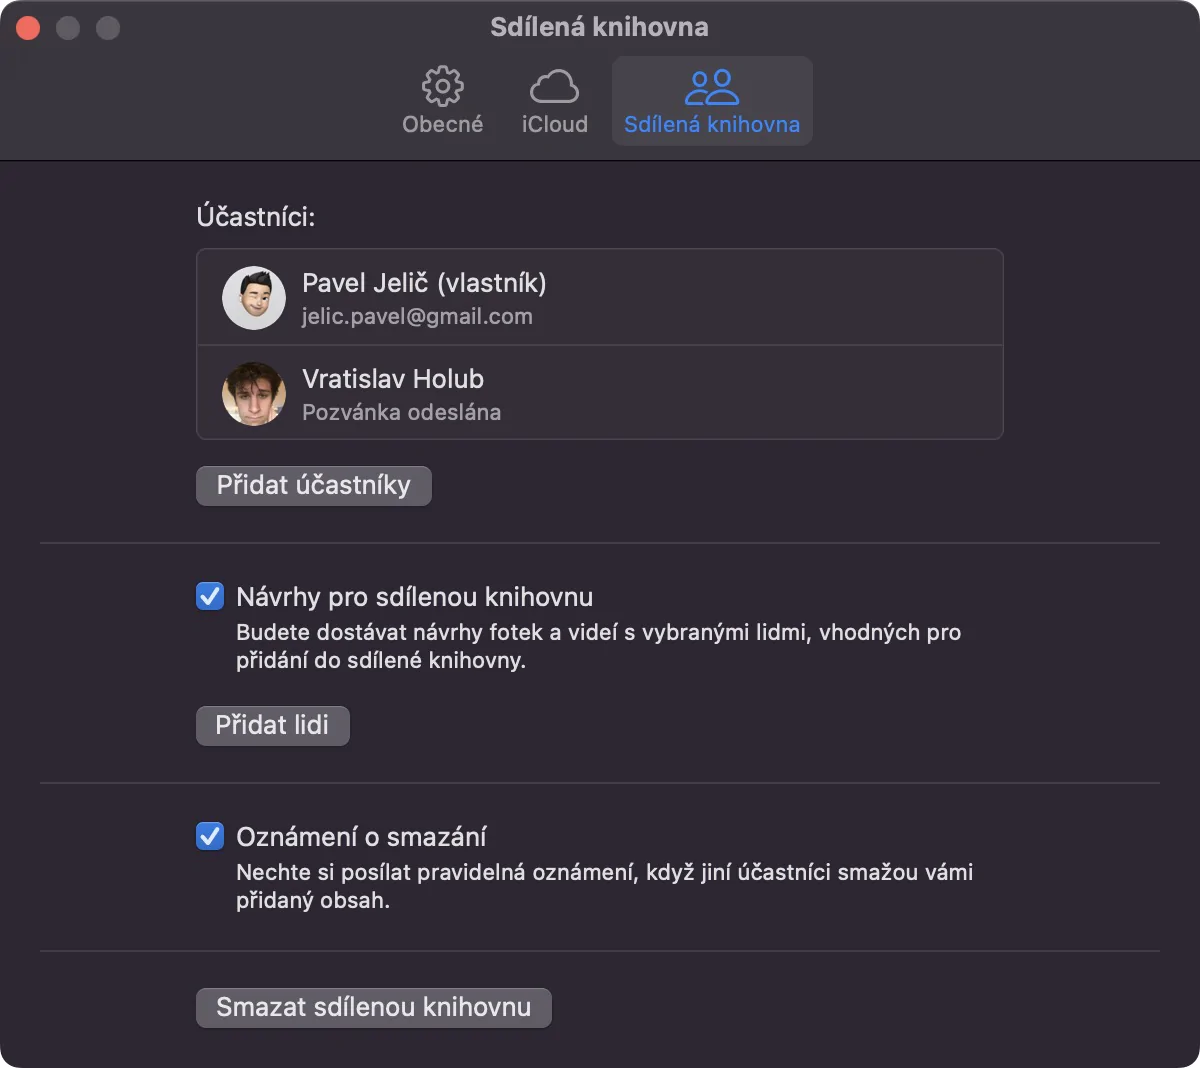
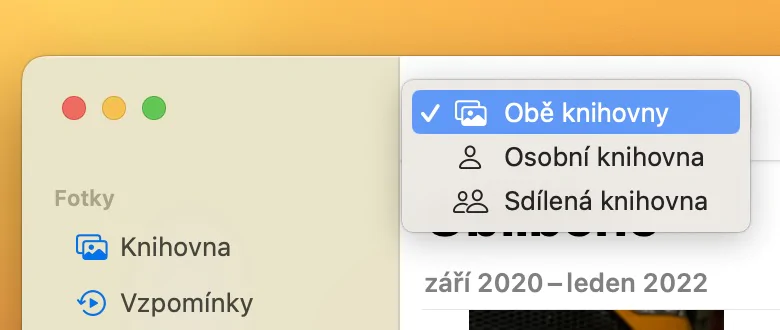
Apple's latest operating systems also include the much-anticipated Shared Photo Library feature on iCloud. If you activate this function, a shared photo library will be created, to which not only you can contribute content, but also other participants that you can choose. These participants can then not only add content, but also edit or delete it freely. If you would like to activate the Shared Photo Library on iCloud on a Mac, just go to the Photos application, then in the top bar go to Photos → Settings → Shared Library. Activating on your Mac also activates on all your other devices. You can then easily switch between the personal and shared library directly in the Photos application, where you just need to click on the appropriate option in the upper left part of the window.
