A few weeks ago, Apple released a brand new operating system for Apple computers, namely macOS Ventura. This system includes many great novelties, some of which can be found in native applications as well. One of the applications that has received new options and gadgets is Notes. Therefore, let's take a look together in this article at 5 tips in Notes from macOS Ventura that you should know about so that you can use them to the fullest.
It could be interest you
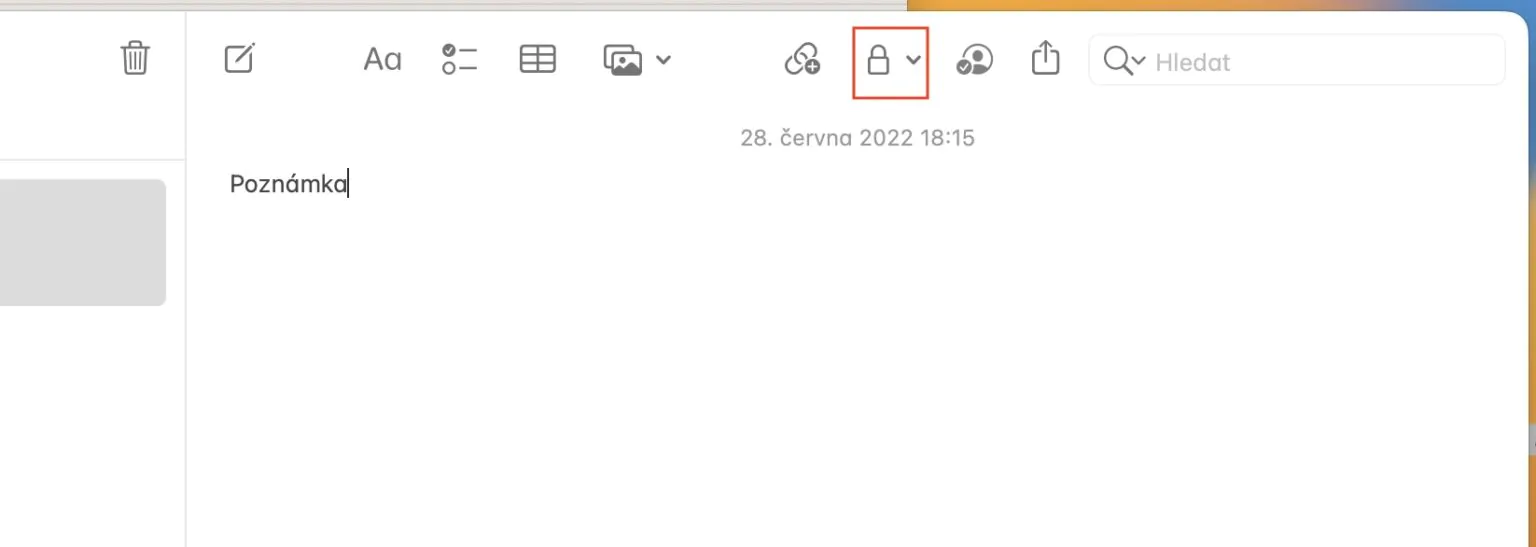
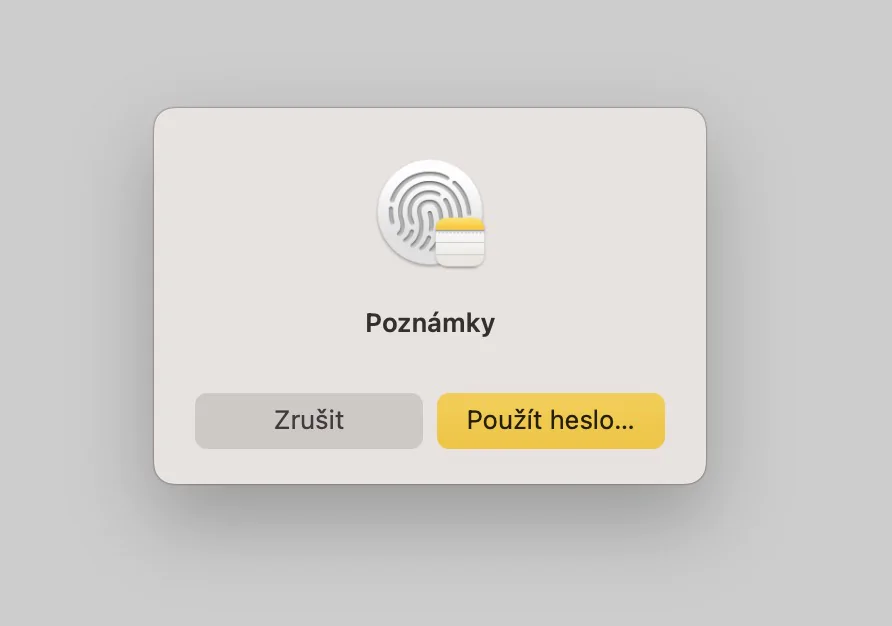
A new way to lock notes
As you probably know, notes can be locked in the native Notes app, and have been for a long time. But if you wanted to lock it, you had to set a separate password just for the Notes app. Unfortunately, users often forgot this password, so they simply had to say goodbye to older locked notes. However, in macOS Ventura, Apple finally came up with a new way to lock notes using a Mac password. Users can choose whether they want to use this new locking method or the old one after locking a note for the first time in macOS Ventura.
Changing the locking method
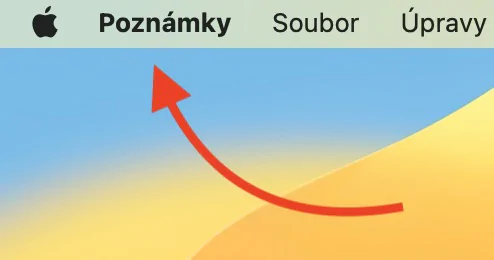
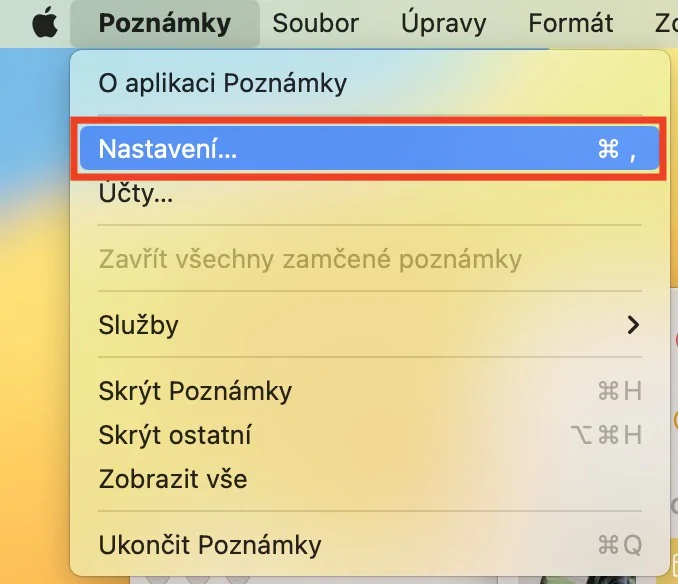
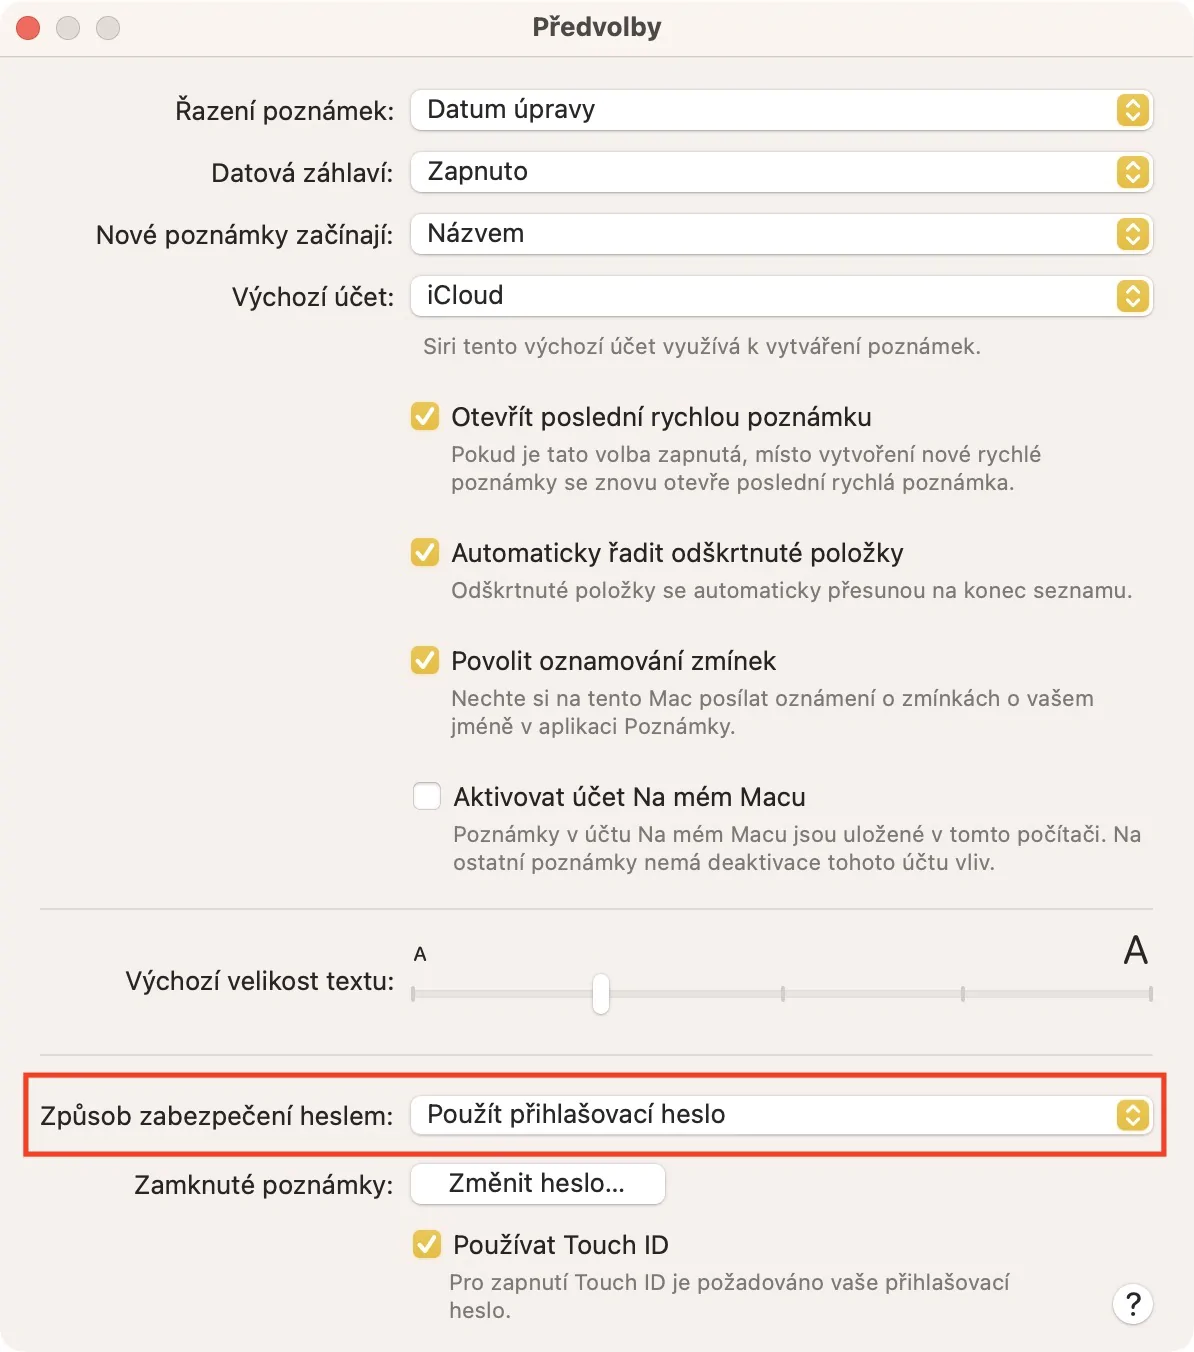
Have you set up one of the ways to lock notes in Notes, but found that it doesn't suit you and would like to use the other one? Of course you can without any problems and it is nothing complicated. Just go to Notes and then tap on the top bar Notes → Settings. Once you do so, in a new window at the bottom click the menu next to Password security method a choose which method you want to use. You can of course also (de)activate the use of Touch ID below.
Dynamic folder options
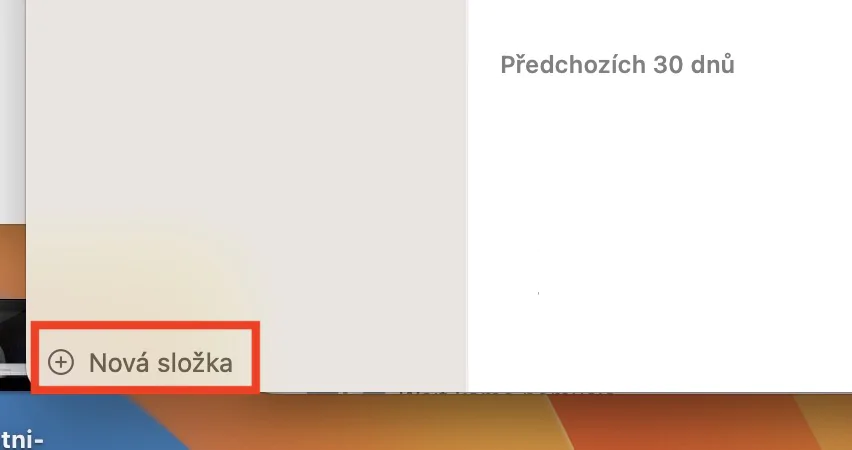
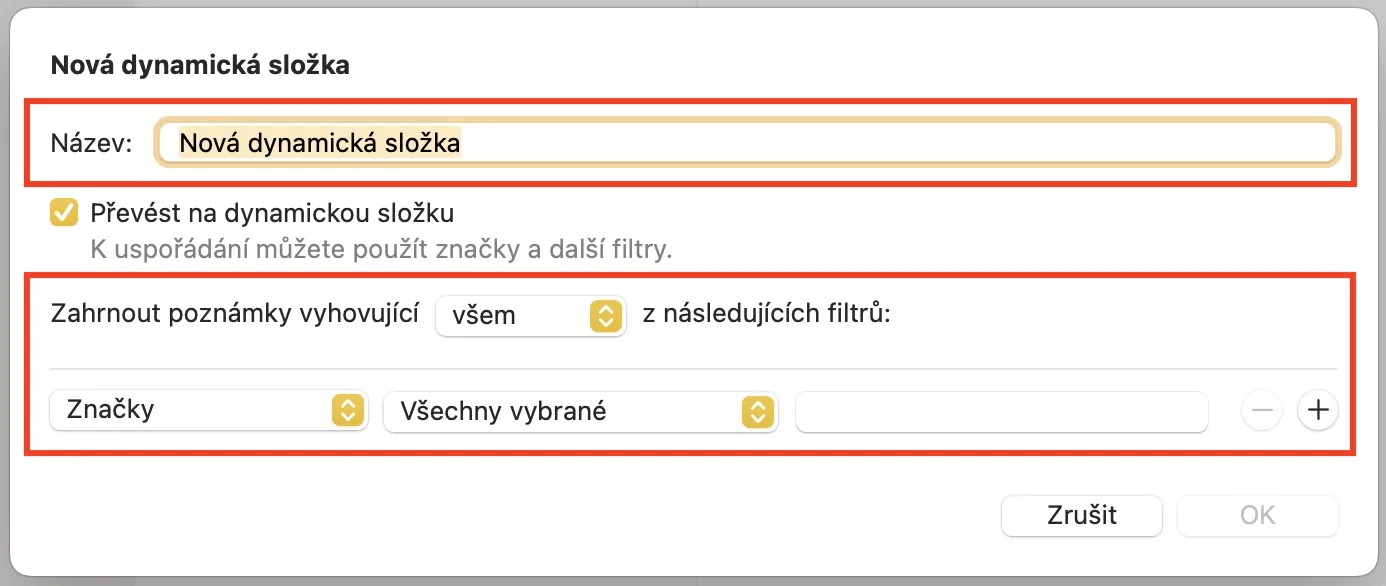
As most of you know, you can use folders in the native Notes app to organize individual notes. However, in addition to classic folders, we can also create dynamic folders that display notes depending on predetermined criteria. Until now, it was possible to set these dynamic folders to show notes that meet all specified criteria, but in the new macOS Ventura, you can now set to show notes that meet any of the filters. To use this news, click in the lower left corner + New folder a tick possibility Convert to a dynamic folder. After that, it's enough in the window choose filters and set the inclusion of notes, which meet either all filters or any. Then set some more name and tap on the bottom right OK thereby creating
Grouping by date
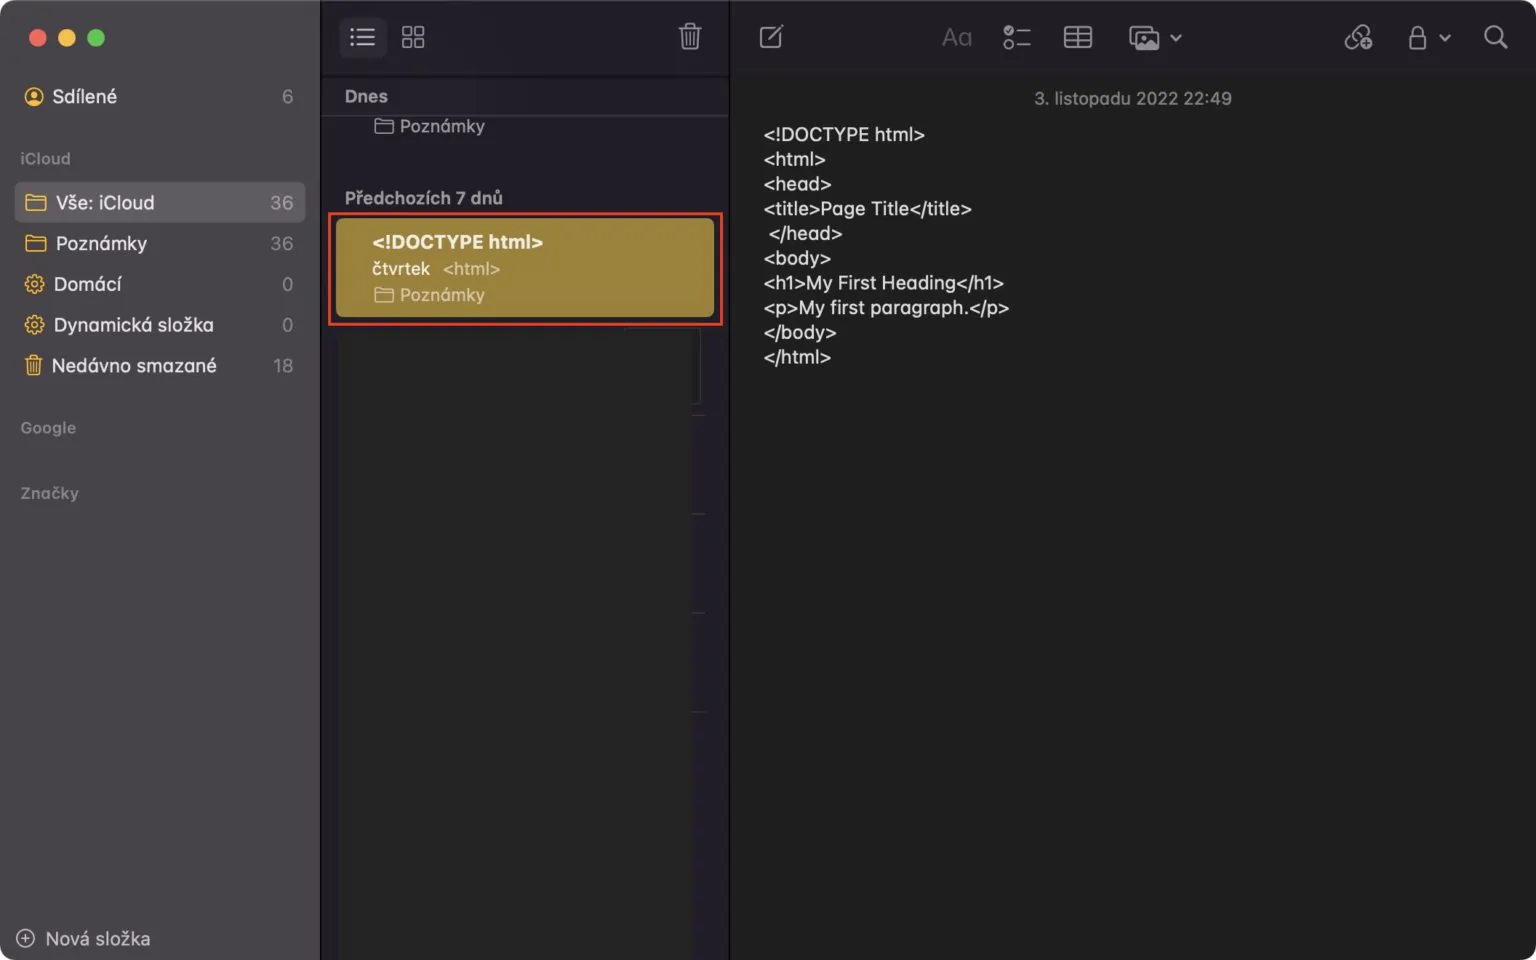
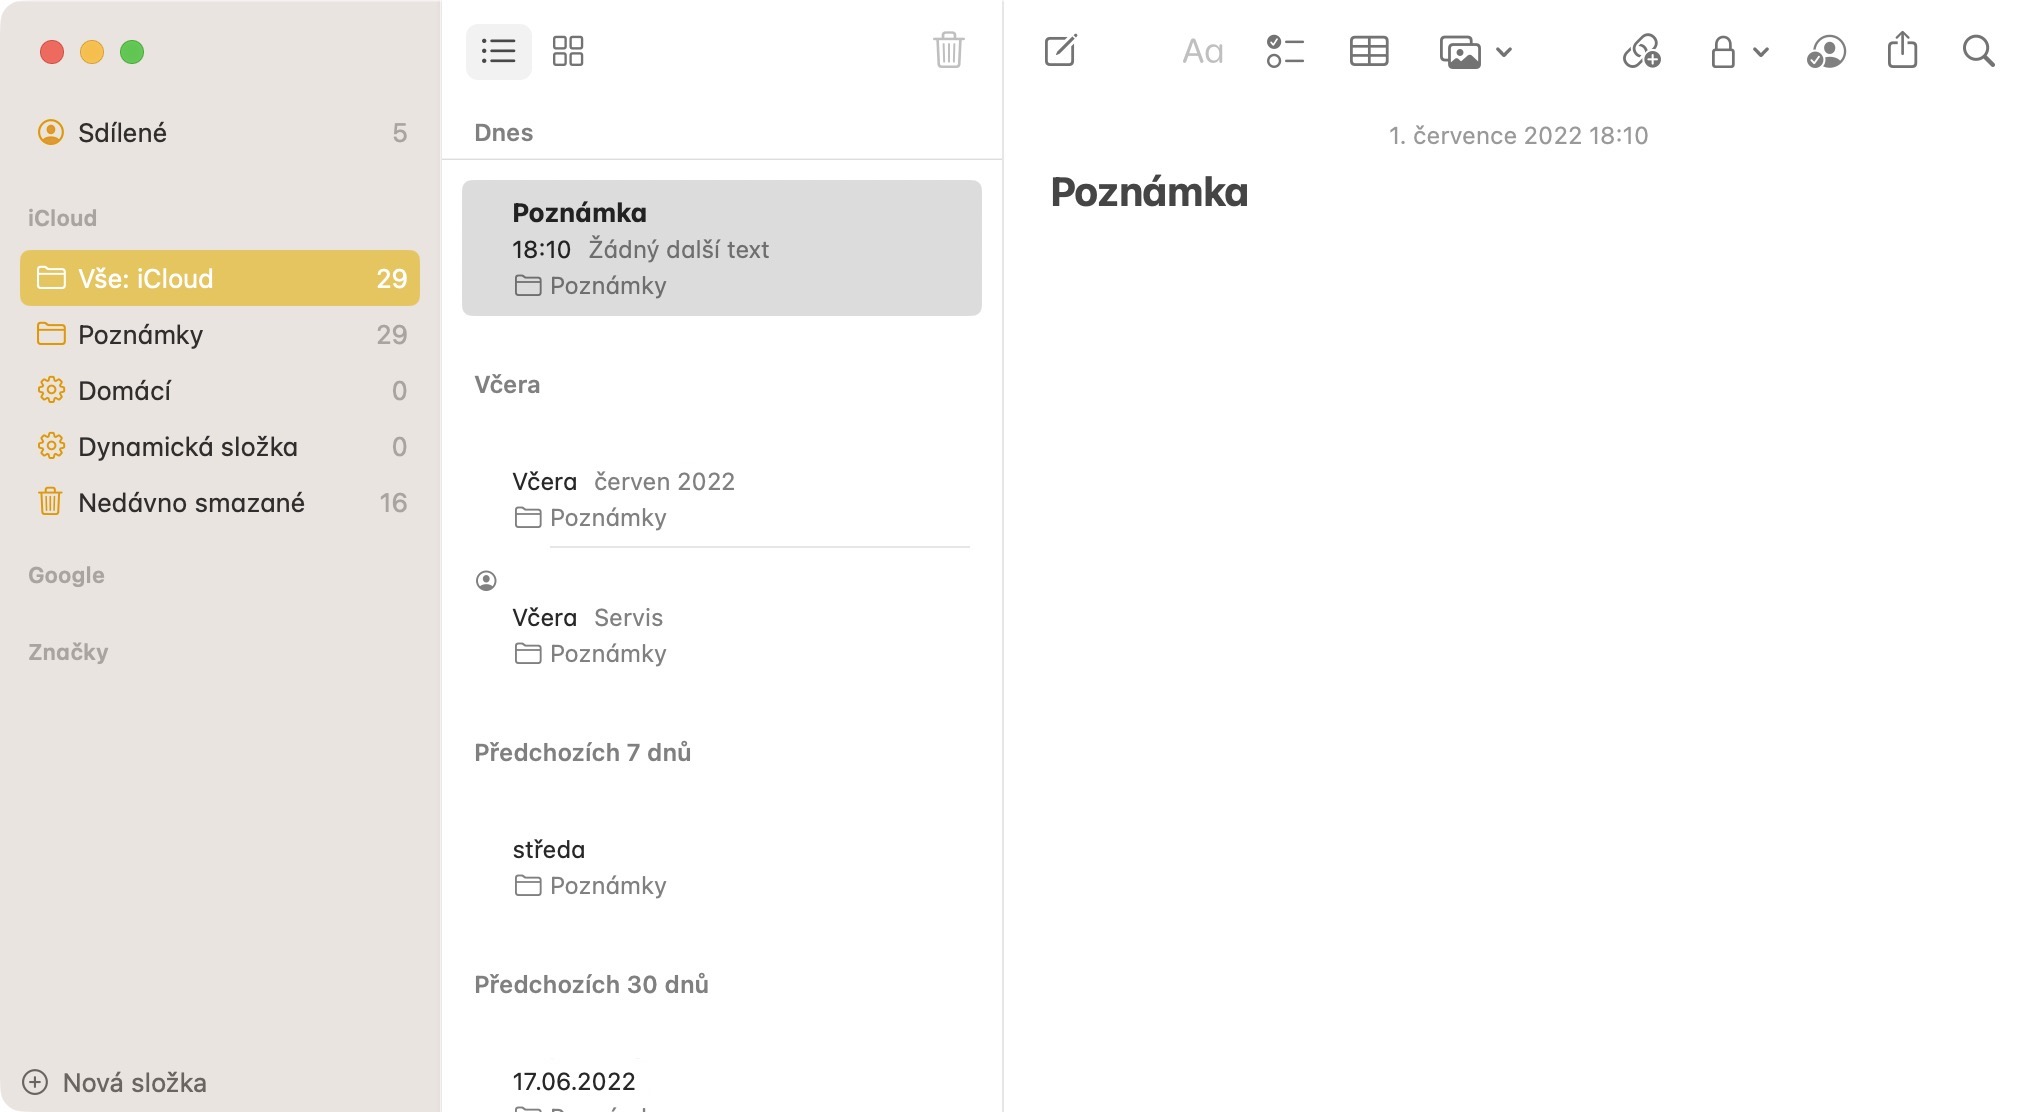
In older versions of macOS, individual notes in folders were displayed simply stacked under each other, without any sorting, which could be confusing for some users. However, in order to improve the clarity of the Notes application, Apple decided to come up with a novelty in the form of macOS Ventura grouping notes by the date you last worked on them. Notes can thus be grouped into categories in the form of Today, Yesterday, Previous 7 days, Previous 30 days, months, years and others, which will certainly come in handy.
Collaboration via link
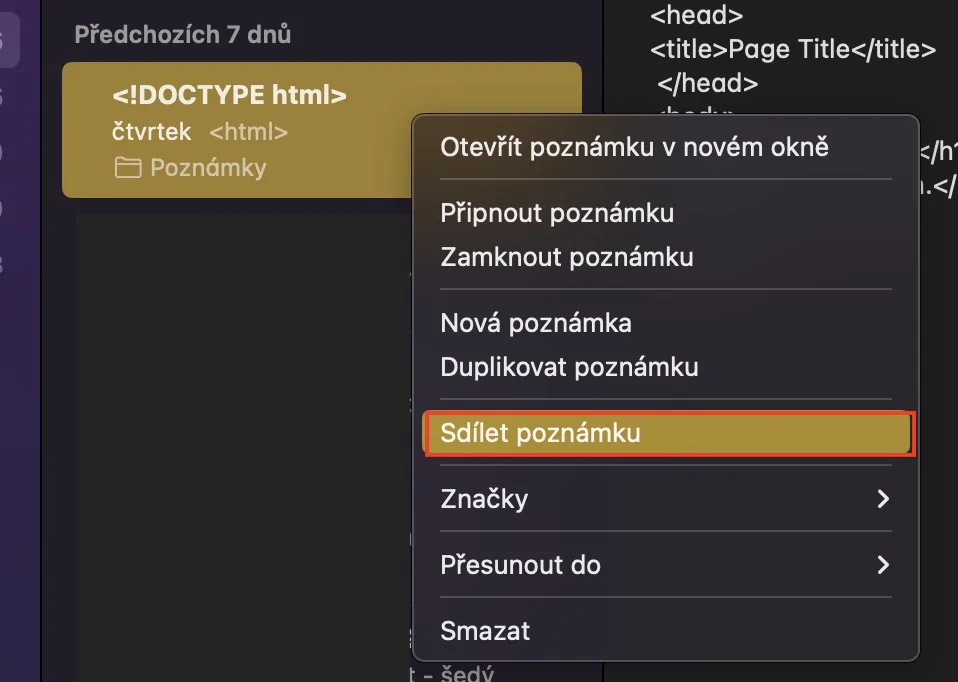
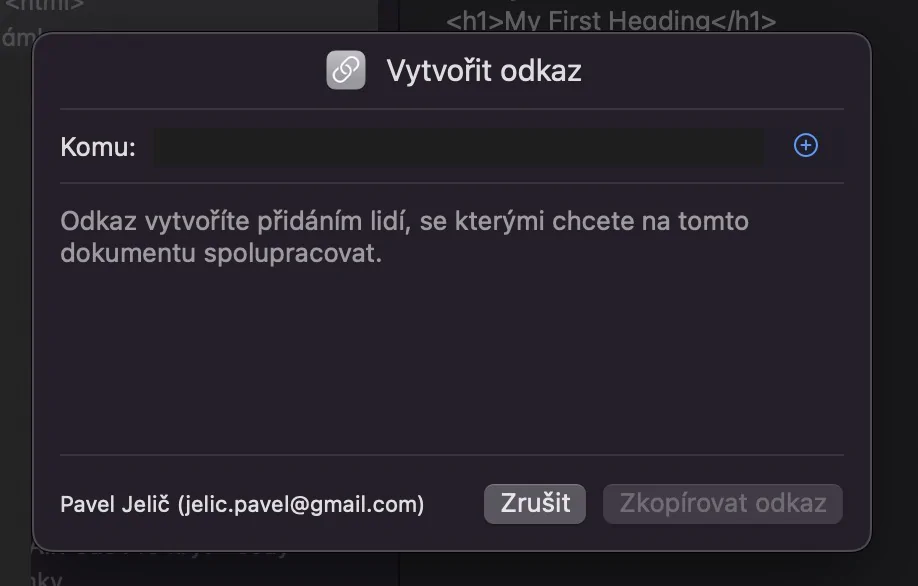
The native Notes app isn't really just for writing blank text. Images, links, tables and much more can be inserted into individual notes, with the fact that you can then share them with other users and thus collaborate with them. Anyway, within macOS Ventura, starting a new collaboration on some of the notes is even easier. While in older versions of macOS you could send an invitation to share only through one of the applications, now you can invite another person simply through a link. You get it by right-click the note (two fingers), and then select Share invitation → Invite via link. Subsequently, it is enough to send the link through any application, with the other party clicking on it and immediately being able to cooperate with you.
