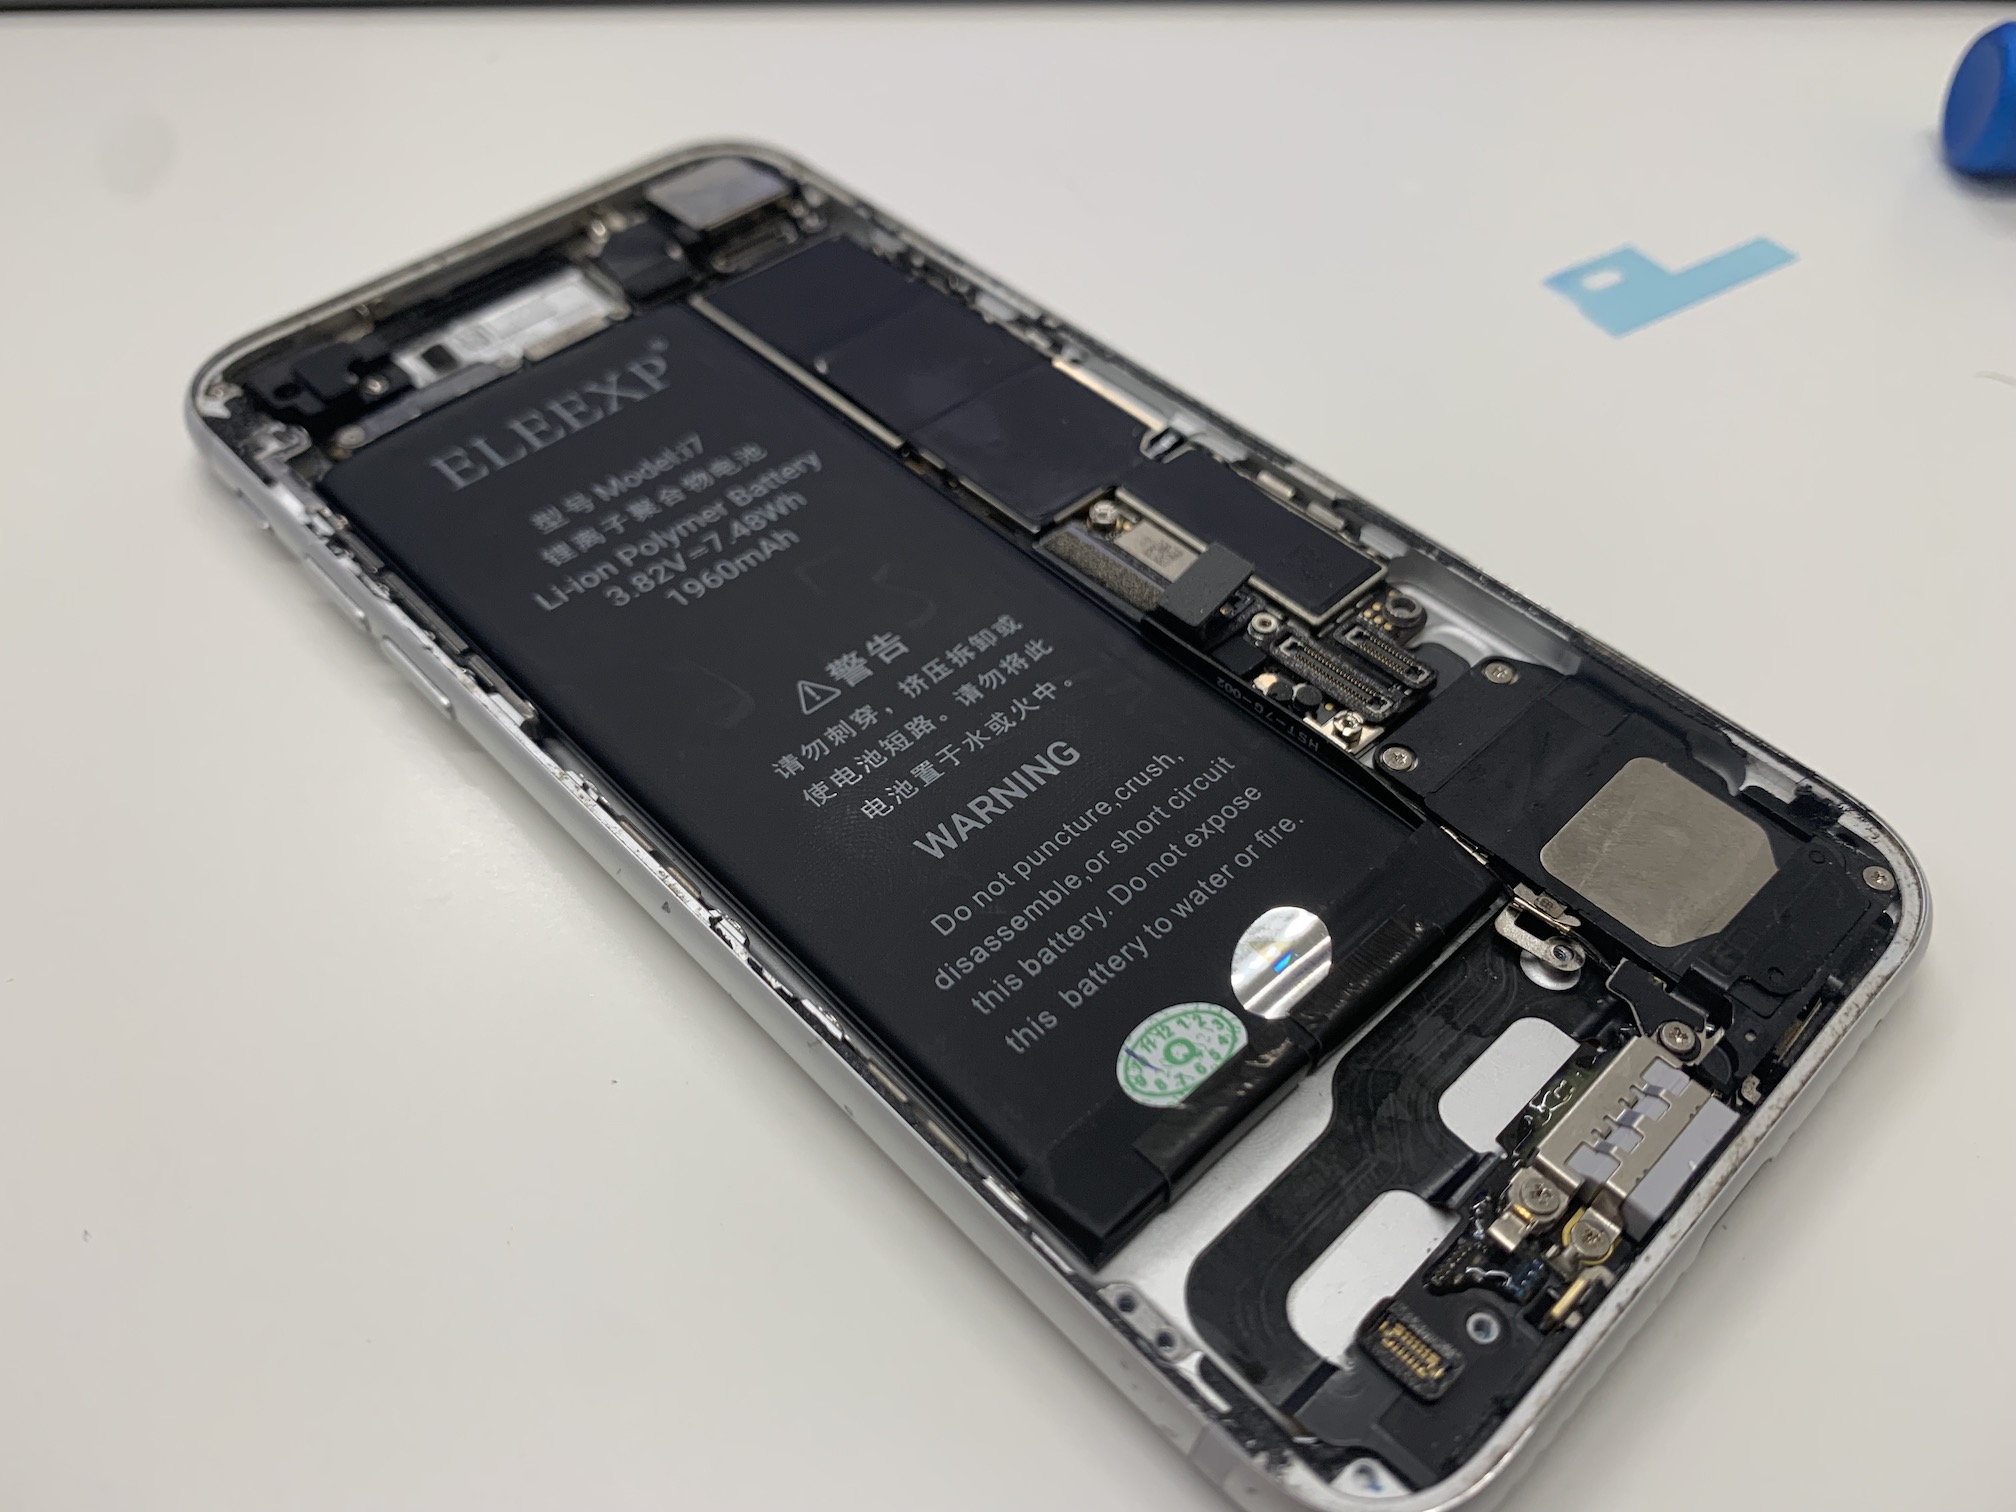
The battery inside the iPhone and virtually all other devices is a consumable that loses its properties over time and use. This means that after a certain period of time, your iPhone's battery will lose some of its maximum capacity and may not be able to provide sufficient performance to the hardware. In this case, the solution is simple – replace the battery. You can have this done by a service technician at an authorized service center, or you can do it yourself at home. However, please note that from the iPhone XS (XR), after replacing the battery at home, information is displayed that it is not possible to verify the originality of the part, see the article below. In this article, we will look together at 5 tips and tricks to watch out for when replacing the iPhone battery.
It could be interest you
Battery selection
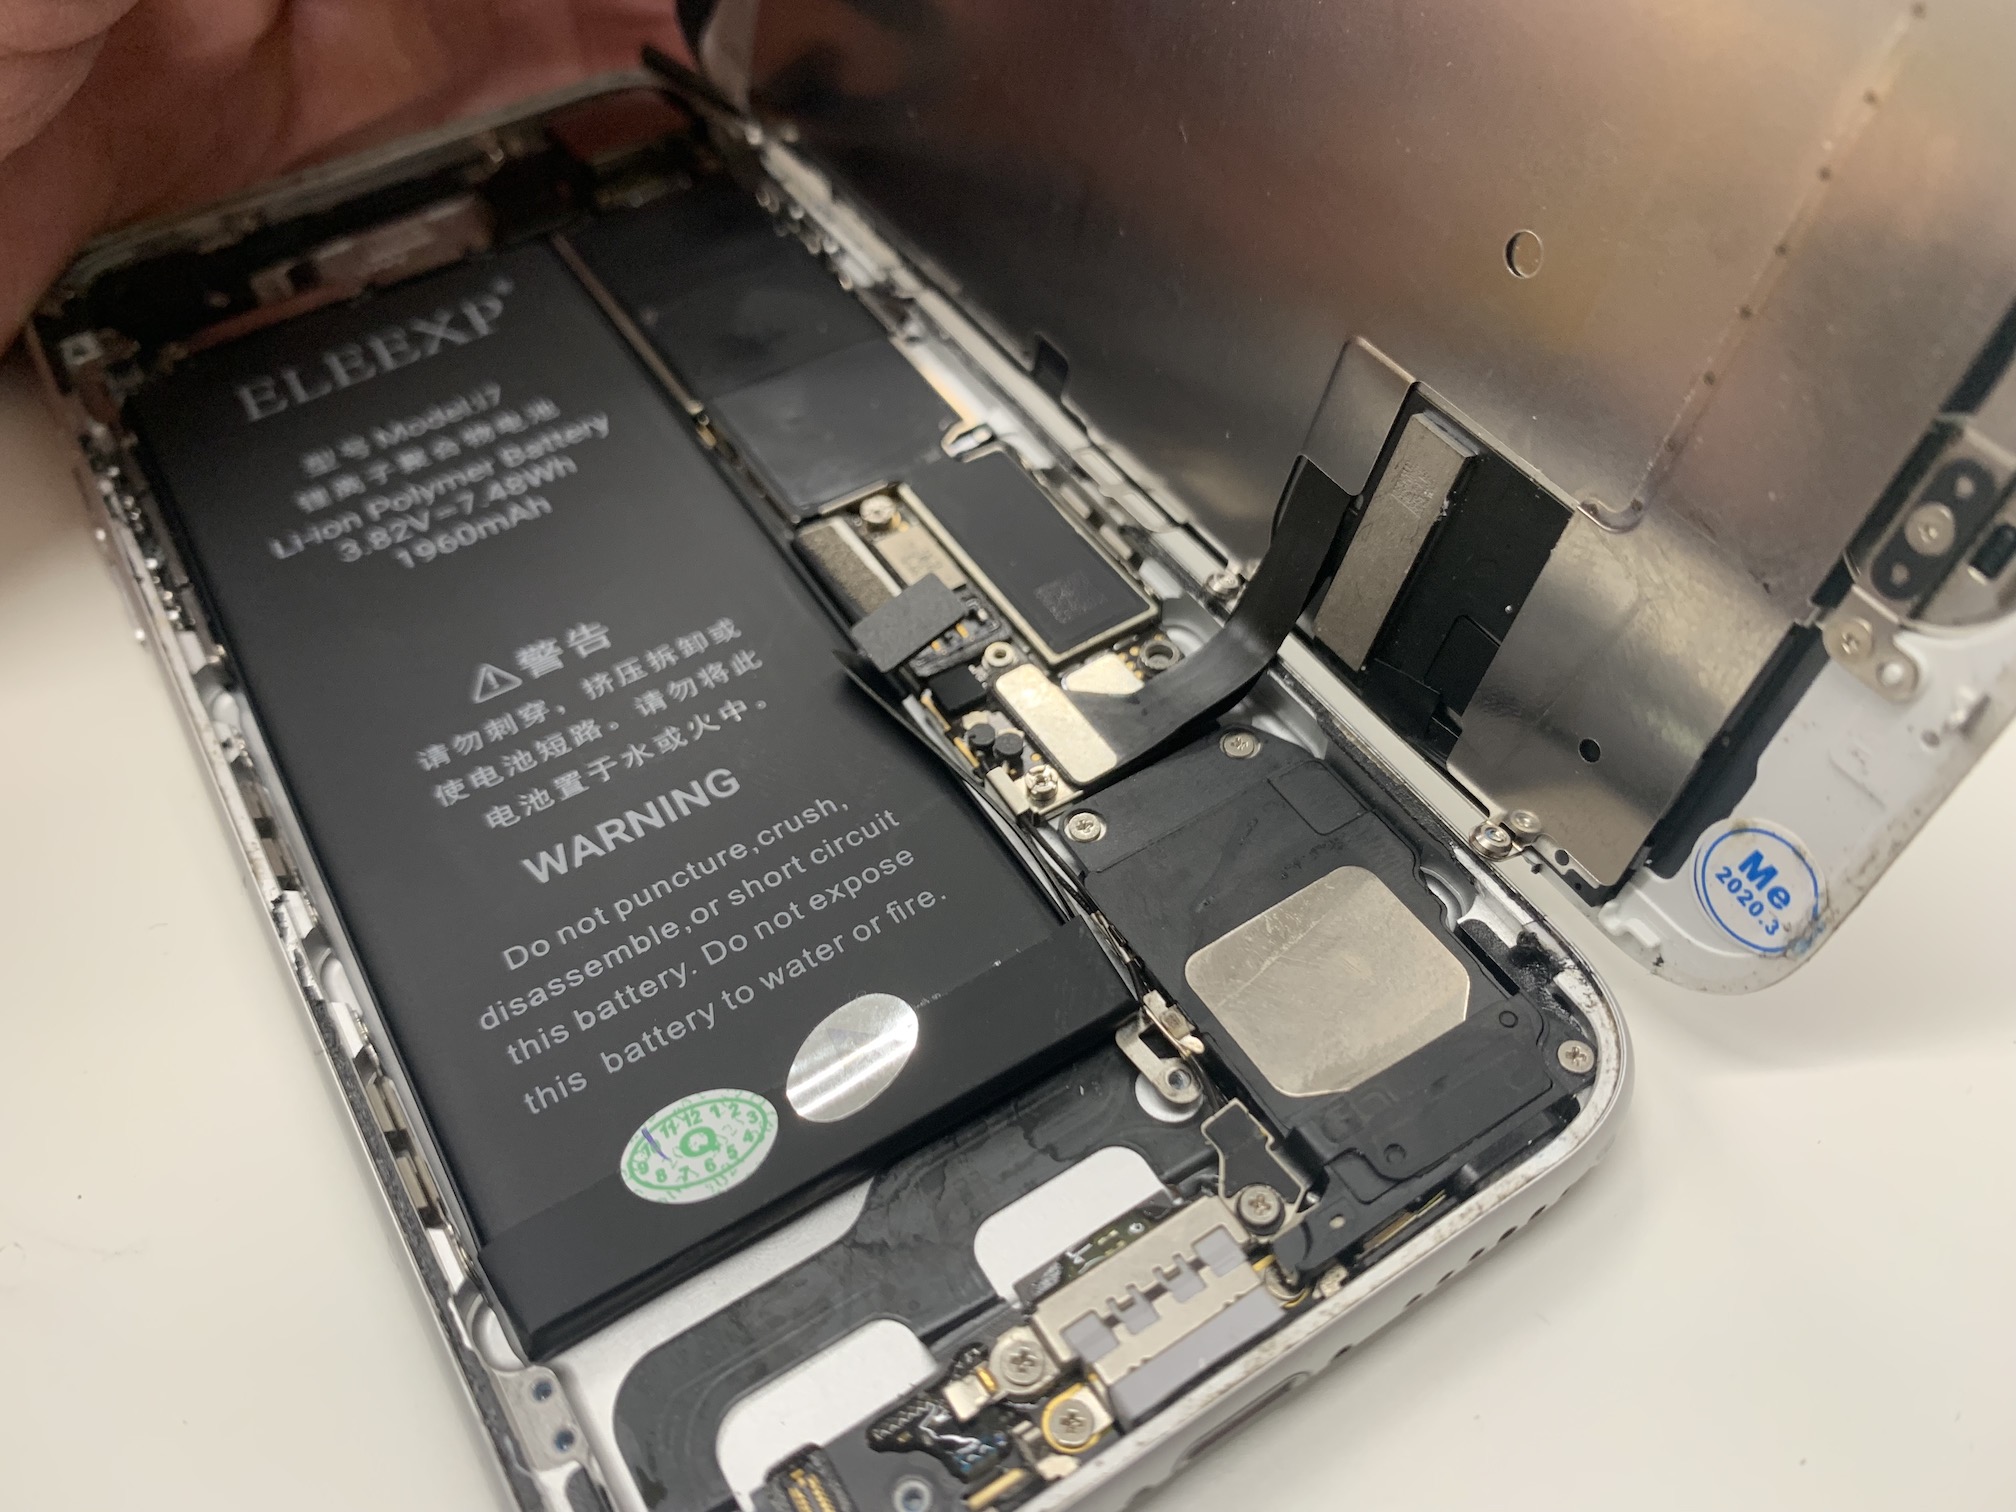
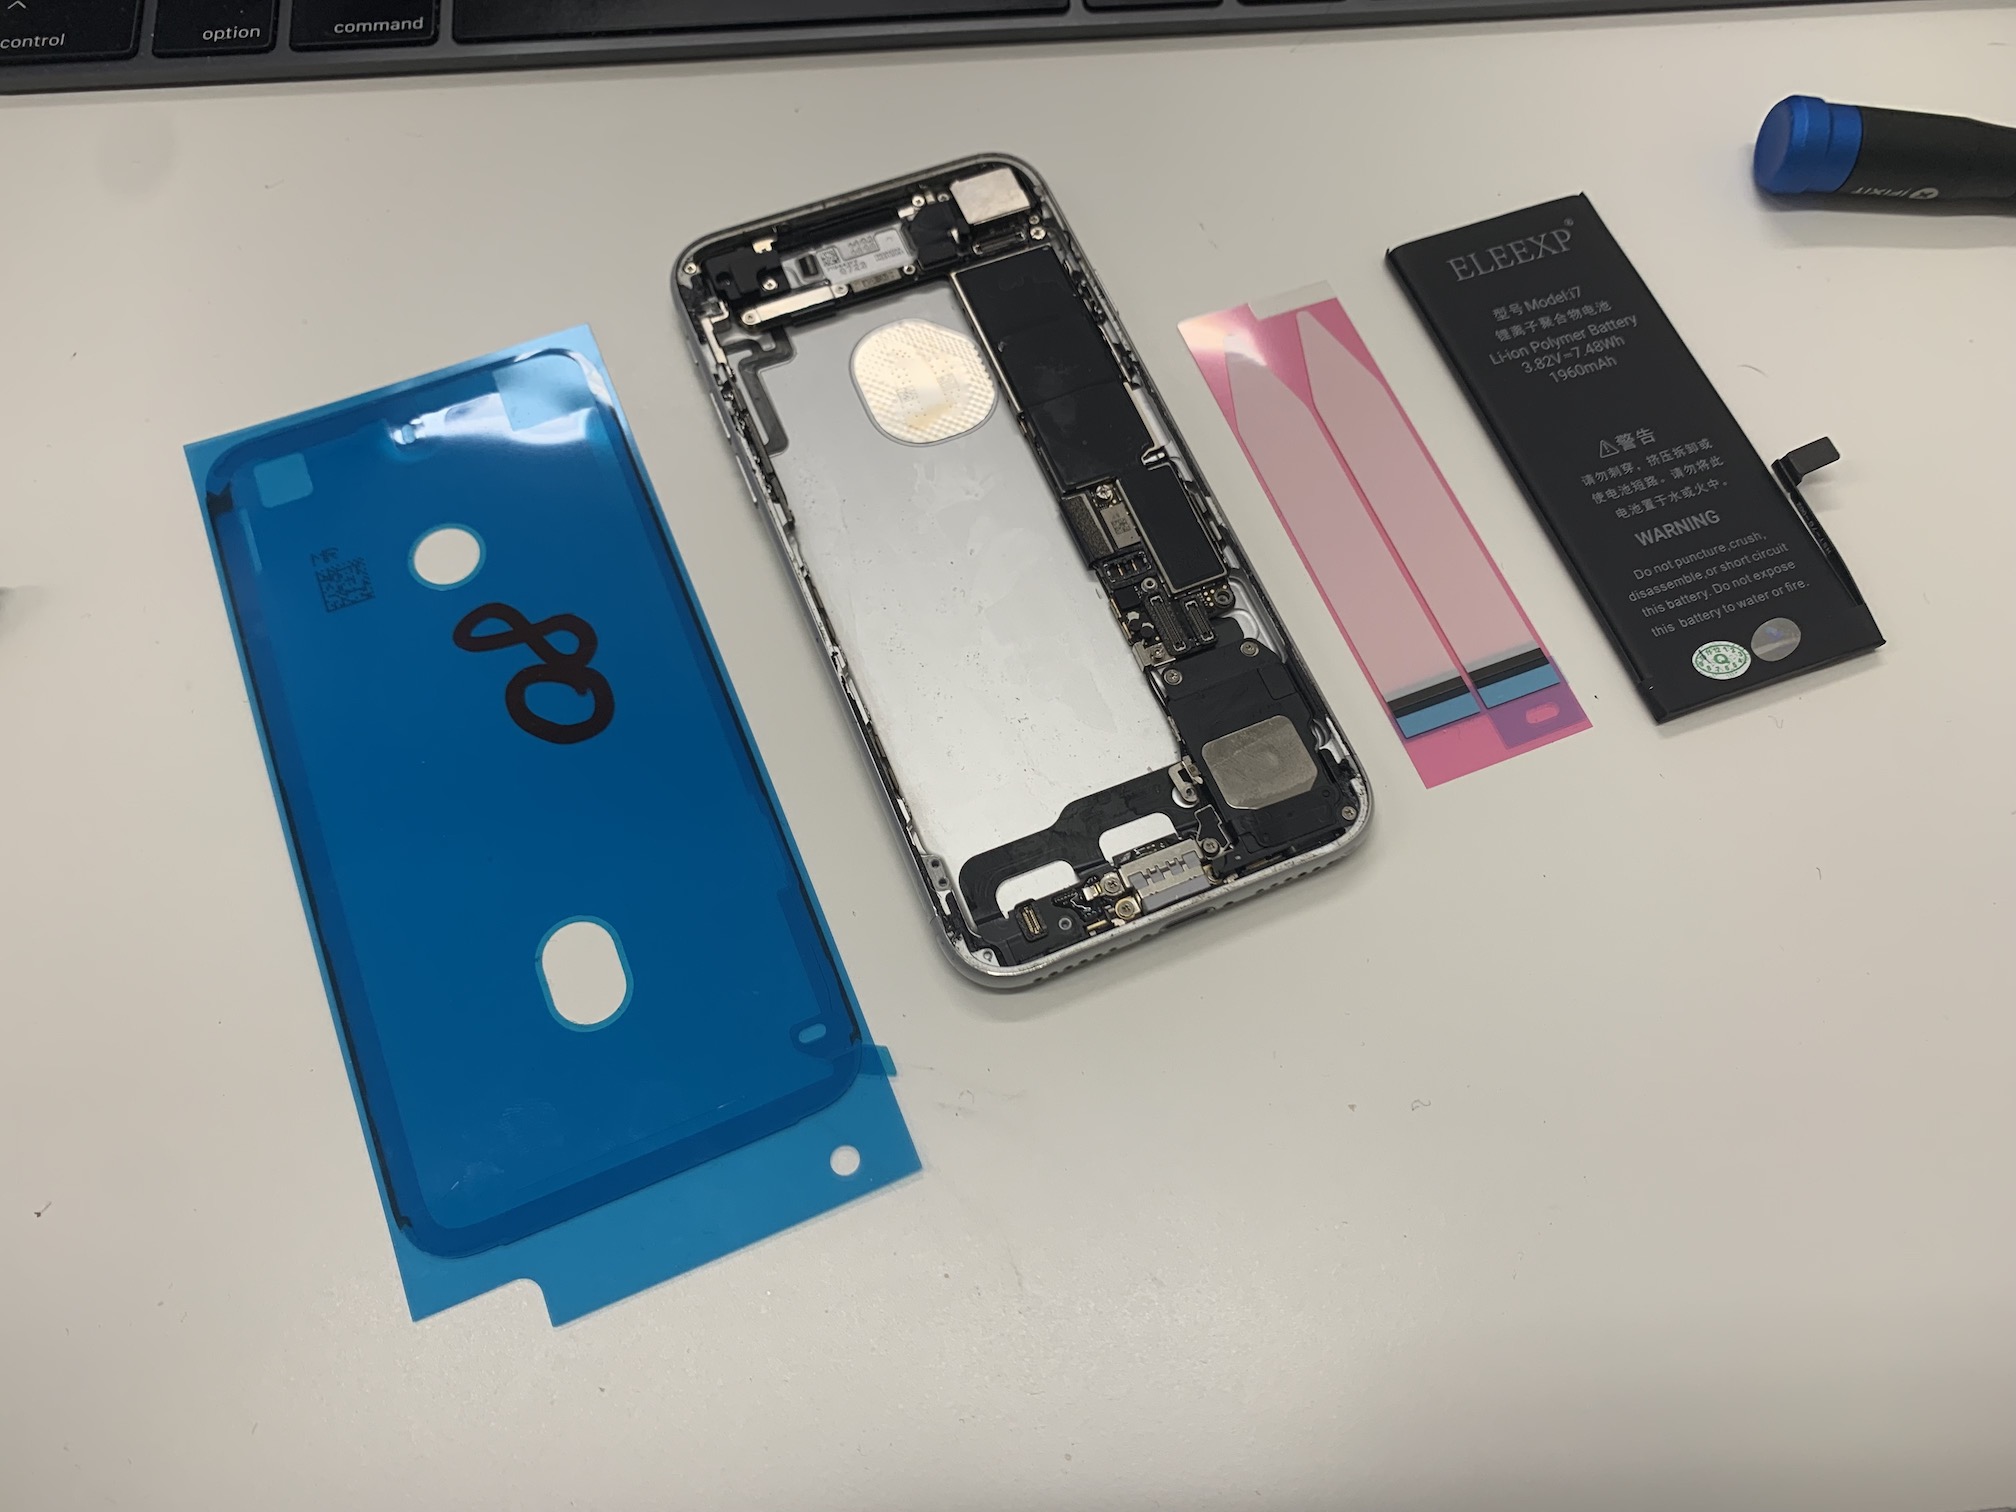
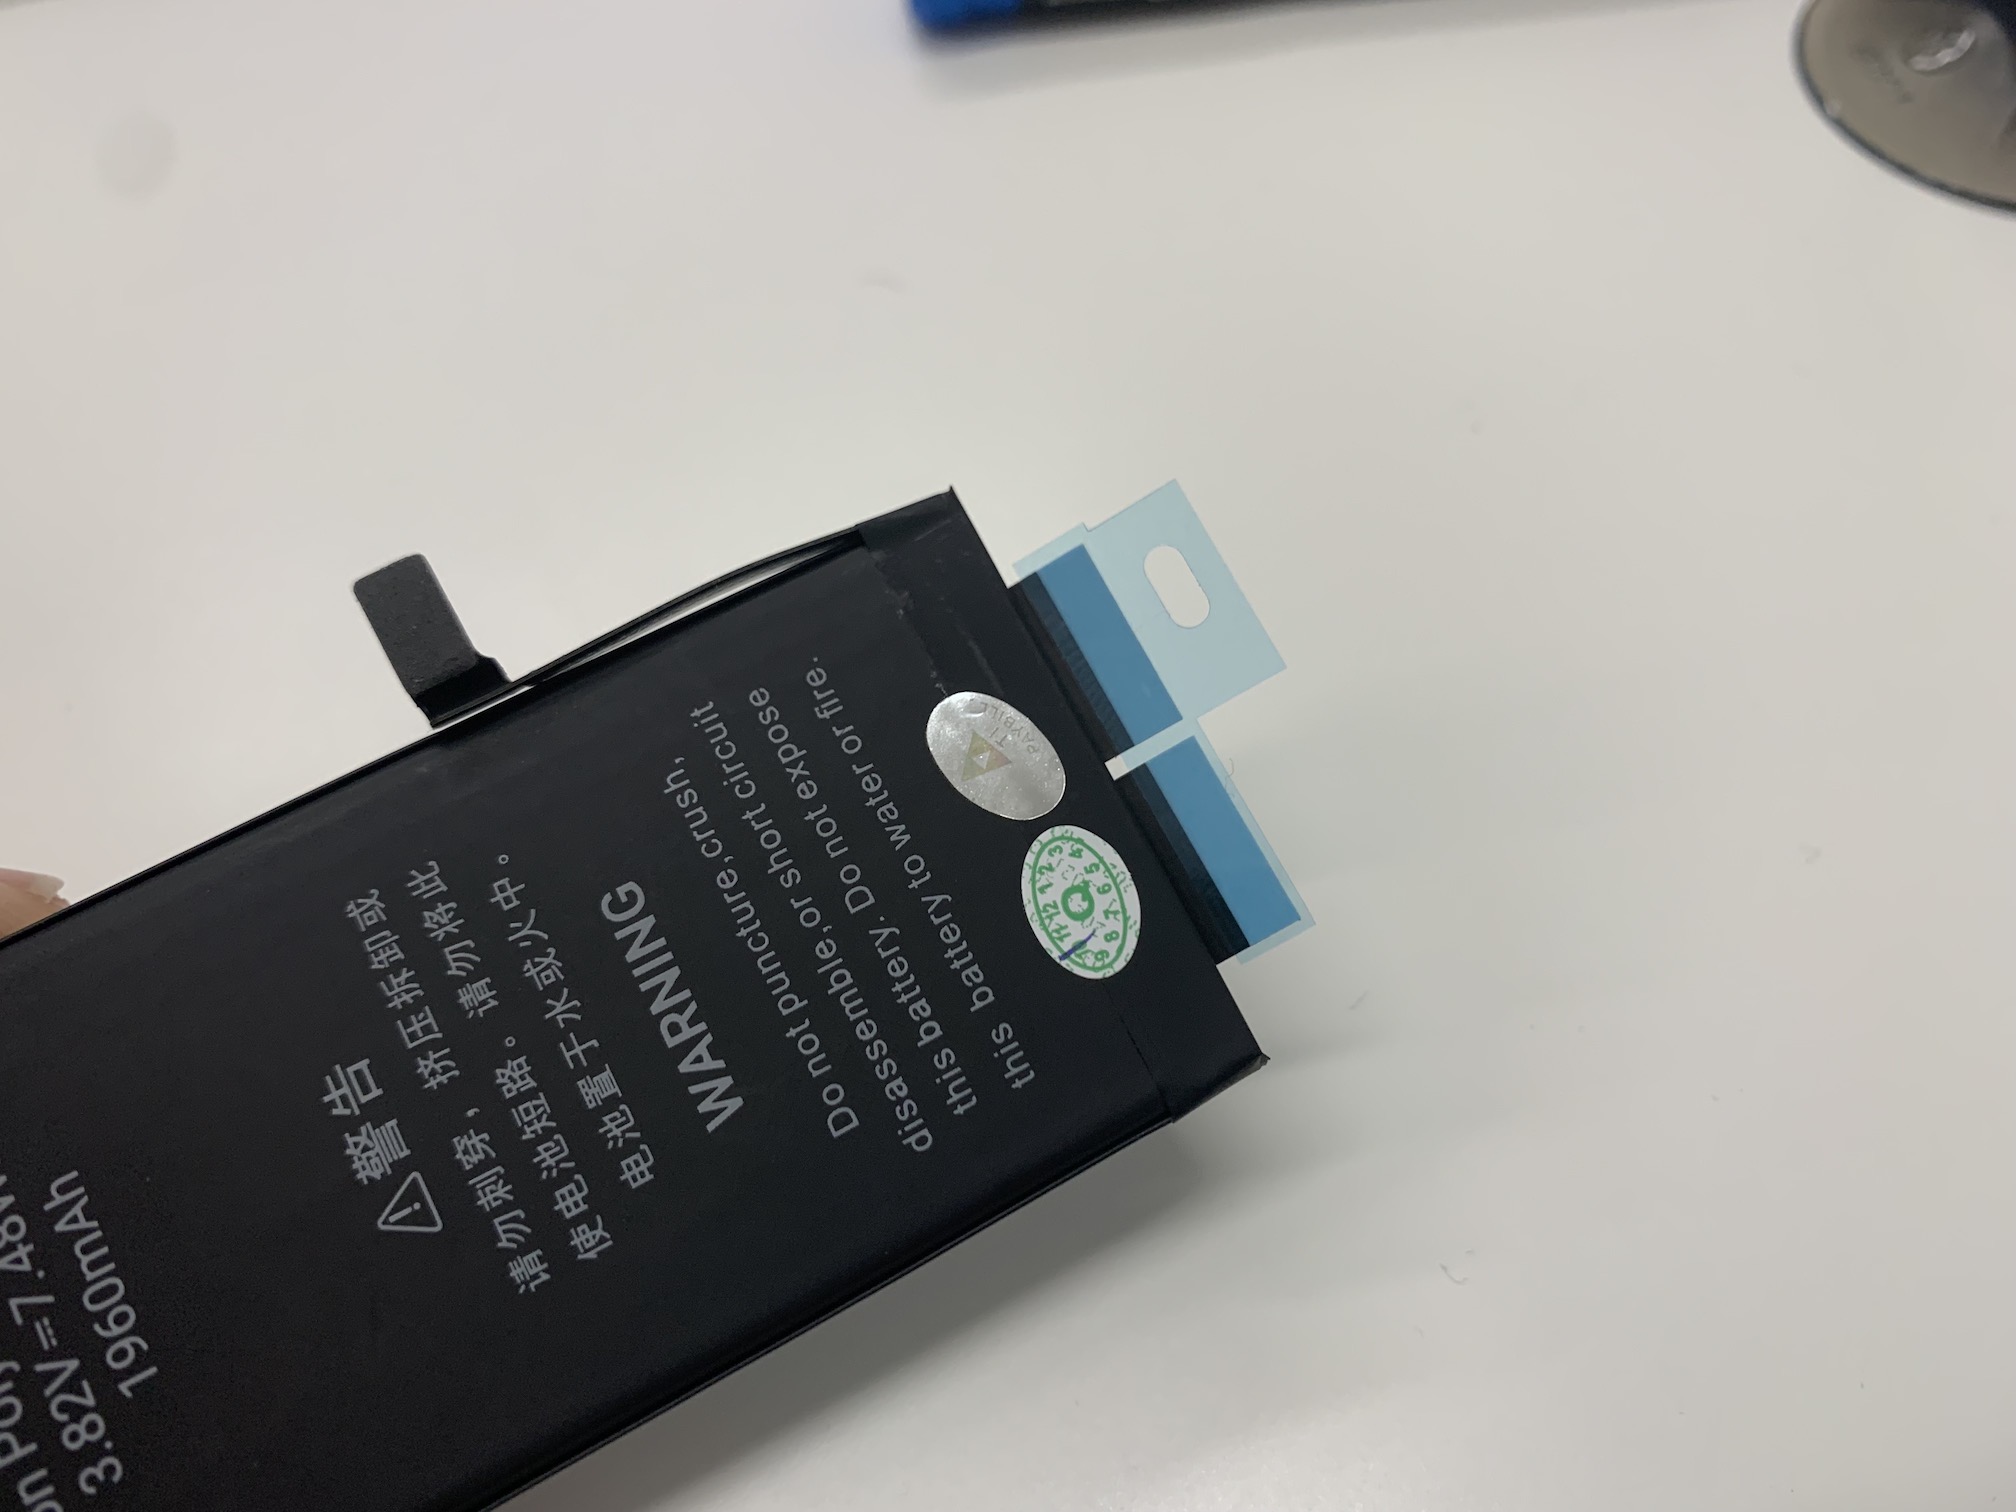
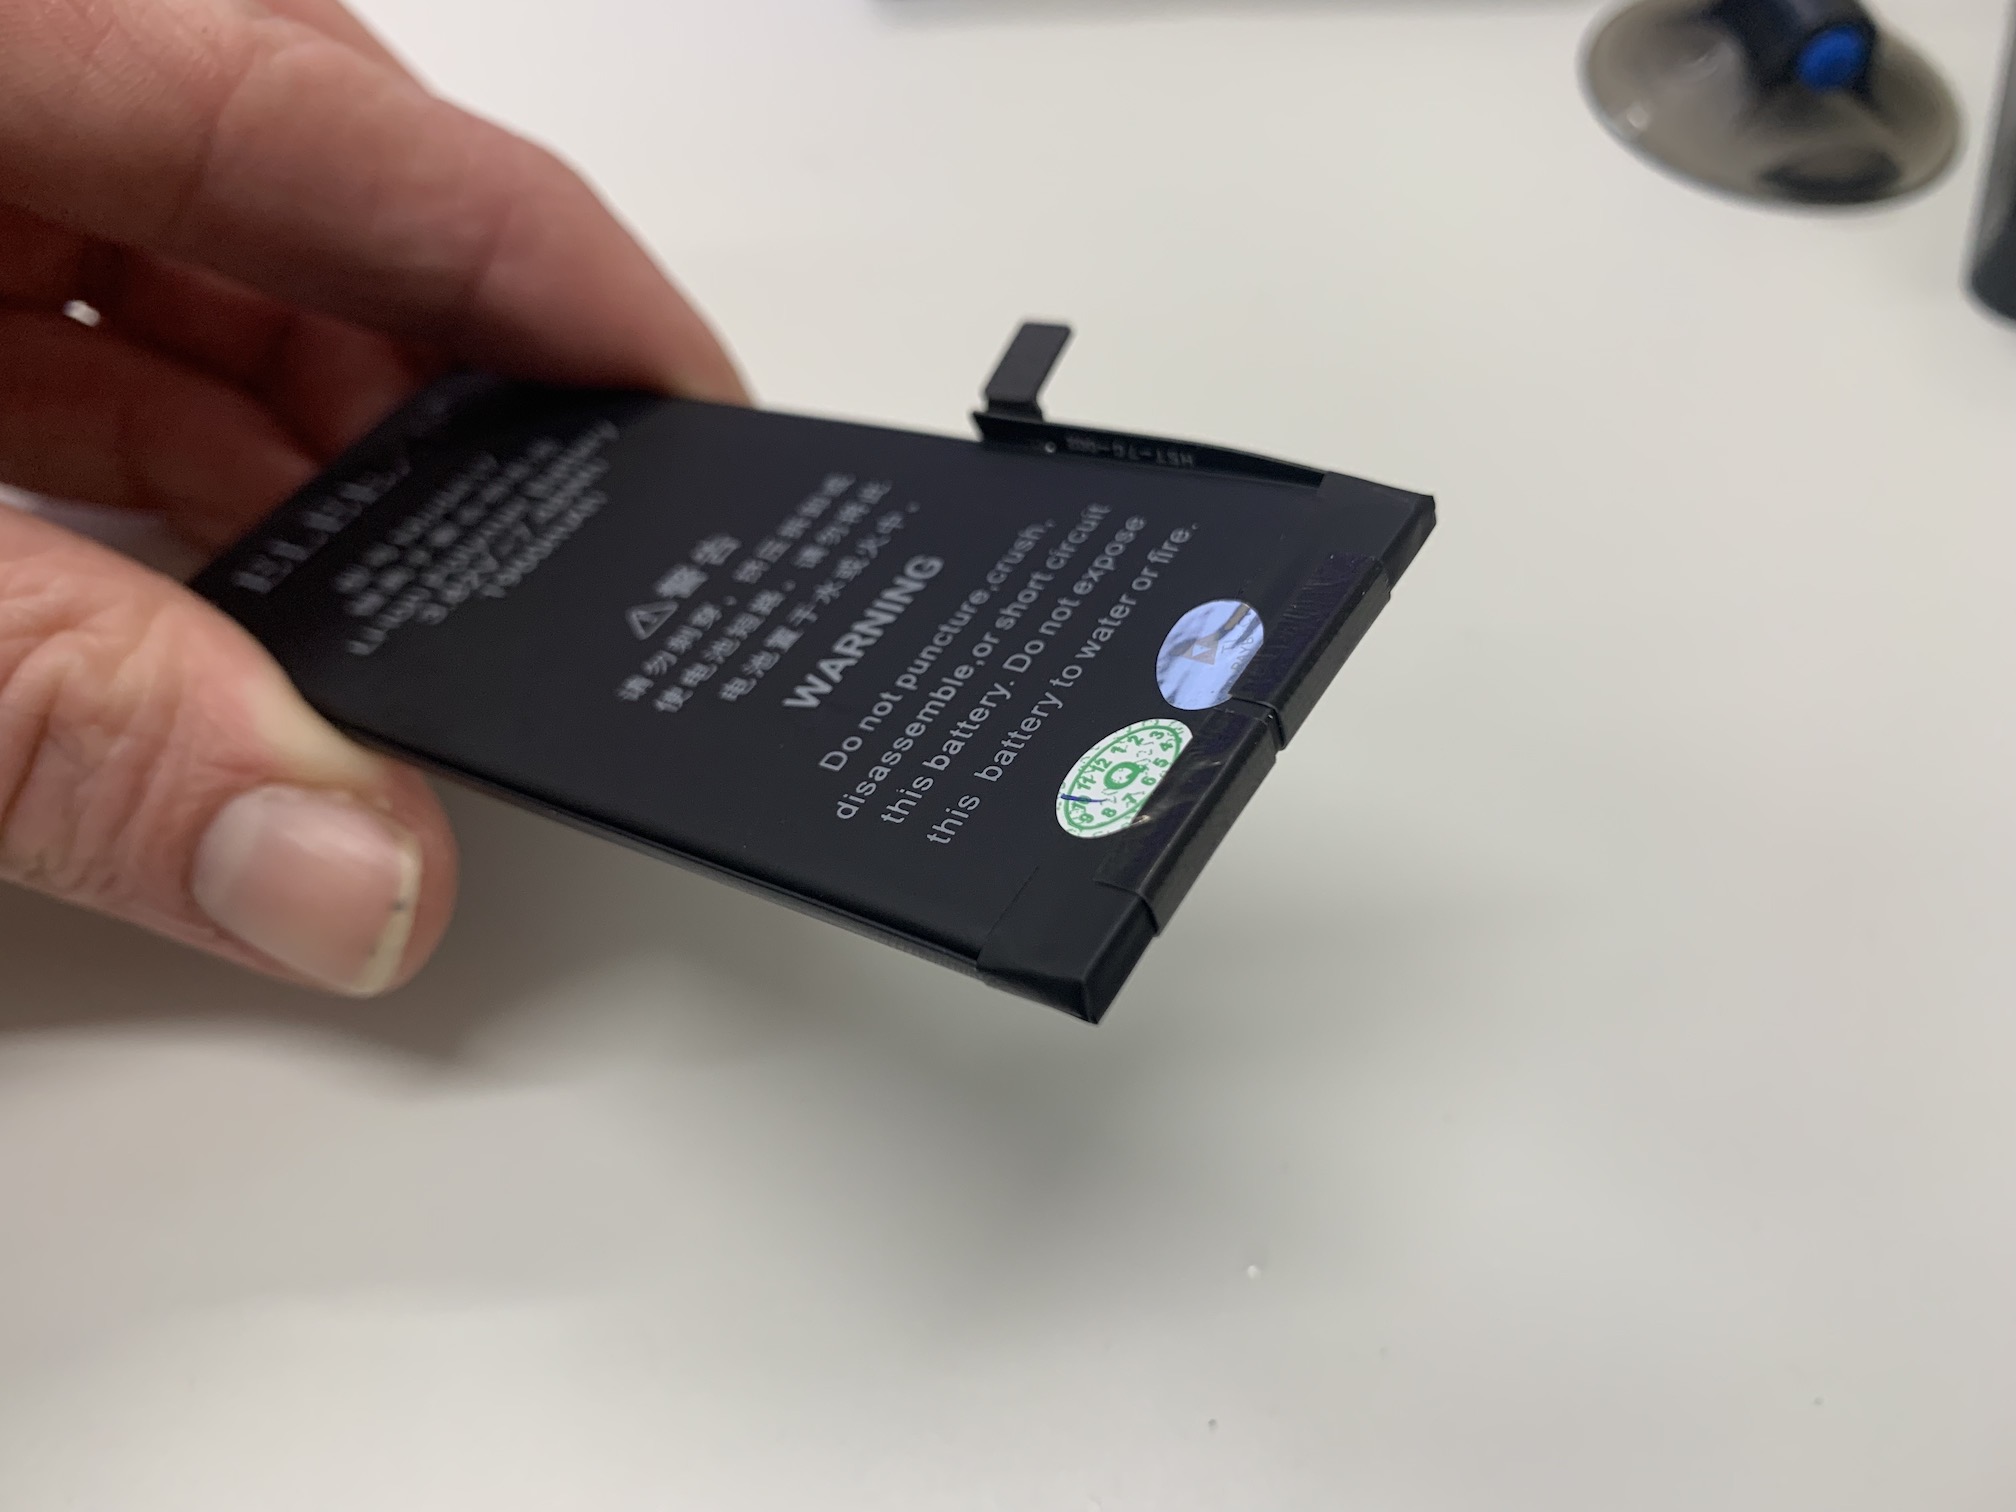
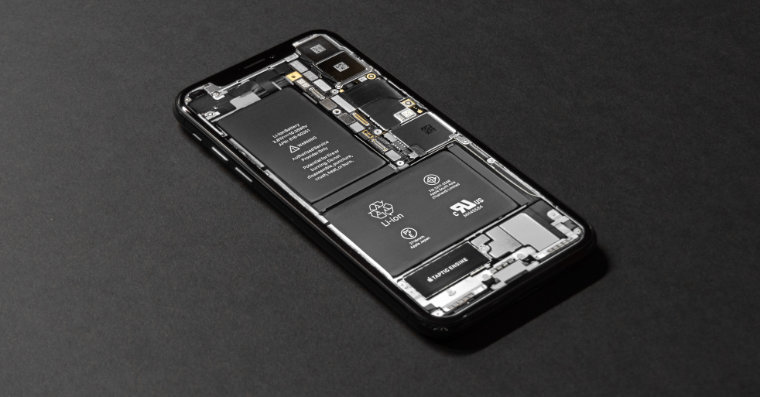
If you have decided to replace the battery yourself, it is first necessary to purchase it. You should definitely not skimp on the battery, so definitely don't buy the cheapest batteries available on the market. Some cheap batteries may not be able to communicate with the chip controlling the power supply, which can then cause poor functionality. At the same time, it is important to mention that you should not buy "genuine" batteries. Such batteries are definitely not original and can only have the logo on them - but that's where the similarity with the original ends. Only authorized services have access to original parts, no one else. So definitely look for quality, not price, when it comes to batteries.
Opening the device
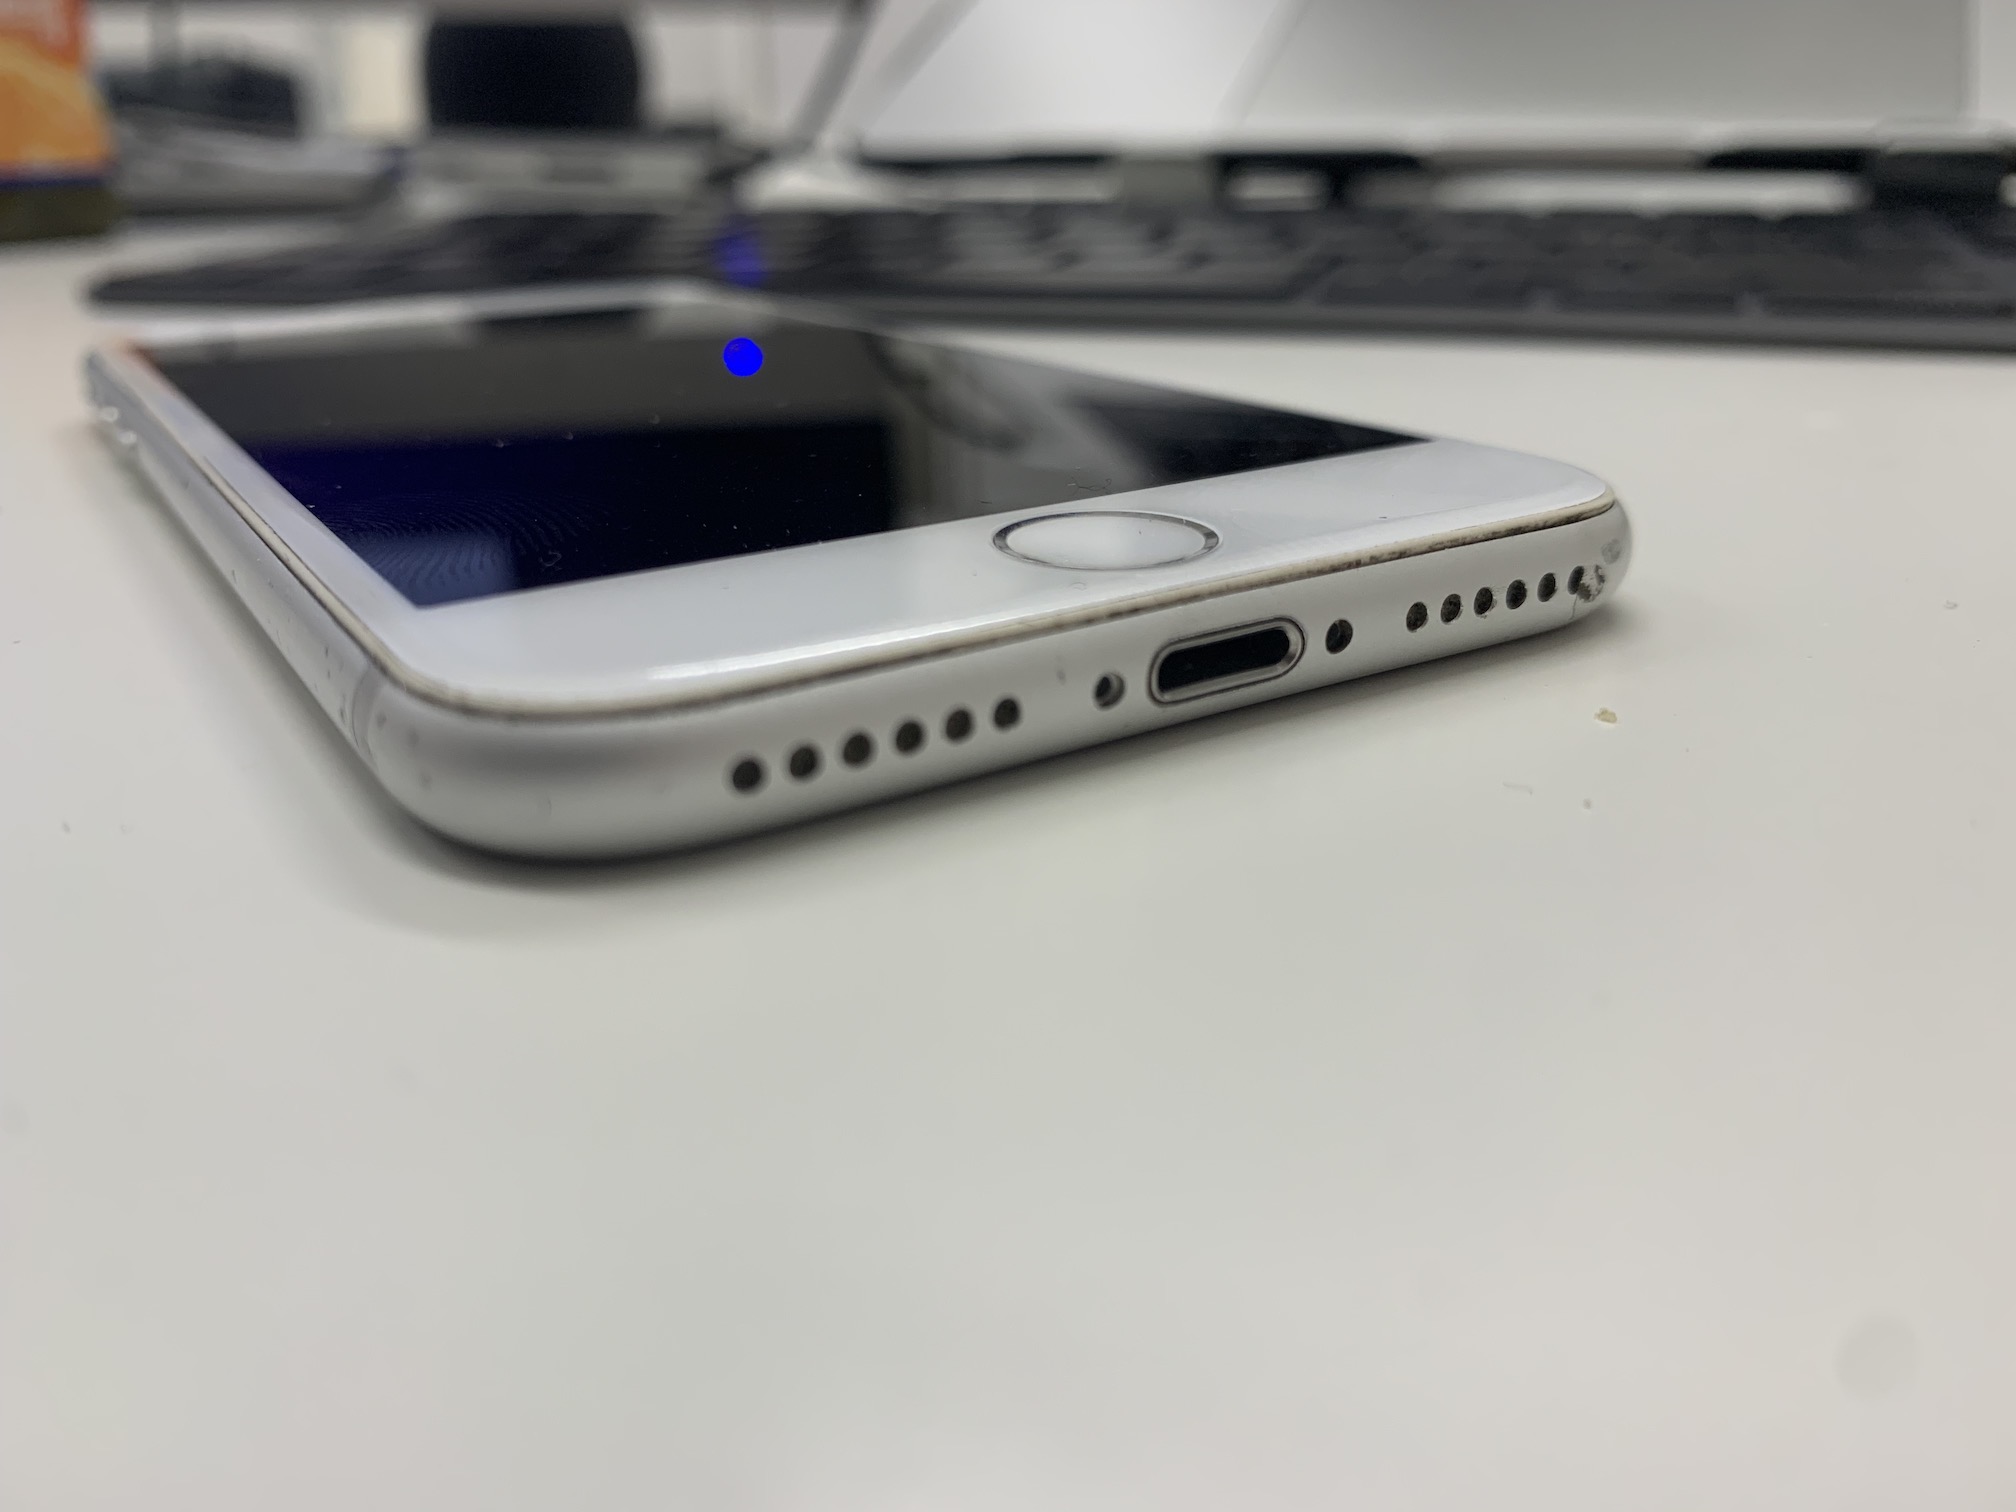
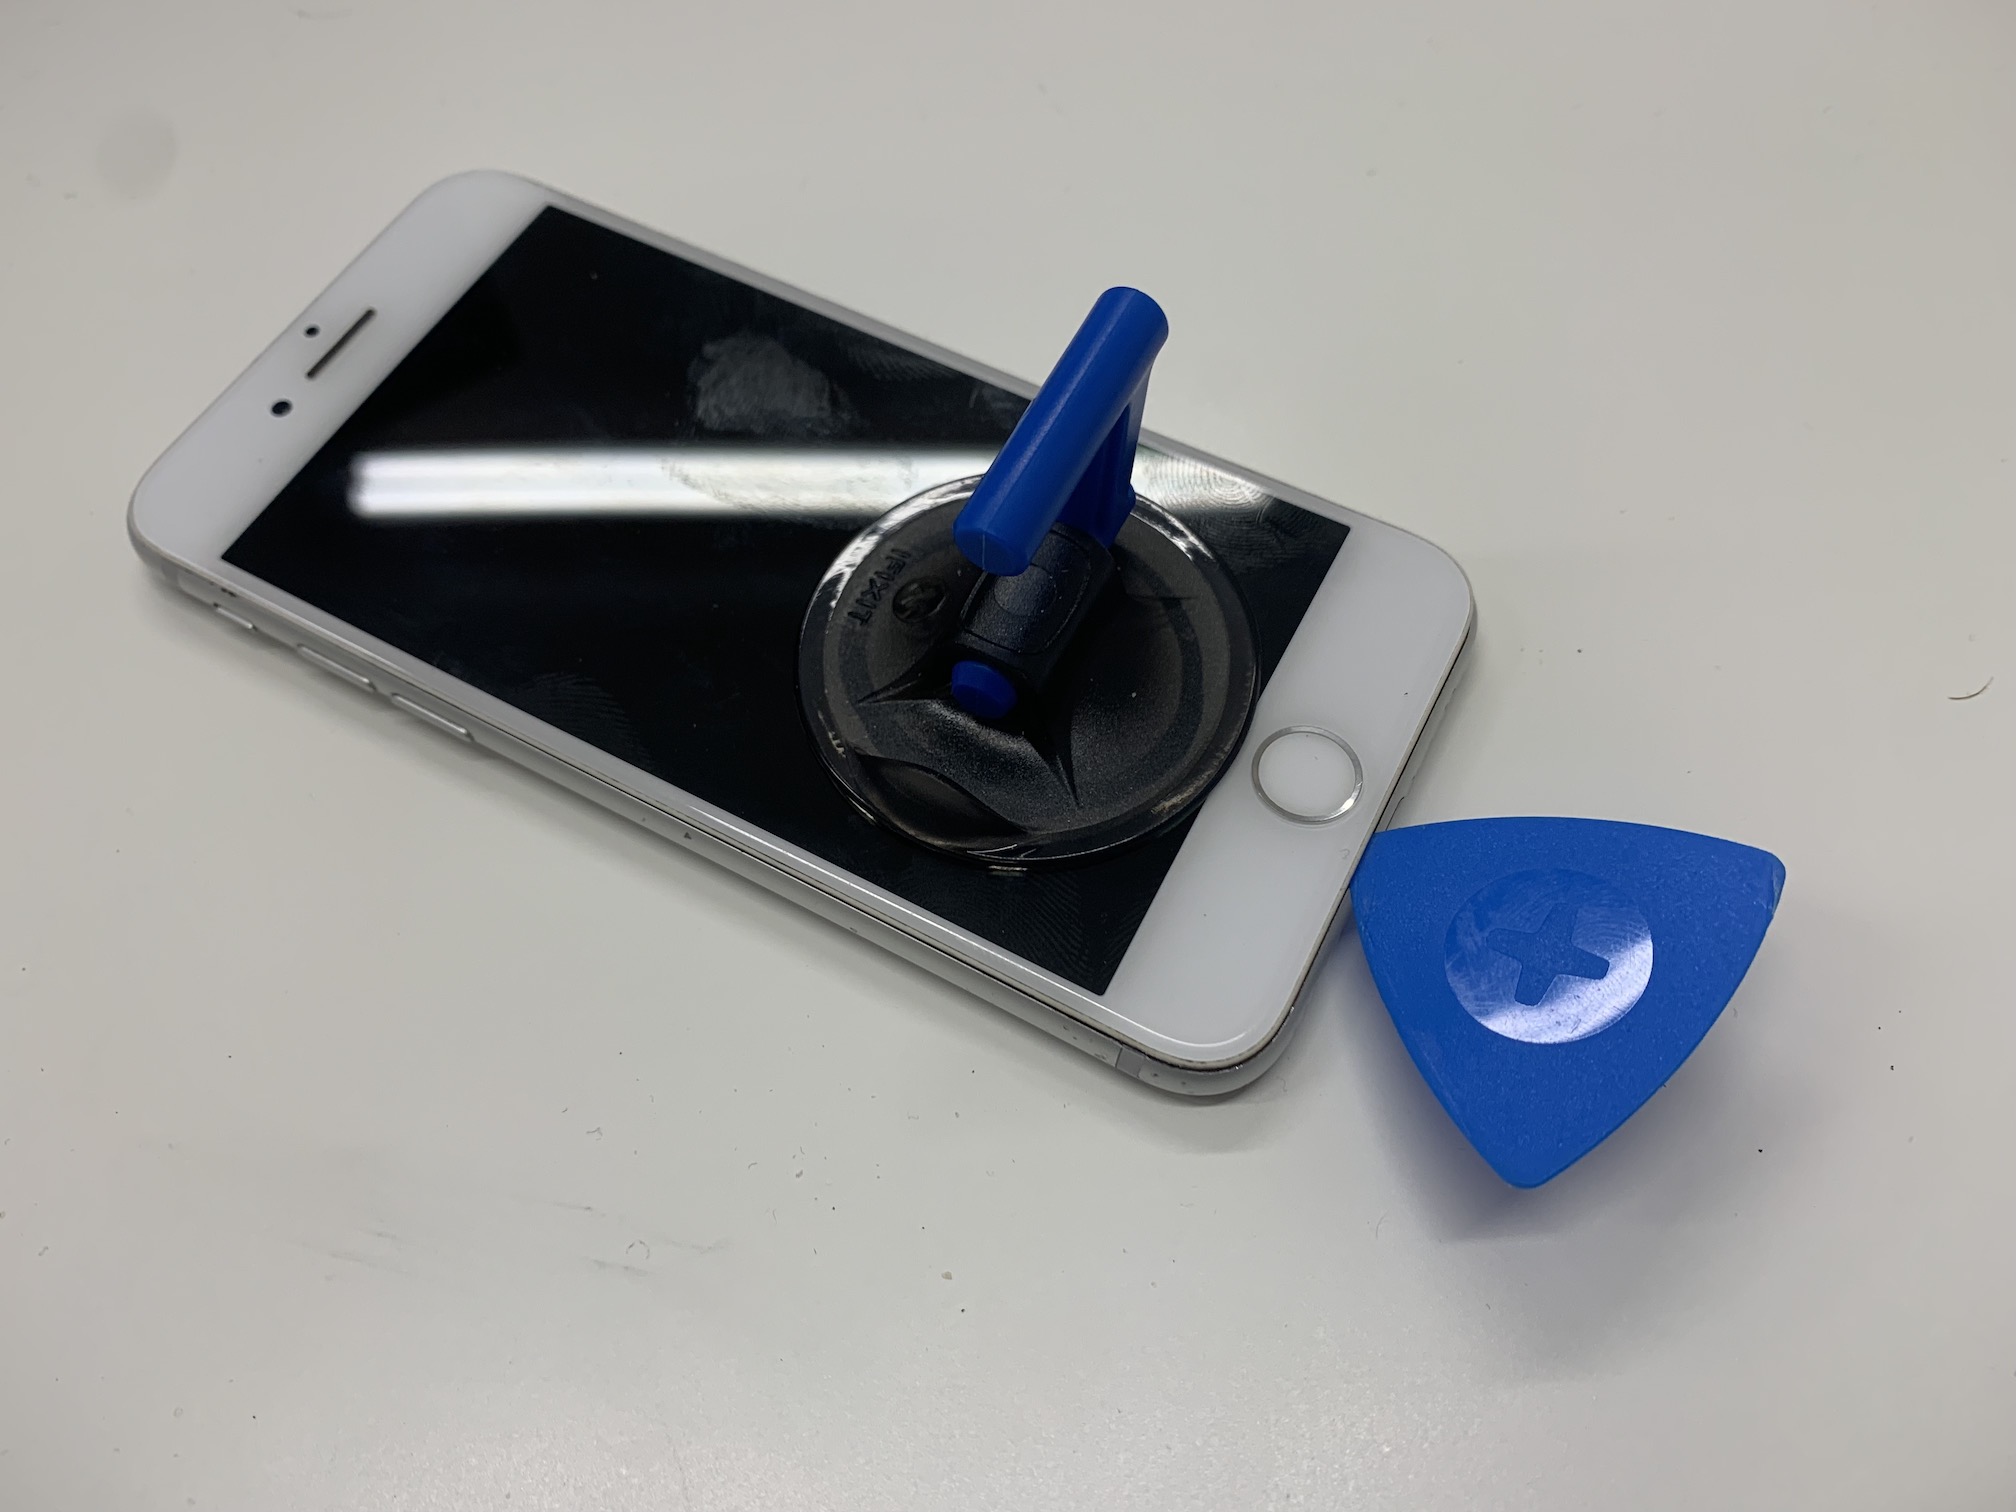
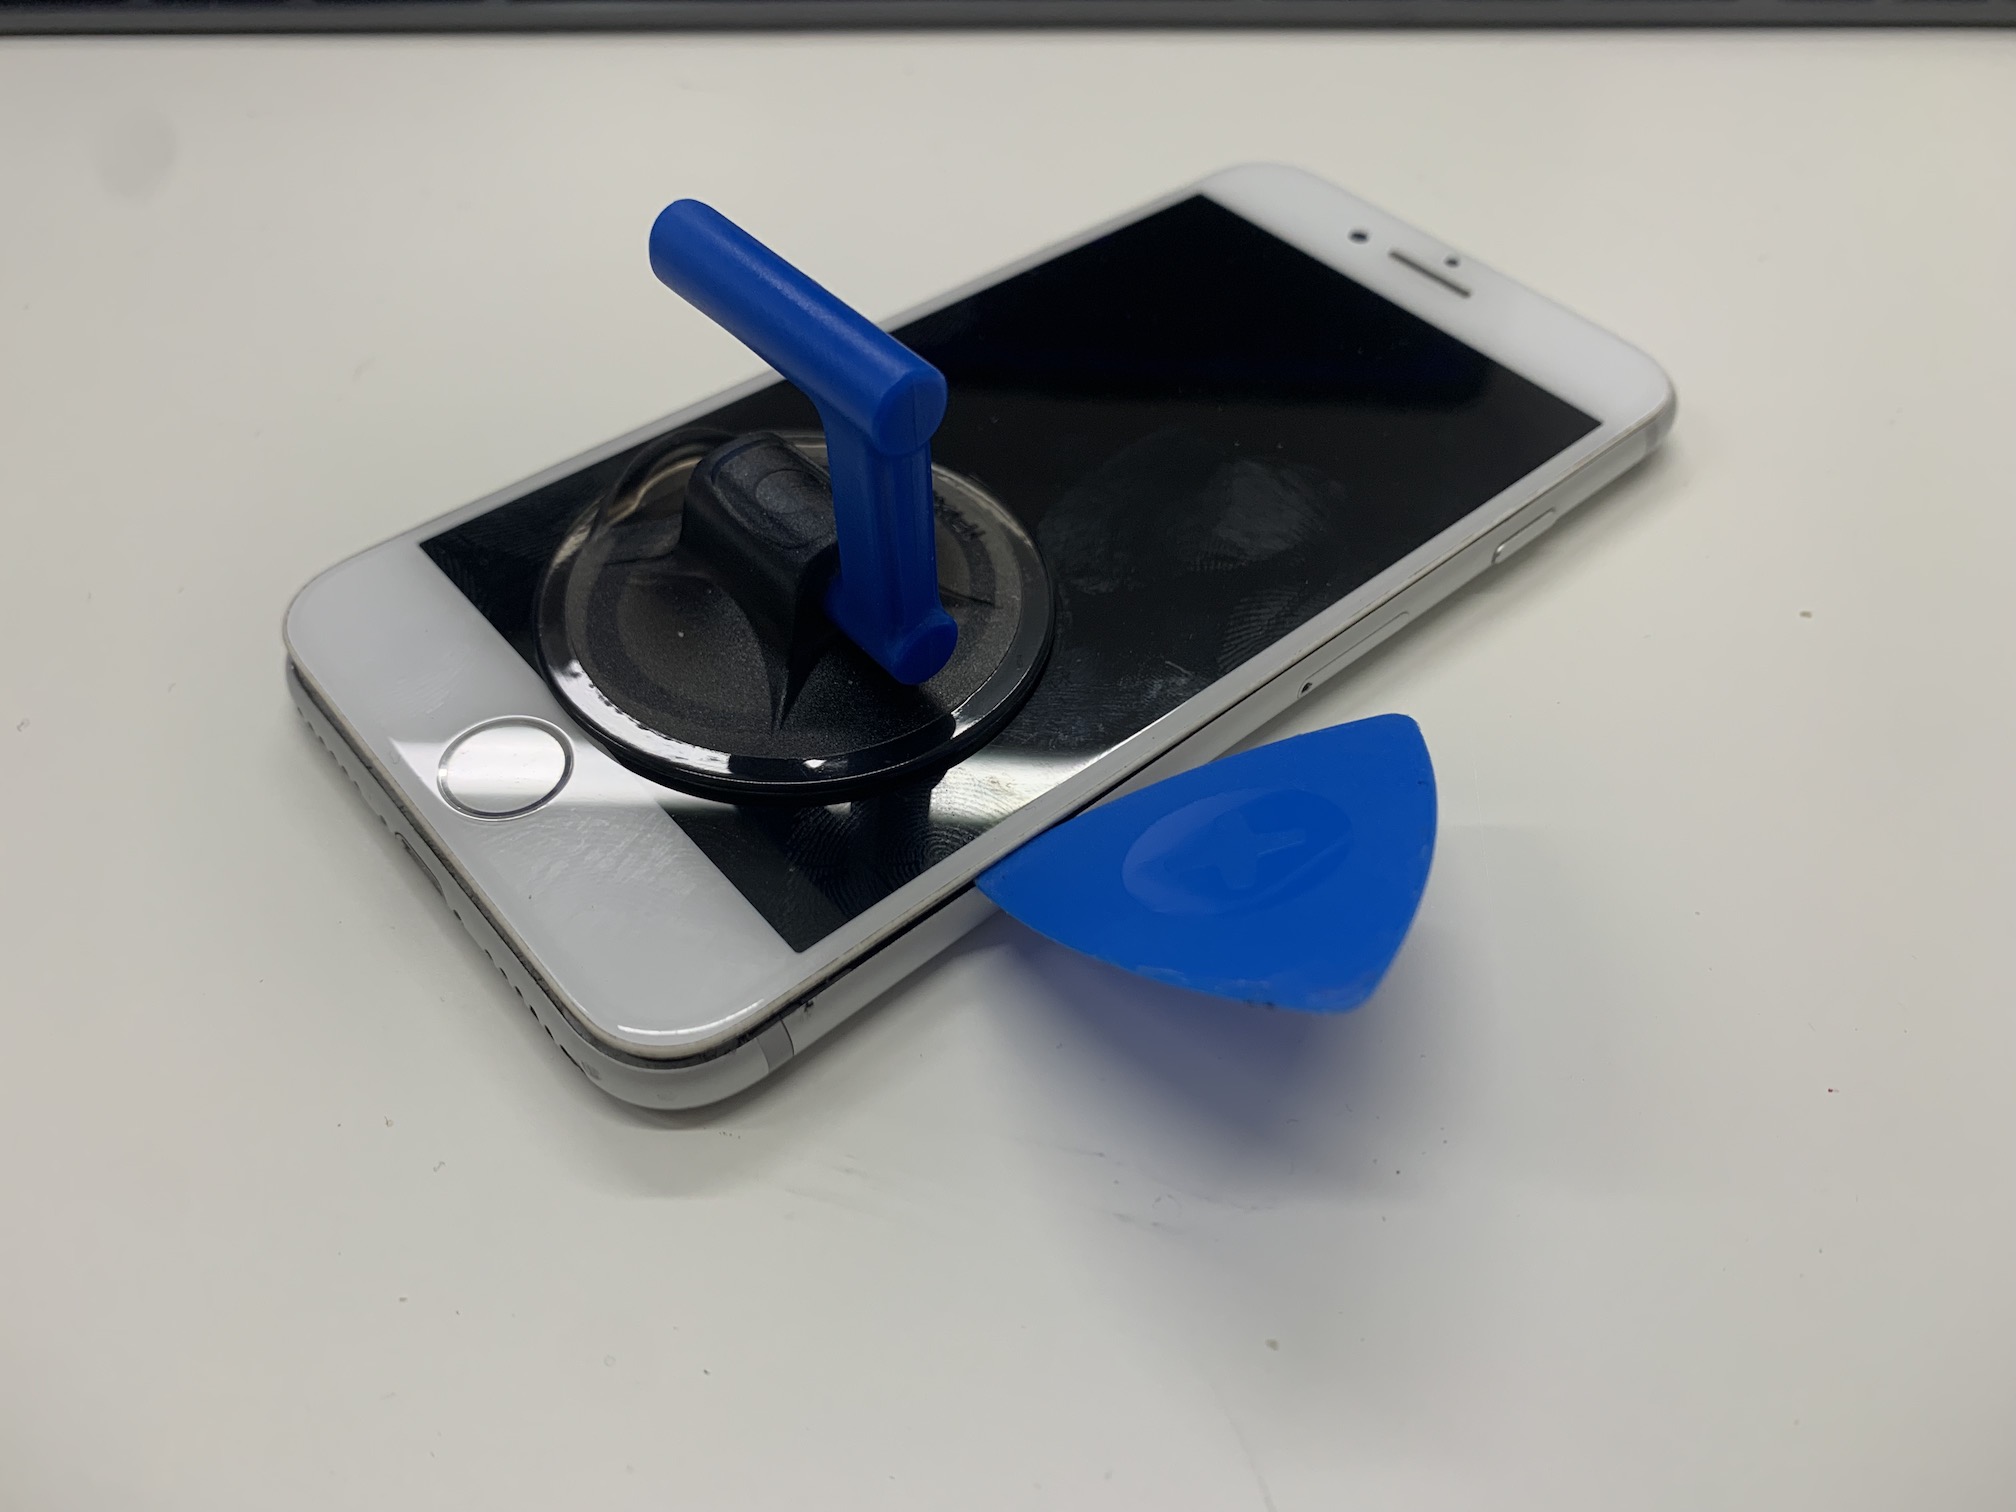
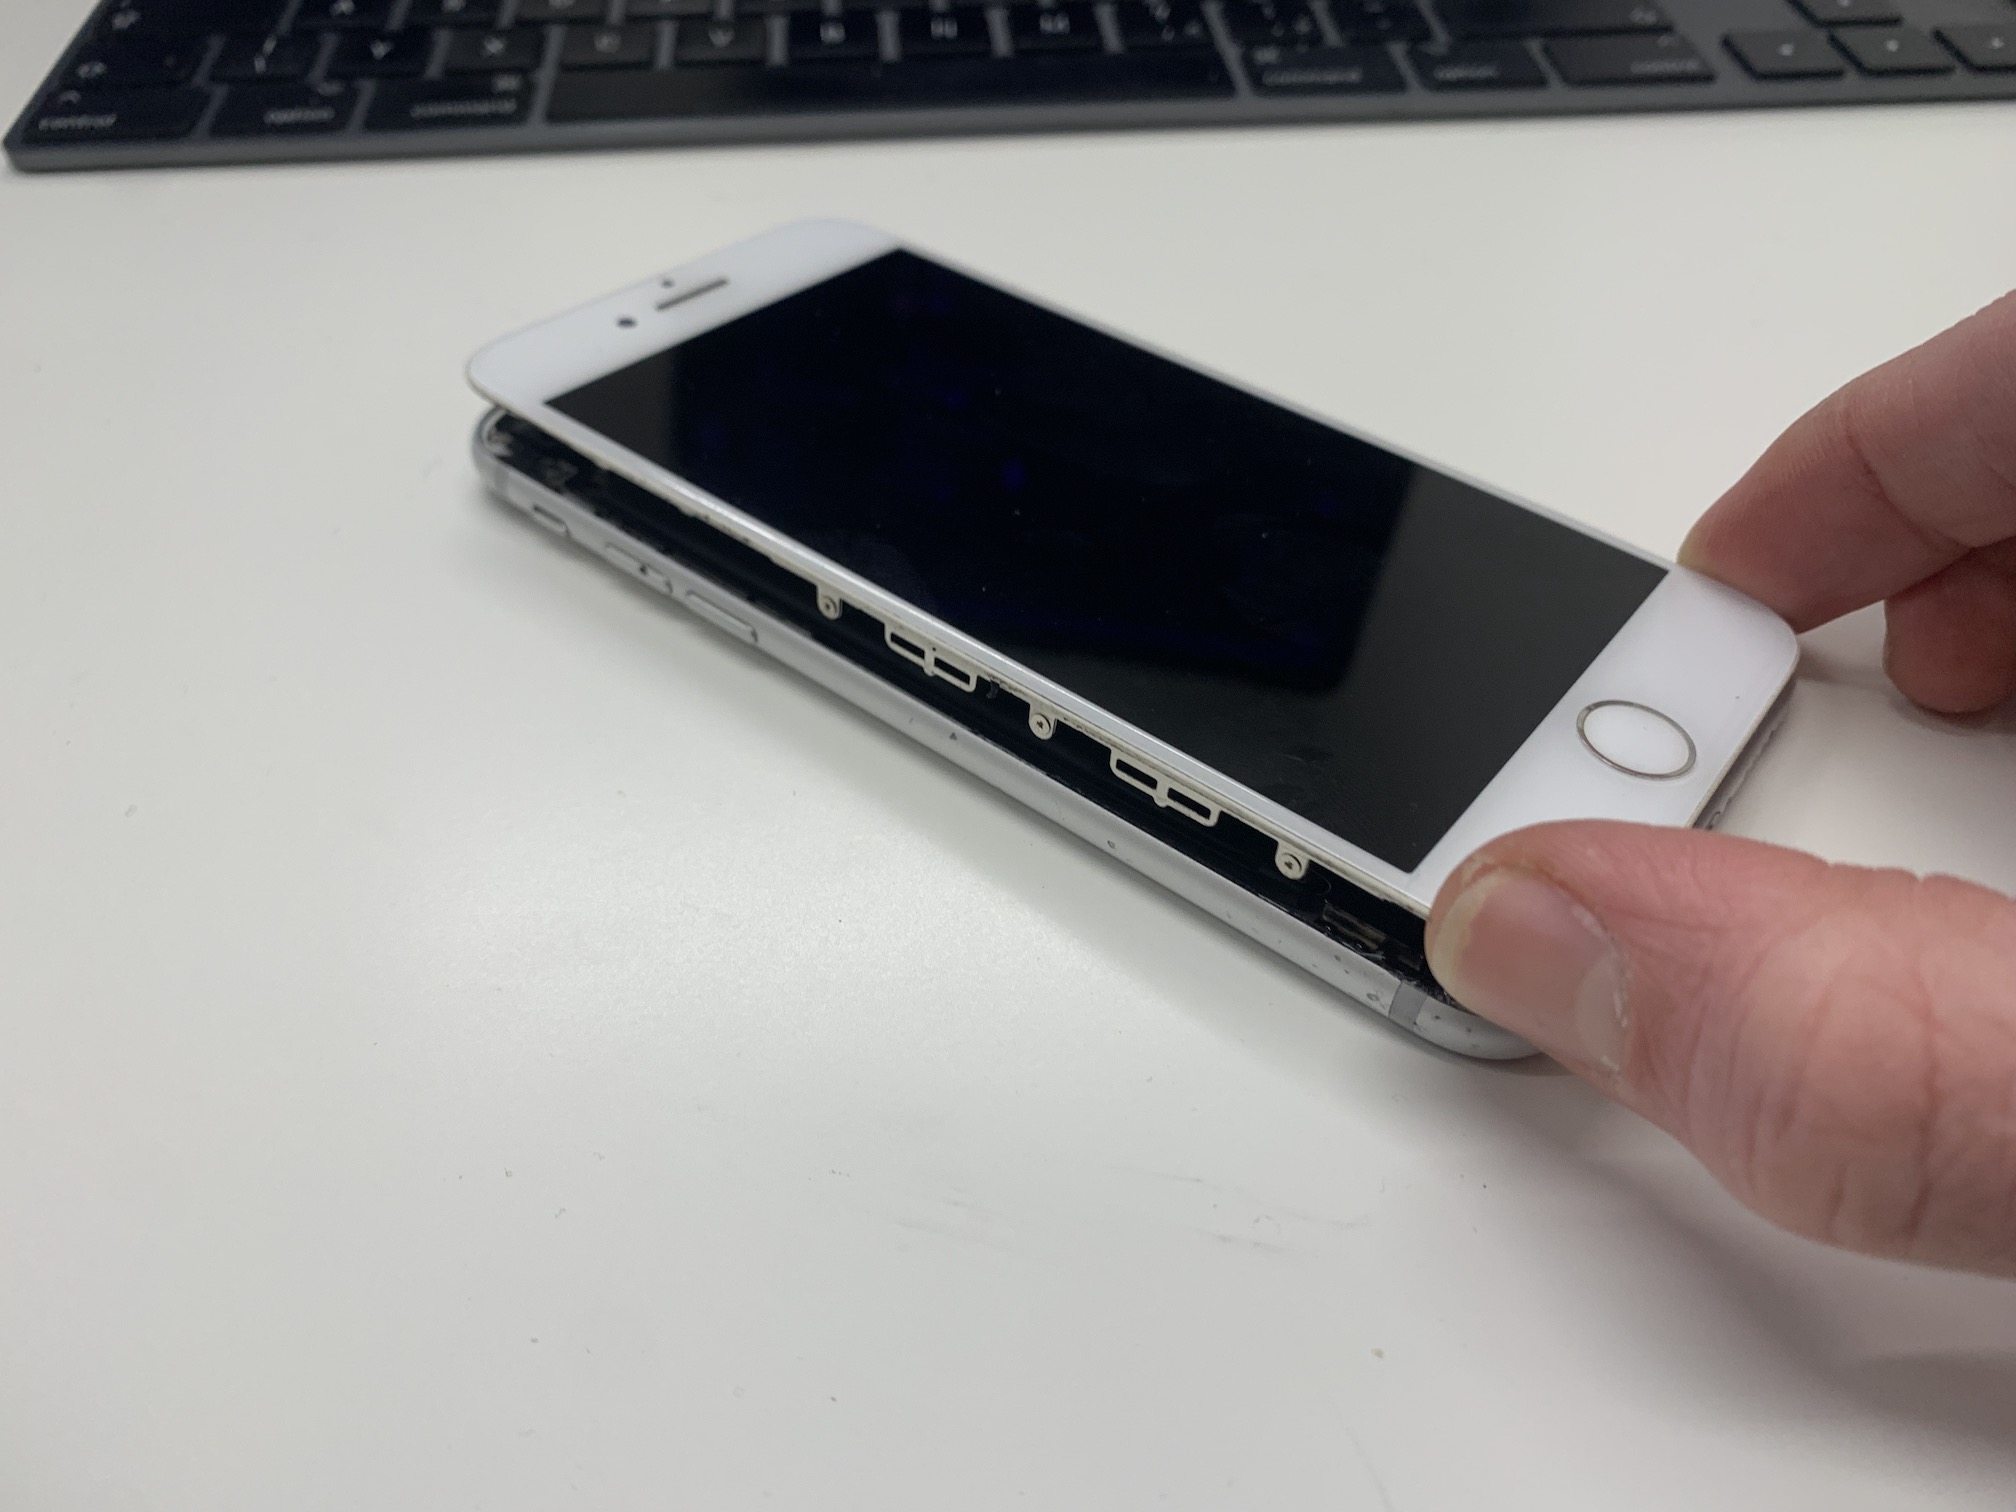
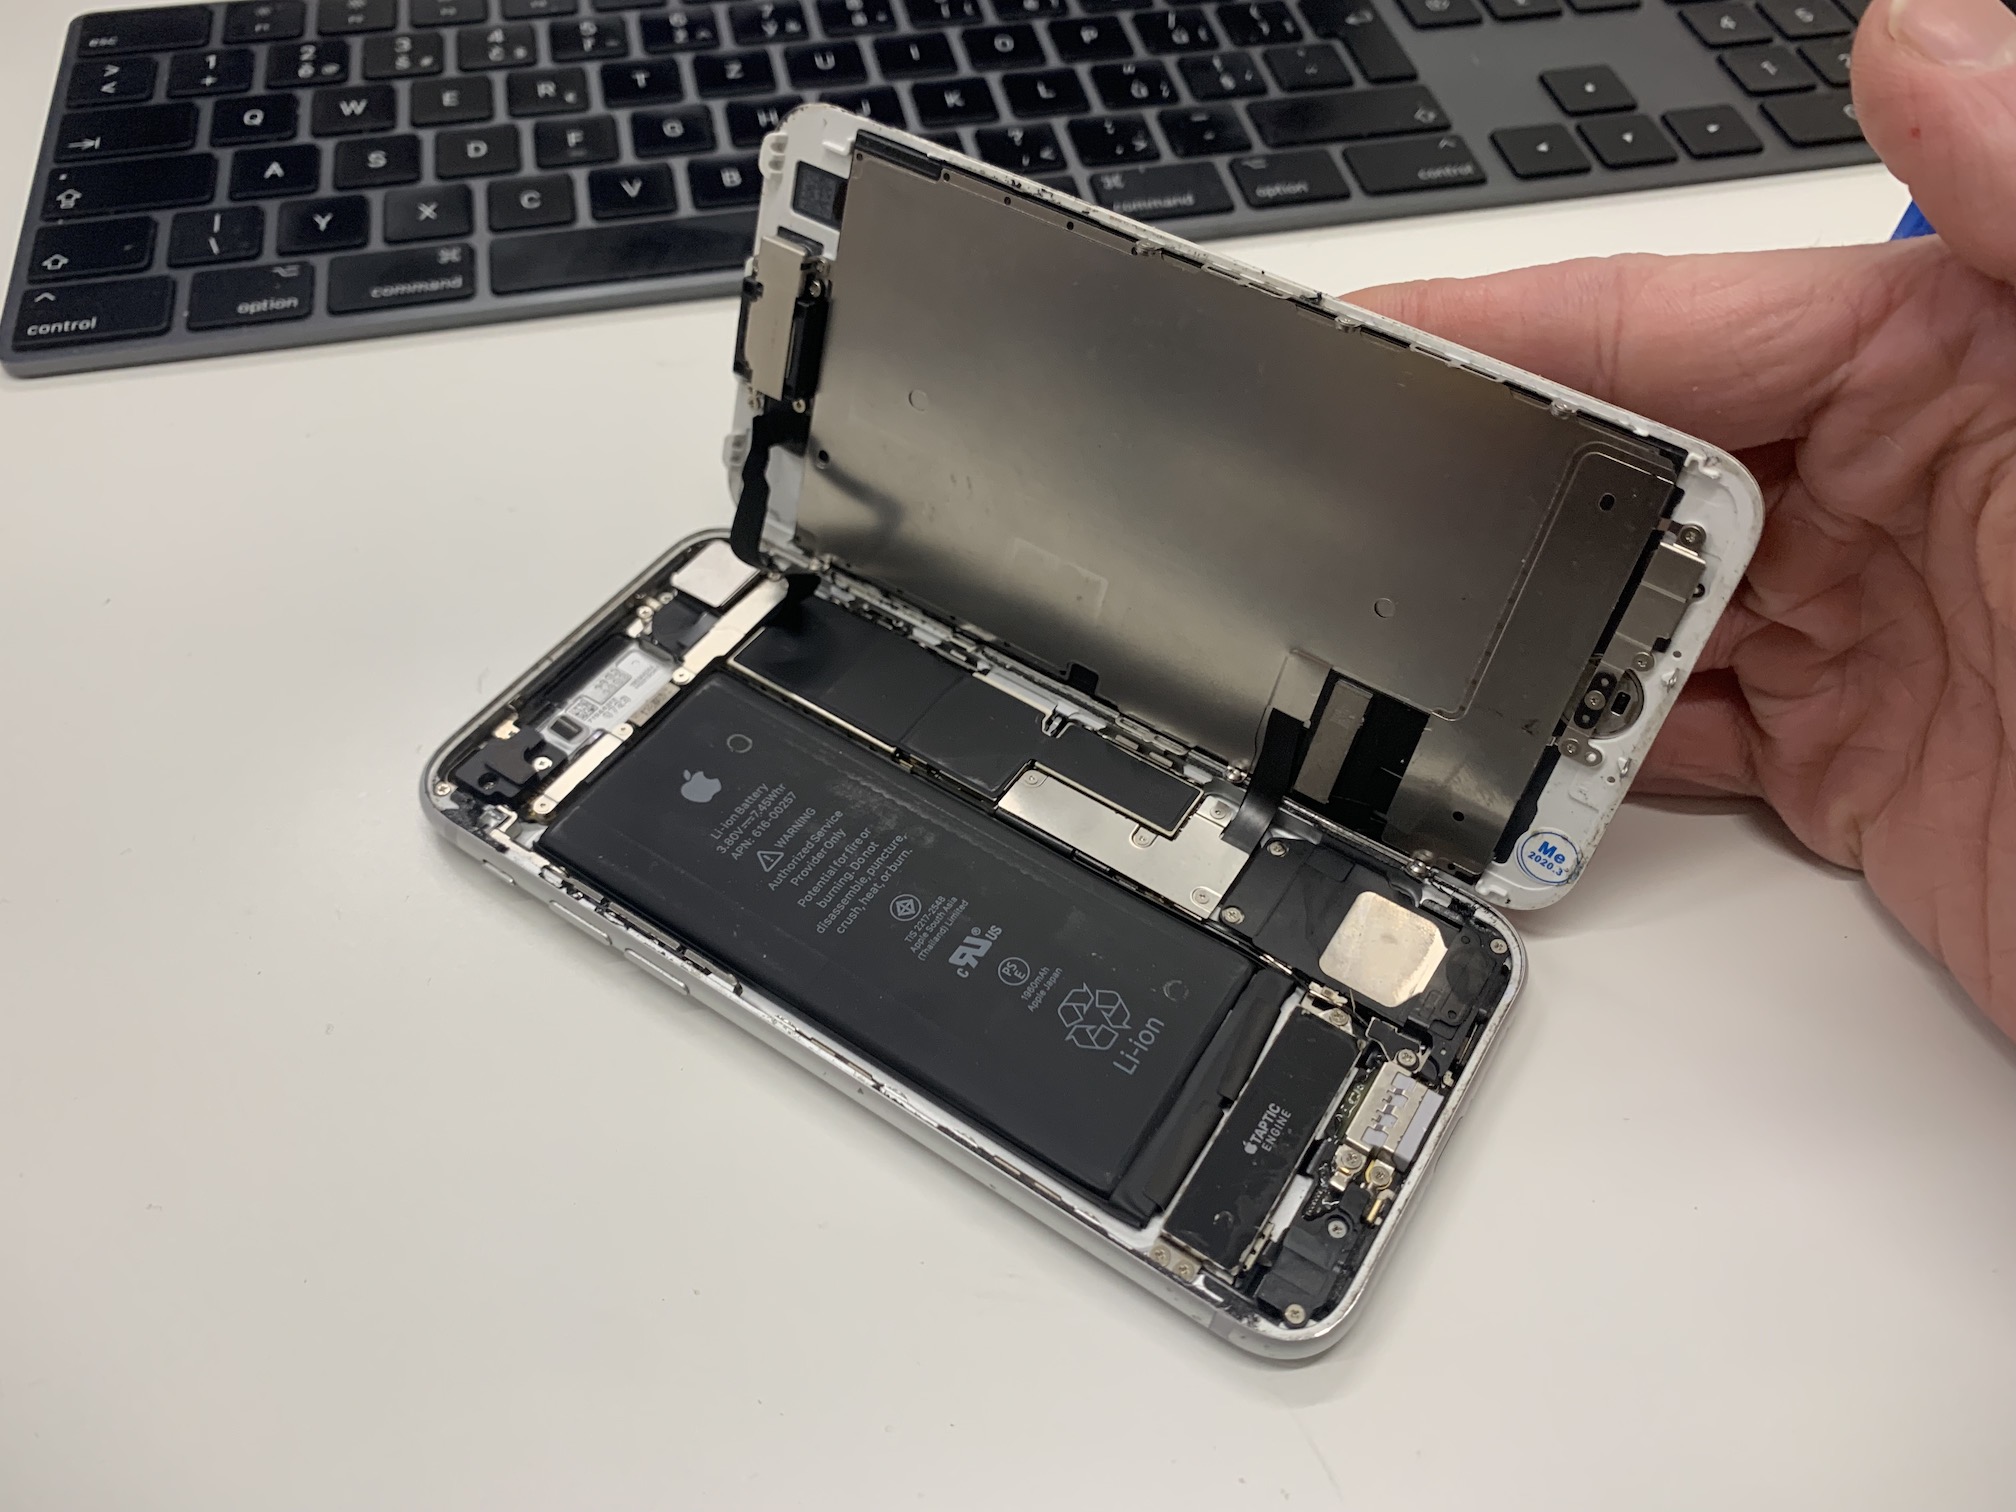
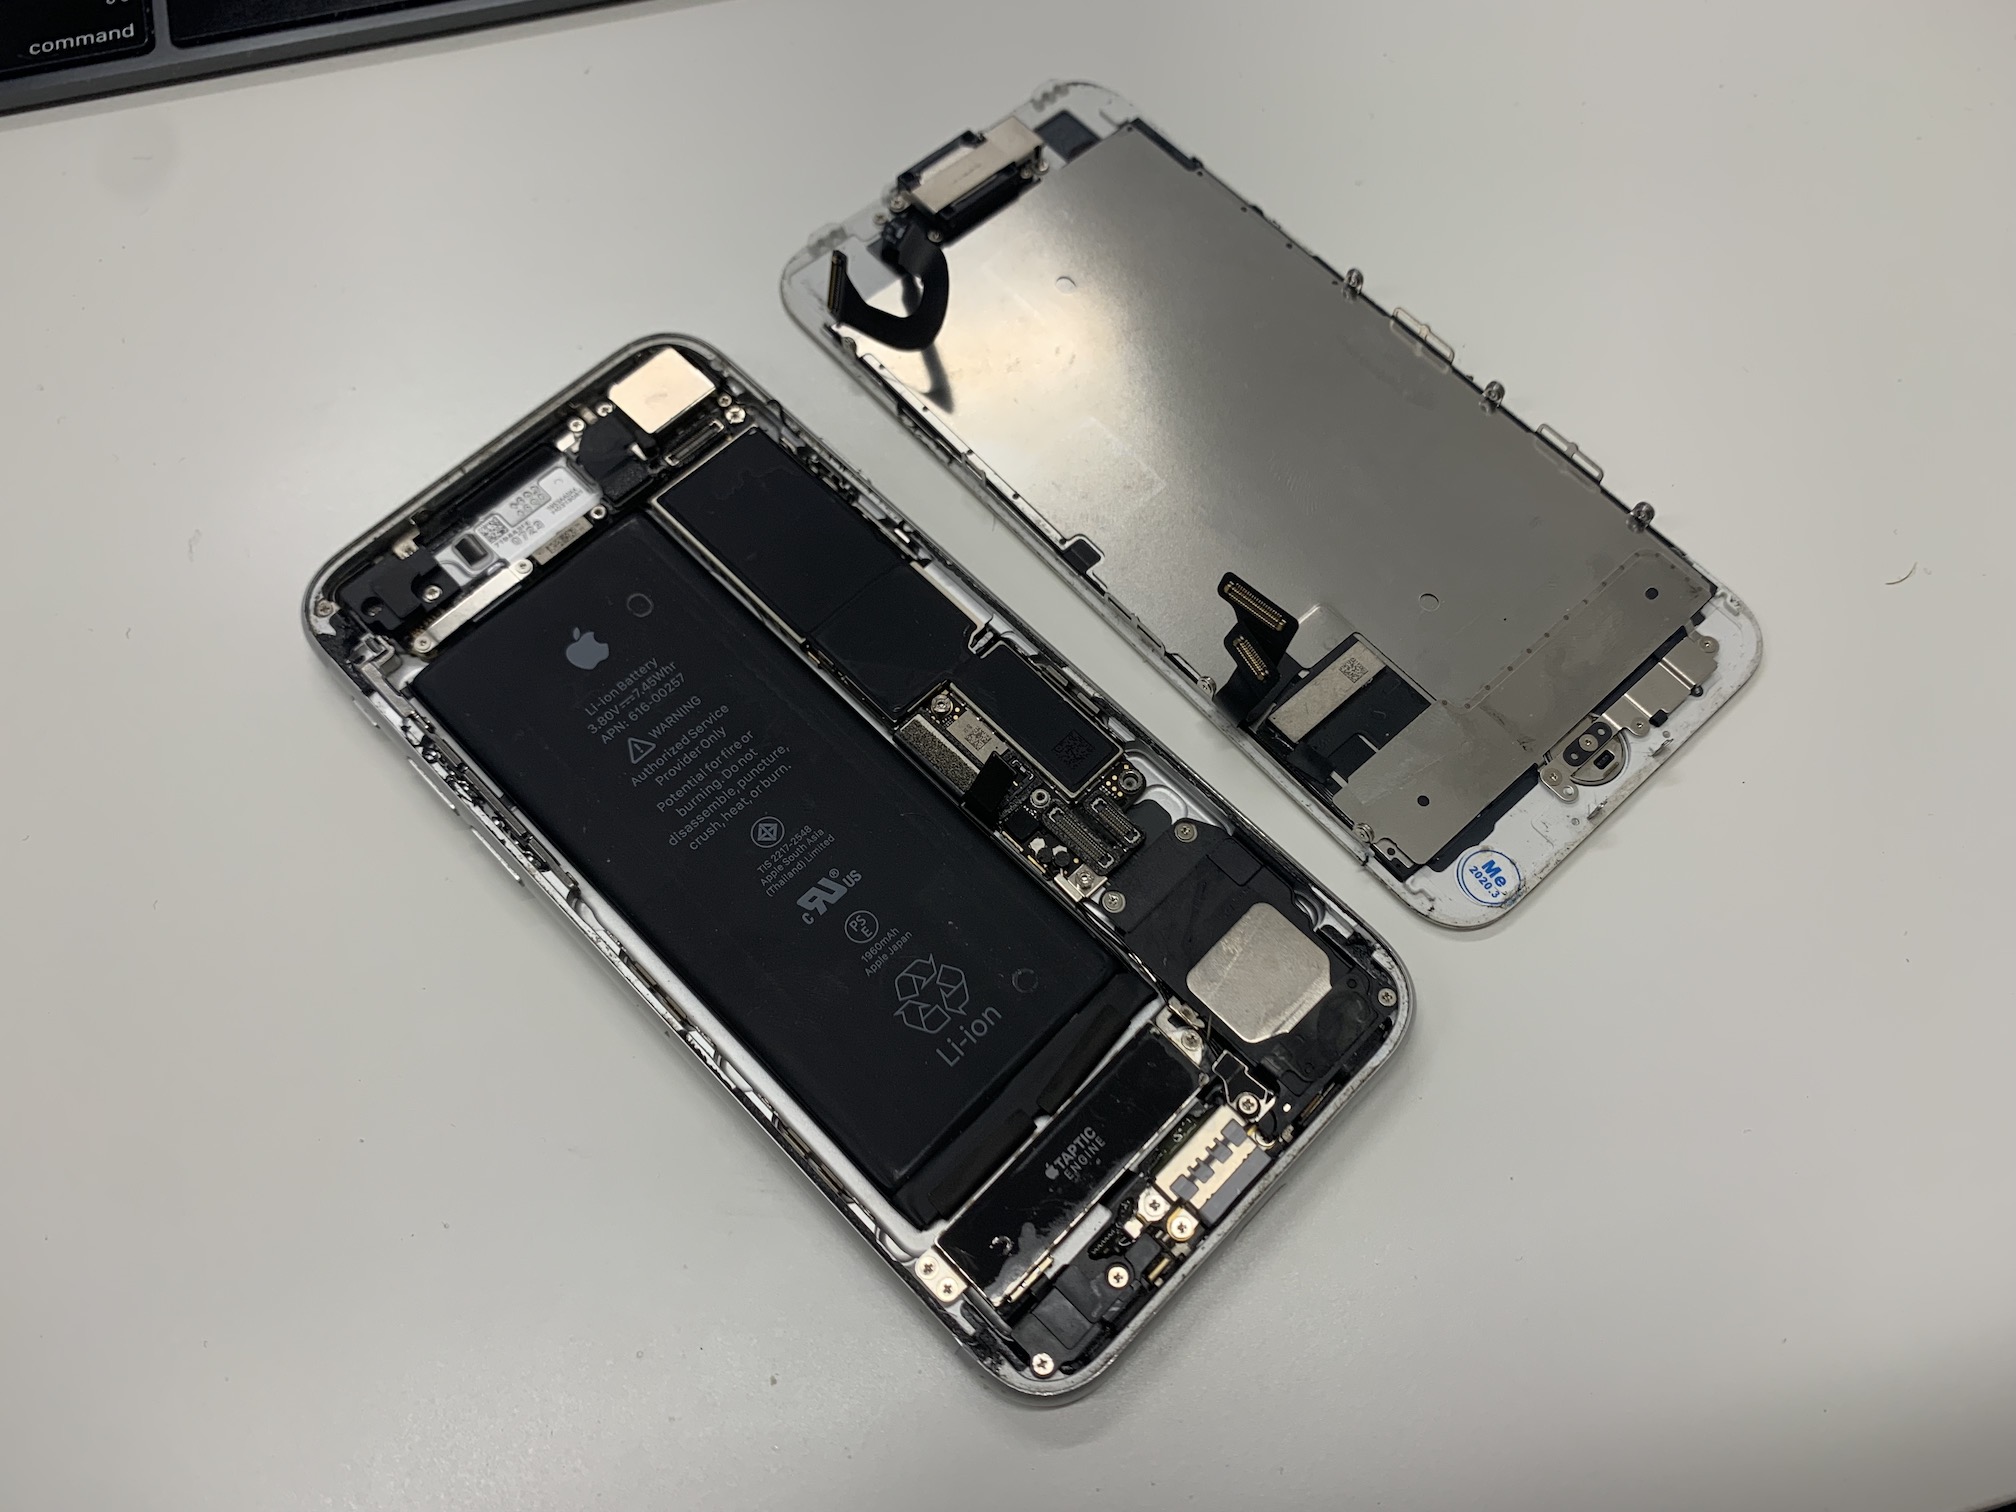
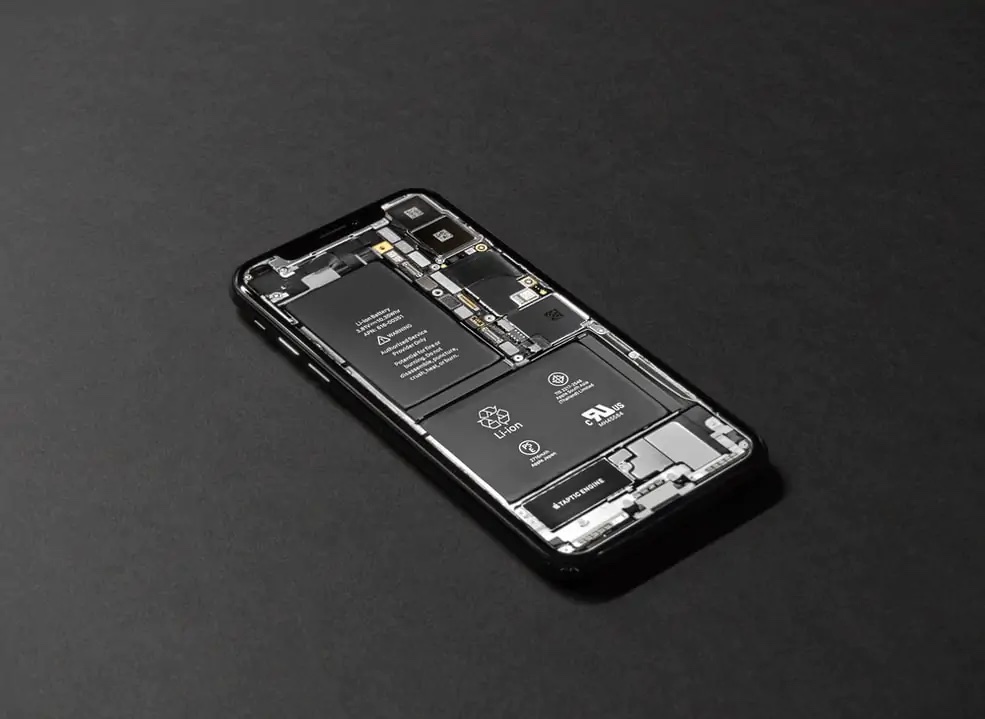
If you have successfully purchased a high-quality battery and want to start the replacement process itself, go ahead. The very first step you need to do is to unscrew the two pentalobe screws located on the bottom edge of the device, right next to the Lightning connector. Subsequently, it is necessary that you, for example, lift the display with a suction cup. In iPhone 6s and newer, it is, among other things, glued to the body, so it is necessary to exert a little more force and possibly use heat. Never use a metal tool to get between the phone frame and the display, but a plastic one - you risk damaging the insides and the device itself. Don't forget that the display is connected to the motherboard using flex cables, so you can't immediately tear it away from the body after peeling it off. For iPhone 6s and older, the connectors are located at the top of the device, for iPhone 7 and newer, they are on the right, so you open the display like a book.
Disconnecting the battery
All iPhones require you to disconnect the display when replacing the battery. However, before disconnecting the display, it is necessary to disconnect the battery. This is an absolutely basic step that must be followed during any device repair. First disconnect the battery and then the rest. If you do not follow this procedure, you risk damaging the hardware or the device itself. I have already managed to destroy the device's display several times, mainly at the beginning of my repair career, by forgetting to disconnect the battery first. So be sure to pay attention to this, as a simple battery replacement could cost you a lot more money if you don't follow through.
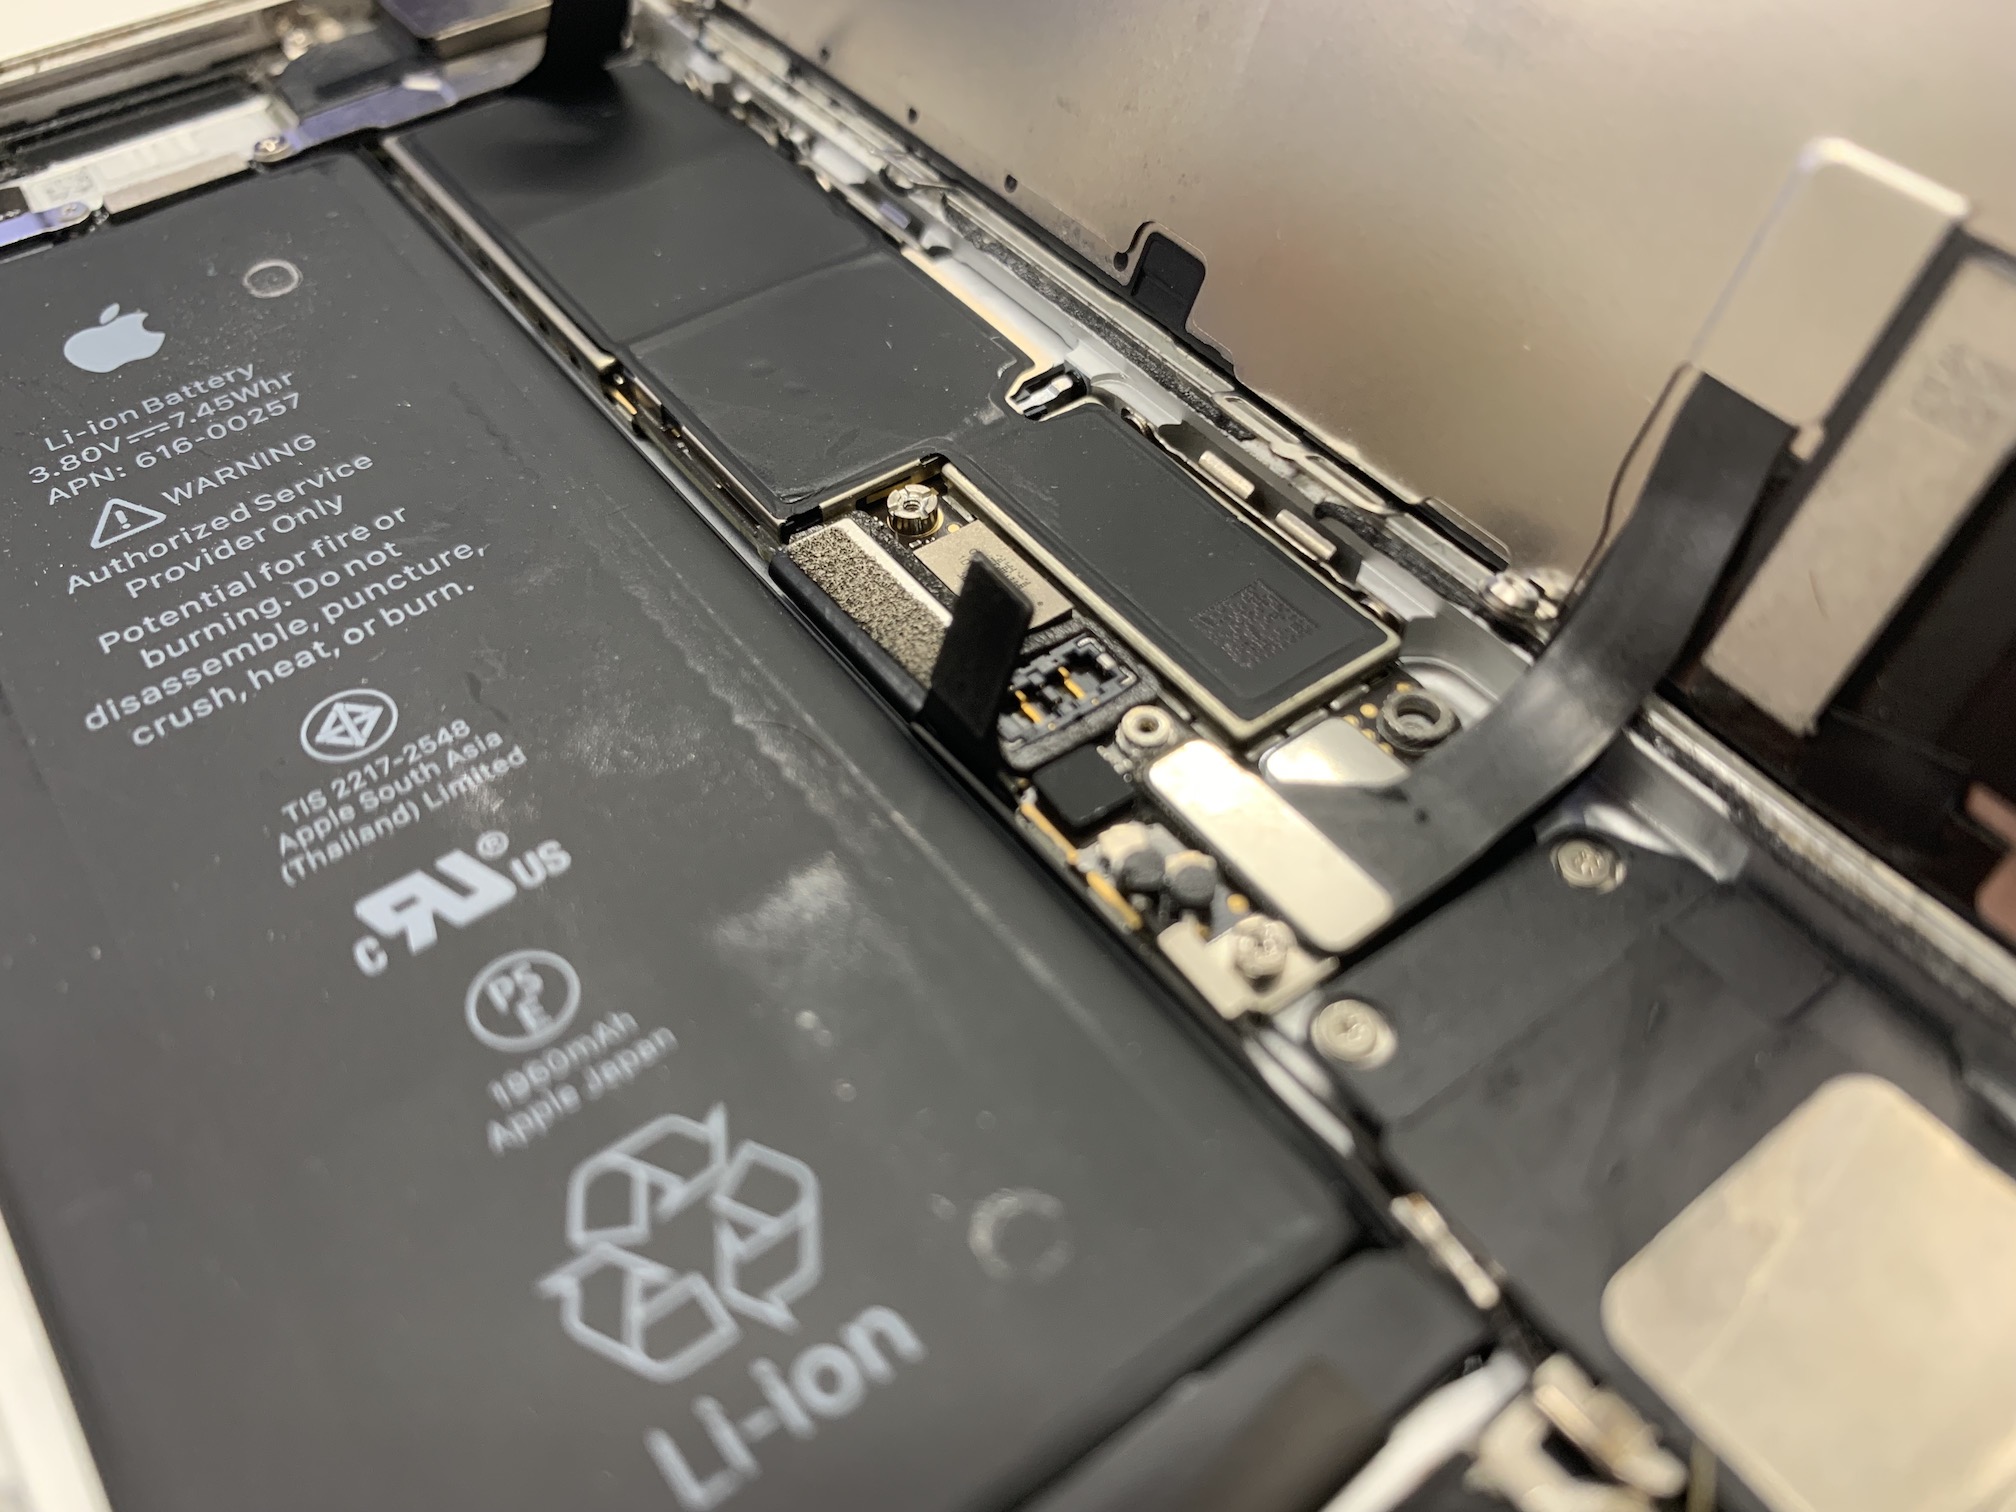
Detaching the battery
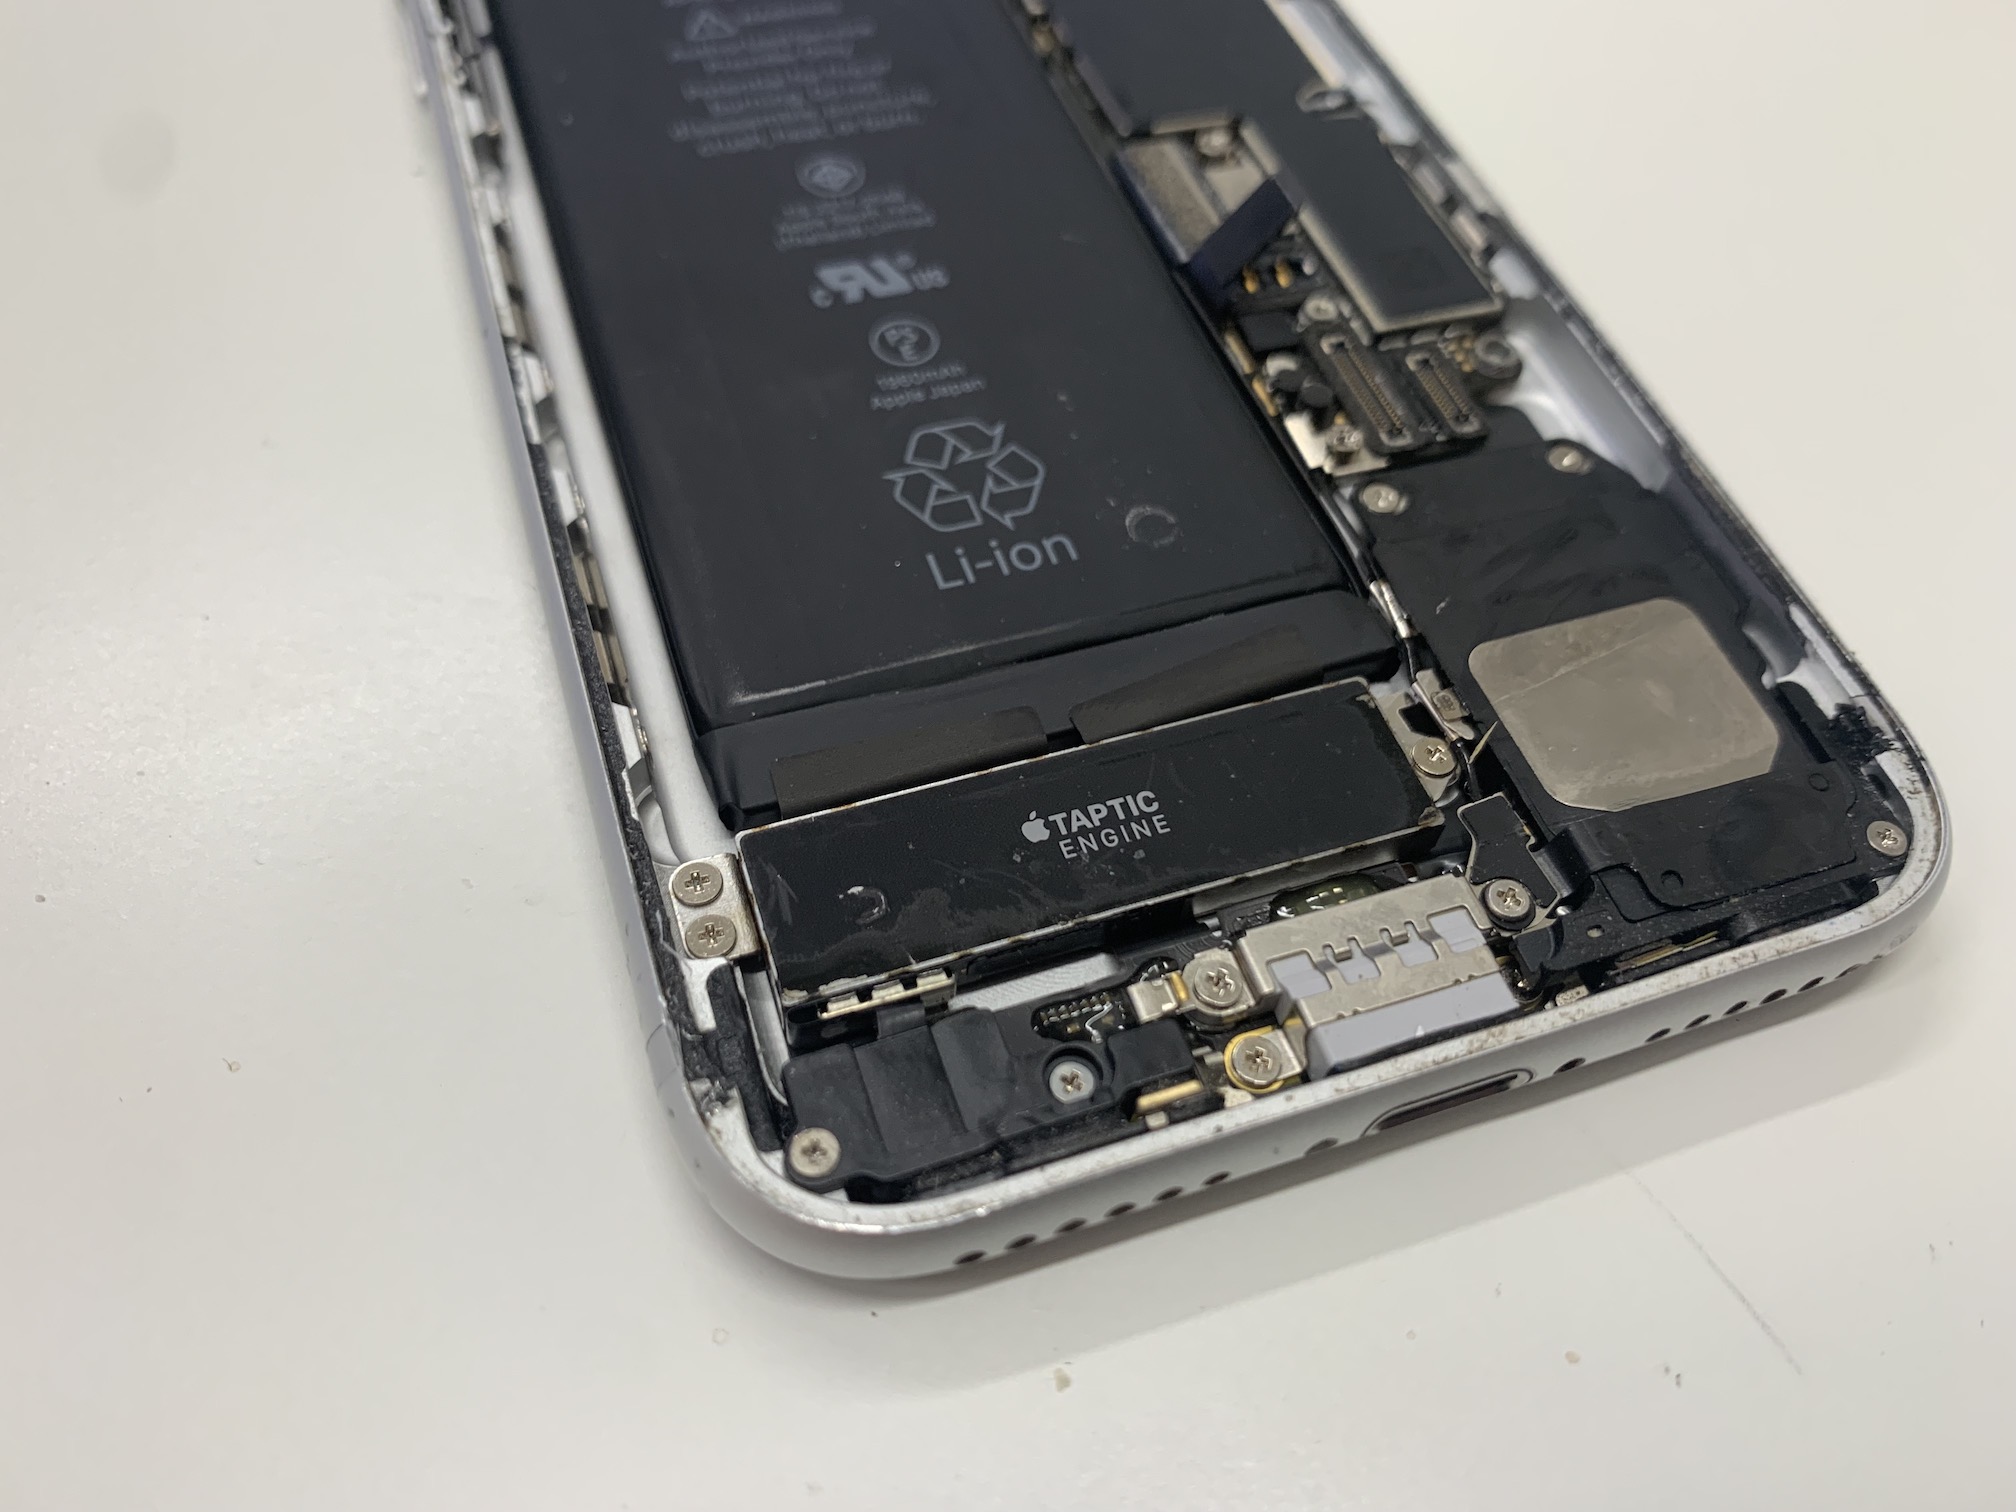
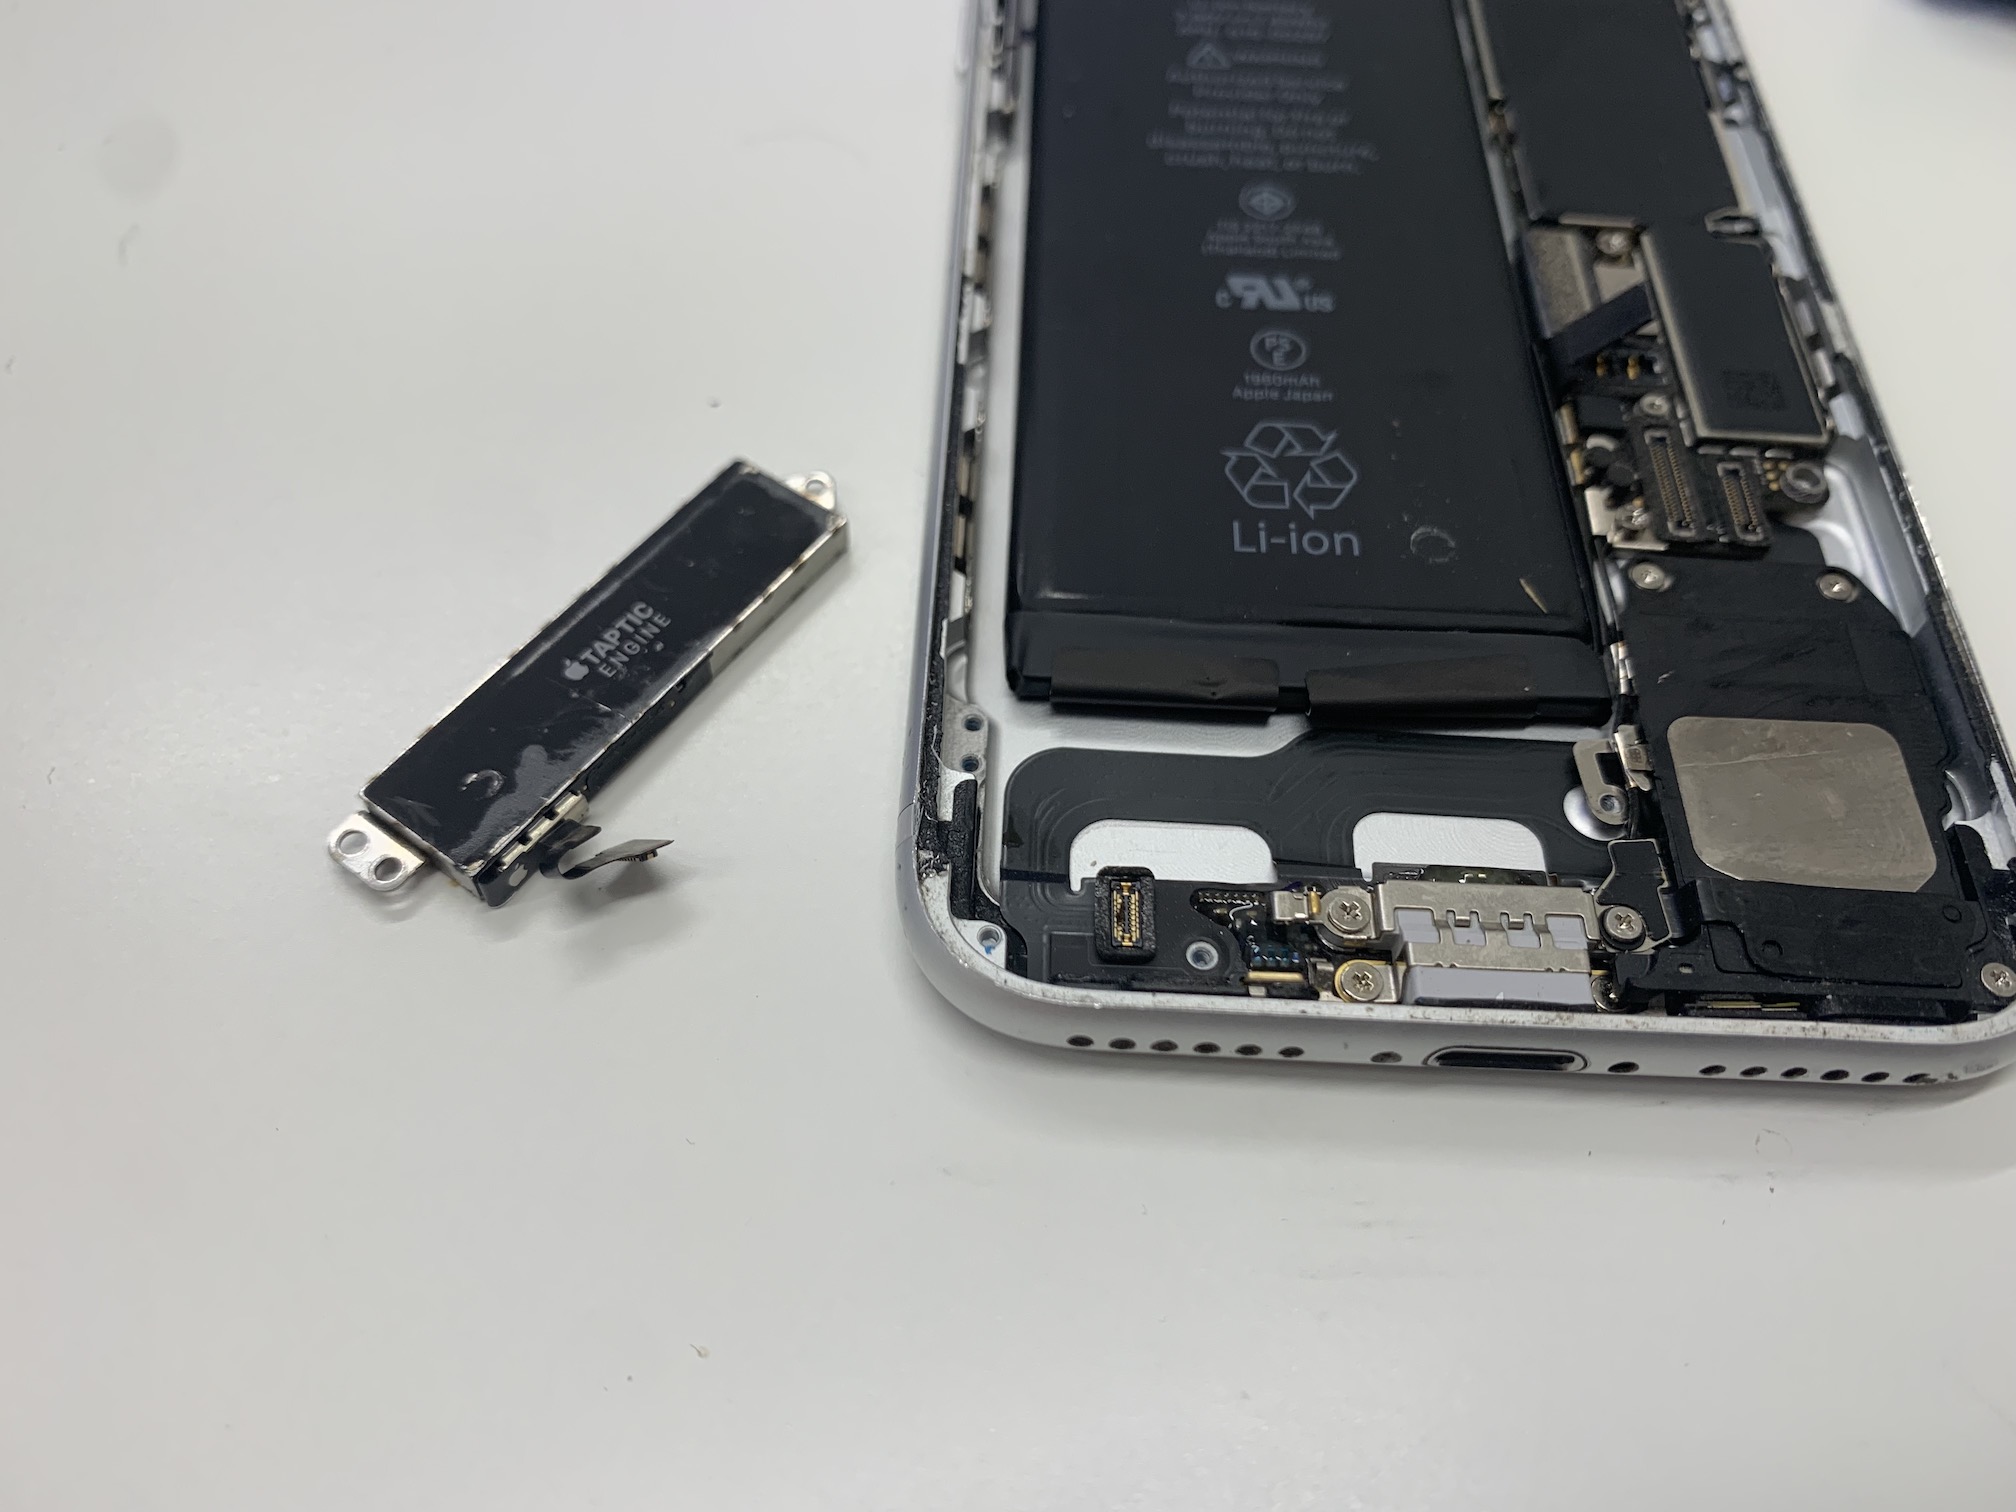
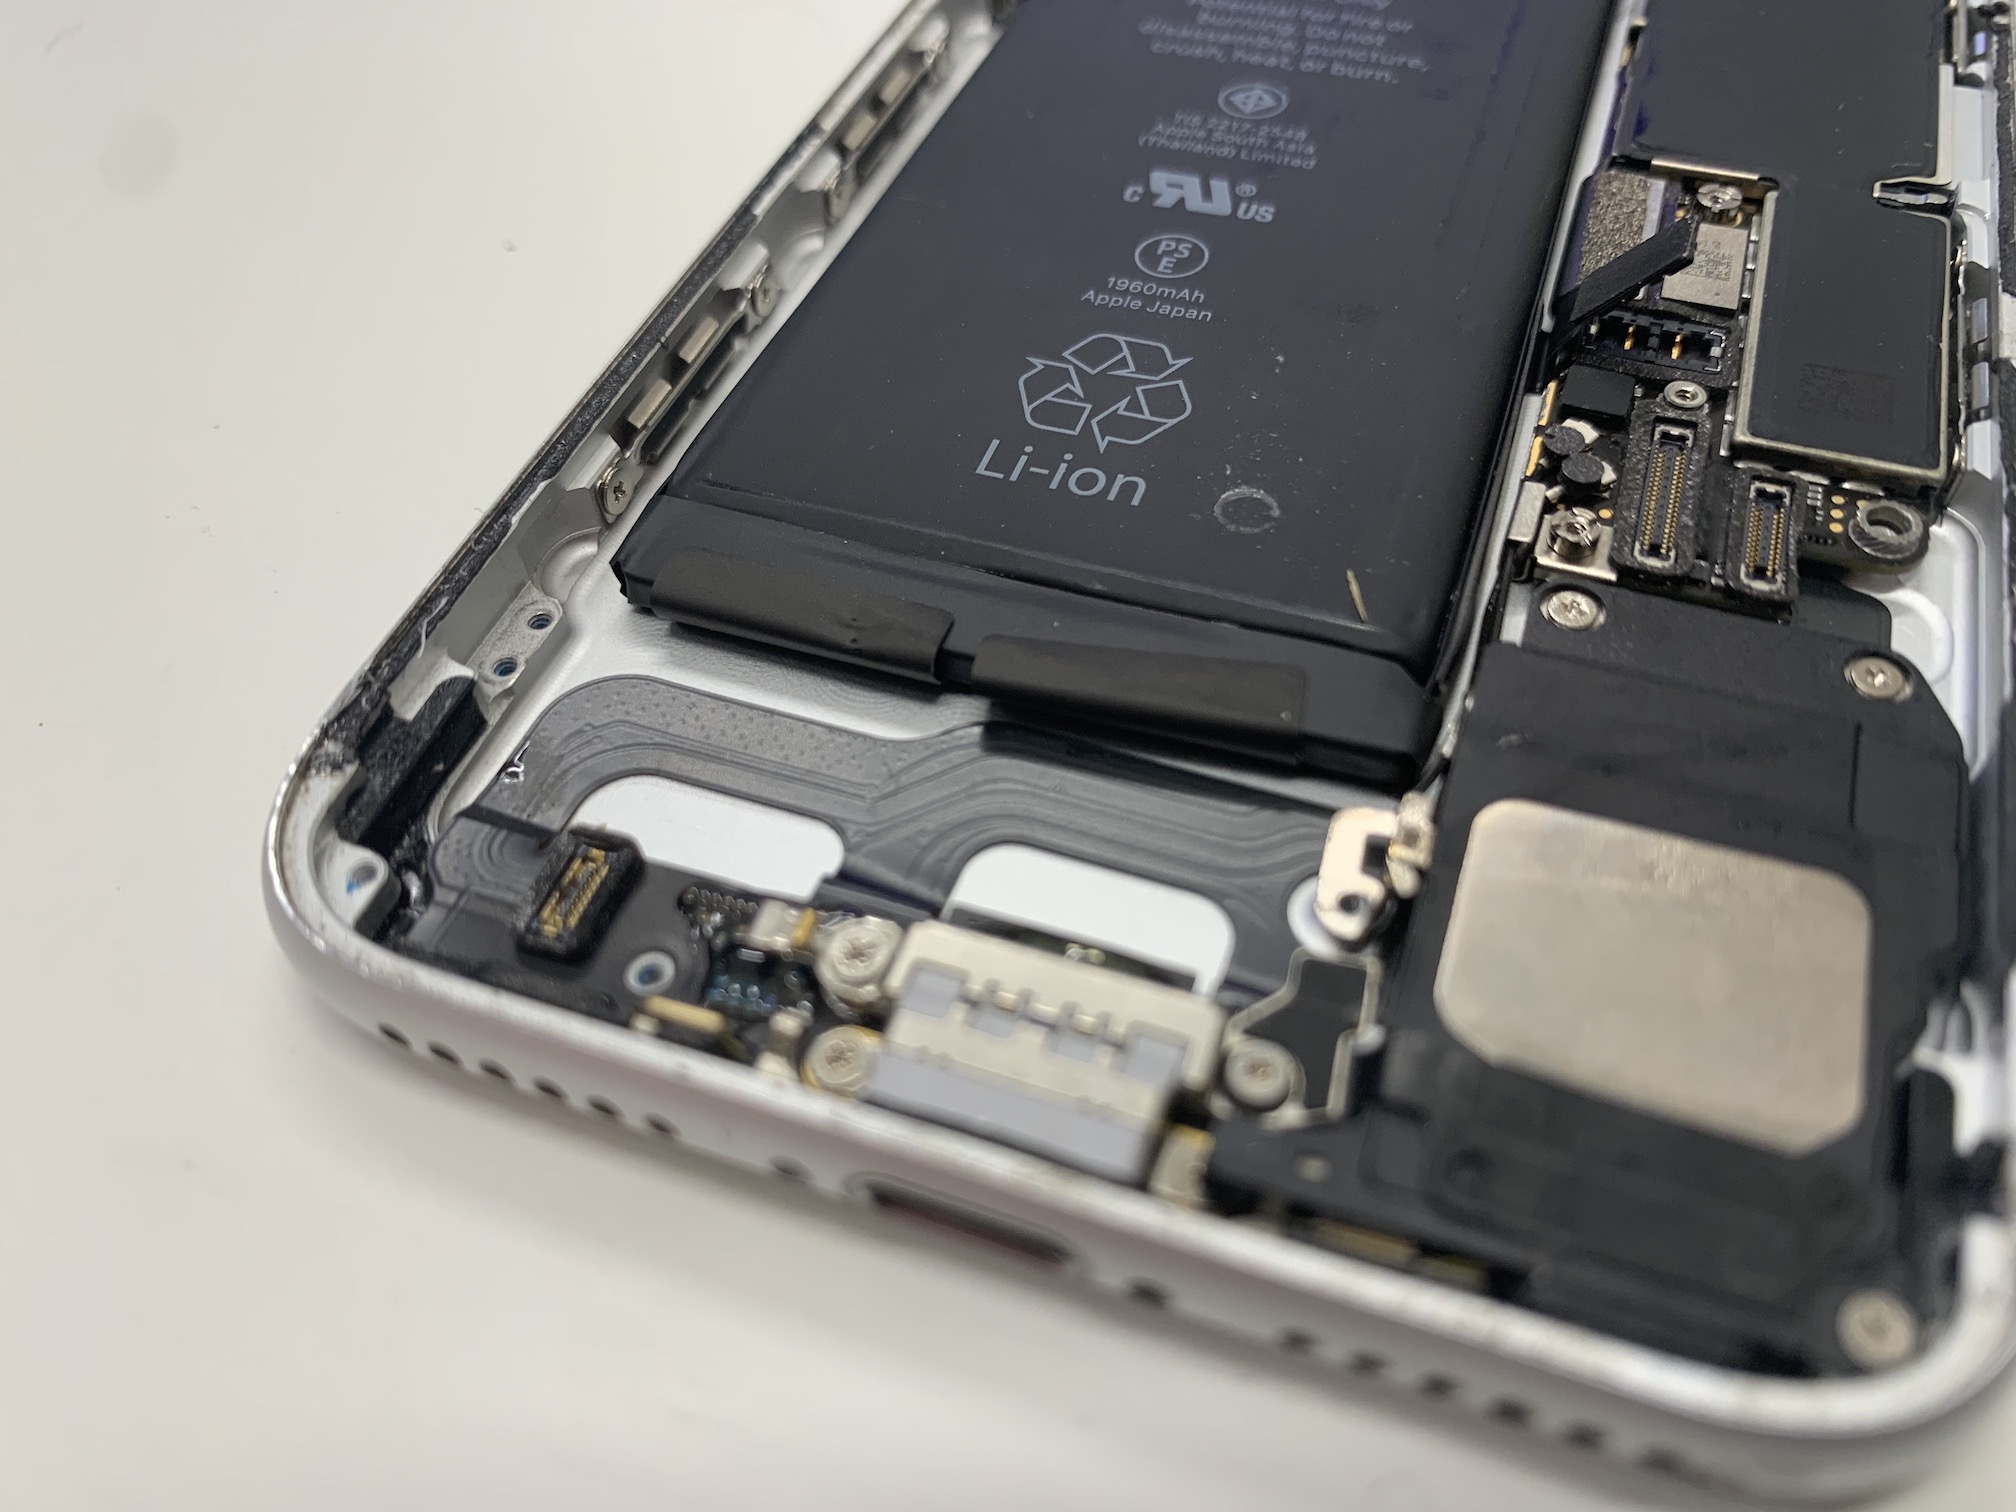
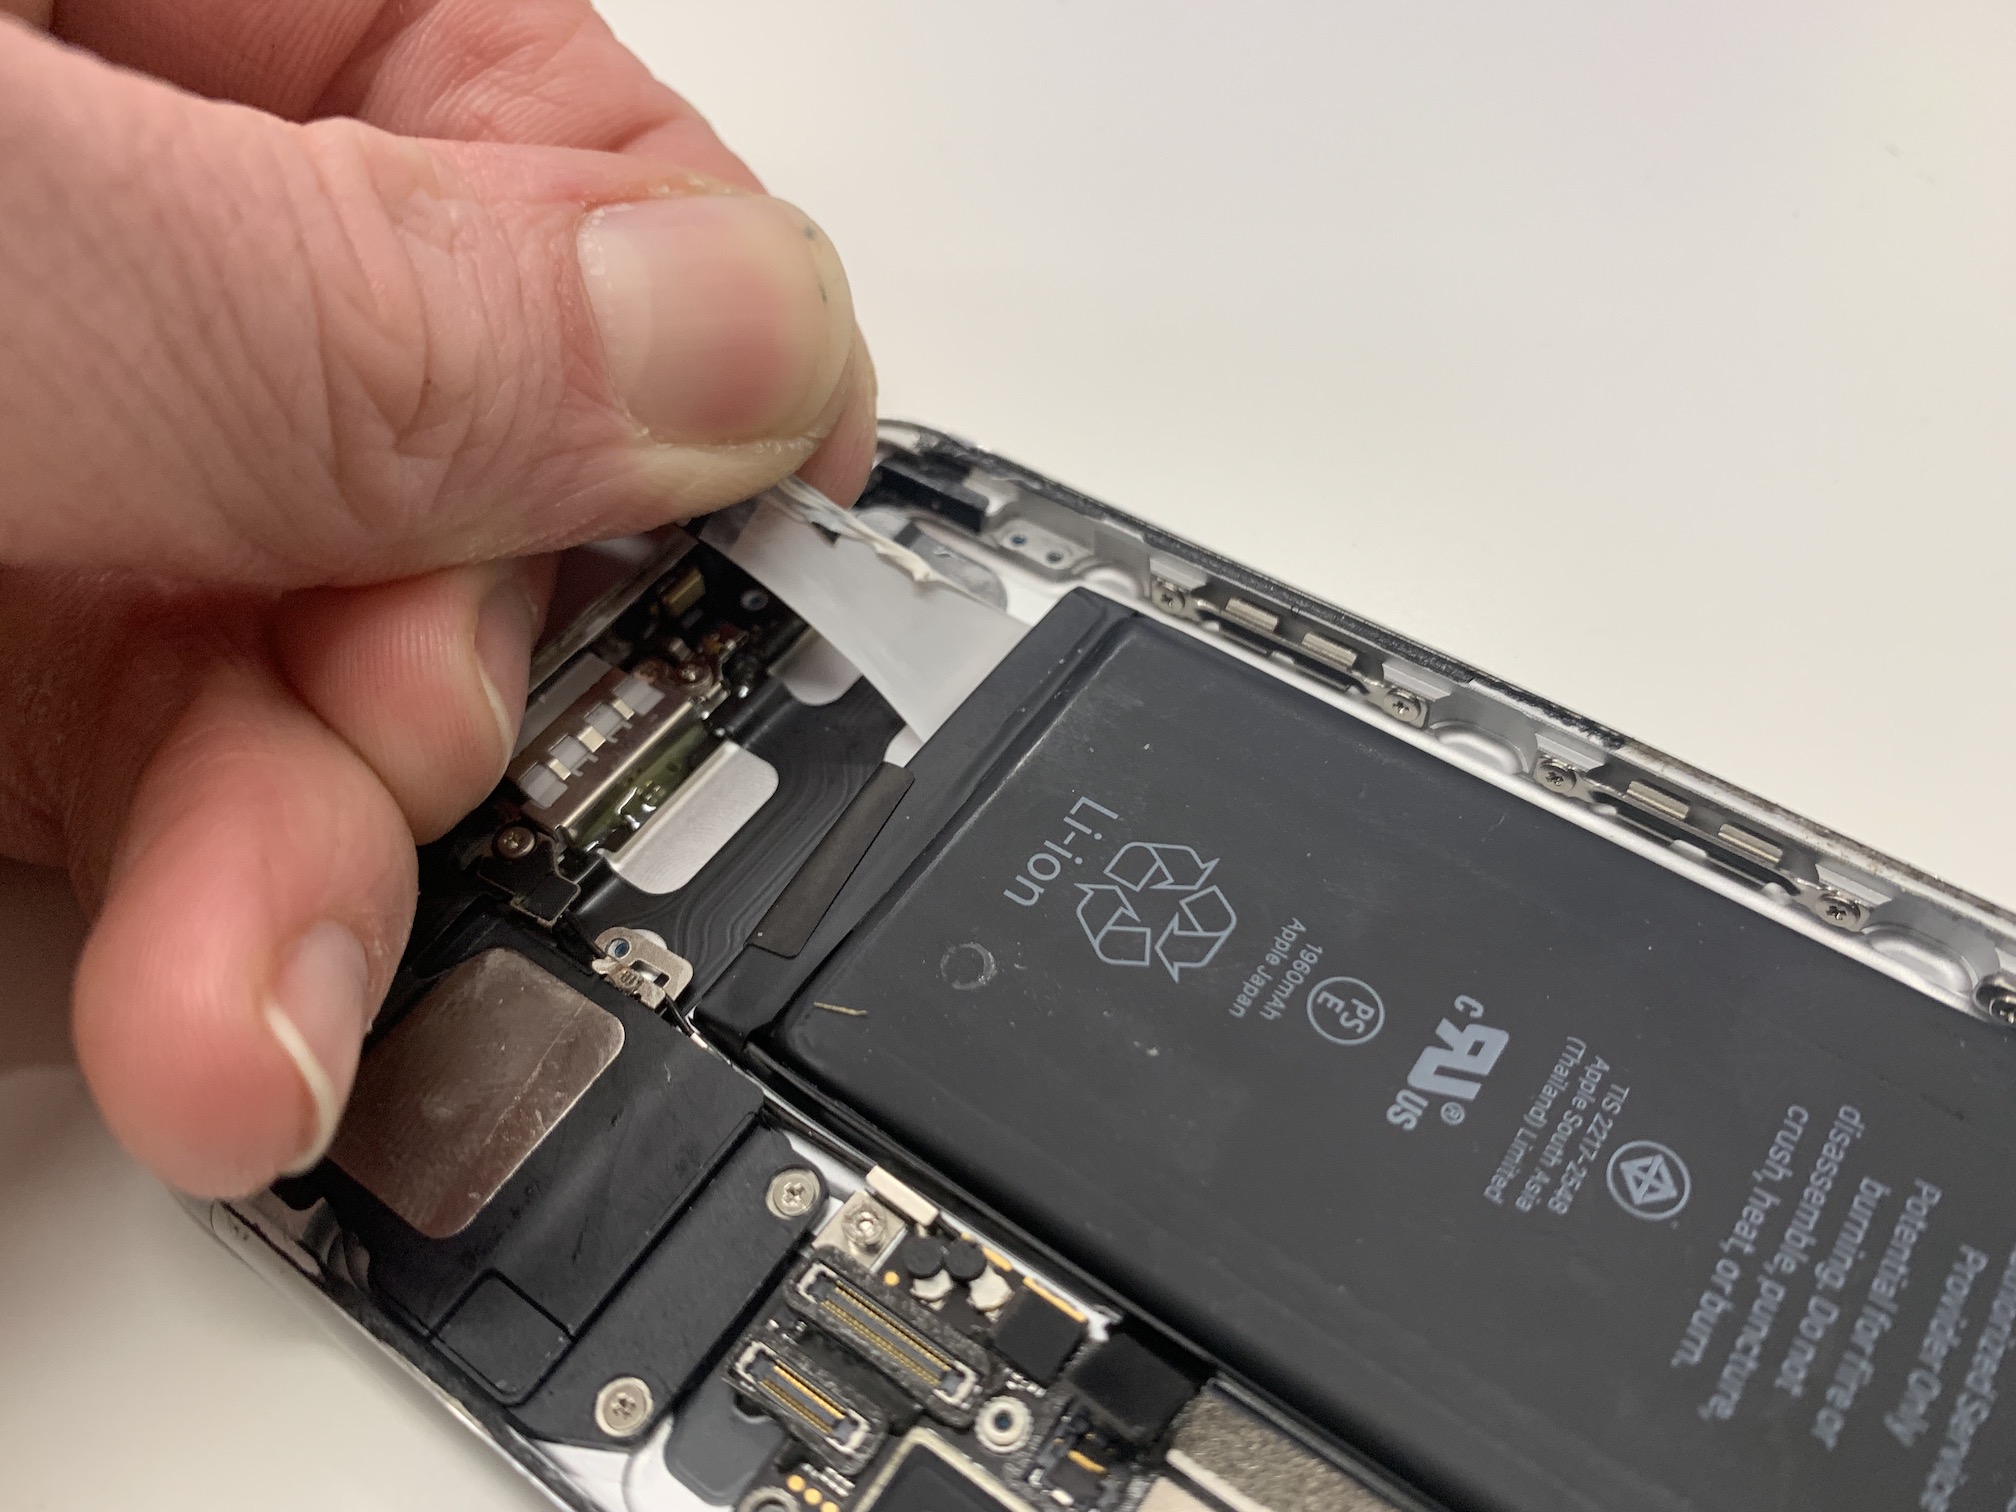
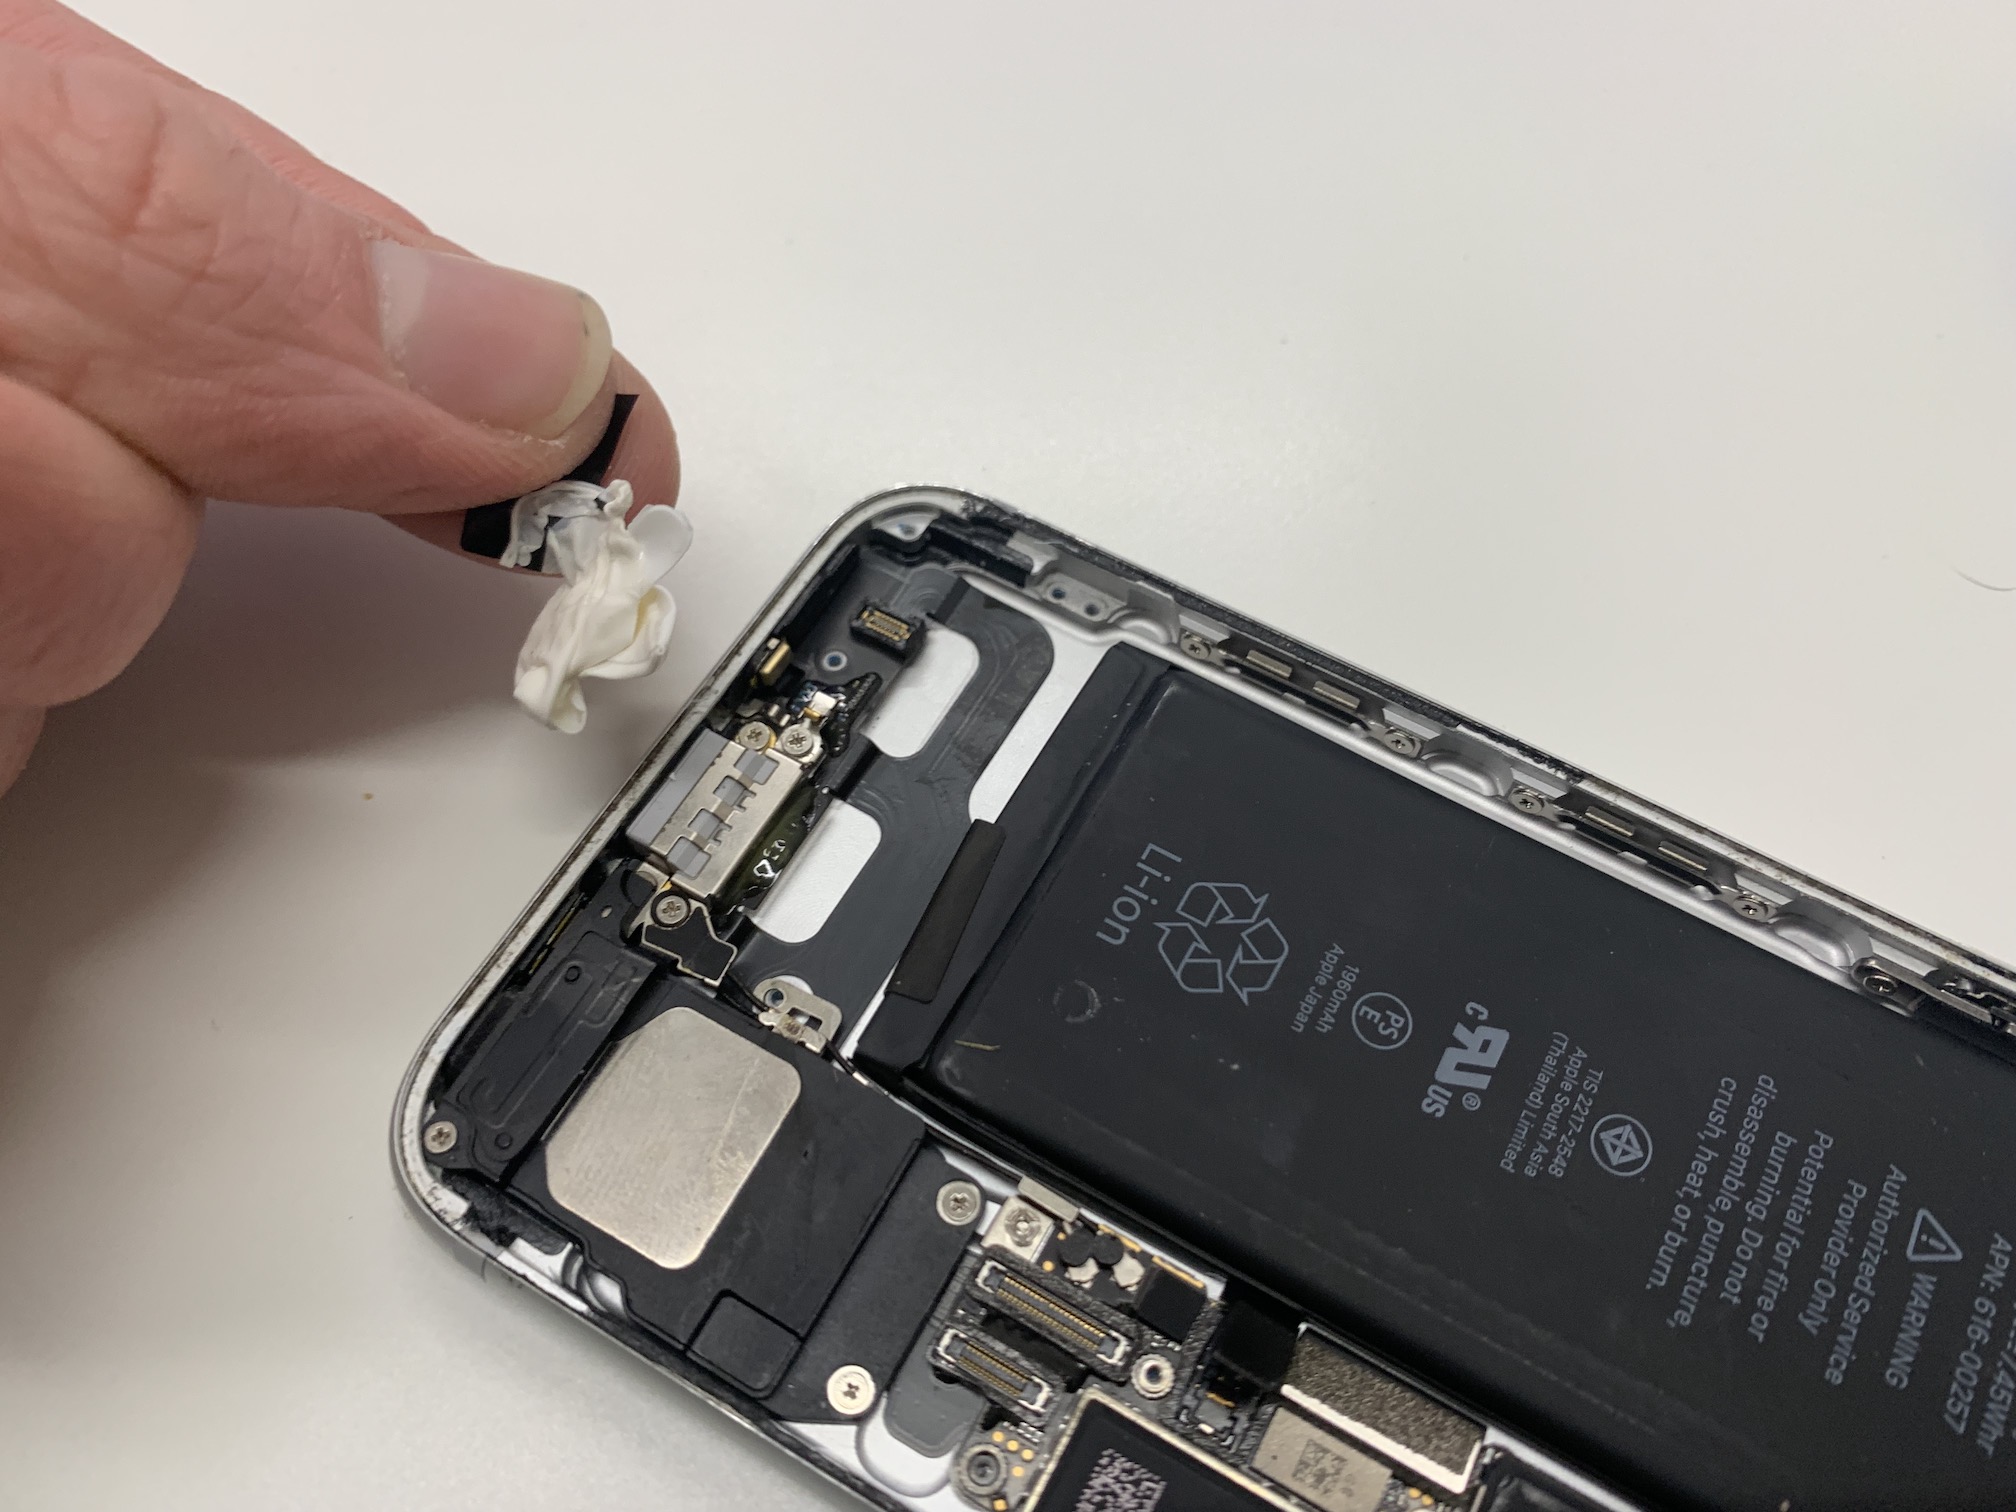
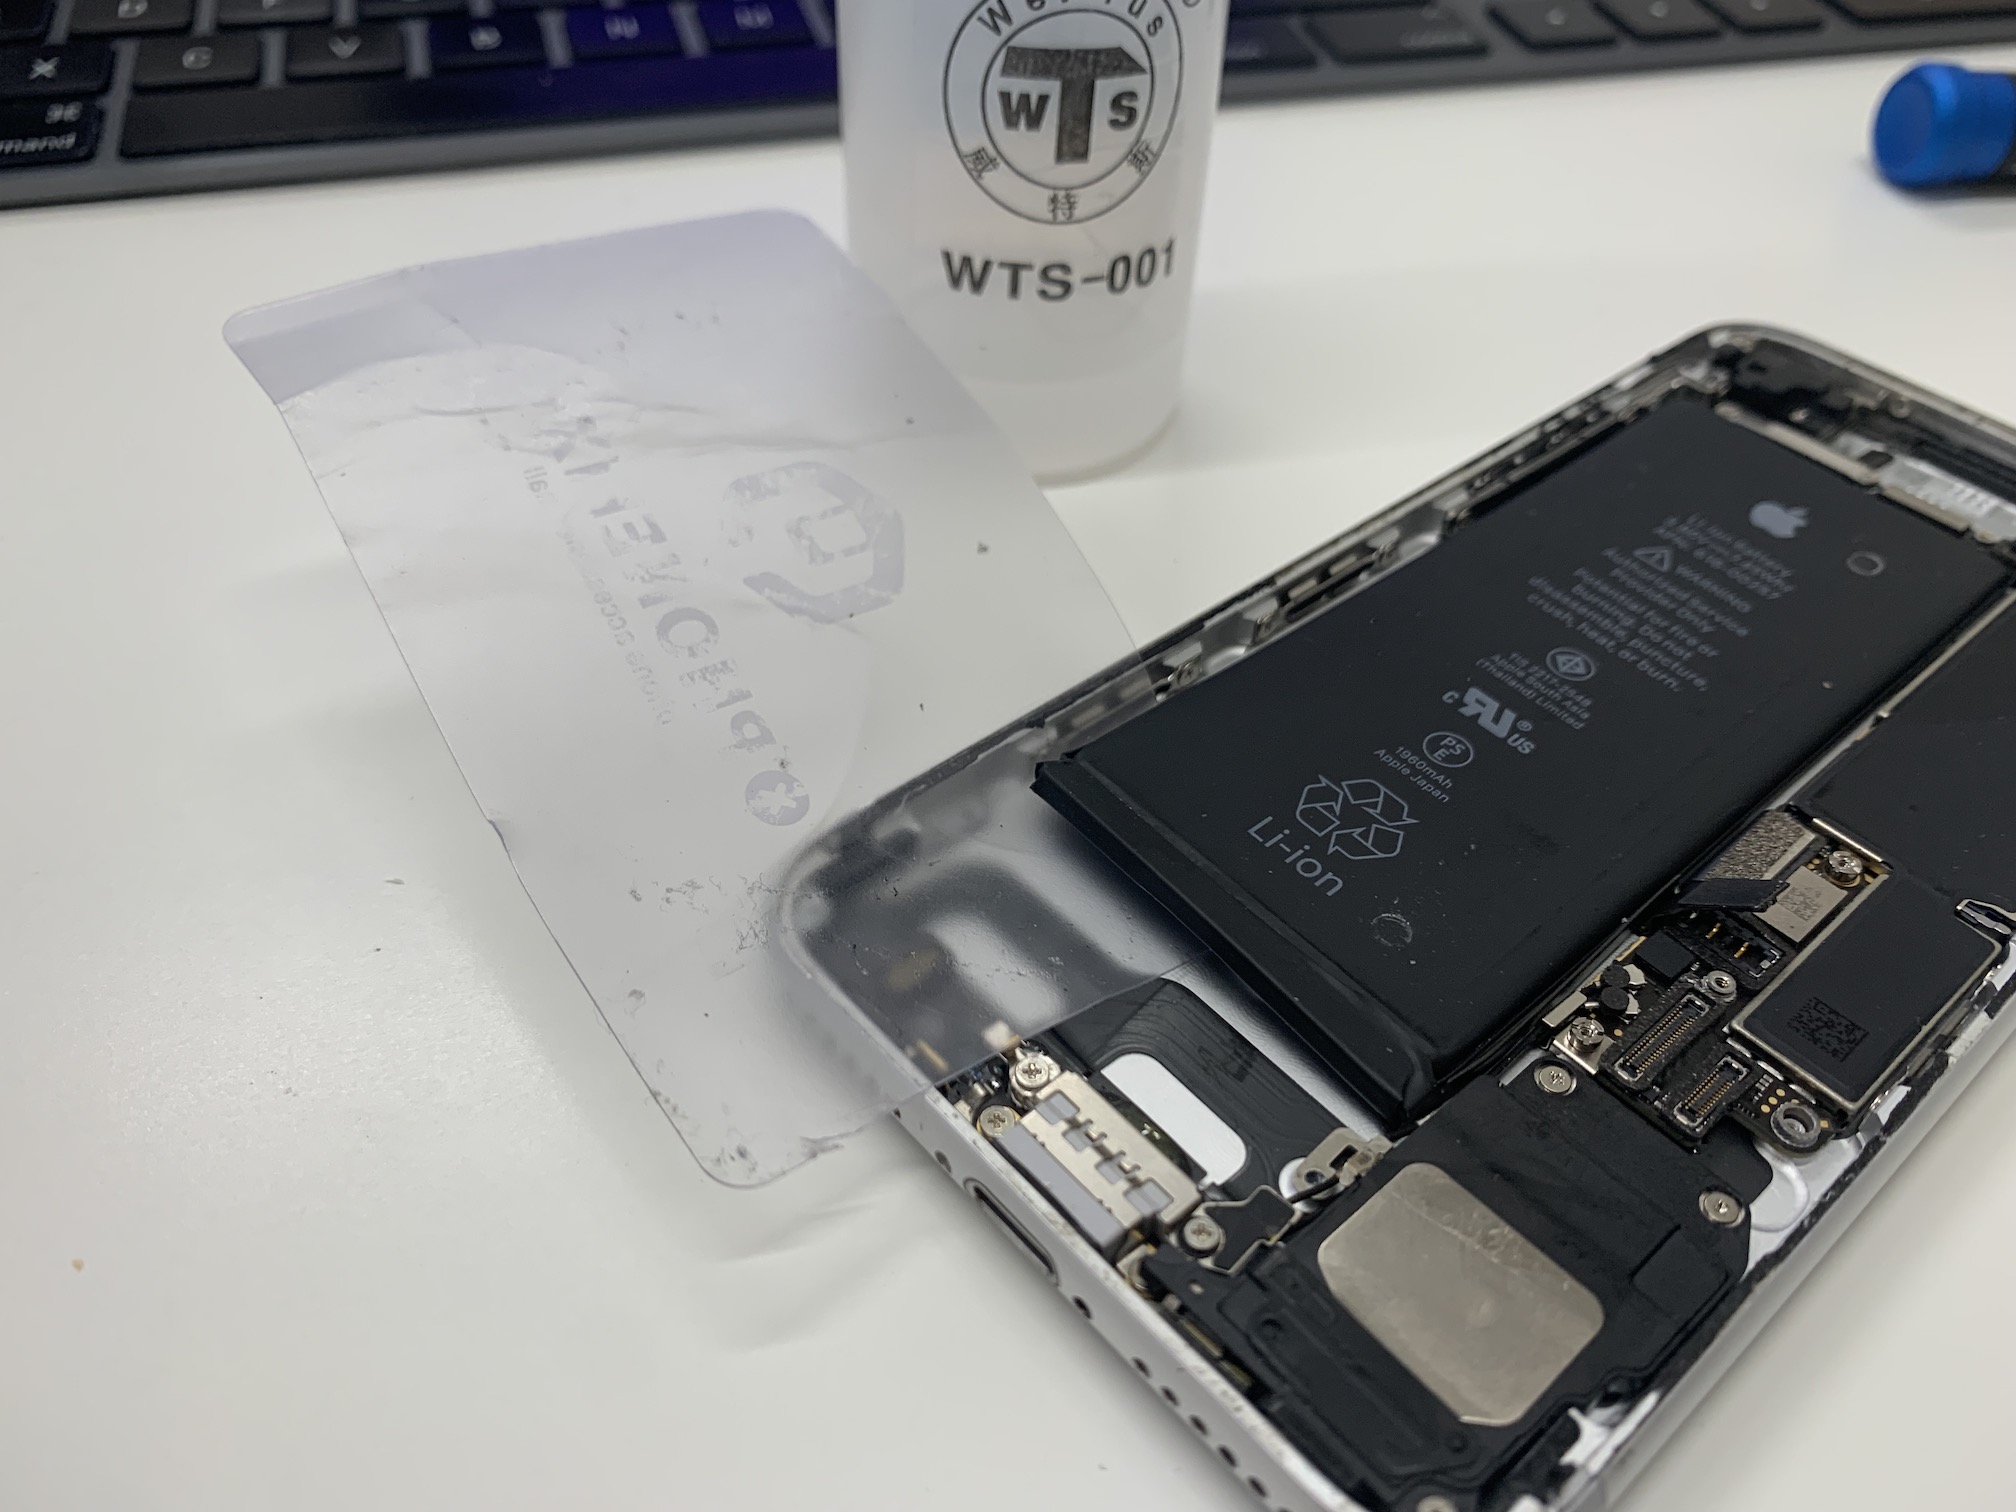
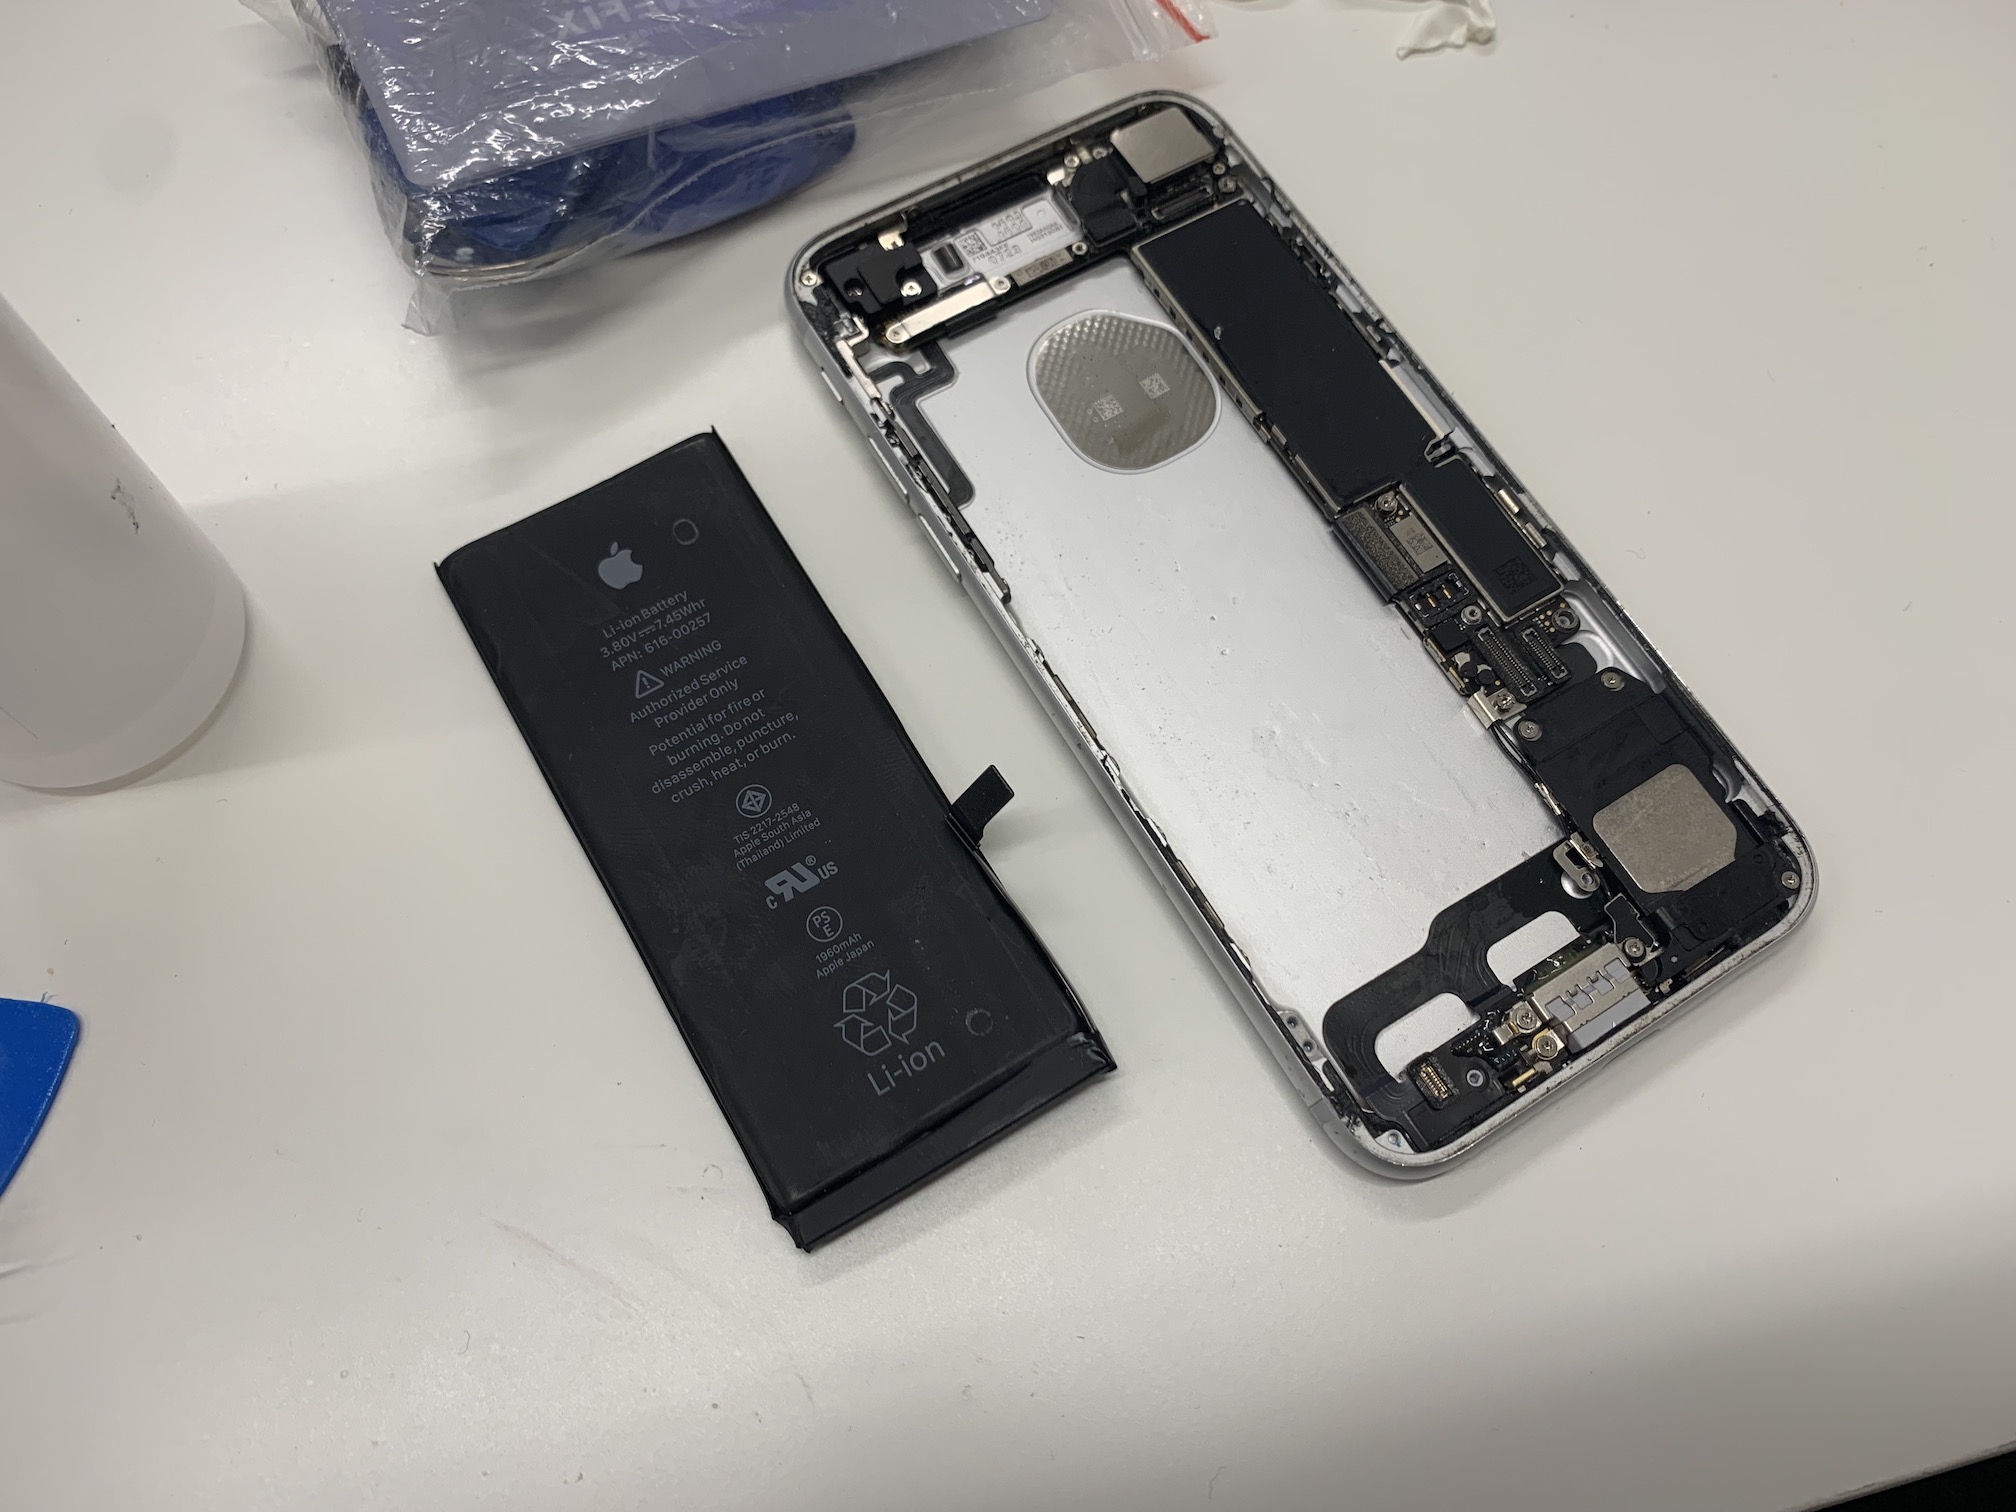
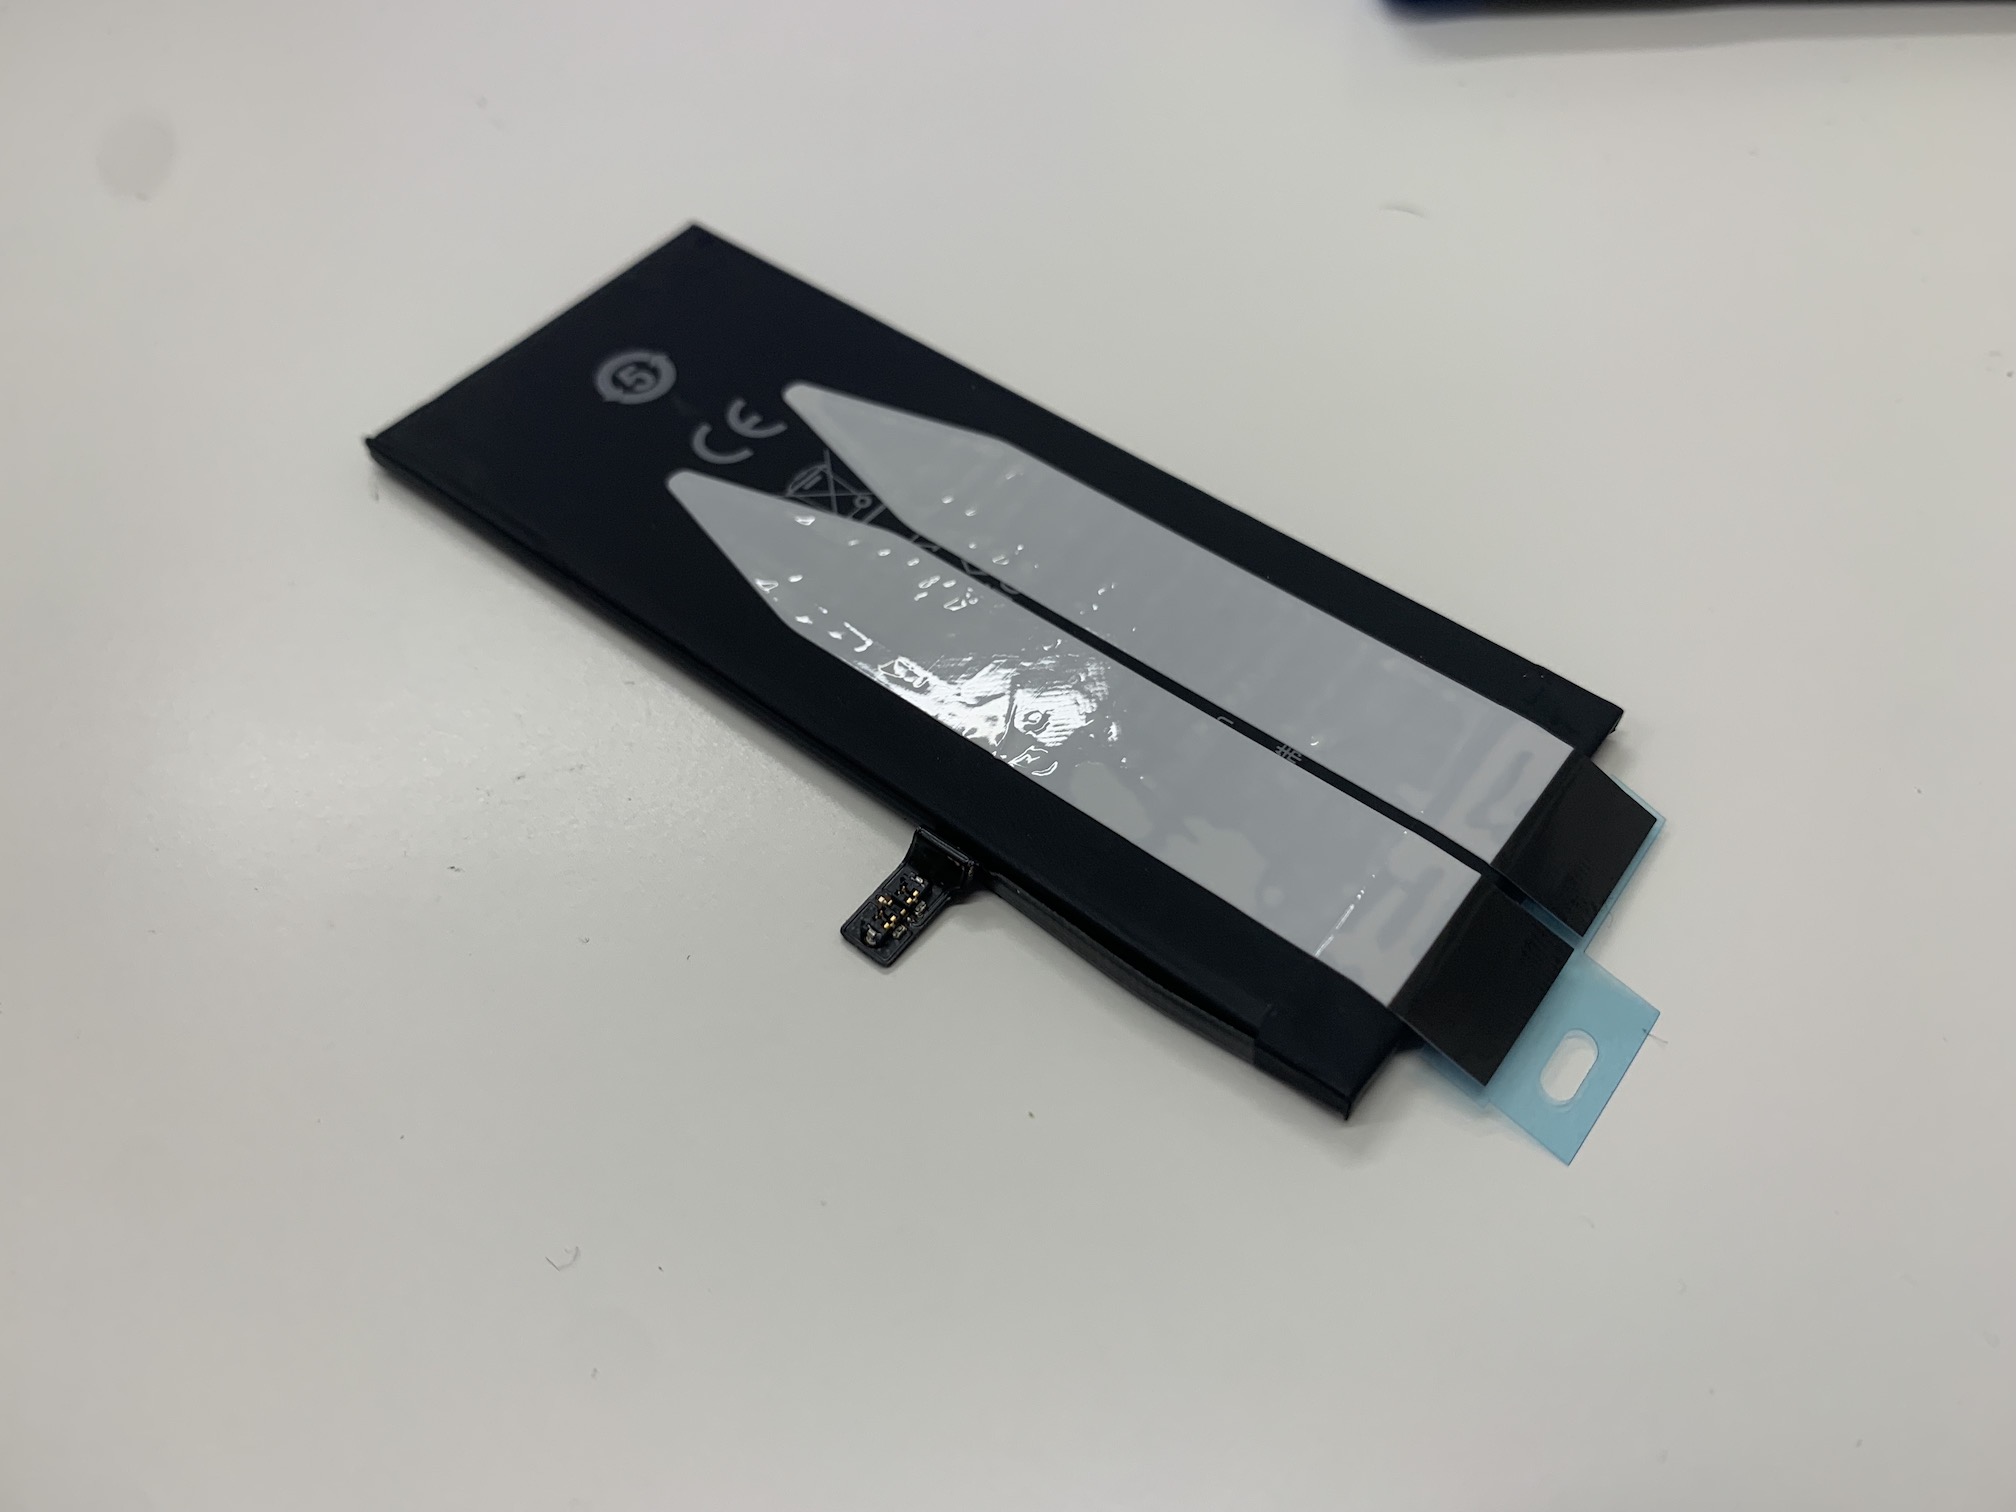
If you have successfully "unglued" the device and disconnected the battery with the display and upper body, now it's time to pull out the old battery itself. This is exactly what magic pull tabs are for, which are applied between the battery and the body of the device. To pull out the battery, you just need to grab those straps - sometimes you have to pull out things like the Taptic Engine or some other piece of hardware to get access to them - and start pulling on them. If the tapes are not old, you will be able to peel them off without any problems and then pull out the battery. But with old devices, these adhesive tapes can already lose their properties and begin to tear. In that case, if the strap breaks, it is necessary that you use ideally a plastic card and isopropyl alcohol. Apply some isopropyl alcohol under the battery and then insert the card between the body and the battery and start to peel off the adhesive. Never use a metal object in contact with the battery, as you risk damaging the battery and causing a fire. Be careful, as some devices may have a flex cable under the battery, for example to the volume buttons, etc., and on newer devices, a wireless charging coil.
Testing and sticking
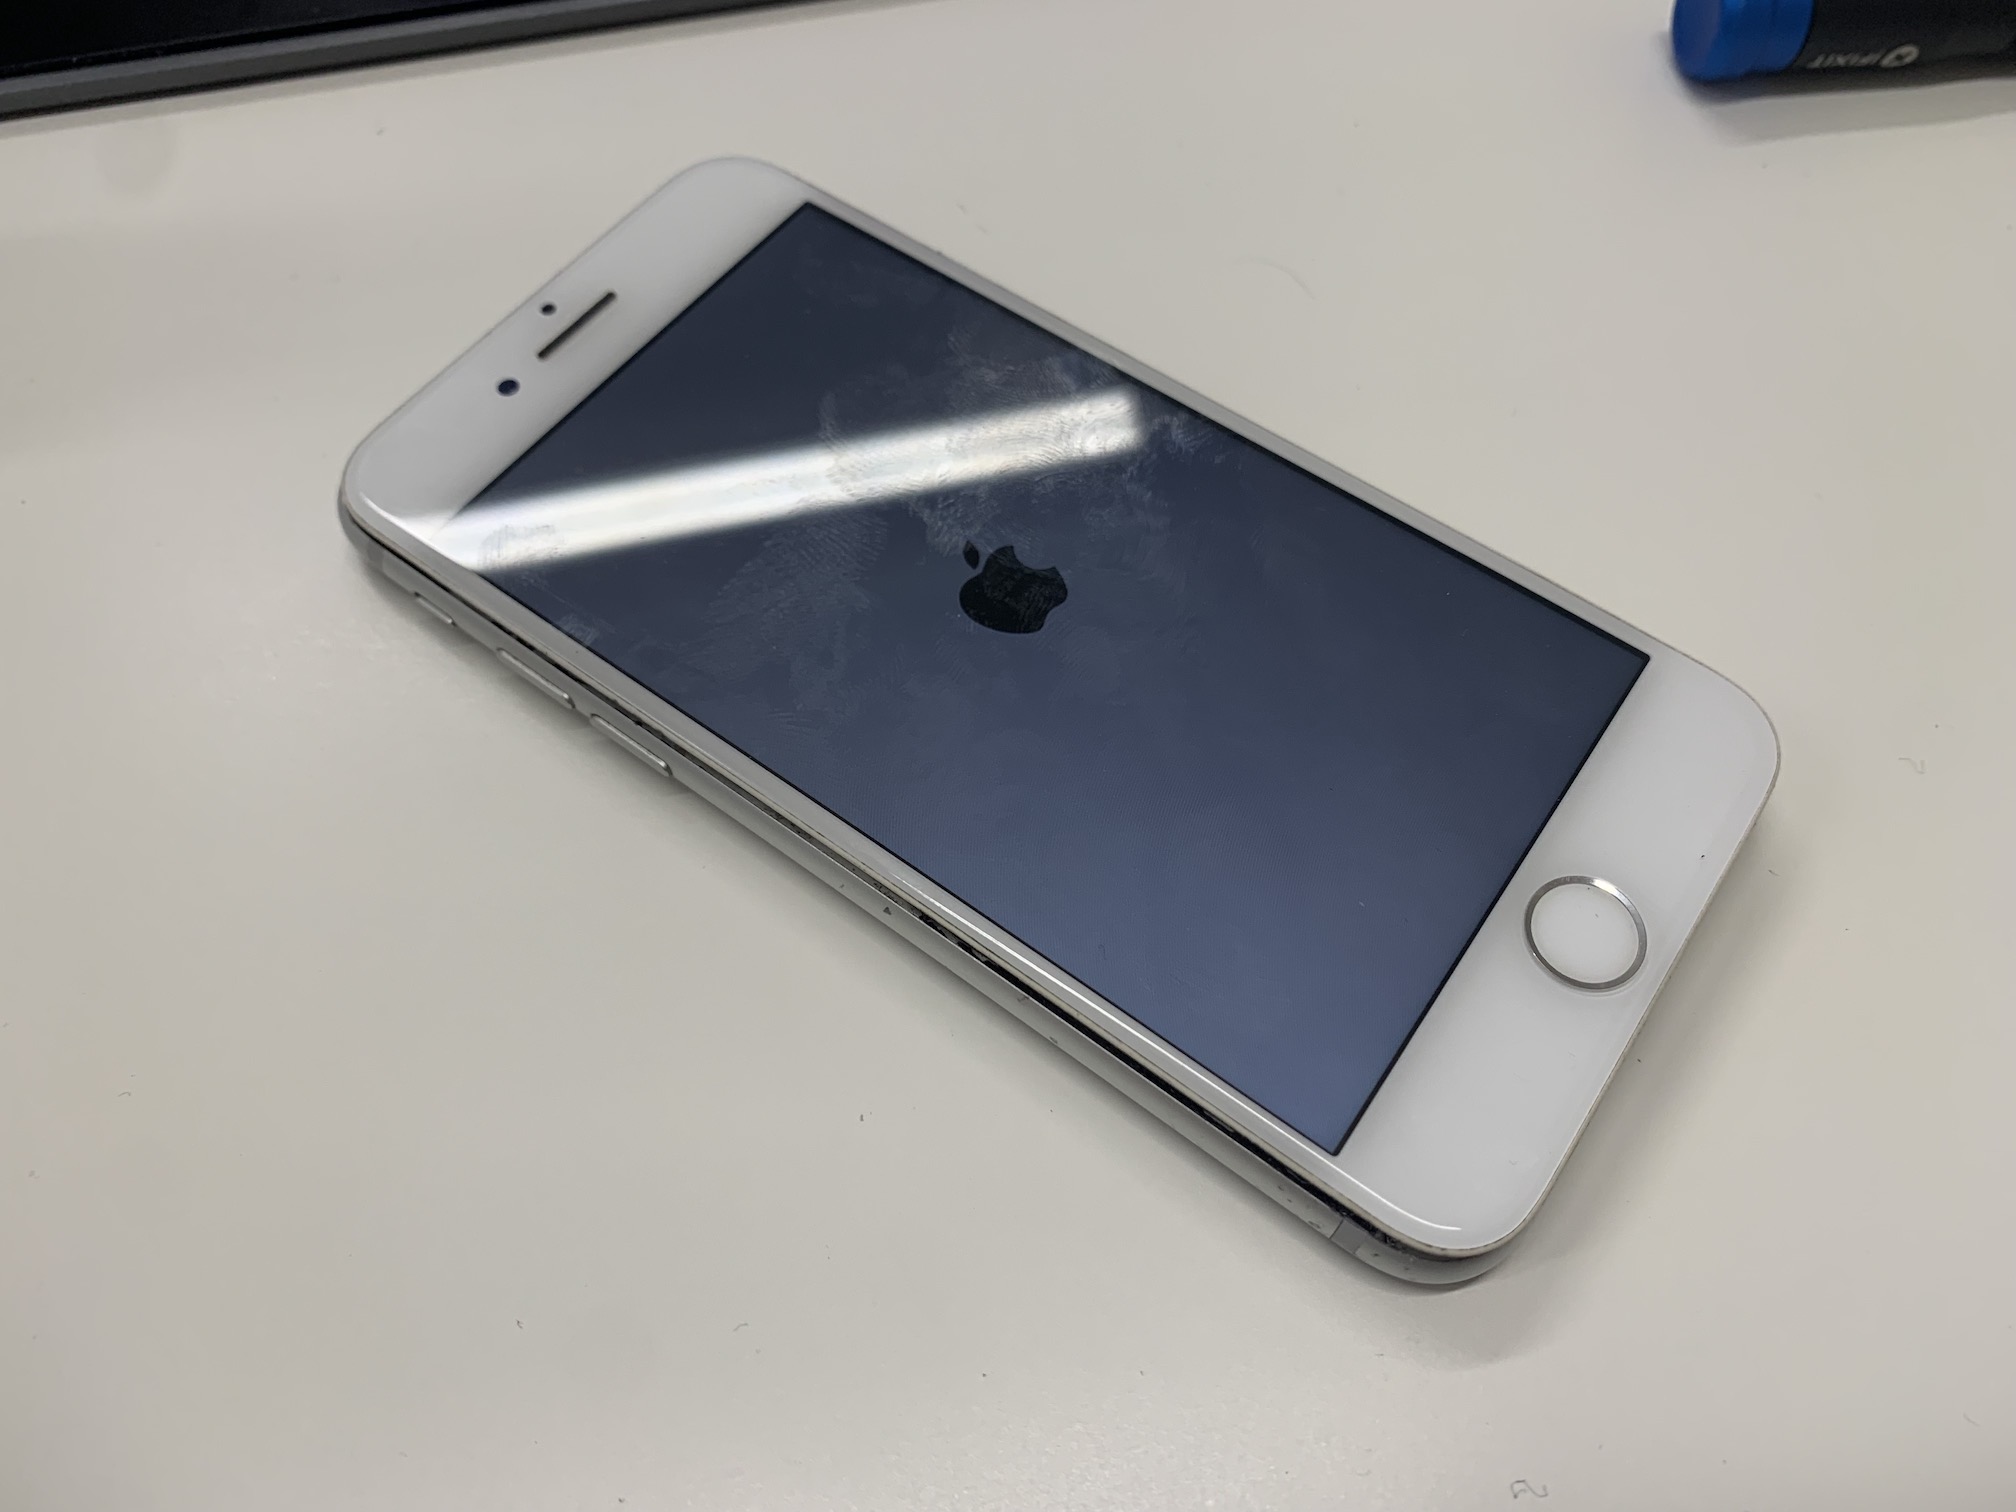
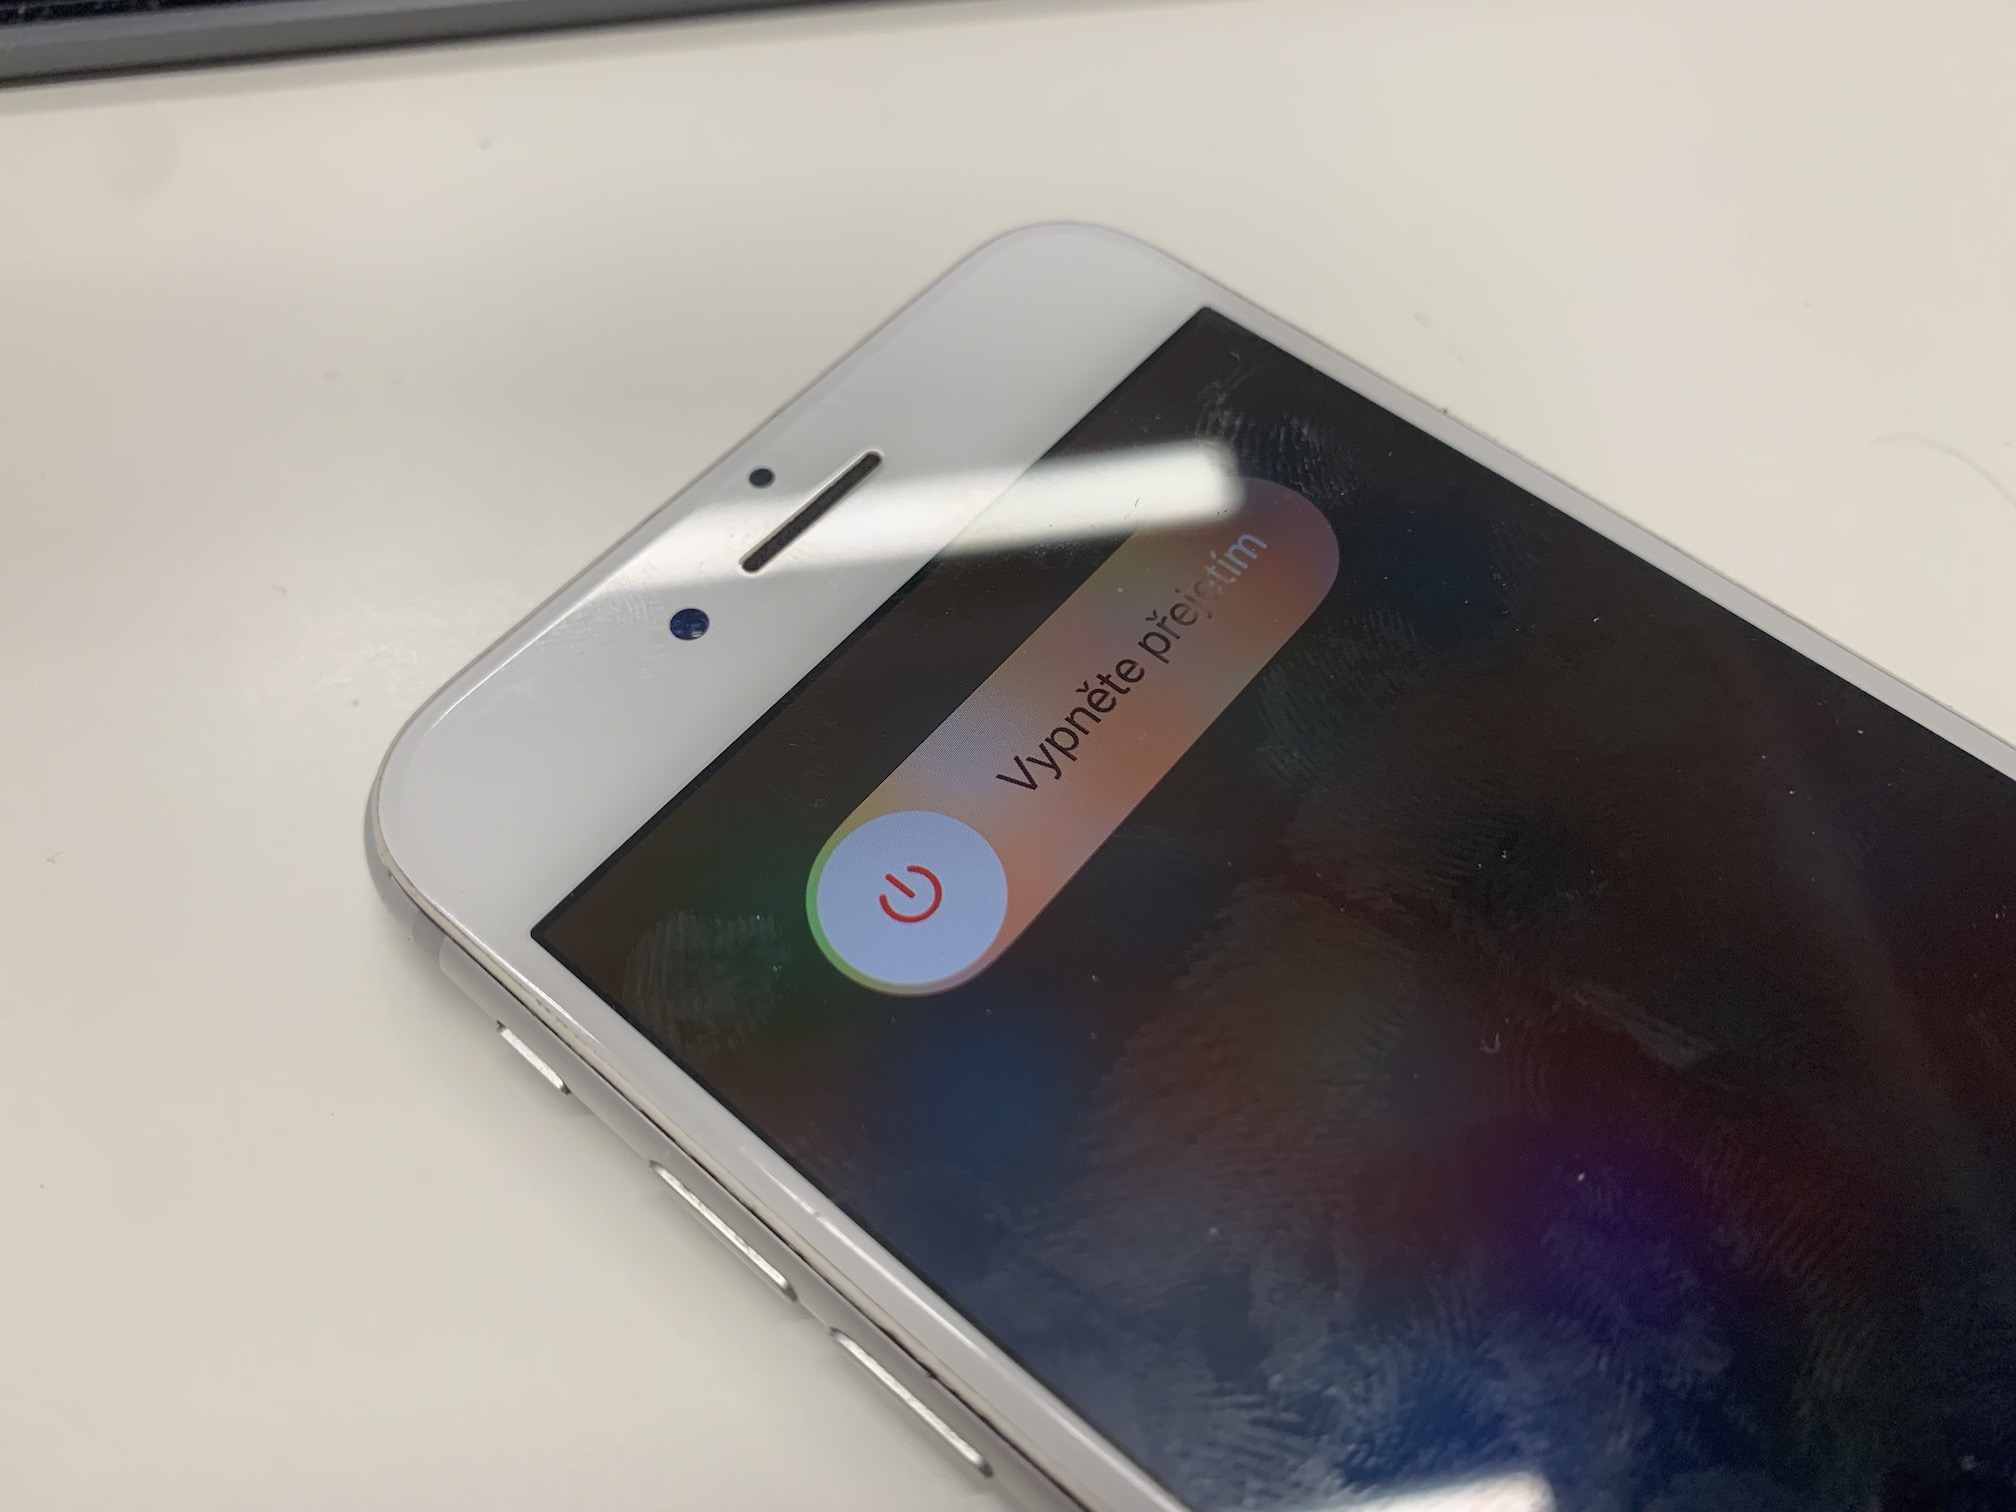
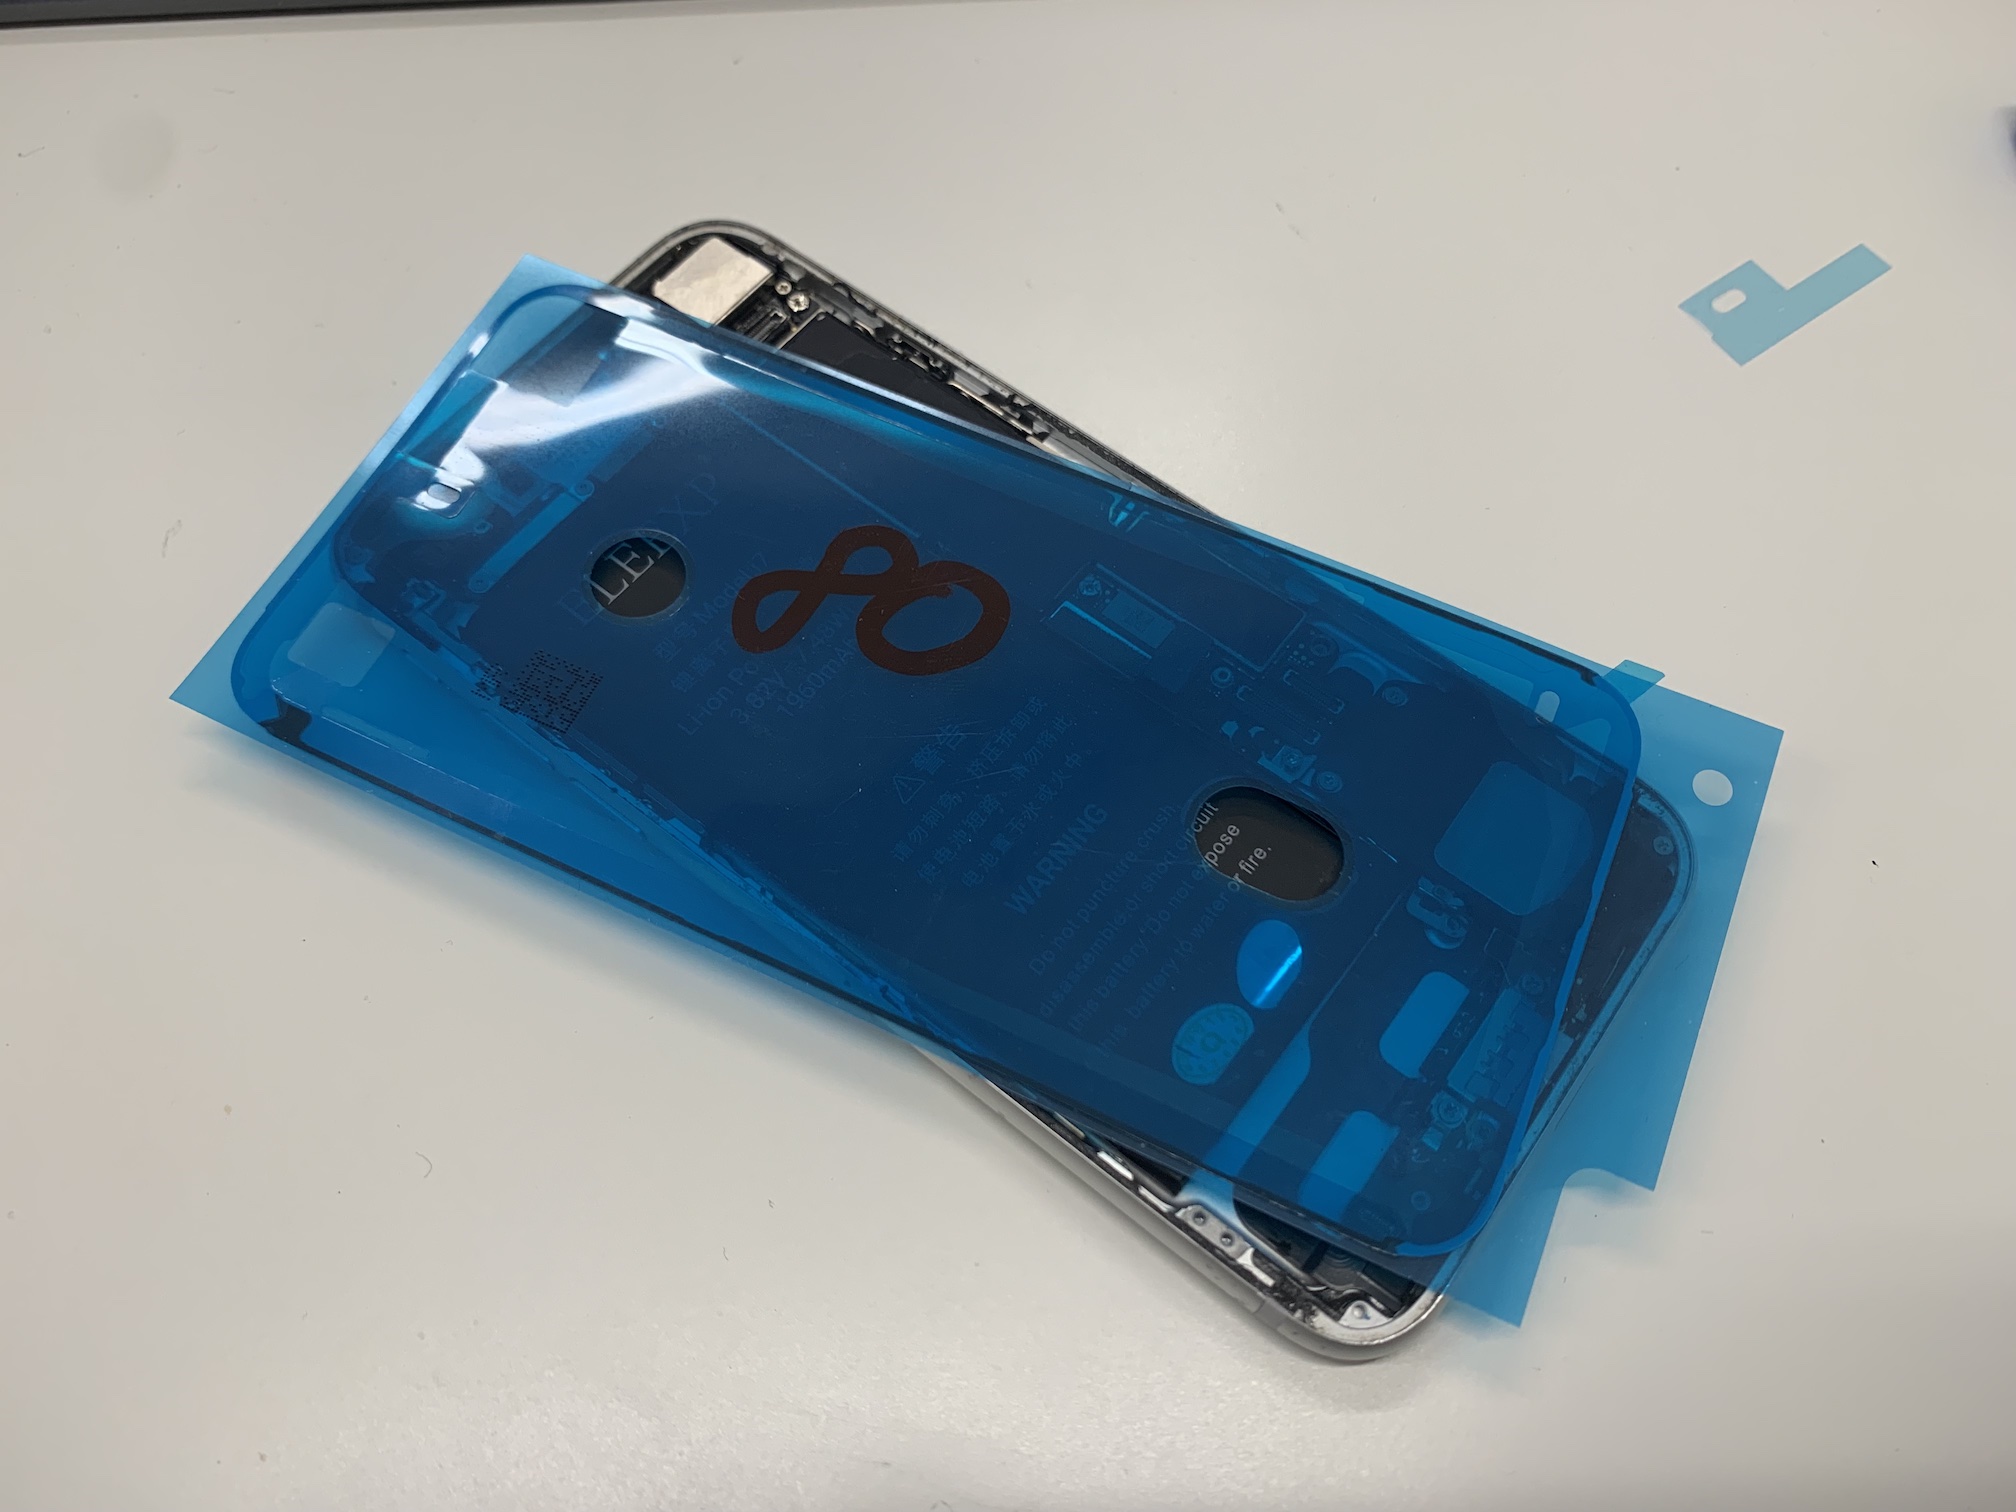
After successfully removing the old battery, it is necessary to insert and stick the new one. Before doing so, you should definitely test the battery. So insert it into the body of the device, connect the display and finally the battery. Then turn on the device. In most cases, the batteries are charged, but sometimes it can happen that they "lie" for a long time and discharge. So if your iPhone does not turn on after the replacement, try connecting it to power and wait a while. If after turning it on you find that everything is fine and the device works, then turn it off again and disconnect the battery and display. Then glue the battery firmly, but do not connect it. If you have a newer device, apply adhesive to the body frame for water and dust resistance, then connect the display, finally the battery and close the device. Do not forget to screw back the two pentalobe screws located next to the Lightning connector at the end.
