In addition to the classic public versions of operating systems, Apple is also working on the development of brand new systems, which it presented a few months ago at a developer conference. In particular, we saw the presentation of iOS and iPadOS 16, macOS 13 Ventura and watchOS 9, with the fact that these systems are still available in beta versions. While iOS 16 and watchOS 9 will be released to the public in a few days, we will still have to wait for the other two systems. If you are one of the individuals who have the beta version of macOS 13 Ventura installed, then you may be facing problems related to slowdown. Therefore, in this article we will look at 5 tips to speed up macOS 13 Ventura.
It could be interest you

Deactivation of effects and animations
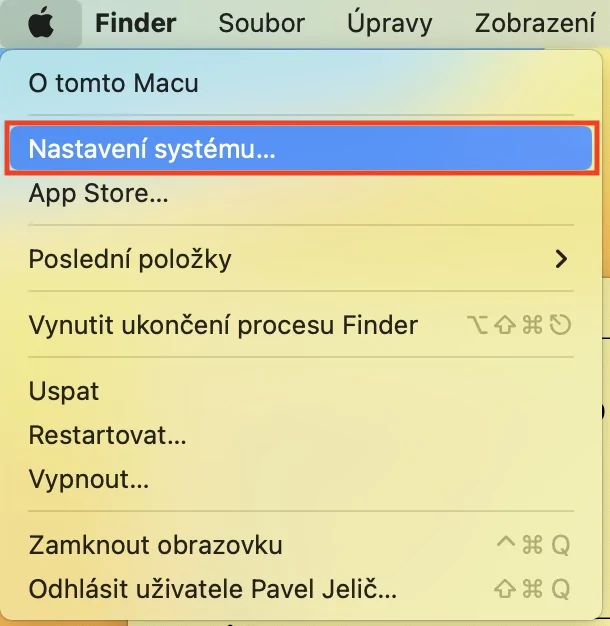
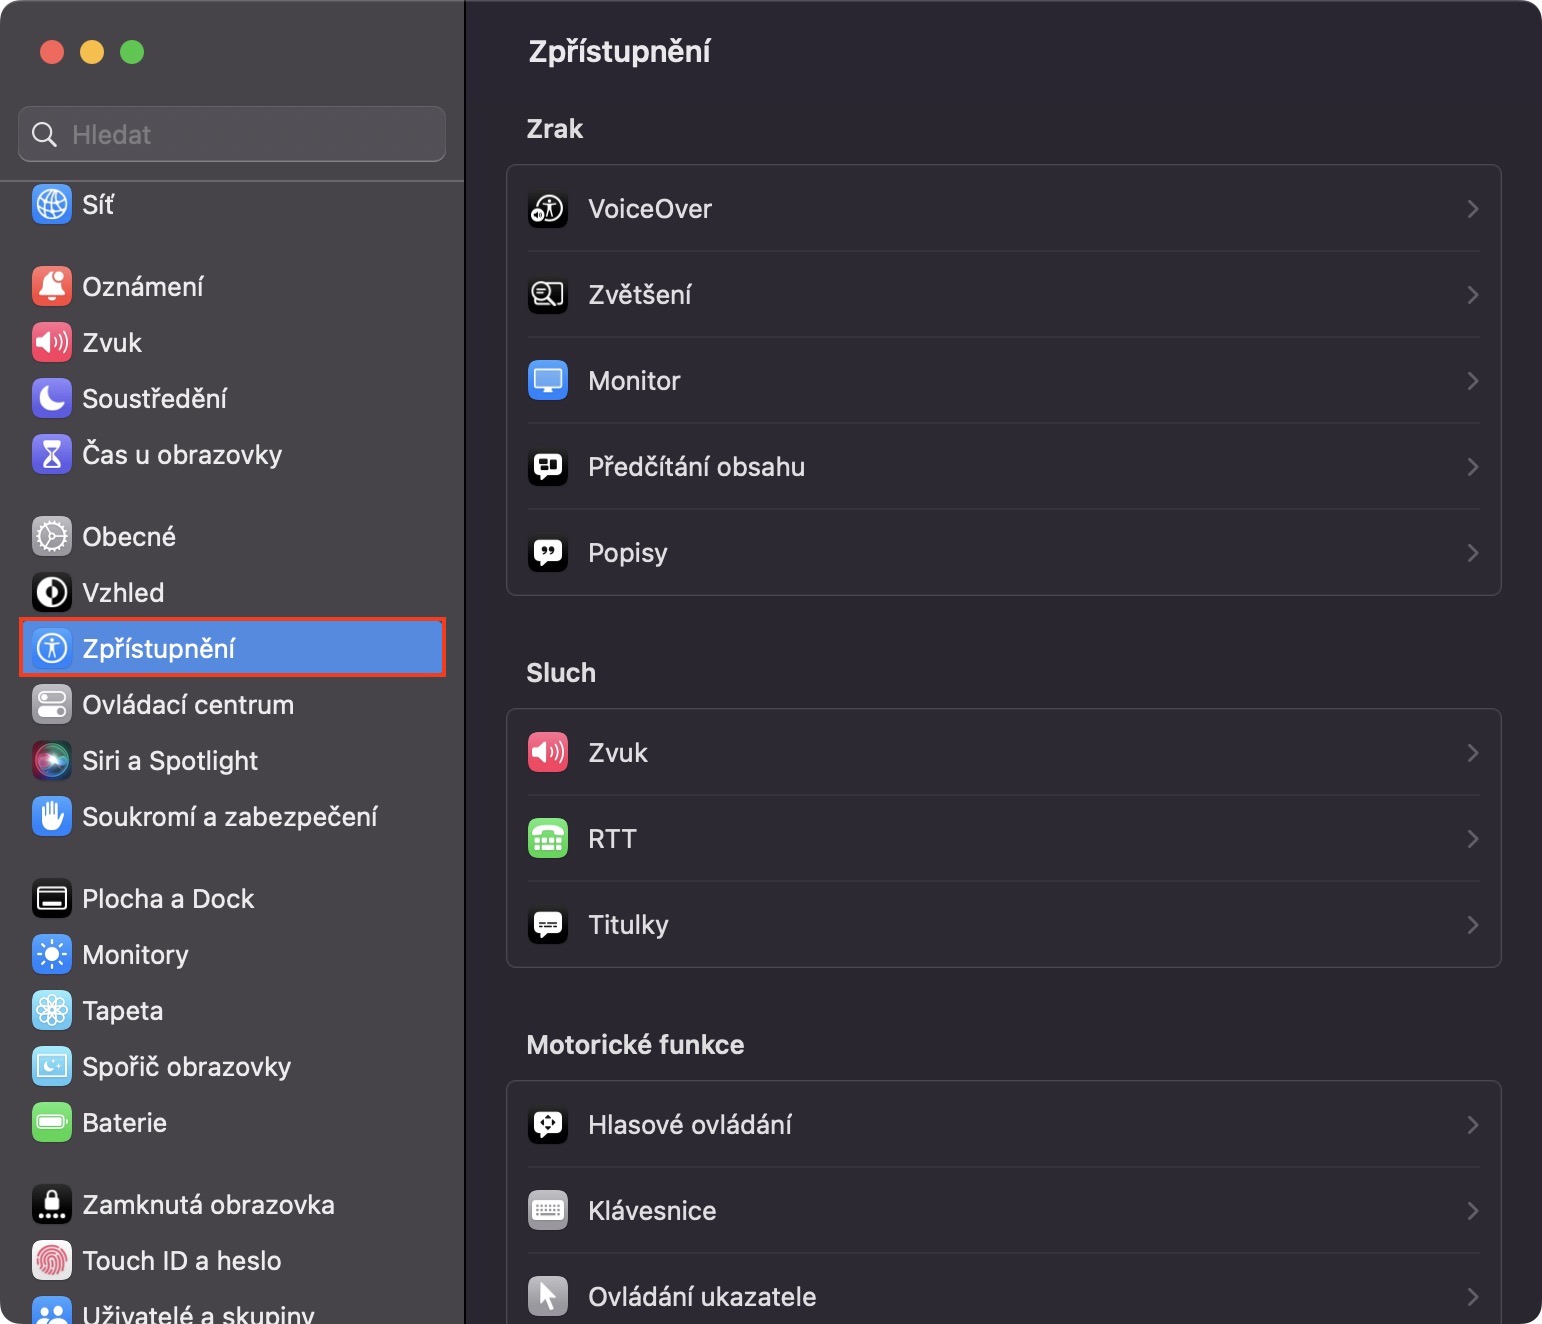
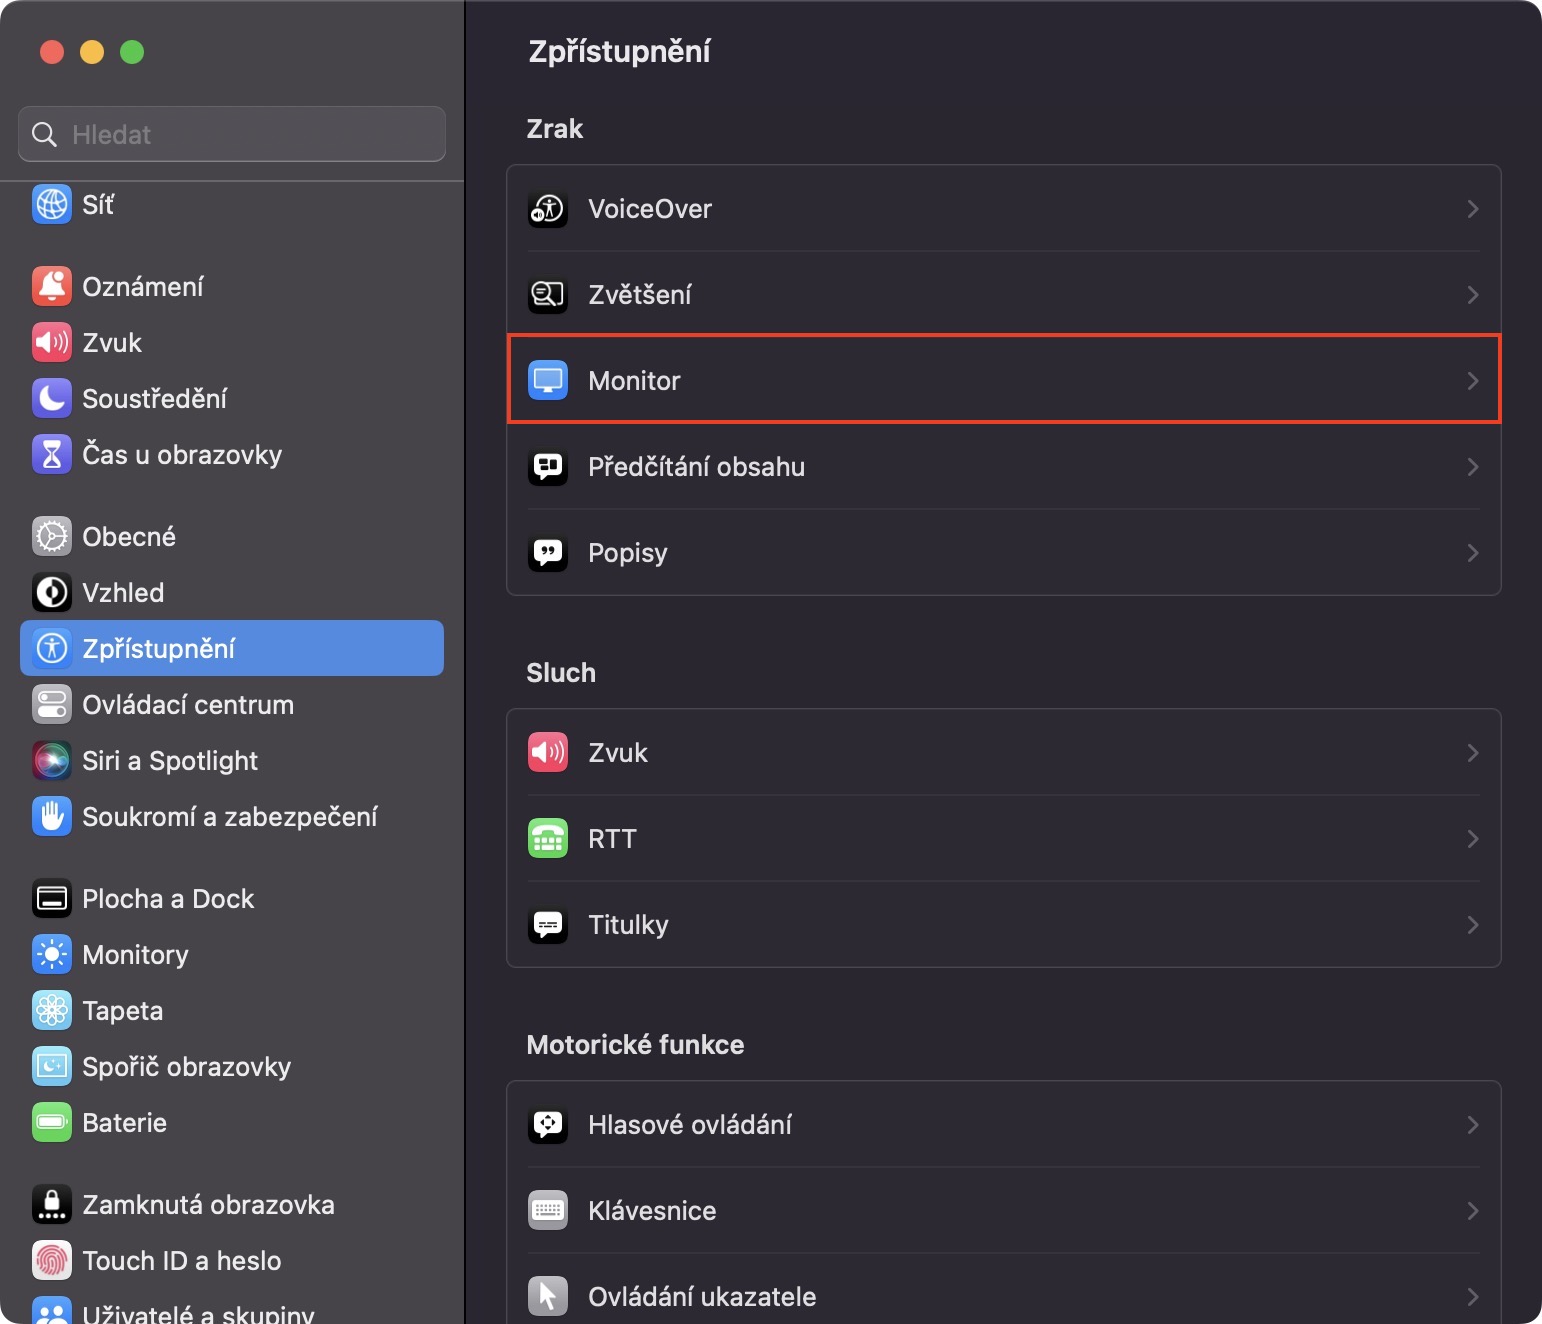
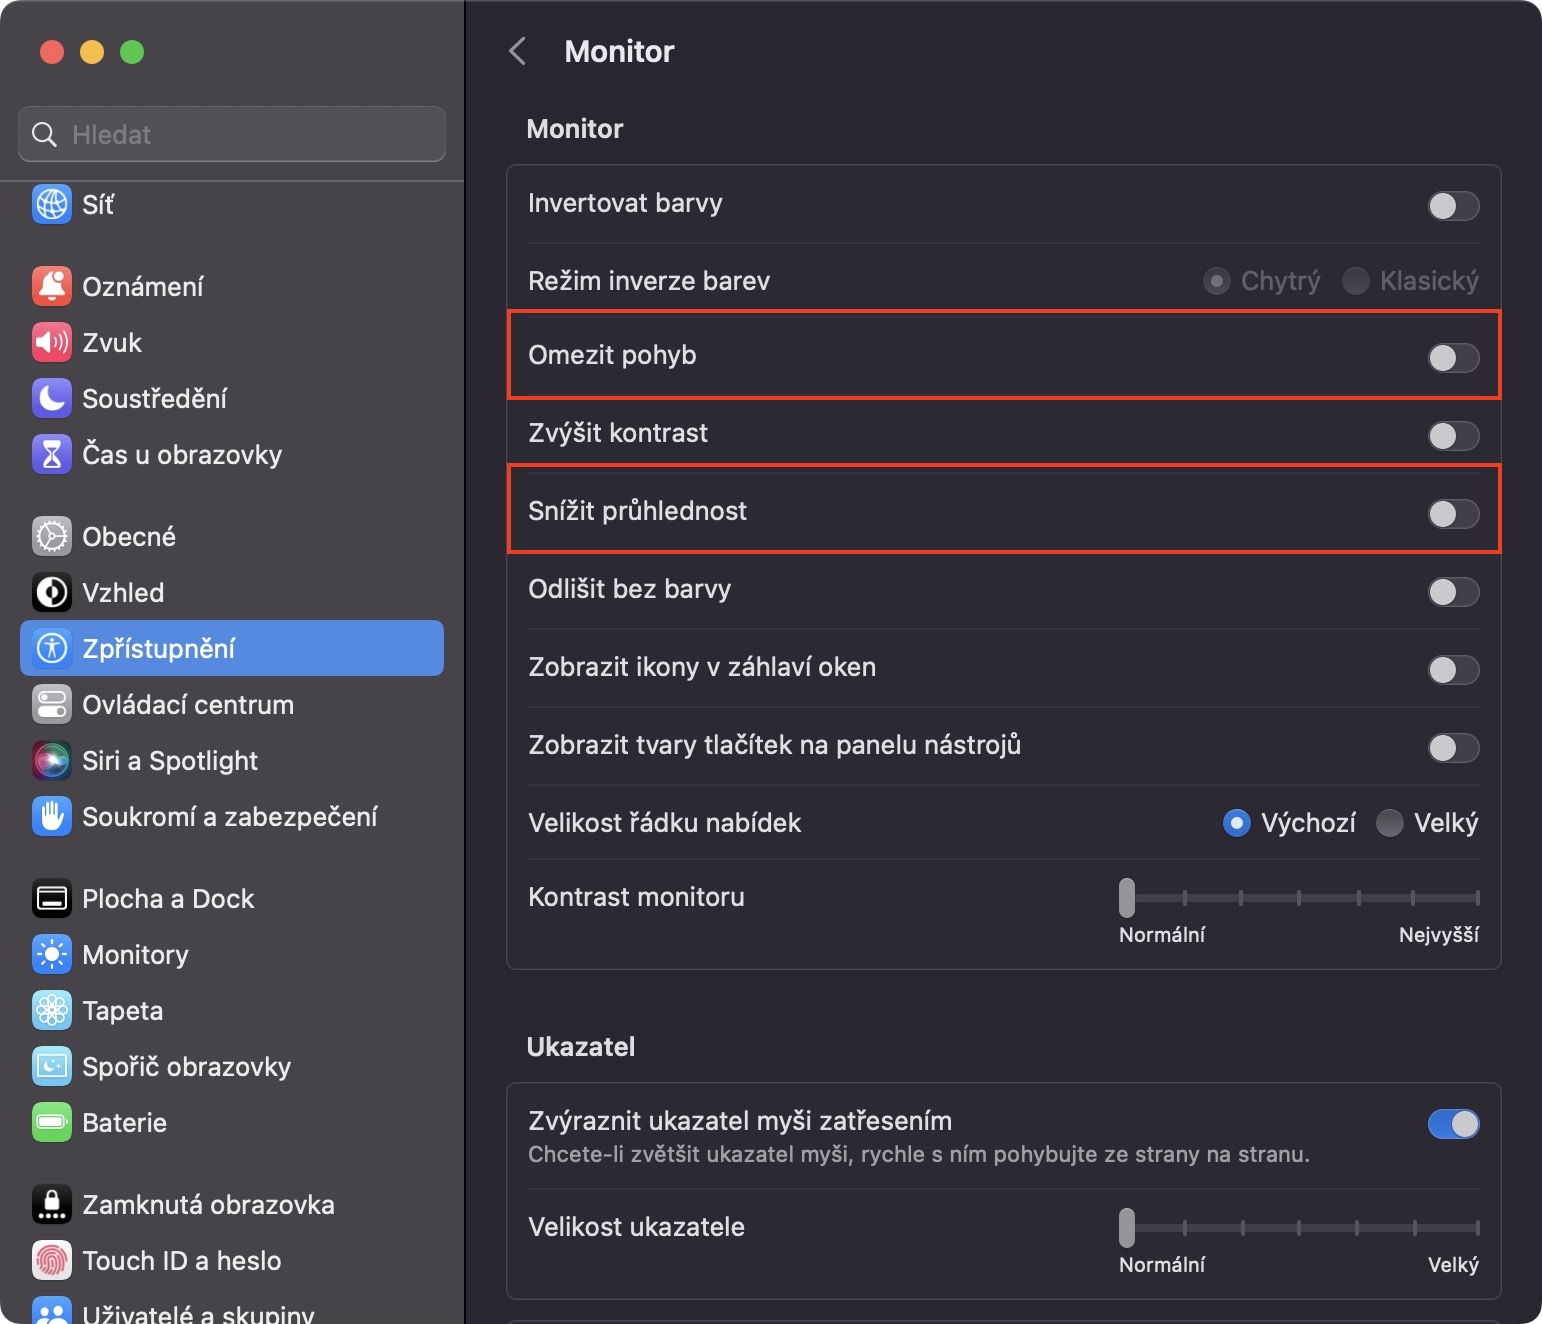
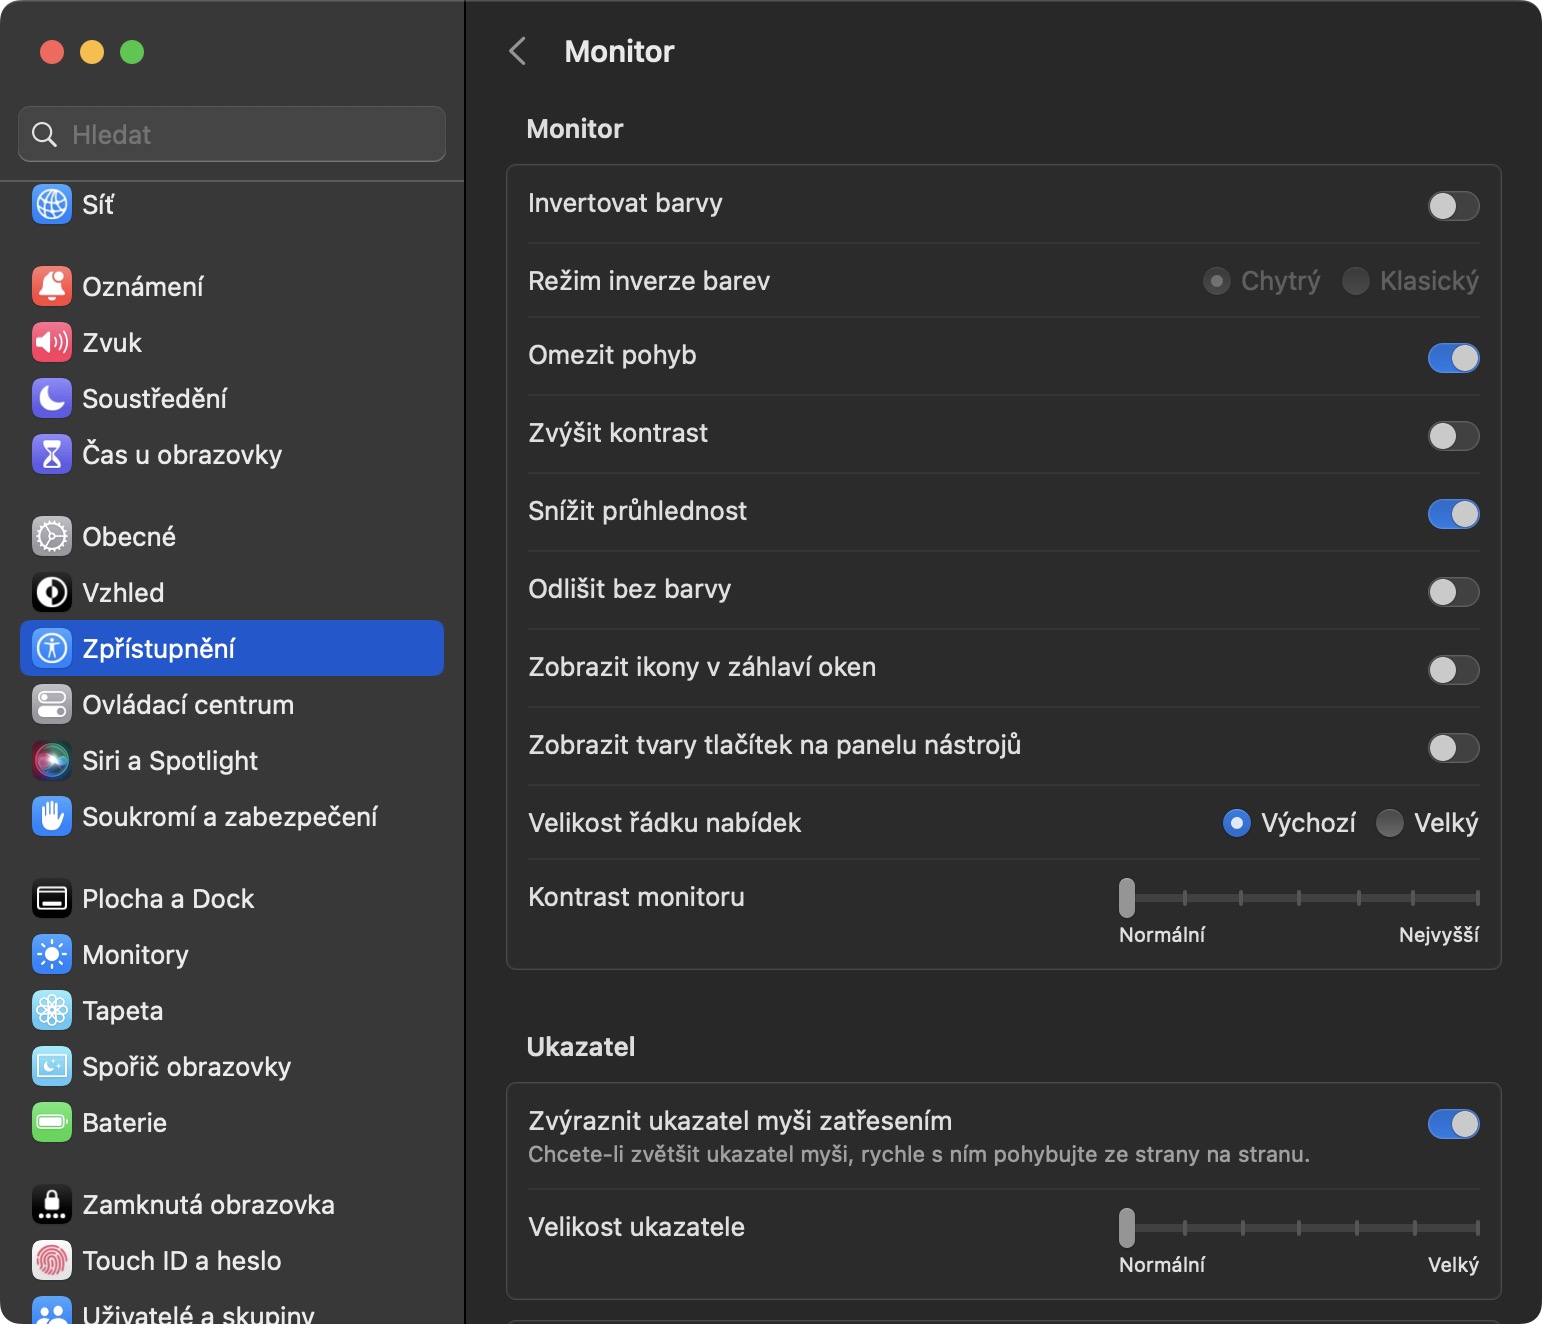
If you think about using (not only) apple systems, you will find that they are full of all kinds of effects and animations - and as for macOS, this is doubly true here. However, some processing power is required to render these effects and animations, which can be a problem especially on older Macs, which may lack it. Fortunately, it is possible to turn off effects and animations in macOS. Just go to → System Settings → Accessibility → Monitor, where activate Limit movement. Besides, you can activate také Reduce transparency.
Fix disk errors
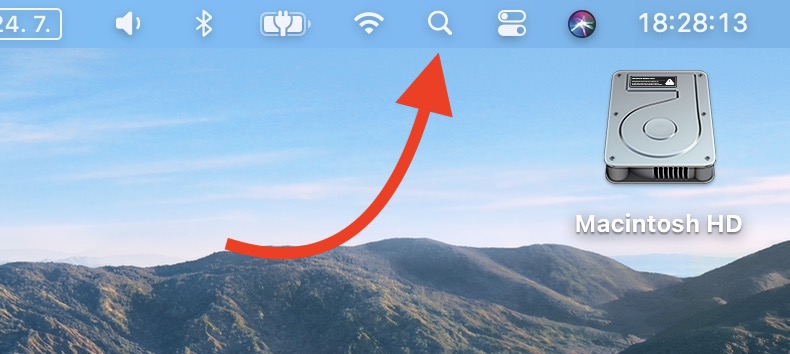
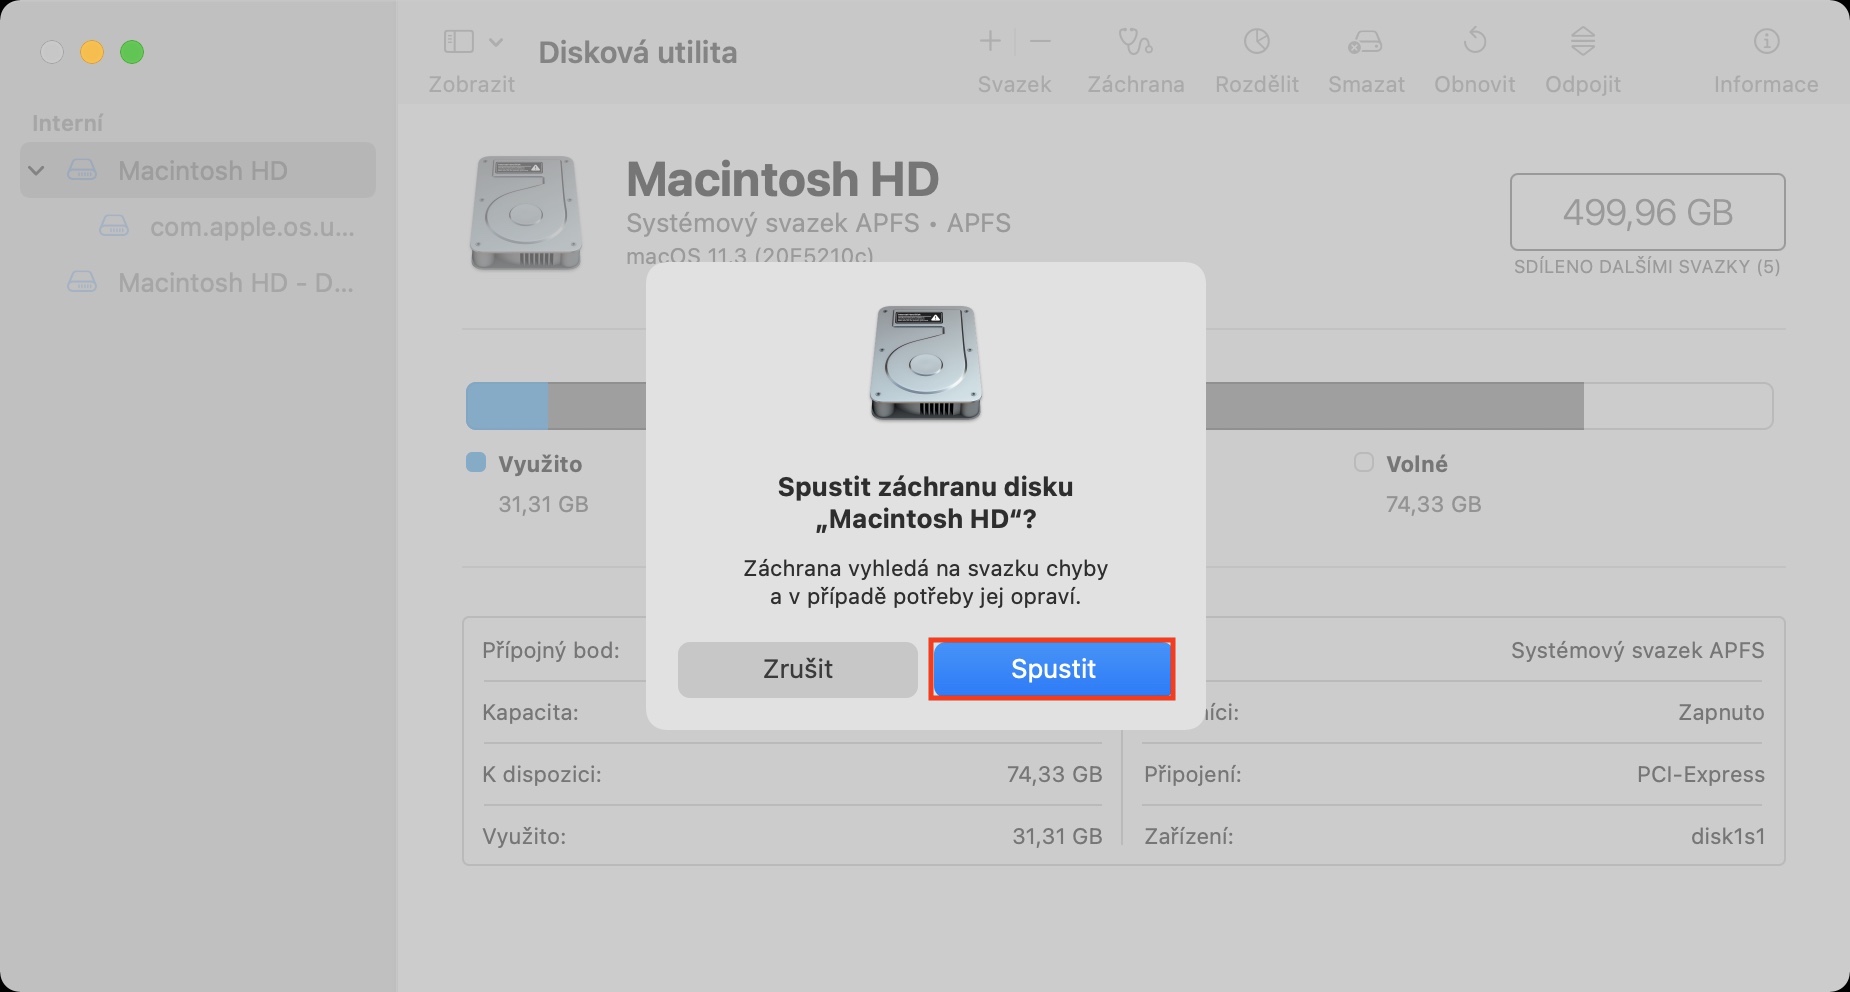
Not only is your Mac slow, but it's even restarting, or apps are crashing? If so, disk errors are most likely responsible. But the good news is that macOS offers a built-in feature that allows you to find and fix disk errors. All you have to do is specifically go to the application disk utility, perhaps through Spotlight or a folder Utility v Applications. Here then on the left label the internal drive, at the top tap on Rescue a go through the guide which removes errors.
Control of demanding applications
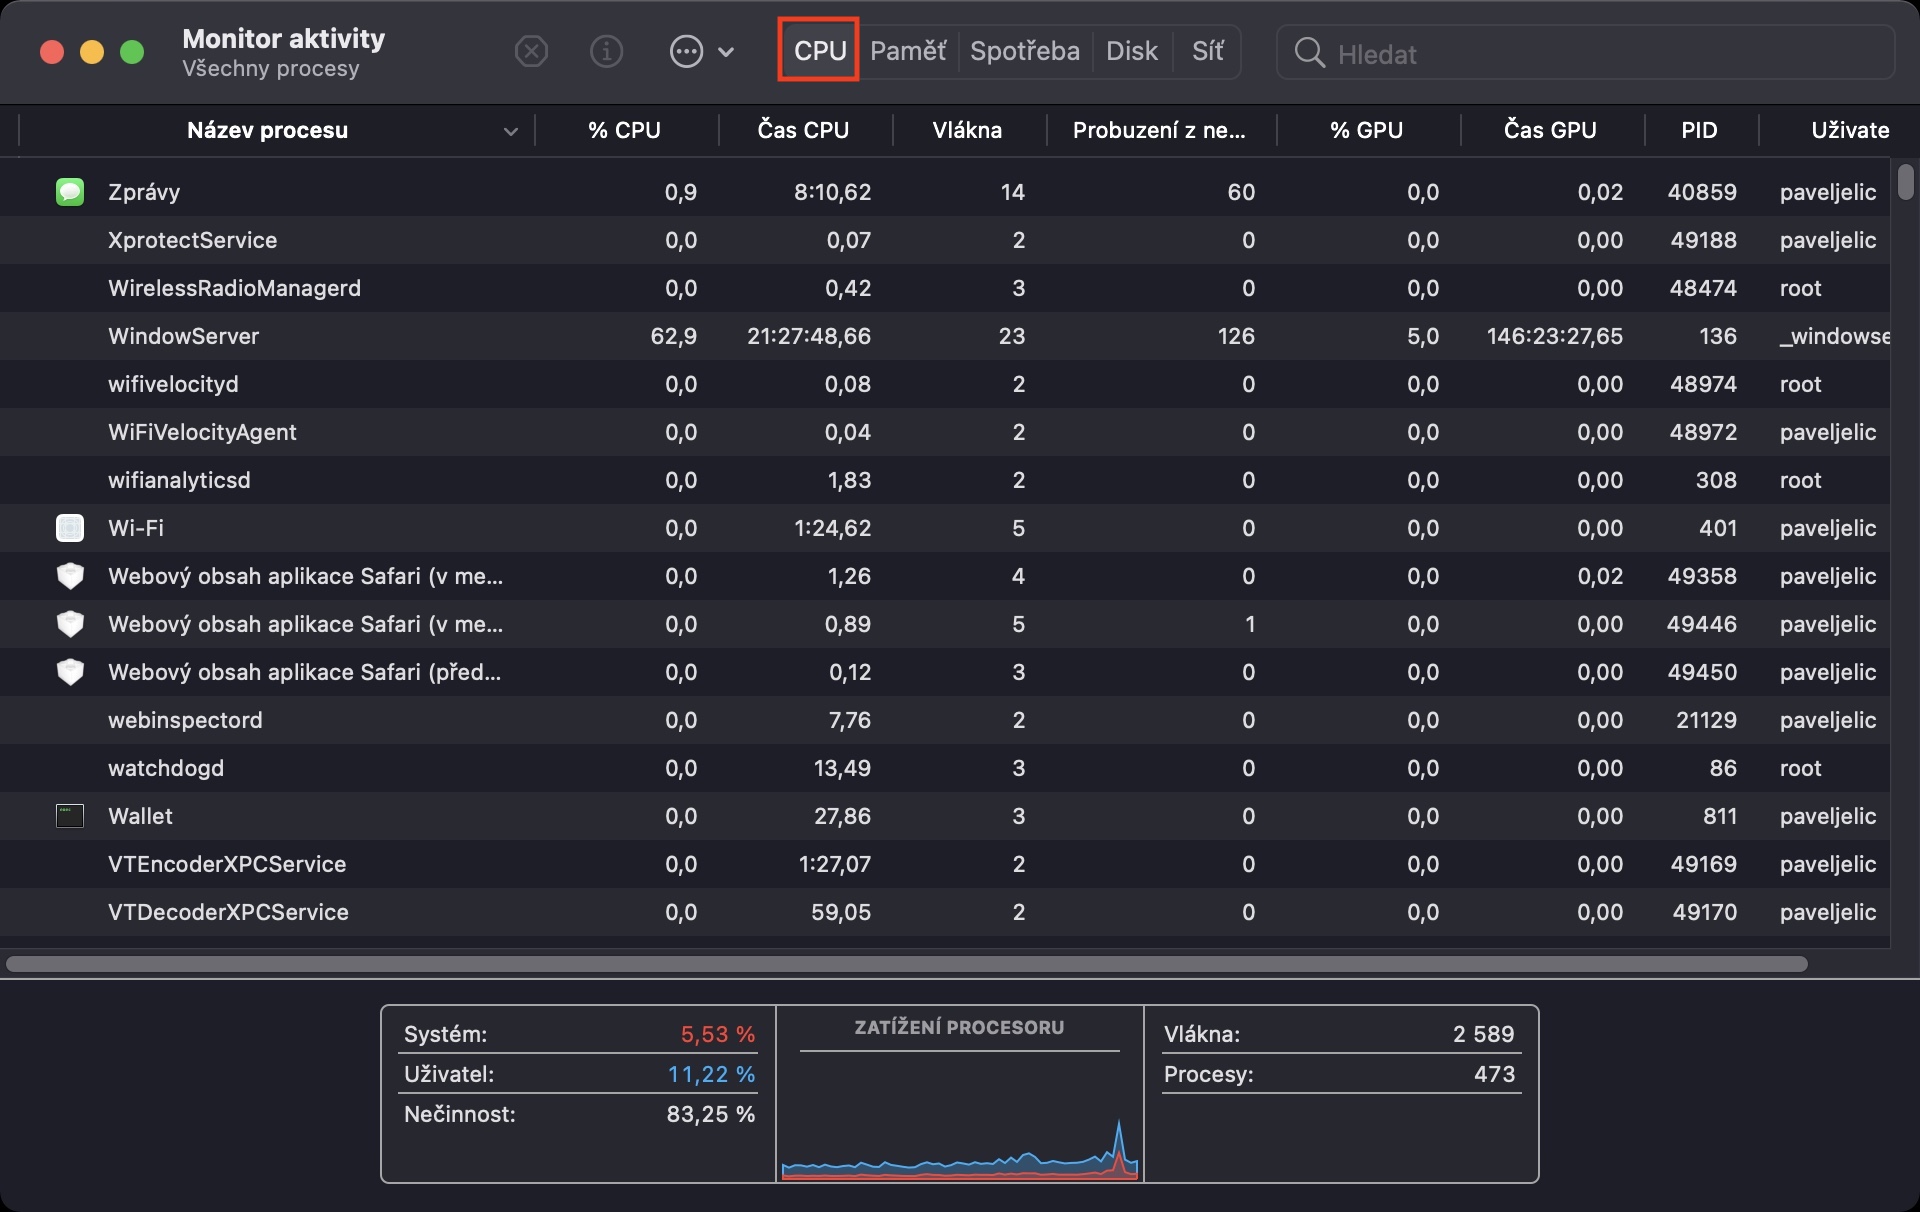
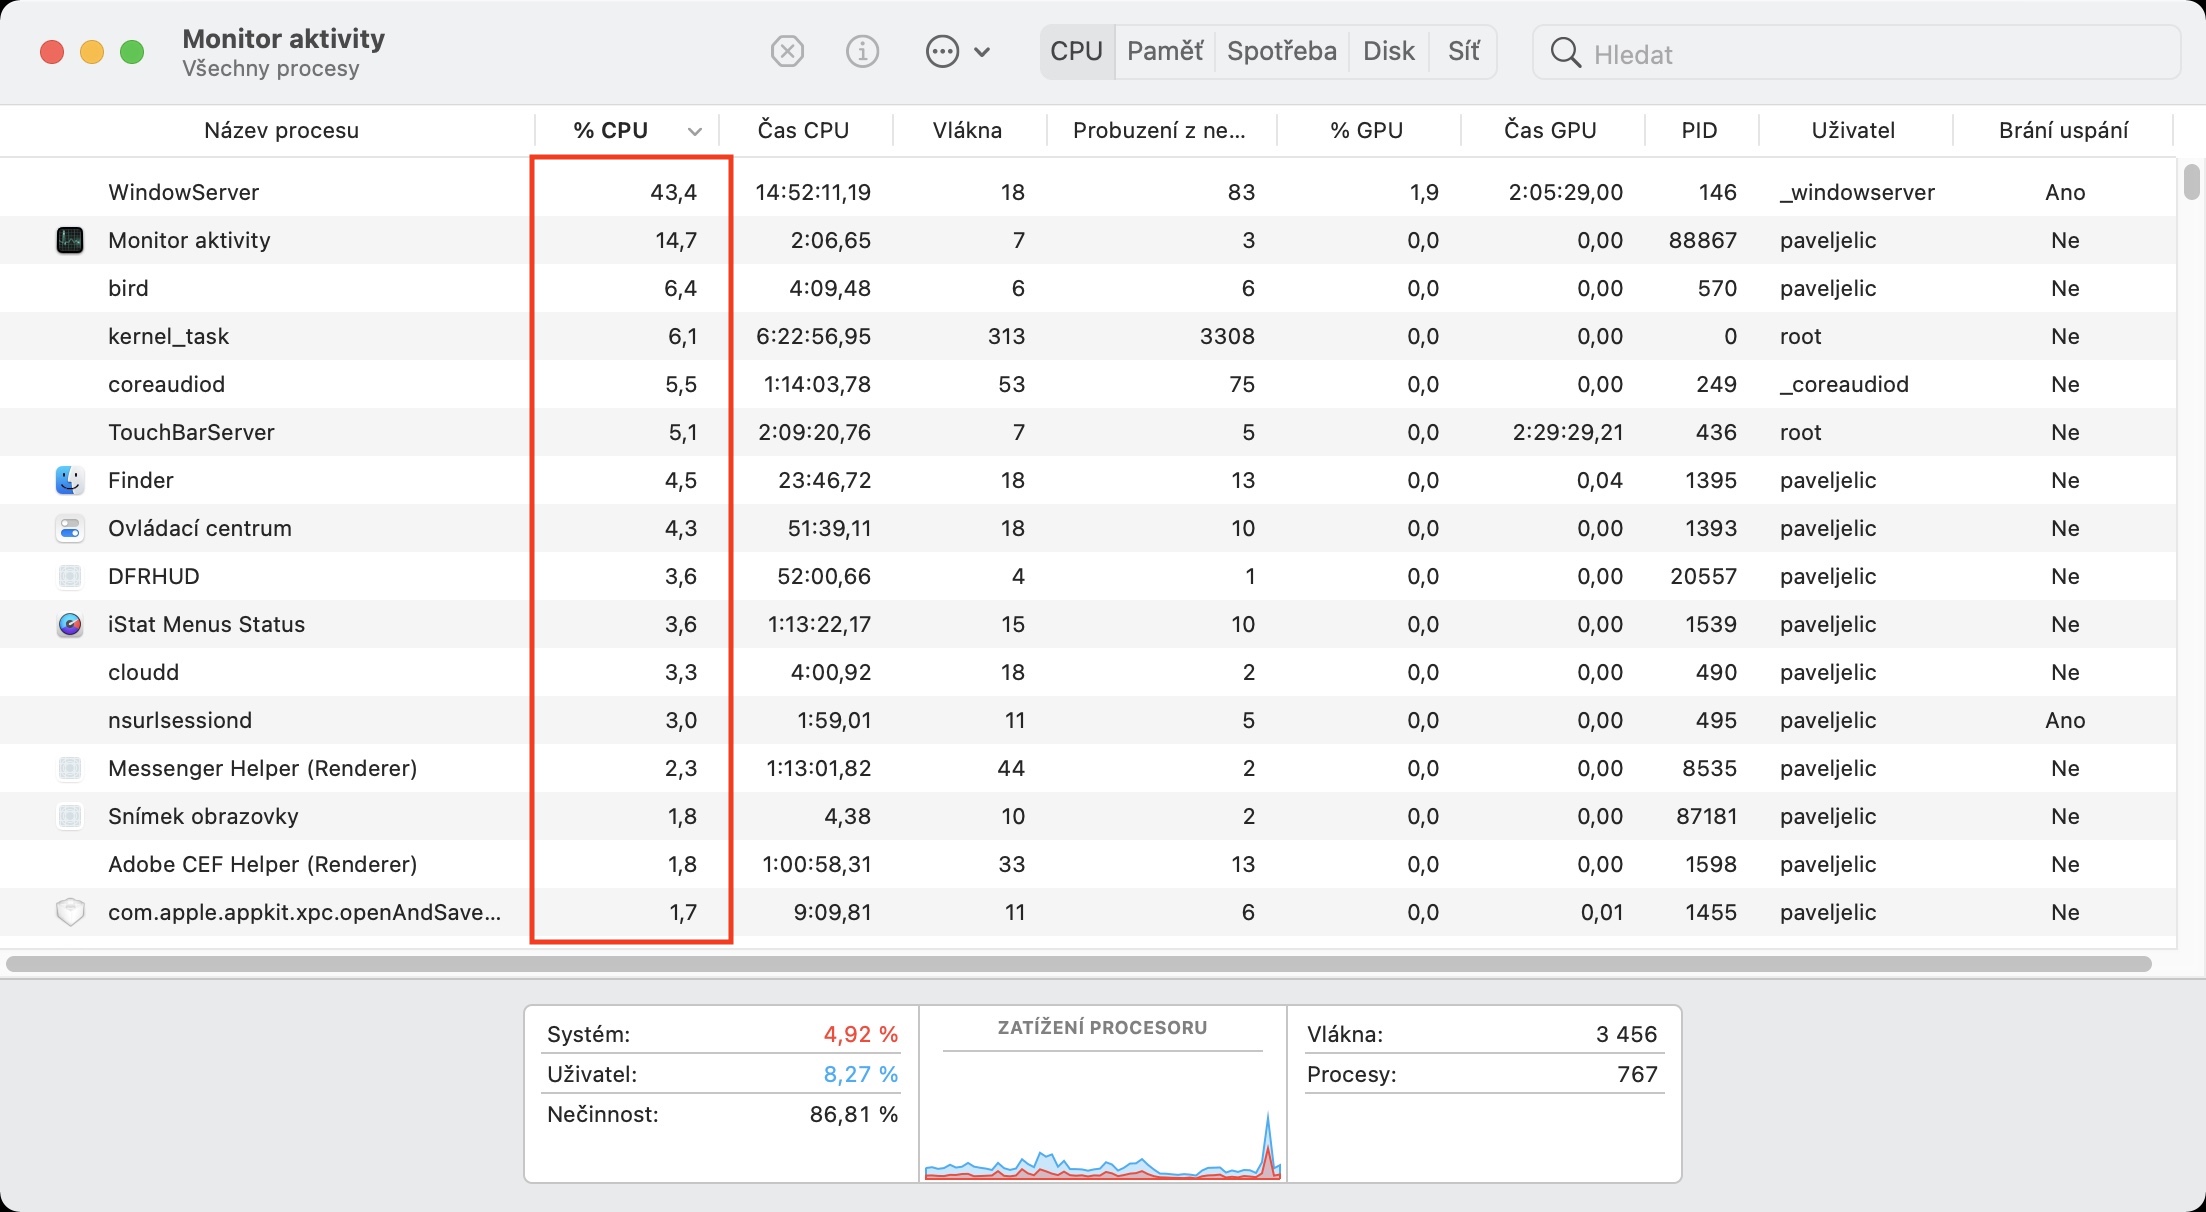
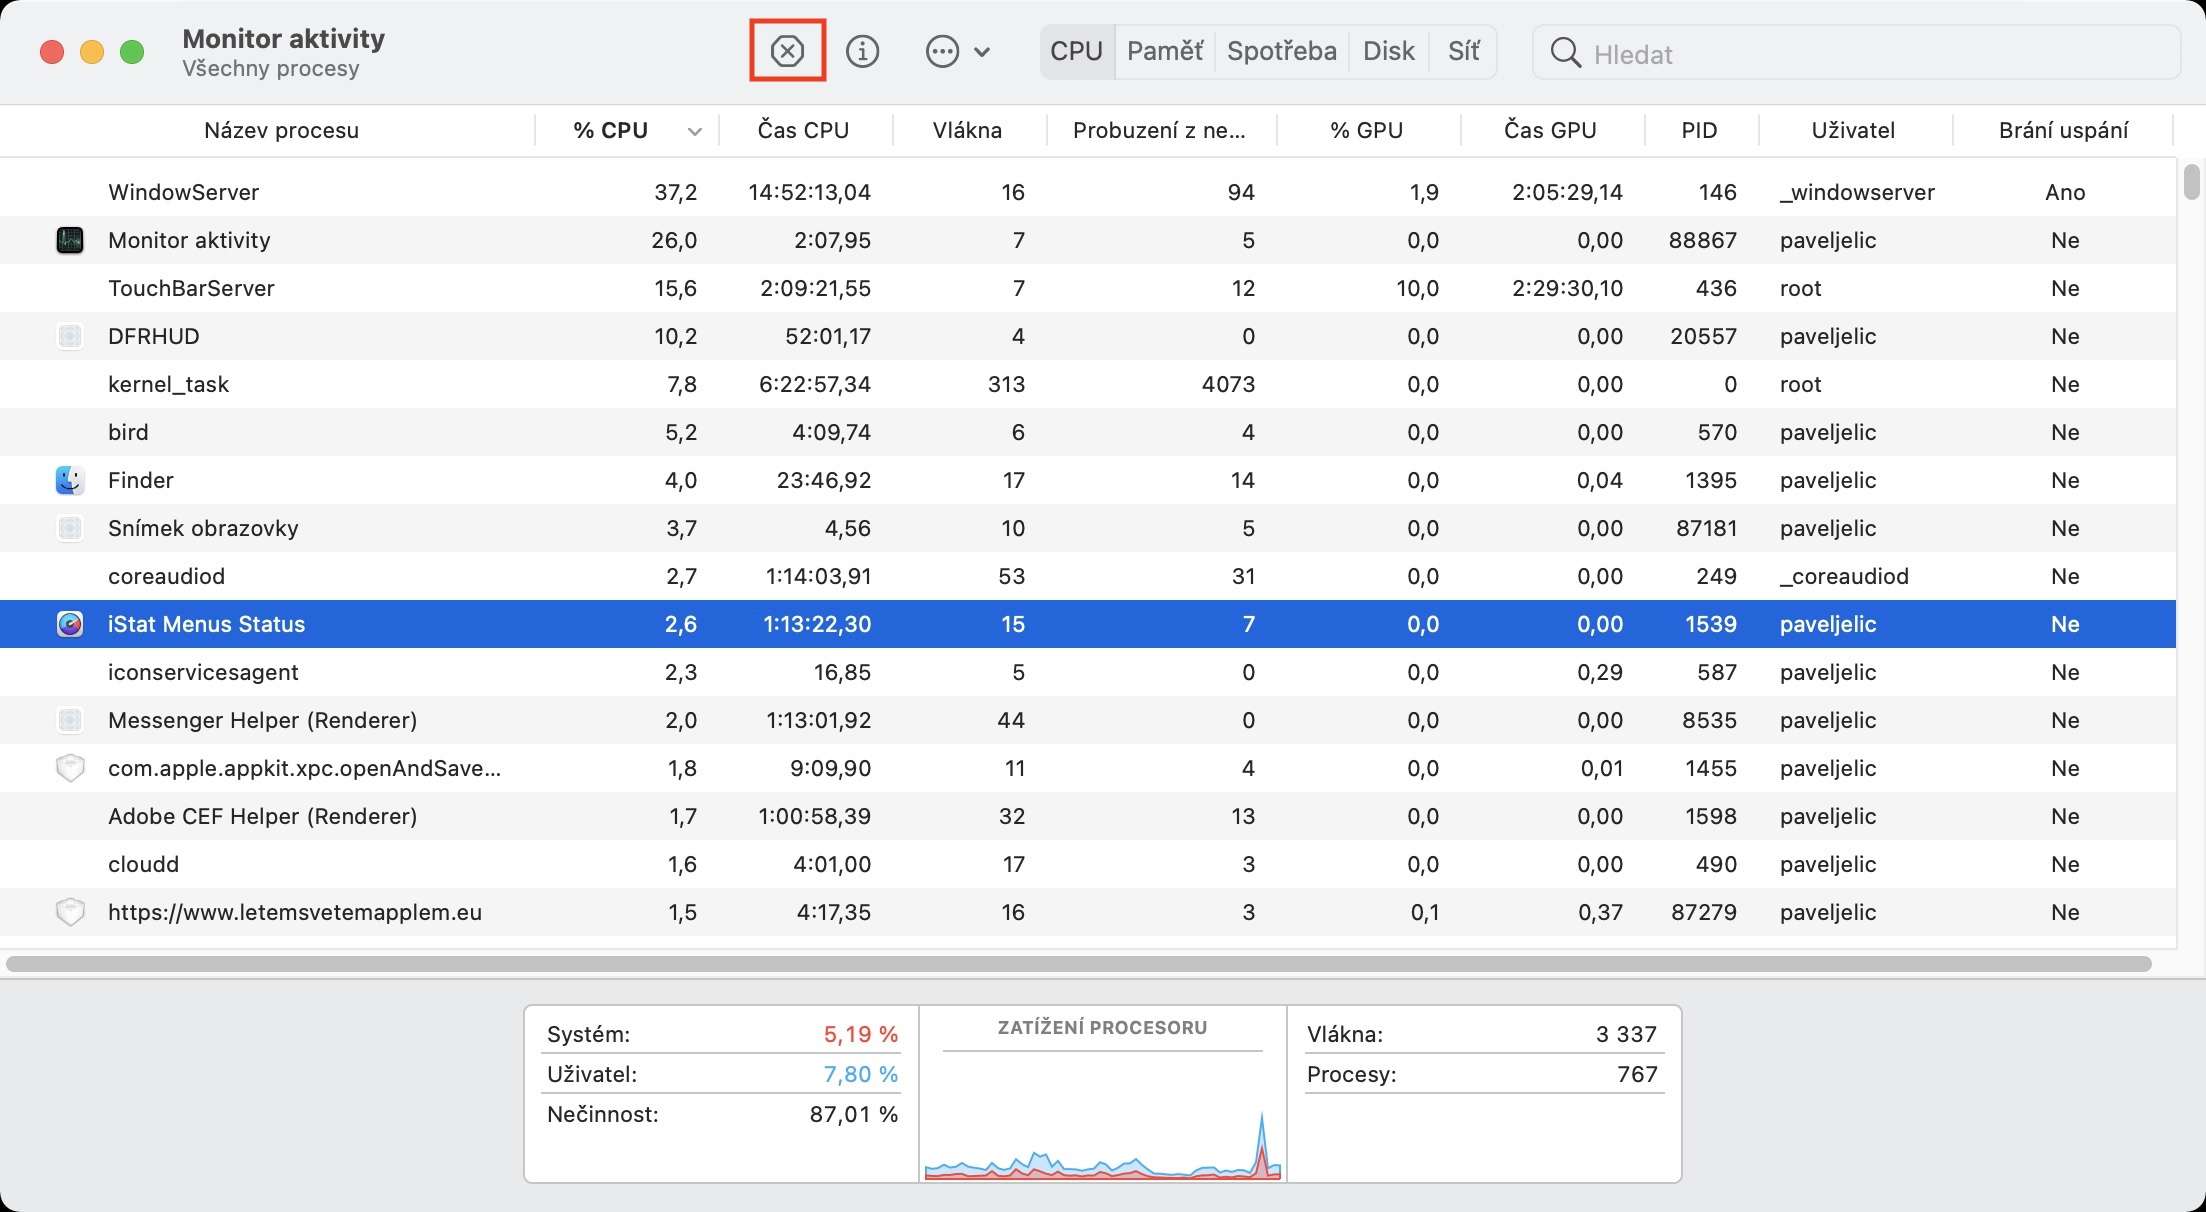
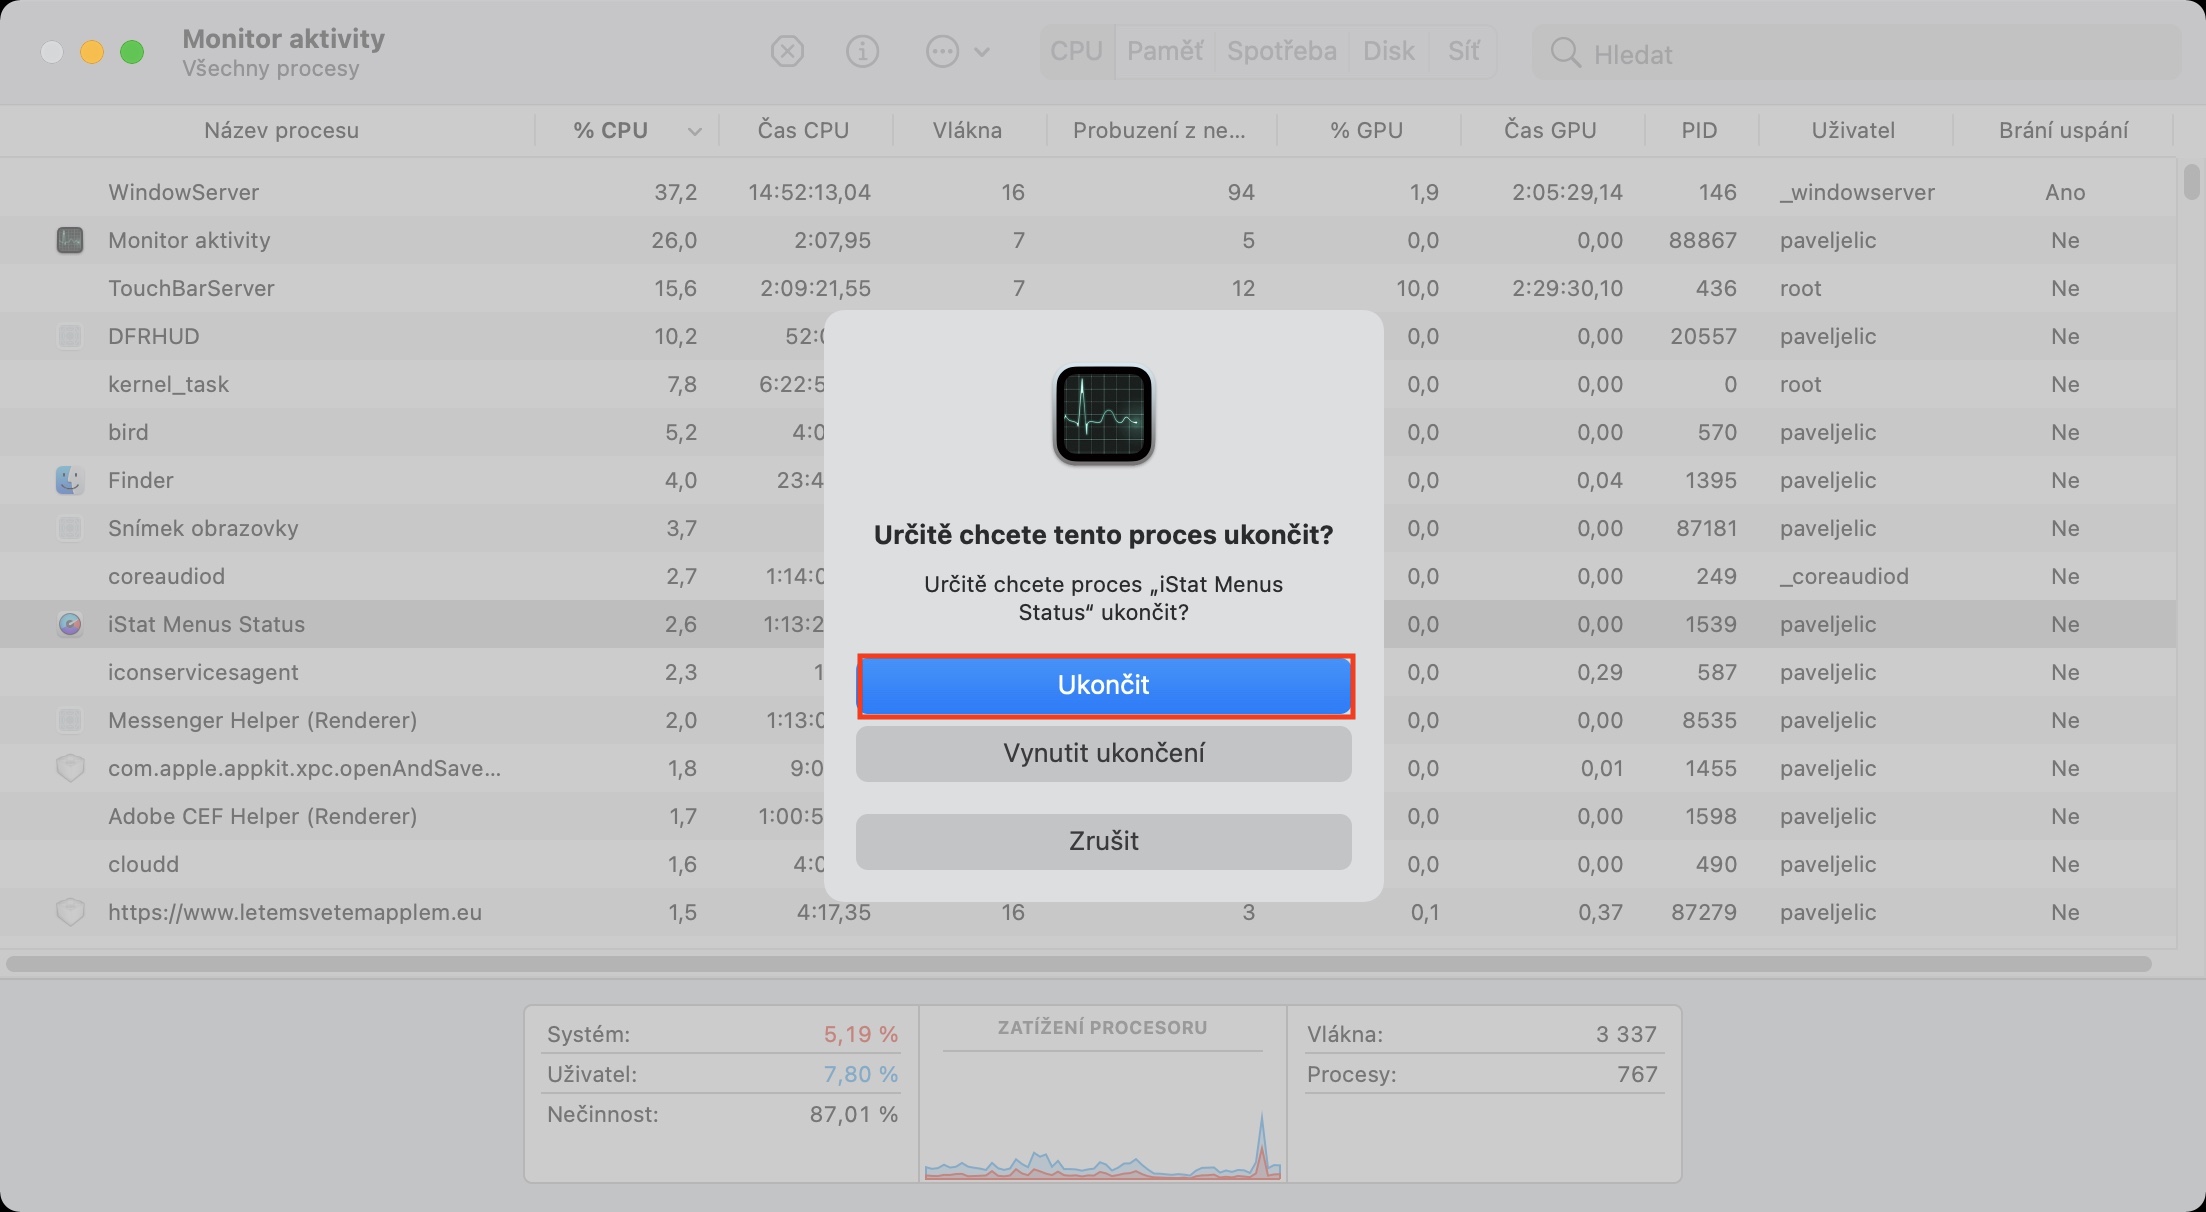
Sometimes after installing an update, it can happen that a handful of applications do not understand it. It doesn't happen with minor updates, but mostly with major ones, i.e. when switching from macOS Monterey to macOS Ventura. This can cause some applications to loop and start using hardware resources excessively. Fortunately, these apps can be easily identified and turned off. All you have to do is go to the Activity Monitor application, which you can find through Spotlight or in a folder Utility v Applications. Then move to the category CPU, where you arrange your processes descending according to CPU%. After that, if you find any suspicious application on the top bars, then it tap to mark and then tap at the top the X button. Then just tap on Force termination.
Freeing up storage space
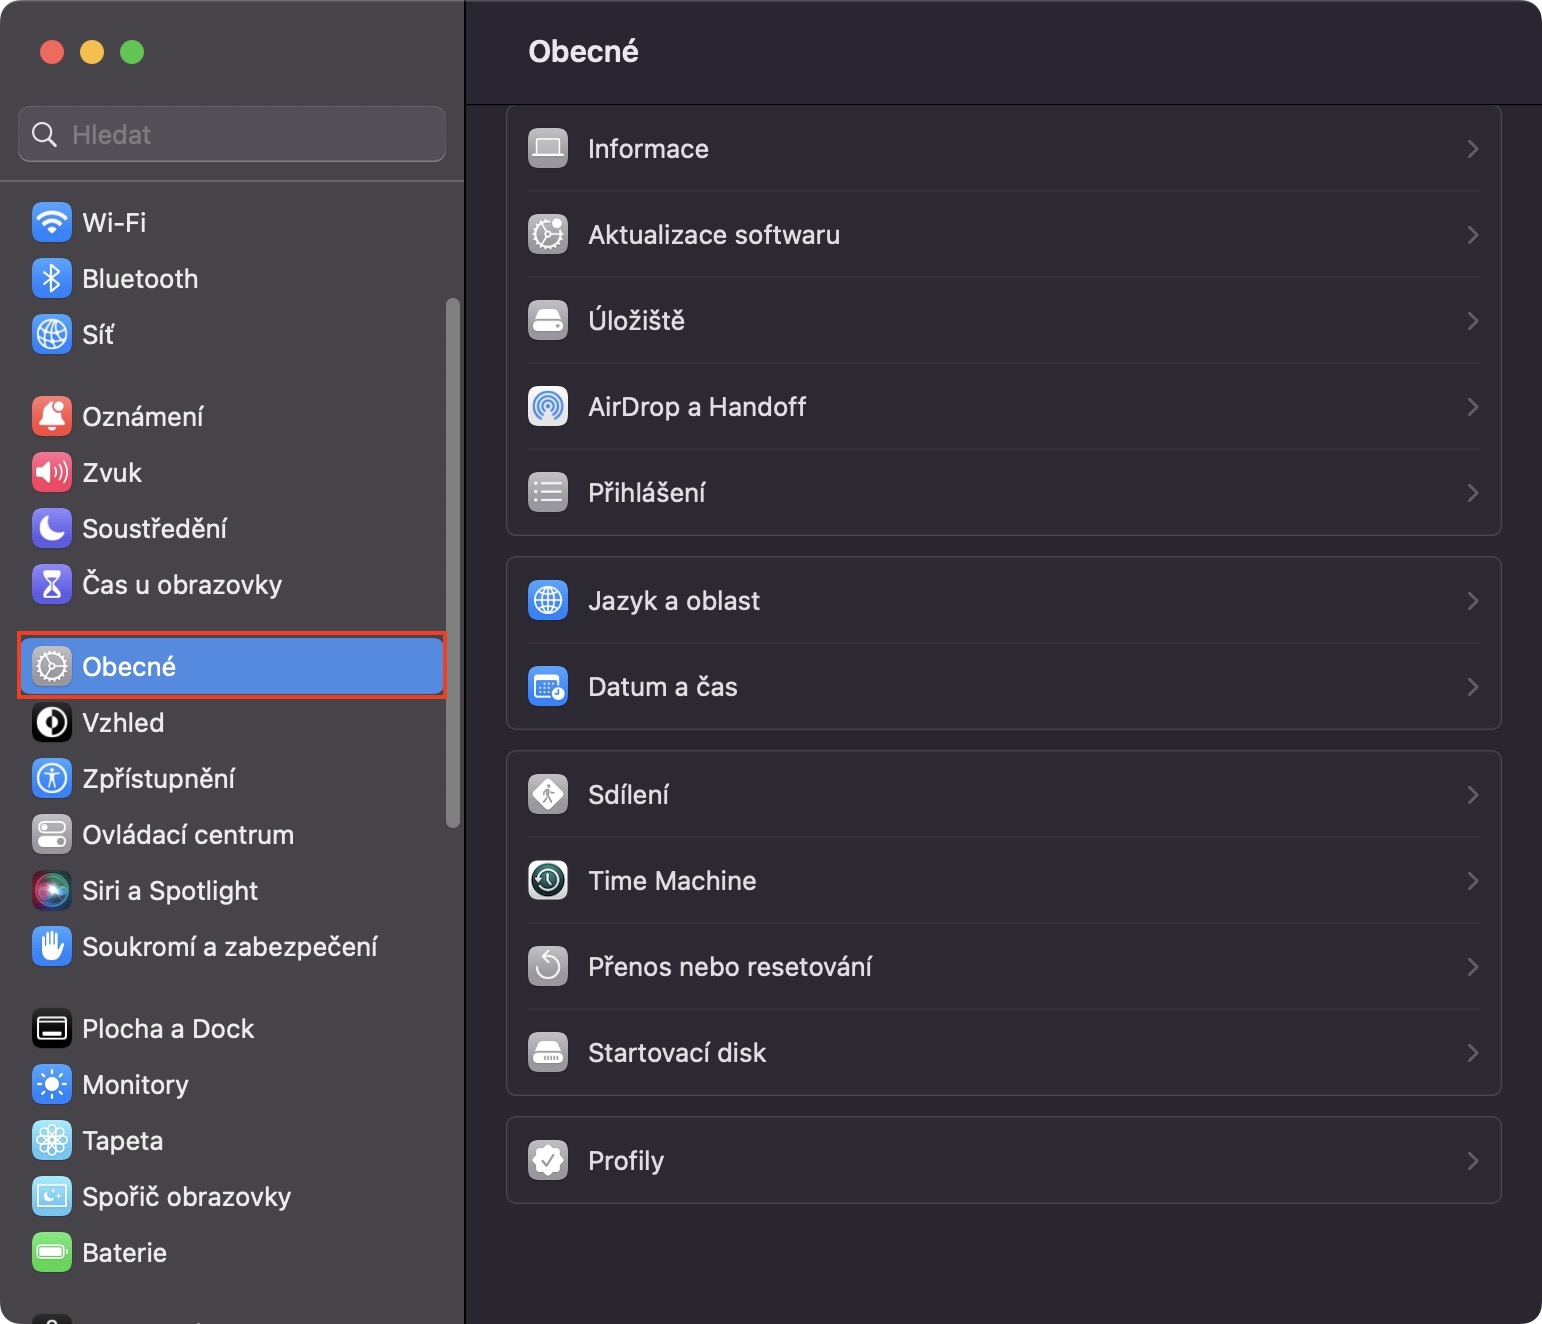
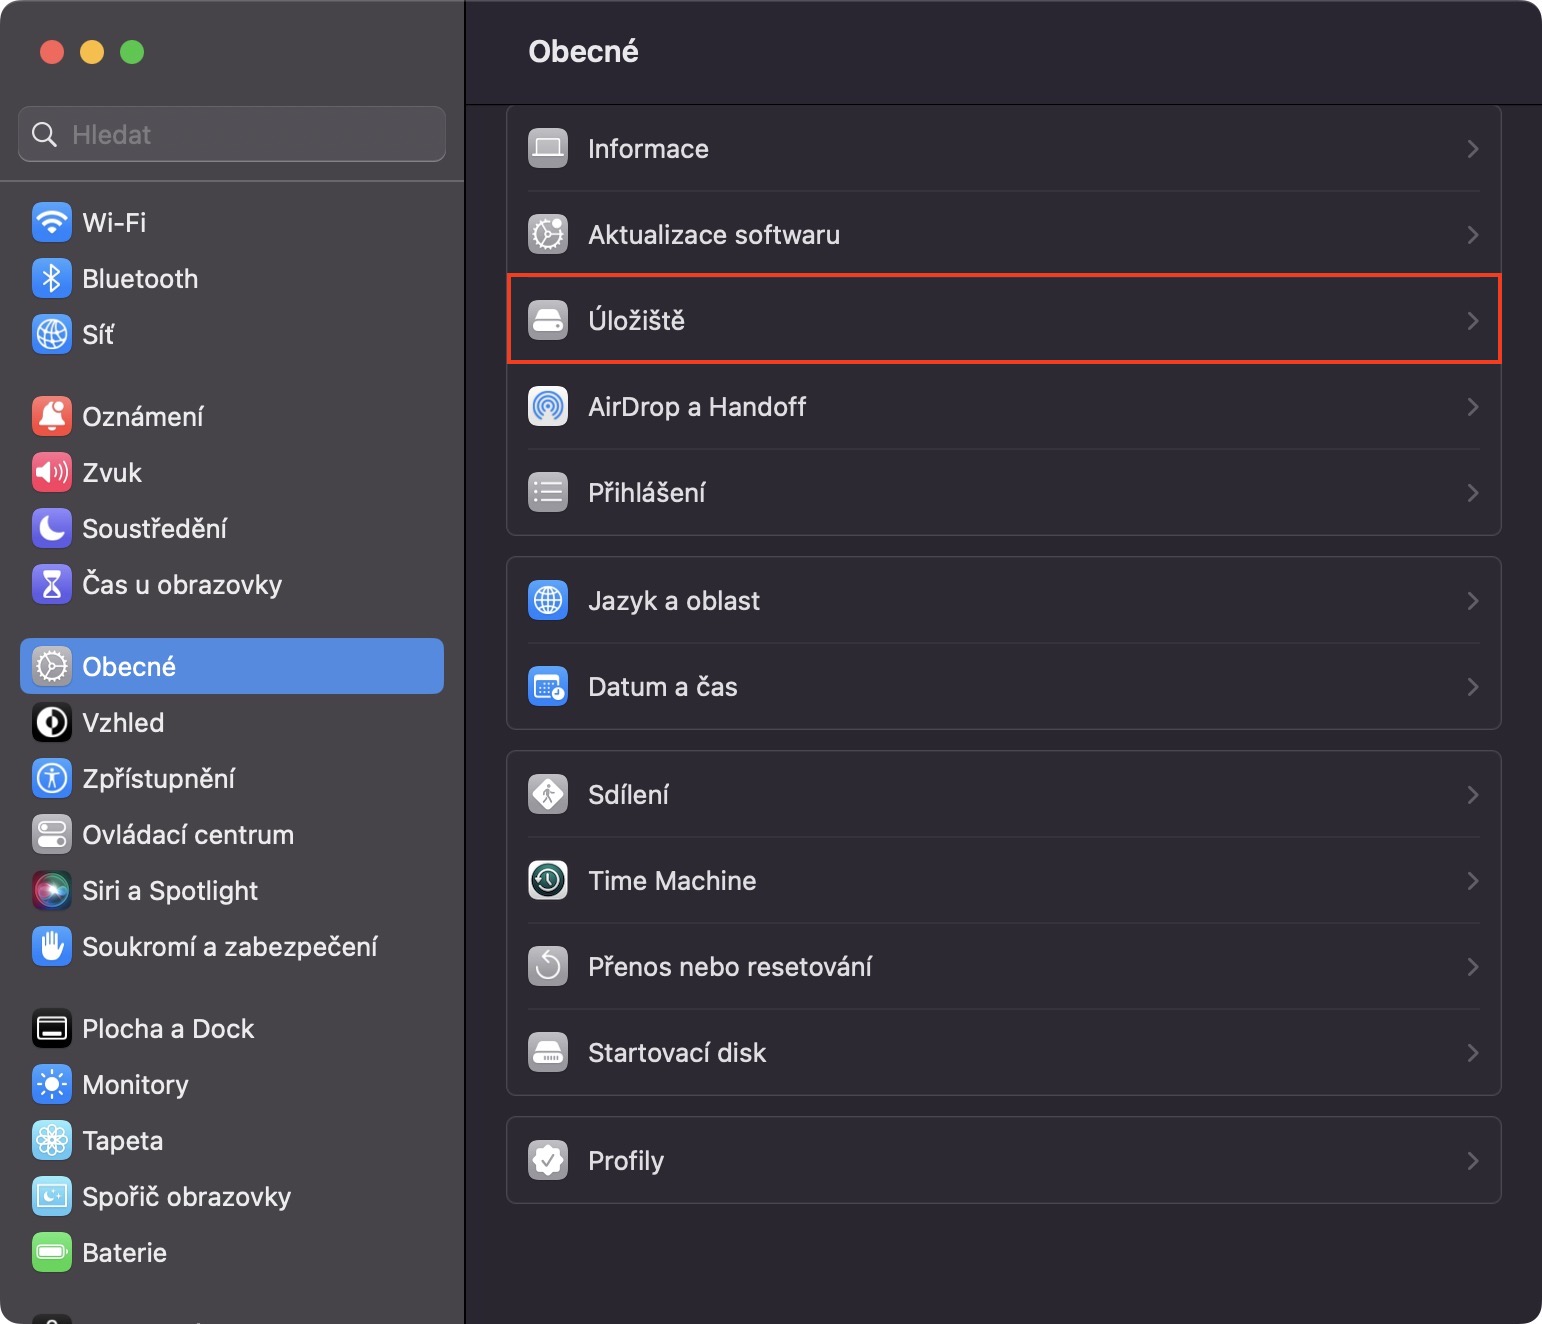
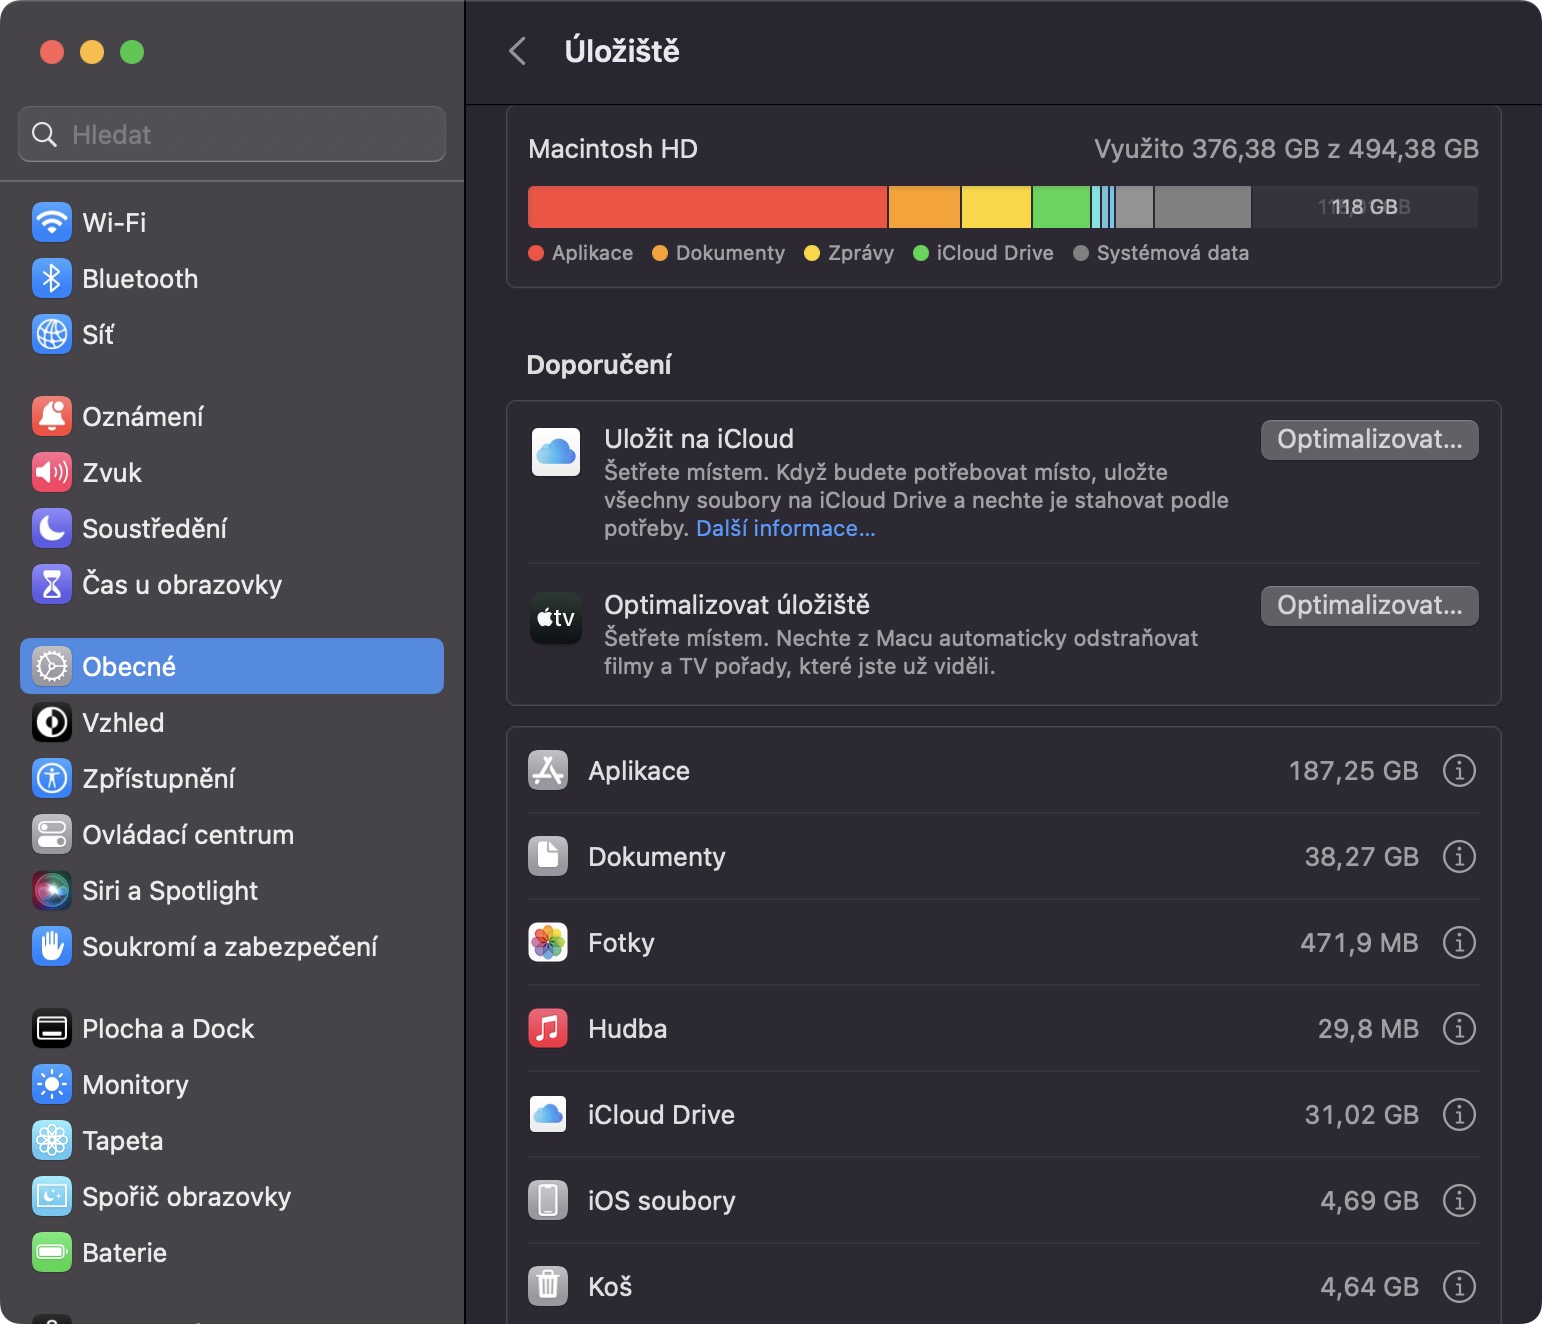
In order for your Mac to run smoothly and without problems, it is necessary that you have enough storage space. If you do not meet this condition, big problems can arise. Users of newer Macs probably won't have as many problems with storage, but older ones with a 128 GB SSD most likely will. You can free up storage space simply through the built-in utility, which can be accessed by tapping on → System Settings → General → Storage, where you can find recommendations and at the same time delete large files and uninstall applications.
Launch applications after startup
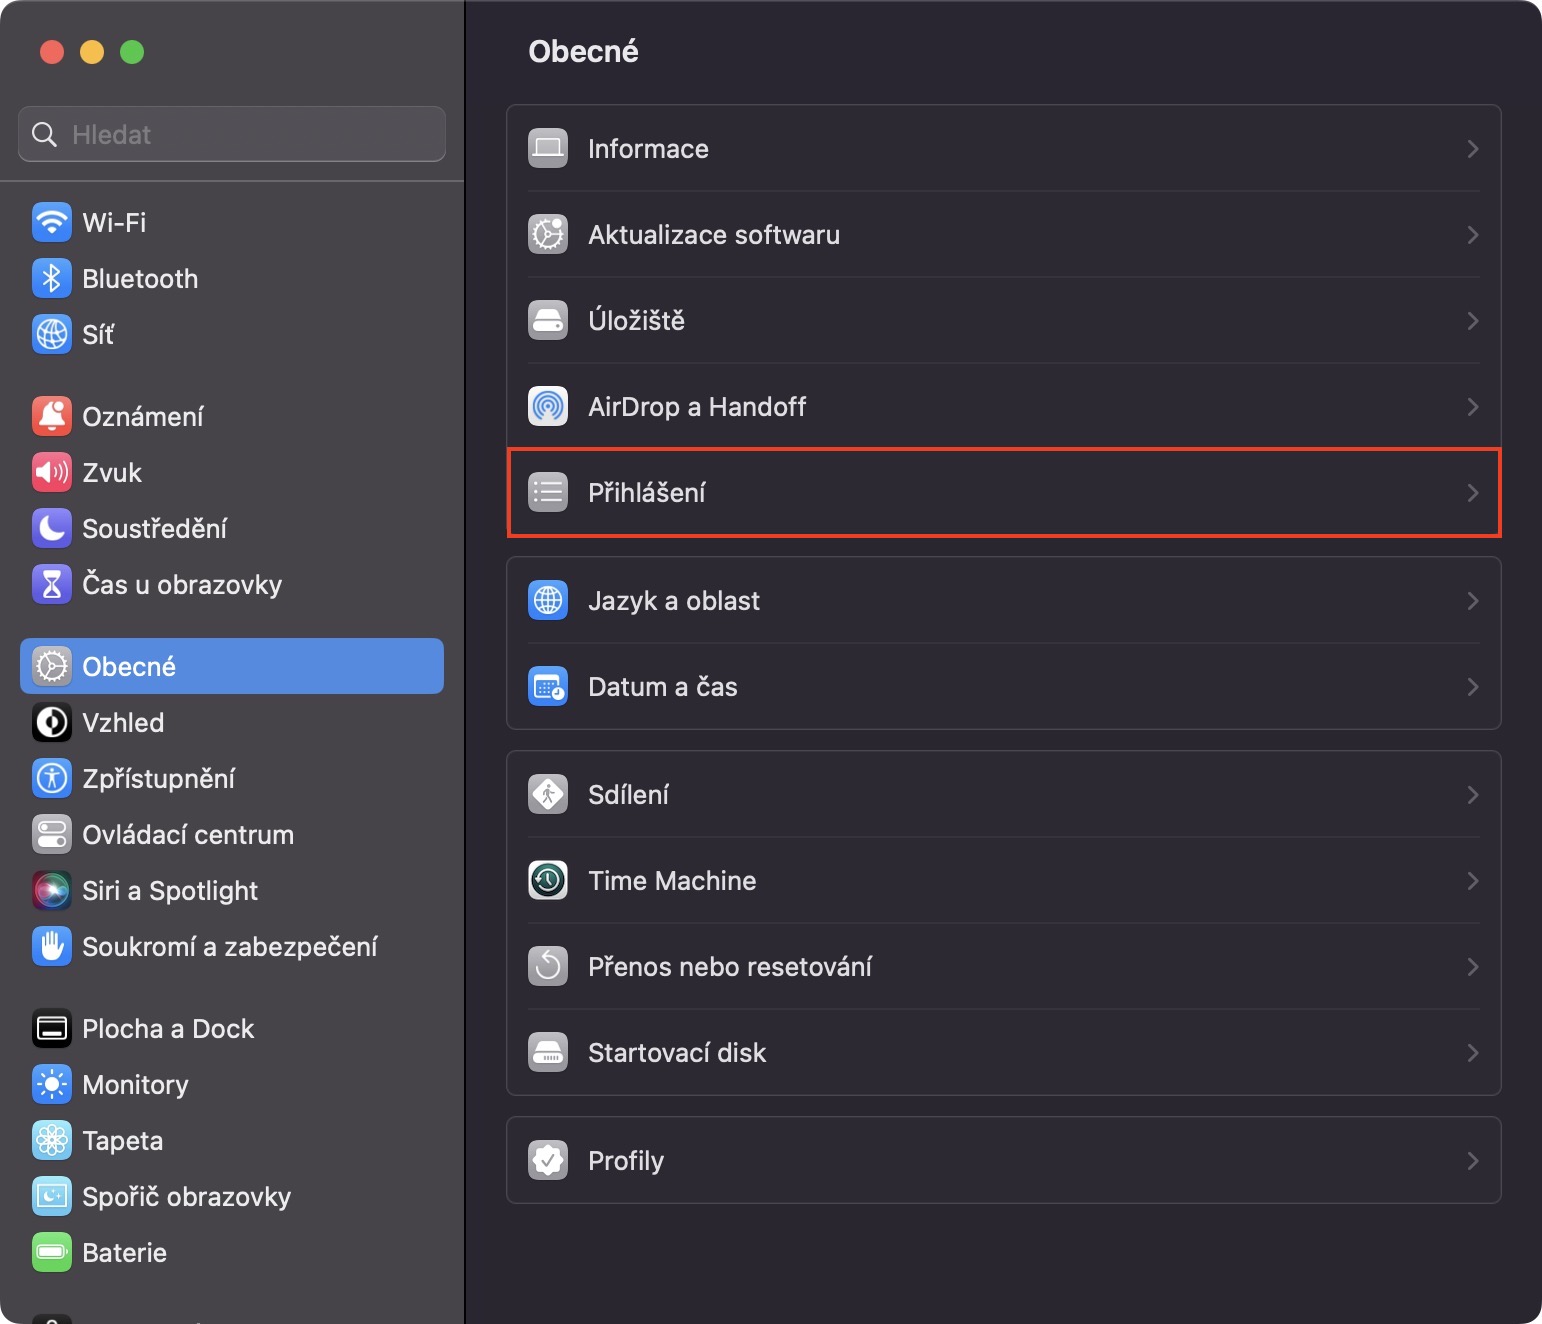
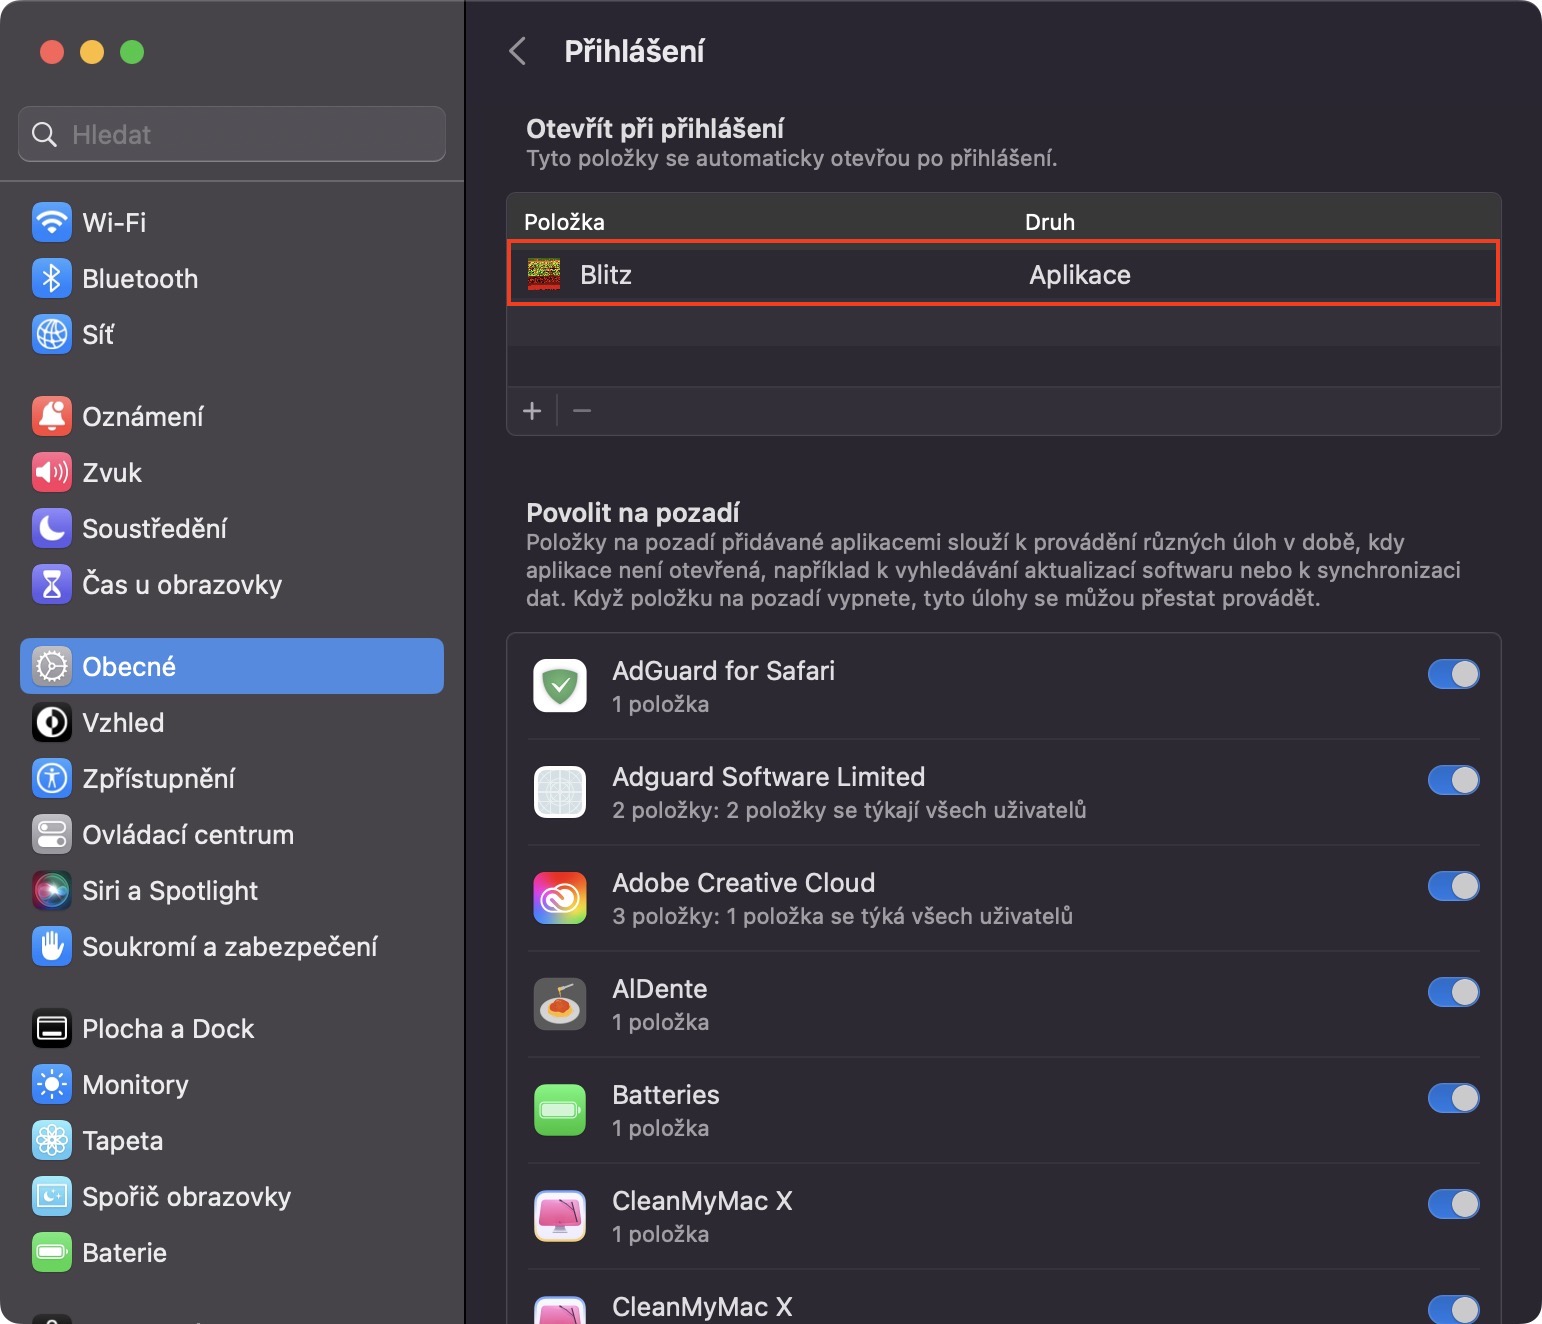
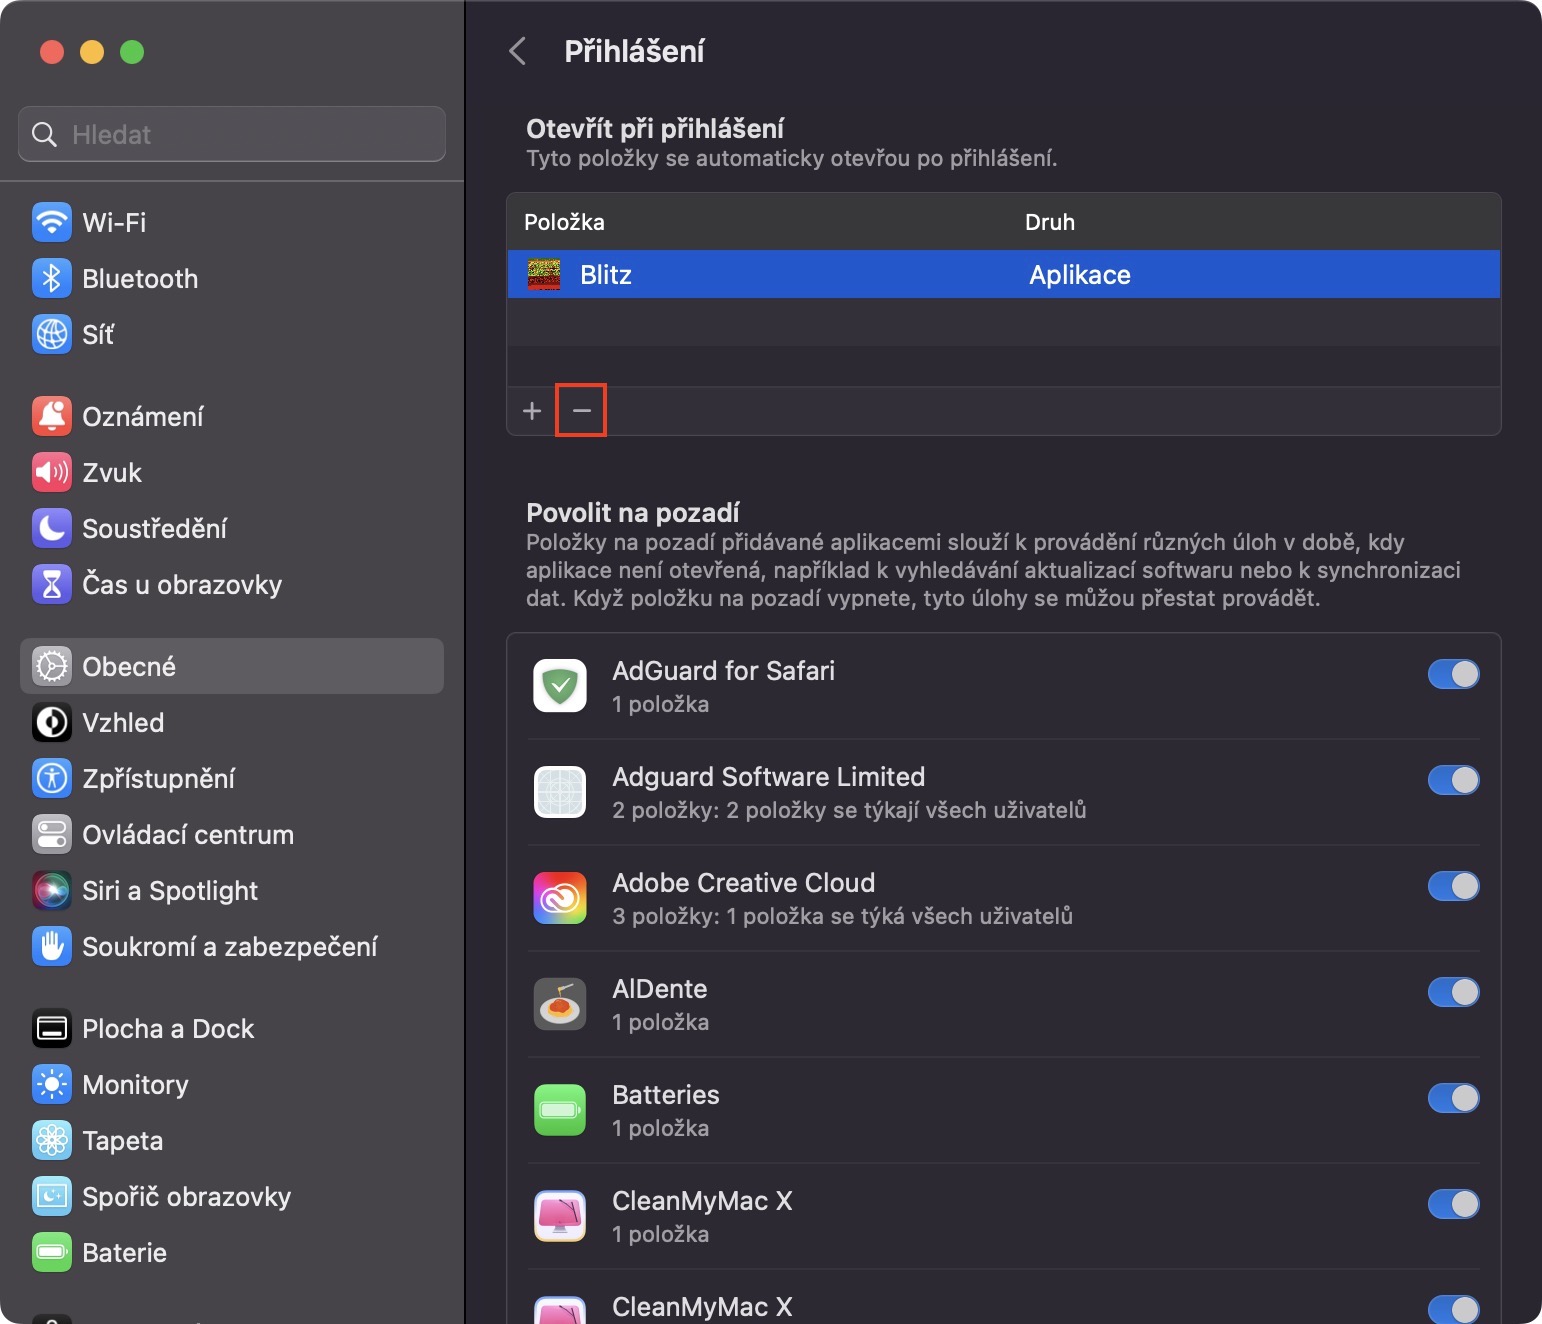
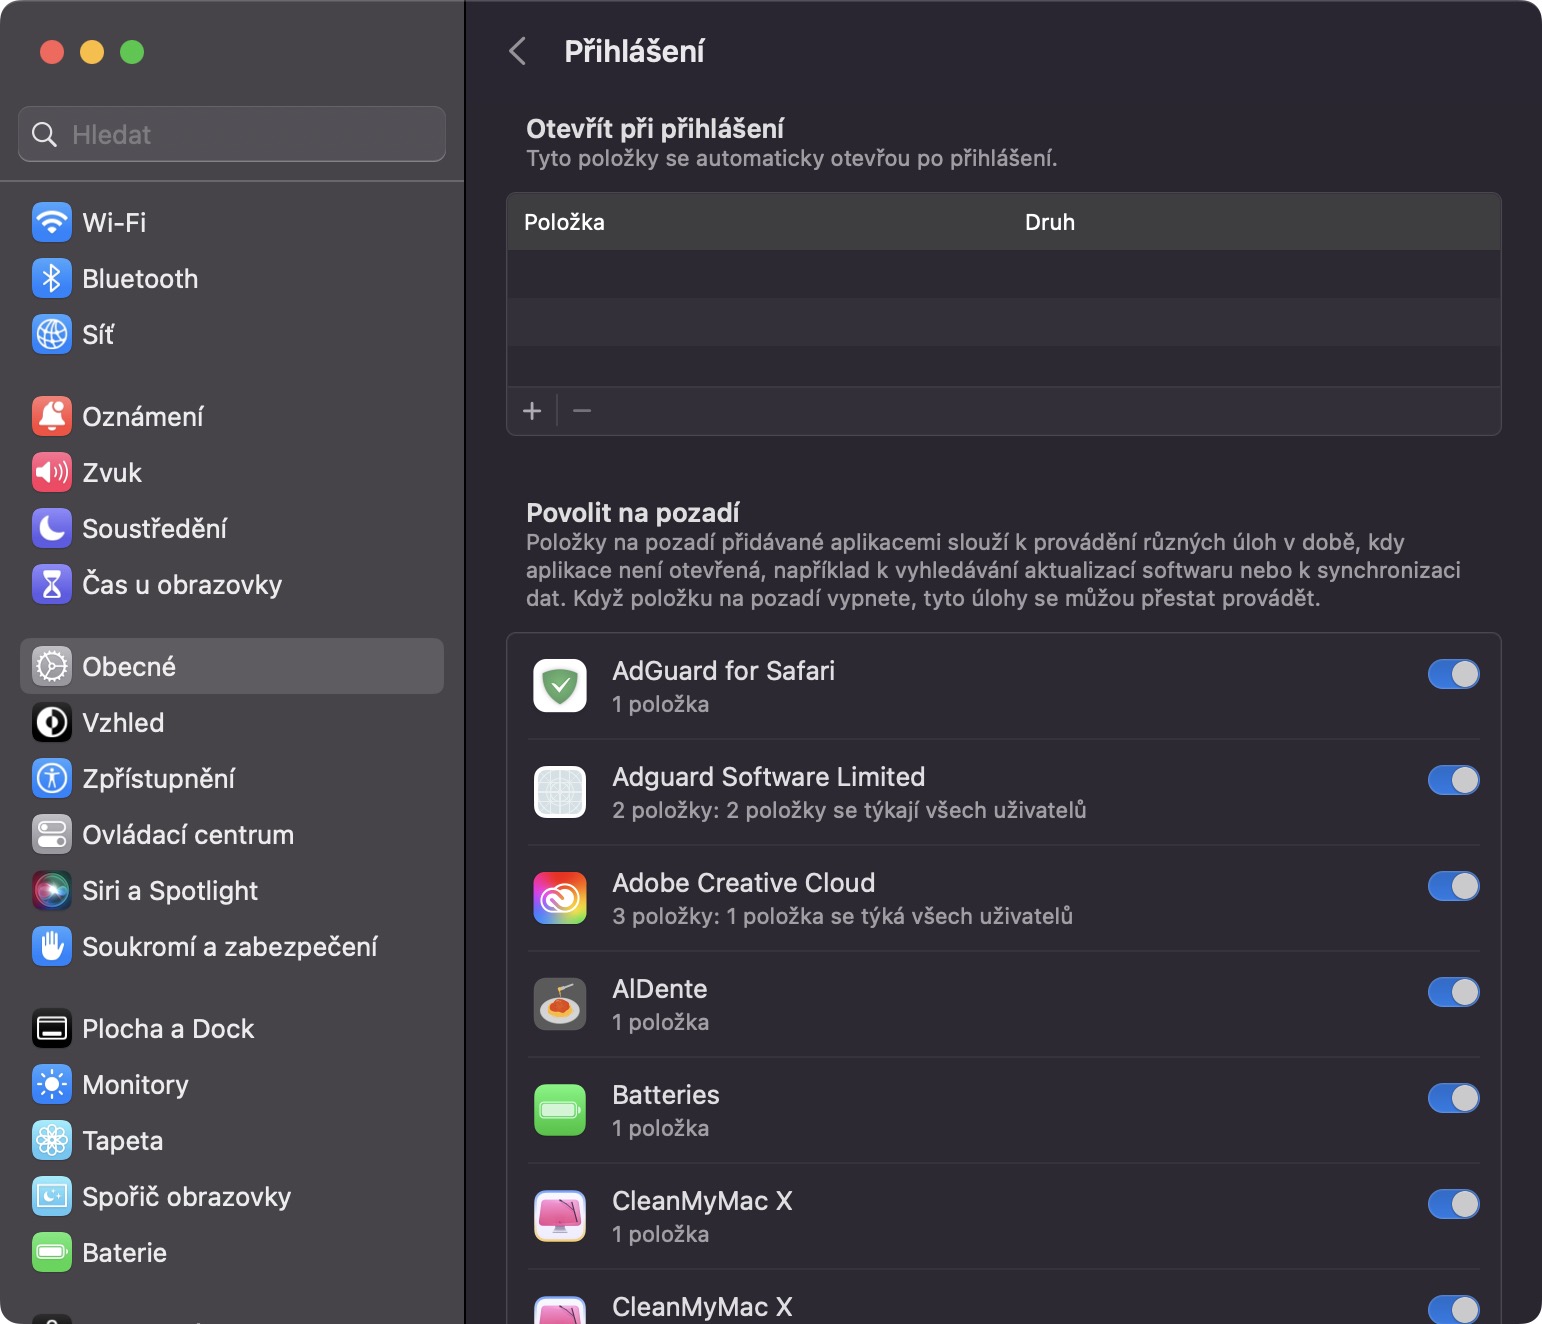
Booting a Mac, thus loading macOS, is a relatively complex process in itself that requires a lot of hardware resources. However, what some users do is to let some applications start automatically when macOS starts, among other things. Although they will then gain access to them immediately, it will actually cause the system to slow down. In addition to what we will lie to ourselves, few of us need to be able to immediately access some applications a few seconds after launch. To check the apps that start on startup, go to → System Settings → General → Login. Here you can top from the list Open when logged in application designation and tap on icon – cross out at the bottom left.
