The Finder is a useful and integral part of the macOS operating system, and the vast majority of users use it as a matter of course and completely automatically. The Finder on Mac can provide a very good service even in basic use, but it is certainly worth knowing a few tricks with the help of which your work with this tool can become much more efficient for you.
It could be interest you

Side panel
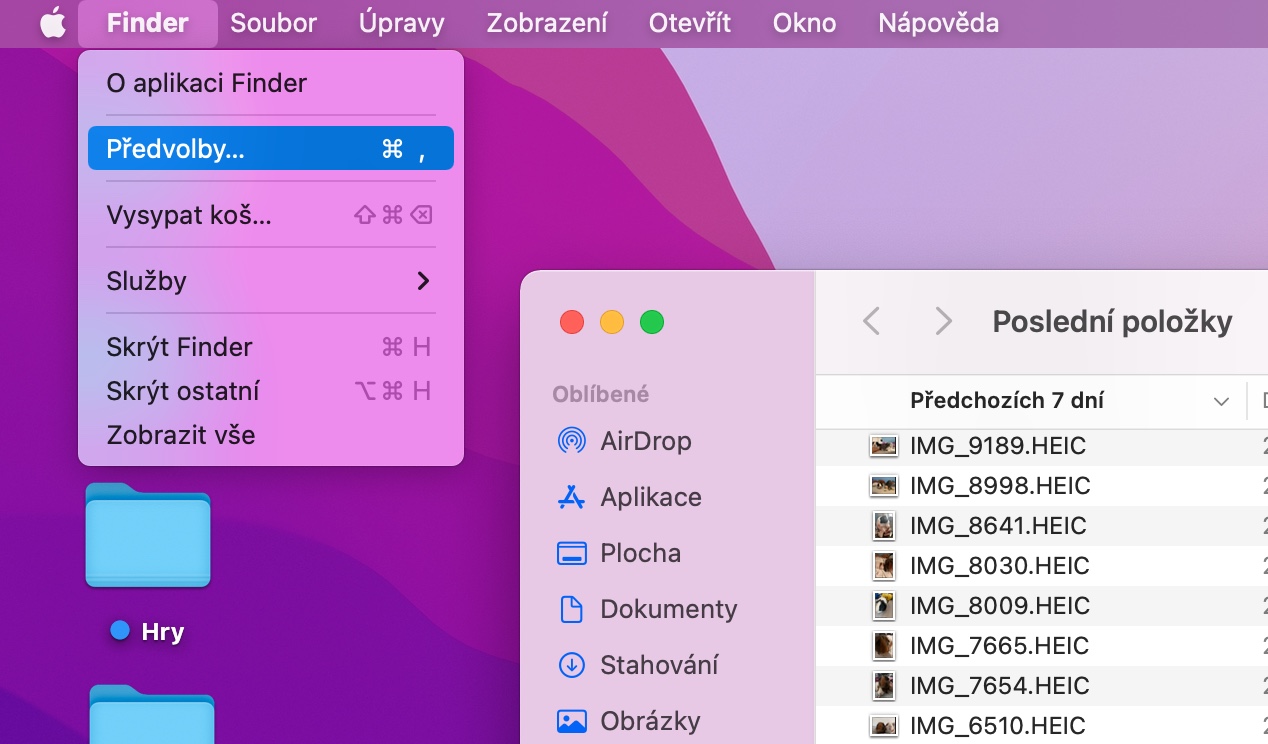
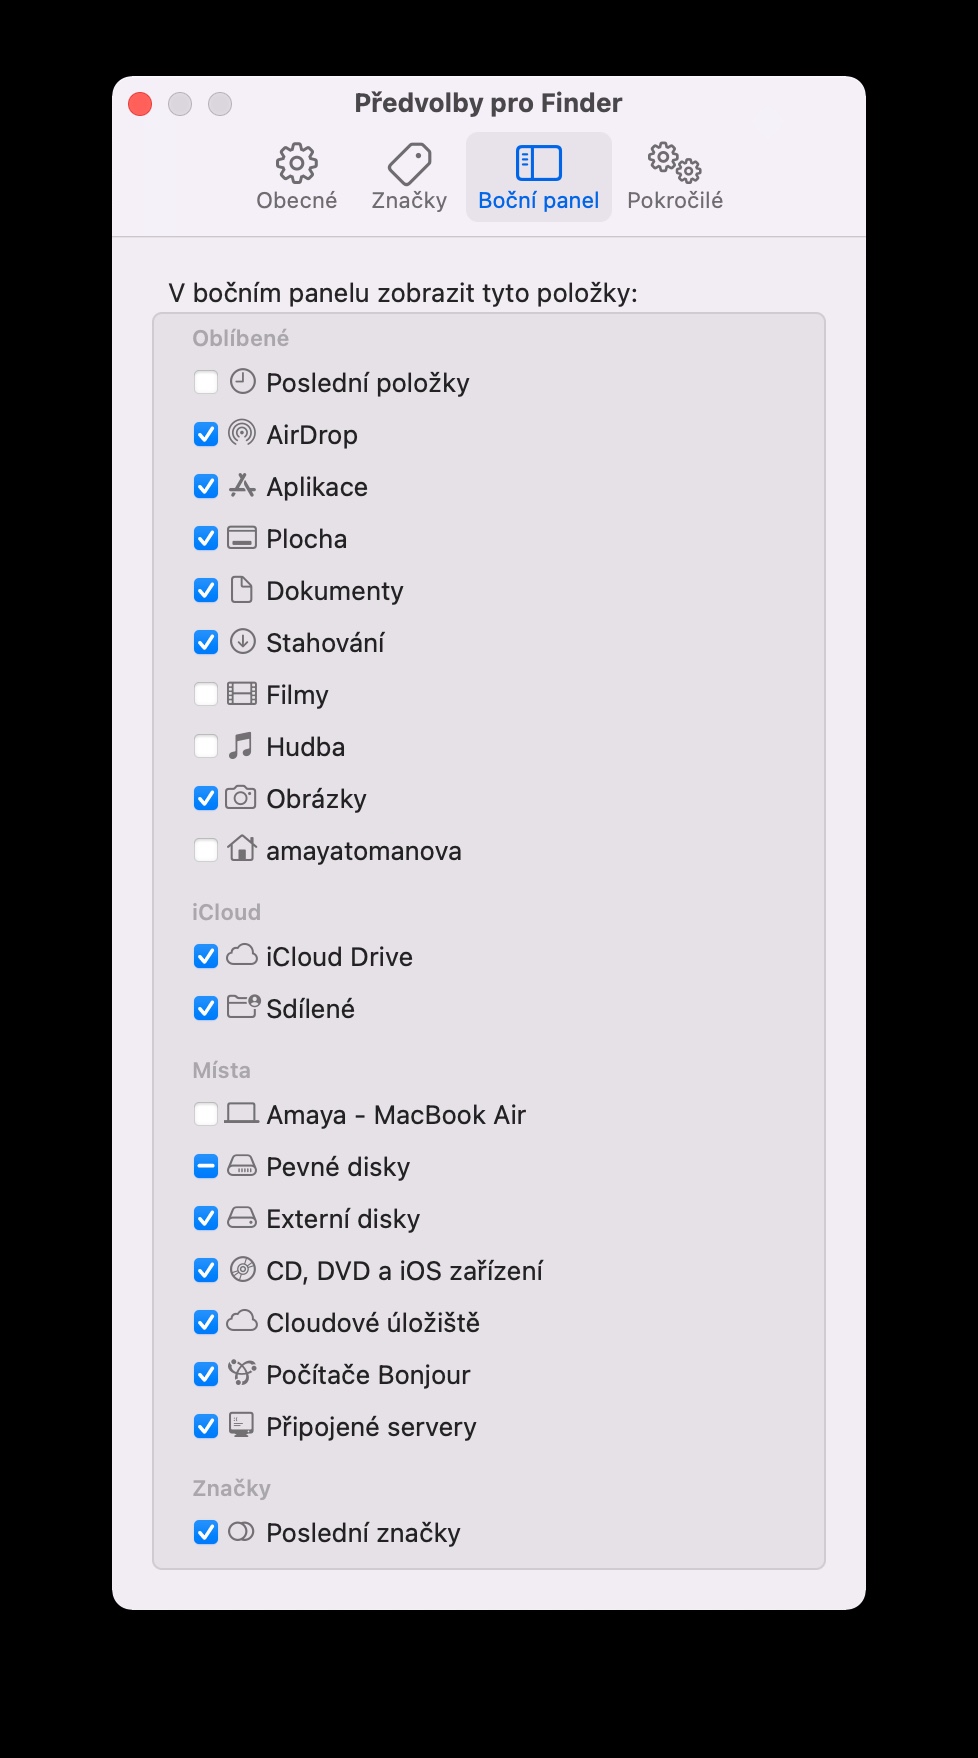
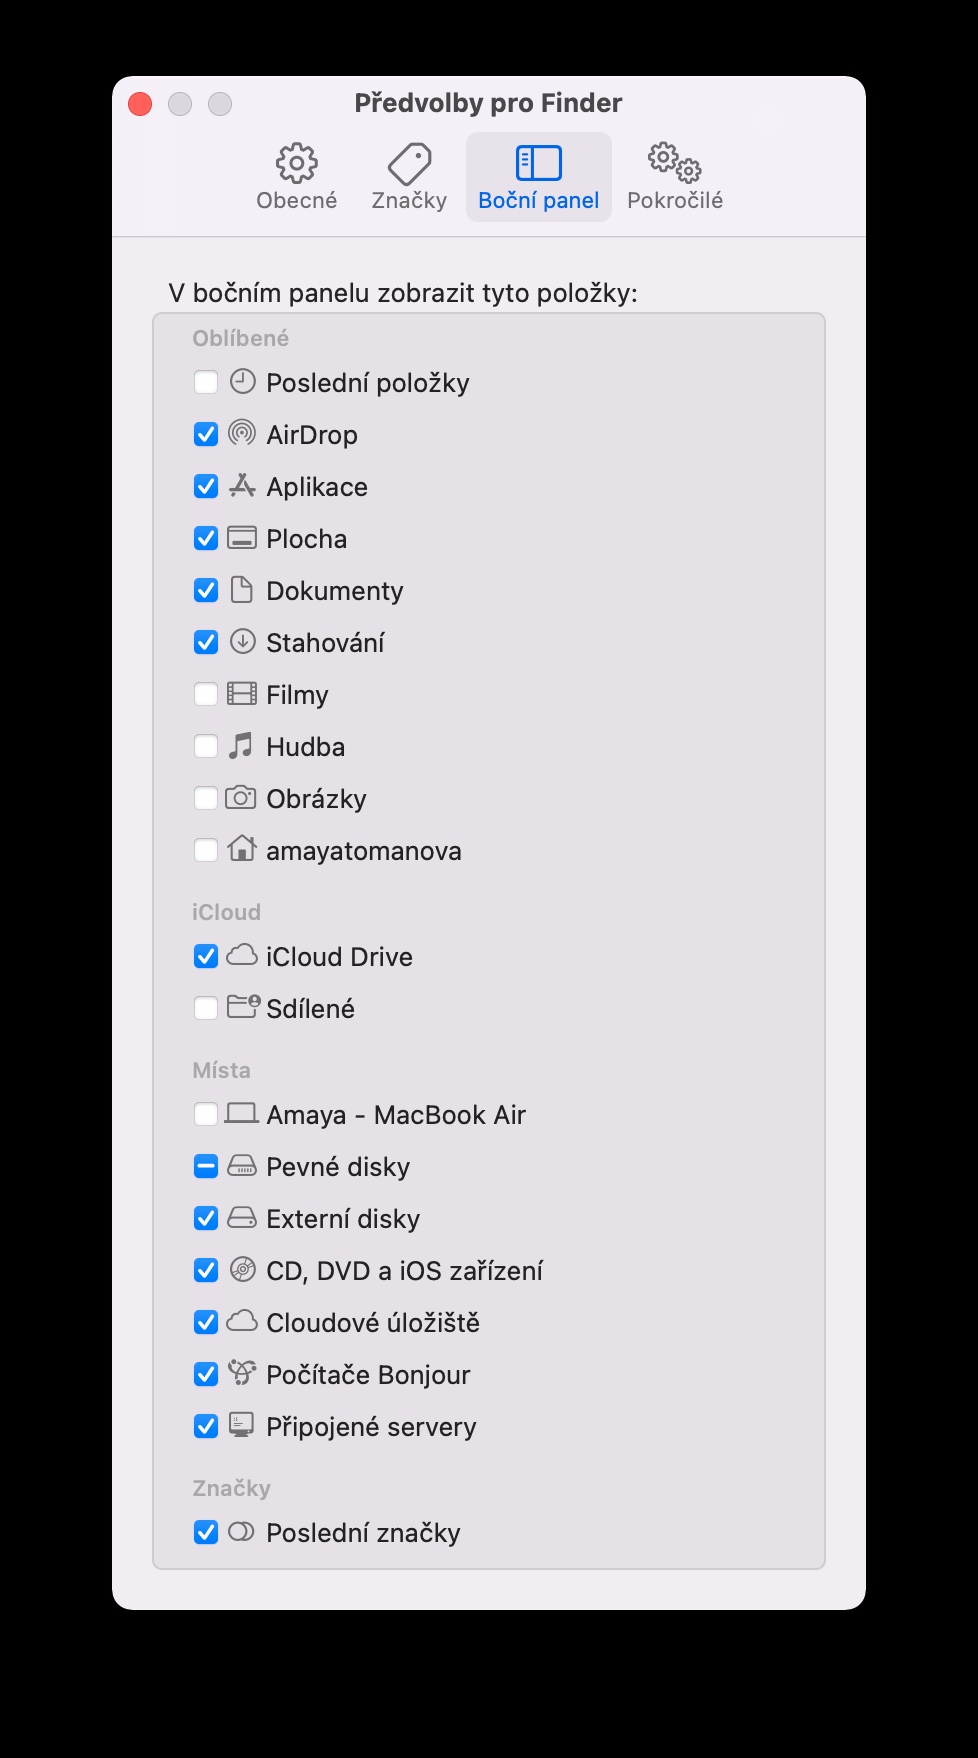
During your time using the Finder, you must have noticed that the panel on the left side of the window of this application serves as a kind of signpost from which you can get to individual folders, file types, or even the AirDrop function. You can also largely control what will be displayed in this sidebar. Just launch the Finder and click Finder -> Preferences on the bar at the top of your Mac's screen. At the top of the preferences window, click the Sidebar tab and then just select the items you want to display in the sidebar.
Display the file path
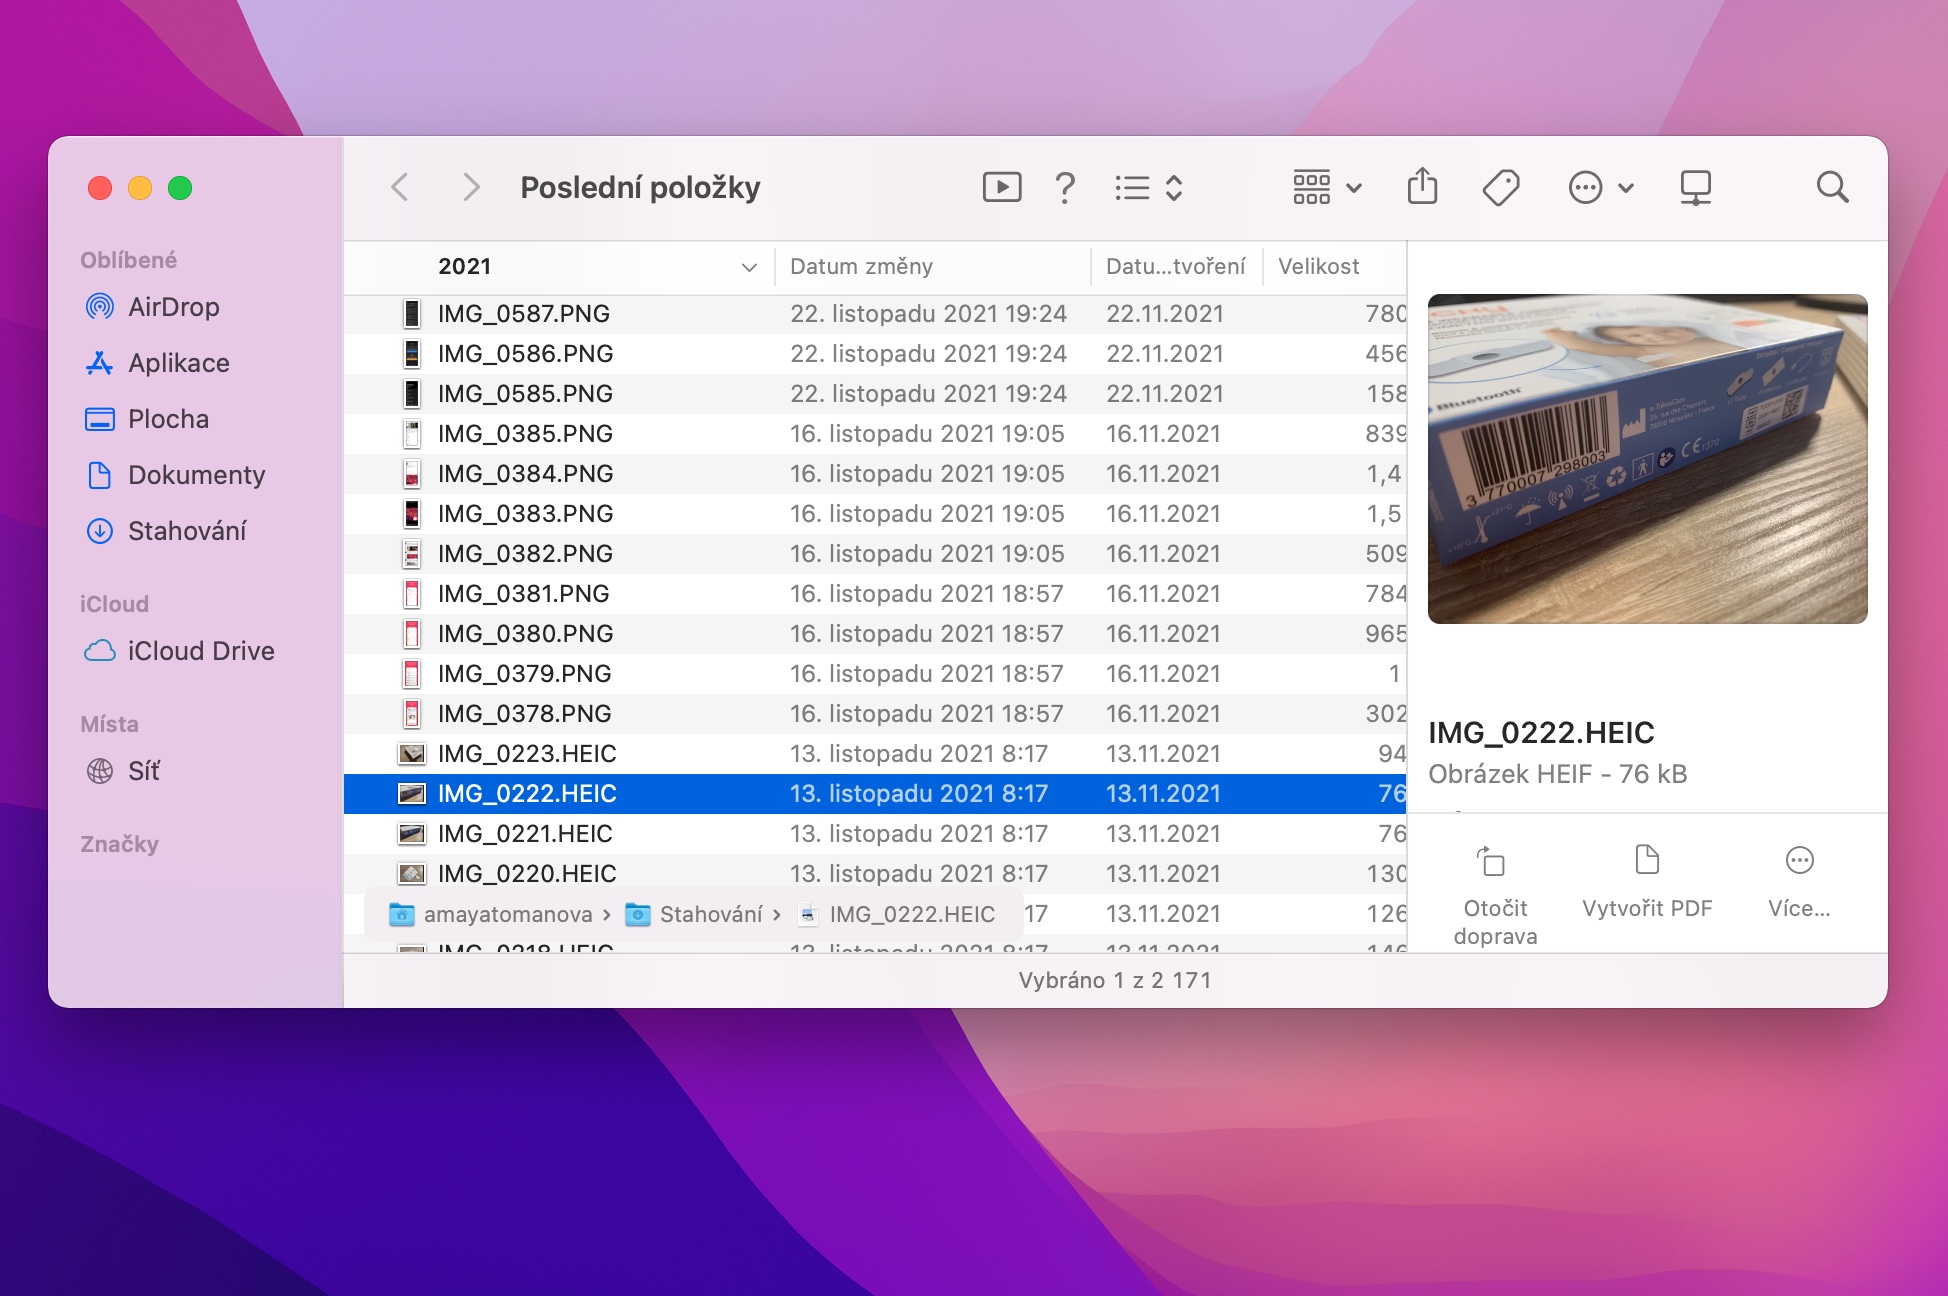
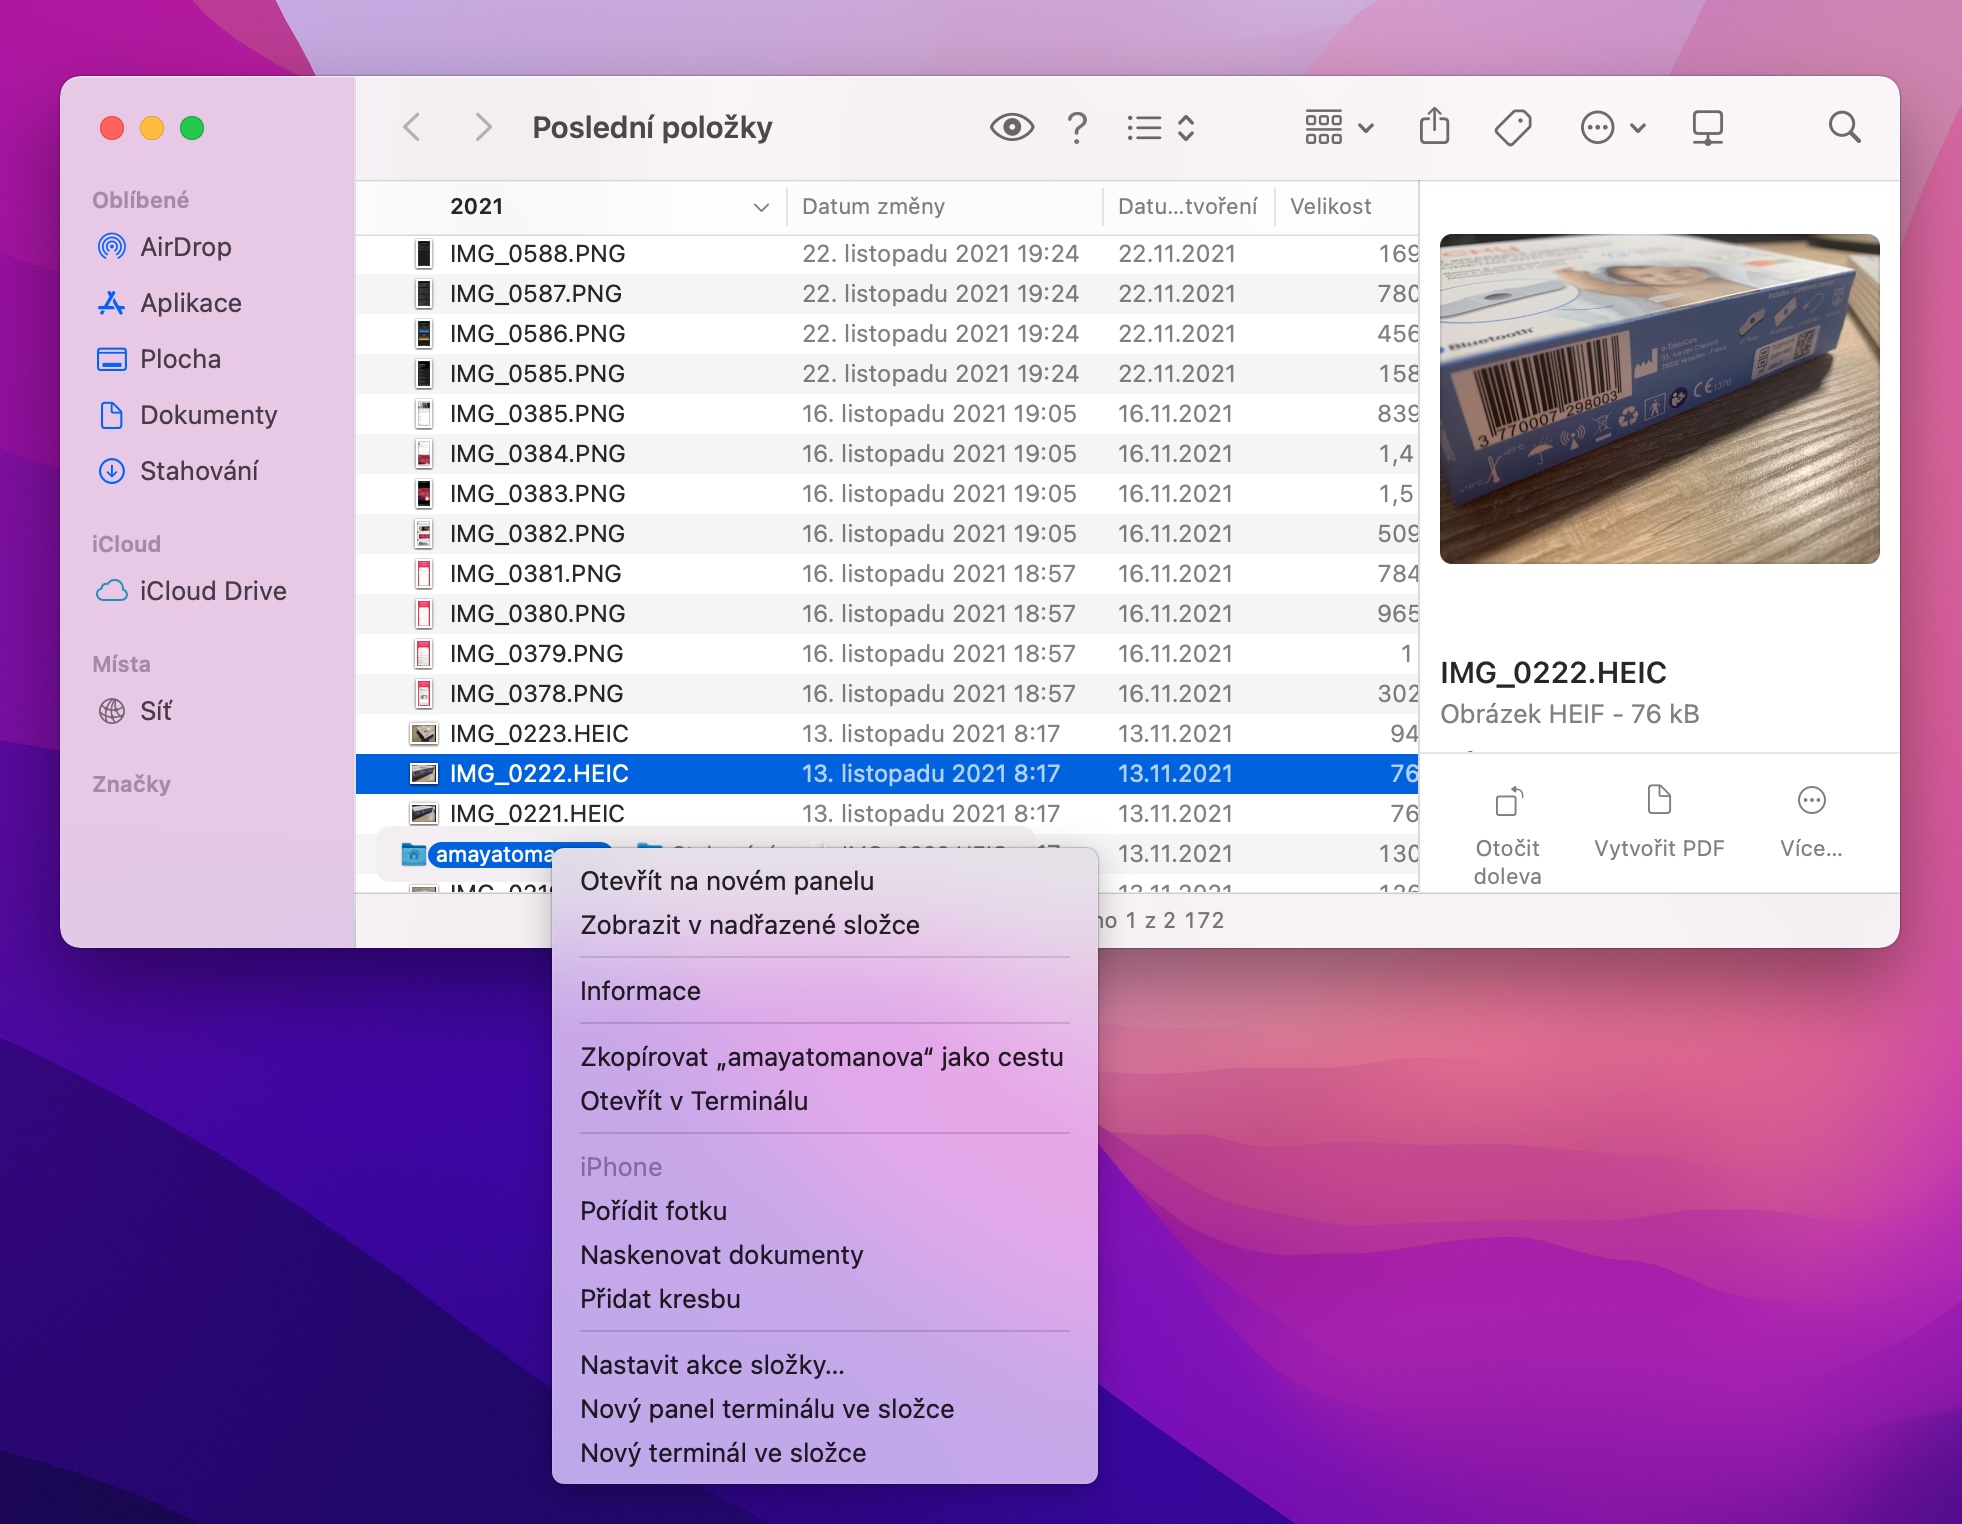
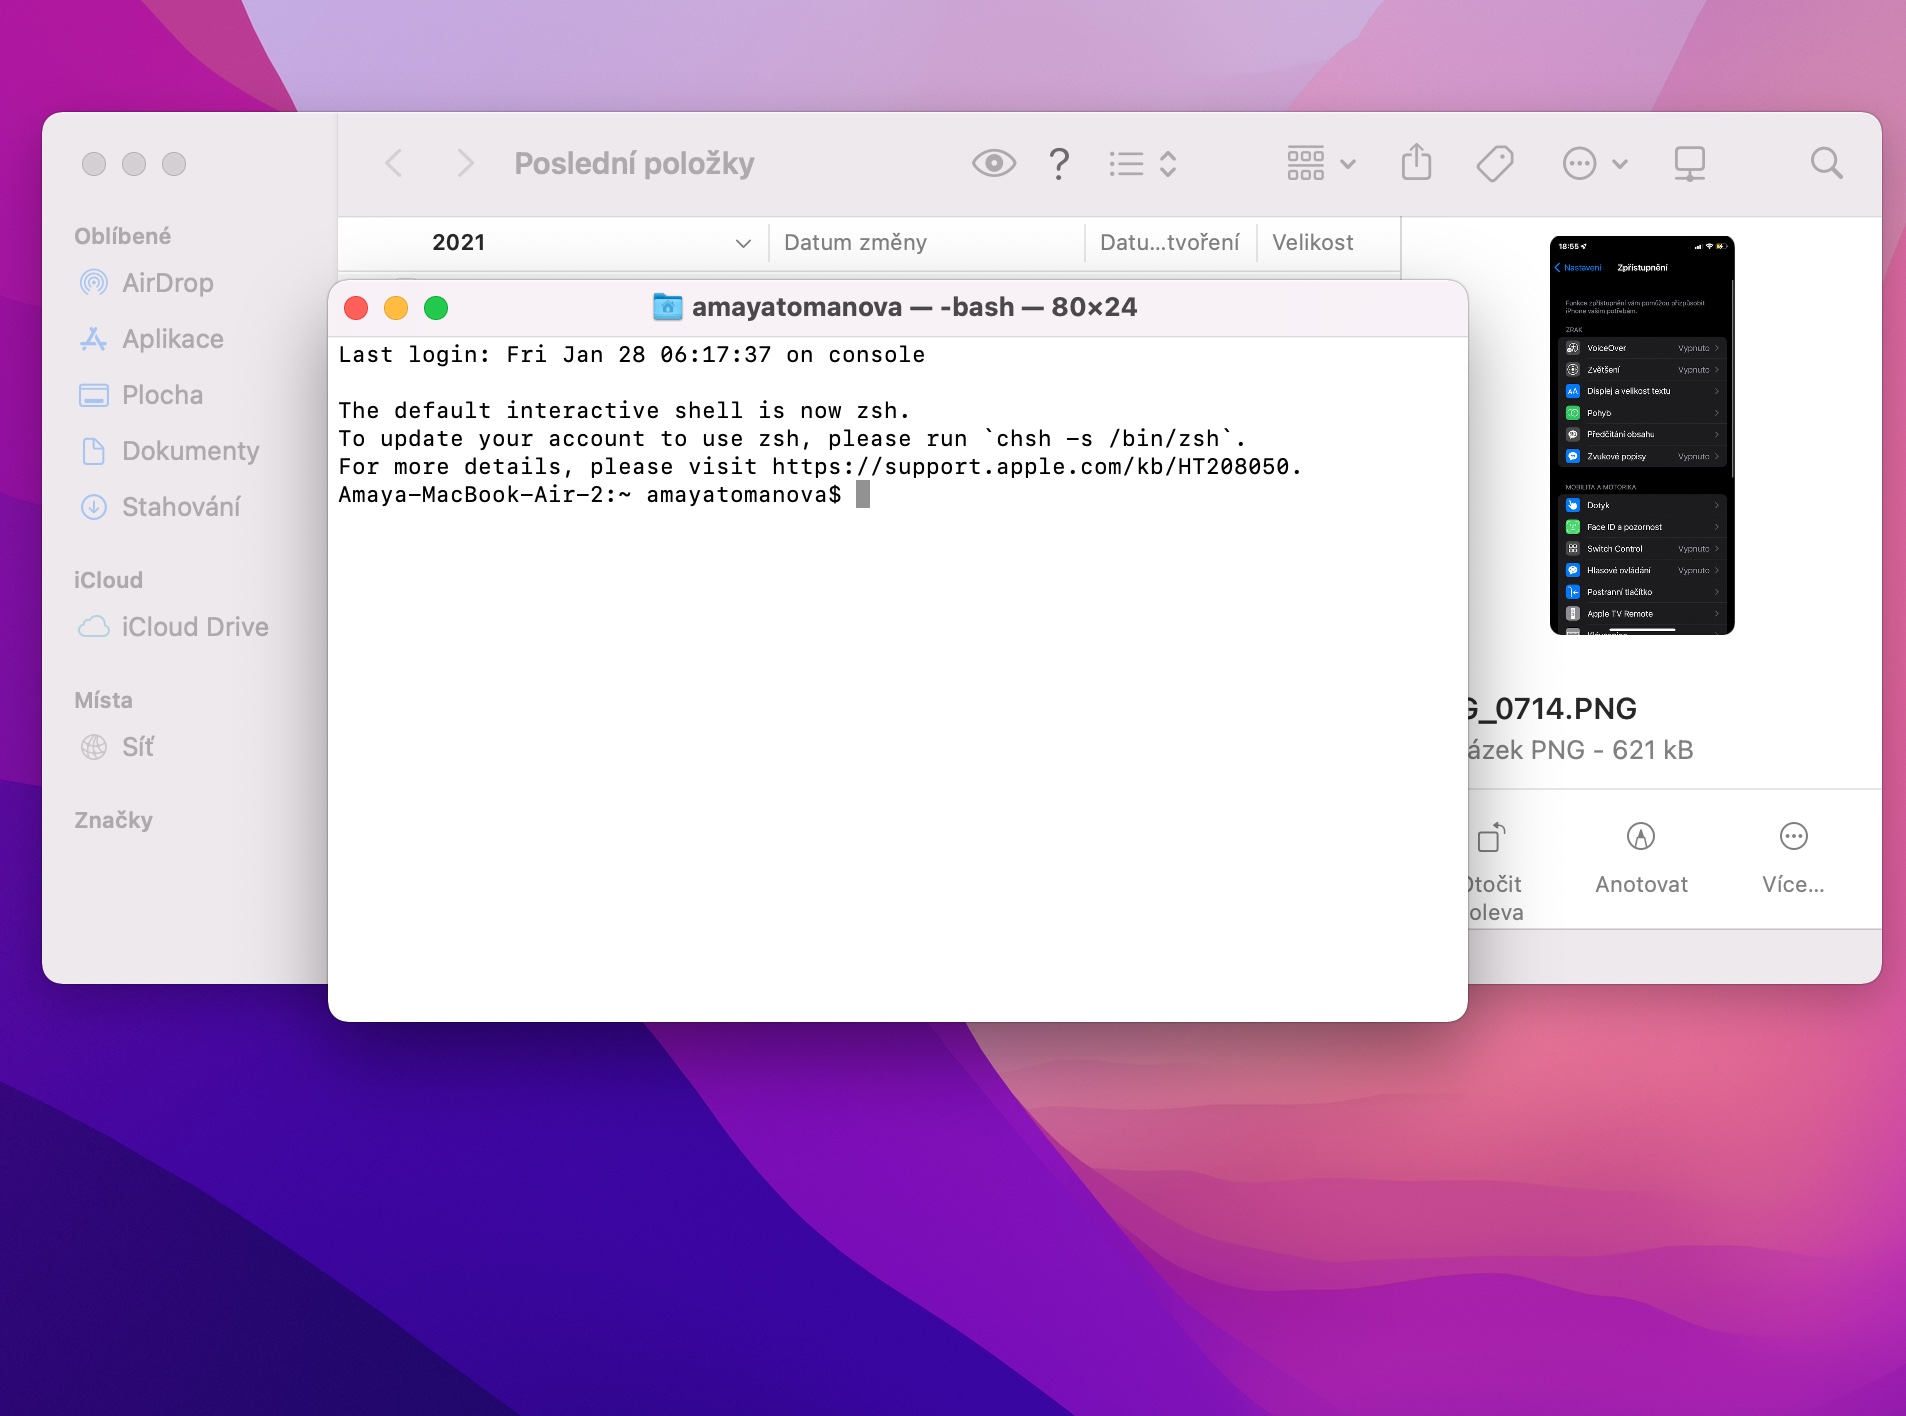
If you point the mouse cursor at a file name while working in the Finder and press the Option (Alt) key, a panel will appear at the bottom of the Finder window with information about the path to the file. If you control-click this panel, you'll see a menu with additional options for that file—for example, open in Terminal, view in parent folder, copy file path, and more.
Quick actions
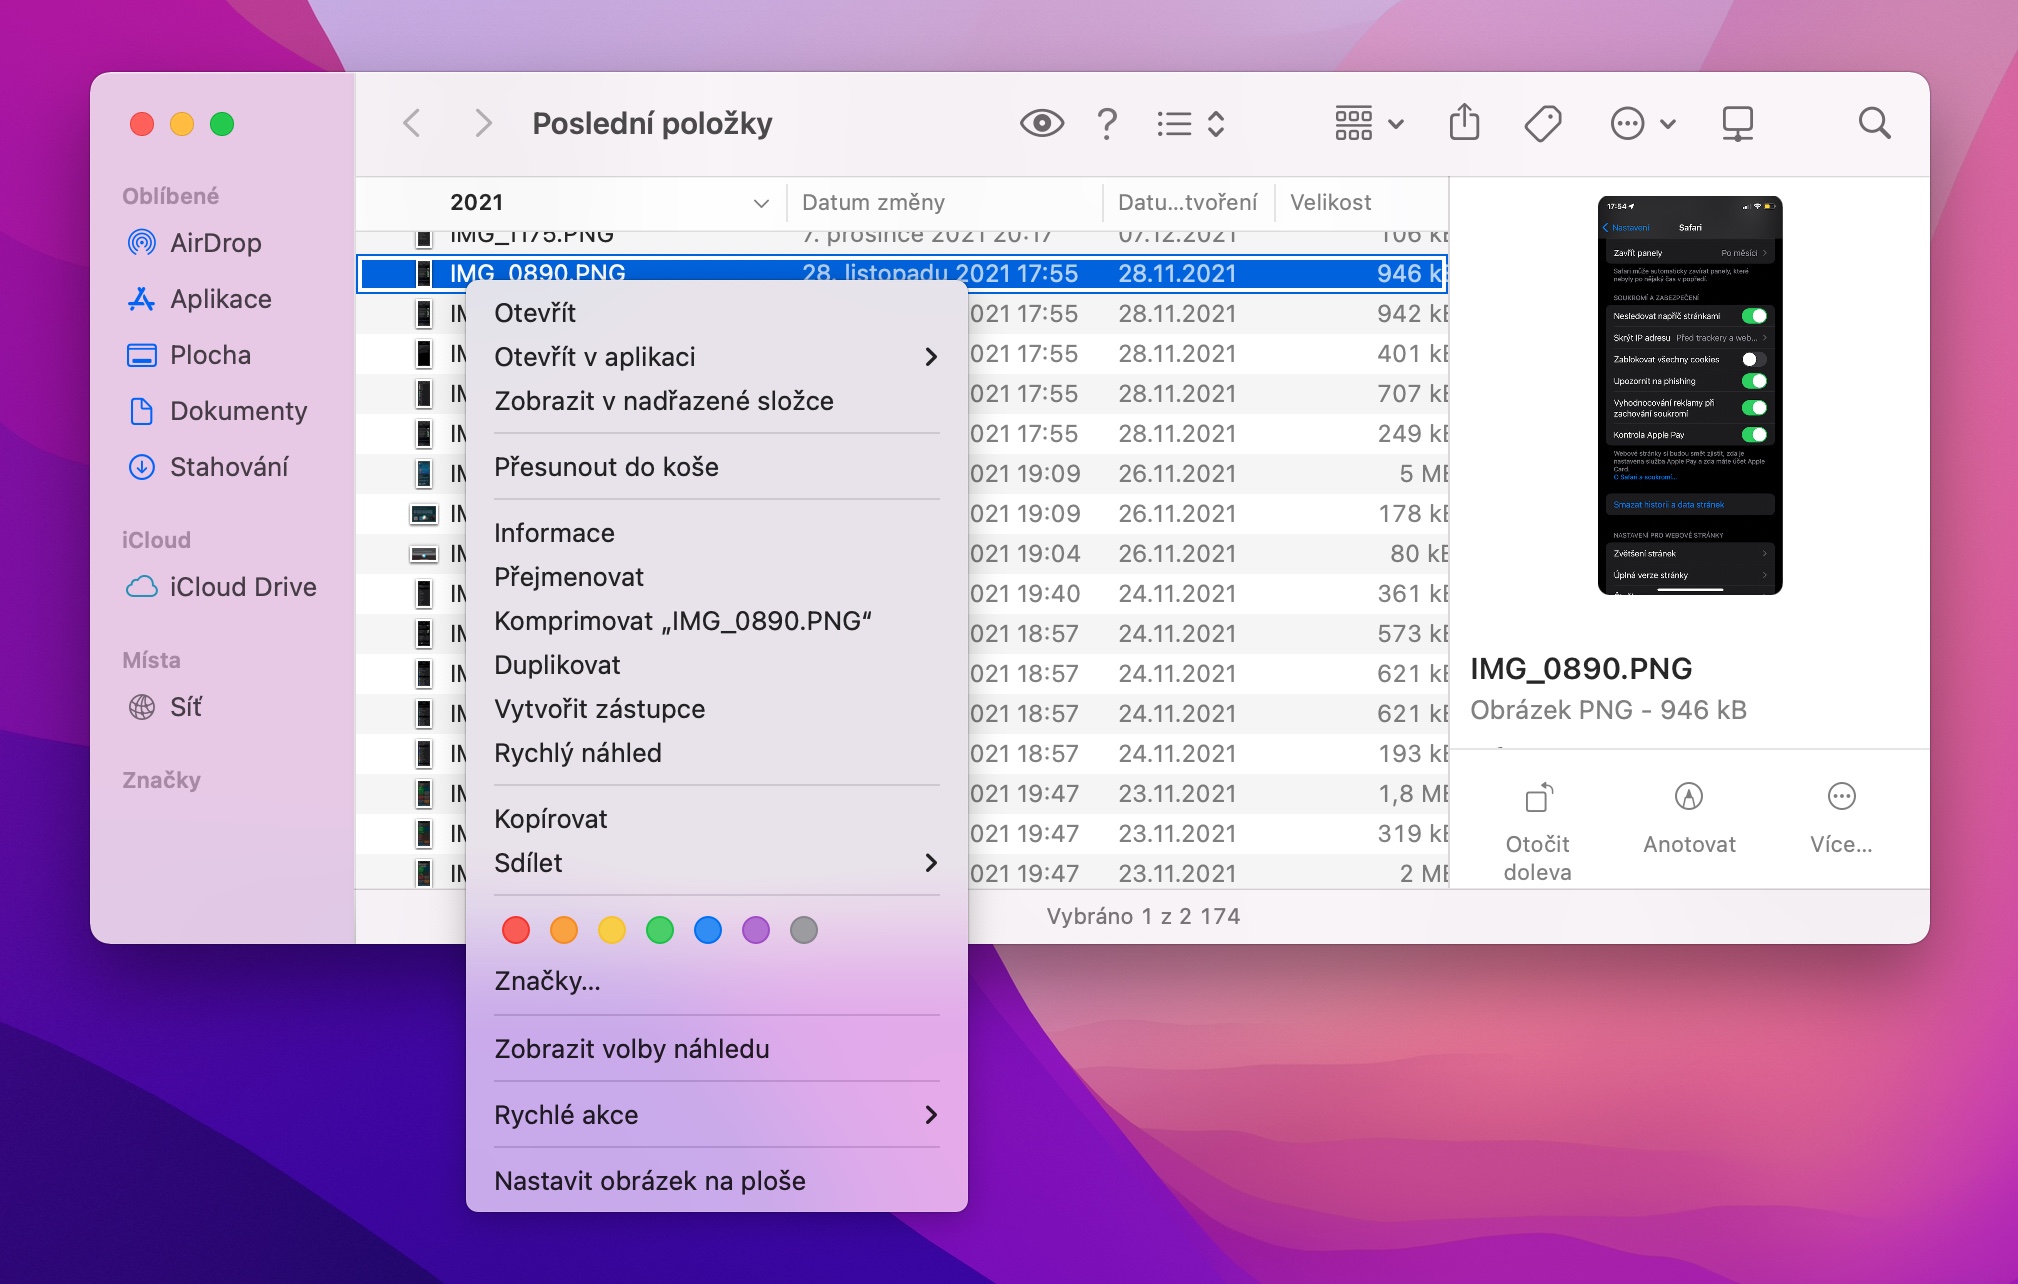
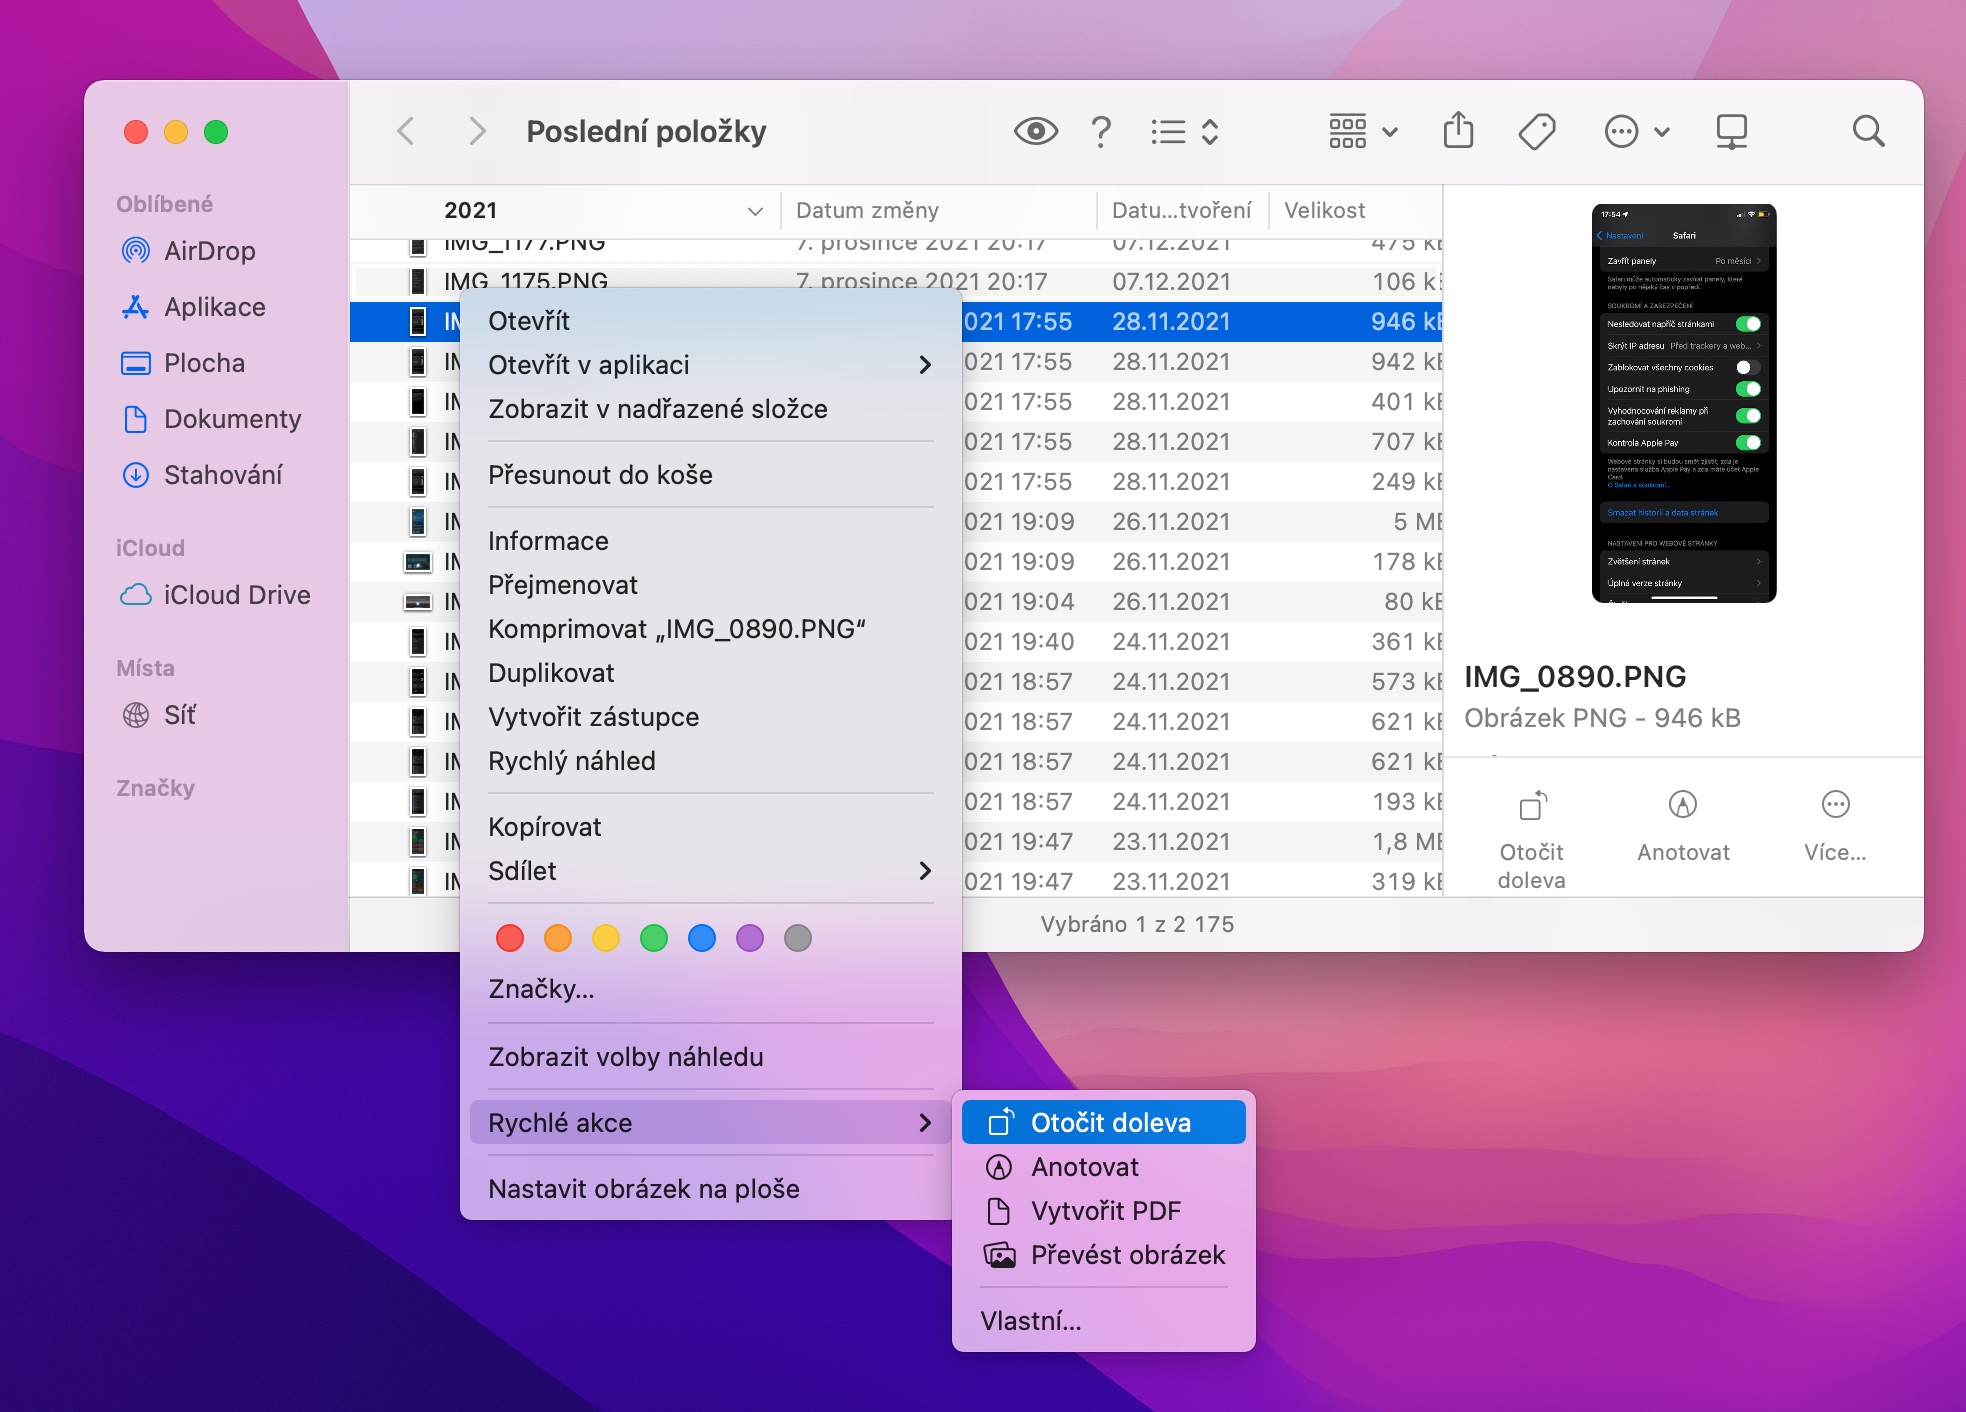
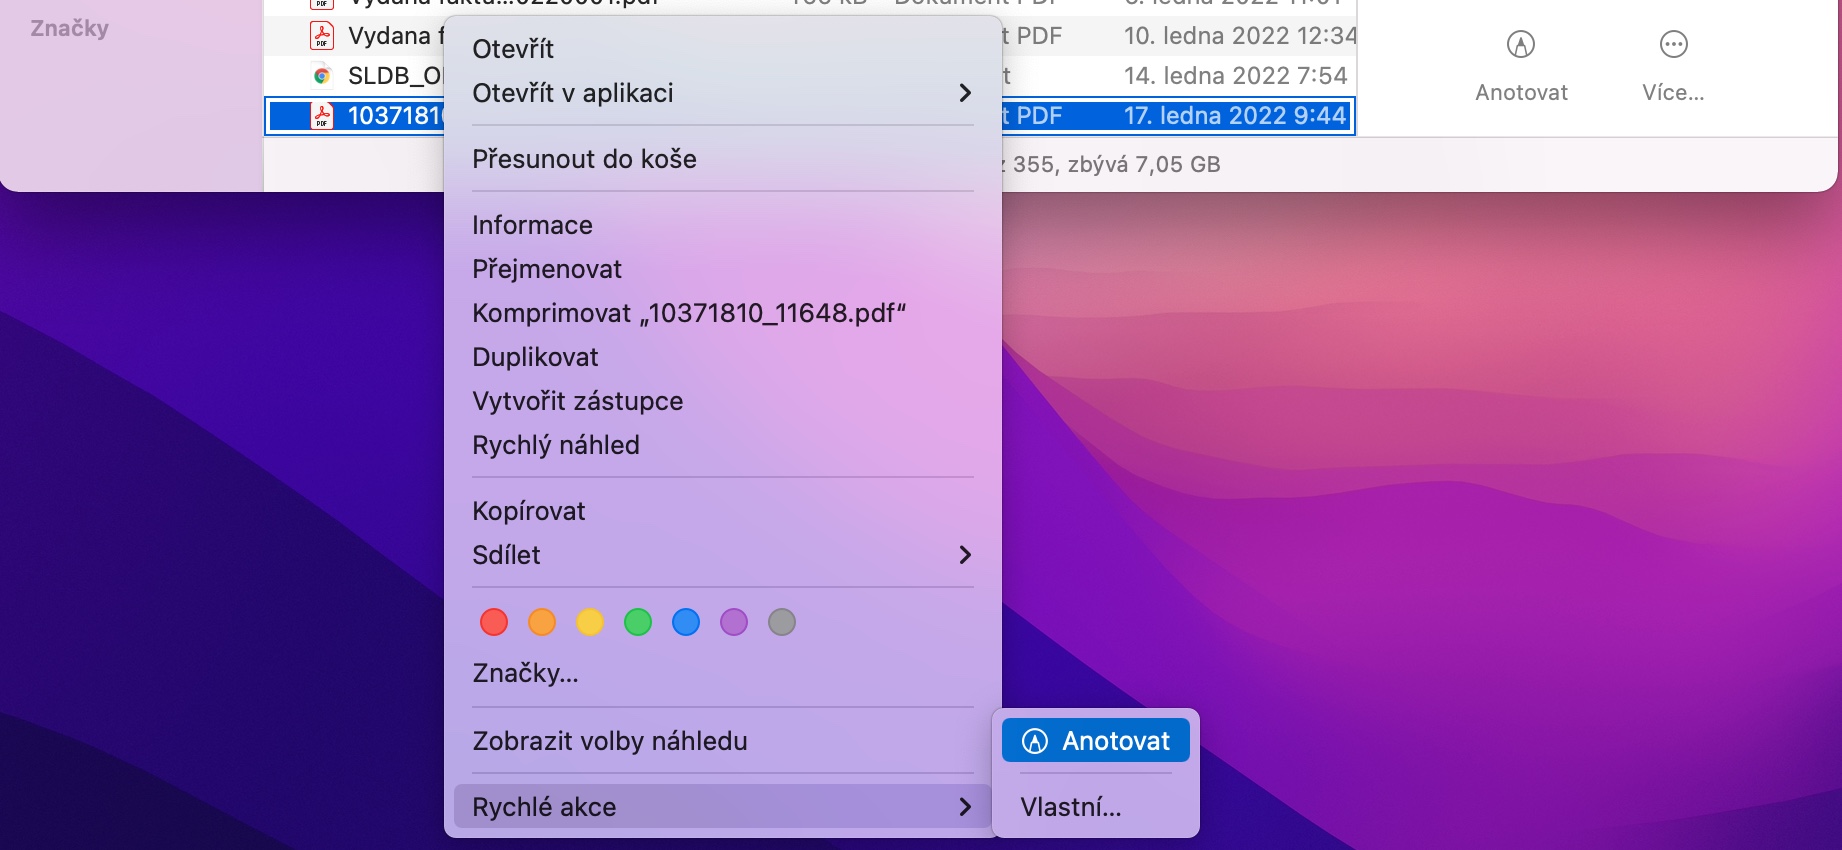
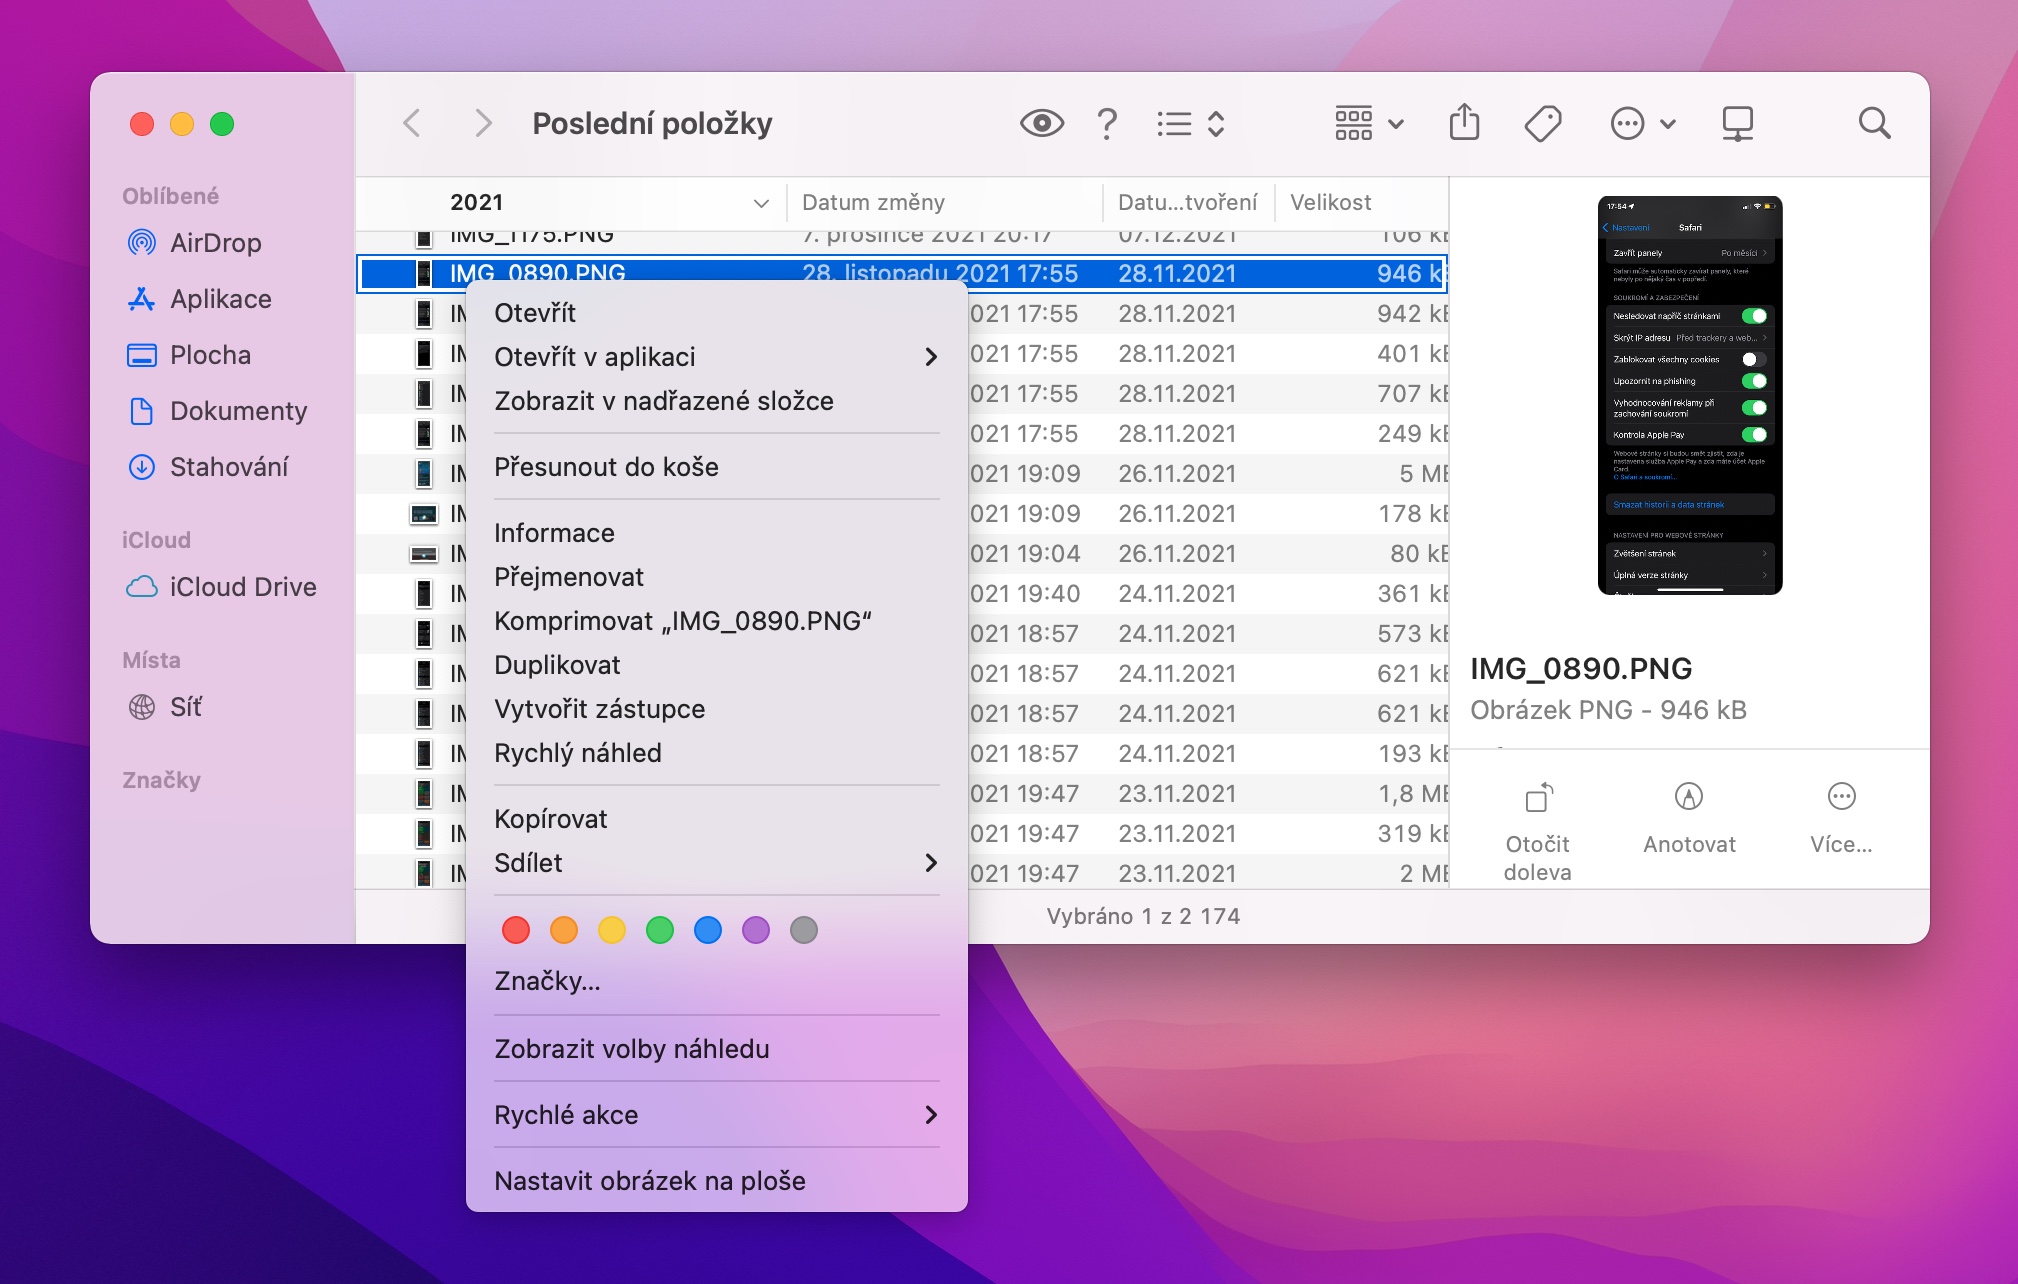
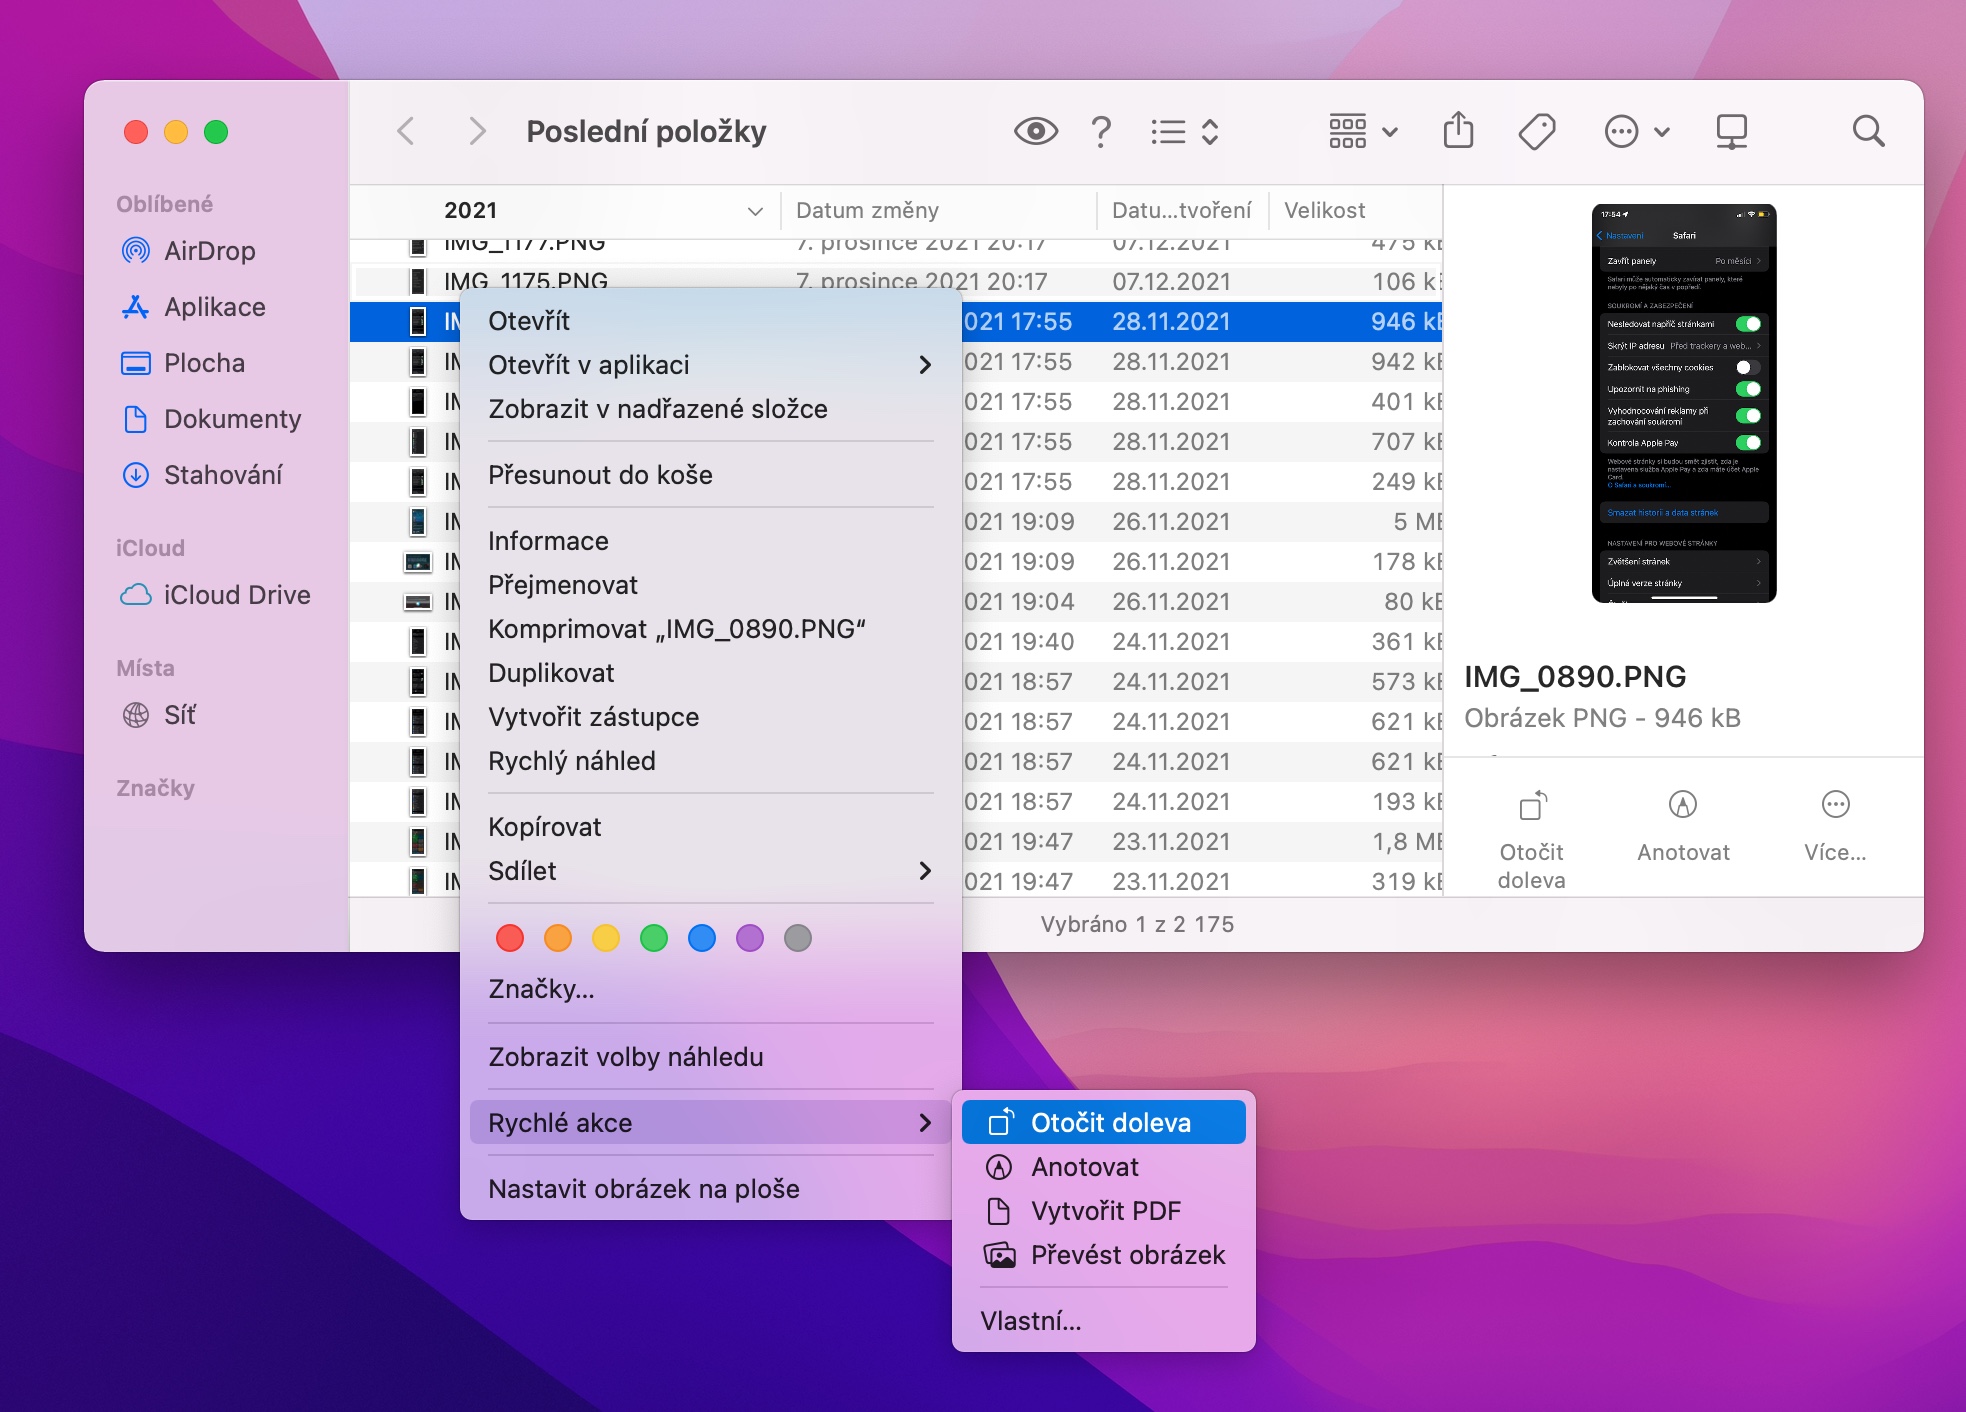
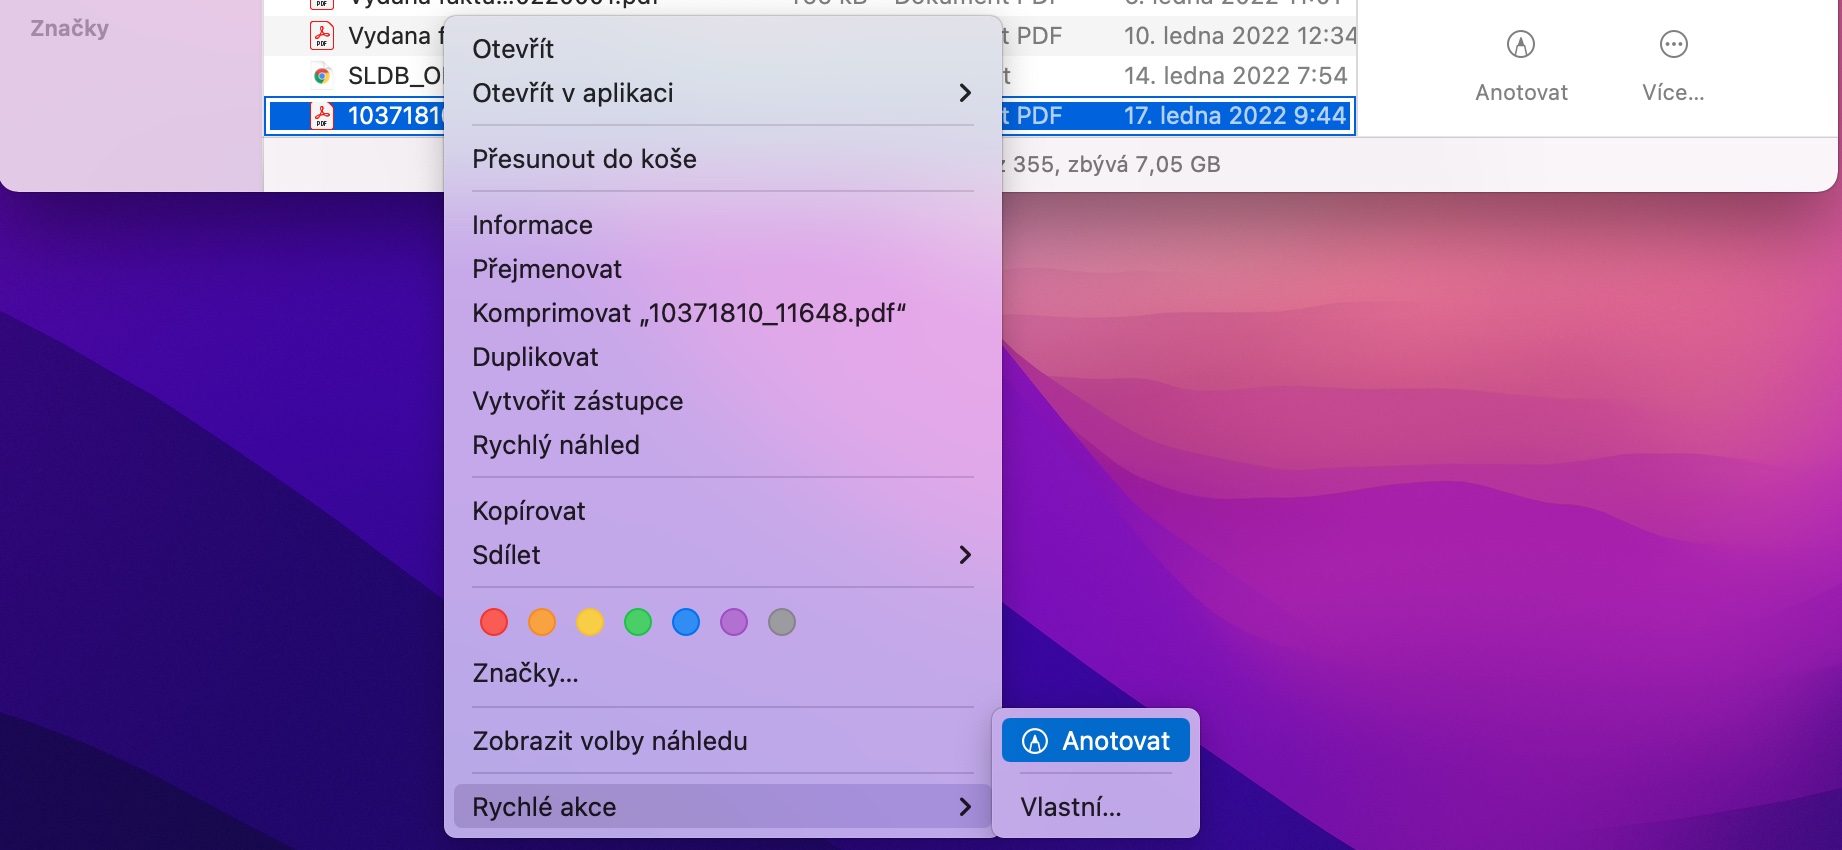
The Finder can recognize what type of file it's dealing with, and based on that knowledge, it can offer you a list of quick actions that can be performed on that file. For documents in PDF format, it can offer you suitable actions for further work with the given file. To display the Quick Actions menu in the Finder, hold down the Control key and click the selected file with the mouse and choose Quick Actions from the menu.
Toolbar customization
At the top of the Finder window is a useful bar where you'll find a whole bunch of tools for working with your files, folders, or customizing the Finder. But we don't always find a use for all the buttons that are on this bar by default. To customize the contents of the Finder's top bar, right-click on this bar and choose Customize Toolbar from the menu. After that, all you have to do is remove individual elements or, on the contrary, add them by dragging them.
Adding an app shortcut to the top bar
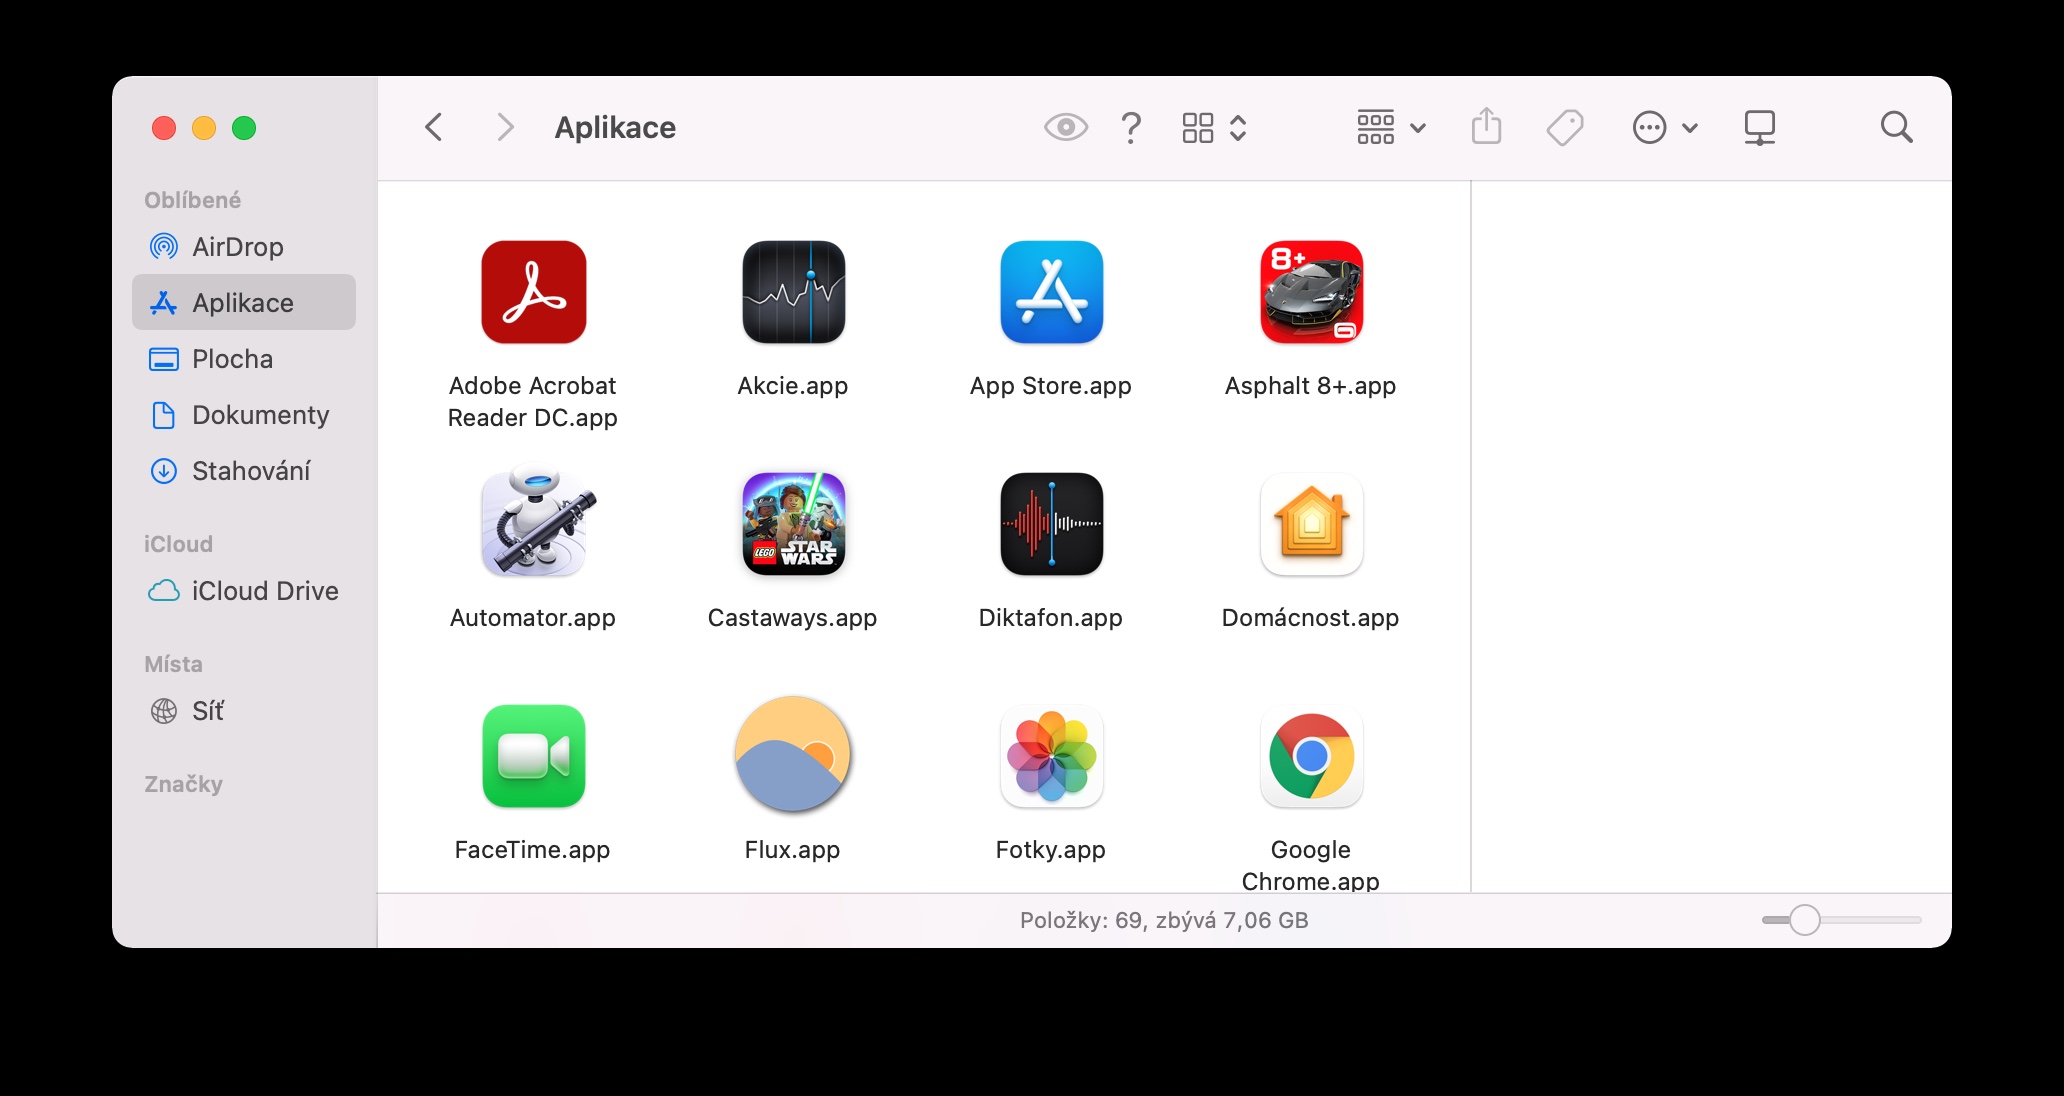
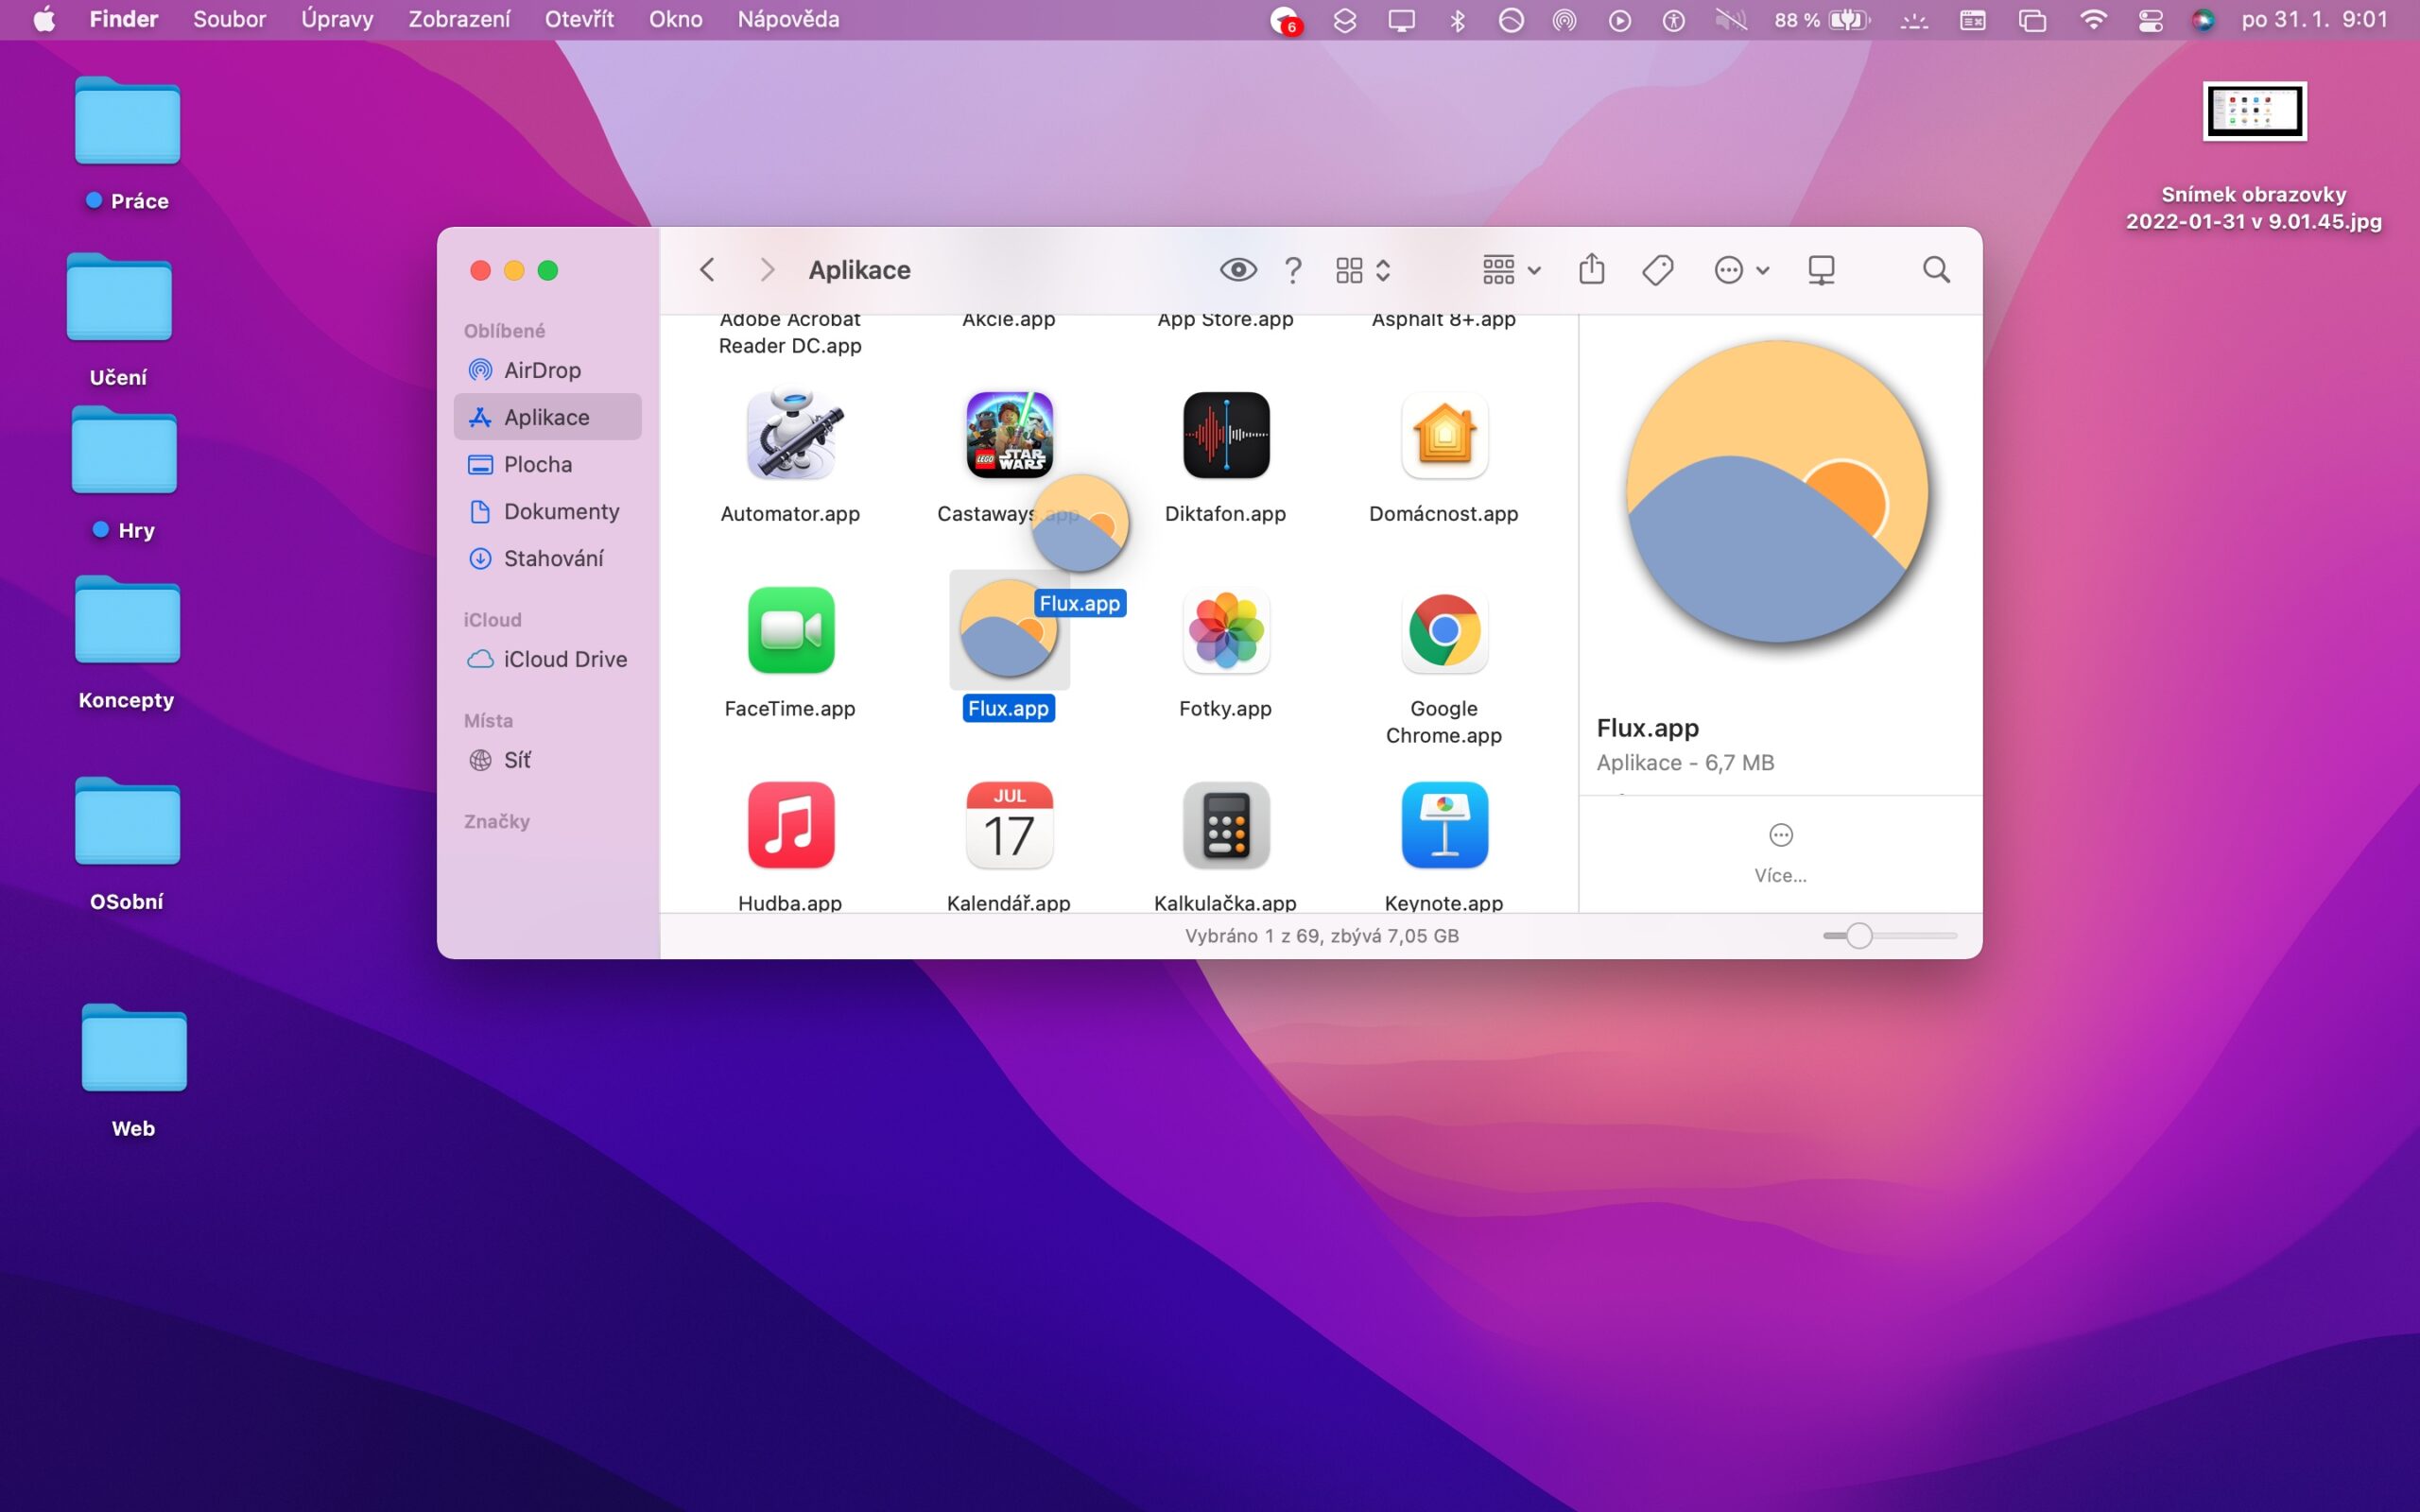
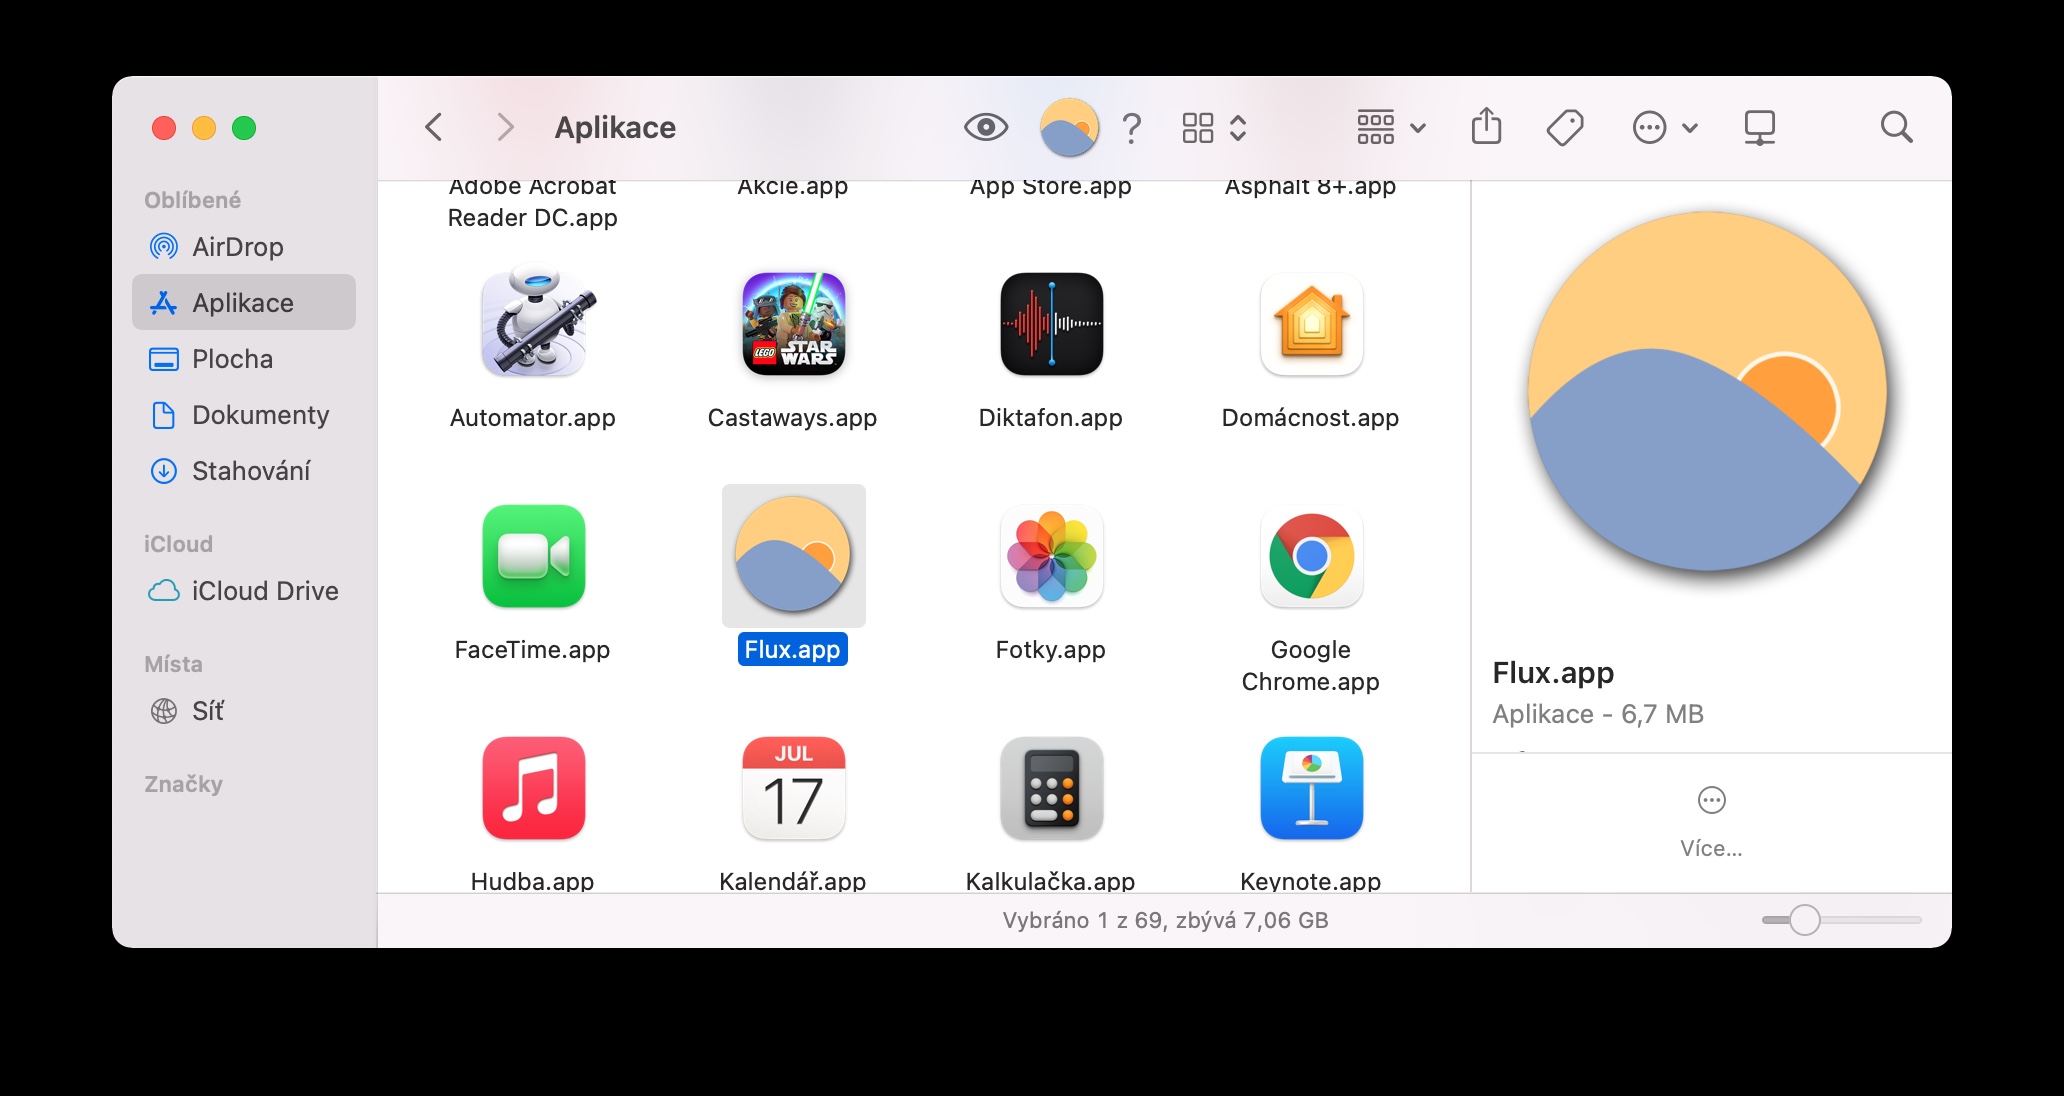
You can also add shortcuts to individual applications to the top bar of the Finder window. The procedure is simple. First, in the left pane of the Finder window, click the Applications folder. Select the application whose shortcut you want to place in the top Finder bar, press the Command key and start dragging the application to the top bar. As soon as the green "+" button appears next to the application icon, release the icon.
Thanks for the tips :) Can't create a "move to.." item in the Finder menu on MacBook?