Create a new desktop
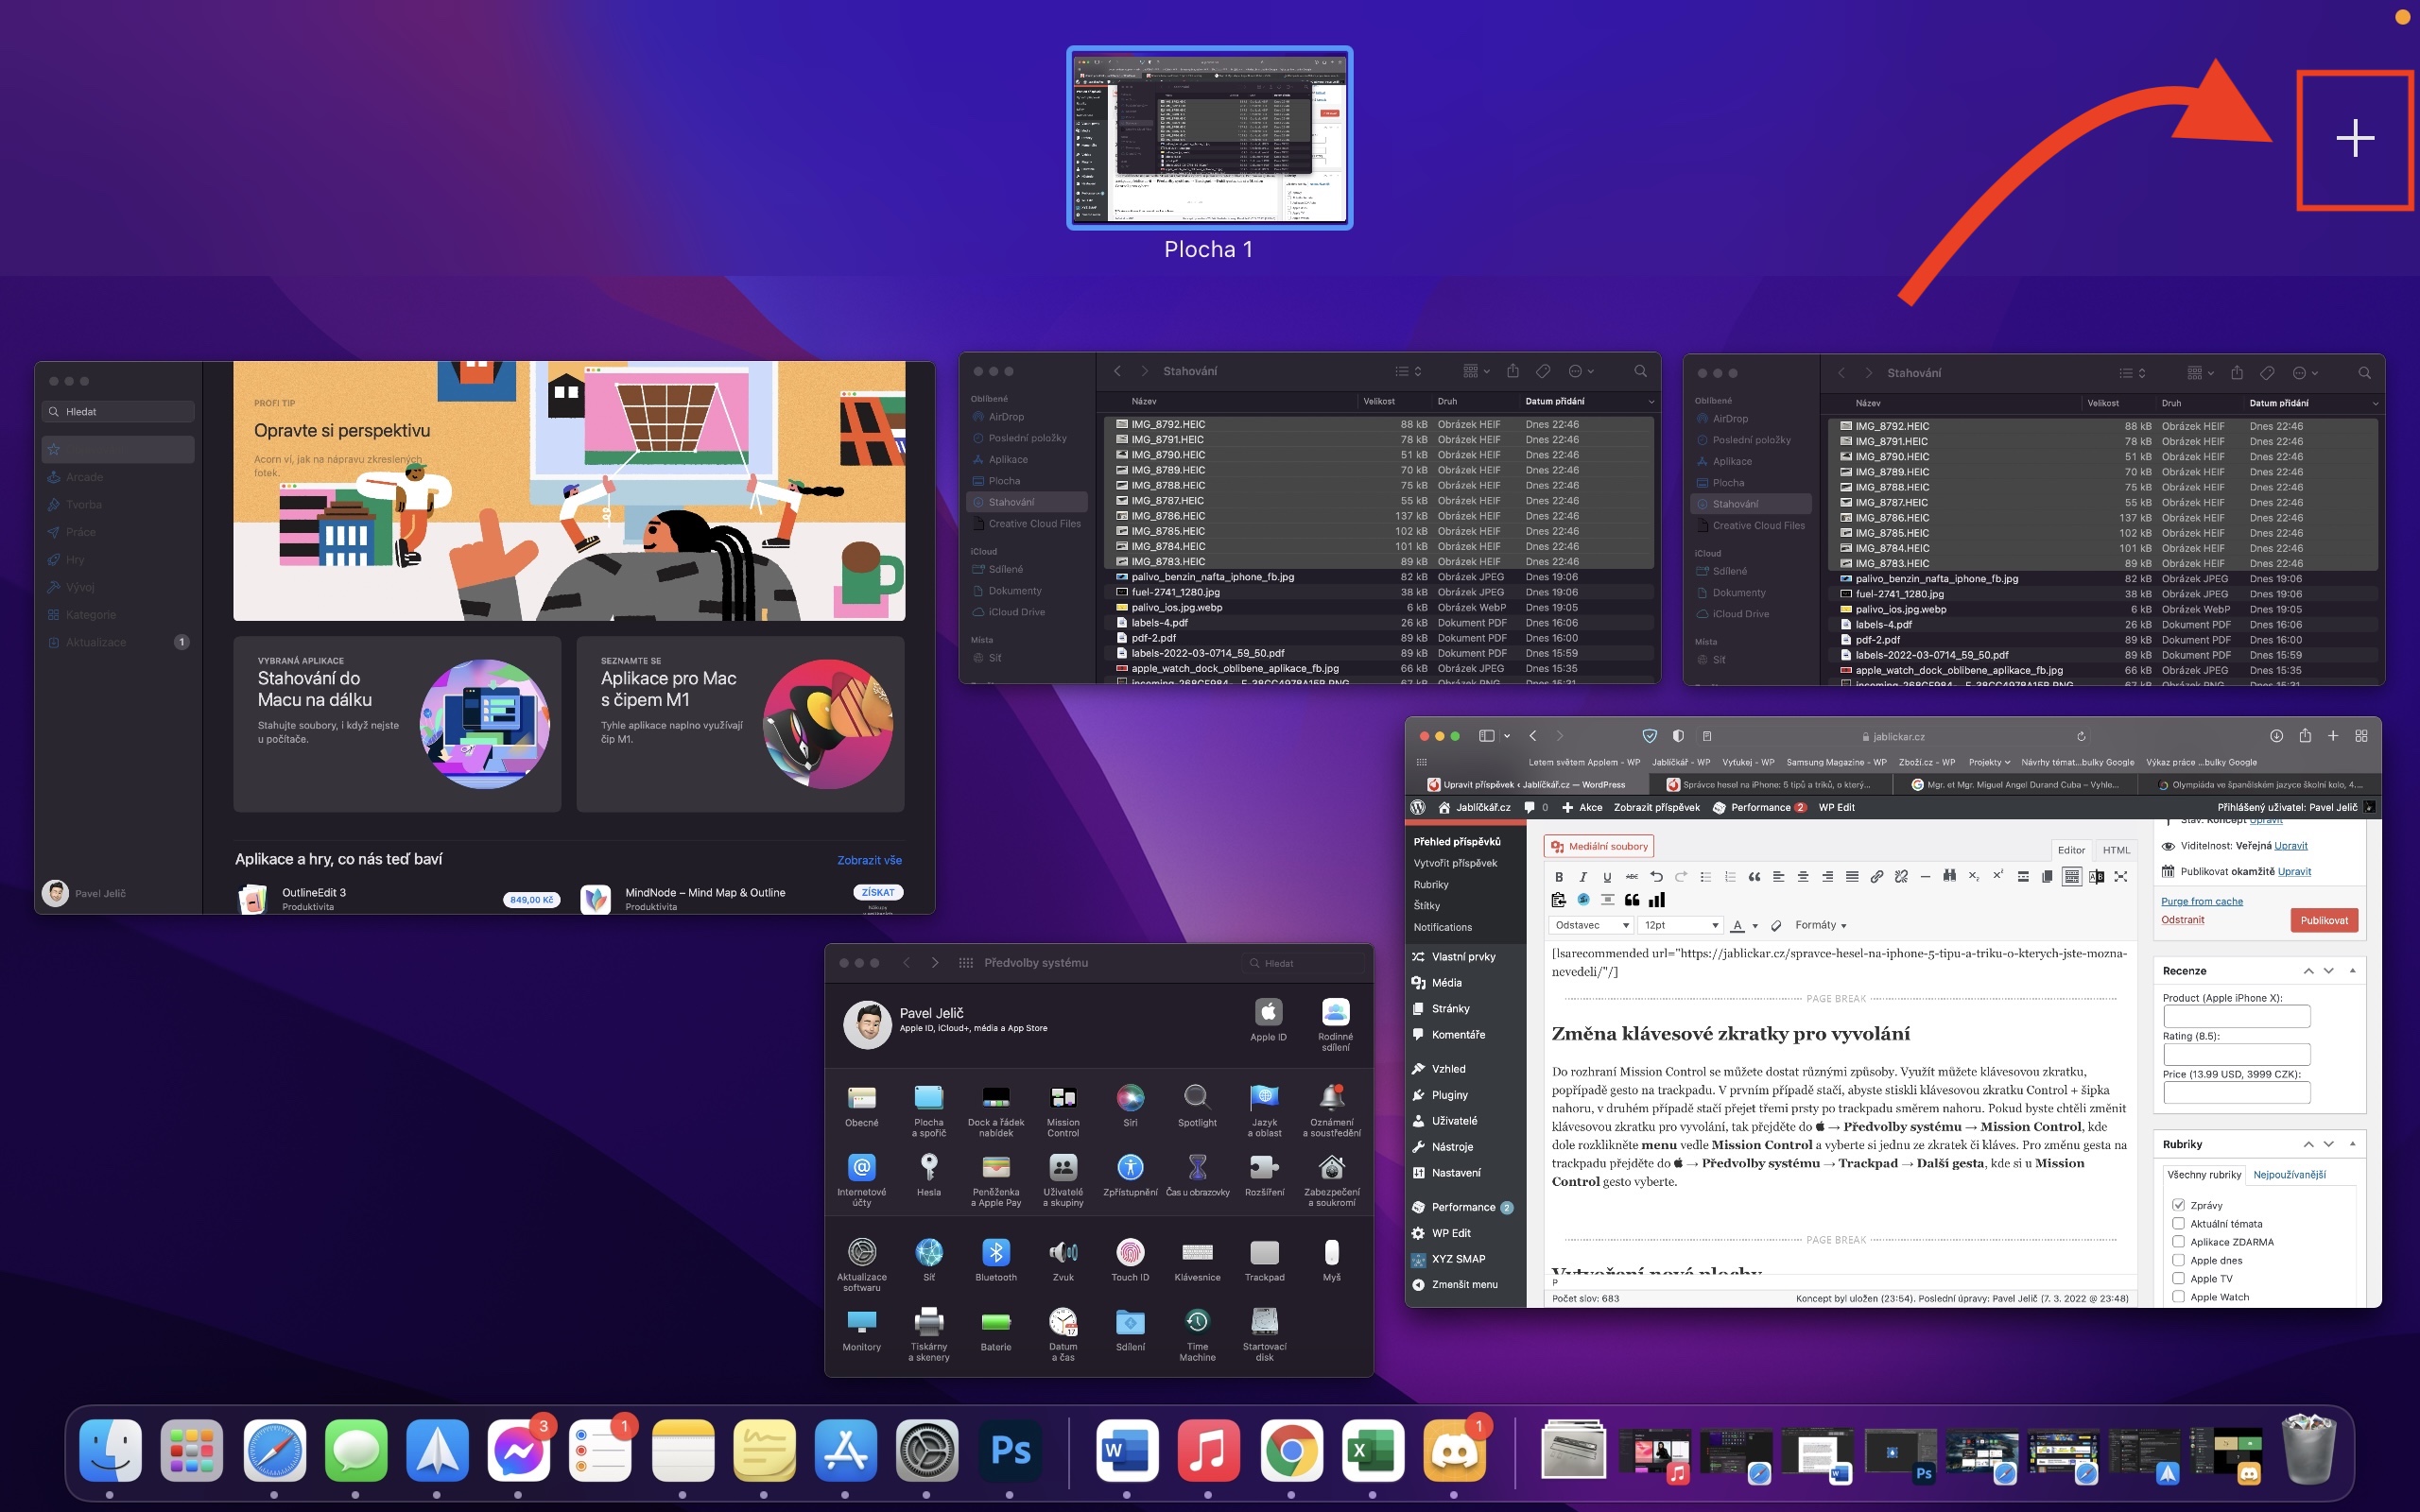
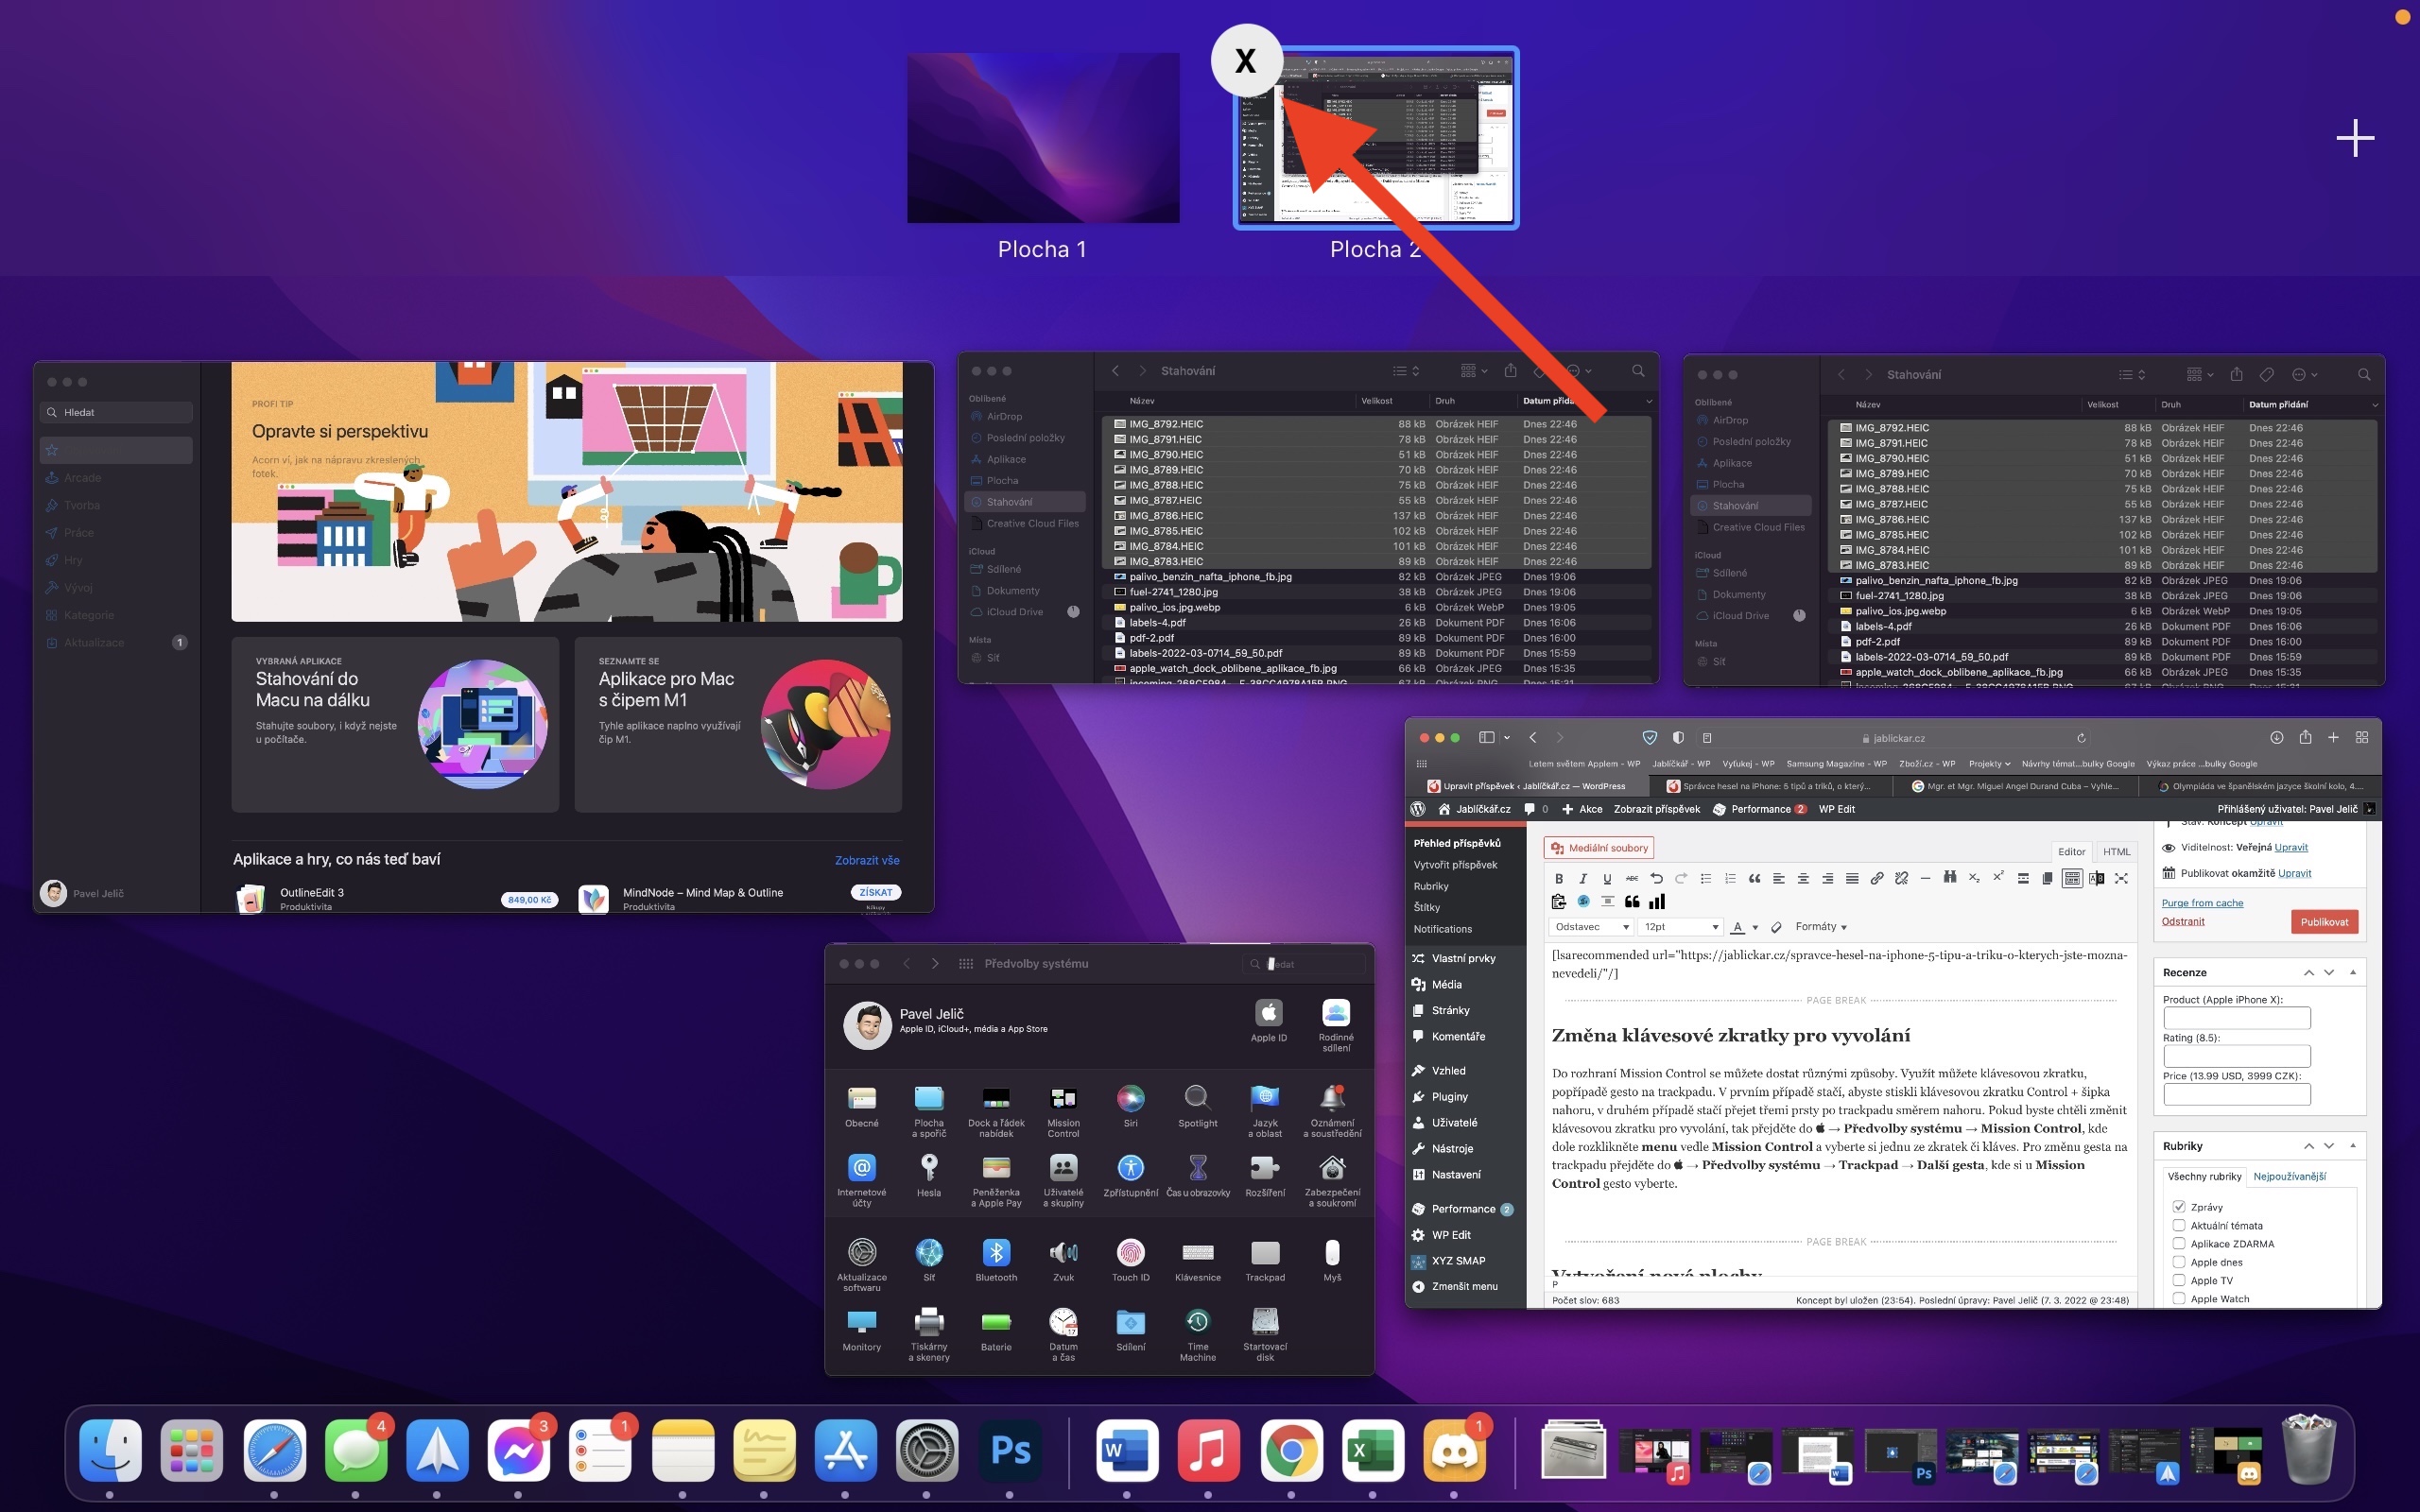
We'll start with the absolute basics - creating a new desktop into which you can then place application windows. First activate Mission Control by pressing F3 or by performing a three-finger swipe up gesture on the trackpad. After that, just click on in the area preview bar at the top of the screen +, which creates a new surface.
Spit View for efficient work
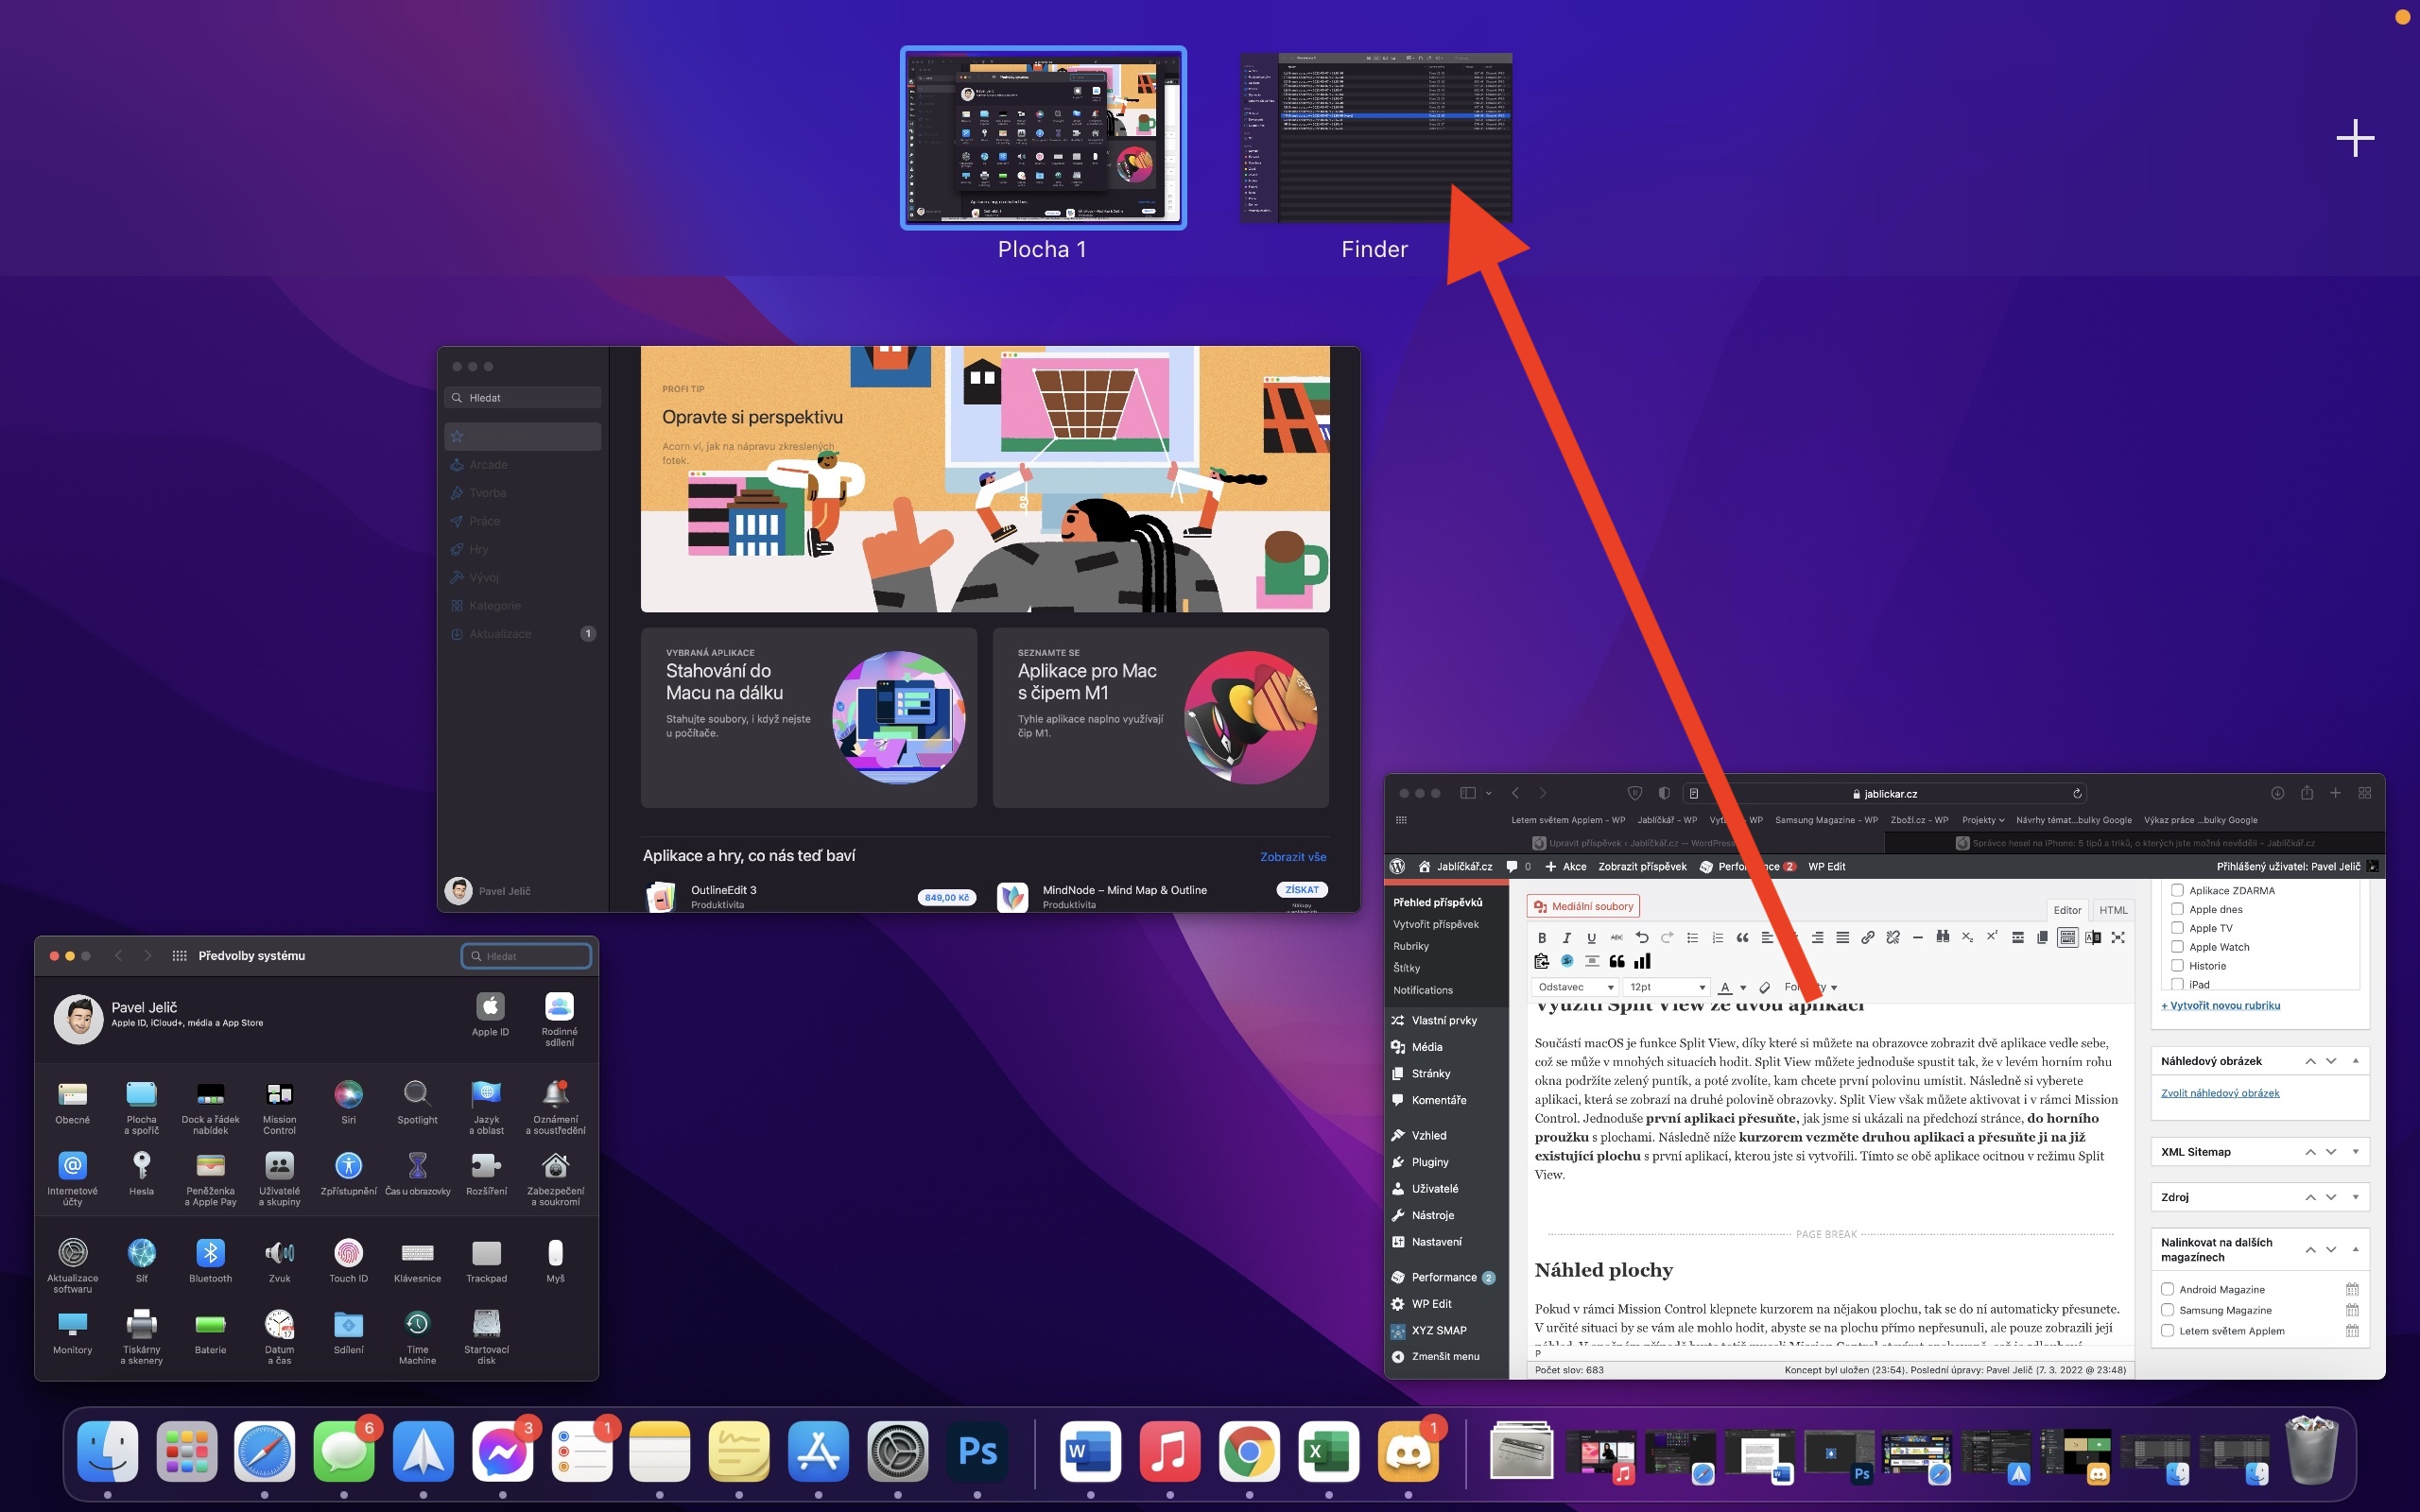
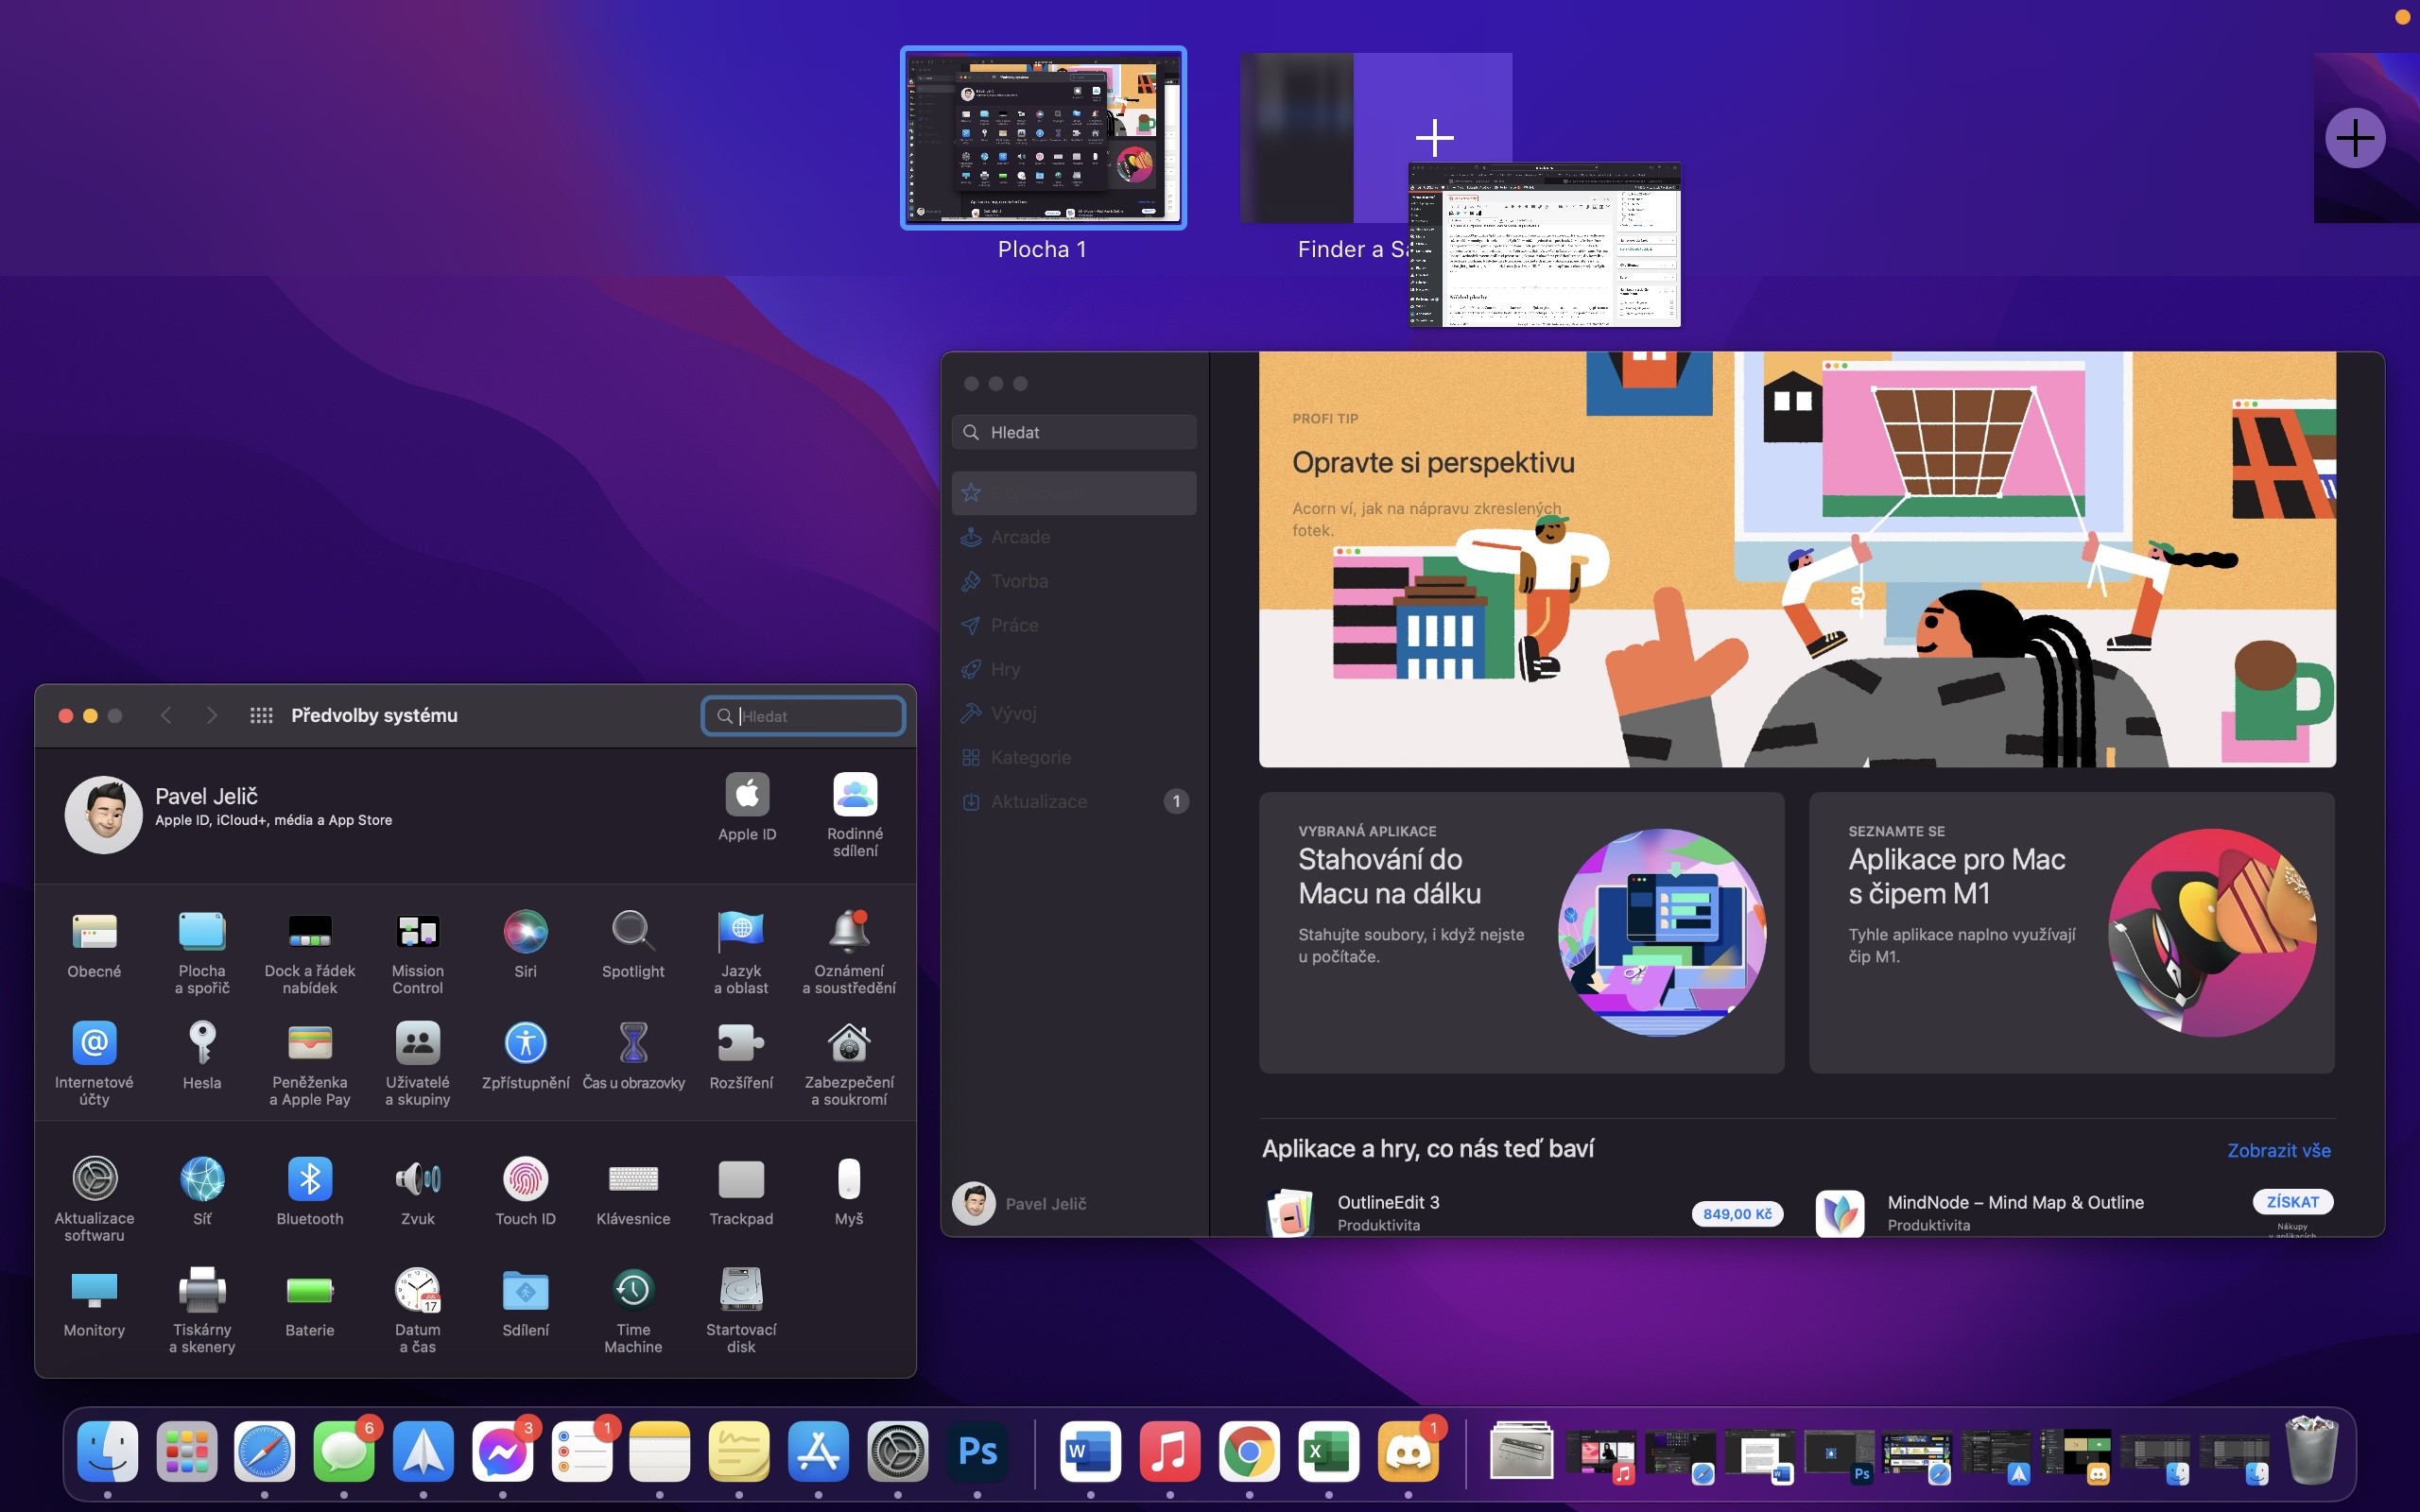
It would be a shame not to use the Split View feature on the Mac. This useful display mode allows you to work in two application windows side by side. To launch Split View mode within Mission Control first activate Mission Control and then drag the first of the apps to the empty desktop. Then drag the second desired application onto the same desktop.
Applications from the Dock to the desktop in Mission Control
If you use multiple desktops for different purposes – for example, one desktop for work, another for study and the third for entertainment, you can easily determine for each application on which desktop it will start in the Dock, right-click on the icon of the selected application, select Options -> Assignment target and then select the desired desktop.
It could be interest you
Display a desktop preview
As part of the Mission Control function, in addition to switching to selected surfaces, you can also simply view these surfaces in the form of a preview. To preview the desktop, activate Mission Control, hold the key Option (old) and then tap on the selected desktop.
It could be interest you
Keyboard shortcut customization
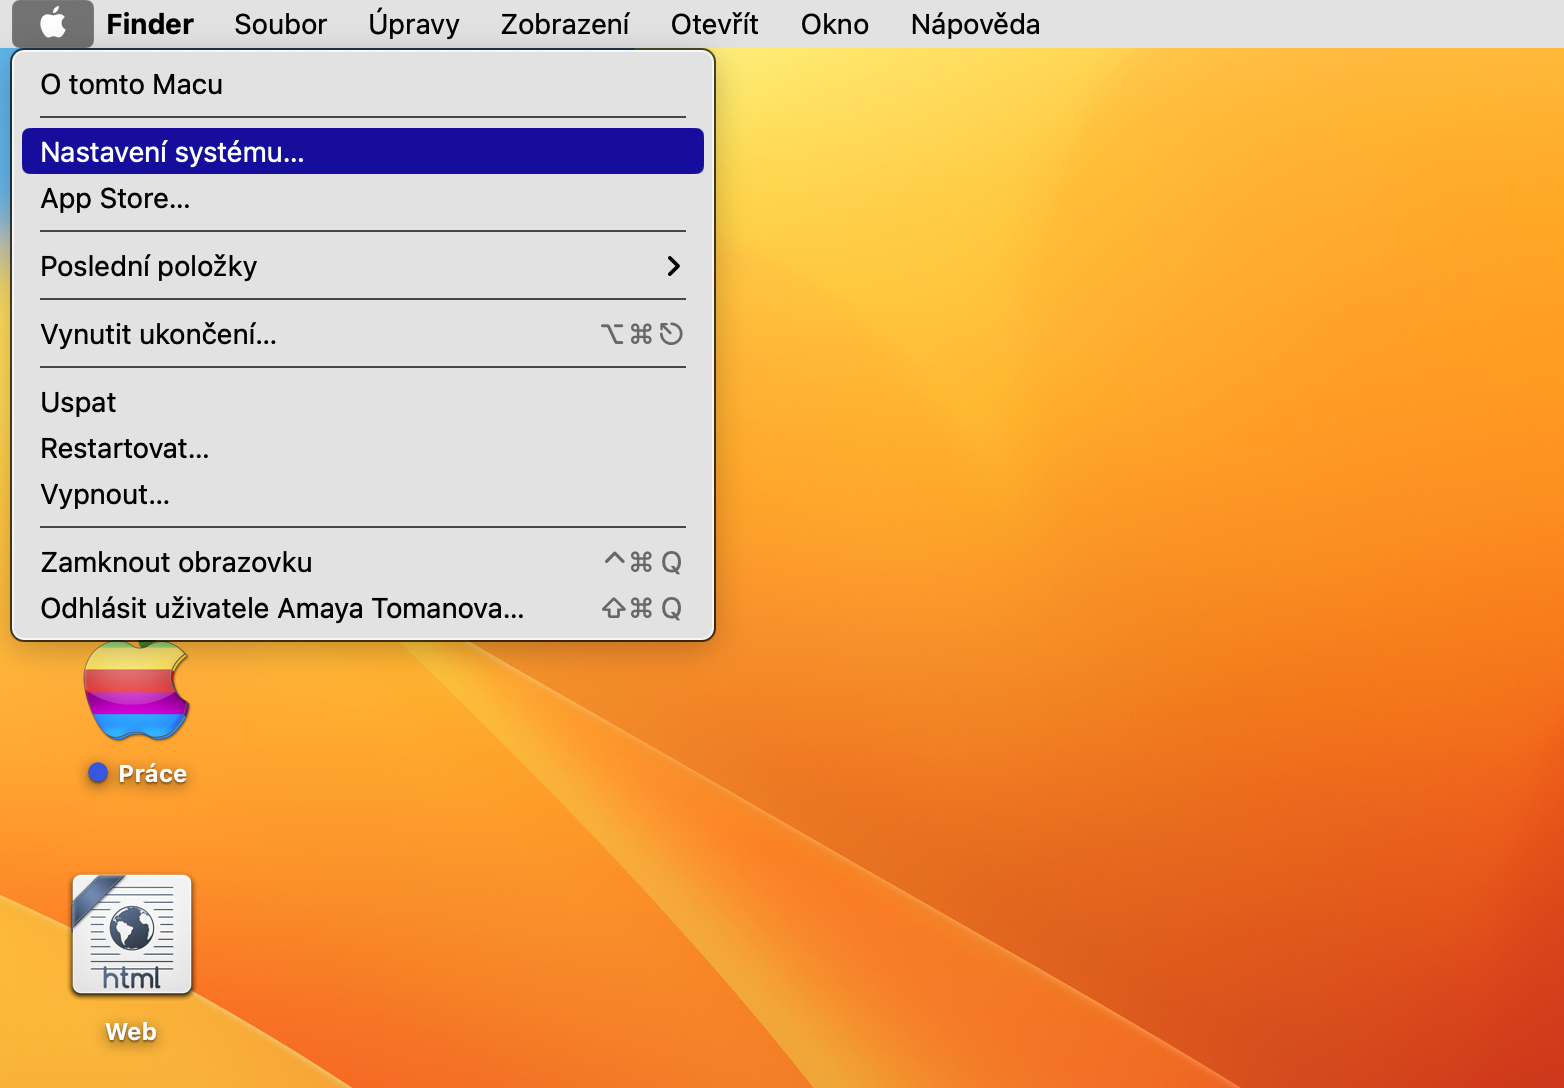
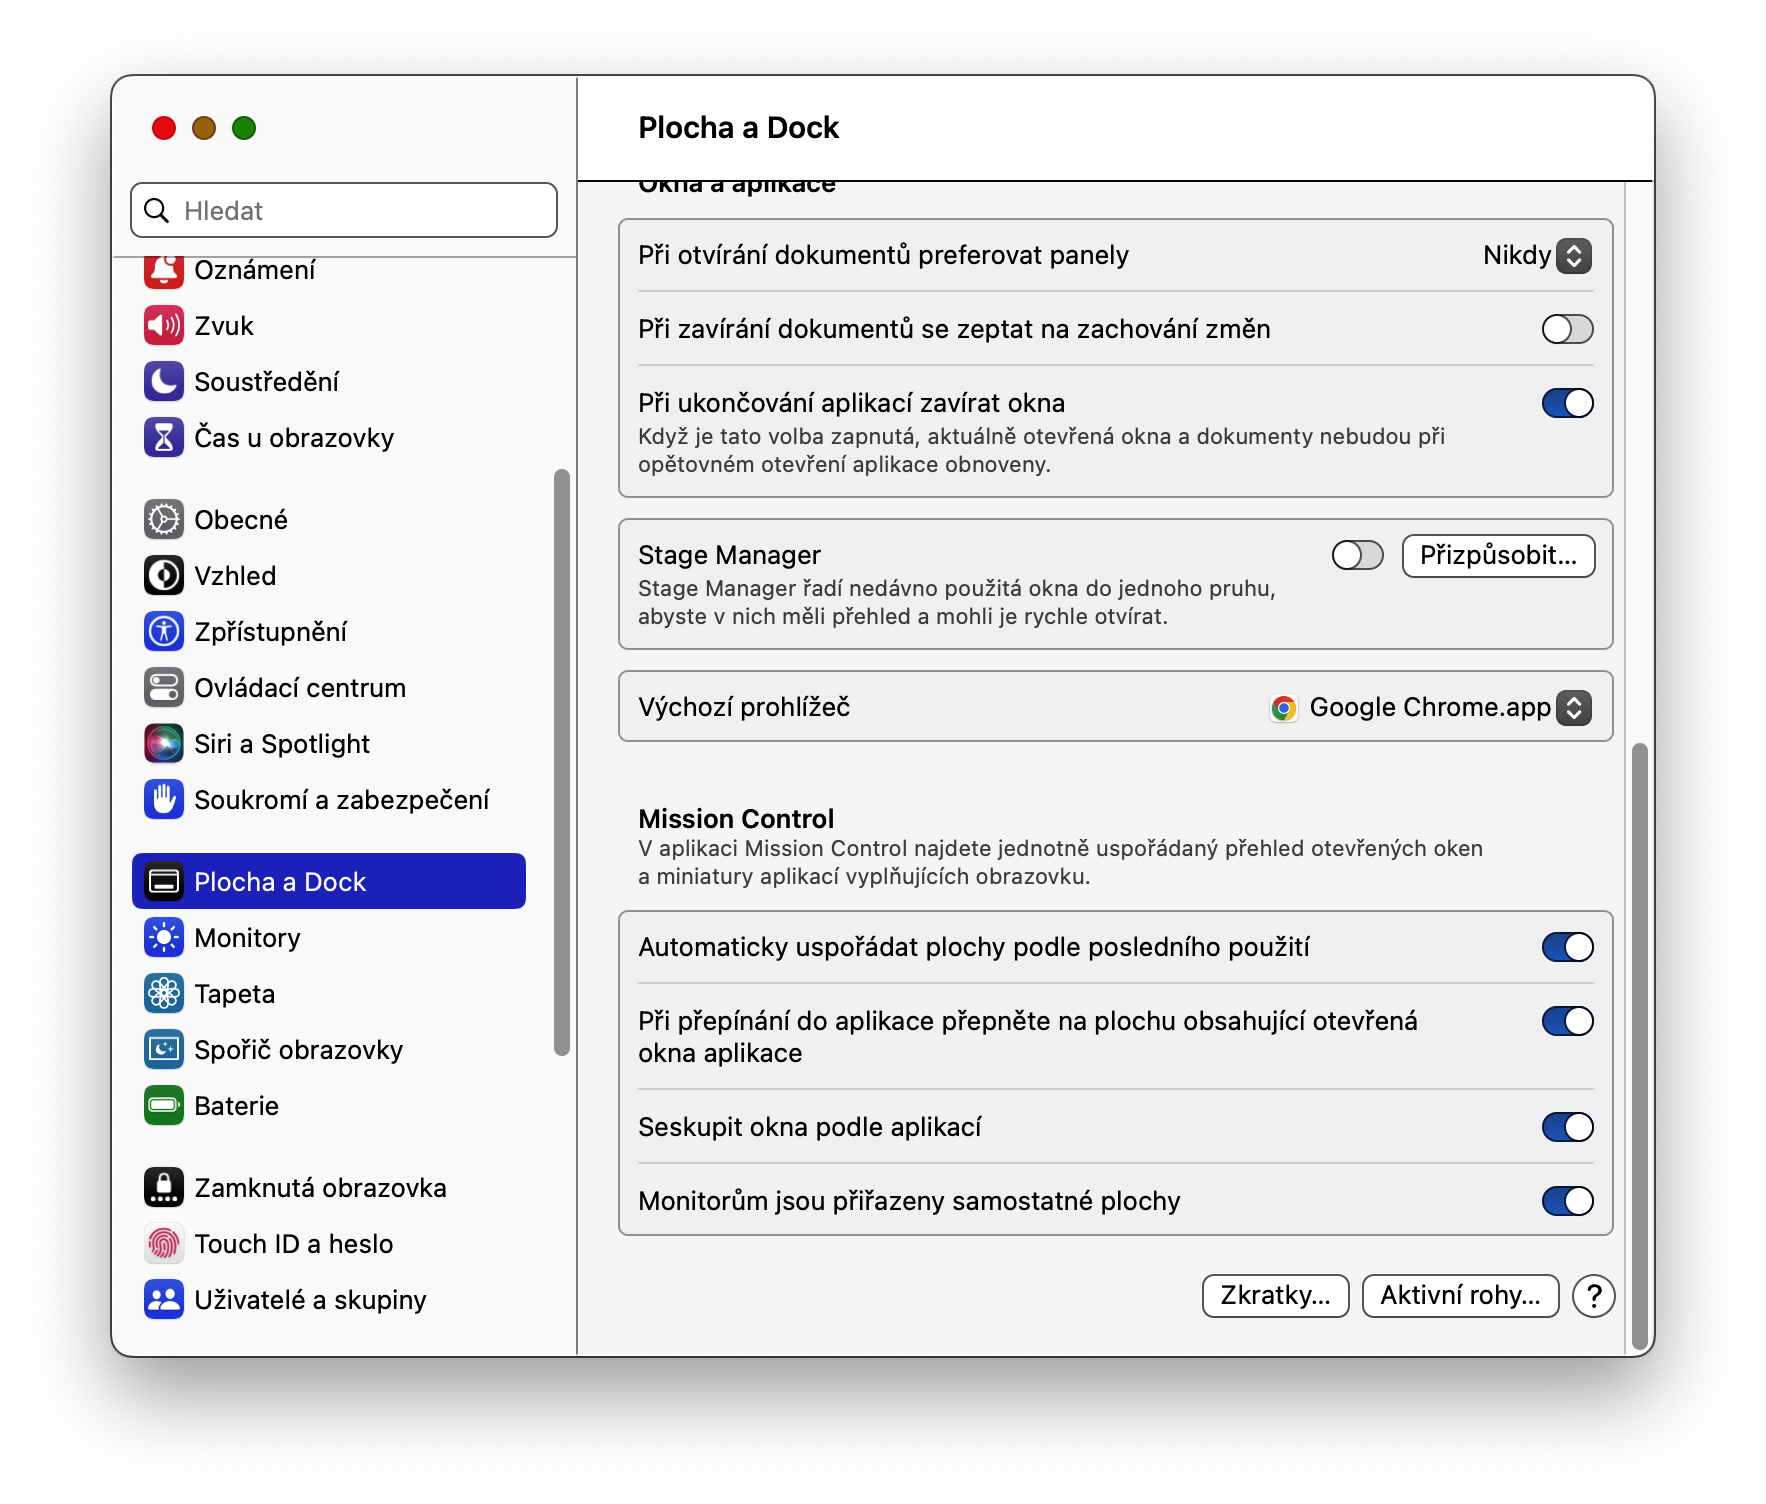
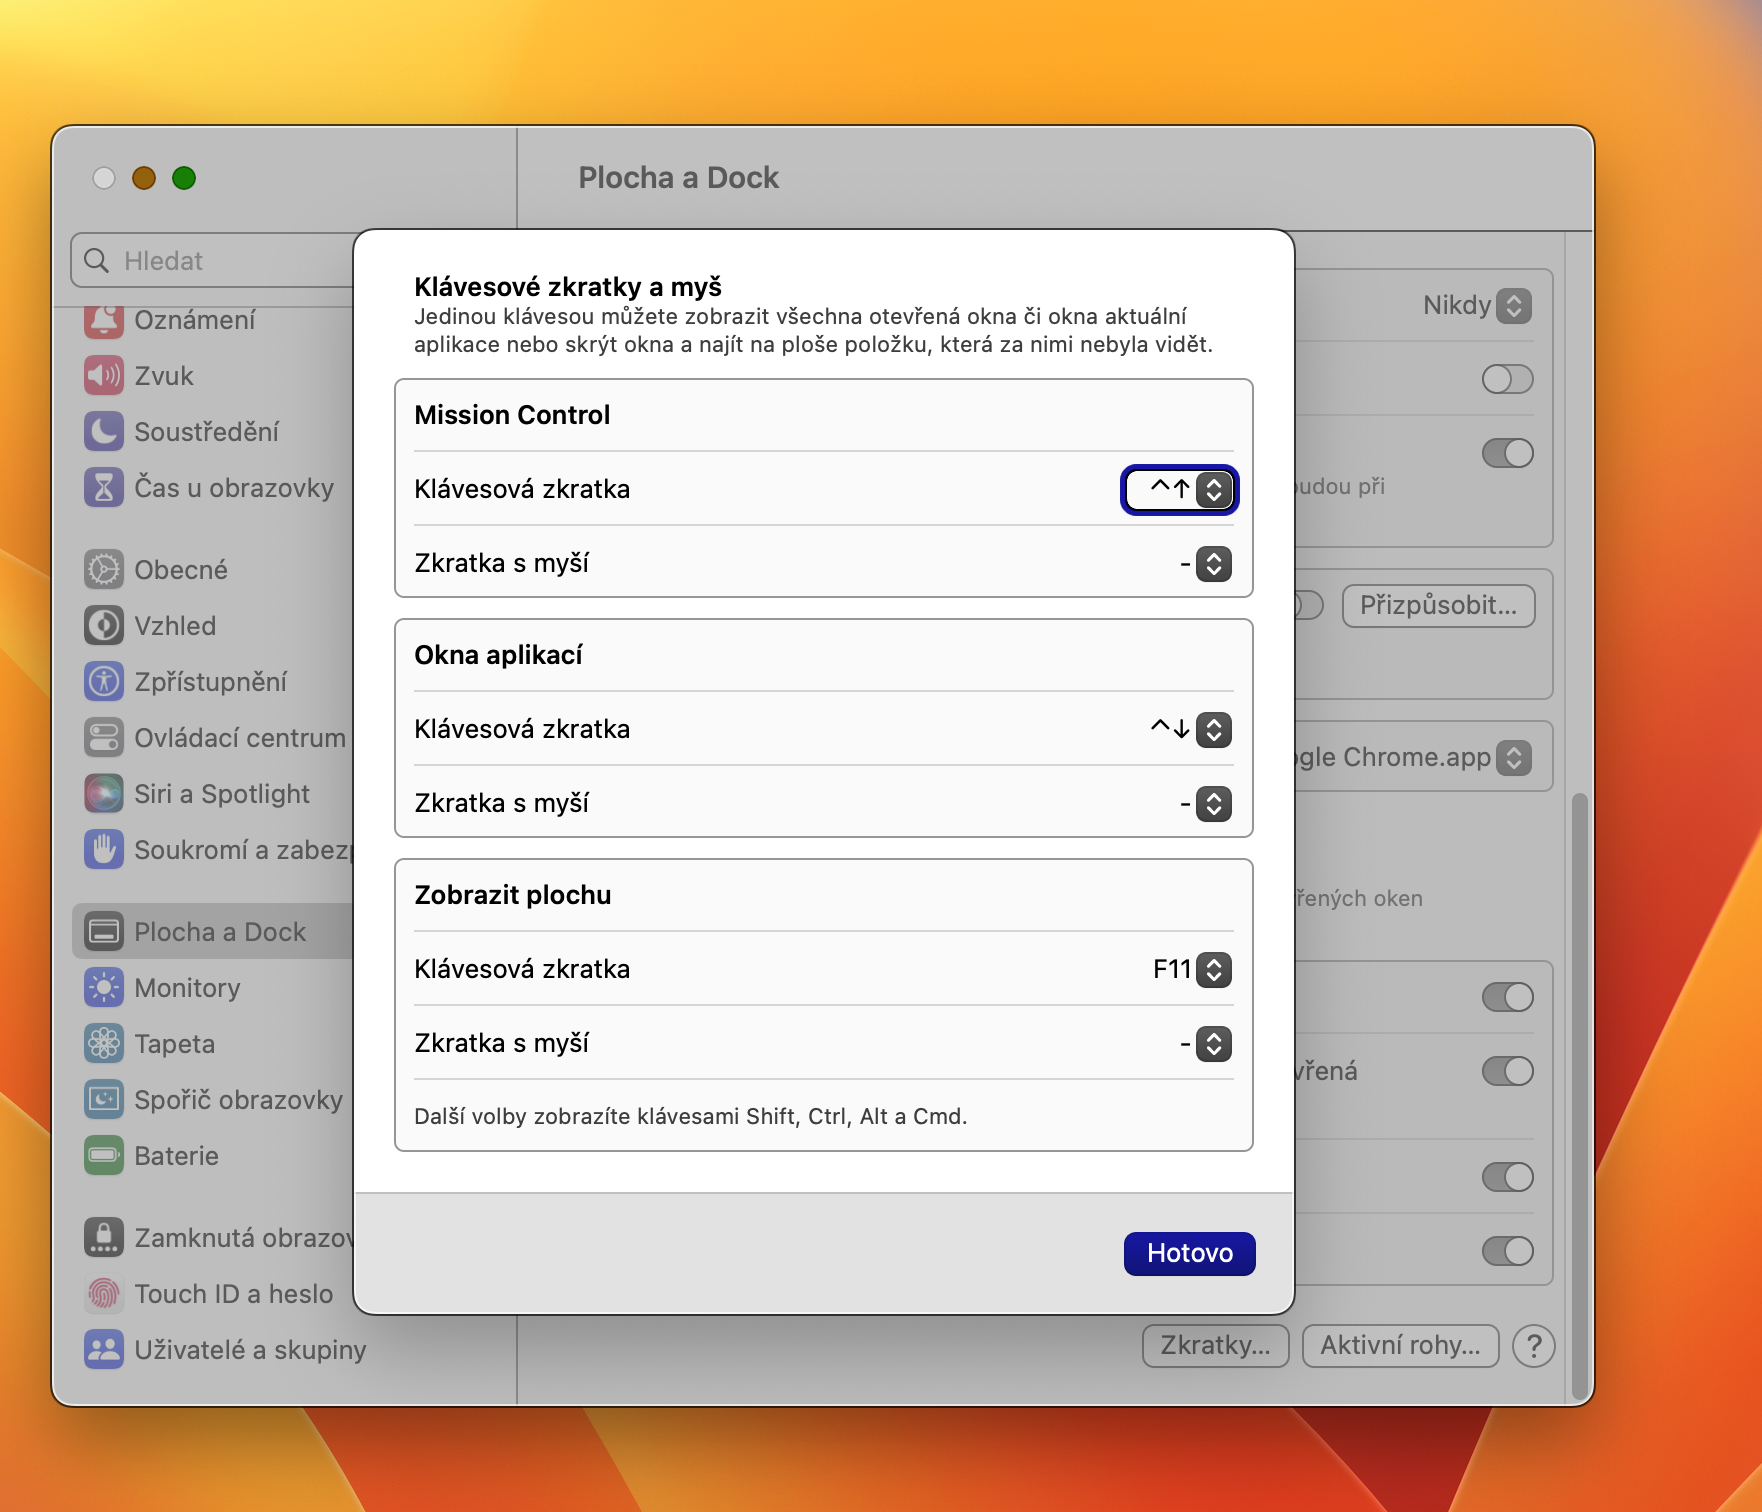
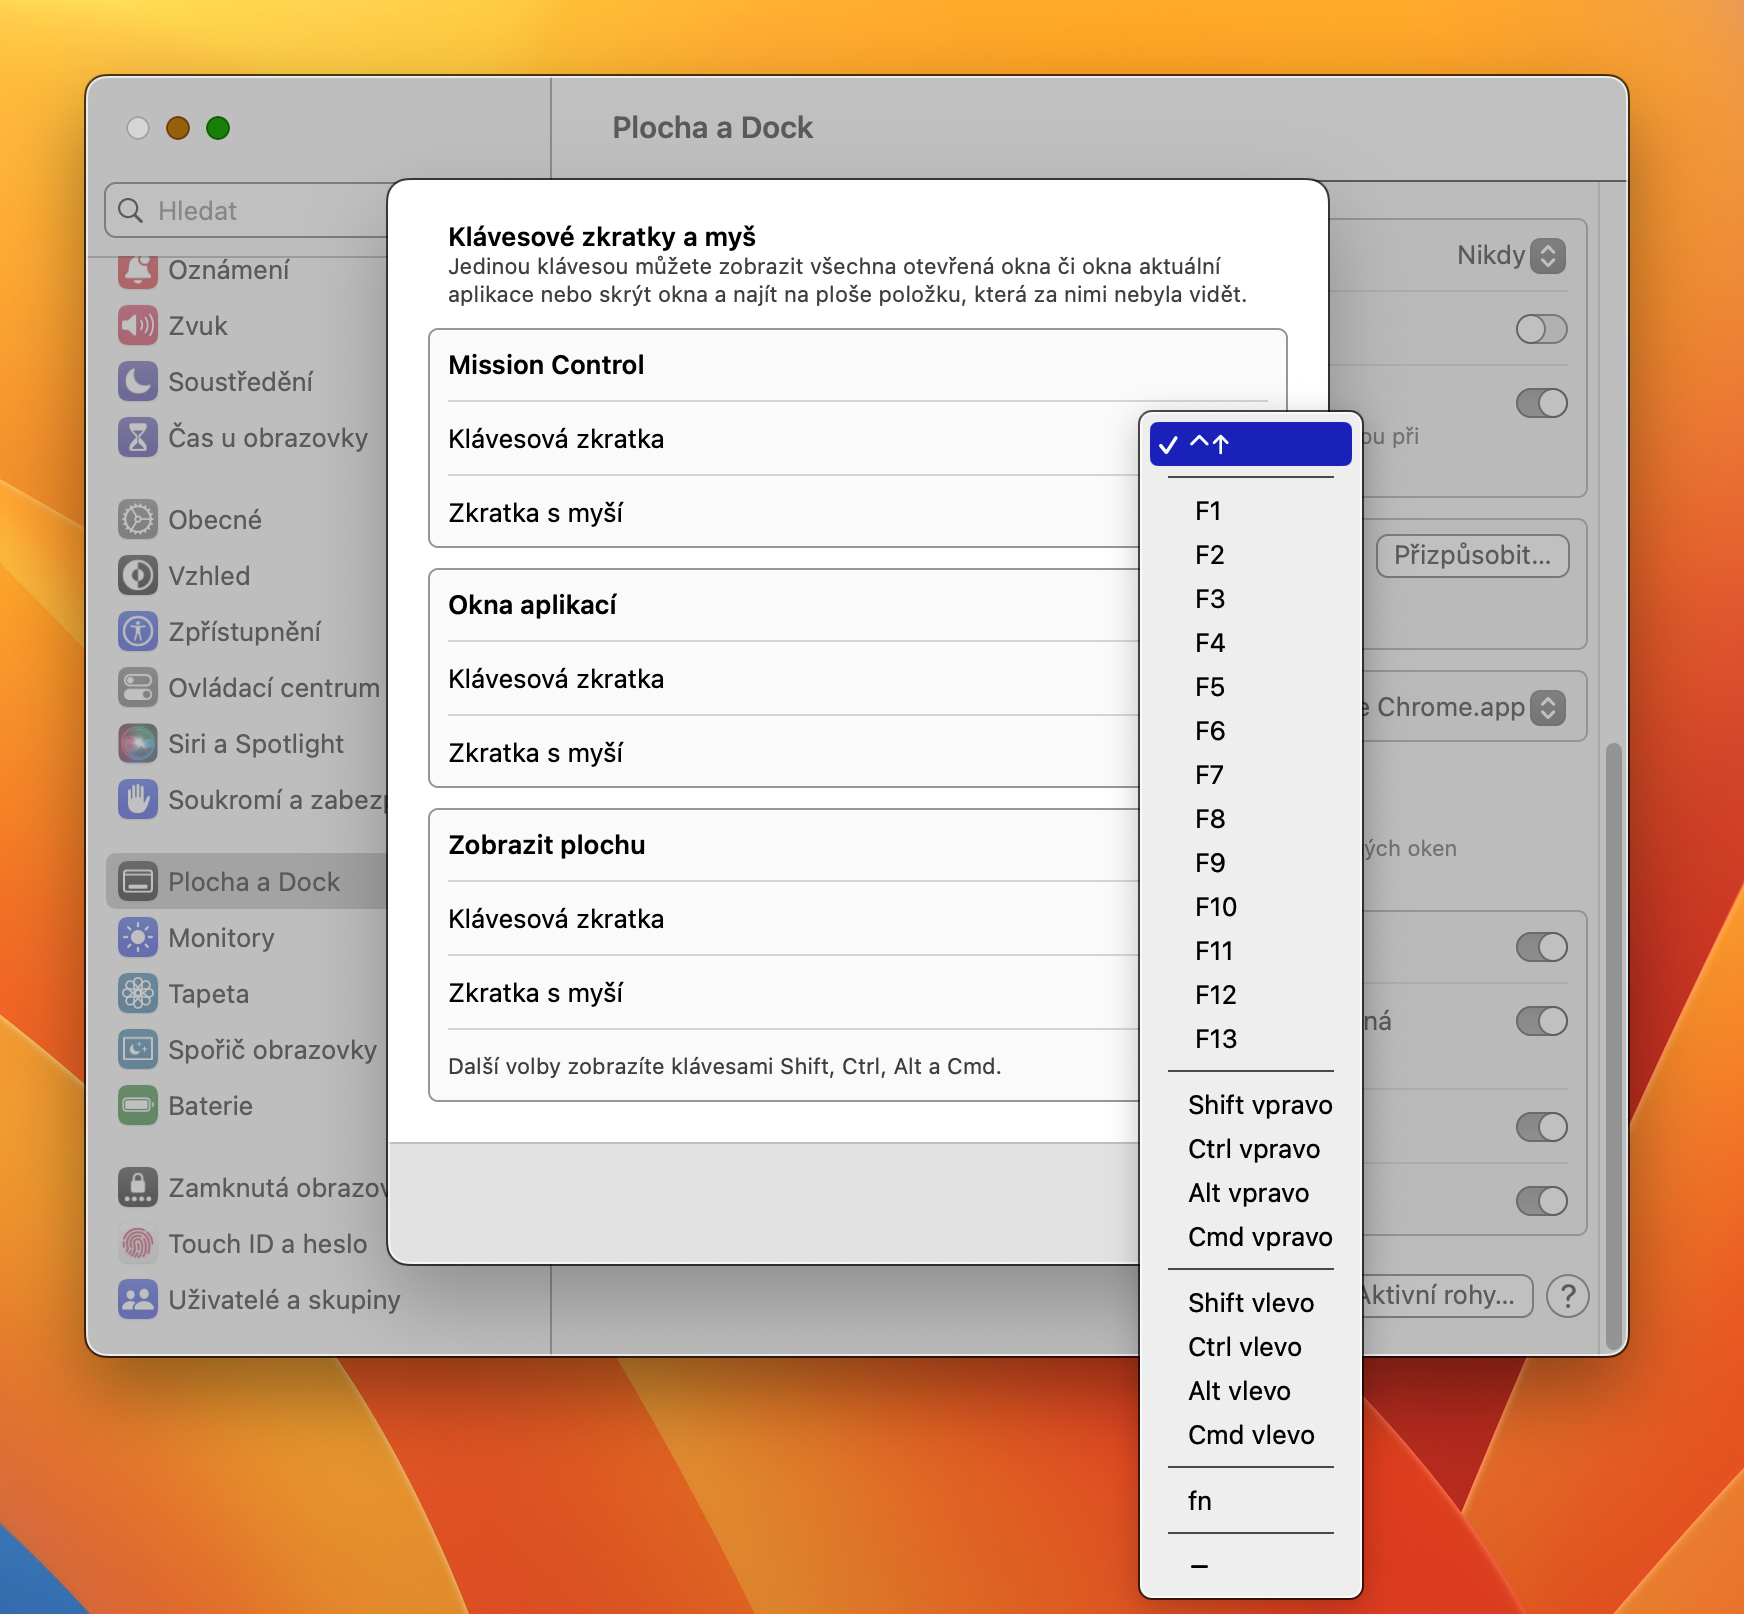
At the beginning of this article, we said that Mission Control can be activated, among other things, by pressing the F3 key. You can also use a keyboard shortcut Control + Up Arrow. If you want to change this shortcut, click in the upper-left corner of your Mac's screen menu -> System Settings -> Desktop and Dock, head to the section Mission Control, click Shortcuts, and then click the item Mission Control - keyboard shortcut select the desired shortcut.
