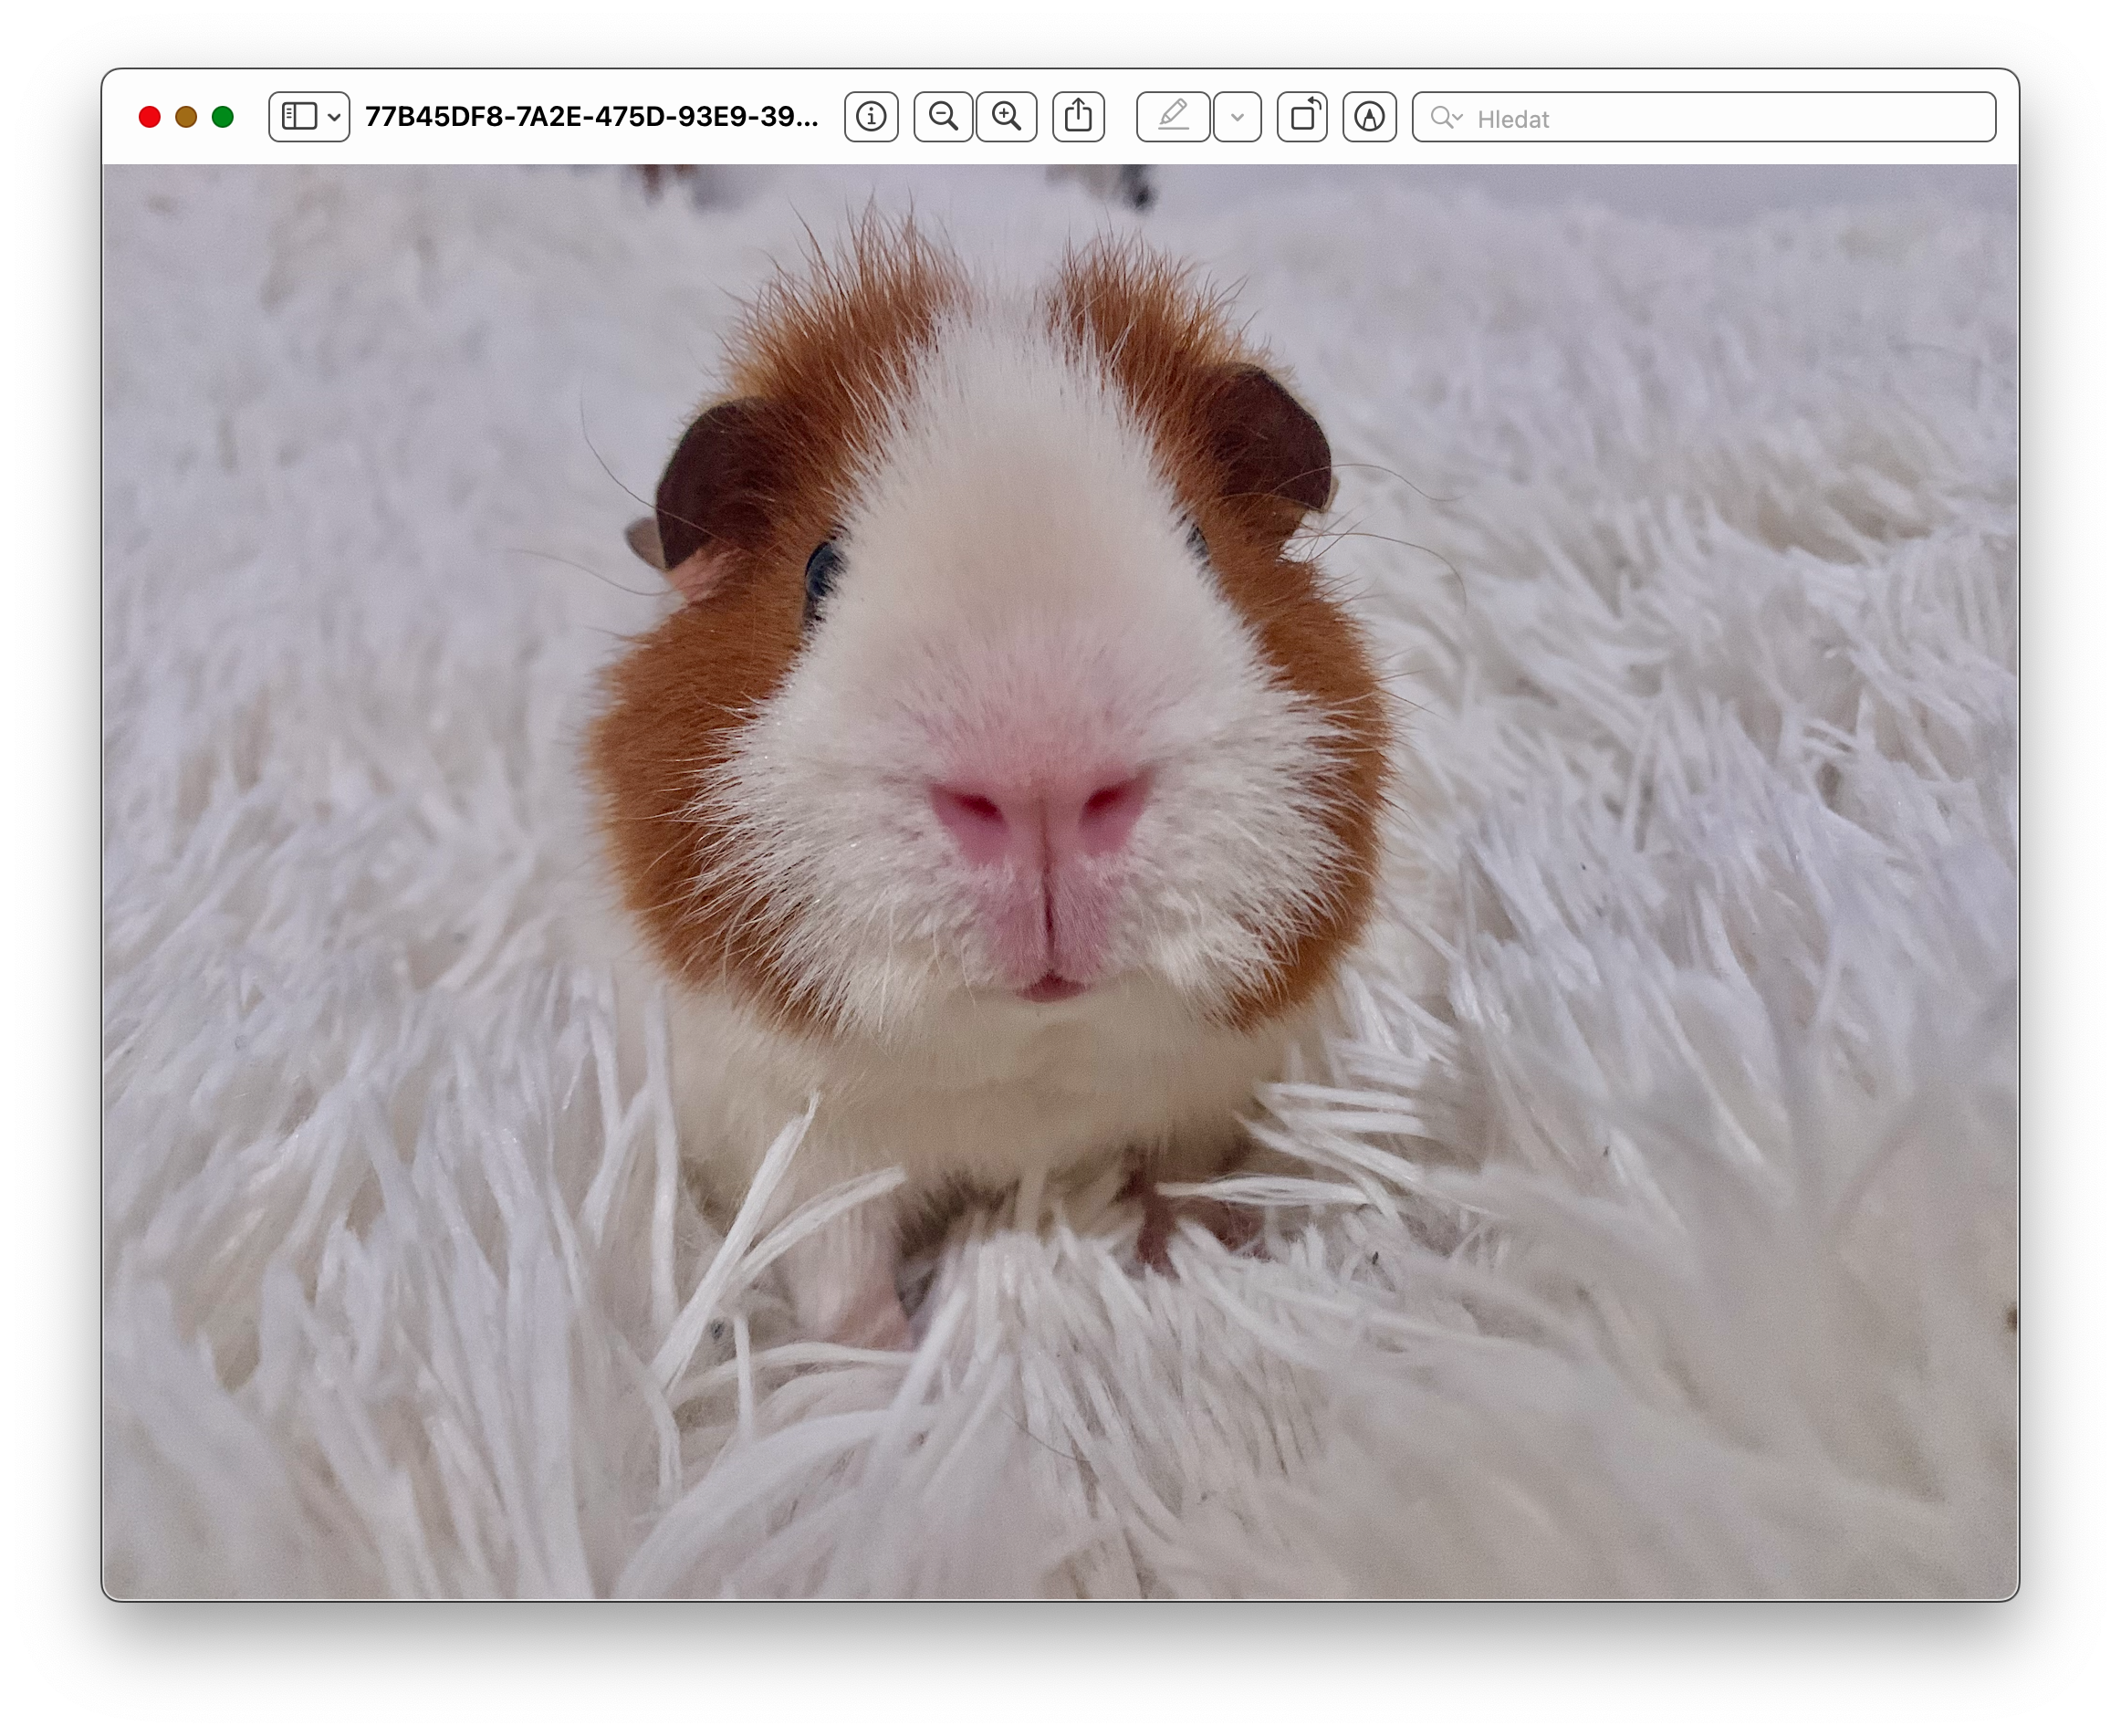
Native Preview is one of the relatively popular tools for basic work (and not only) with photos on Mac. We believe that everyone will be able to handle its basic operation. But in addition, you can also use our today's lesser-known tips for working with Preview on Mac.
It could be interest you
Bulk export of photos
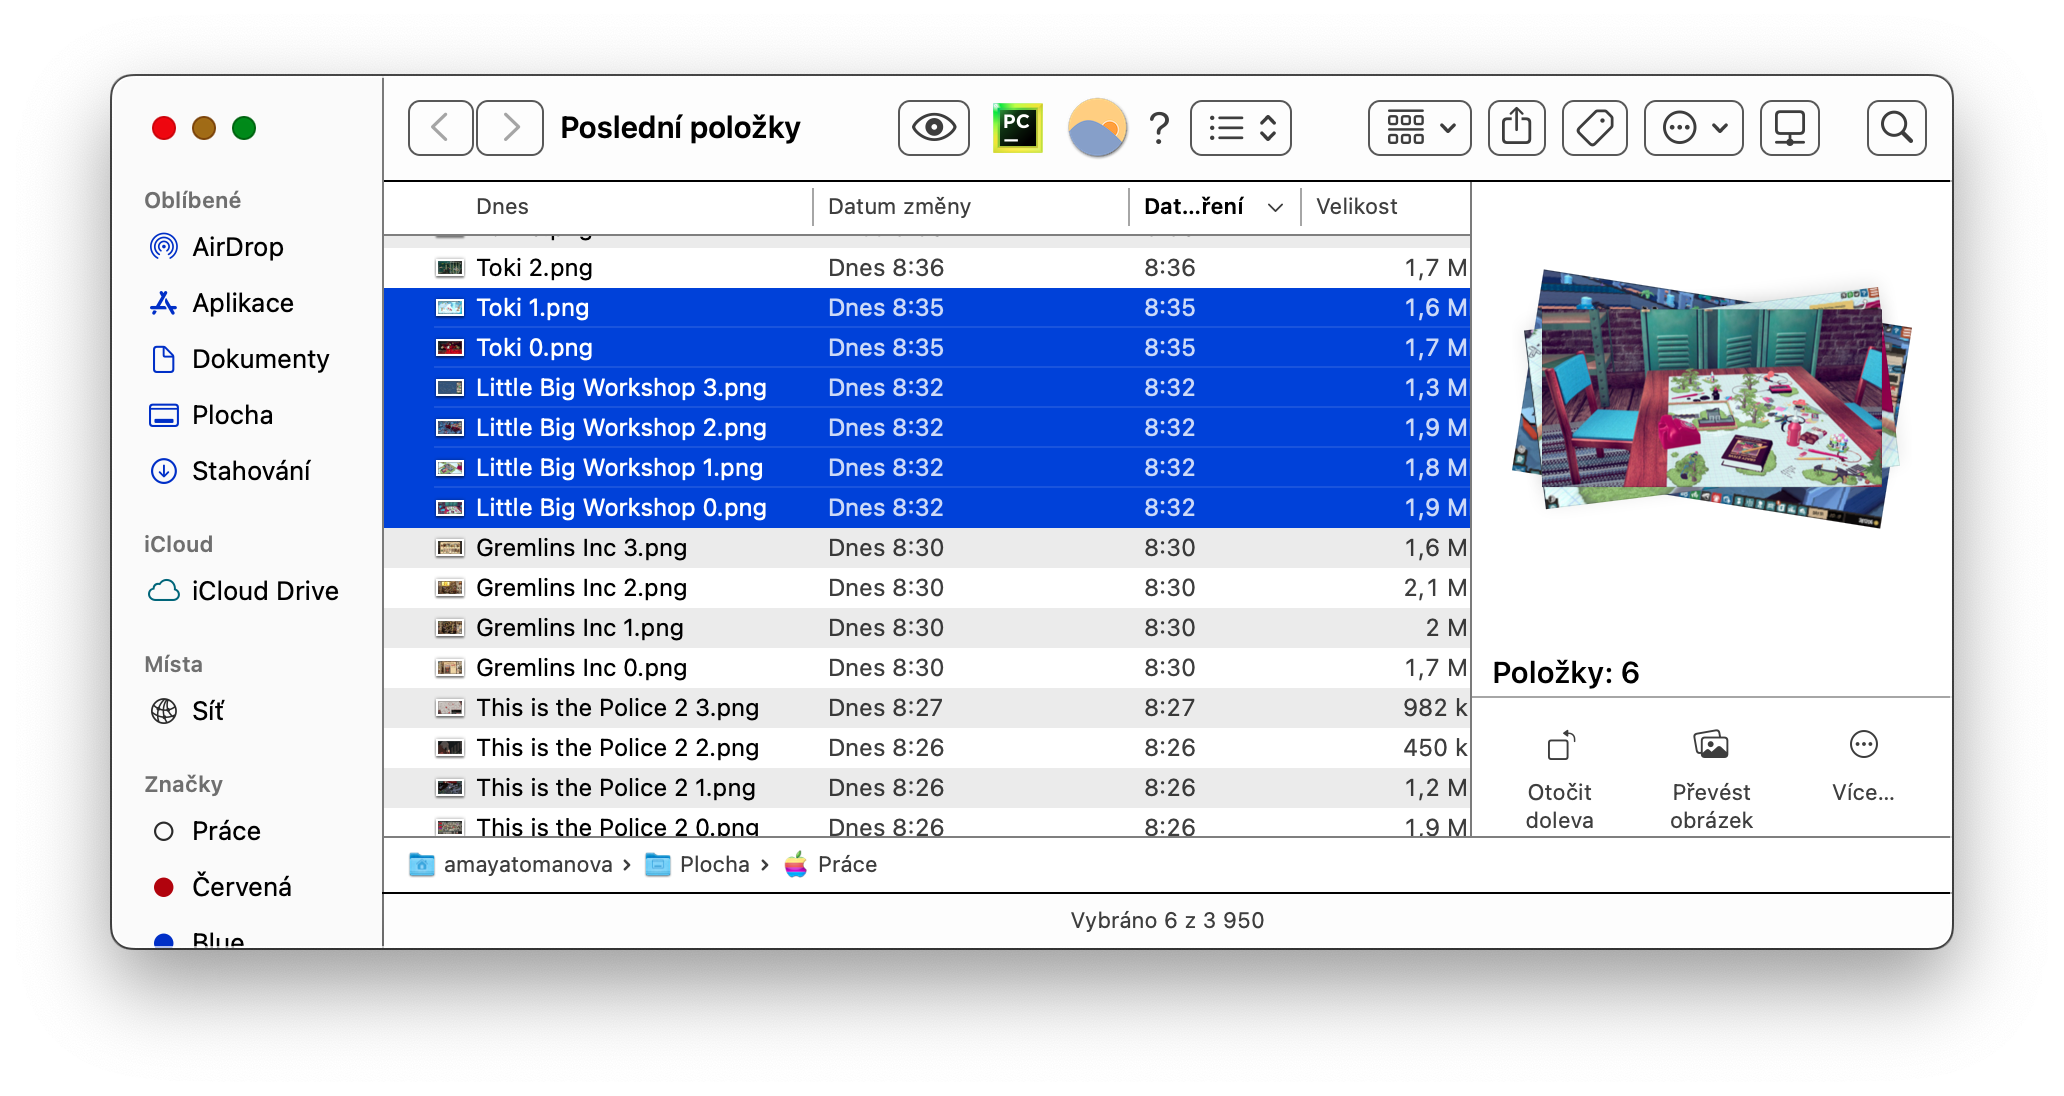
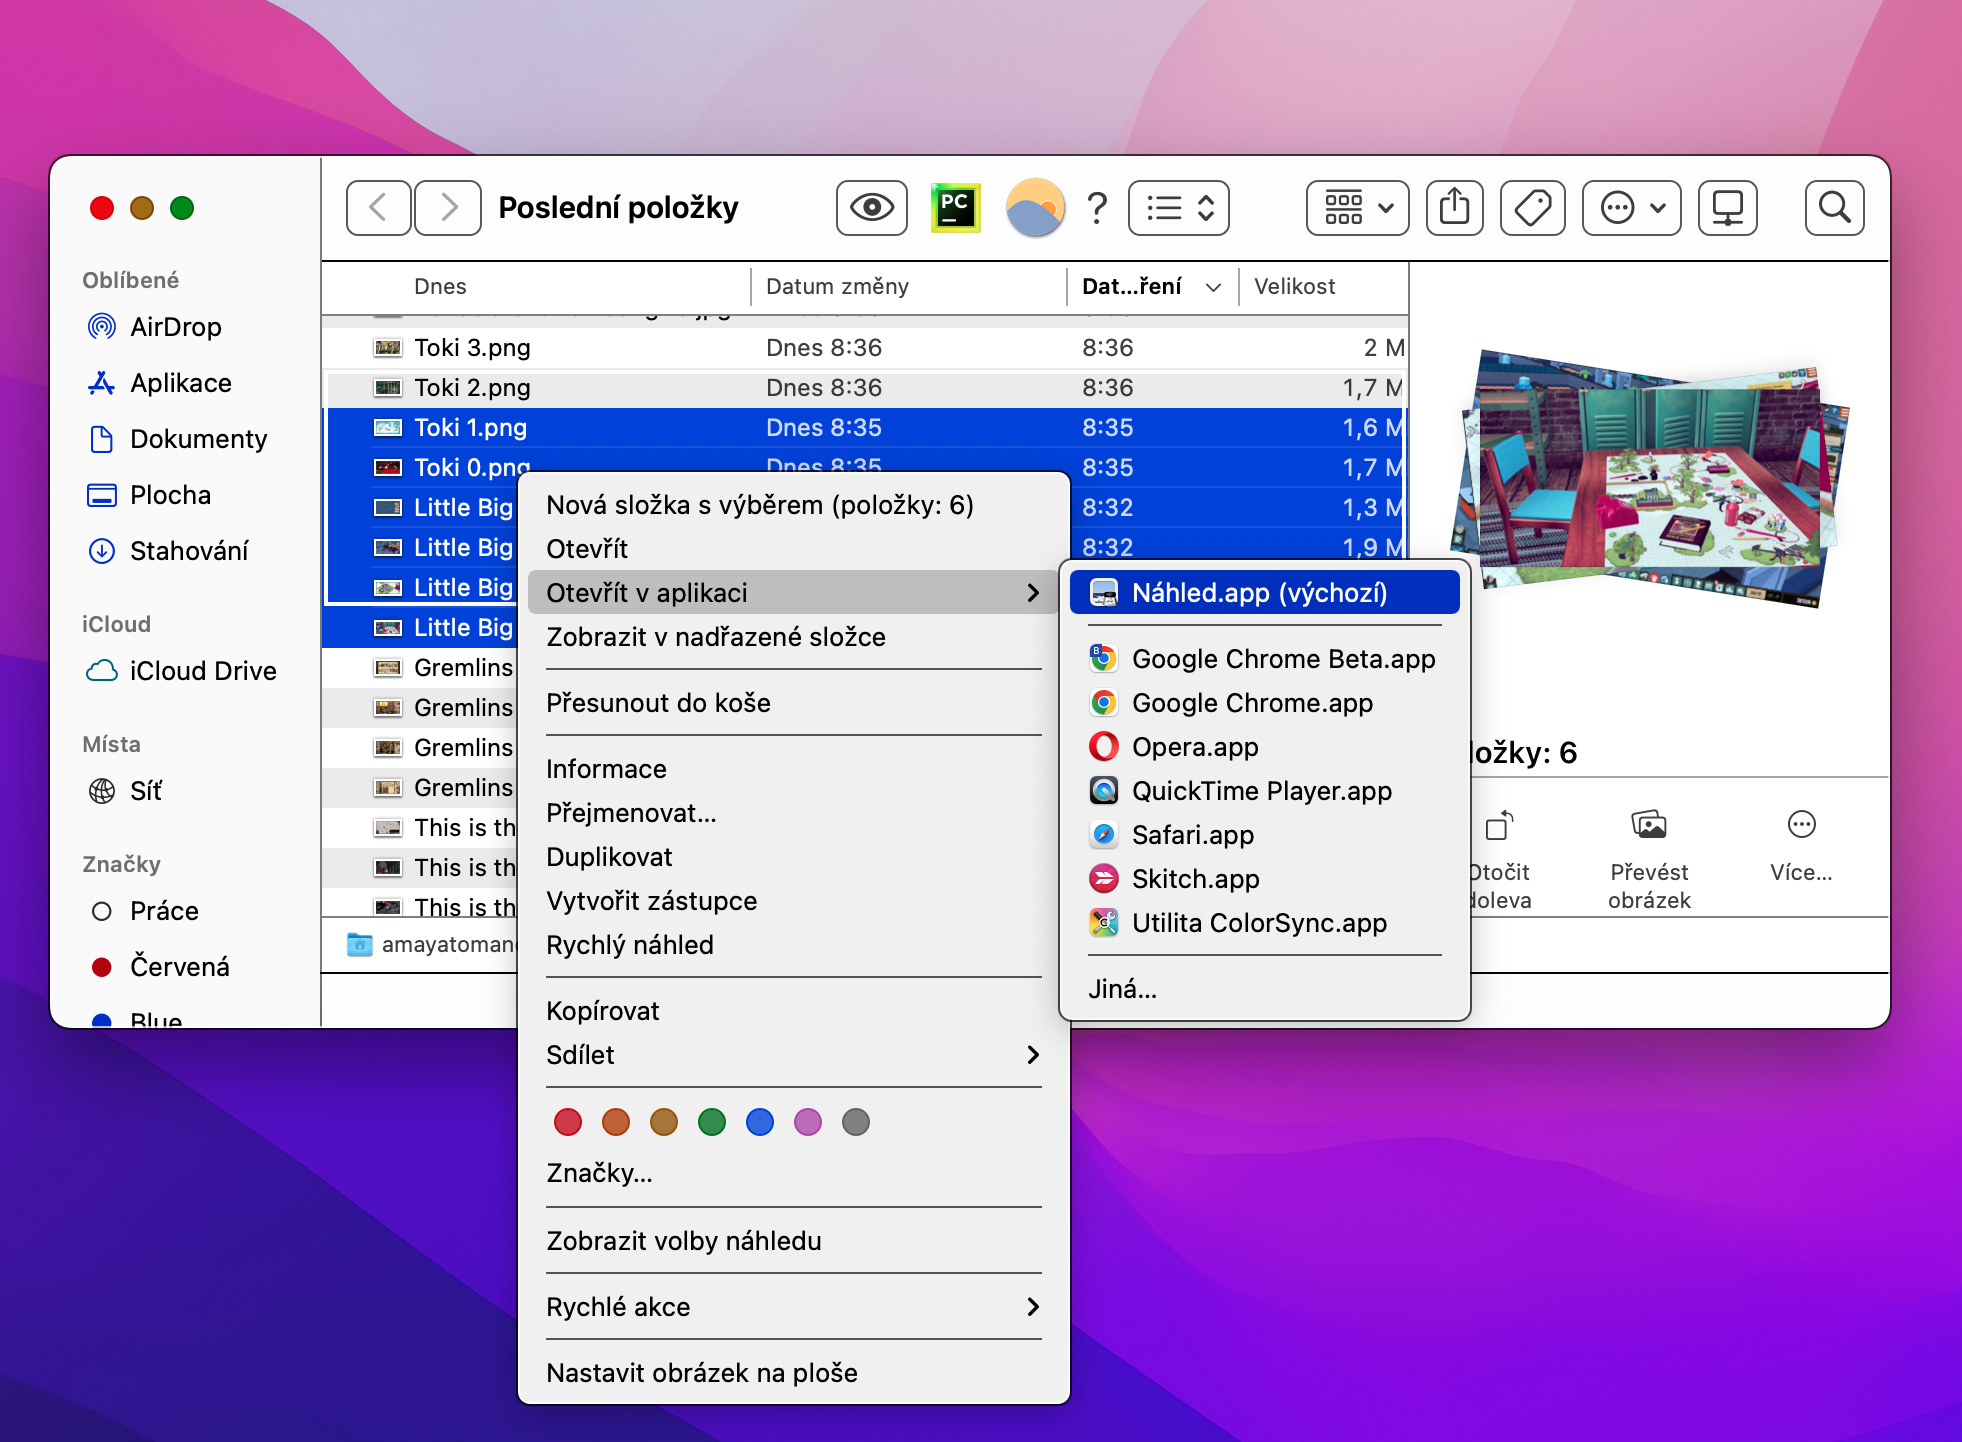
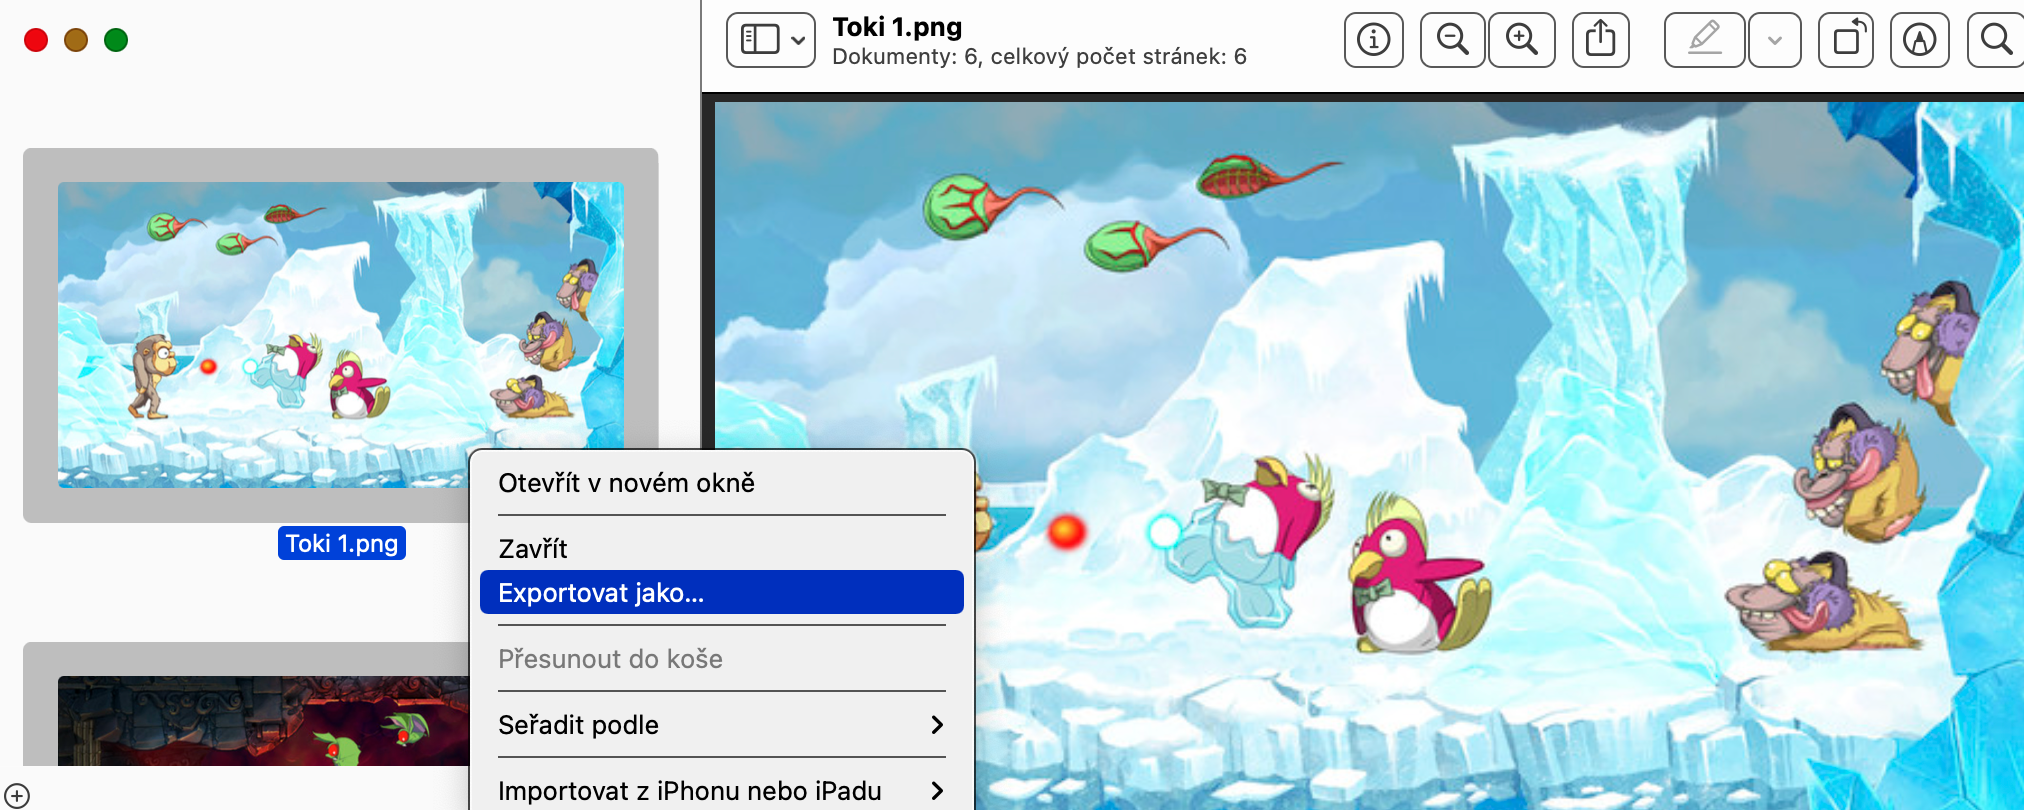
One of the ways to export a large number of photos at once from one format to another on a Mac is conversion in the native Preview. The procedure is really very simple. First, mark all the photos you want to convert in the Finder, right-click them, and choose Open in App -> Preview. In Preview, you will see previews of these images in a column on the left side of the window. Press Cmd + A to select them all, right-click and choose Export. Finally, all you have to do is enter the export parameters.
View metadata
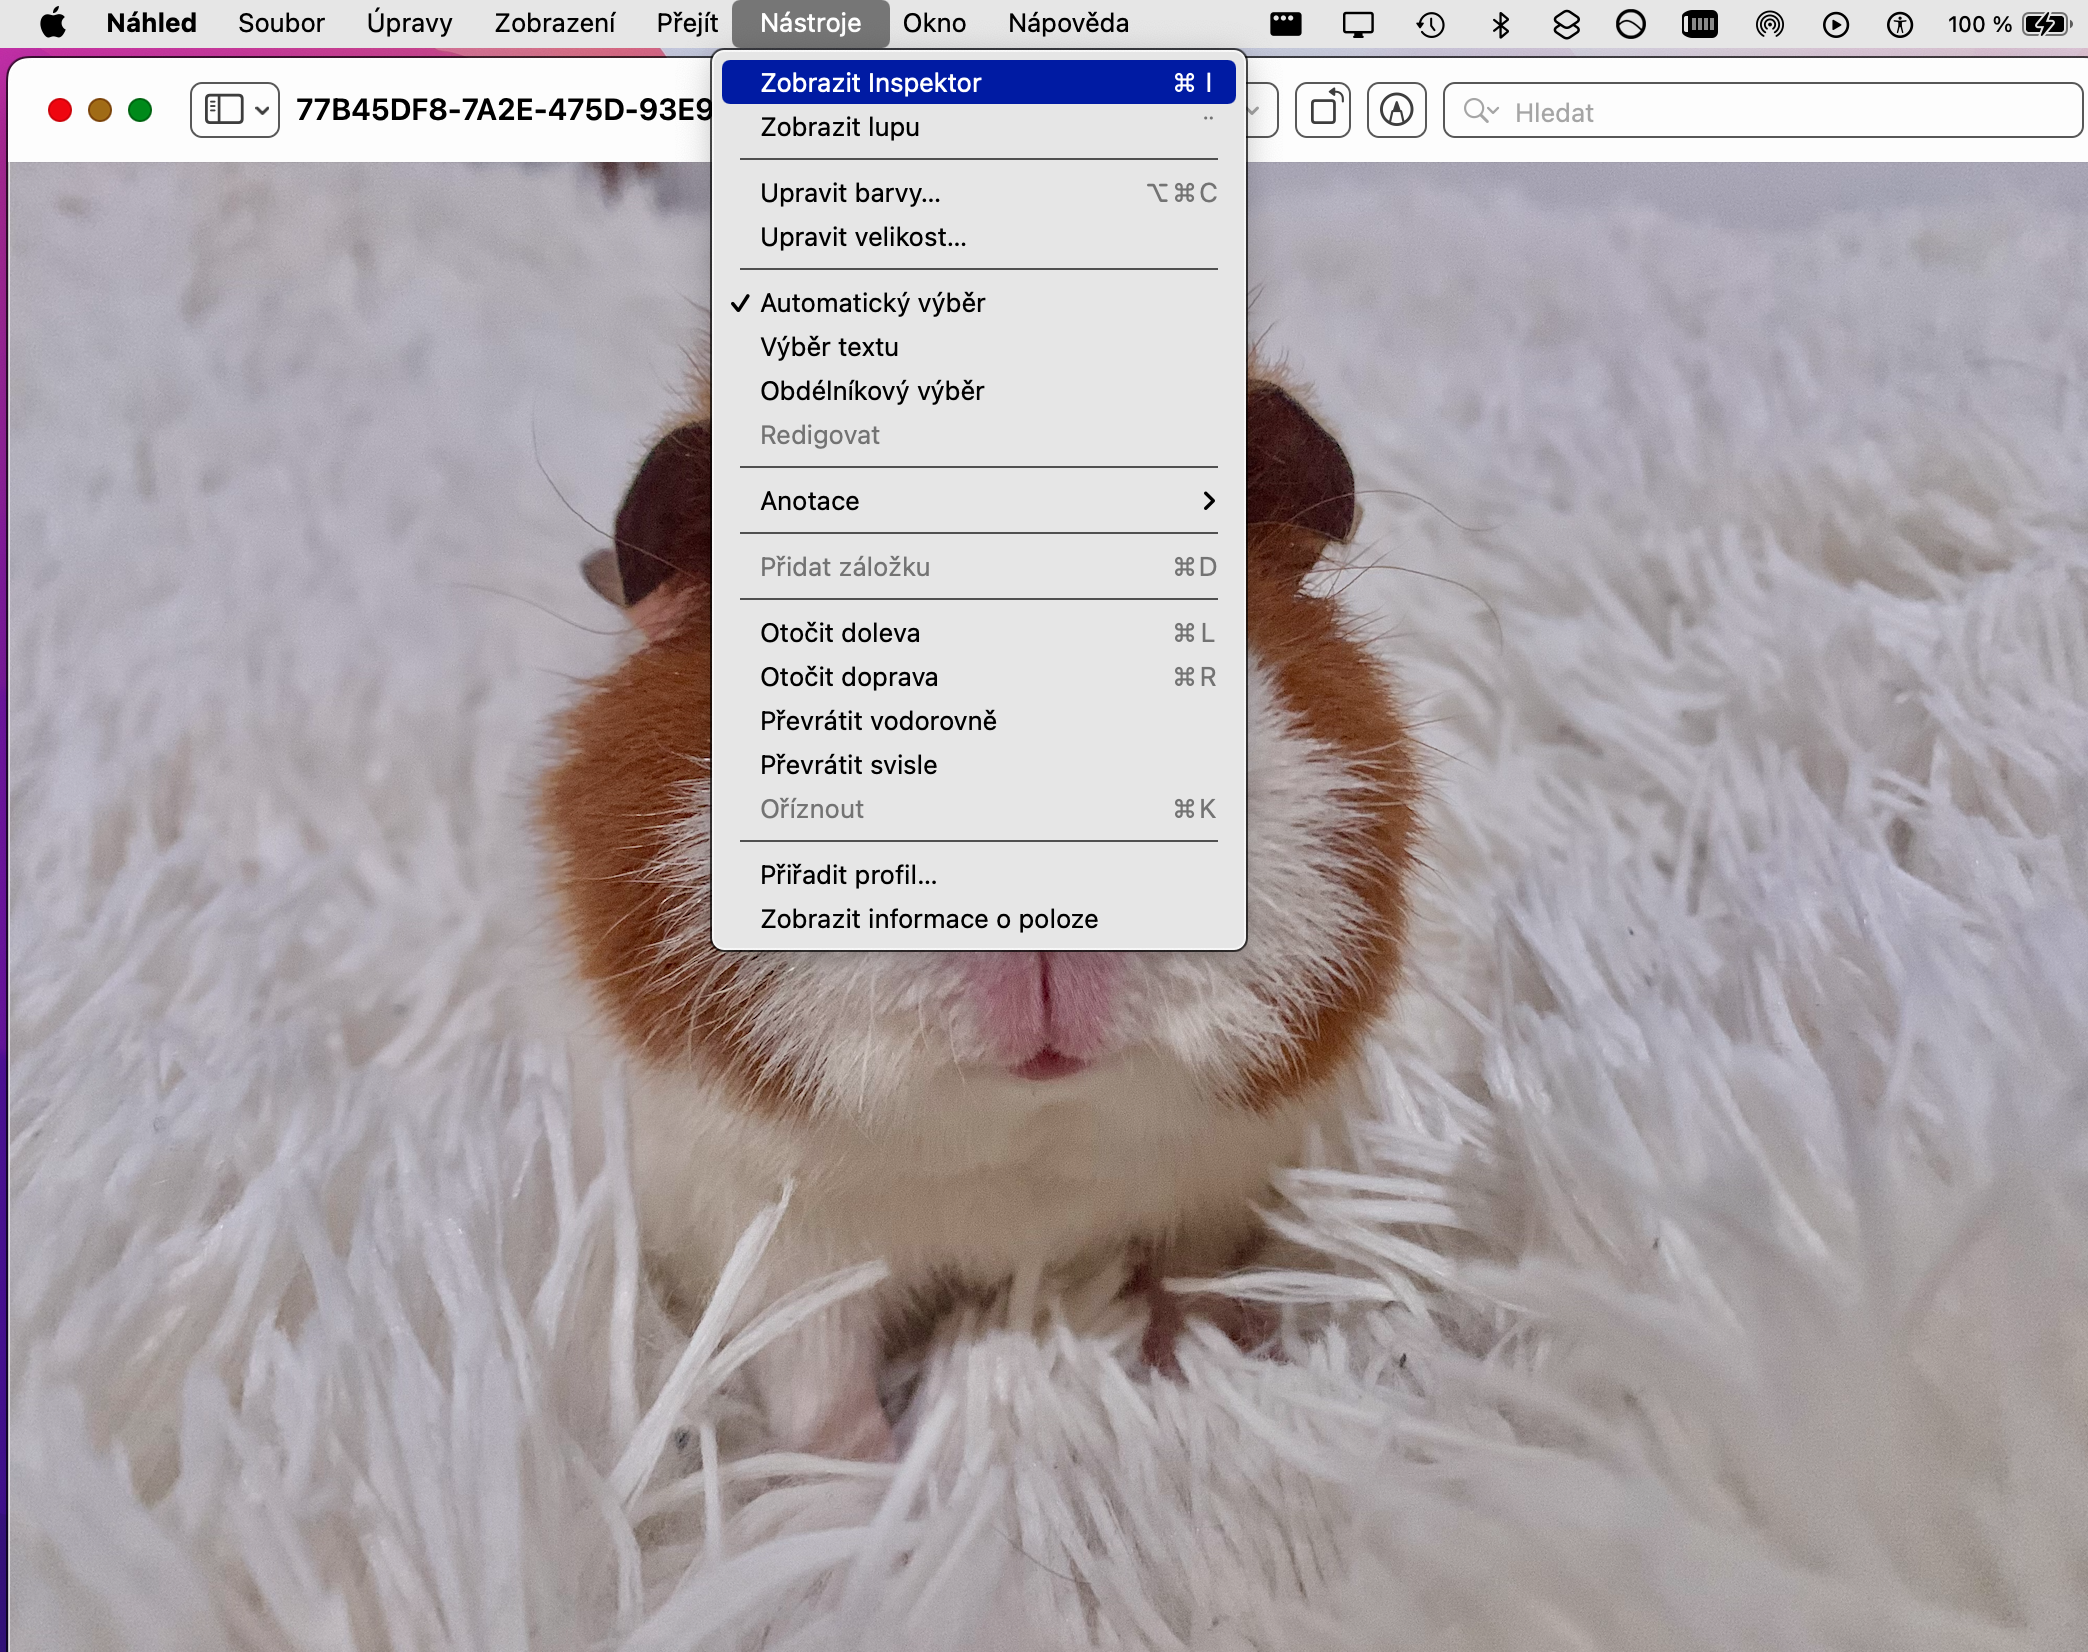
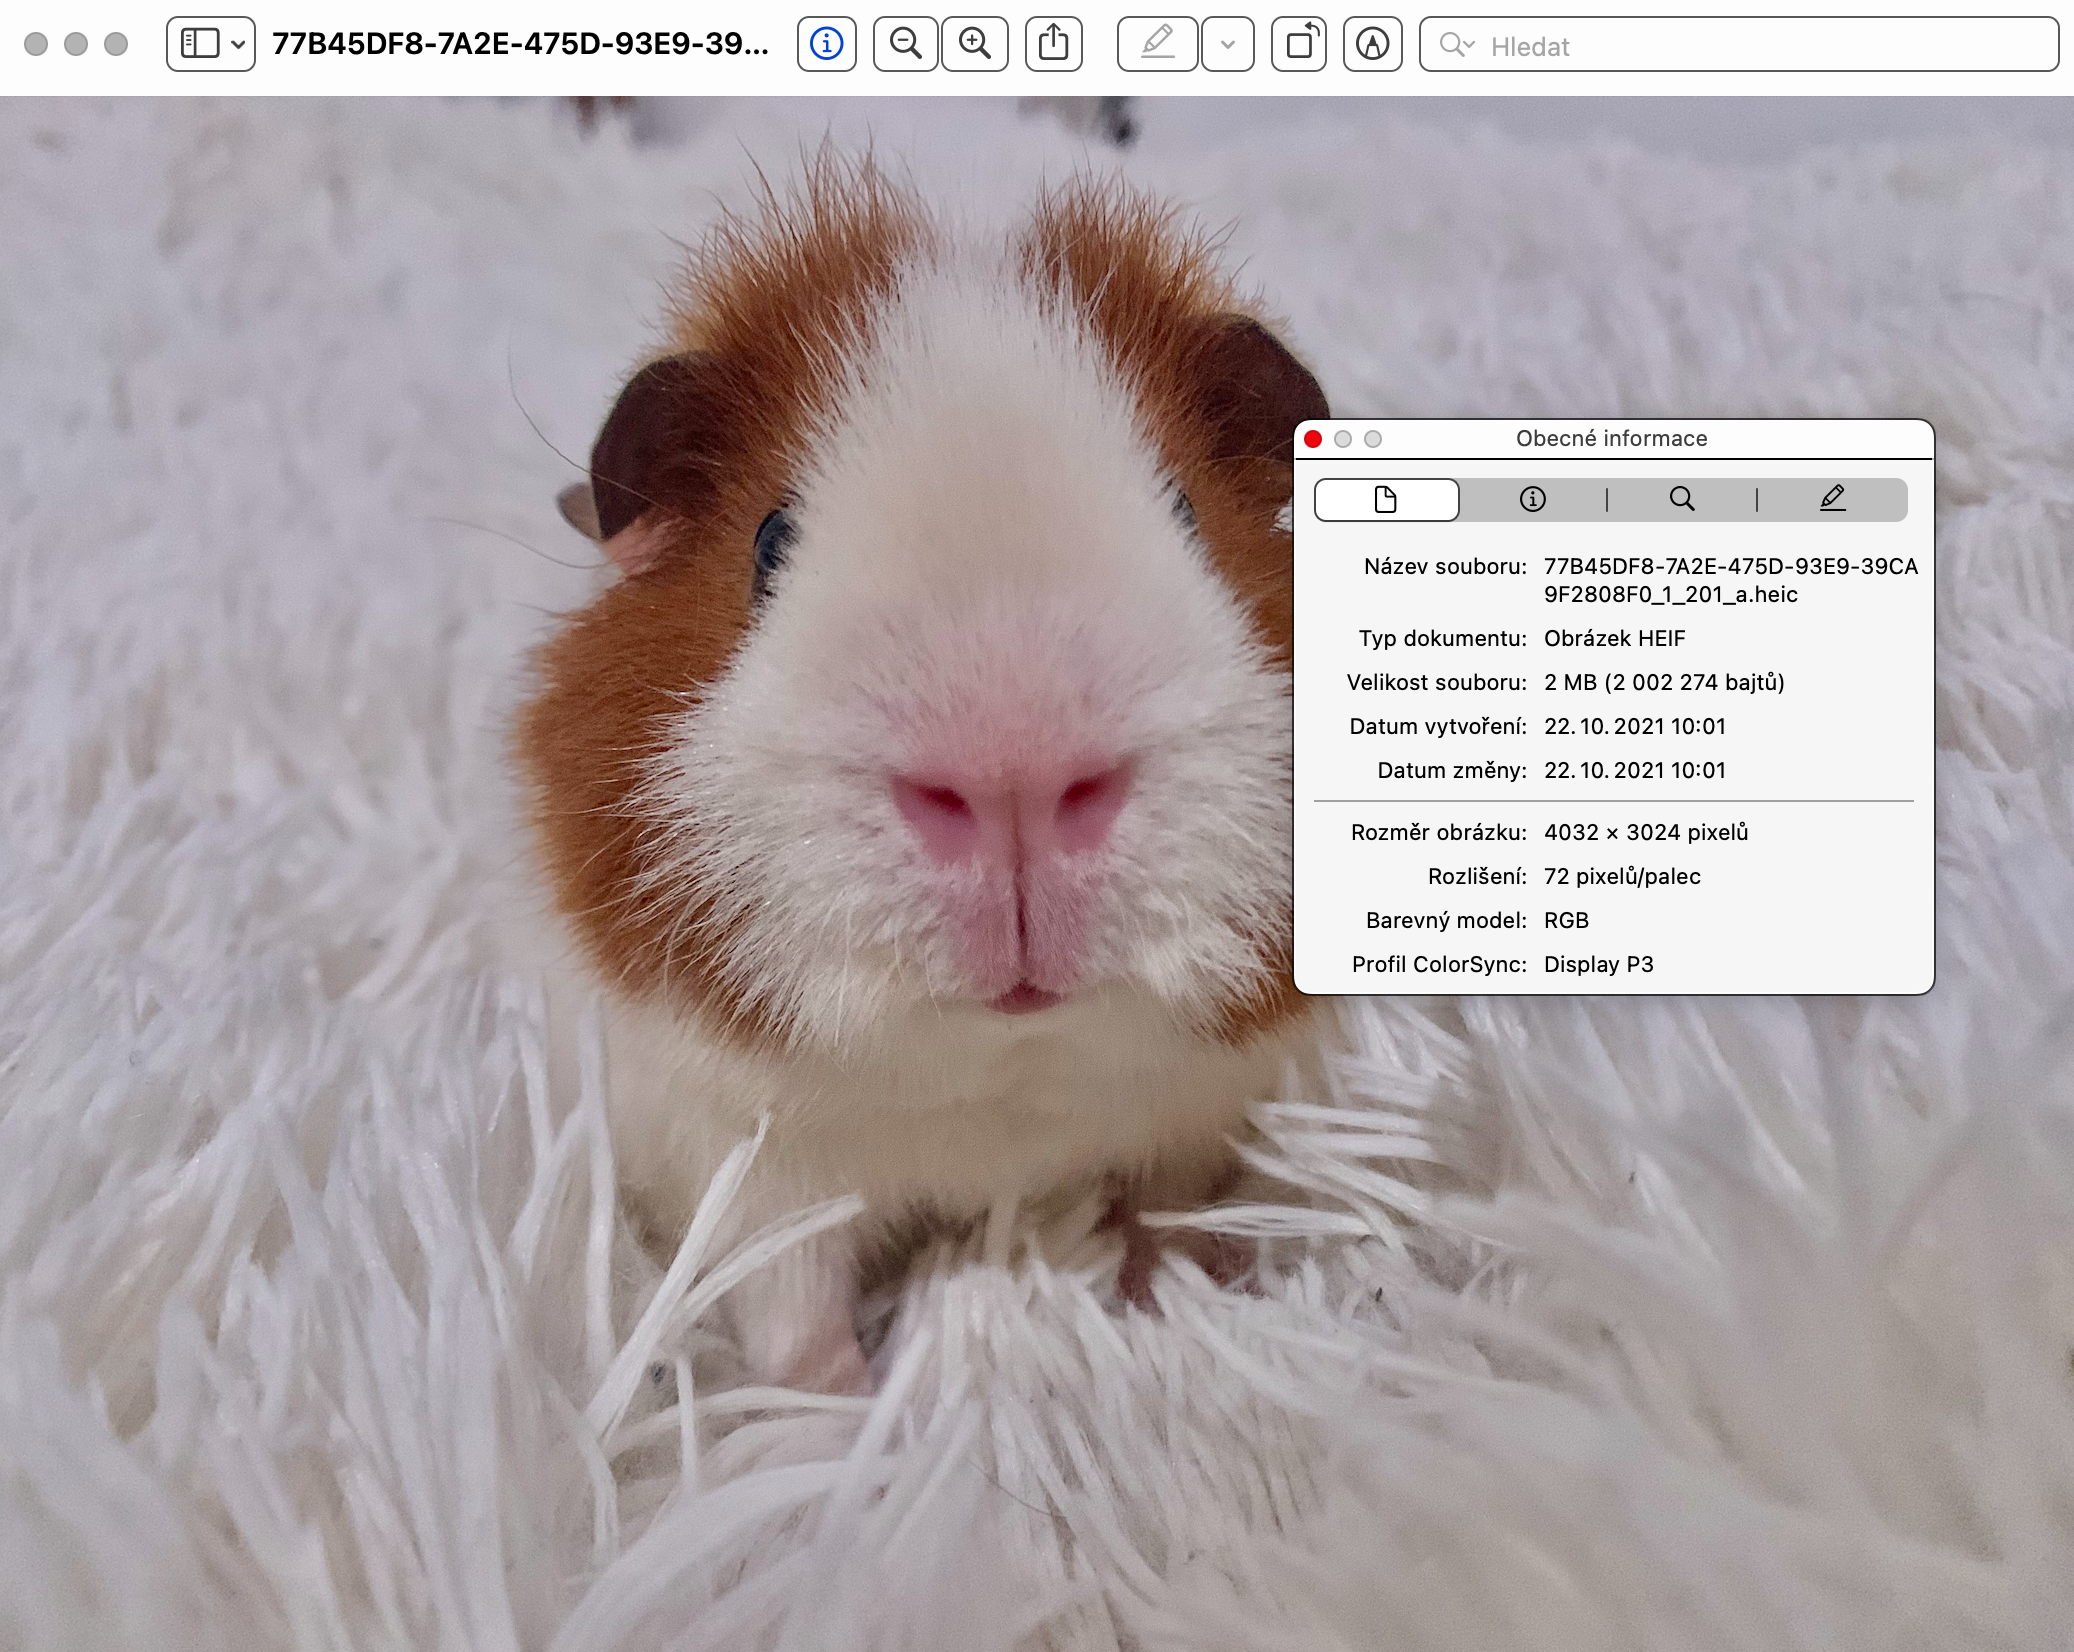
Similar to the native Photos on the iPhone or iPad, you can also view the metadata of your photos in Preview on the Mac - that is, information about how and where they were taken. To view the metadata, first open the image in native Preview, then click Tools -> Show Inspector on the bar at the top of your Mac's screen. You can then view all the details in the newly opened window.
Working with layers
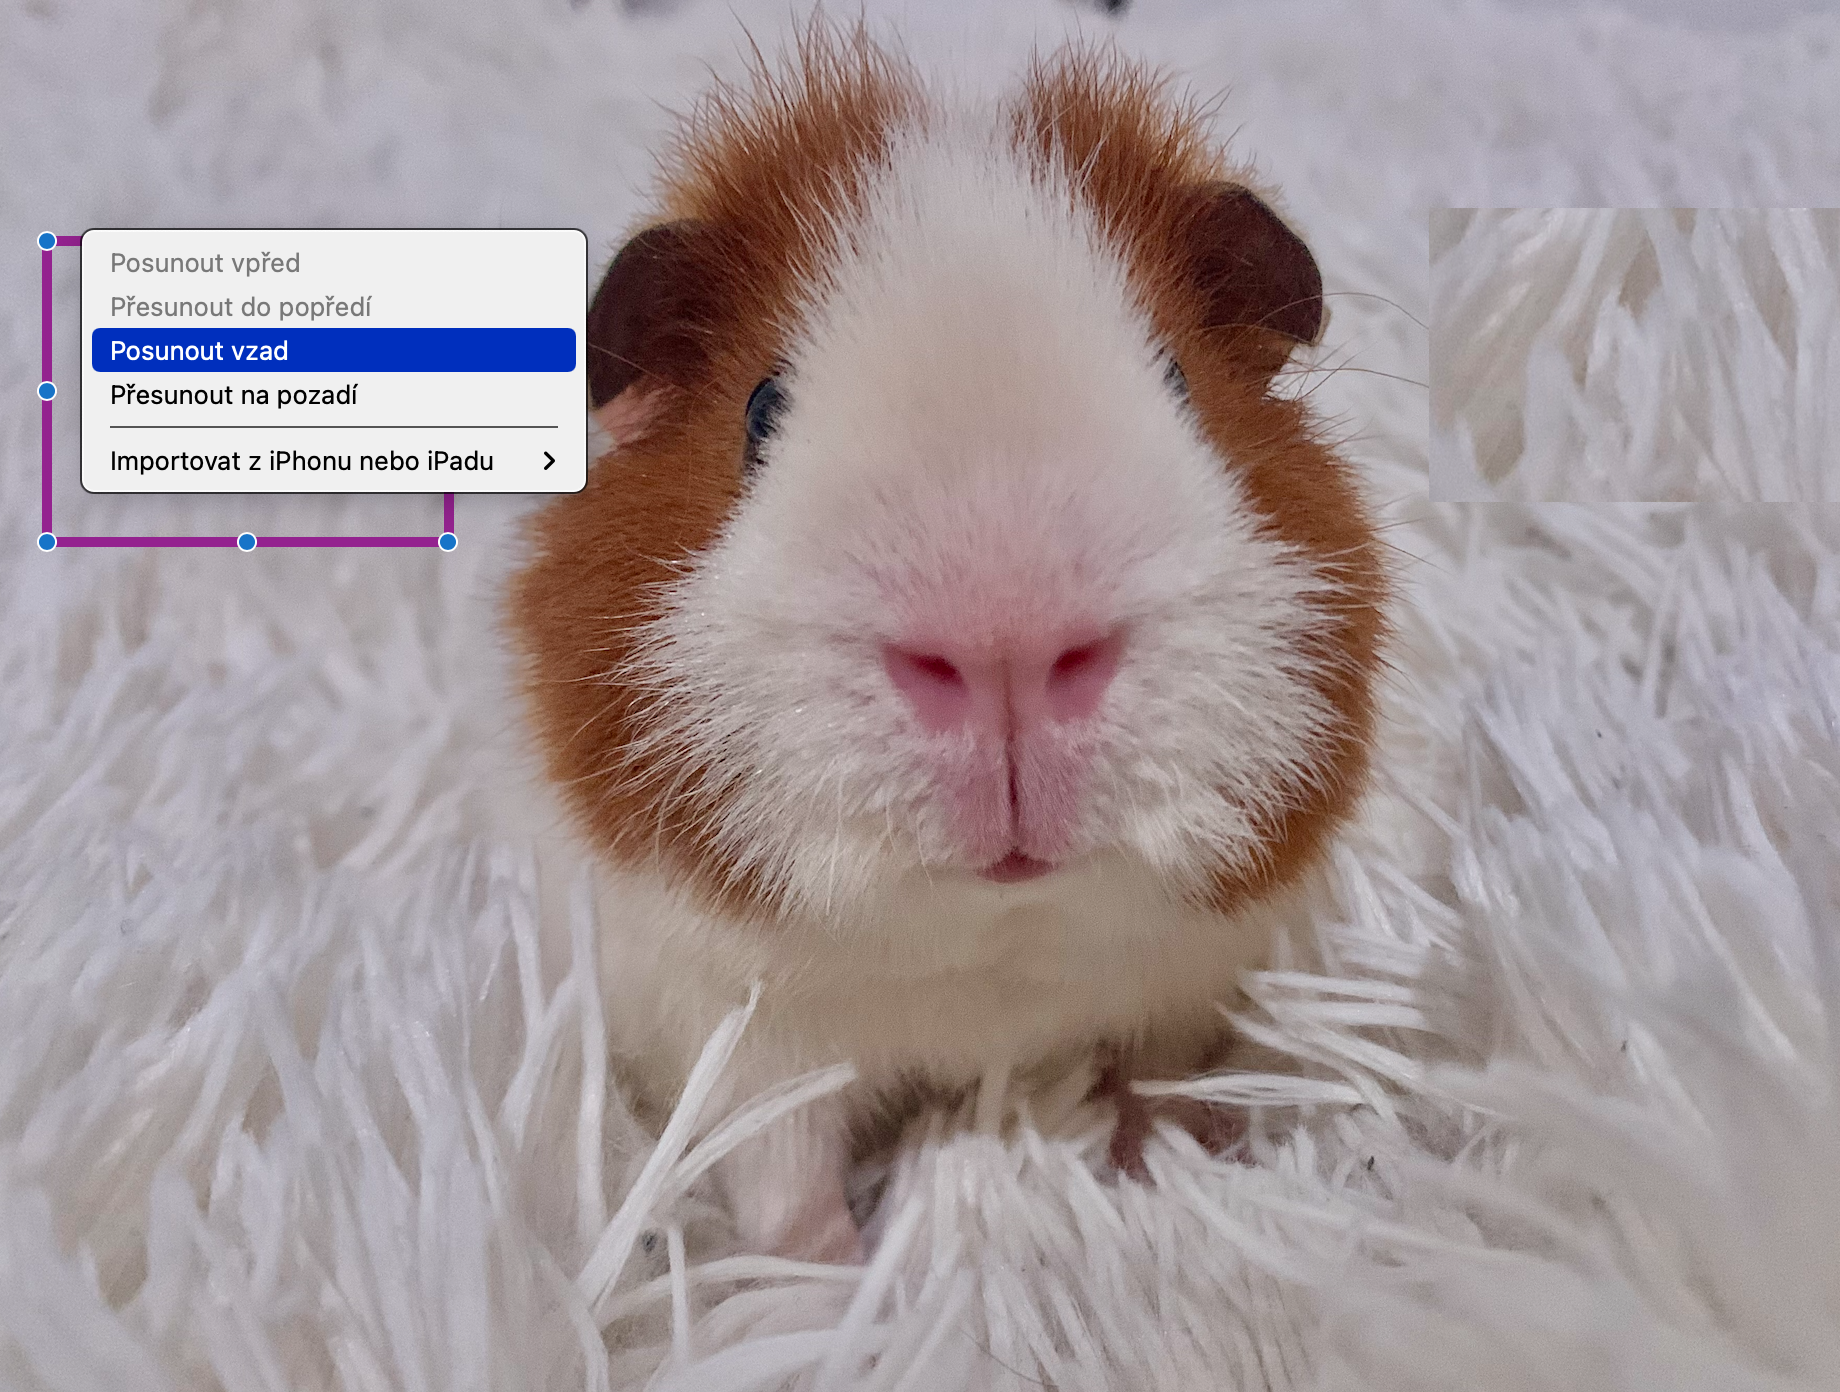
You might be surprised to learn that the native Preview on your Mac can handle layers quite well as well. So if you want to play around with which objects are in the background and which are in the foreground of your edited image or photo, first select the desired object and then right-click on it. In the menu that appears, select where the object should be moved.
Rotating objects
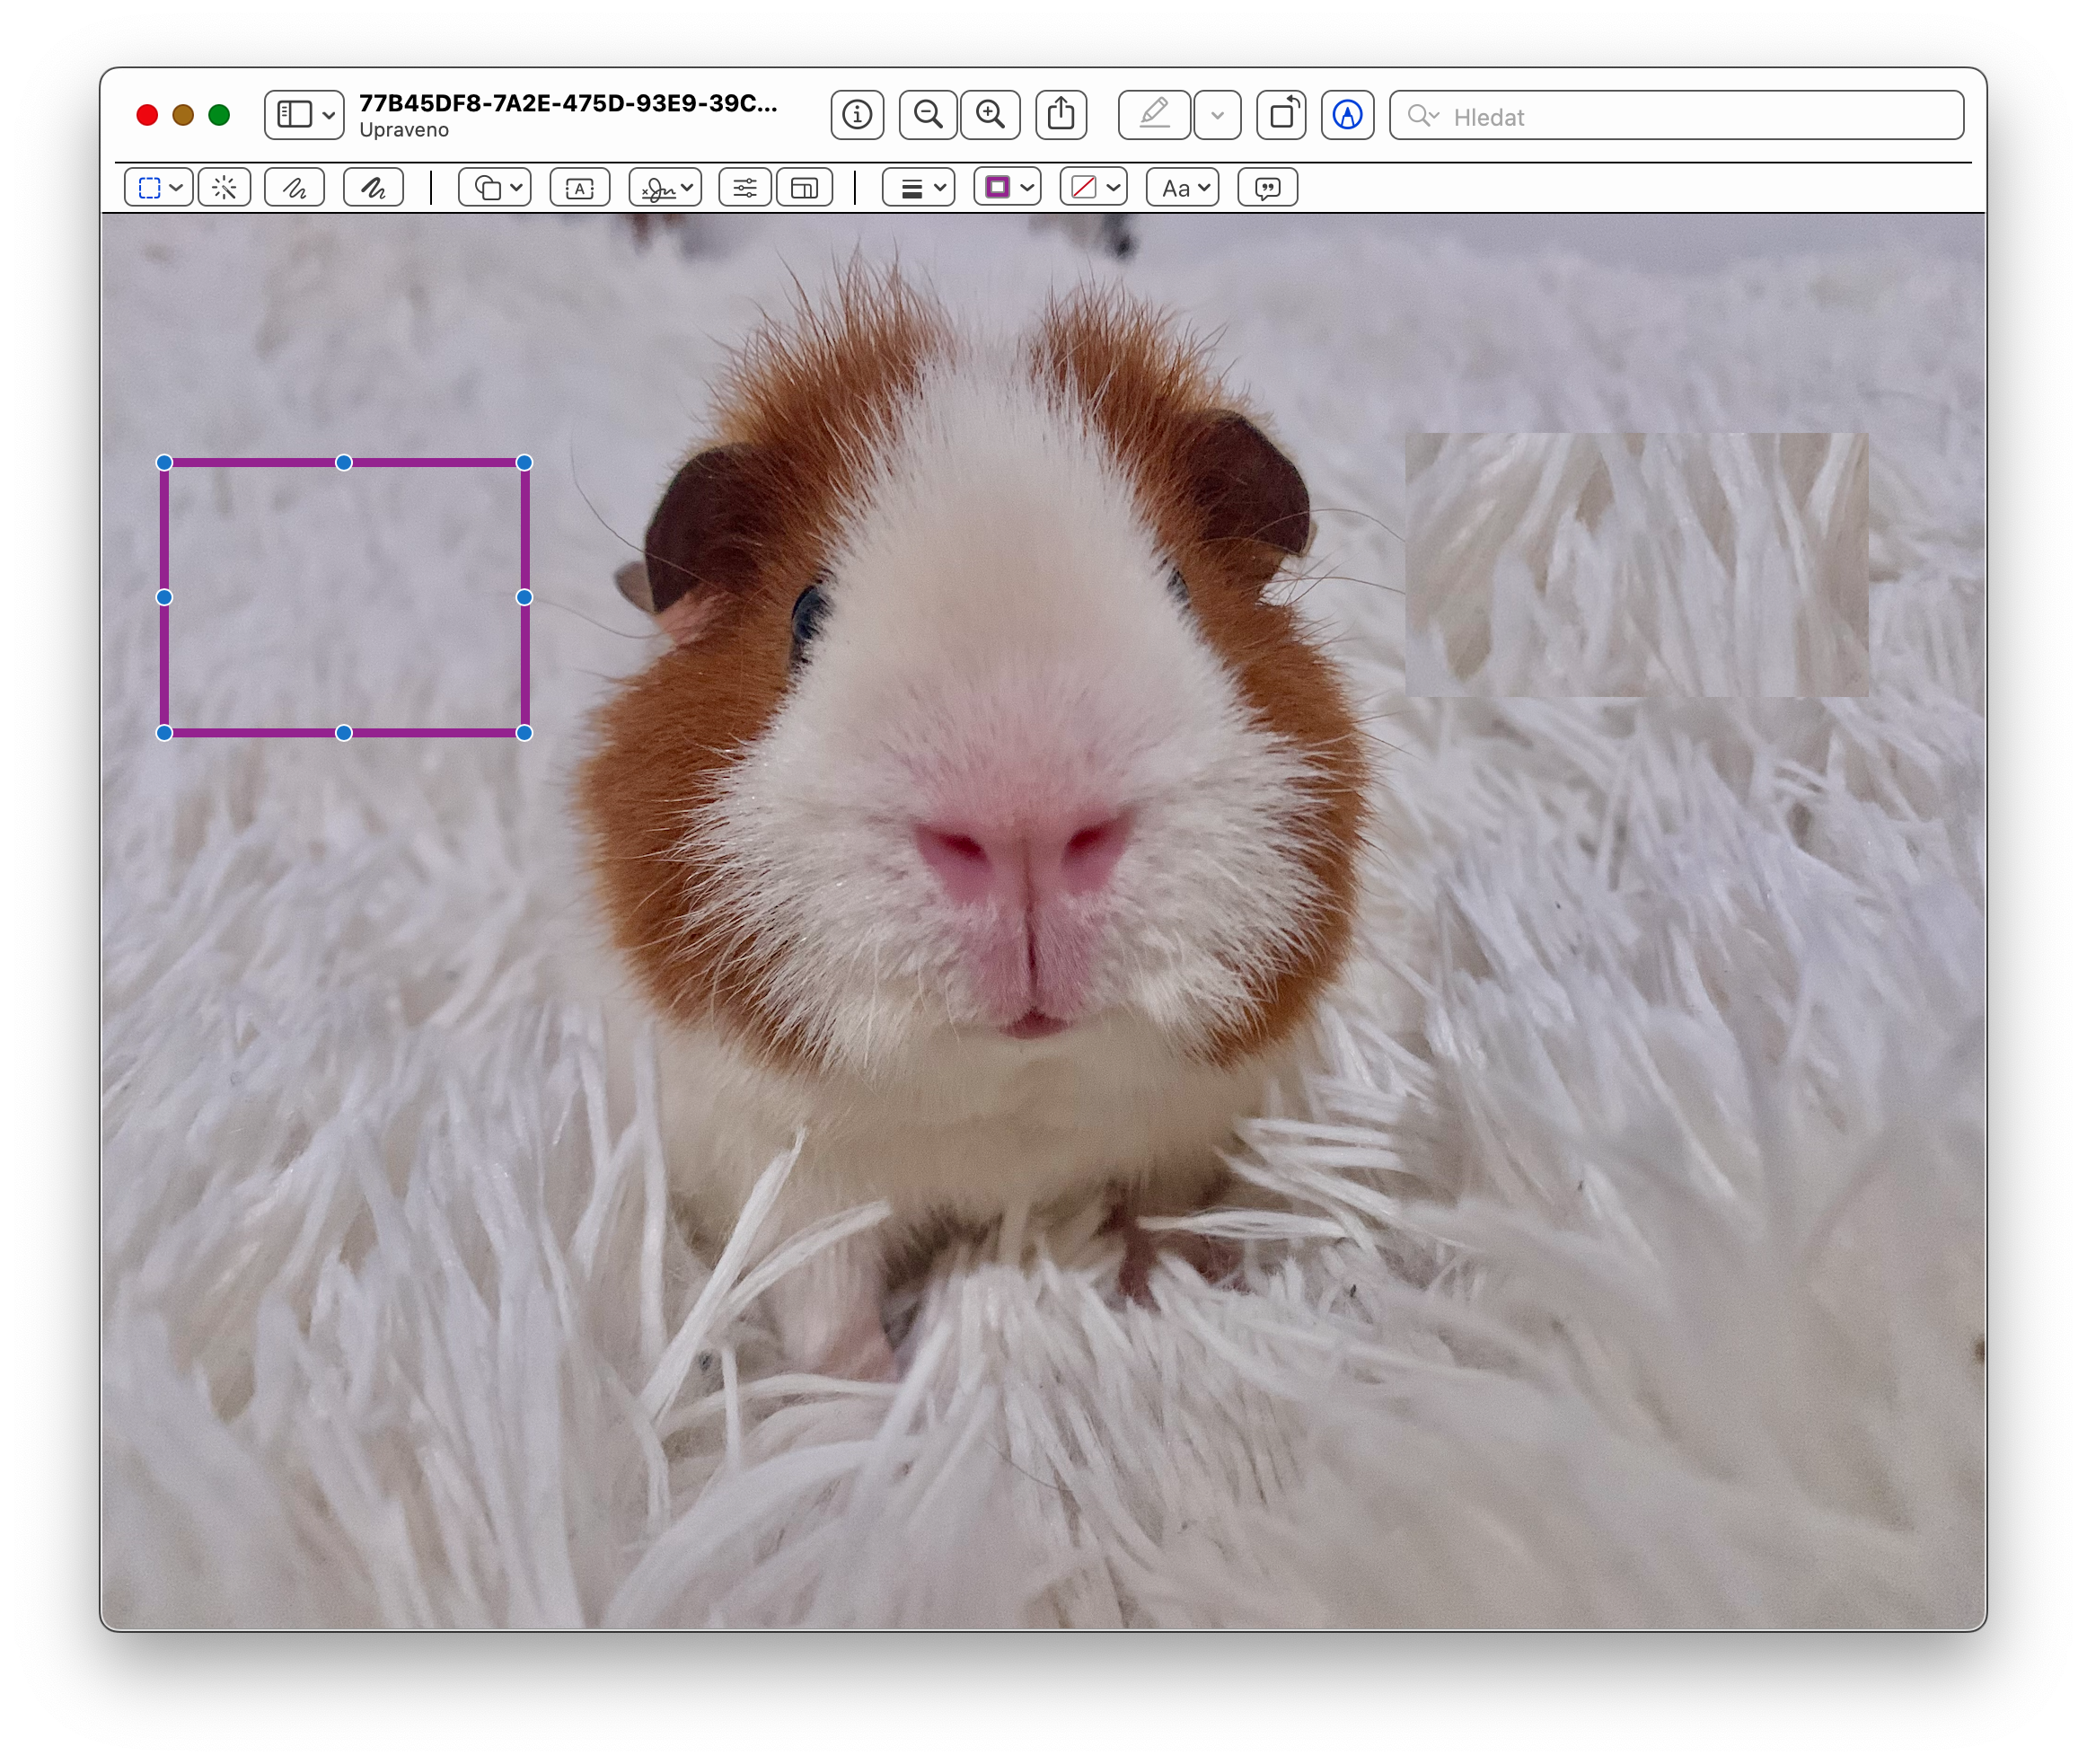
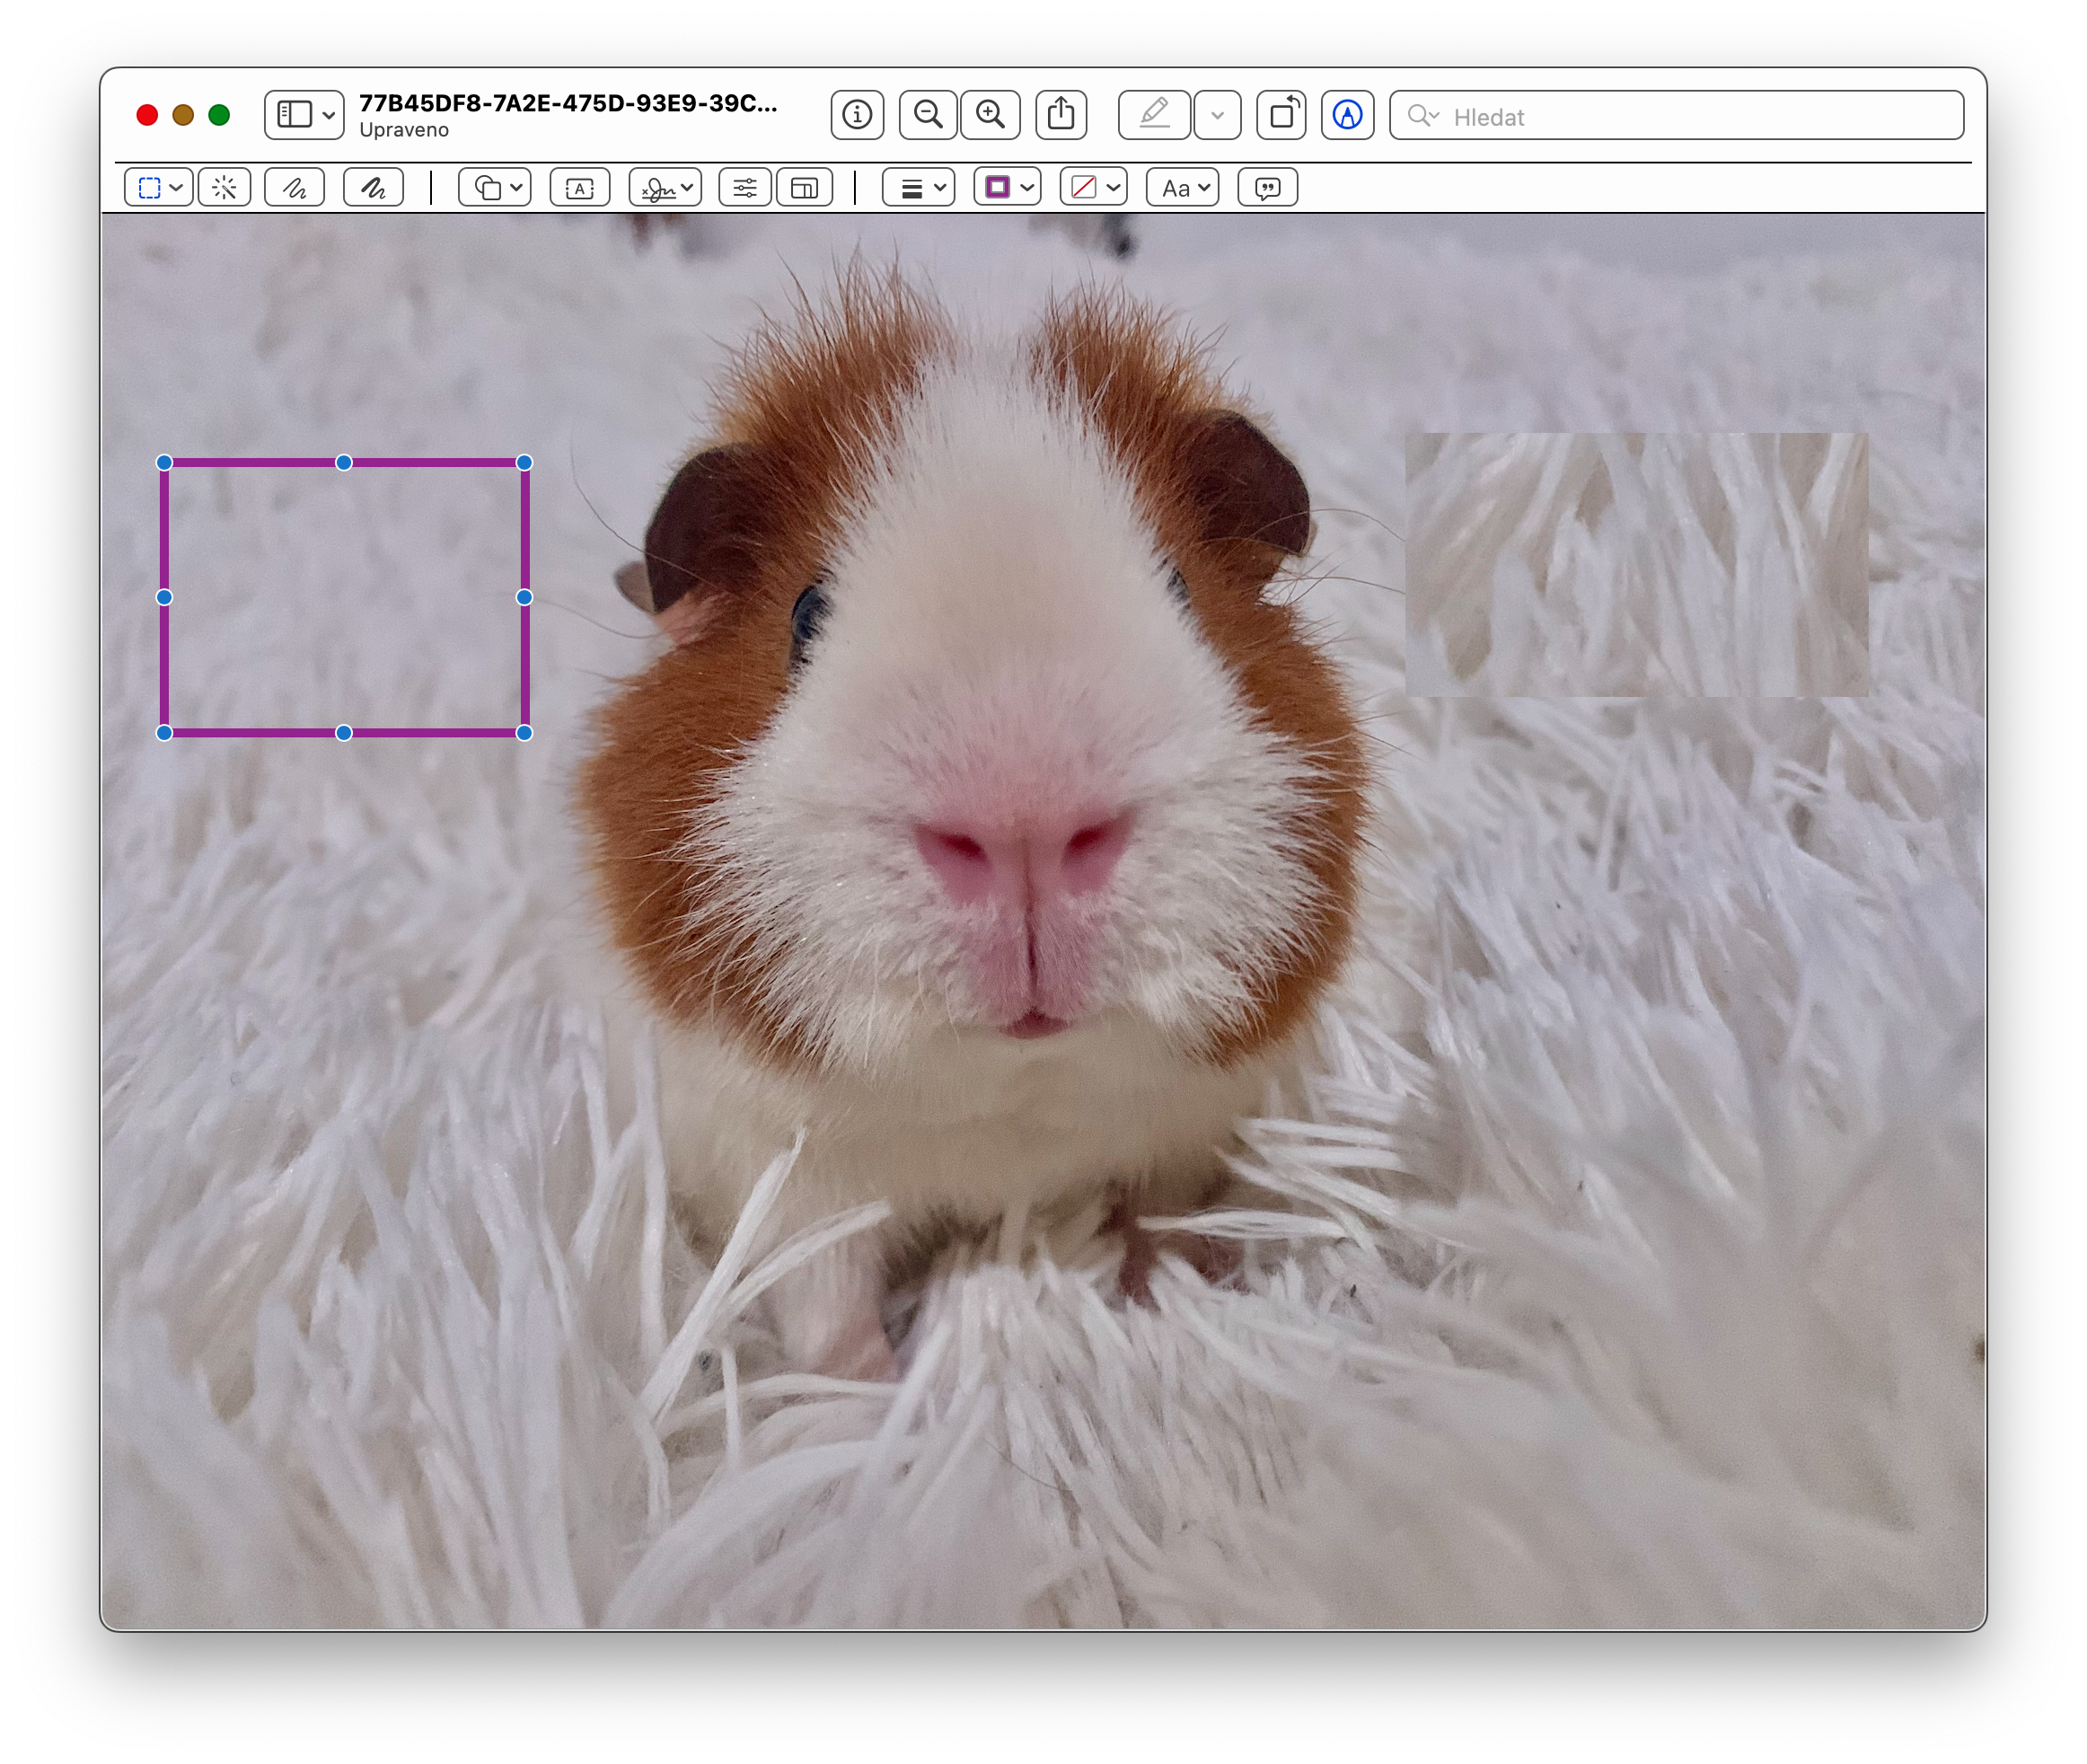
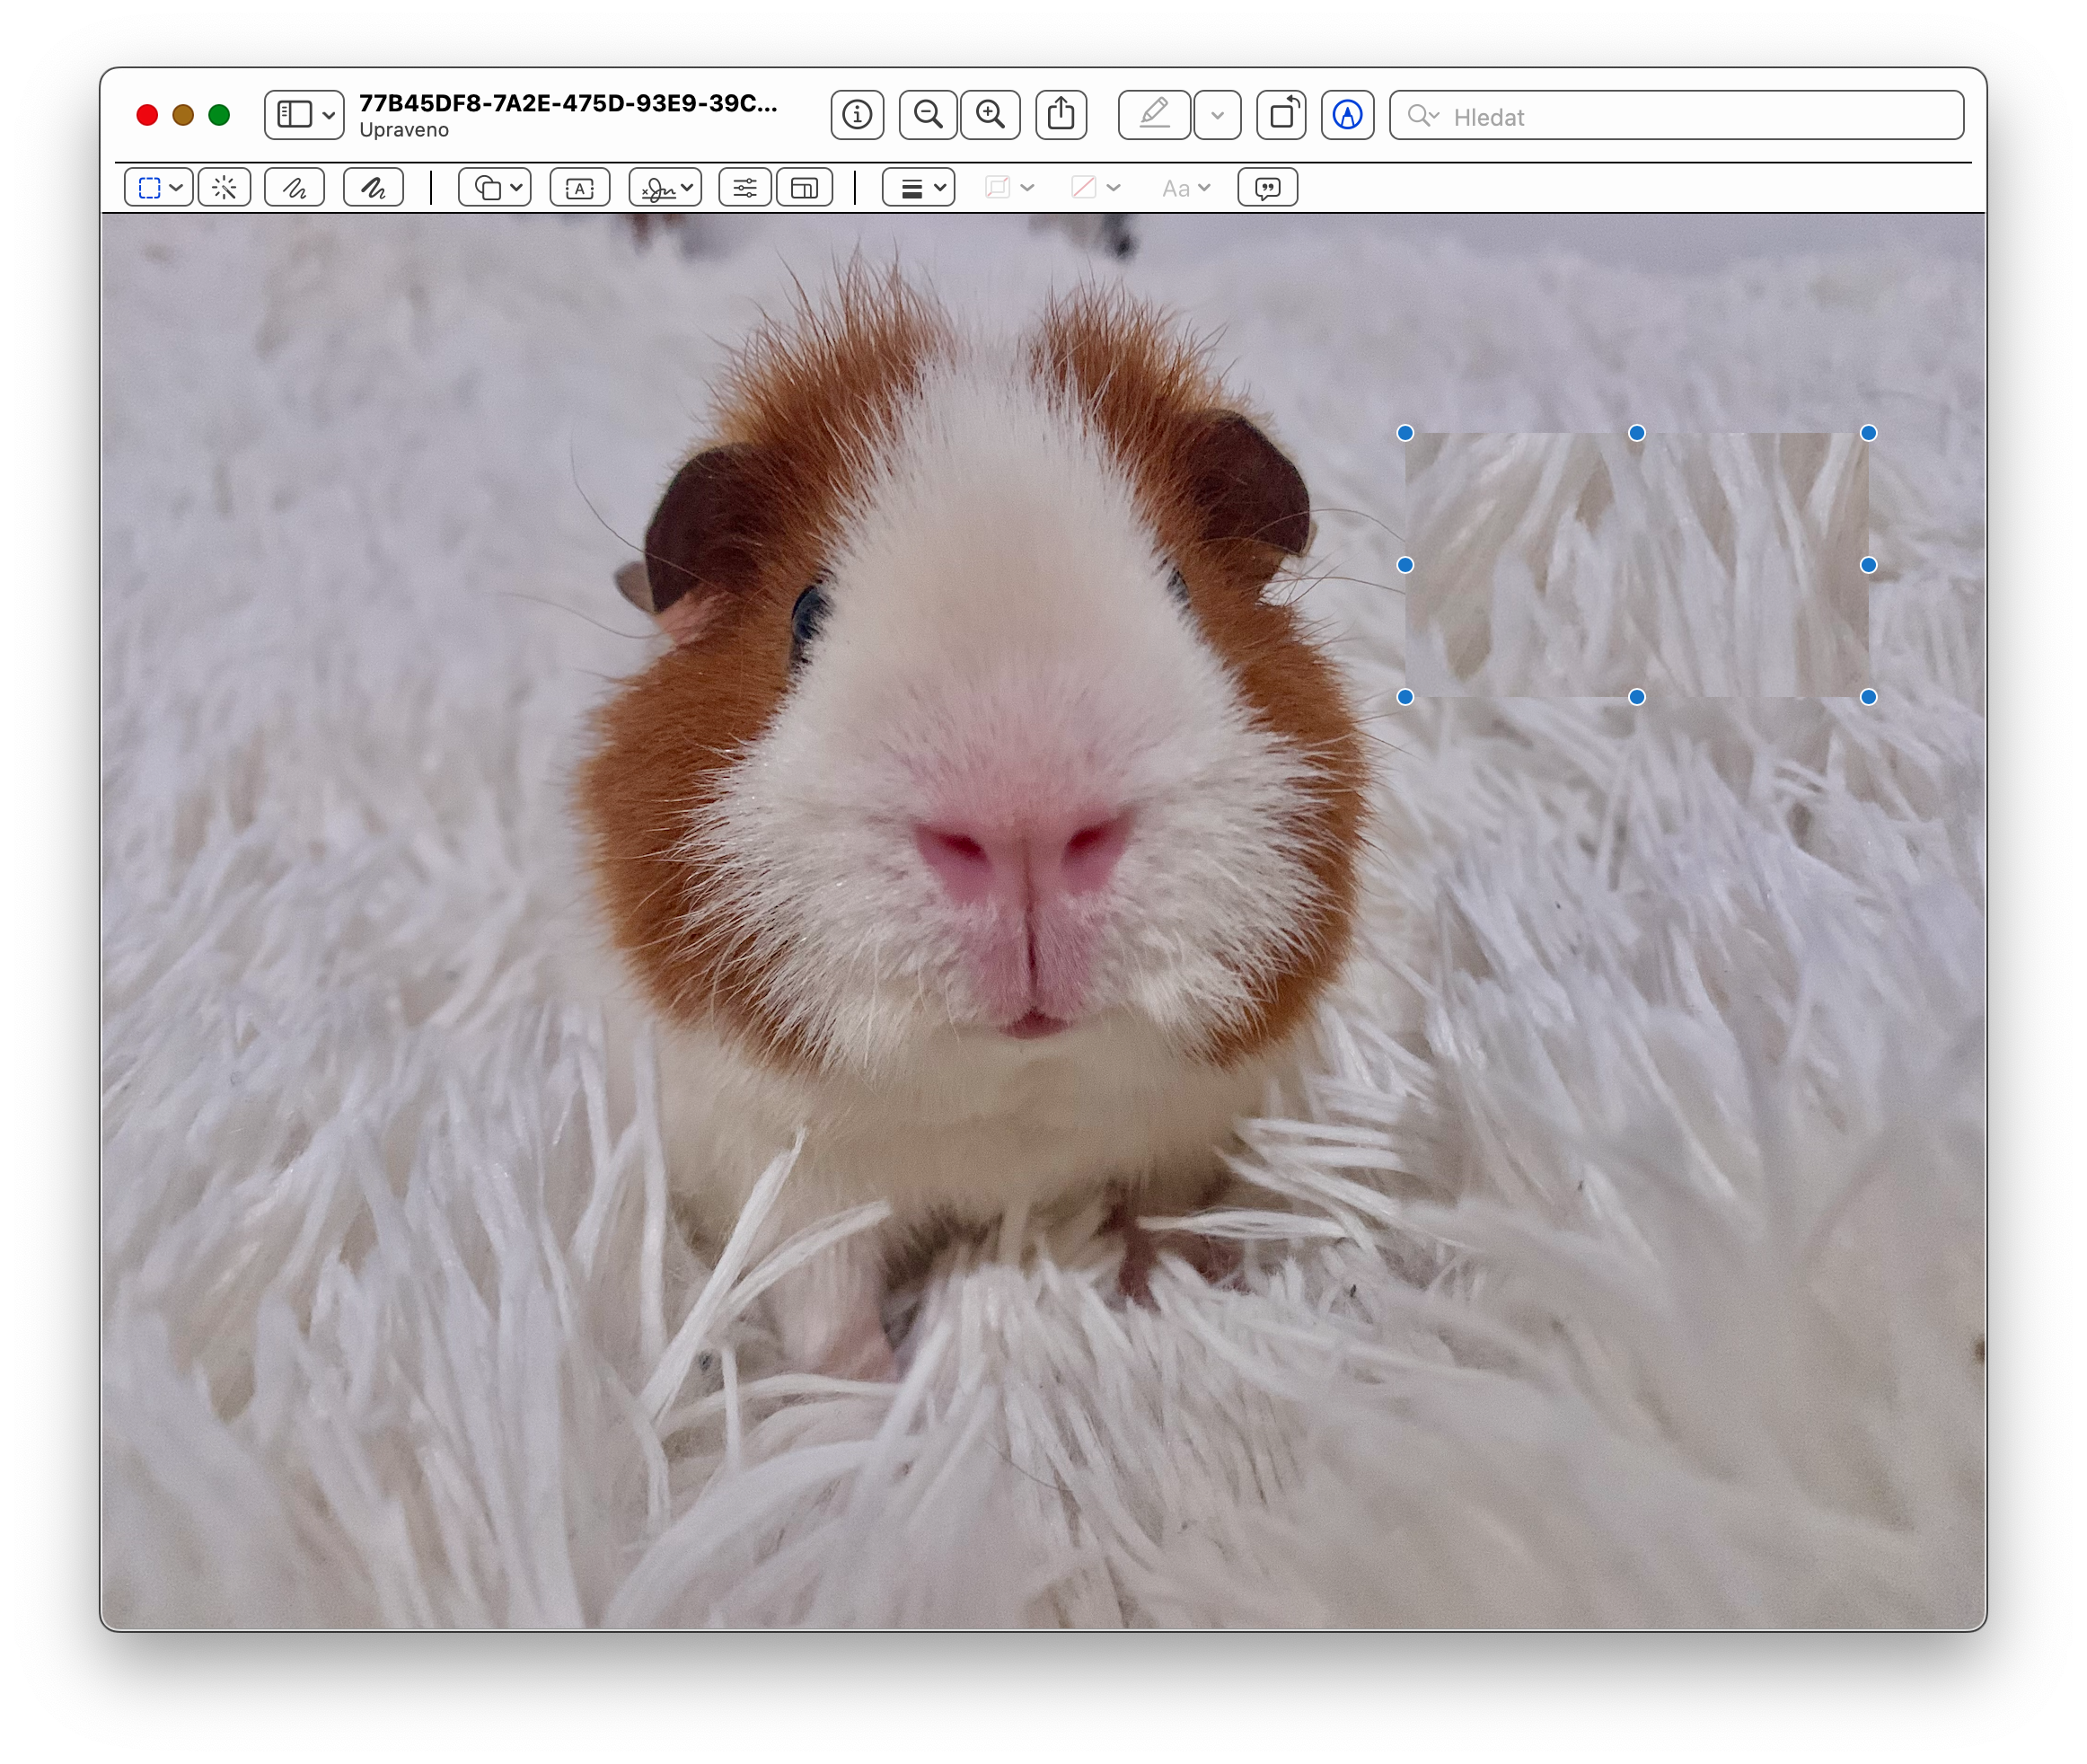
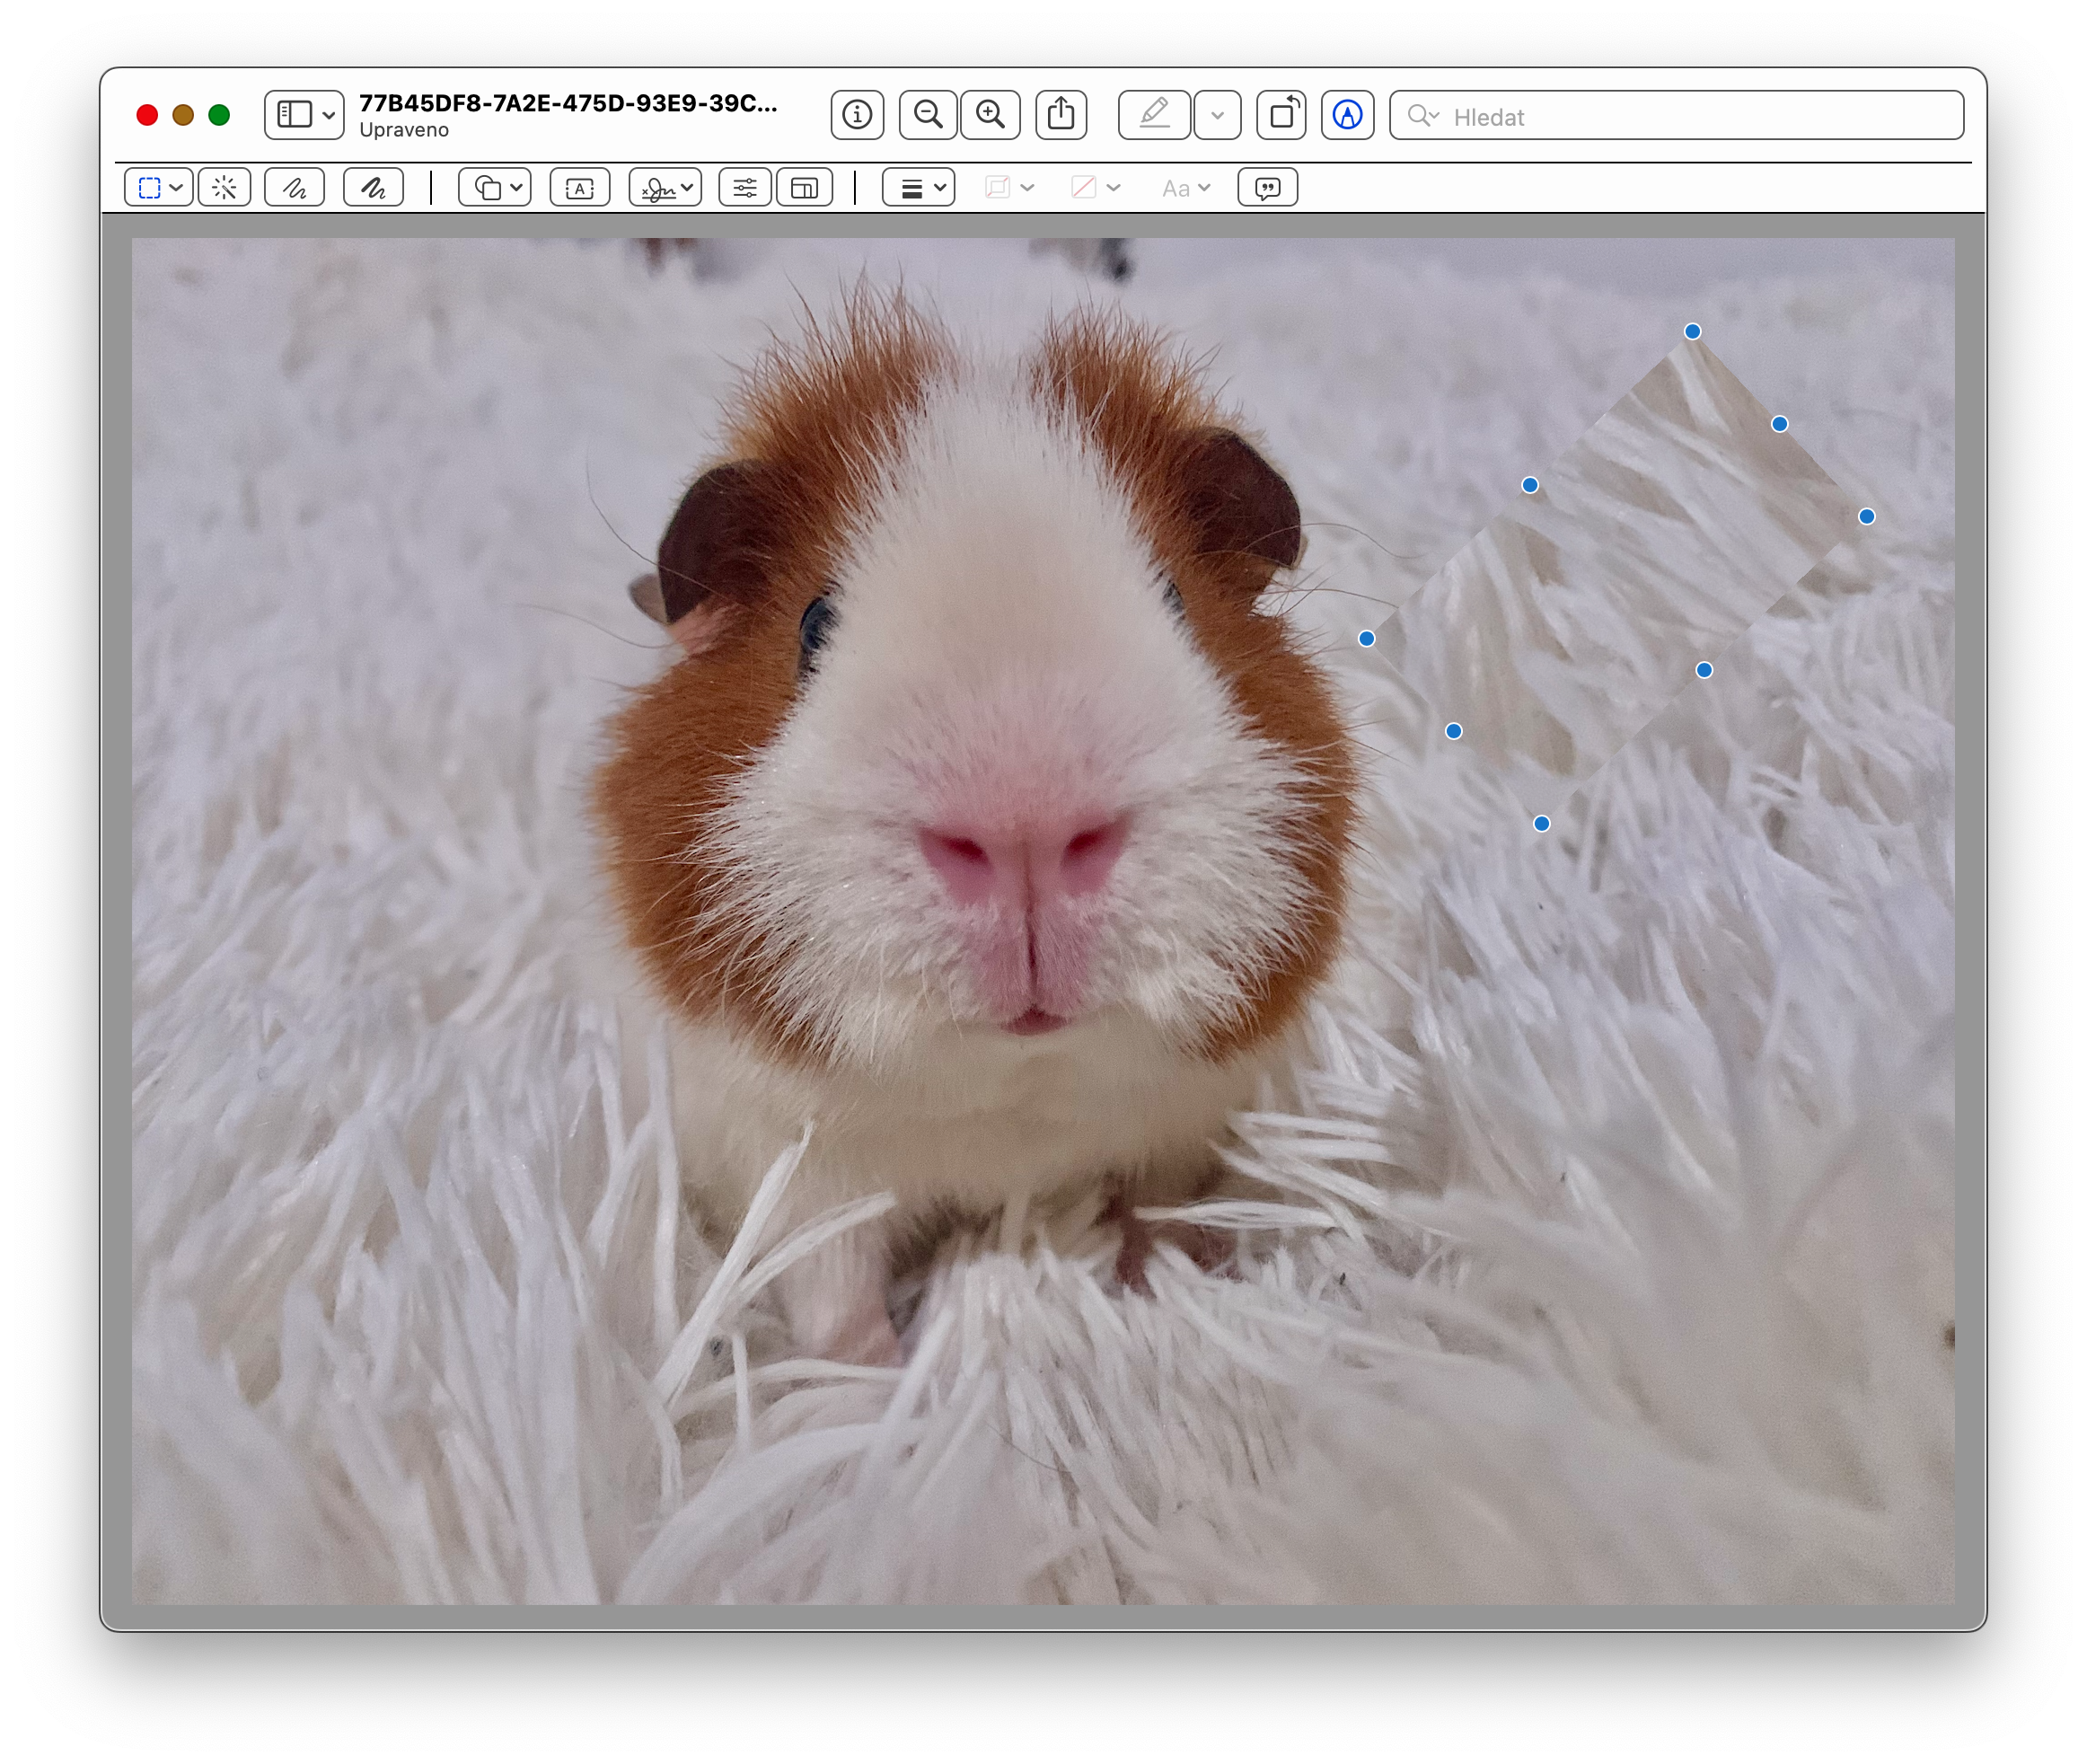
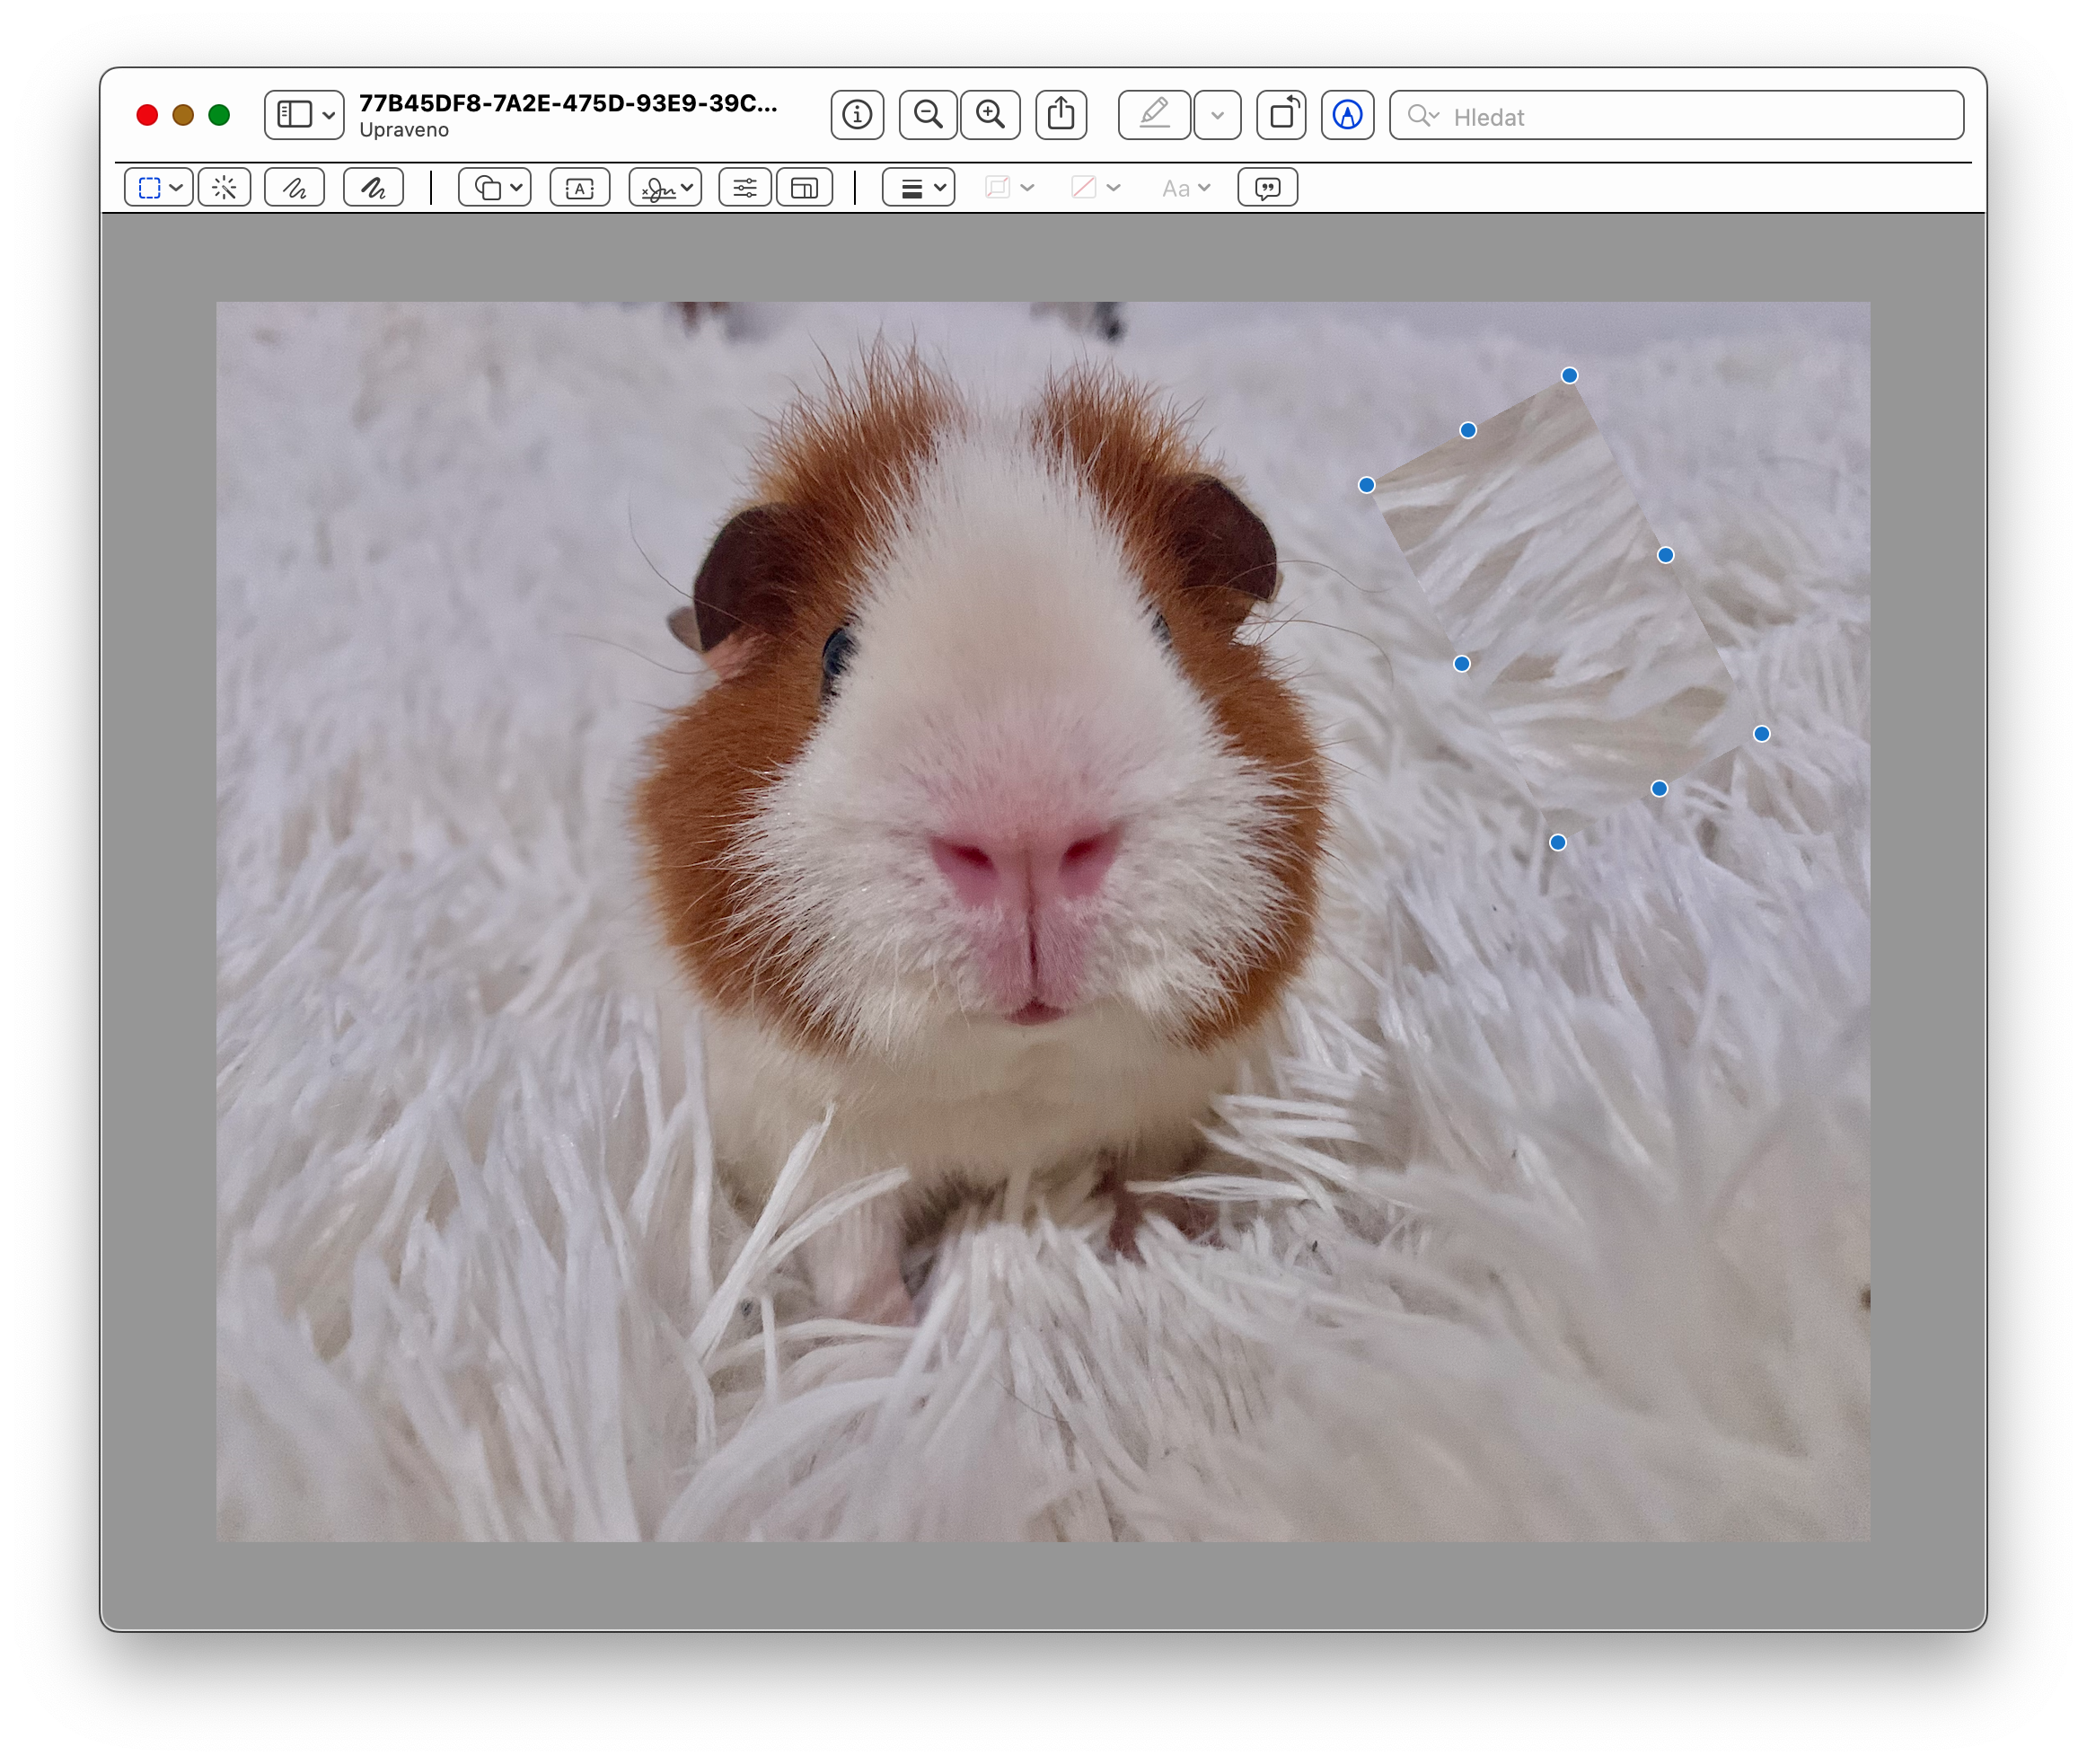
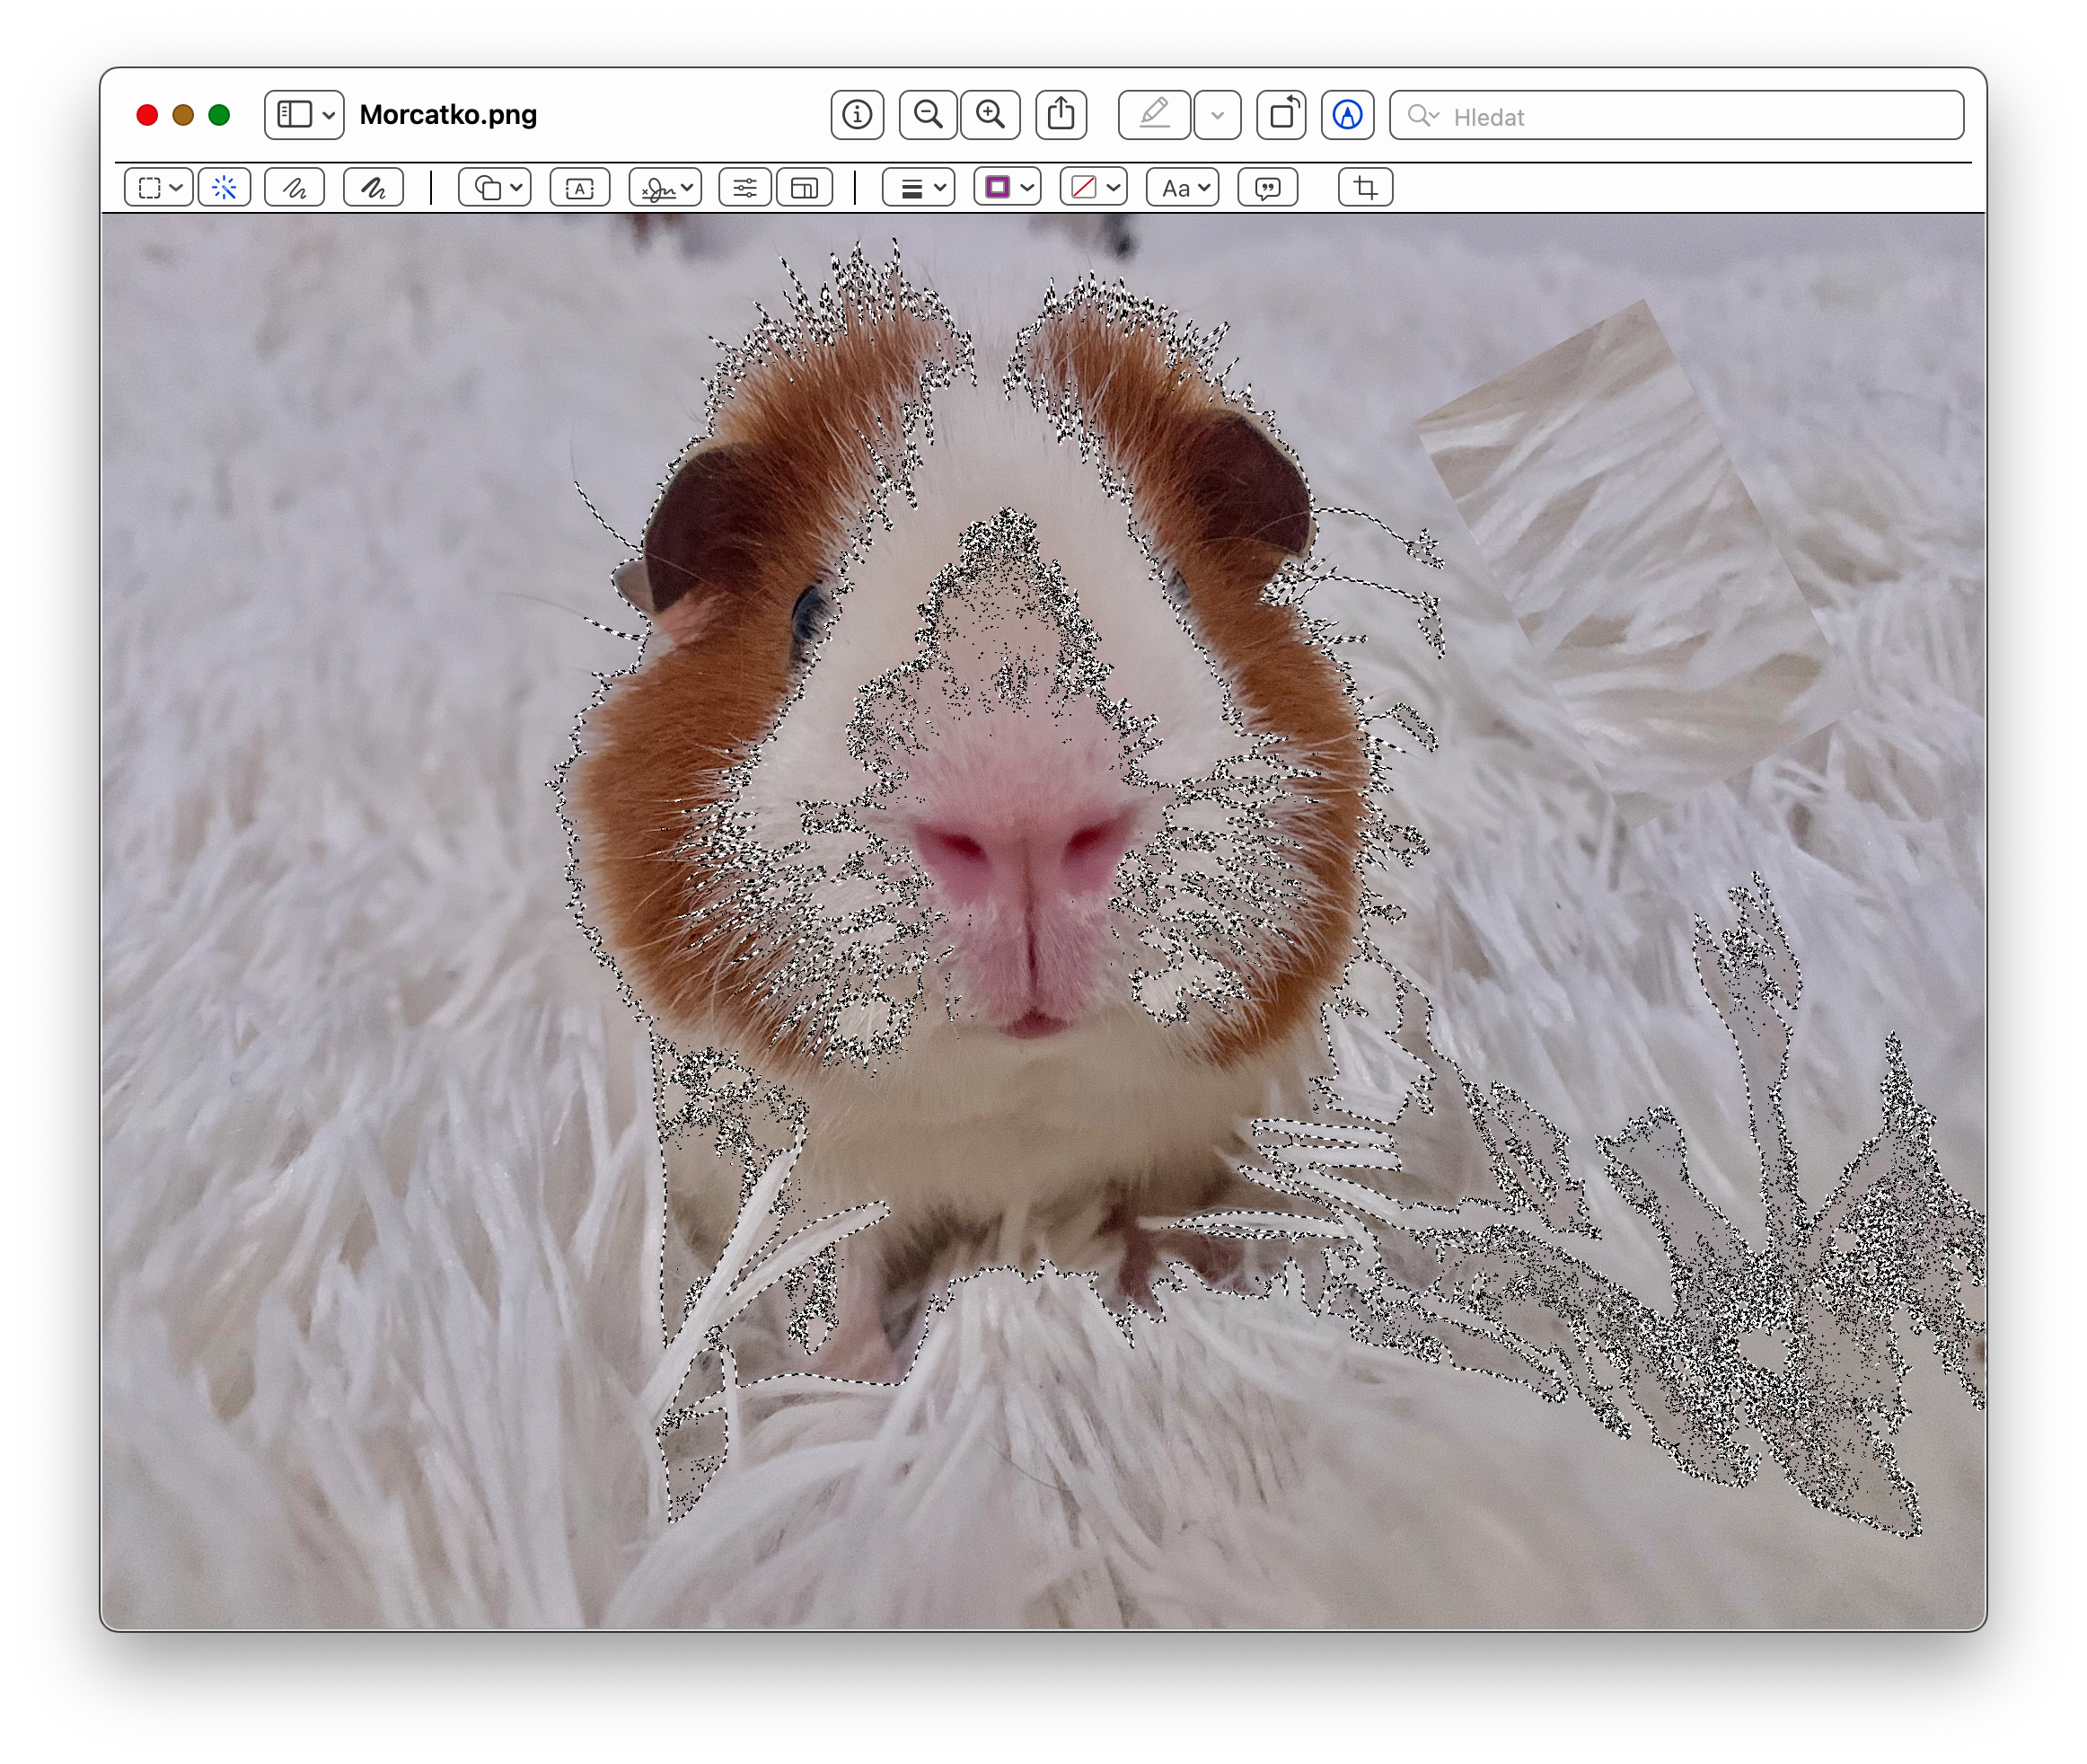
In the previous paragraph, we wrote about how to work with objects as layers in the native Preview on Mac. However, you can also easily, quickly and arbitrarily rotate the objects you have added - inserted images, copied parts of a photo, geometric shapes or even inserted text. Just click to mark the selected object and then select its desired position by rotating two fingers on the trackpad.
Background removal
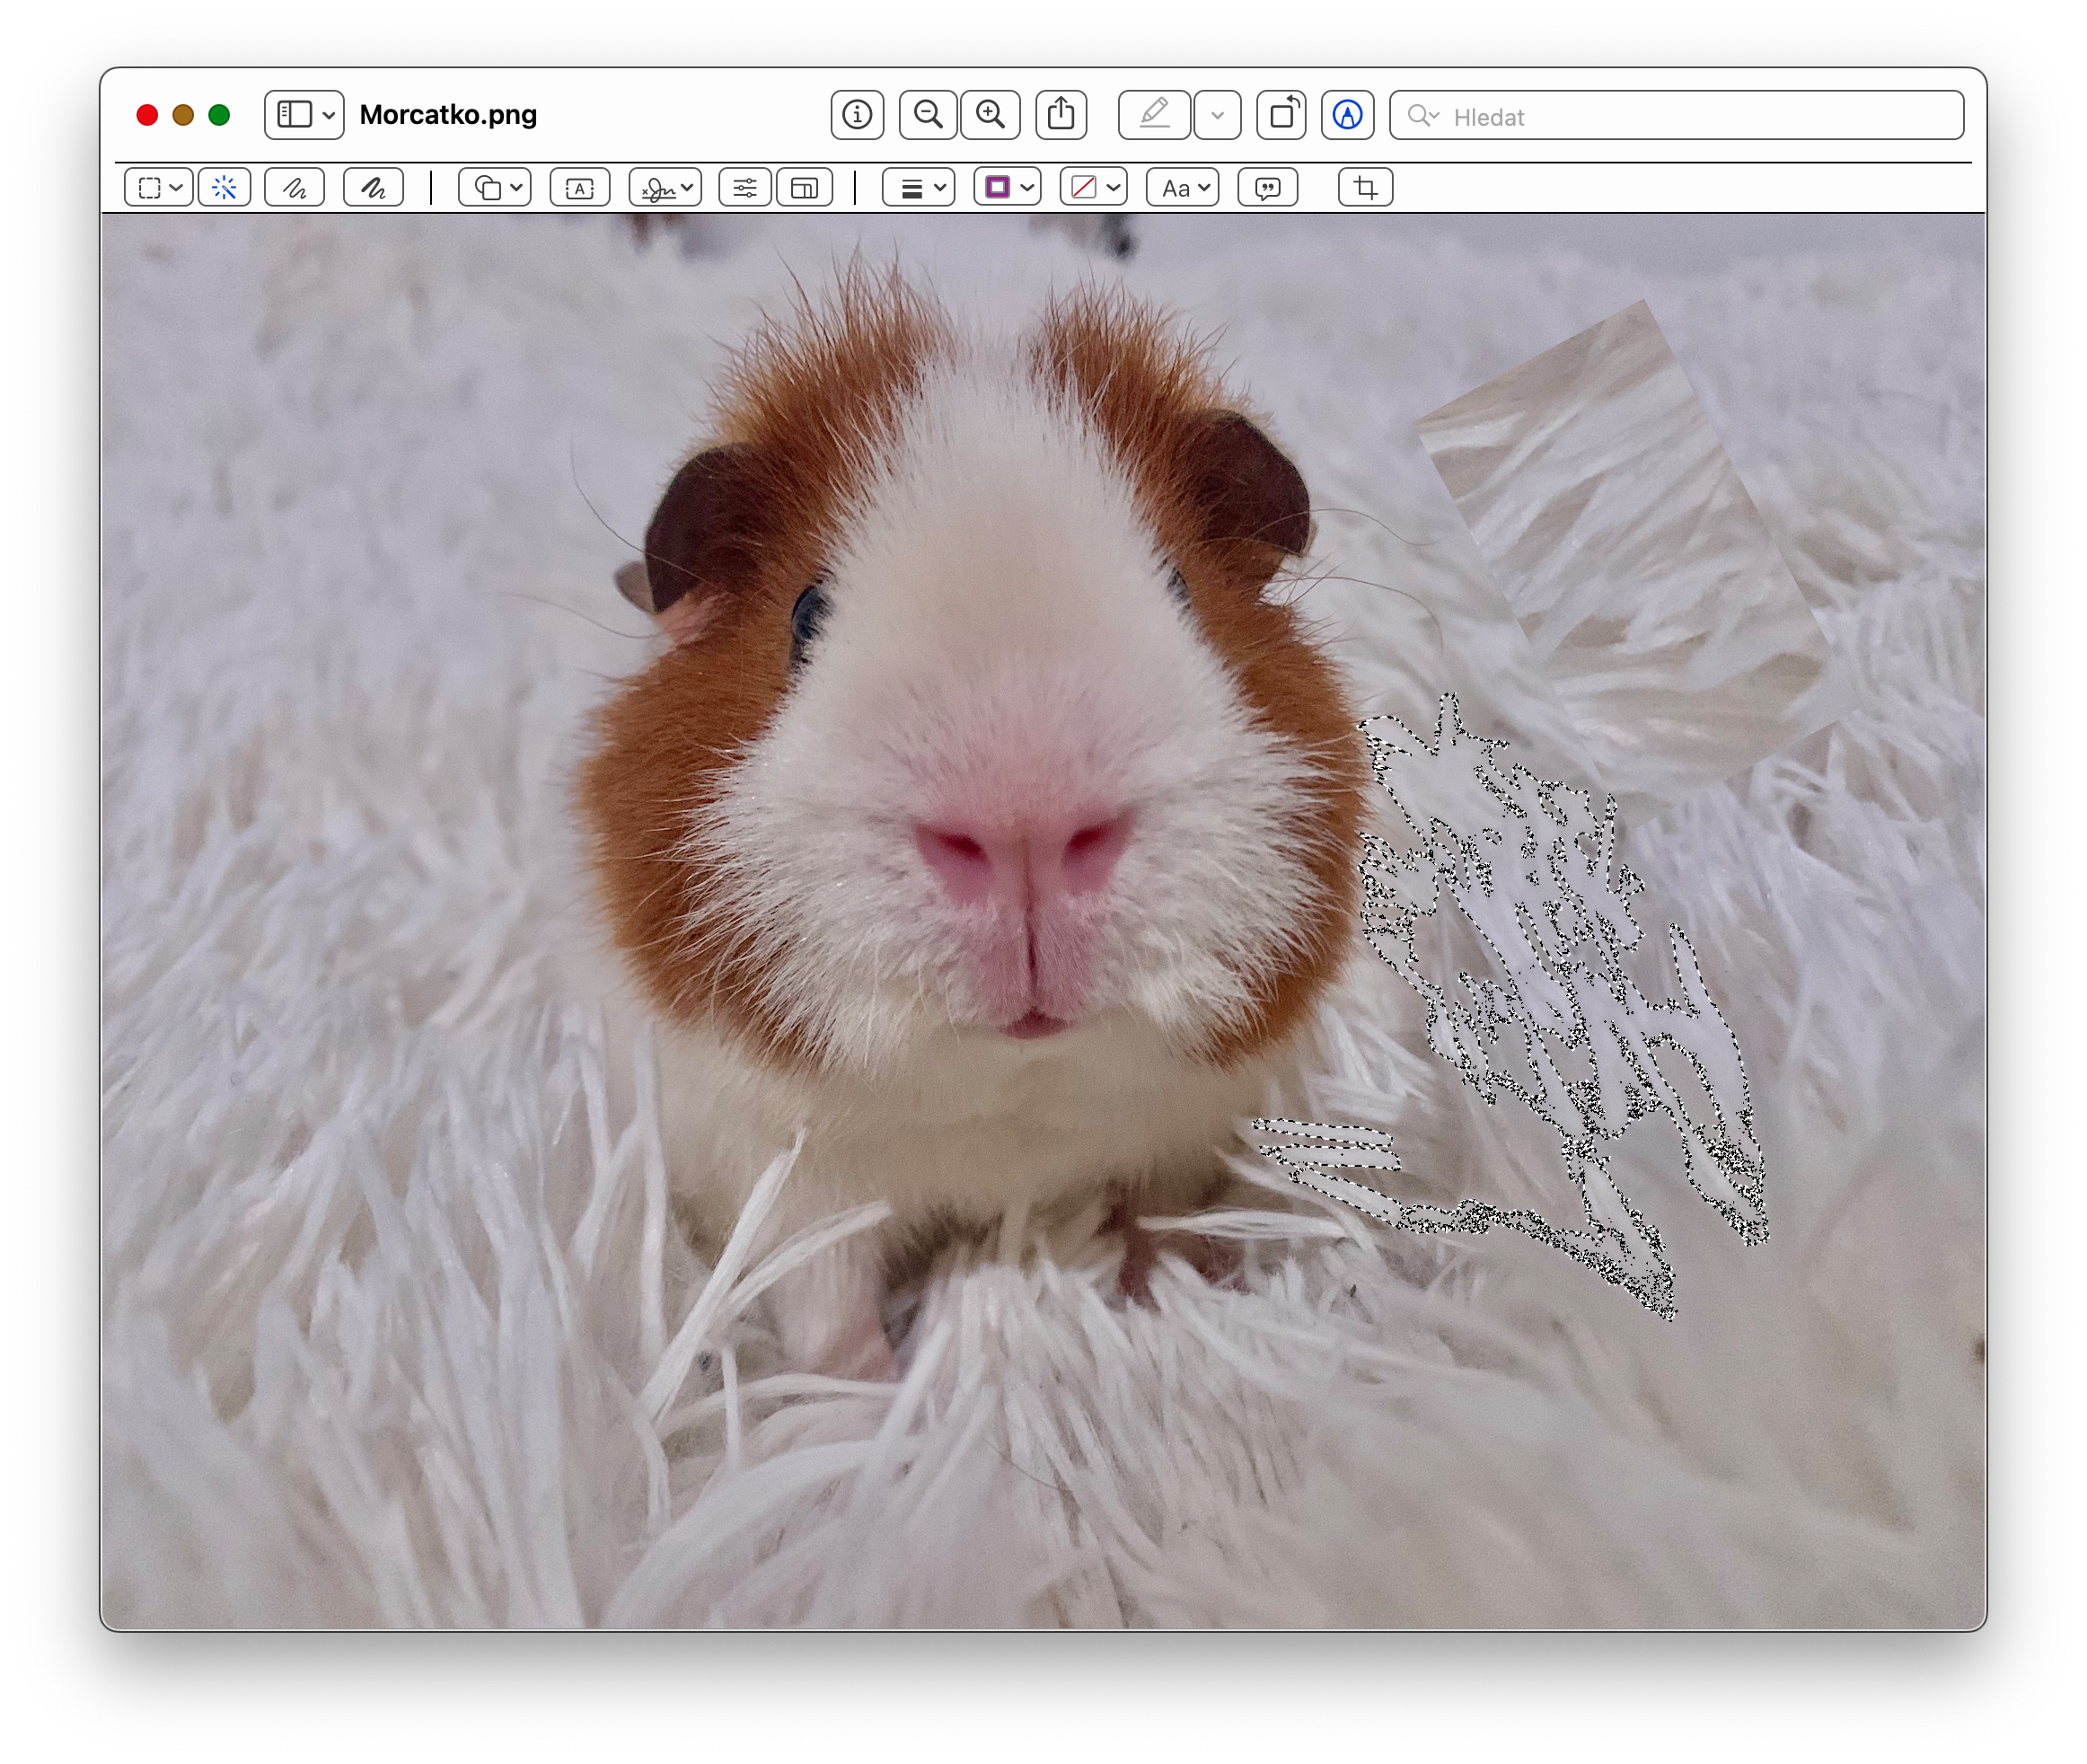
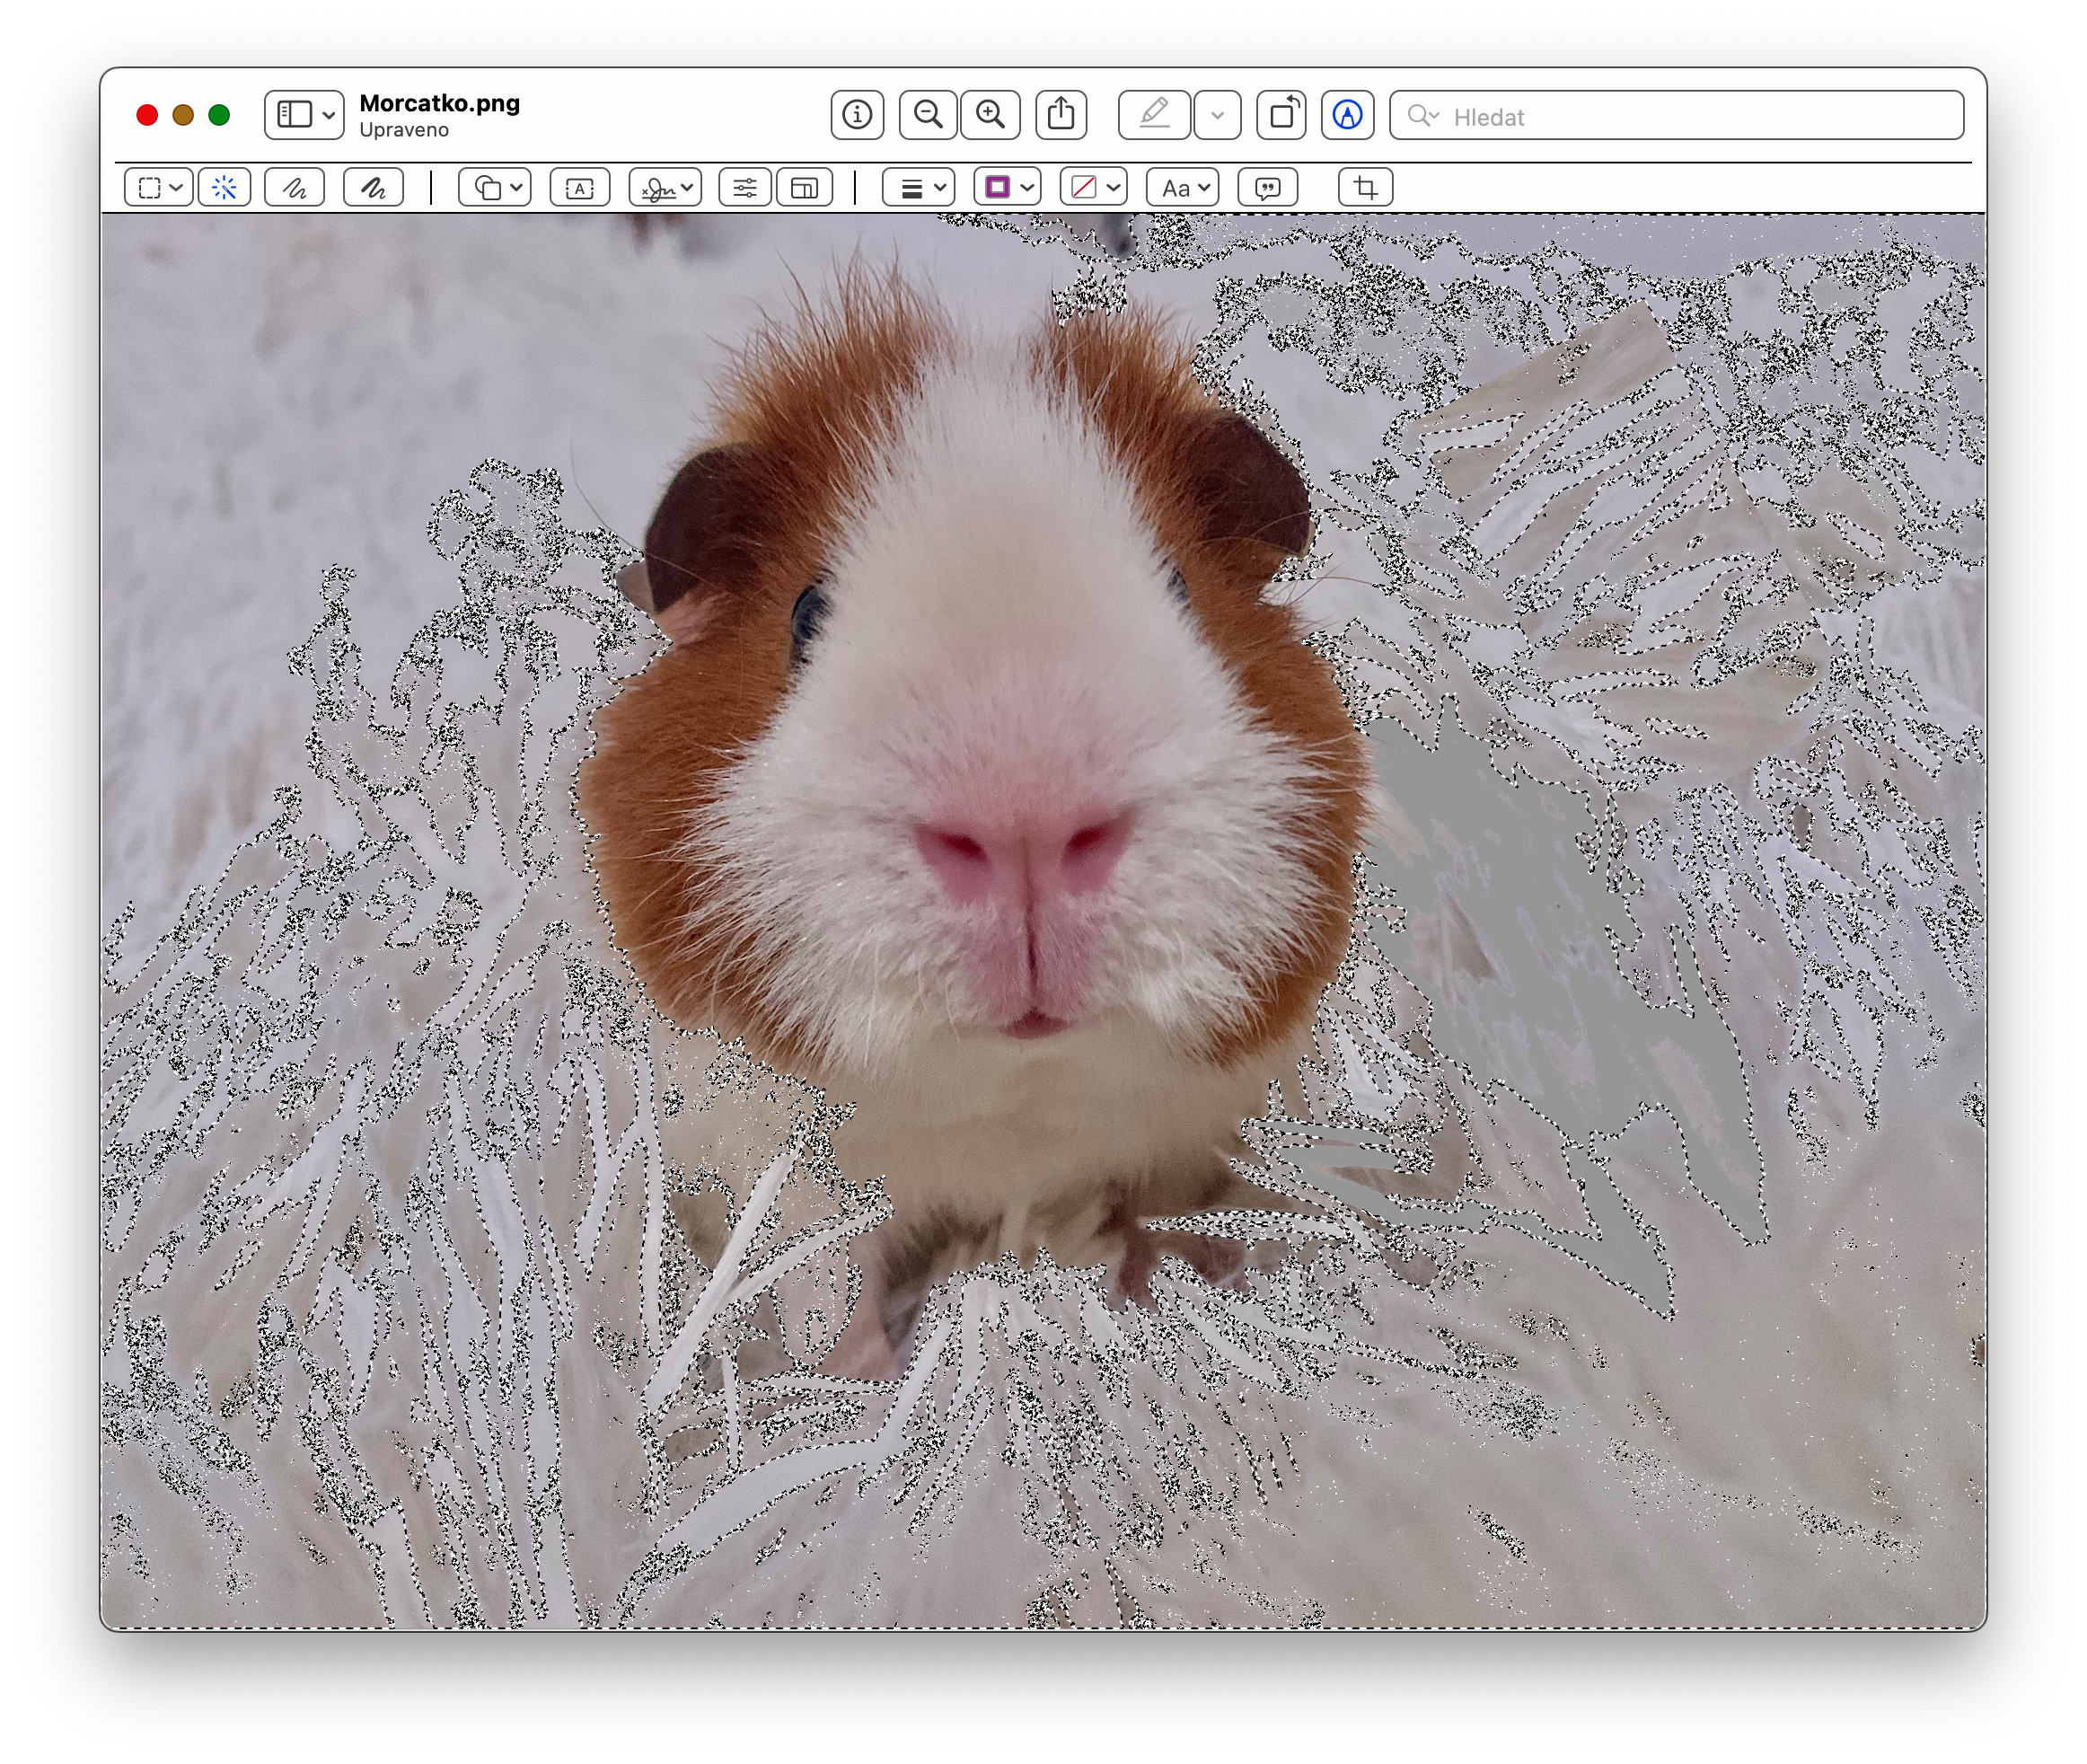
You can also use native Preview on Mac to remove backgrounds from photos. If the photo in question is not in PNG format, you can convert it by following the instructions in the first paragraph of this article. Then, in the upper part of the Preview window, click on the annotations icon and then on the magic wand icon in the upper left. Then just select the part you want to delete and press the delete key.
