After several months of long waiting, it's finally here - macOS Monterey is out for the public. So if you own a supported Apple computer, you can update it to the latest macOS right now. Just to remind you, macOS Monterey was already presented at the WWDC21 conference, which took place this June. As for the public versions of the other systems, i.e. iOS and iPadOS 15, watchOS 8 and tvOS 15, they have been available for several weeks. On the occasion of the public release of macOS Monterey, let's take a look together at 5 lesser-known tips that you should know. In the link below, we attach another 5 basic tips for macOS Monterey.
It could be interest you
Change the color of the cursor
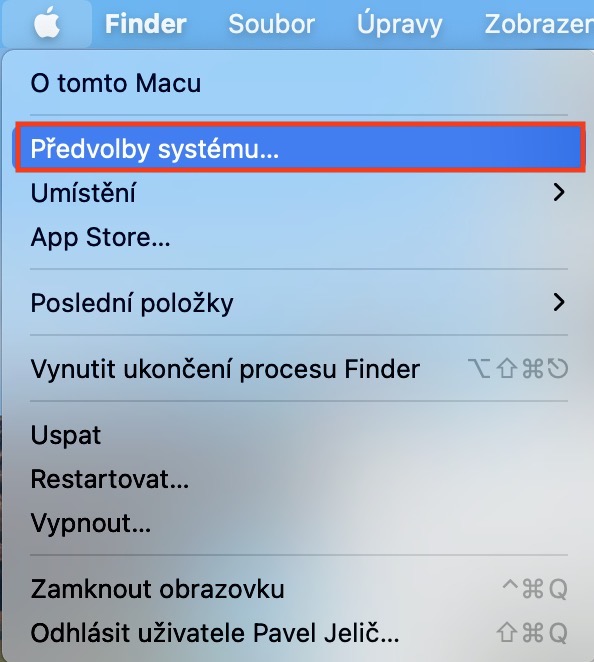
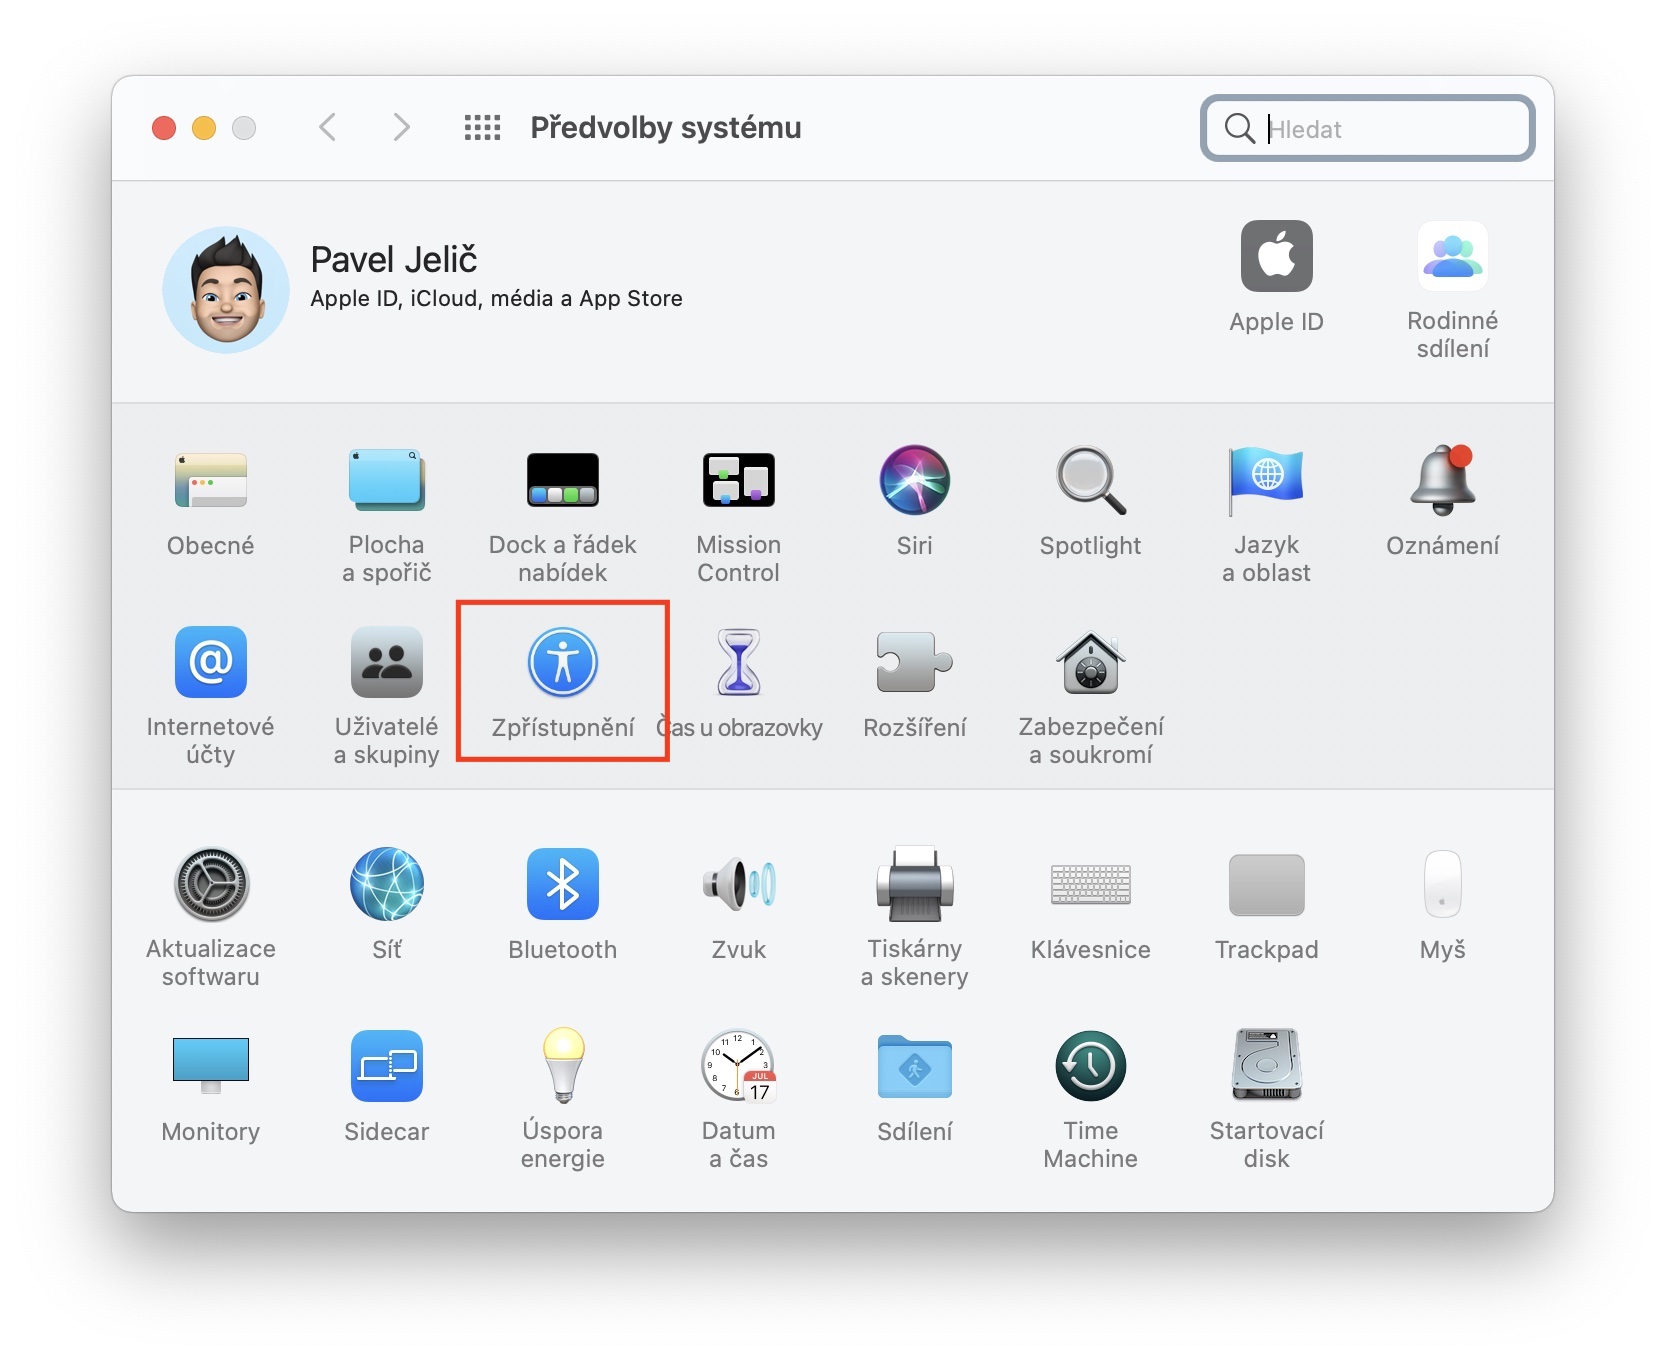
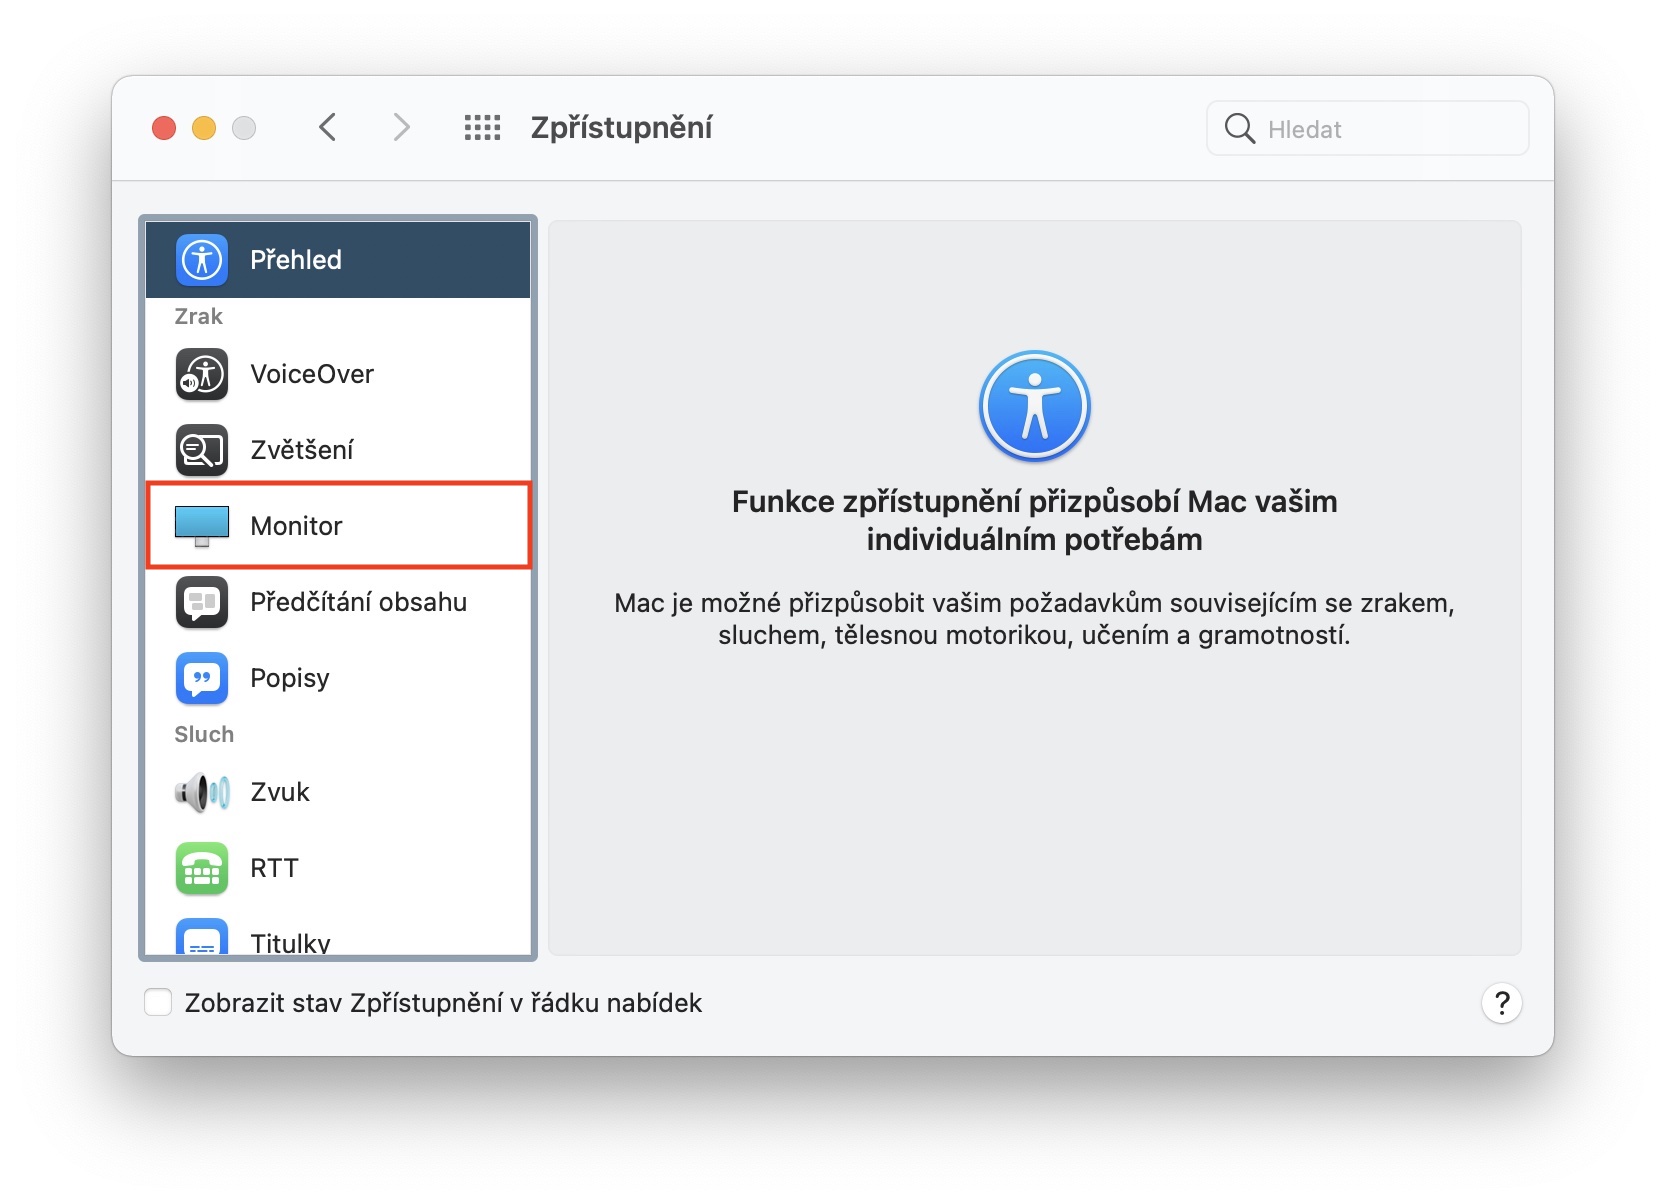
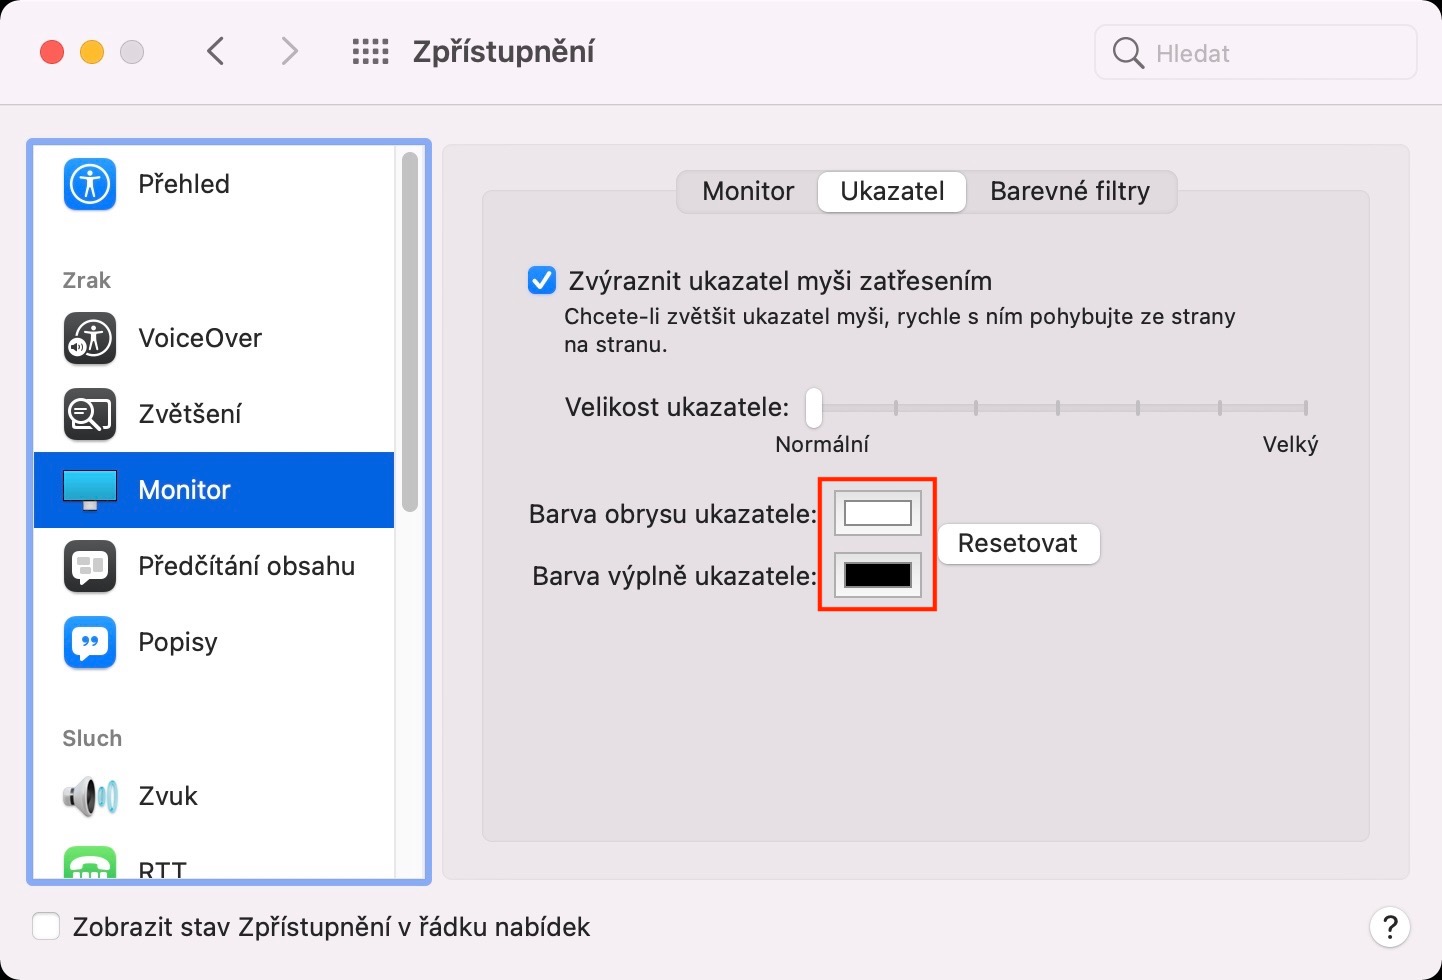
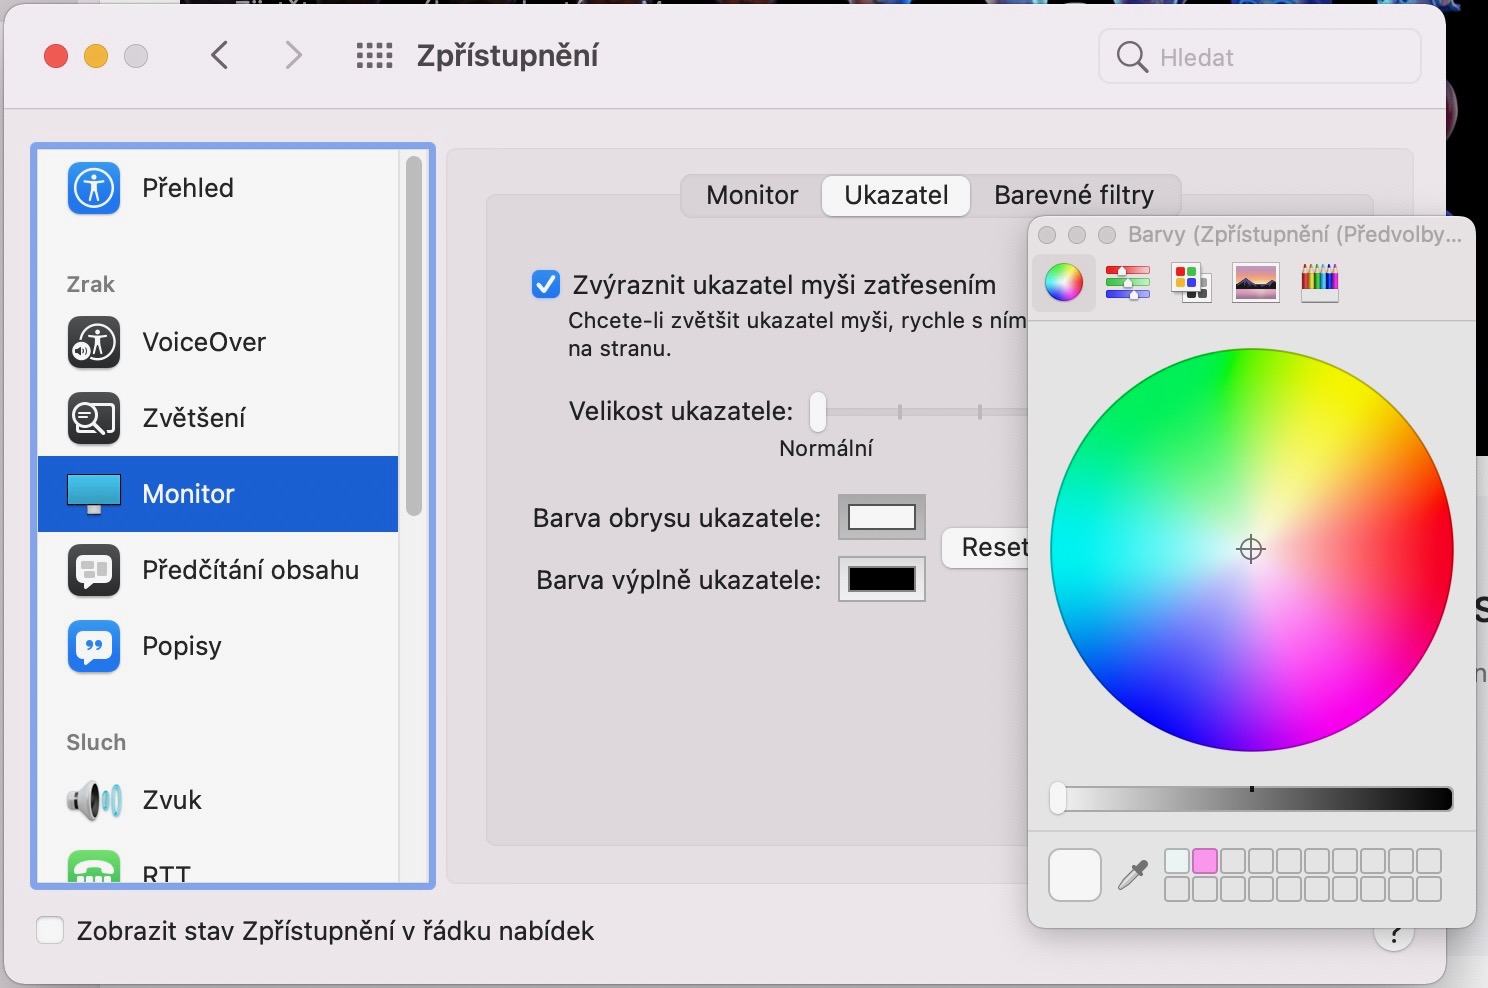
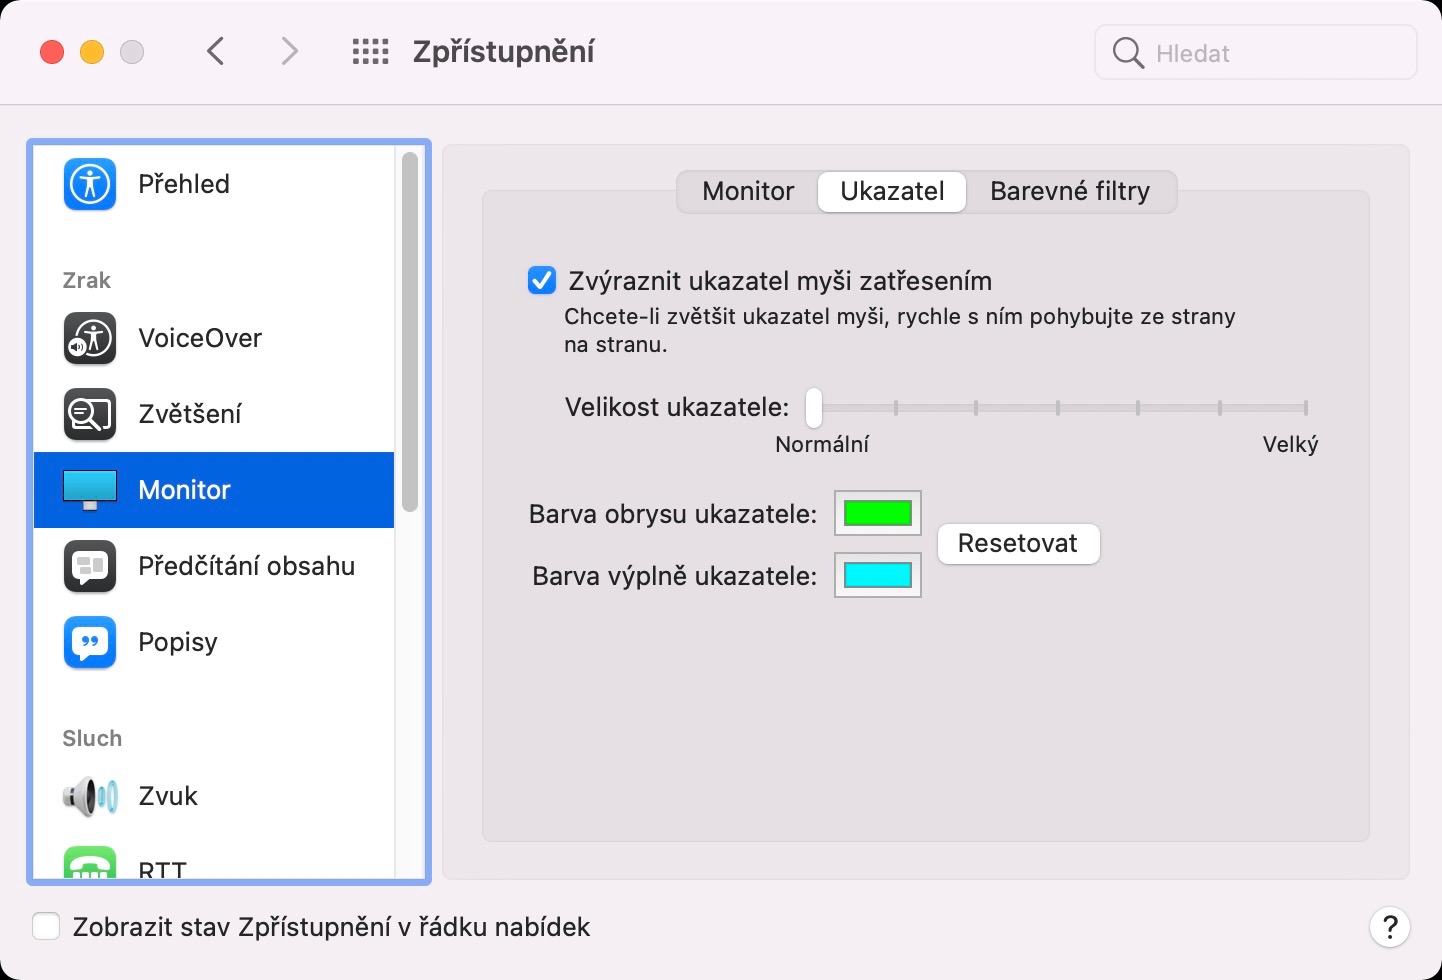
By default on macOS, the cursor has a black fill and a white outline. This is an absolutely ideal combination of colors, thanks to which you are able to find the cursor in practically any situation. But in certain cases, some users would appreciate if they could change the color of the fill and the outline of the cursor. Until now, this was not possible, but with the arrival of macOS Monterey, you can already change the color - and it's nothing complicated. Old pass to System Preferences -> Accessibility, where in the menu on the left select Monitor. Then open at the top Pointer, where you will be able to change the color of the fill and the outline.
Hiding the top bar
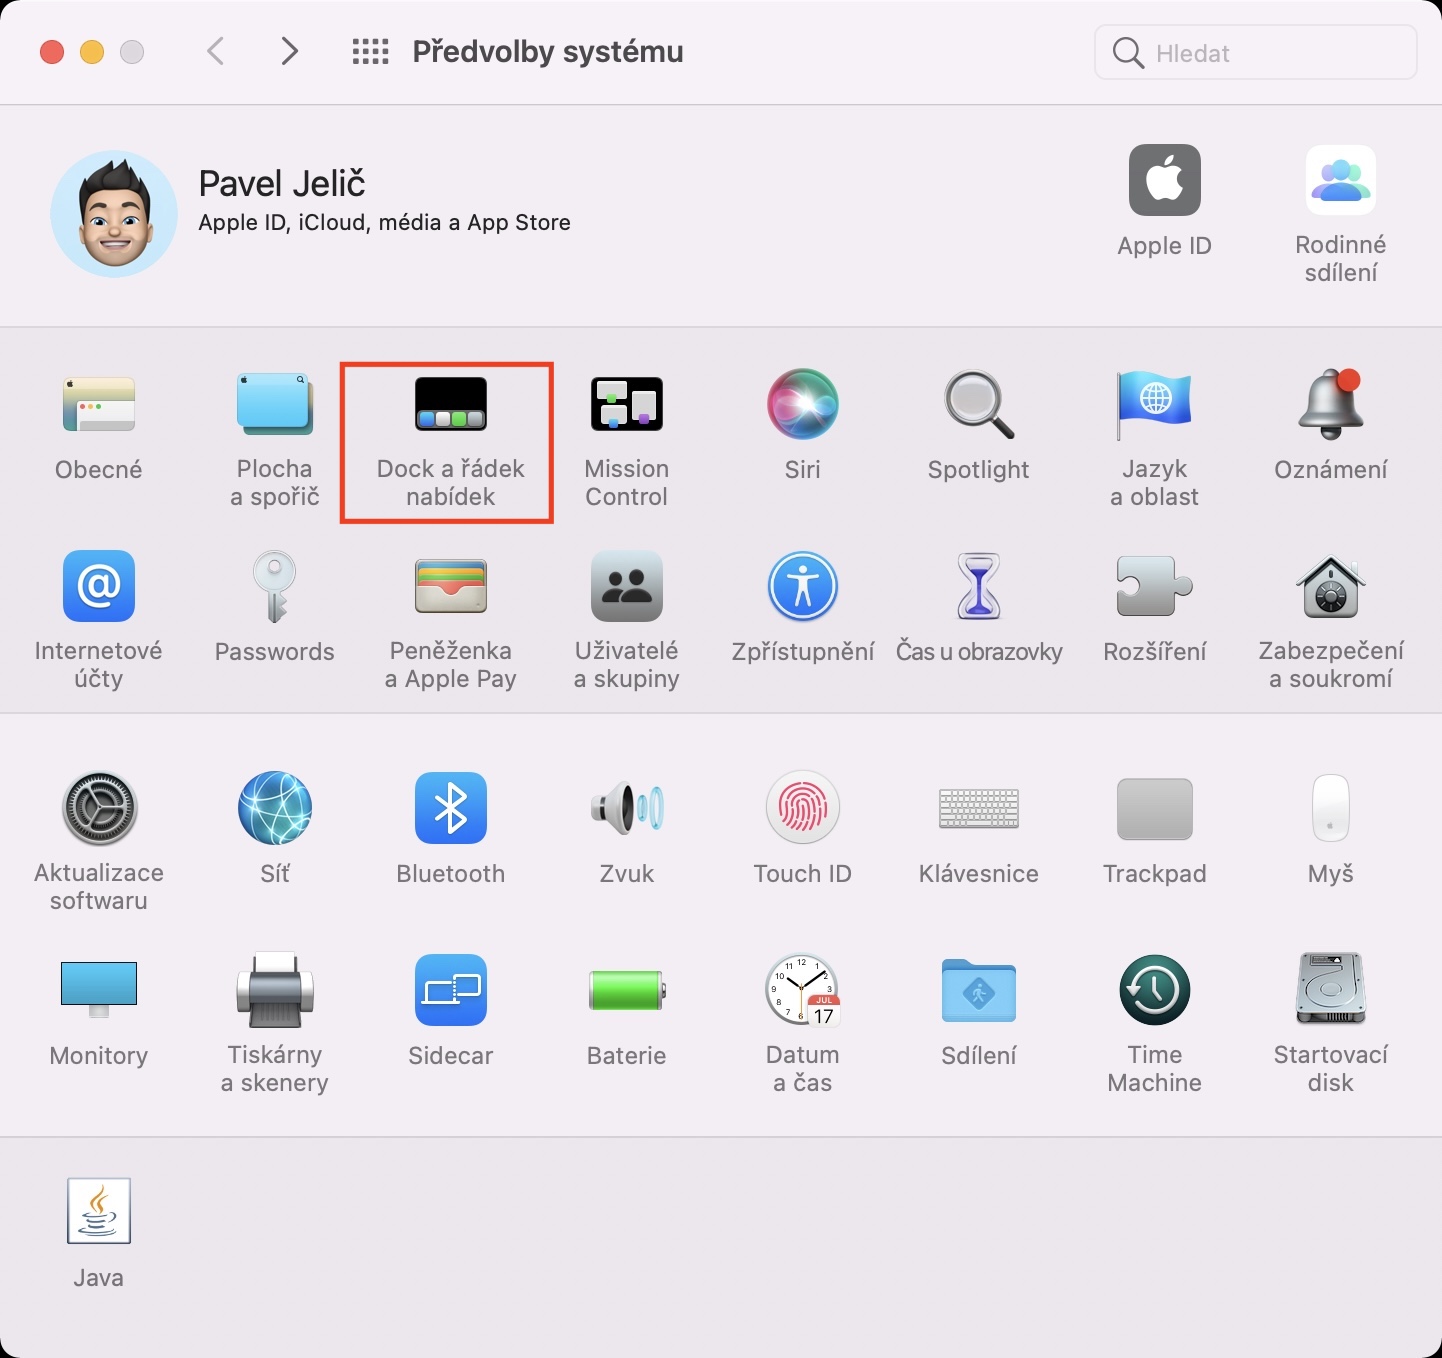
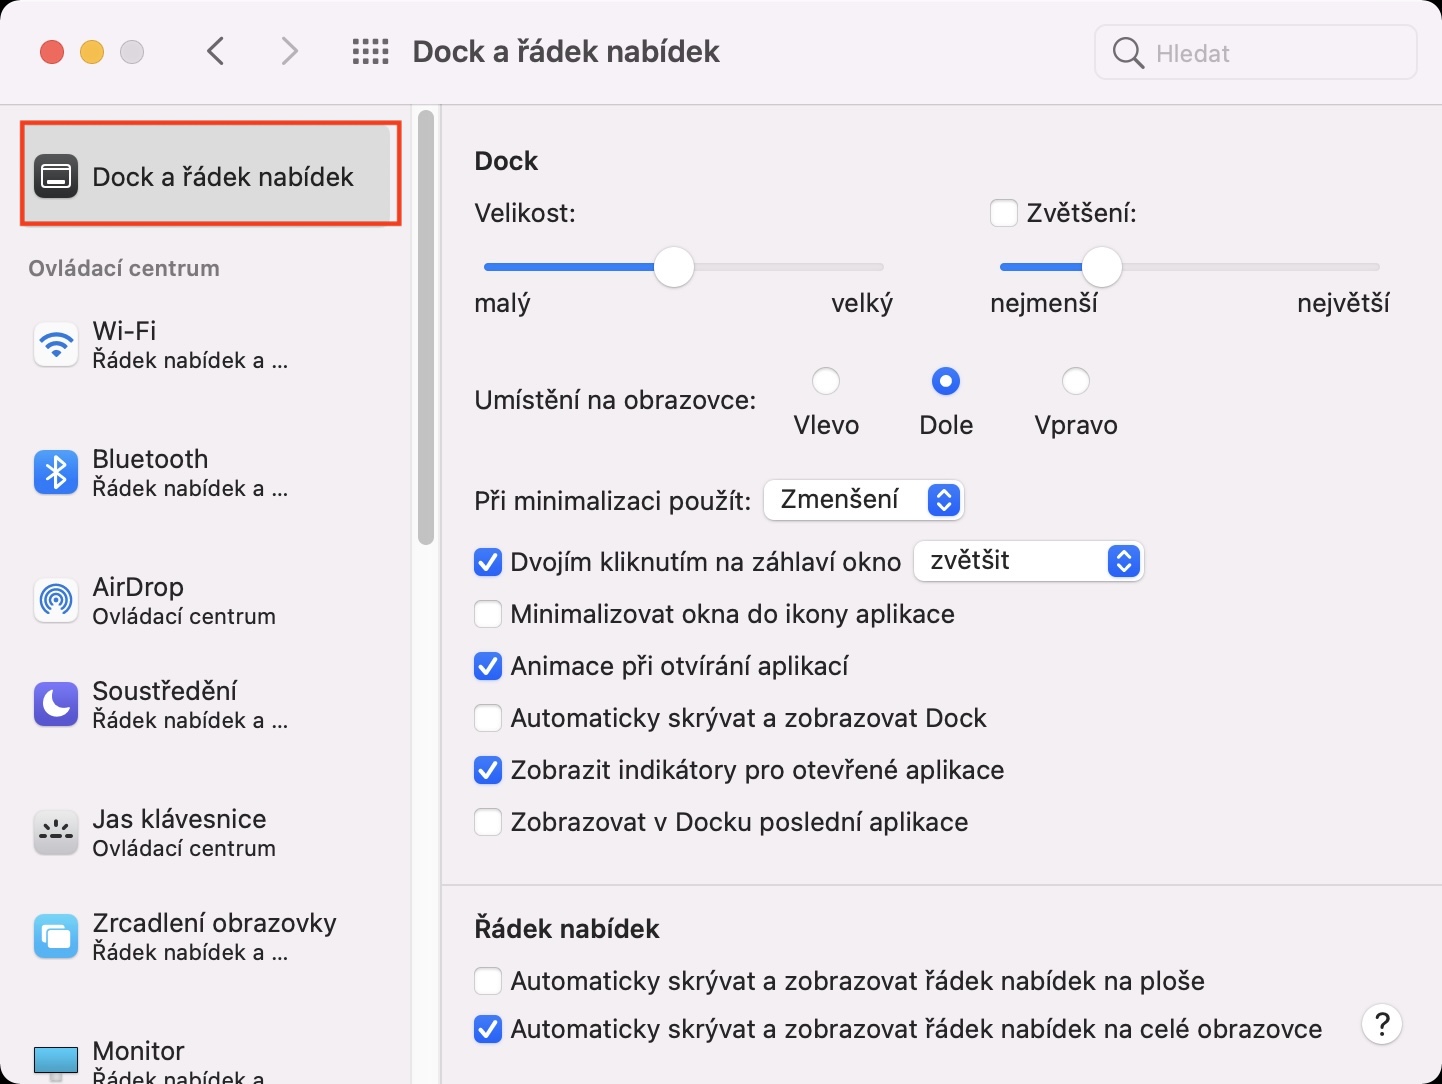
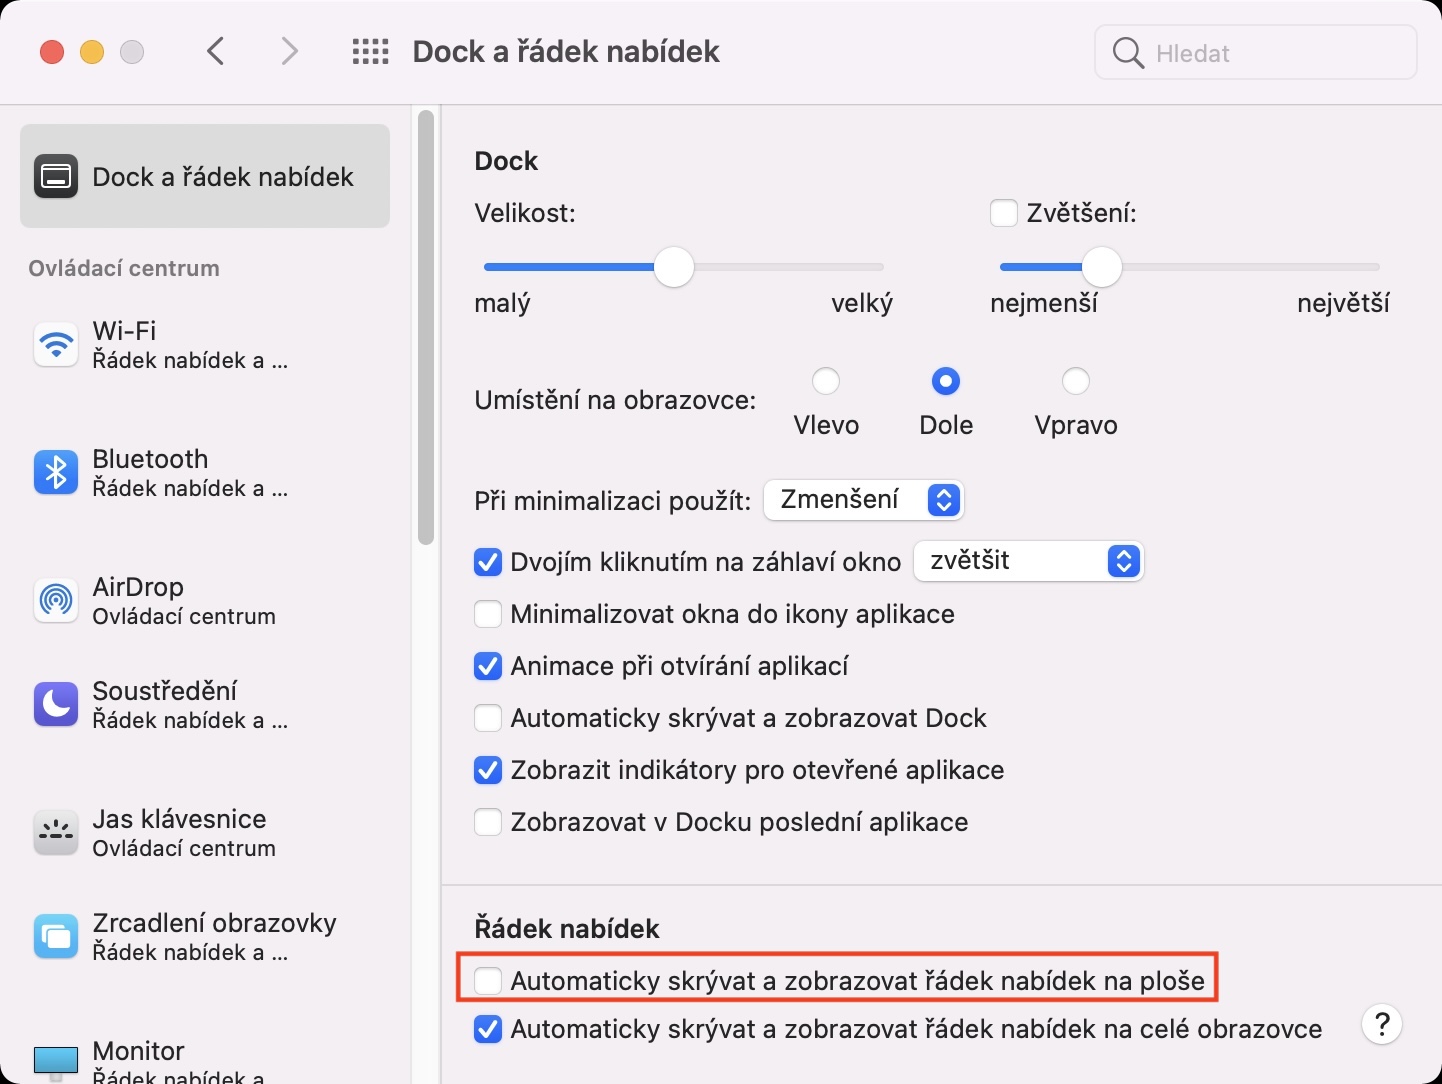
If you switch any window to full screen mode in macOS, the top bar will automatically hide in most cases. Of course, this preference may not suit all users, as the time is hidden in this way, together with some elements for controlling certain applications. Anyway, in macOS Monterey, you can now set the top bar not to hide automatically. You just need to go to System Preferences -> Dock and Menu Bar, where on the left select a section Dock and menu bar. After that, all you have to do is ticked off possibility Automatically hide and show menu bar in full screen.
Arrangement of monitors
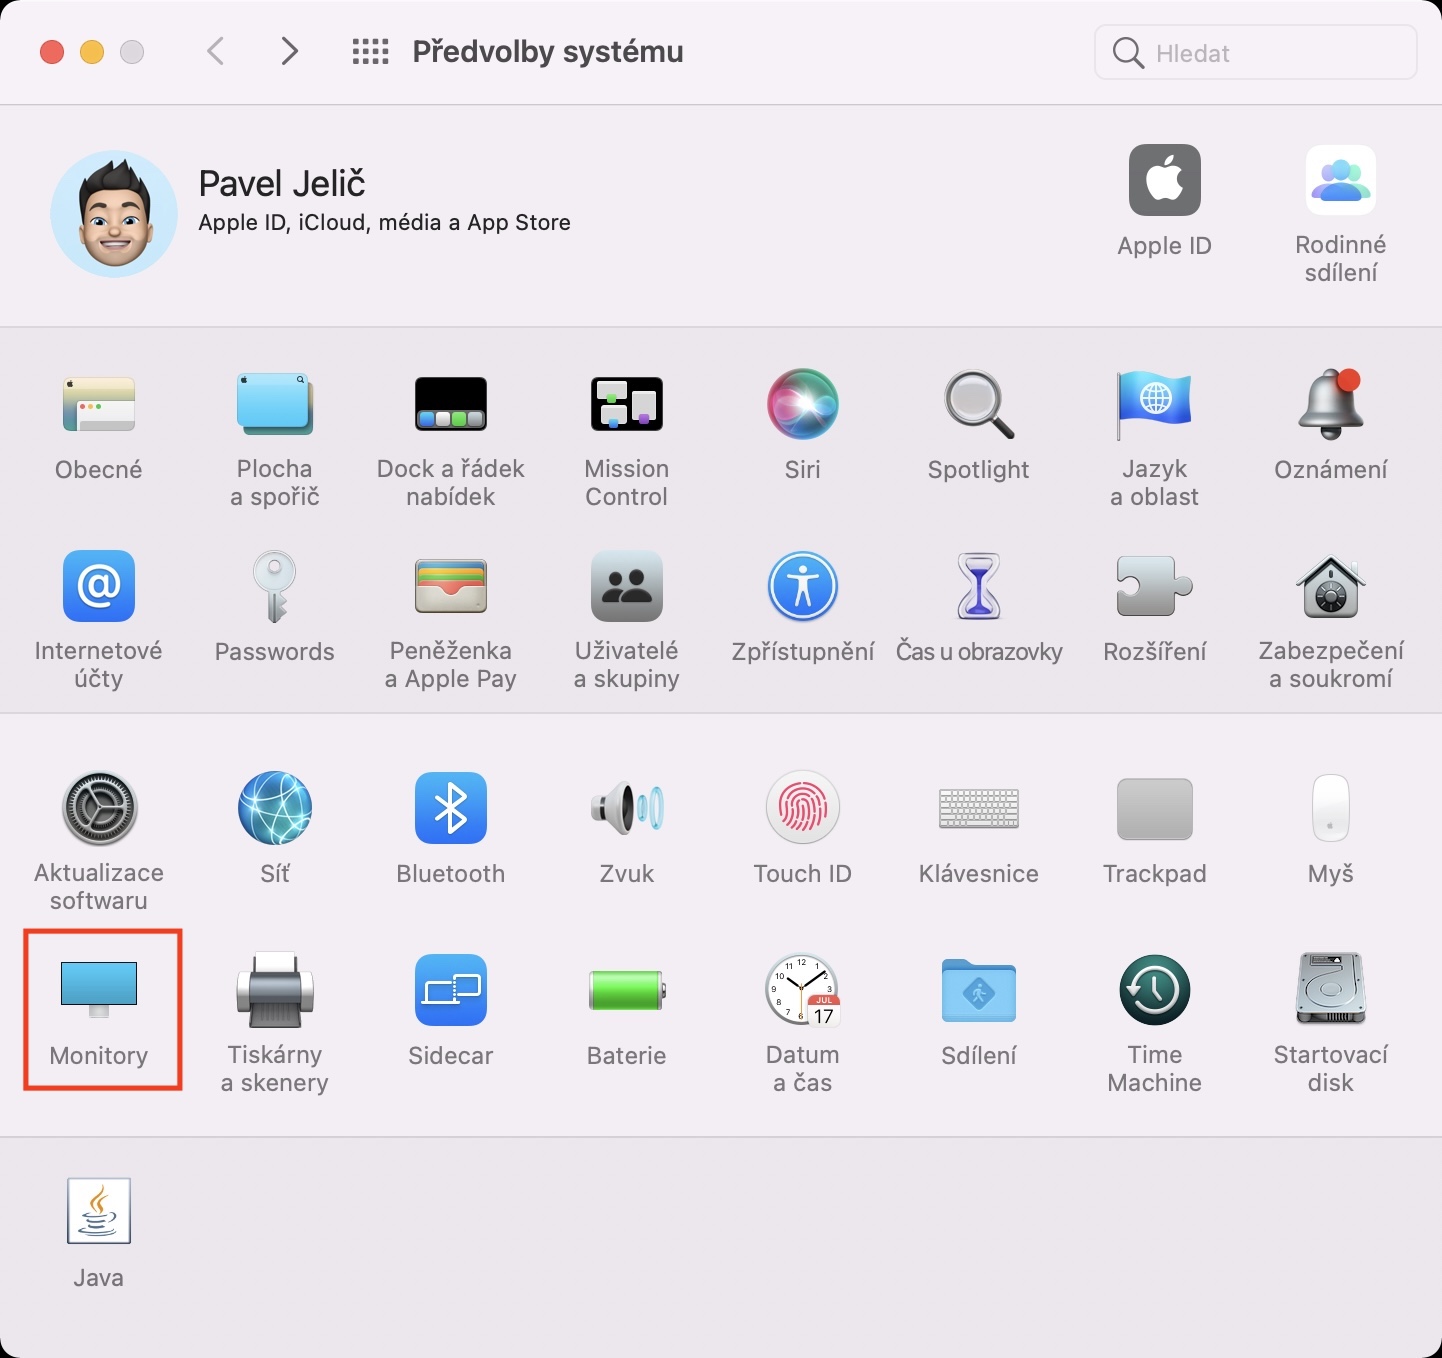
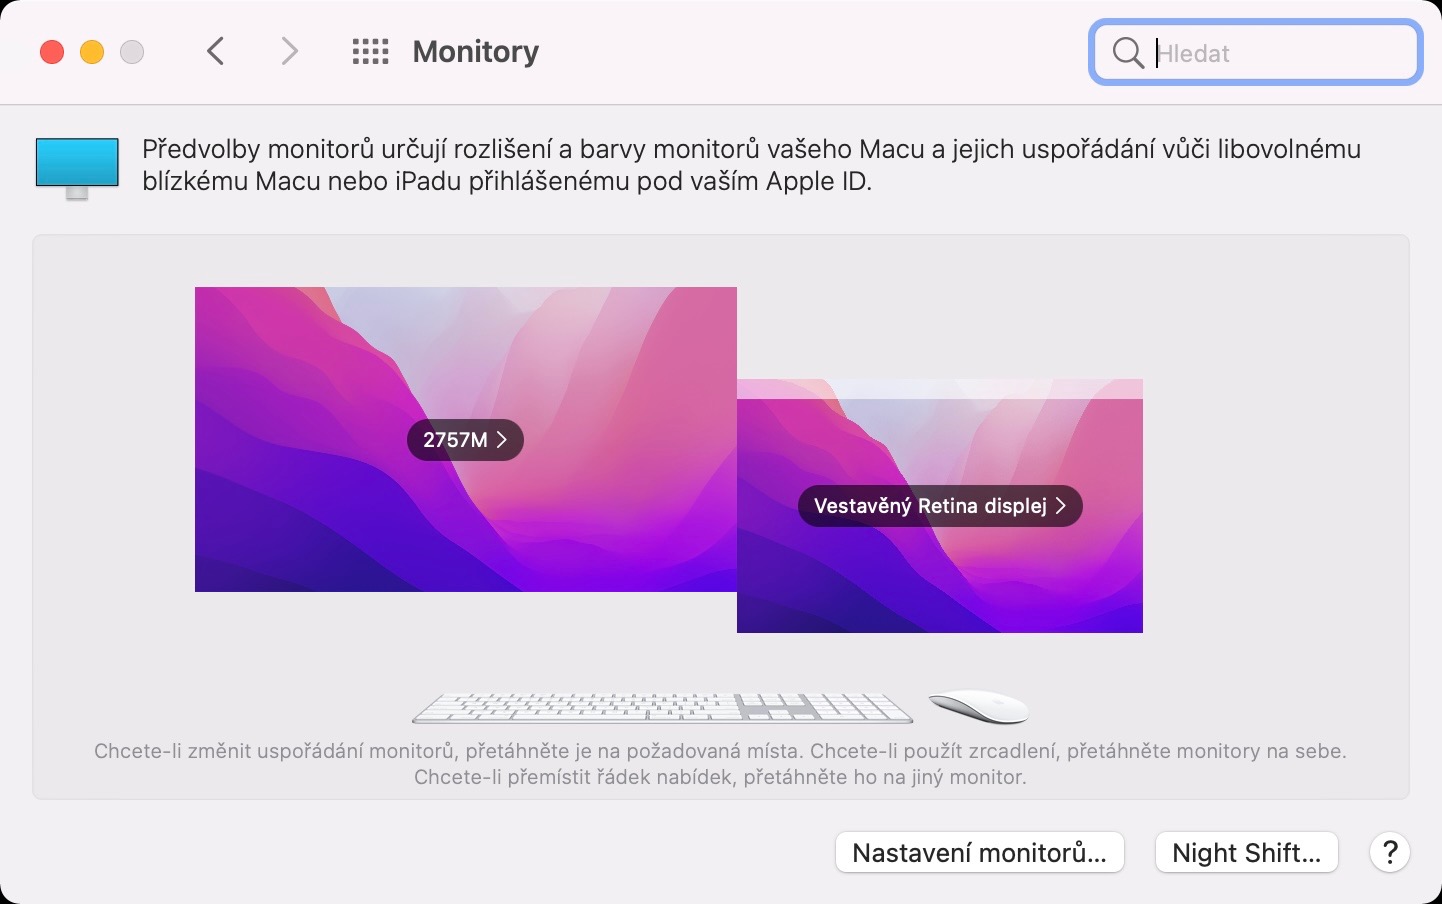
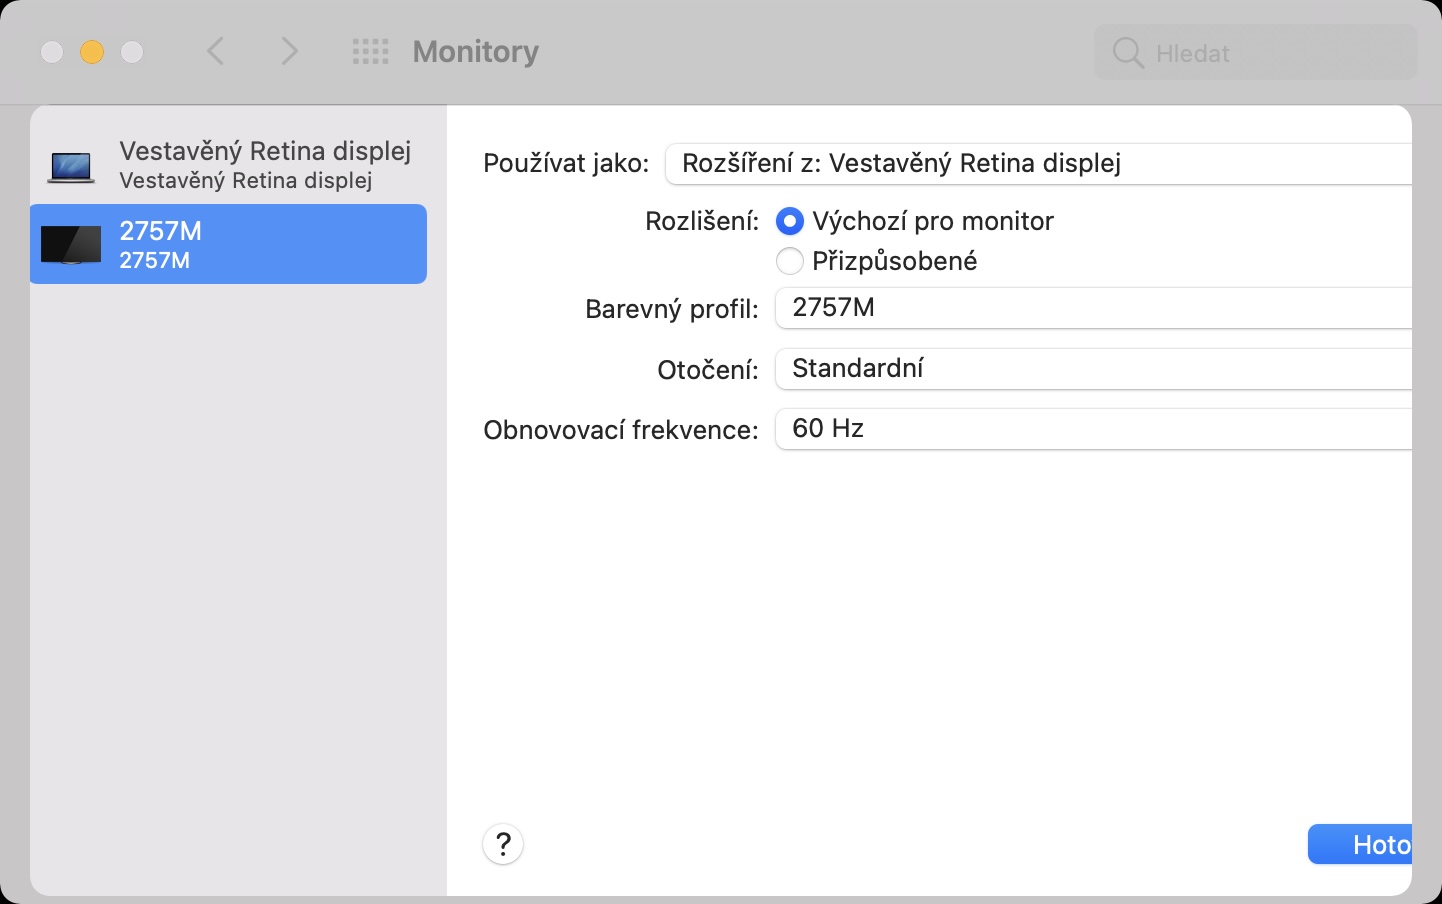
If you are a professional macOS user, it is very likely that you also have an external monitor, or multiple external monitors, connected to your Mac or MacBook. Of course, each monitor has a different size, a different large stand and generally different dimensions. Precisely for this reason, it is necessary to set the position of the external monitors precisely so that you can move gracefully between them with the mouse cursor. This reordering of monitors can be done in System Preferences -> Monitors -> Layout. However, until now this interface was very outdated and unchanged for several years. However, Apple has come up with a complete redesign of this section. It is more modern and easier to use.
Prepare Mac for sale
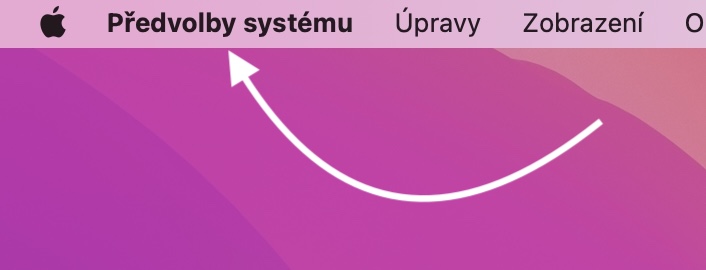
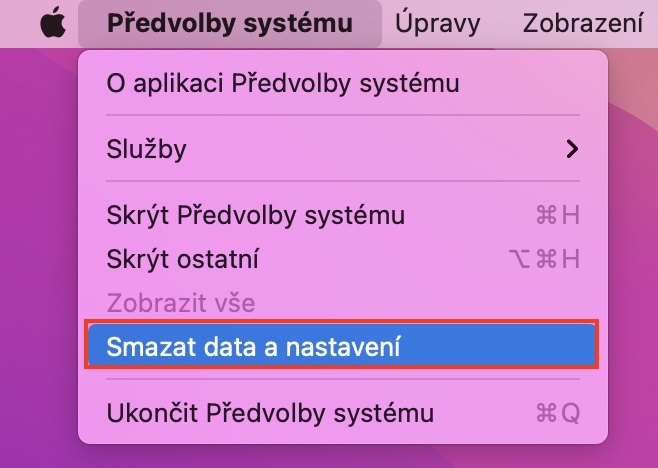
In case you decide to sell your iPhone, all you have to do is go to Settings -> General -> Transfer or Reset iPhone and then tap on Erase data and settings. A simple wizard will then start, with which you can simply erase the iPhone completely and prepare it for sale. Until now, if you wanted to prepare your Mac or MacBook for sale, it was necessary to go to macOS Recovery, where you formatted the disk, and then installed a new copy of macOS. For inexperienced users, this procedure was quite complicated, so Apple decided to implement a wizard similar to iOS in macOS. So if you want to completely erase your Apple computer in macOS Monterey and prepare it for sale, go to System preference. Then click on in the top bar System Preferences -> Wipe Data & Settings… Then a wizard will appear that you just need to go through.
Orange dot in the upper right
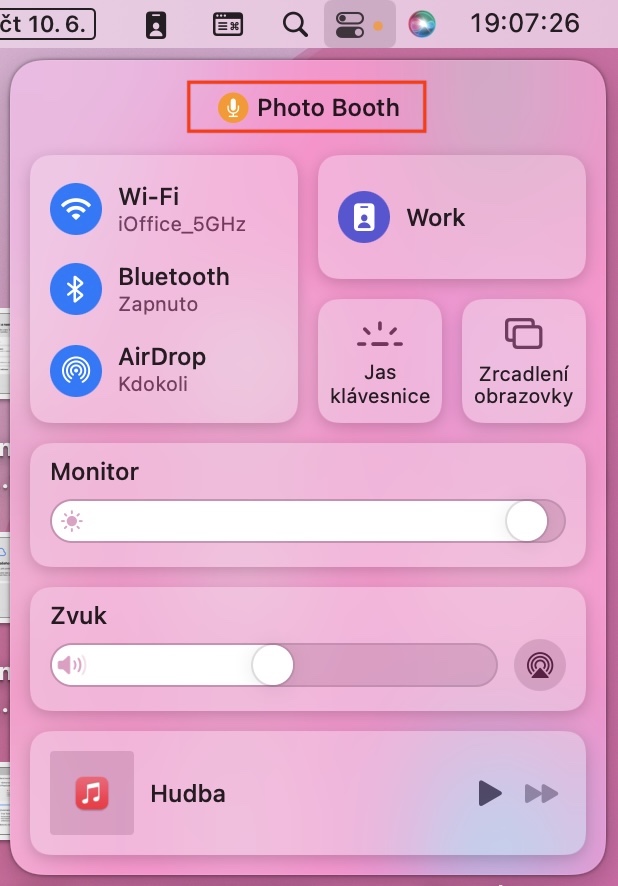
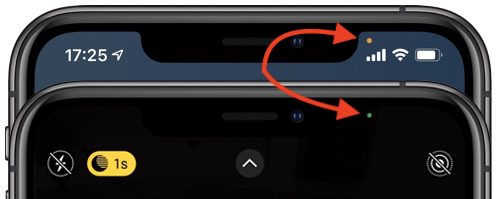
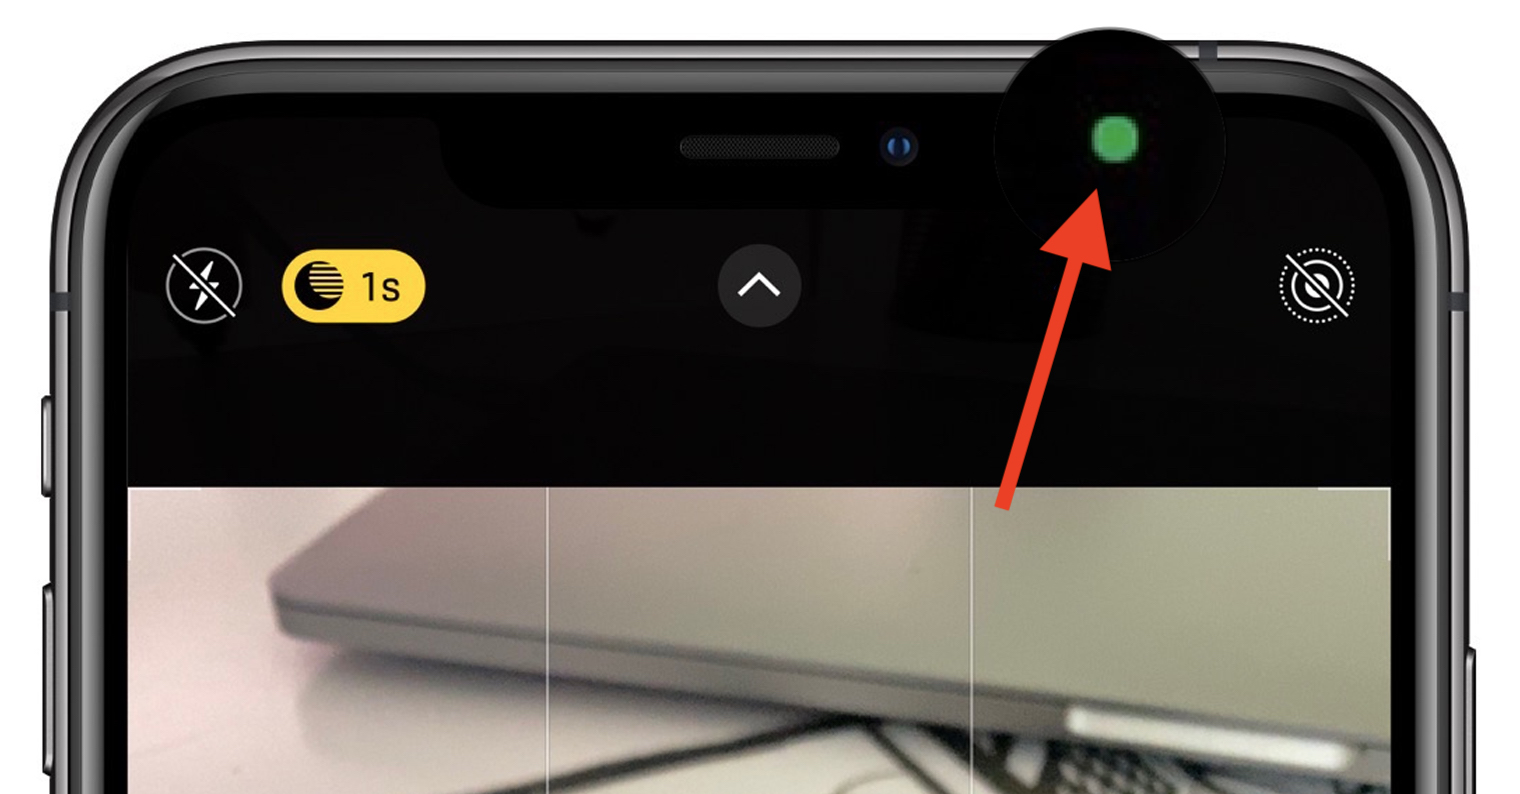
If you are among the individuals who have owned a Mac for a long time, then you certainly know that when the front camera is activated, the green diode next to it automatically lights up, indicating that the camera is active. This is a safety feature, thanks to which you can always quickly and easily determine whether the camera is turned on. Last year, a similar function was added to iOS as well - here the green diode began to appear on the display. In addition to it, however, Apple also added an orange diode, which indicated that the microphone was active. And in macOS Monterey, we also got this orange dot. So, if the microphone on the Mac is active, you can easily find out by going to top bar, you will see the control center icon on the right. if to the right of it is an orange dot, it is microphone active. You can find more information about which application uses the microphone or camera after opening the control center.
 Flying around the world with Apple