Recently, our magazine has been diligently covering all the news from the current systems that Apple presented several long weeks ago. Specifically, we can currently install the latest iOS and iPadOS 15, macOS Monterey, watchOS 8 and tvOS 15 systems on our Apple devices. Along with the new major versions of Apple's systems, we also received the "new" iCloud+ service. This service is automatically available to all users who subscribe to iCloud, i.e. those users who are not using the free plan. The iCloud+ service includes several functions that have only one task – primarily to protect the privacy and security of users. Let's take a look at these new features together in this article.
It could be interest you
Private transfer
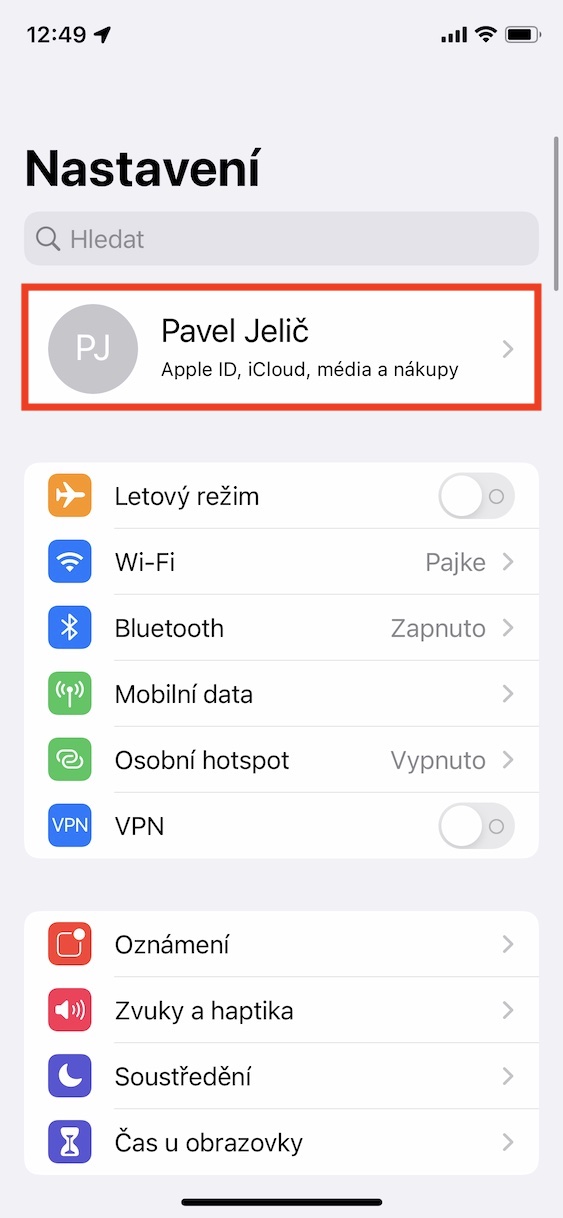
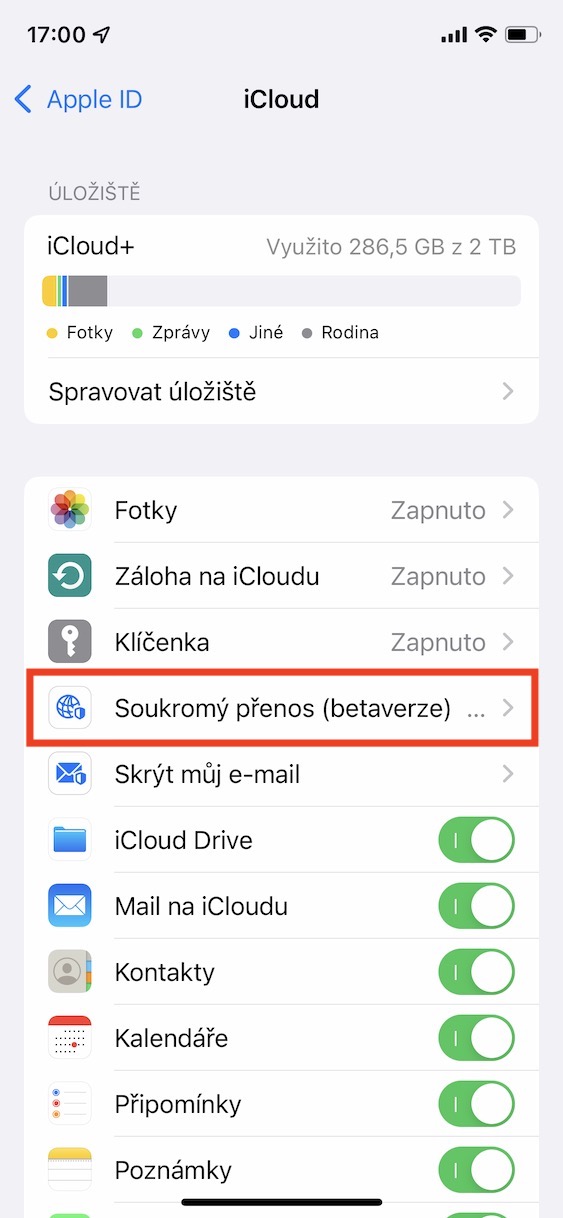
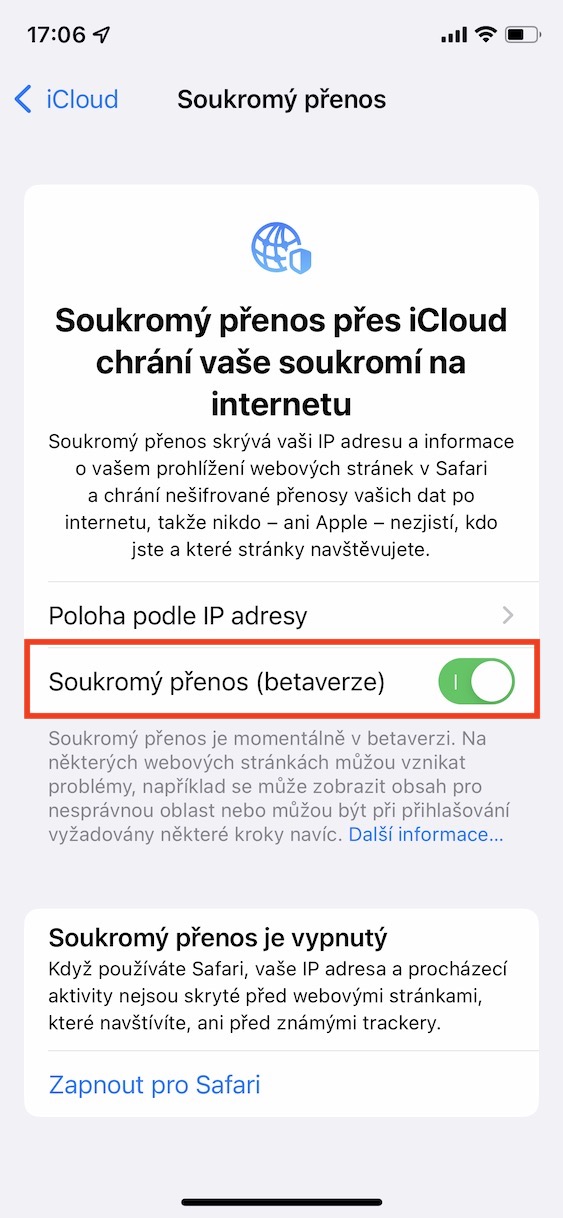
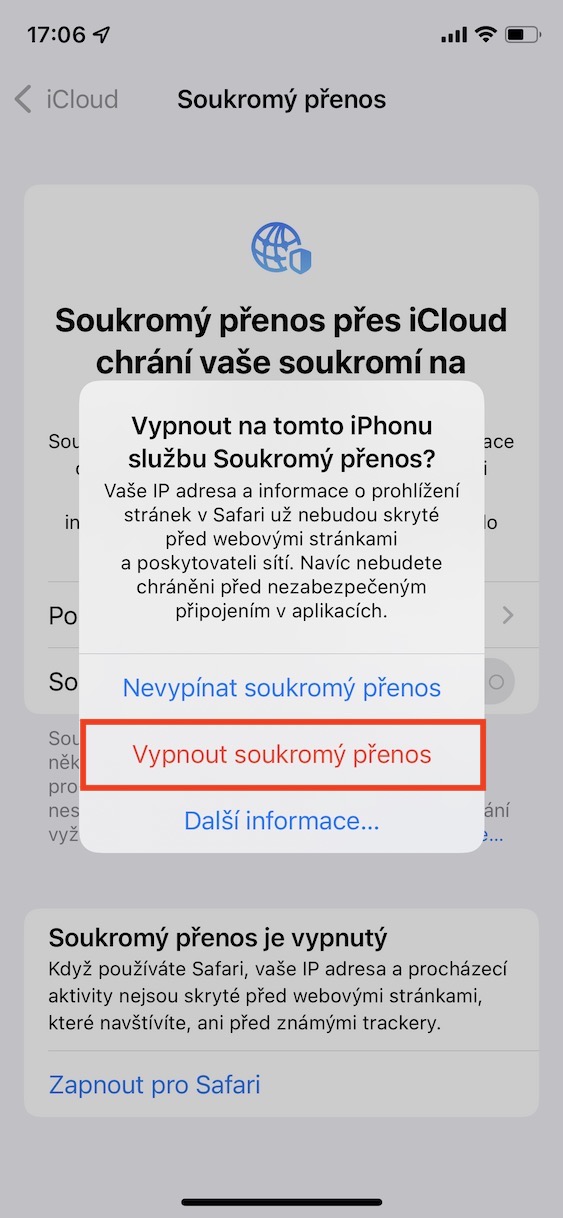
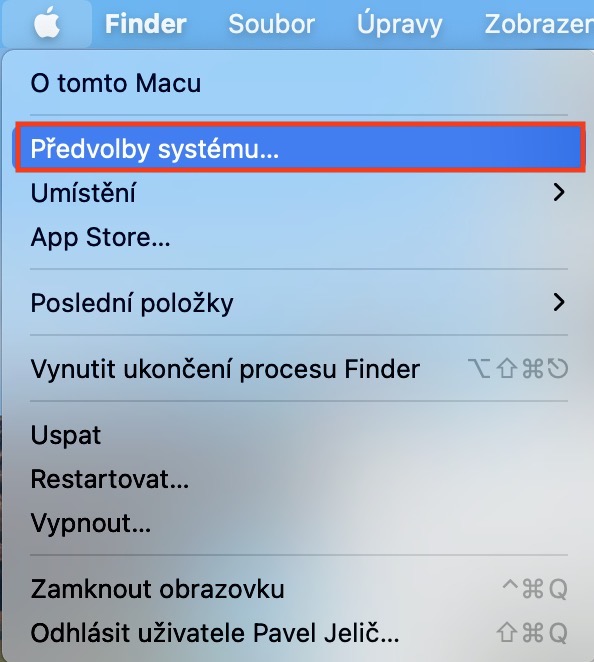
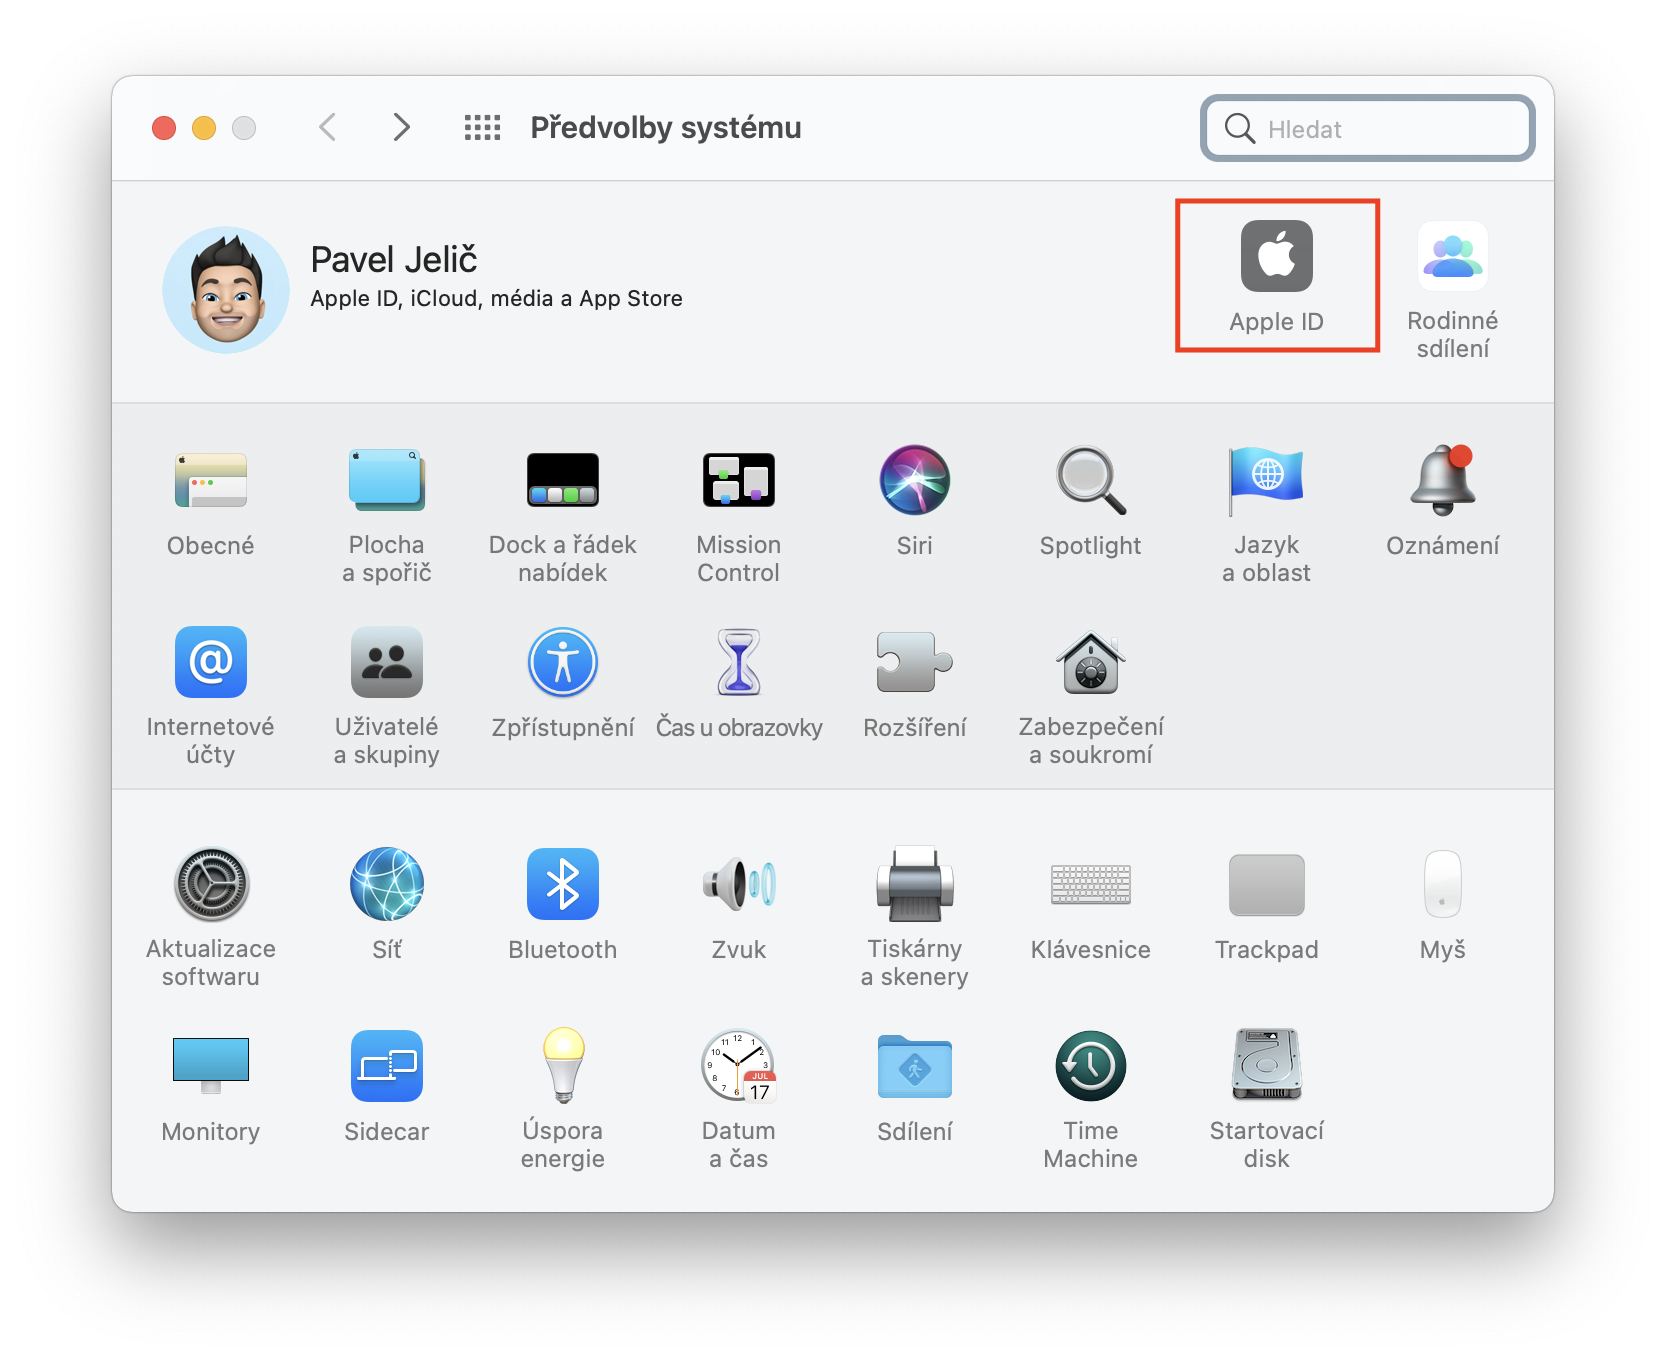
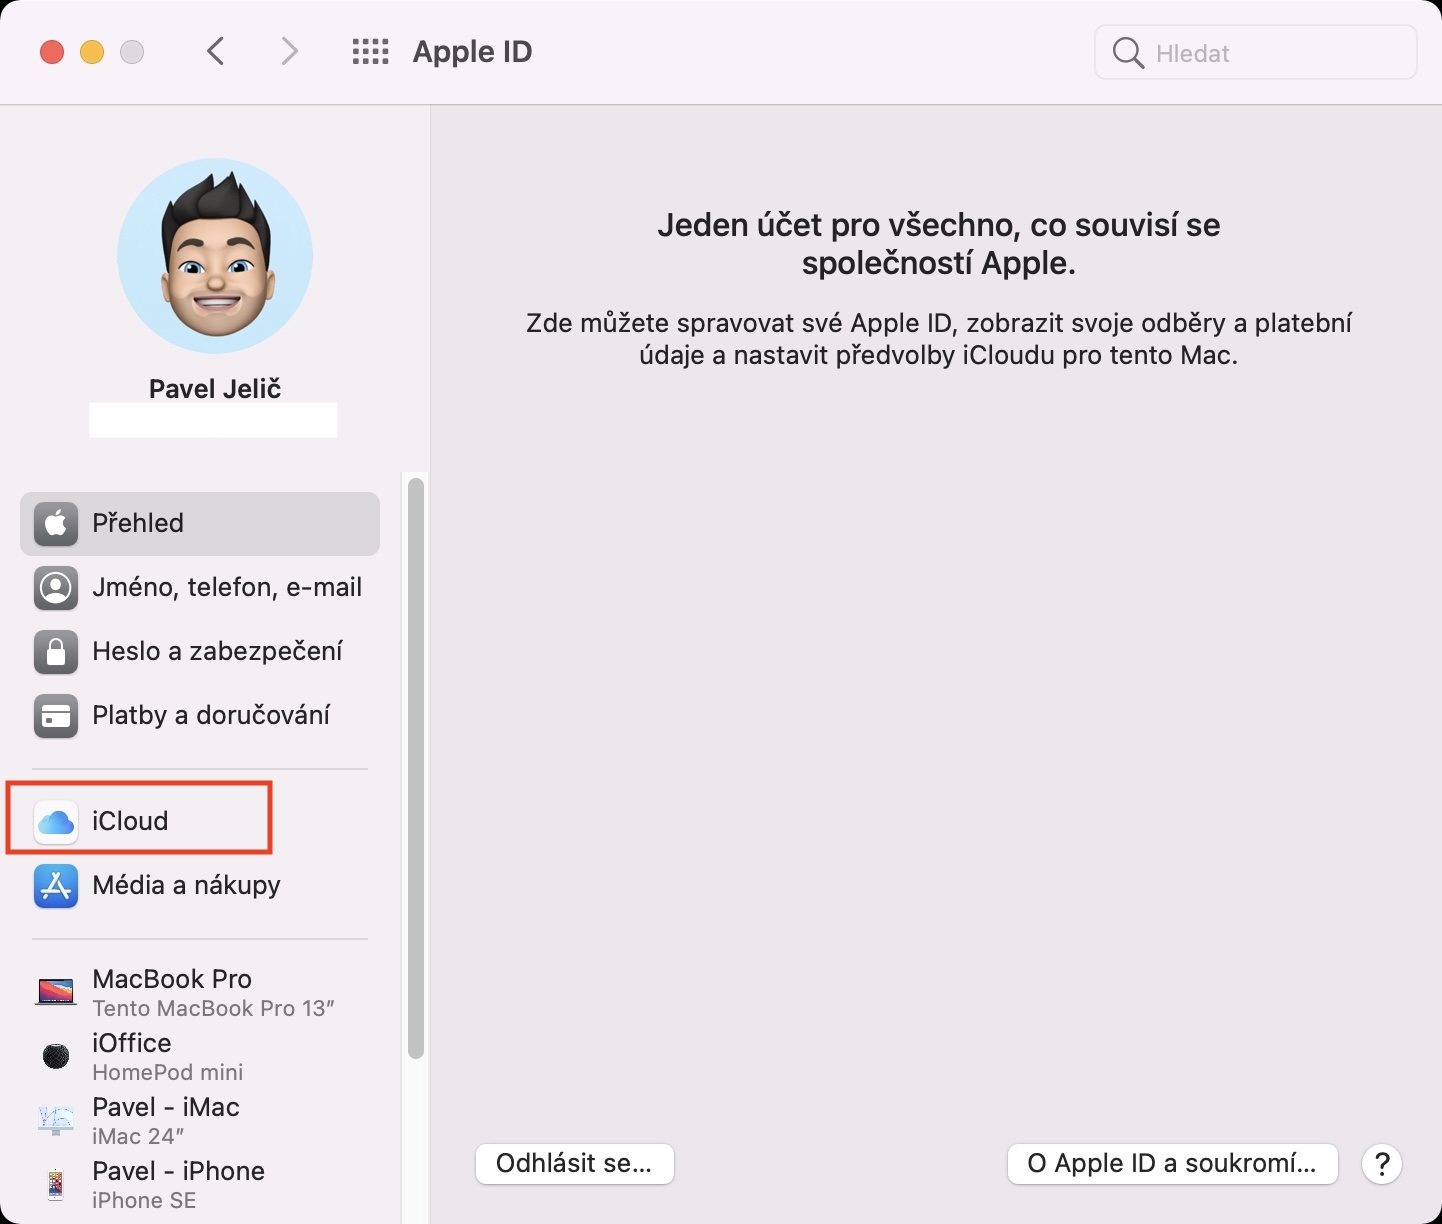
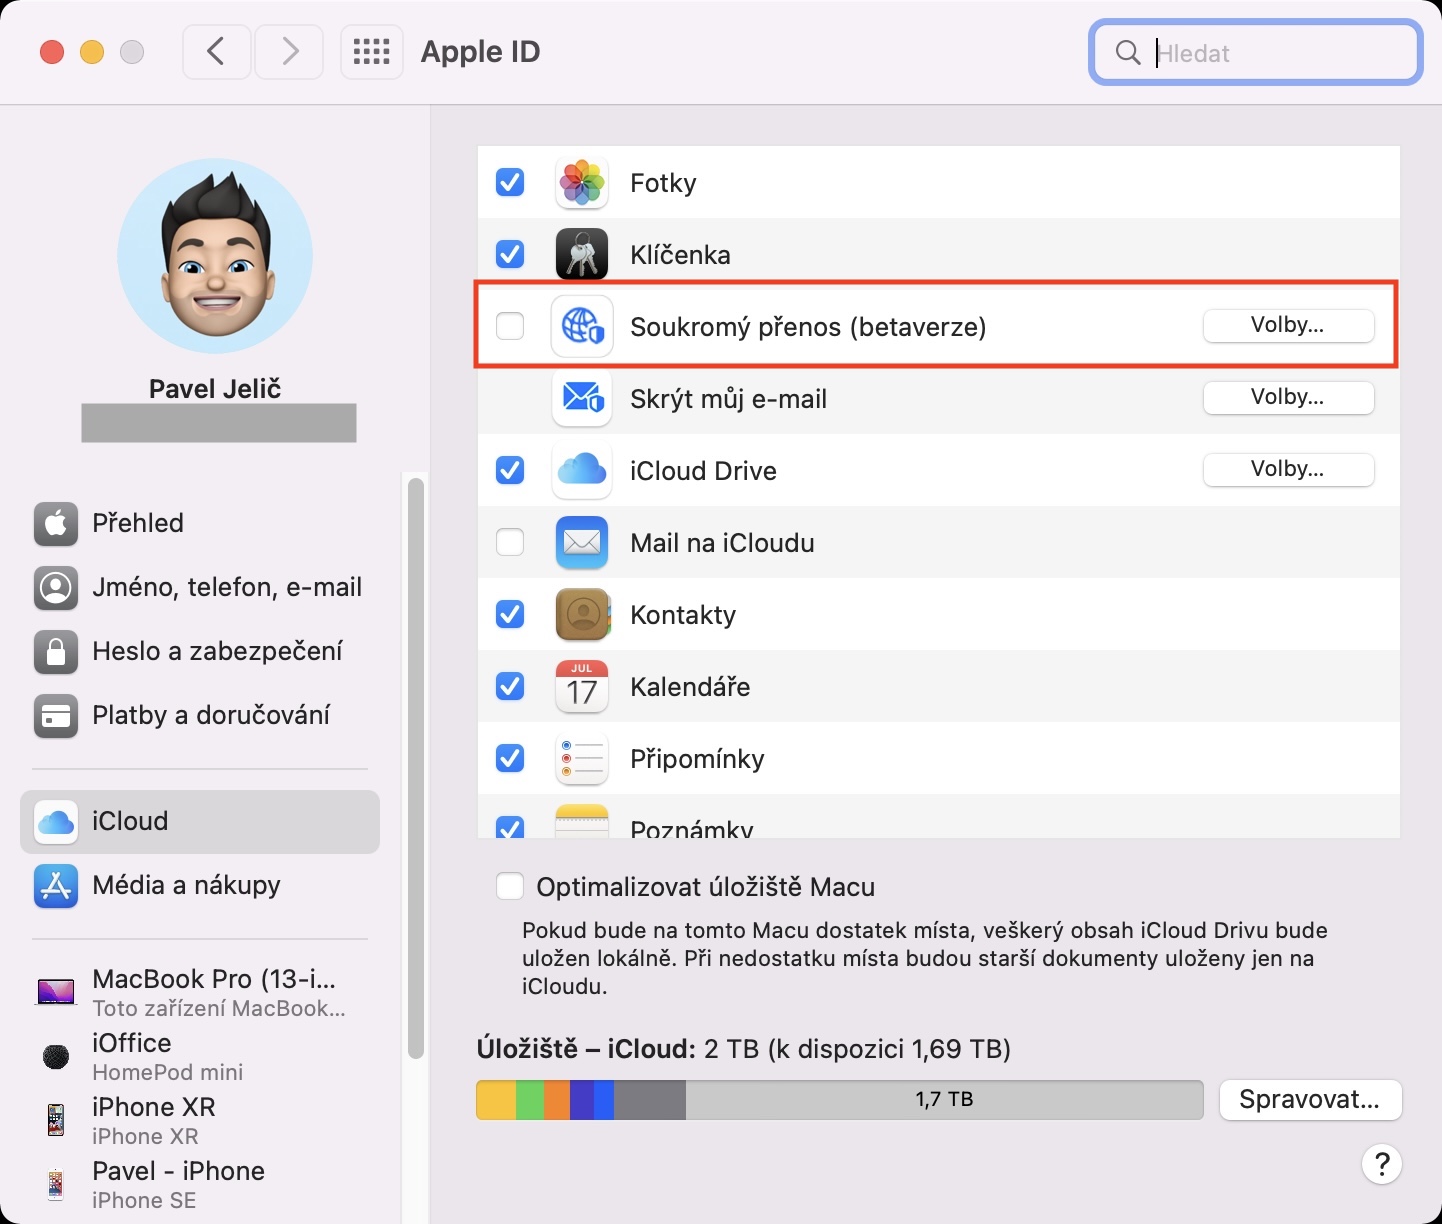
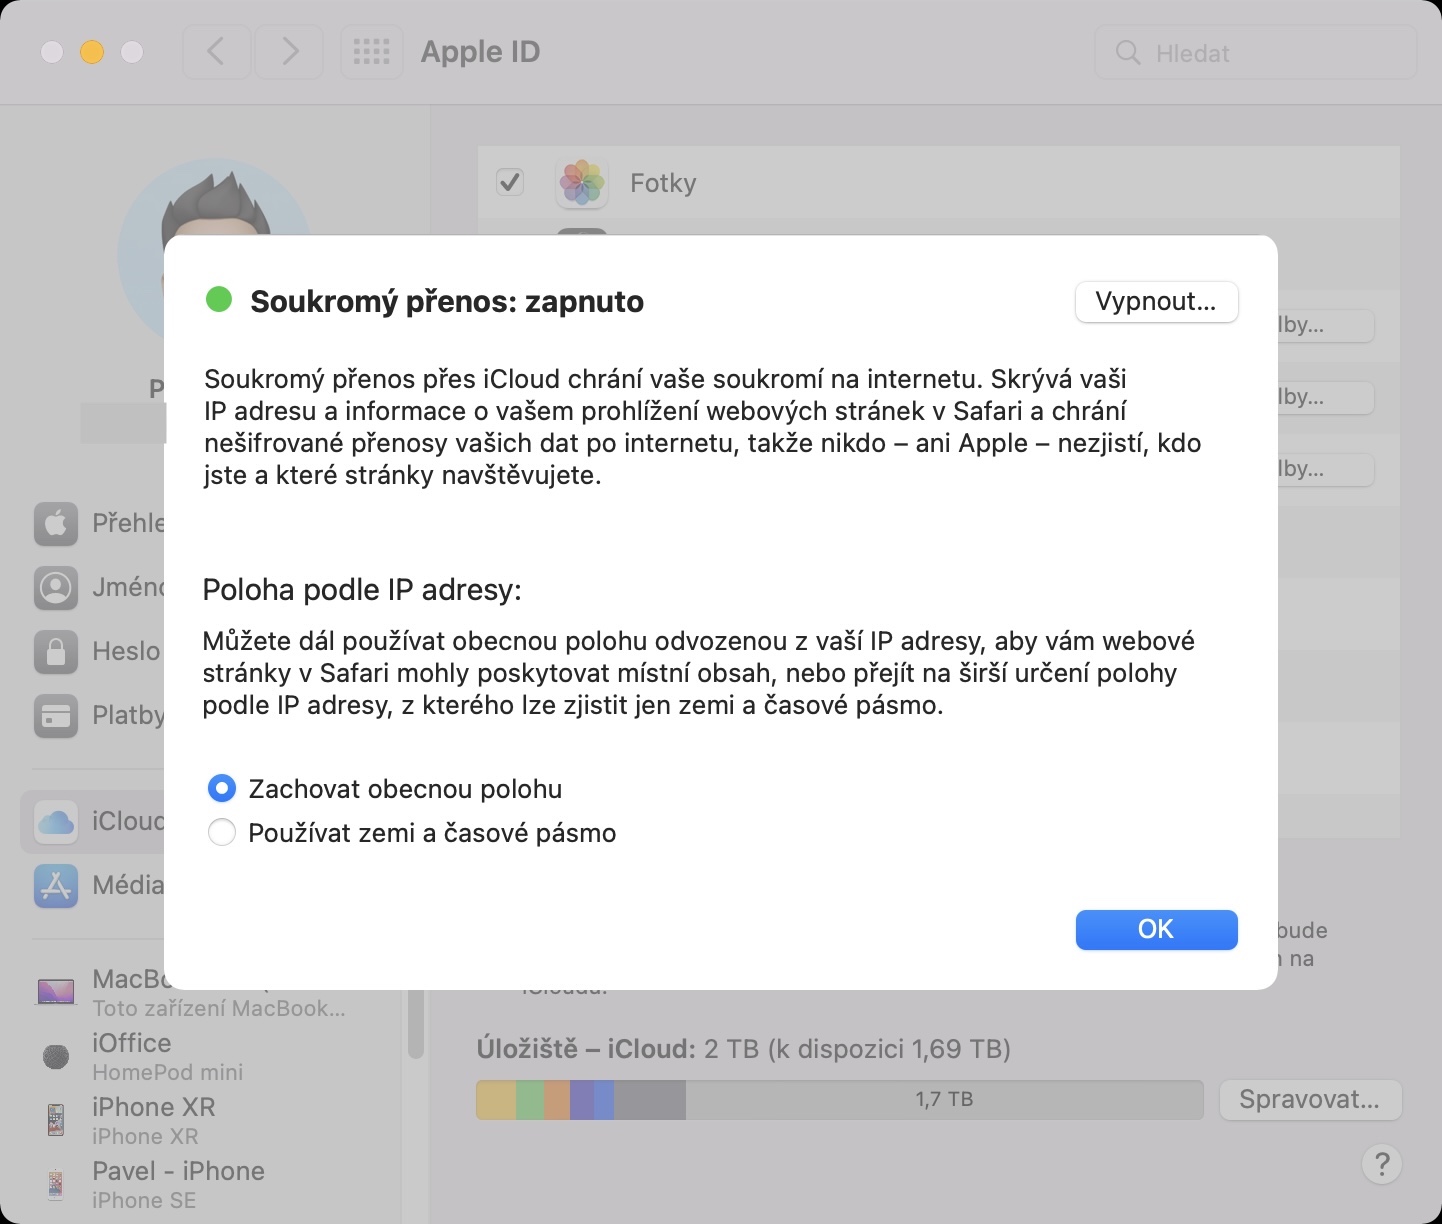
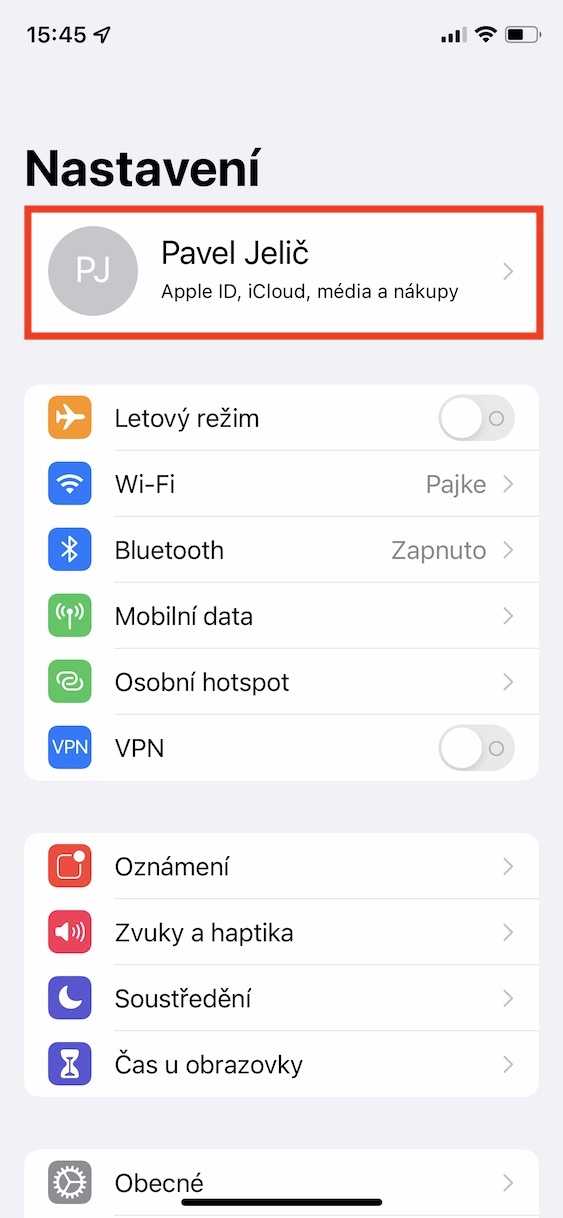
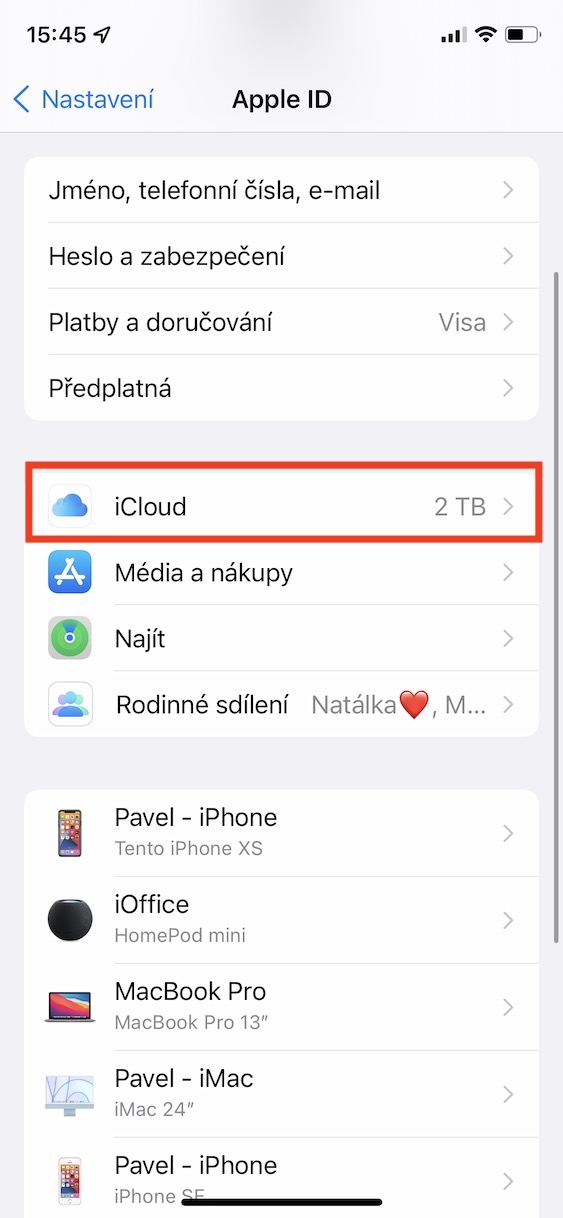
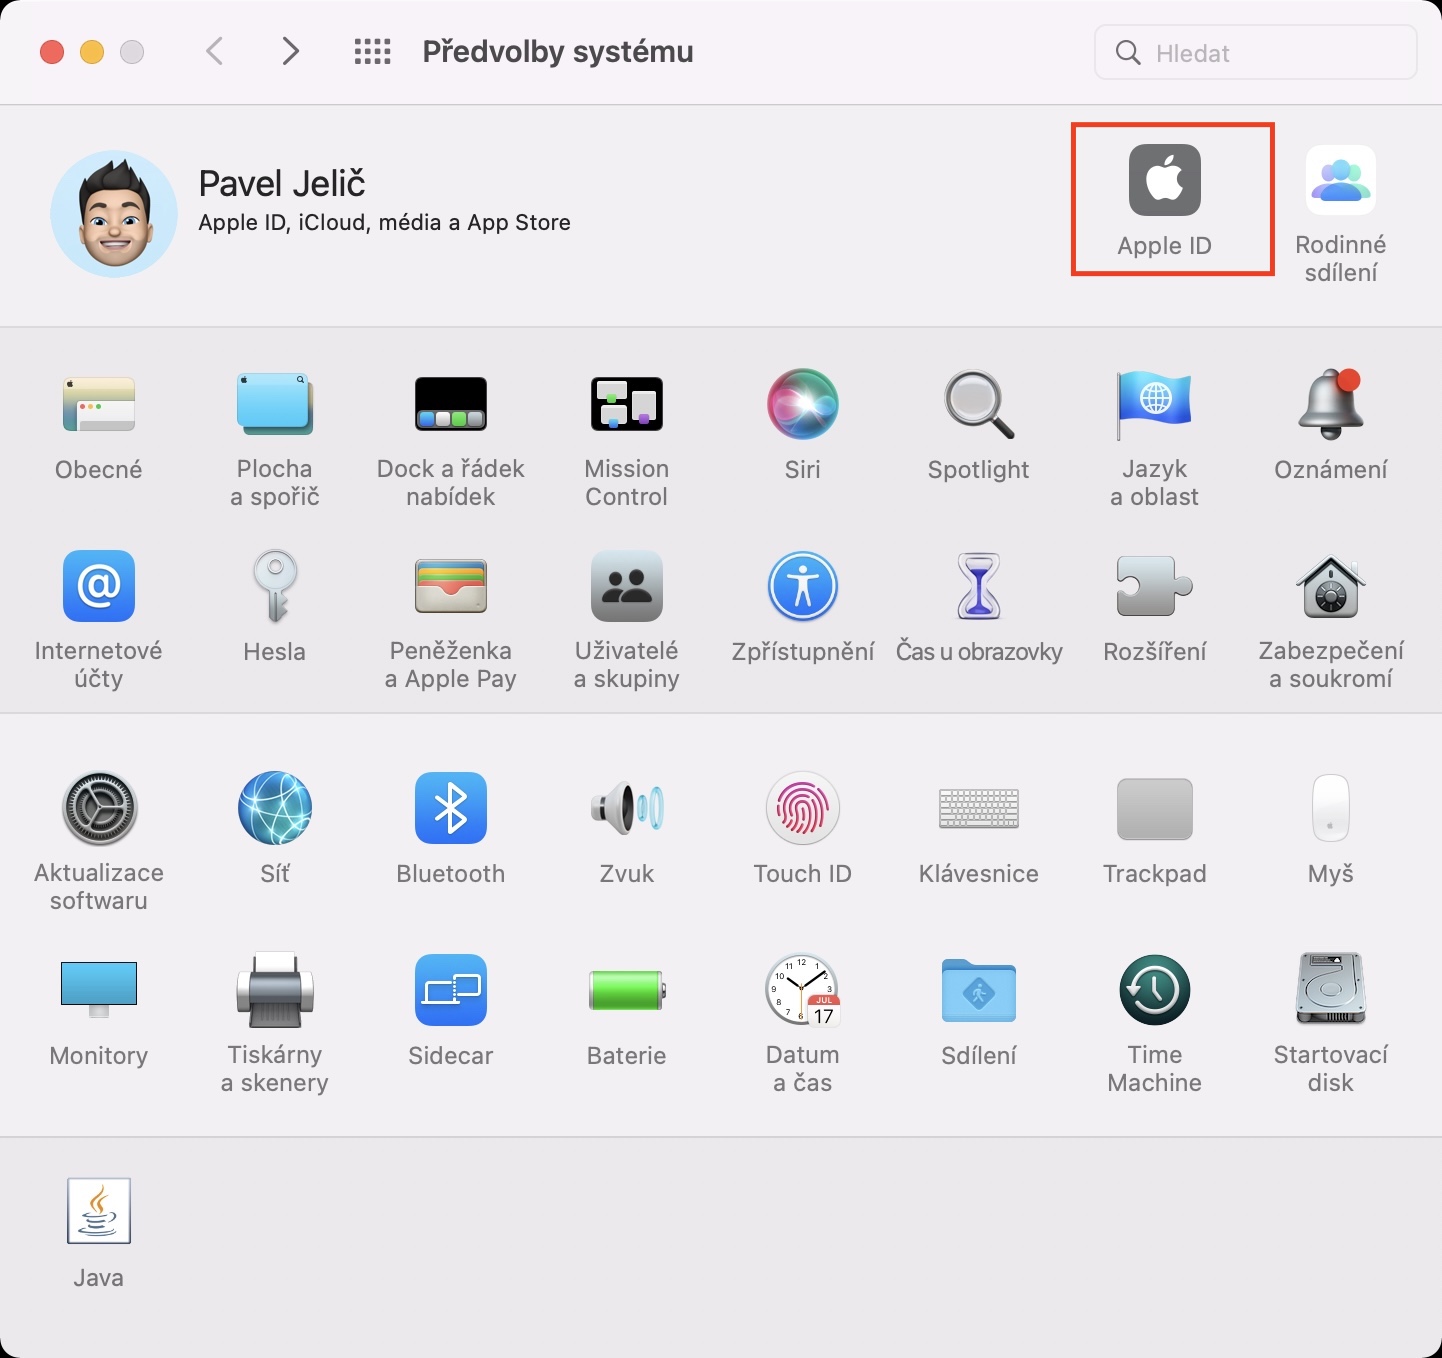
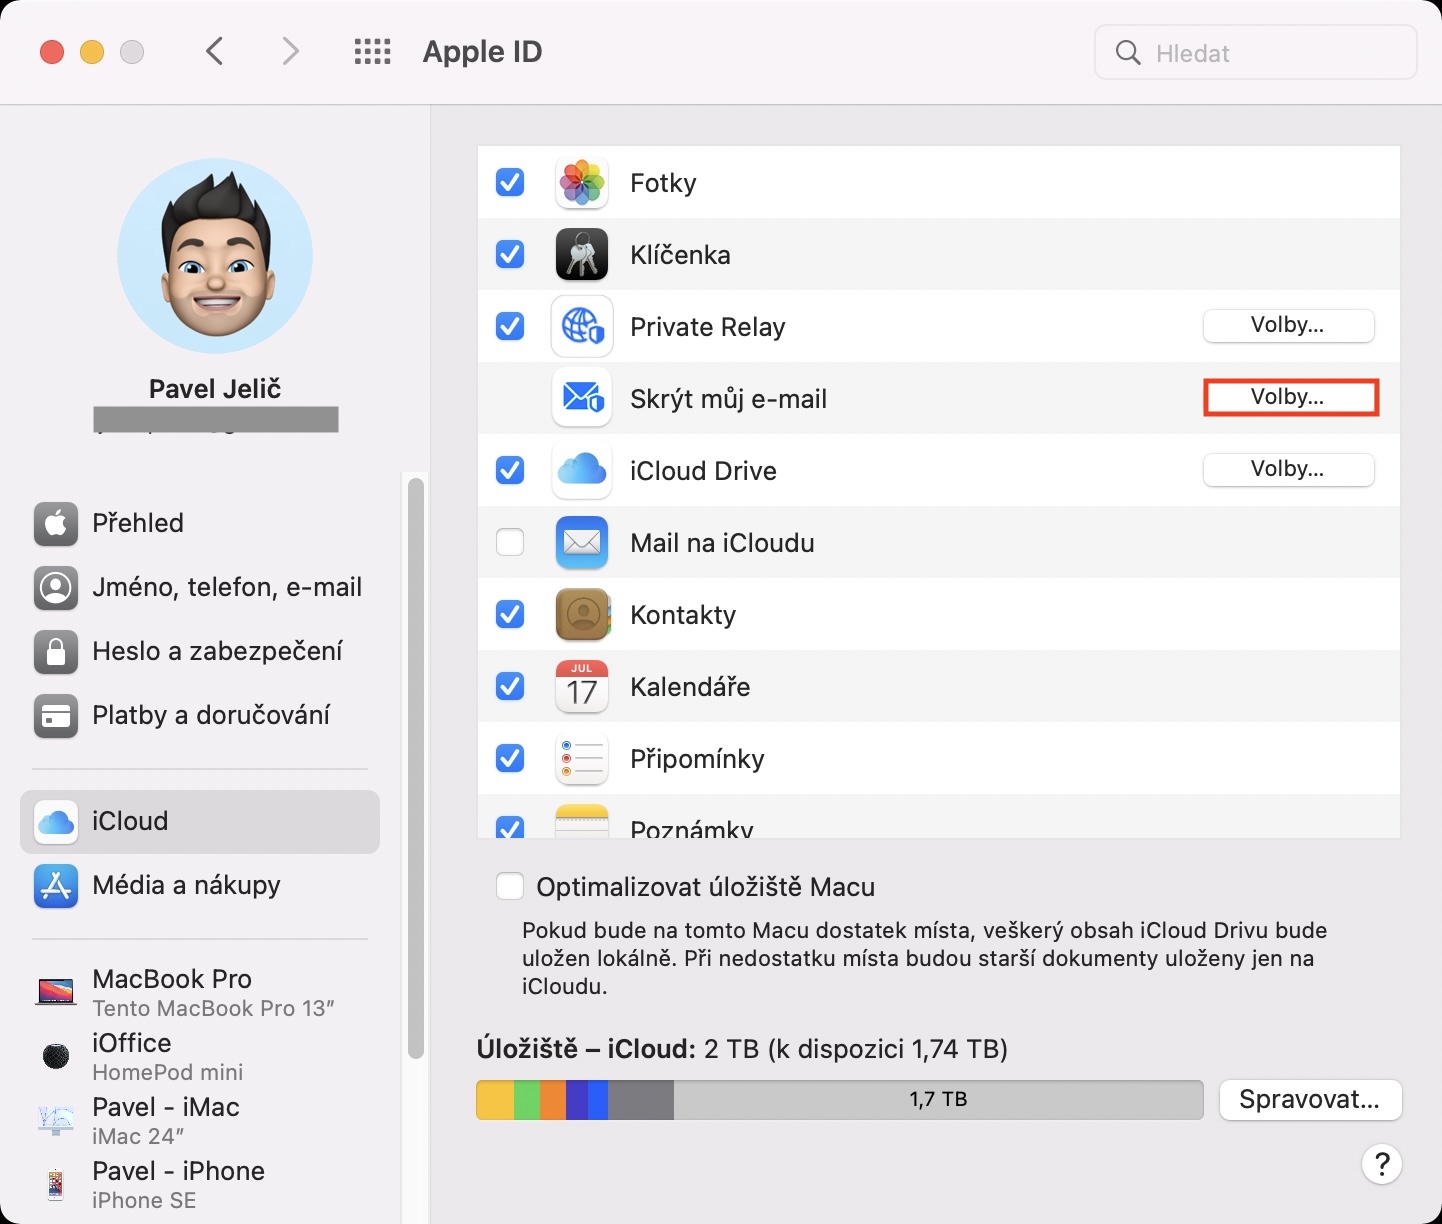
Private Relay is undoubtedly one of the biggest features available in iCloud+. If you follow our magazine regularly, you have most likely already come across some information about Private Transmission. Just a reminder - Private Streaming is designed to protect you as much as possible when browsing the internet. If you activate it, your IP address and other information about browsing the Internet will be hidden. At the same time, your real location will also change, both in front of providers and in front of websites. This means that practically no one will be able to determine exactly where you are, or who you are. If you want to be safe when browsing the Internet and subscribe to iCloud, then definitely consider activating Private Transfer. On iPhone and iPad, just go to Settings → your profile → iCloud → Private Transfer (beta version), on Mac then to System Preferences → Apple ID → iCloud, where Private transfer enough activate.
Hide my email
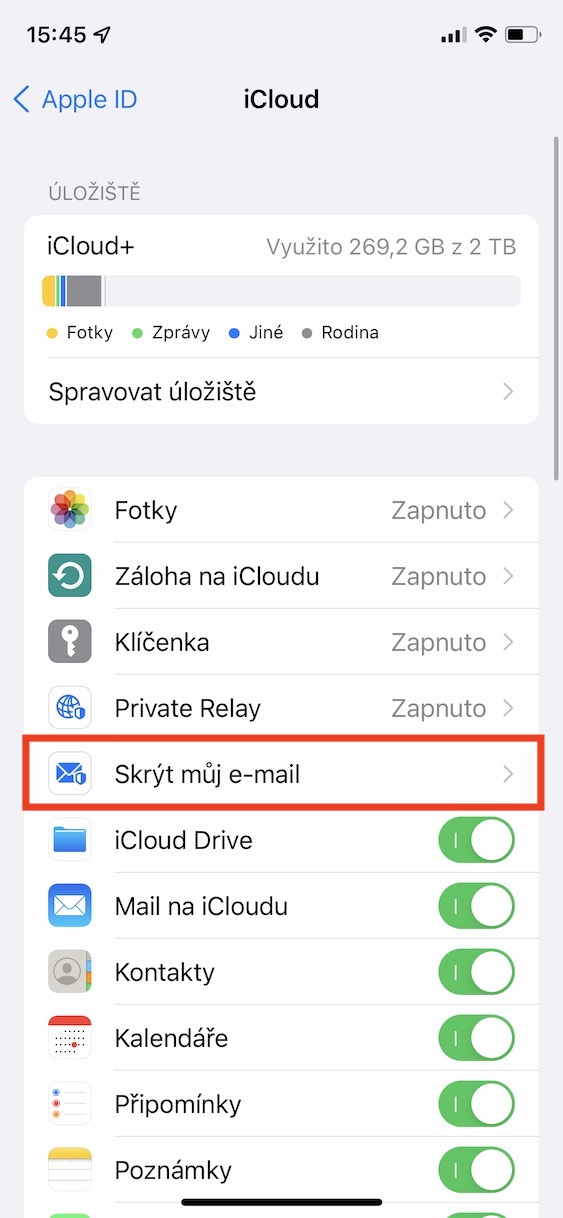
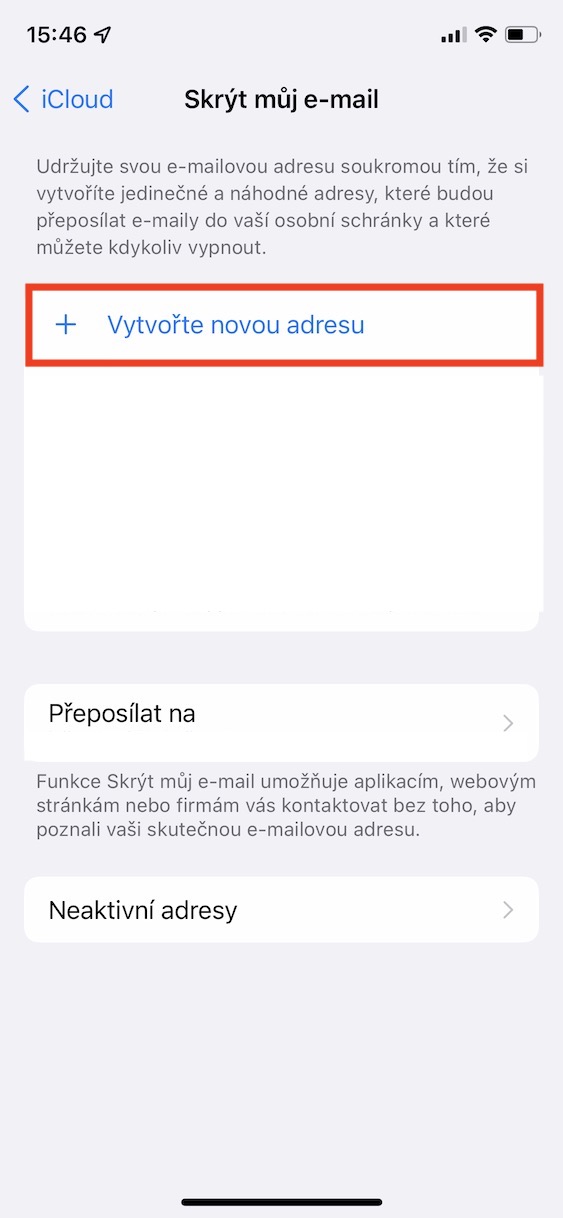
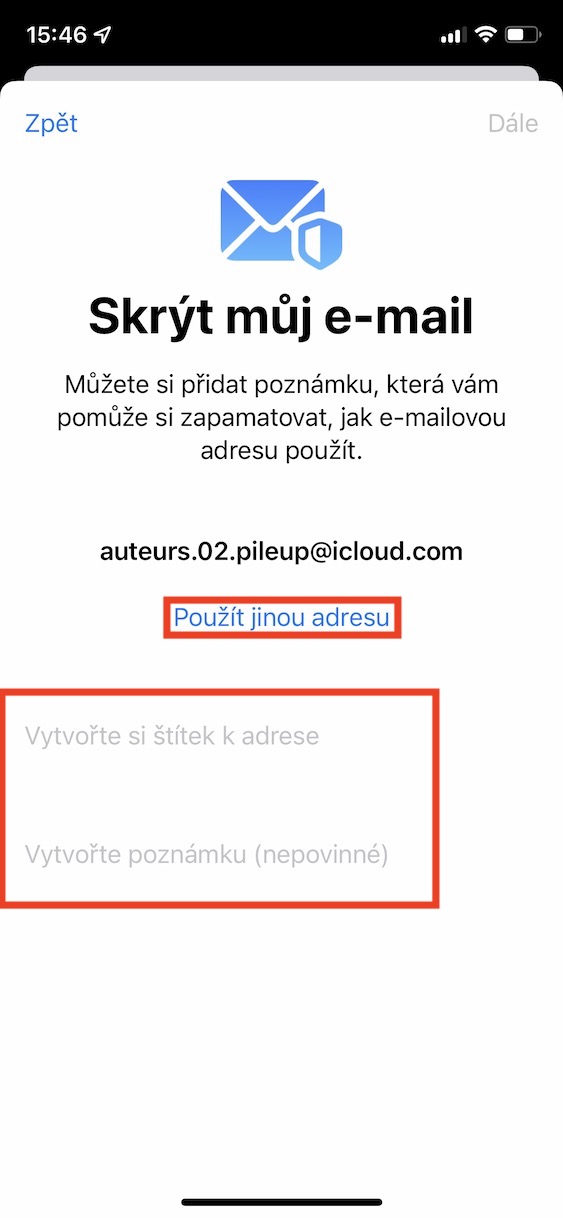
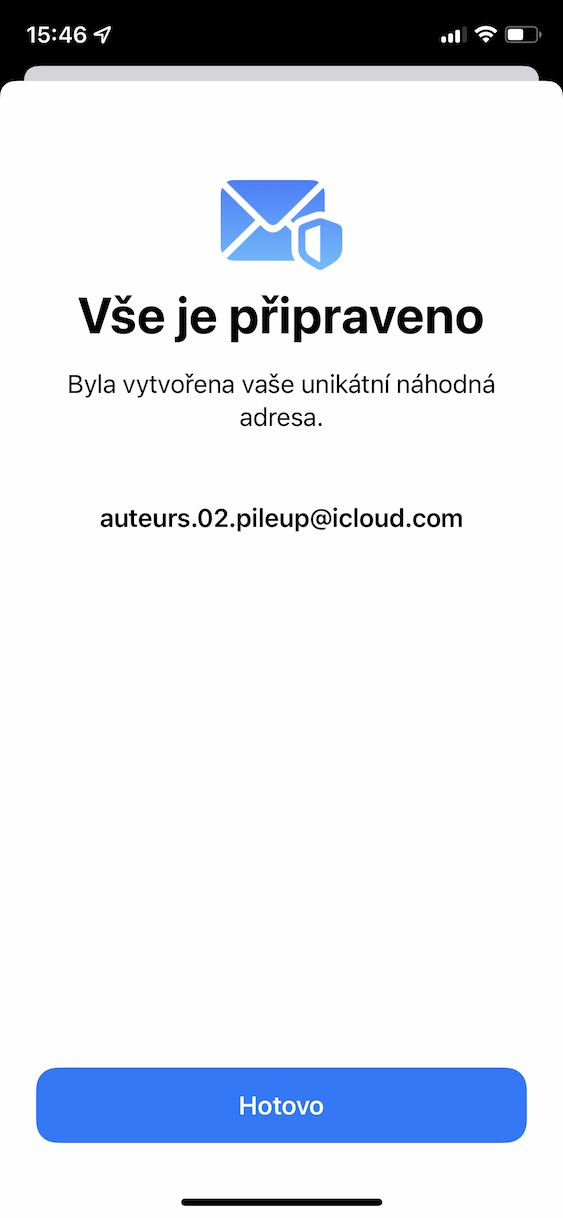
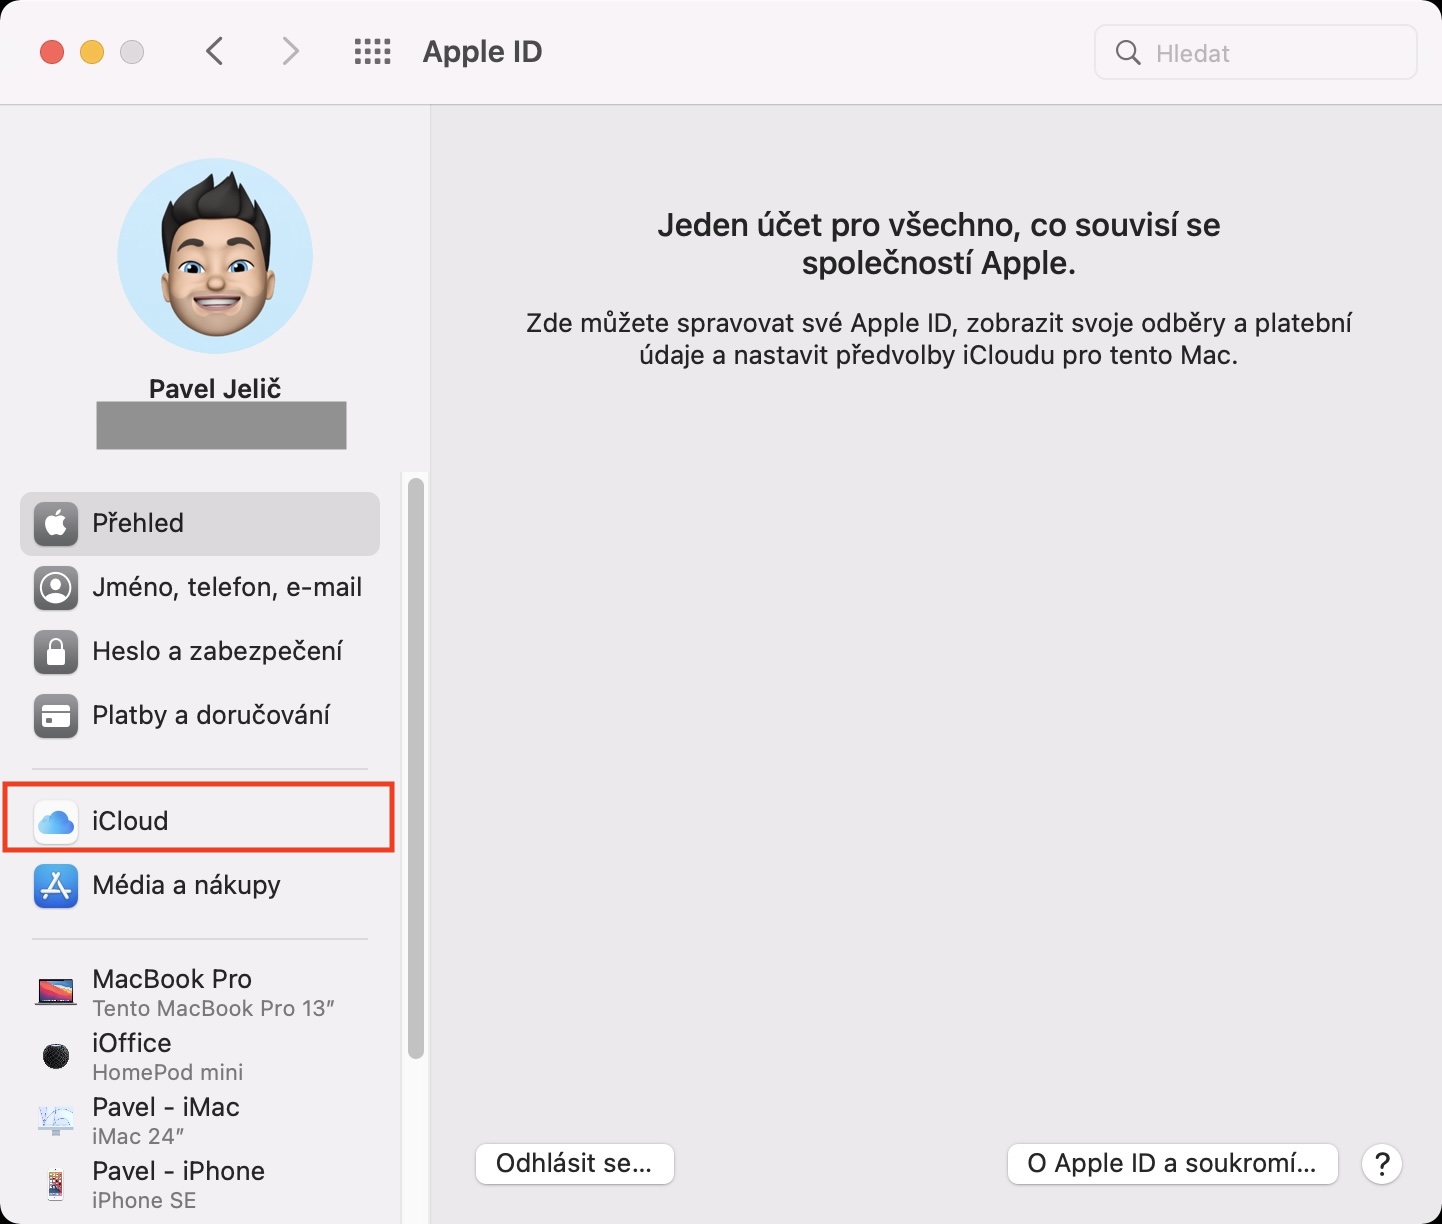
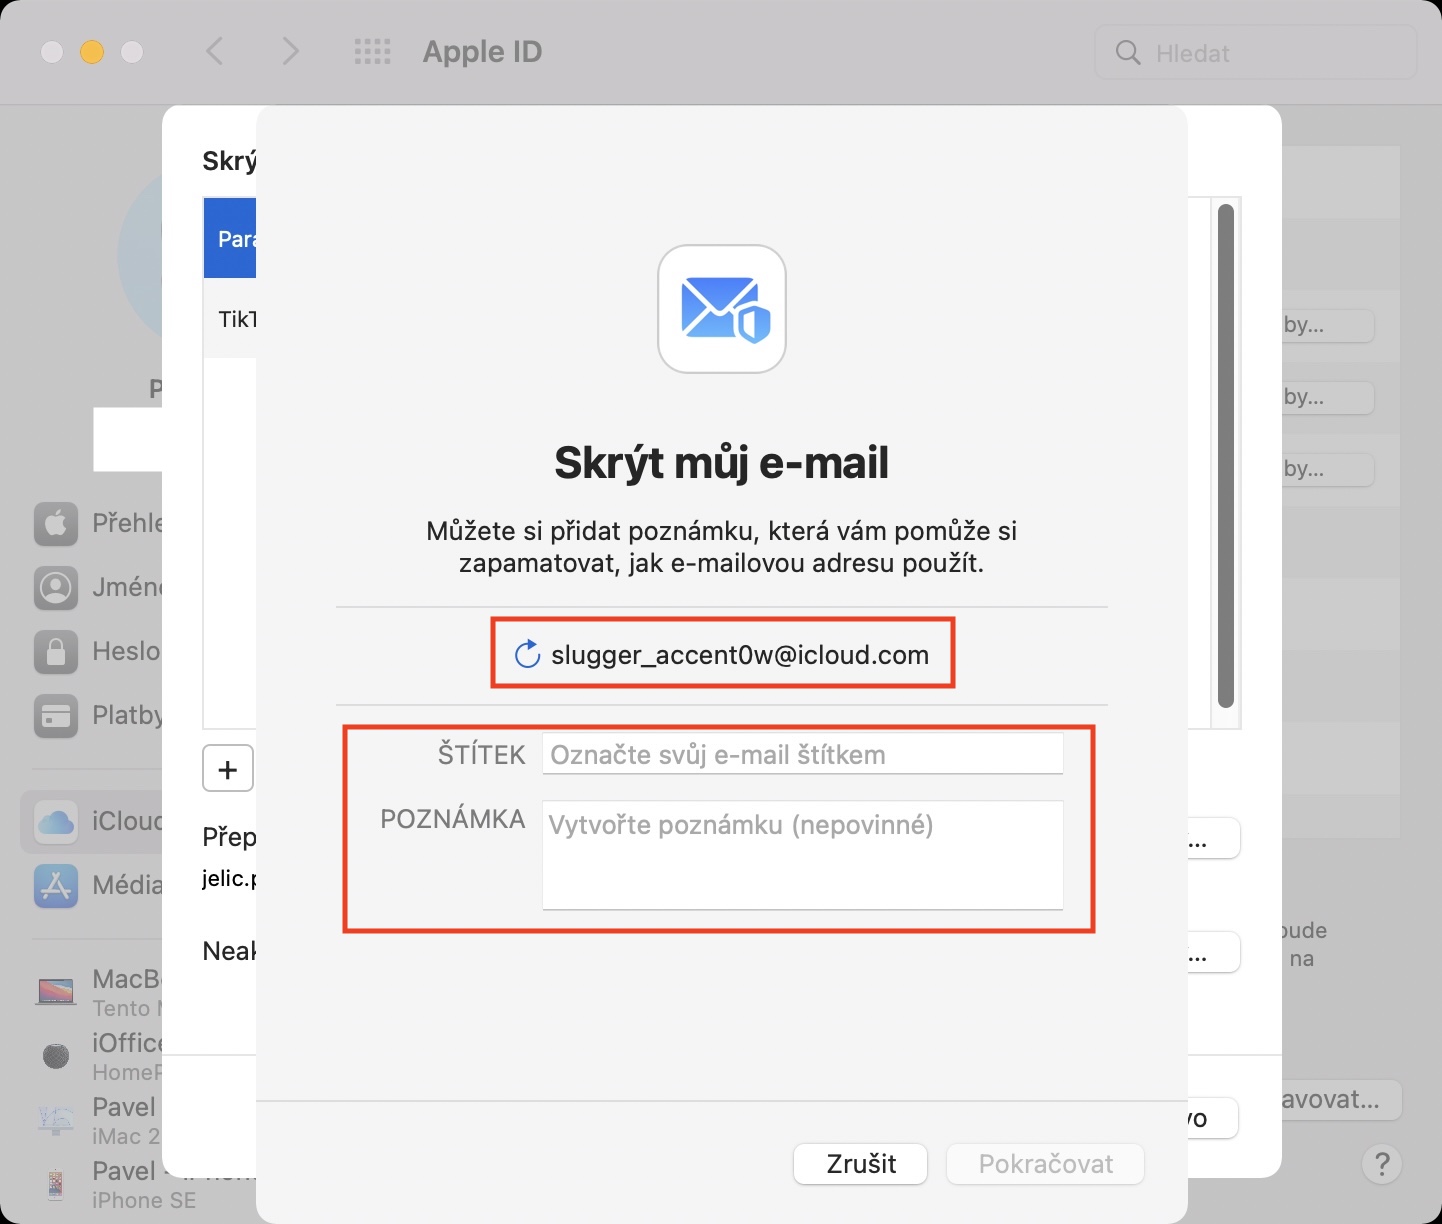
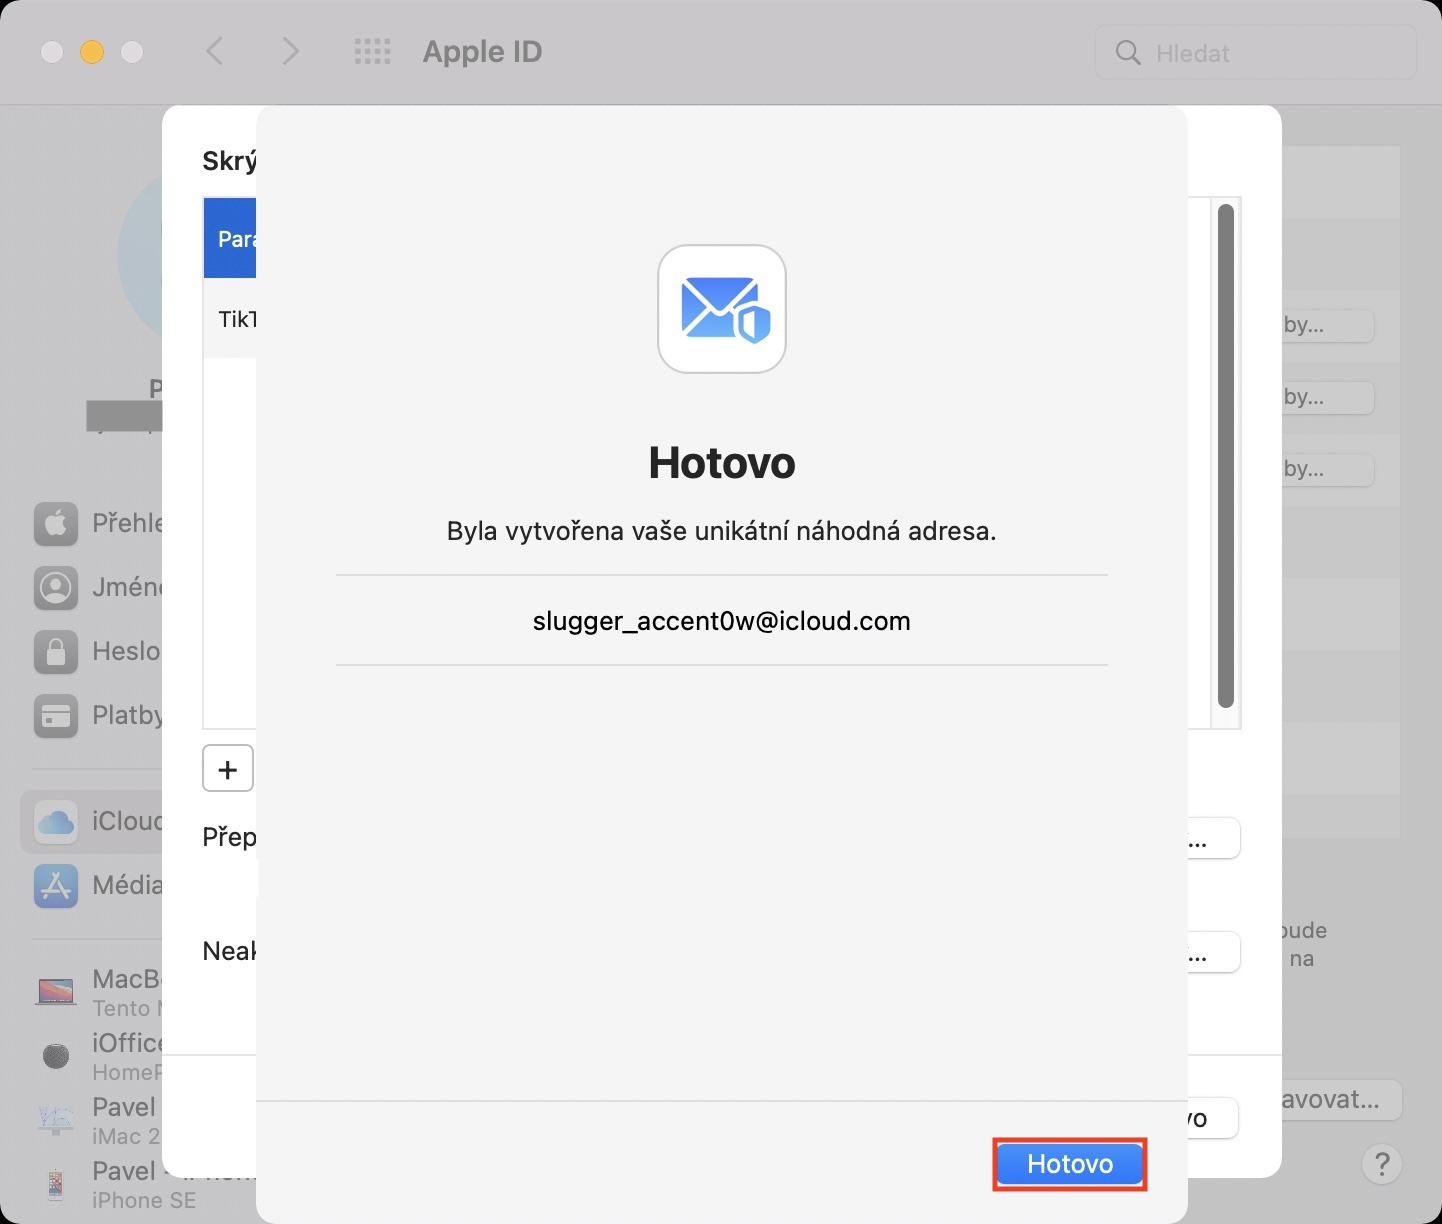
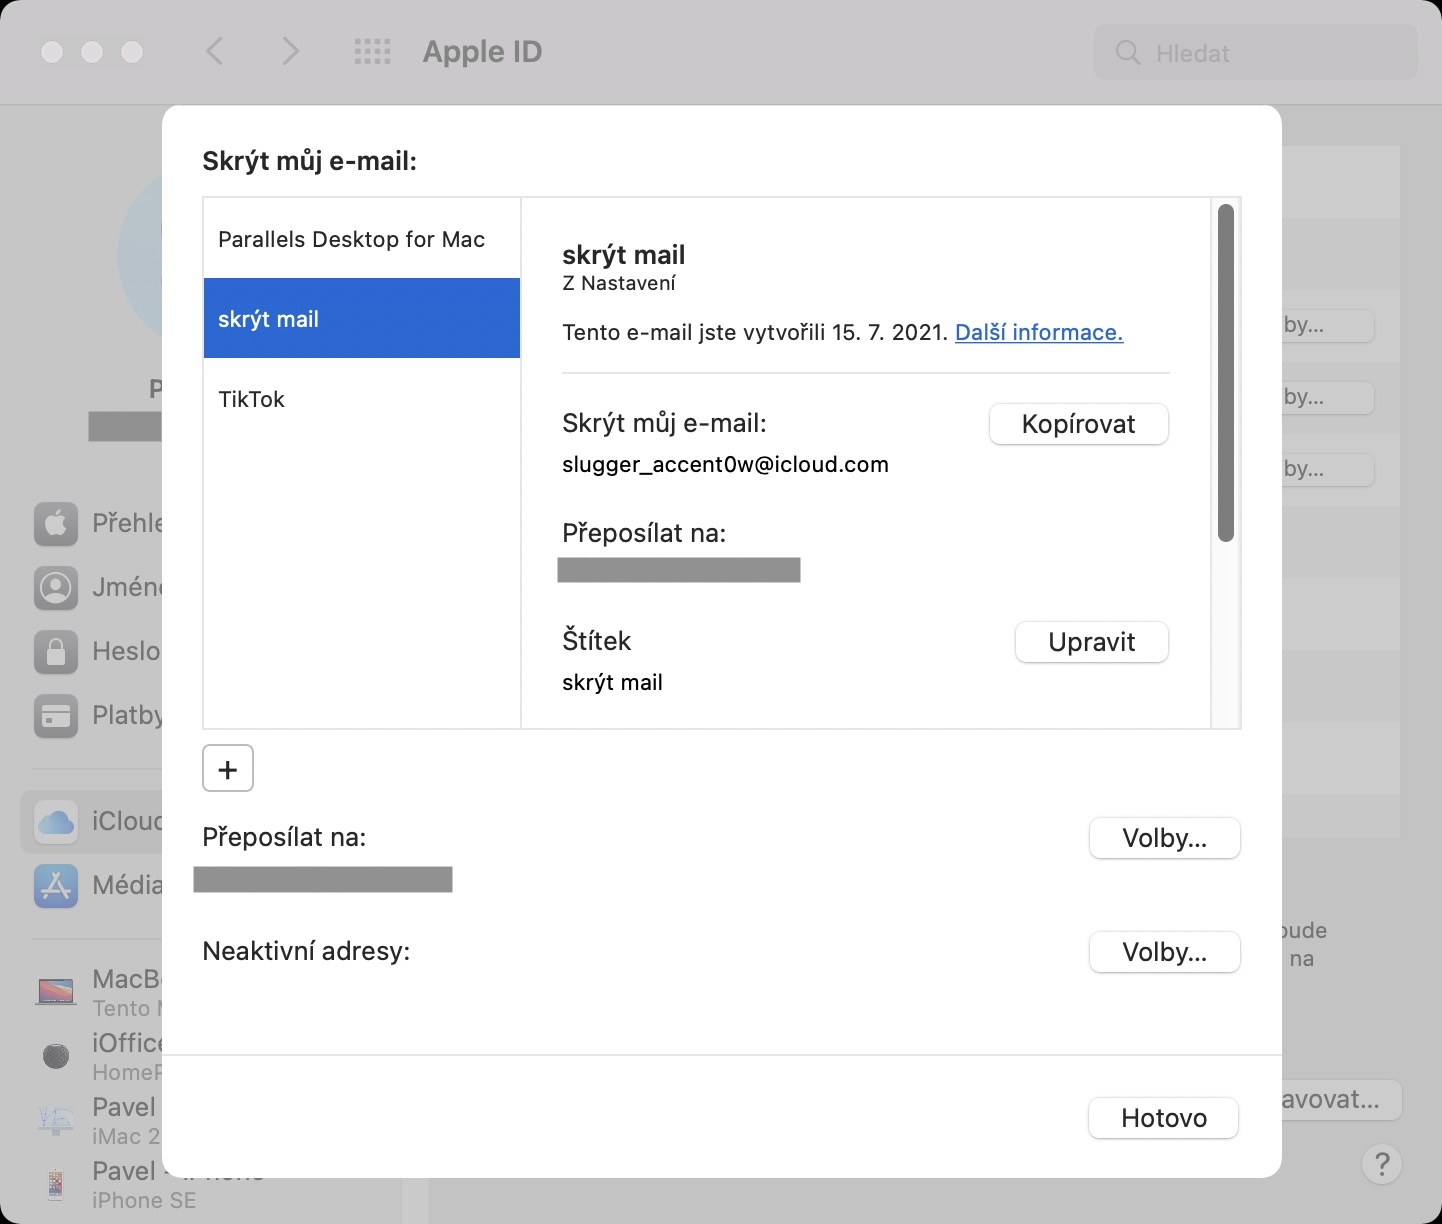
The second biggest security feature you can use with iCloud+ is Hide My Email. As the name of this feature suggests, it can completely hide your email from the Internet, which can be useful in many situations. Thanks to Hide my e-mail, you can create a kind of special e-mail box that you can enter anywhere on the Internet. Any messages that come to this "cover" email after entering it will then be automatically forwarded to your real email. Some users have asked what this feature is even for. Specifically, it is mainly about the fact that you do not have to enter your real e-mail address anywhere on the Internet. It could possibly be misused and an attacker could use it to try to gain access to some of your accounts. With Hide My Email, you won't give your real email account to anyone, so it can't be misused. This function has been available on Apple devices for a long time, but until the release of the latest systems, we could only use it when creating new accounts using Apple ID. To use Hide my email, go to on your iPhone or iPad Settings → your profile → iCloud → Hide my email, on Mac then to System Preferences → Apple ID → iCloud, where Hide my email you will find.
Custom email domain
Many of us have our main e-mail account set up, for example, with Google, or perhaps with Seznam, Centrum or other providers. However, if you own a domain, you can of course use it to create an e-mail box on it. This means that the culprit can be preceded by any name or name, followed by the domain owned by you. There's a new special feature in iCloud+ that allows you to create your own email domain - you just have to own it, of course. After this creation, you can add other family members to it as well. To set up your own email domain, go to the website icloud.com, where log in and then go to Account settings. Once you do so, in the section Custom email domain click on Manage, where you just have to follow the instructions.
Protect Mail activity
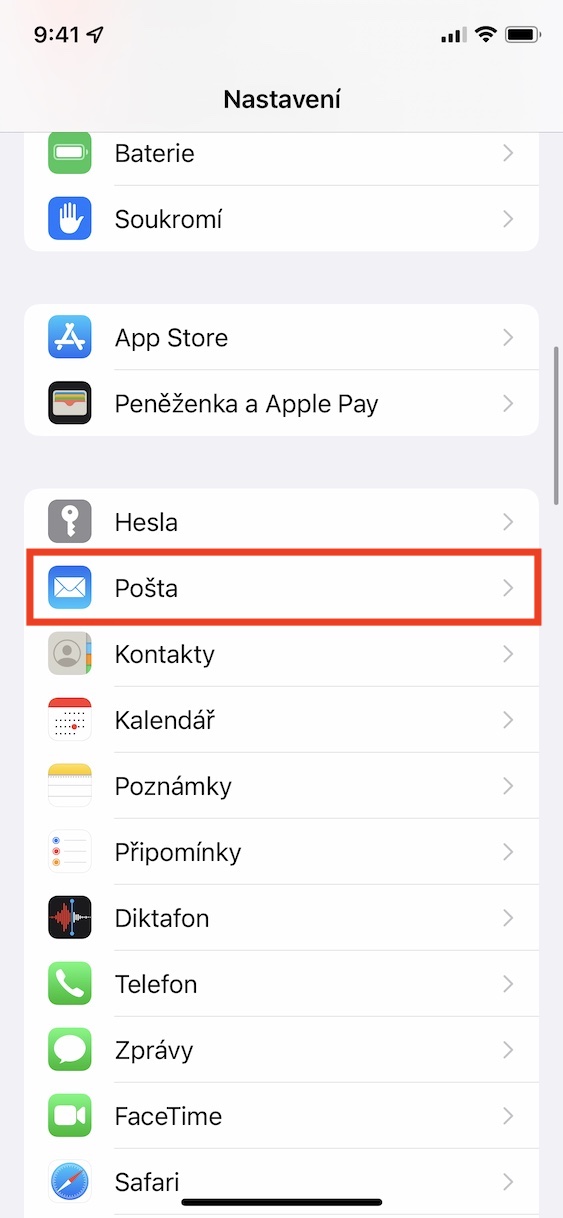
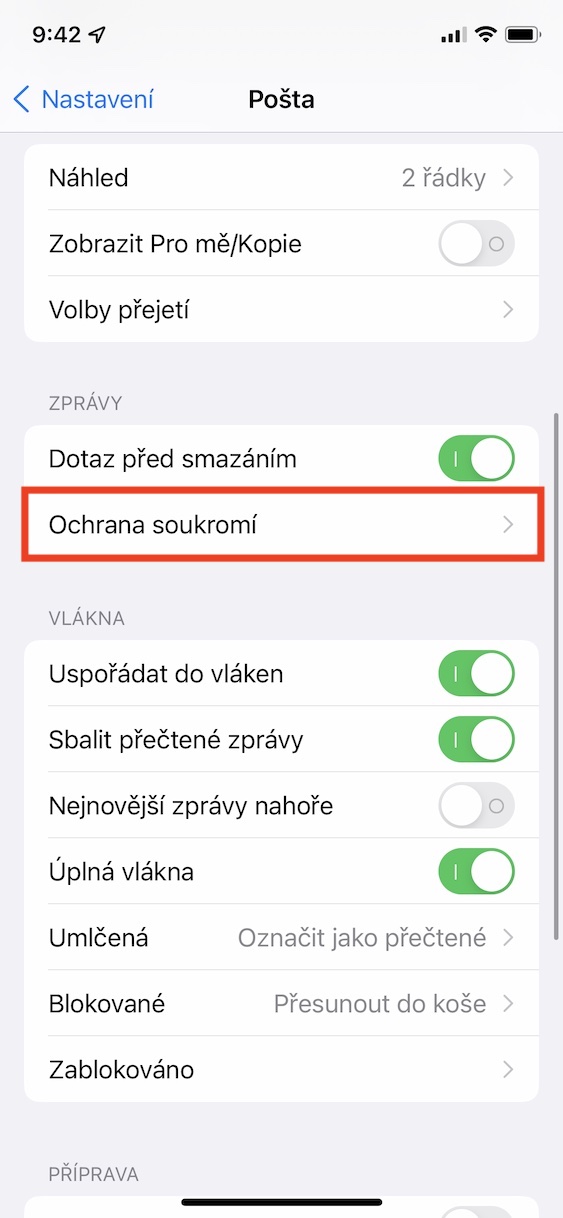
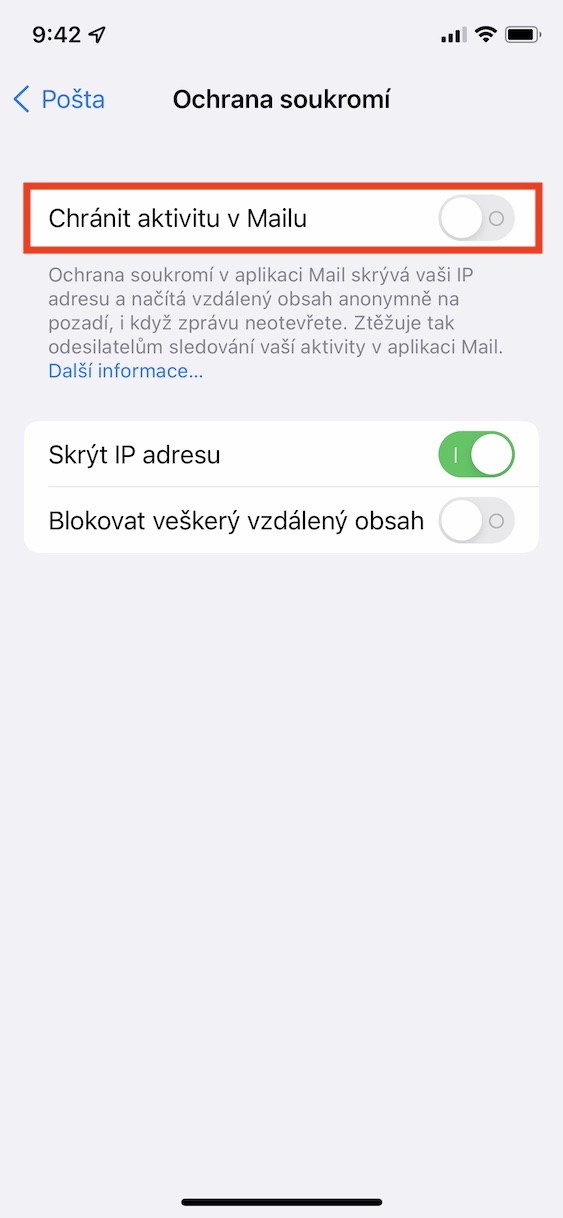
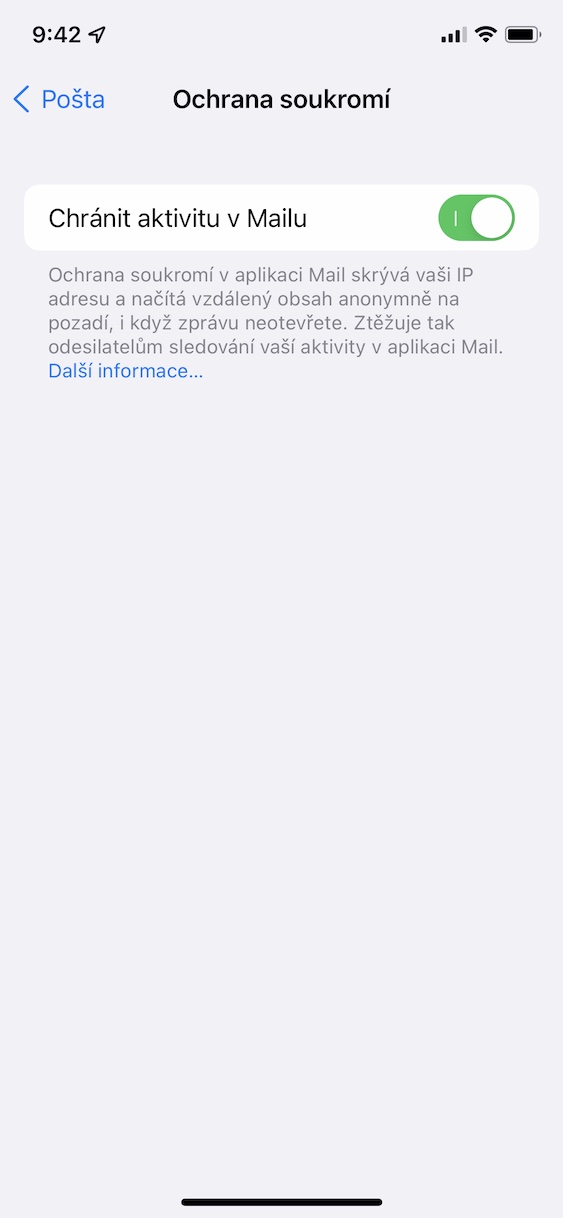
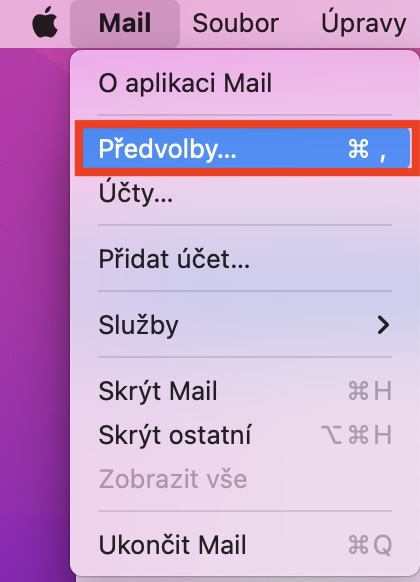
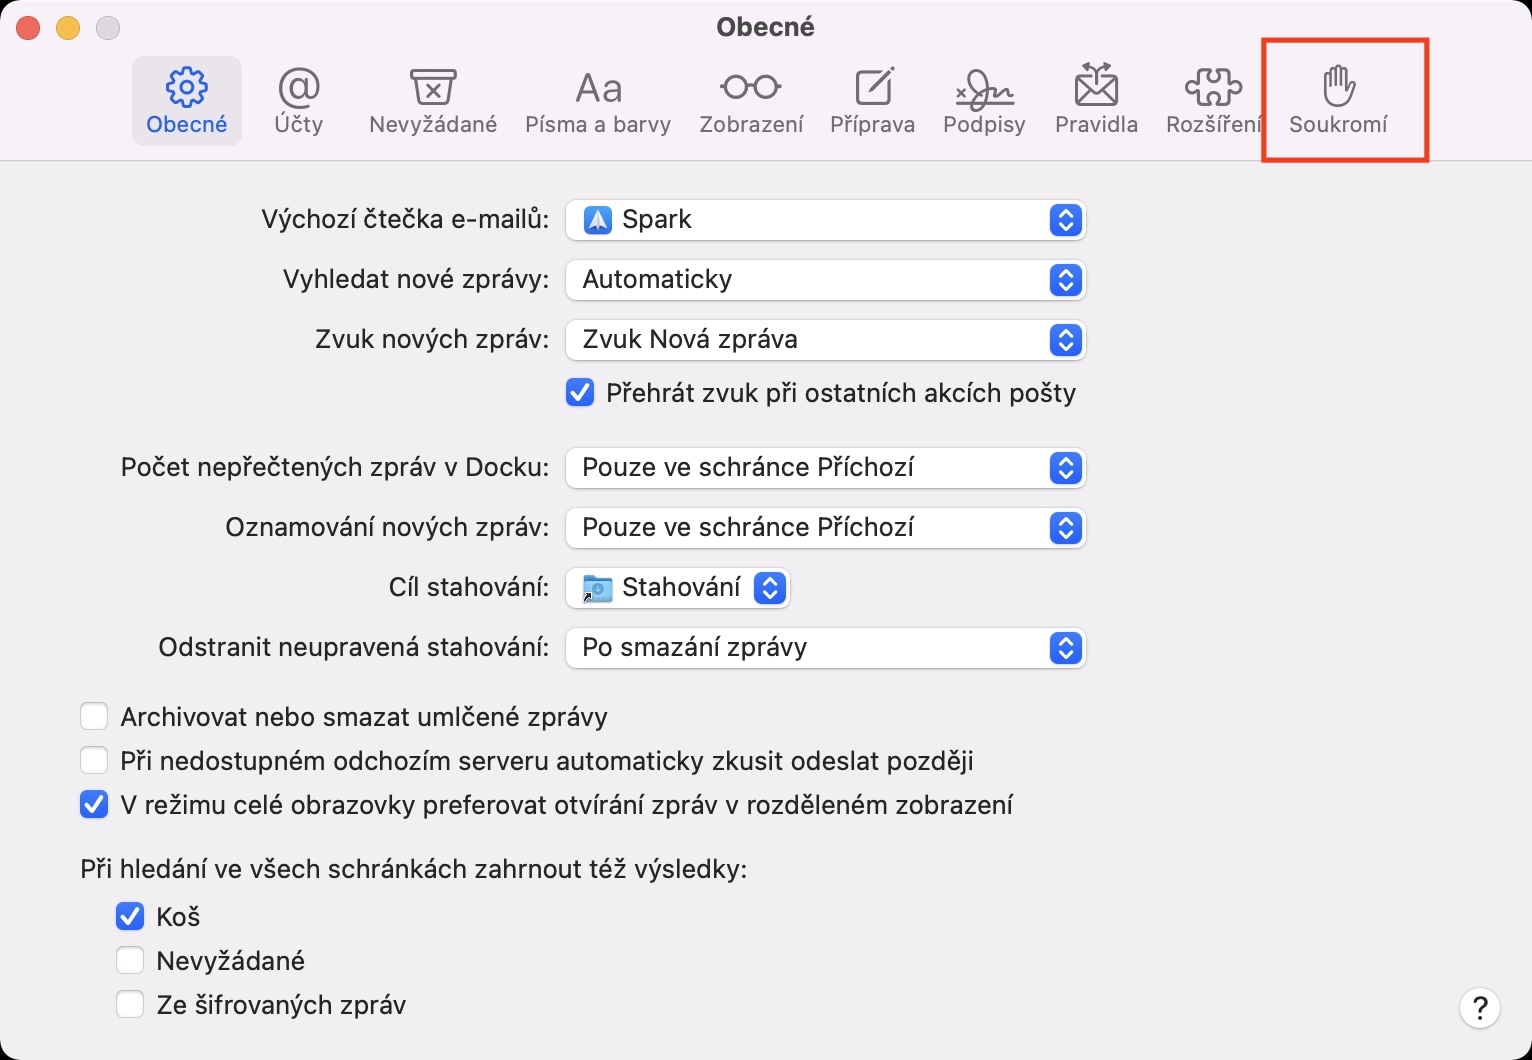
If someone sends you an e-mail, in most cases you open it immediately and don't think about anything else. But did you know that the sender can track you in a certain way through e-mail? Most often, this happens thanks to the so-called invisible pixel, which the sender places in the body of the e-mail. The recipient cannot then see this invisible pixel, while the sender can monitor how the recipient handles the e-mail, or interacts with it. It goes without saying that none of us want to be tracked in this way via e-mail. Apple decided to help us in this case and came up with a feature called Protect Mail Activity. This feature can protect the recipient from email tracking by hiding the IP address and other special actions. To activate Protect Mail activity on your iPhone or iPad go to Settings → Mail → Privacy, then go to the app on your Mac Mail, where click in the top bar Mail → Preferences… → Privacy.
HomeKit Secure Video
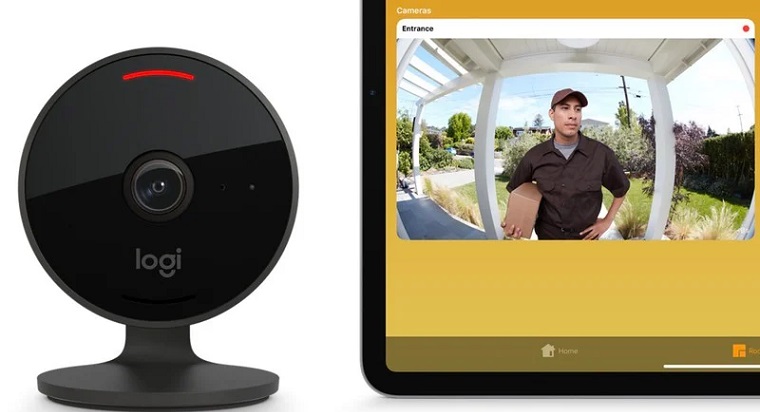
Recently, the smart home has really grown in the world. While just a few years ago you could buy smart home components for a lot of money, nowadays it is definitely not such an expensive matter - on the contrary. A smart home can include doorbells, speakers, locks, alarms, light bulbs, thermostats or even cameras. If you use cameras with HomeKit support, and if you also have iCloud+ available, you can use HomeKit Secure Video. After activating this feature, the security camera can start recording secure footage, which can be useful in some situations. If you have a 50GB subscription, you get this option for one camera, with a 200GB subscription you get it for up to five cameras, and with a 2TB subscription, you can record secure footage on an unlimited number of cameras. However, recording will only start if the camera detects movement. In addition, the records do not take up space in your iCloud - they do not count in it and go "to the account" of Apple.
It could be interest you

