The shared library of photos on iCloud is one of the novelties that we have seen in iOS 16 and other recently introduced systems. Apple took a relatively long time to present this feature to new systems, in any case, we did not see its addition until the third beta version of iOS 16. Still, all new systems are only available as part of beta versions, for all developers and testers, with that it will be like this for several more months. Even so, in any case, many ordinary users also install the beta version for the sake of early access to news. In this article, we'll take a look at 5 iCloud Shared Photo Library features from iOS 16 that you can look forward to.
It could be interest you

Adding more users
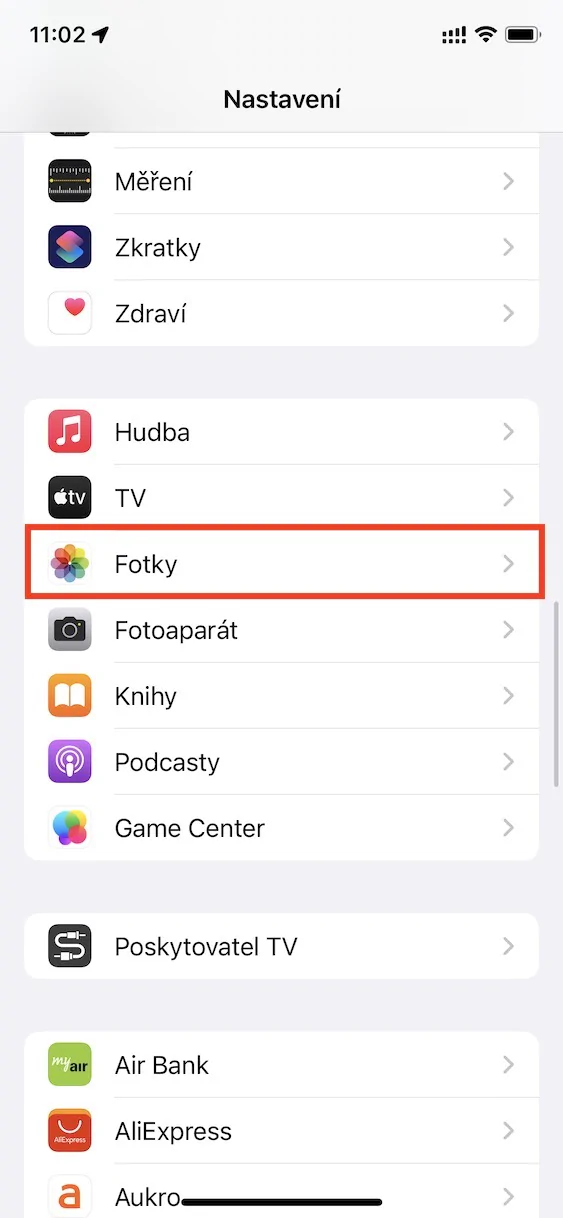
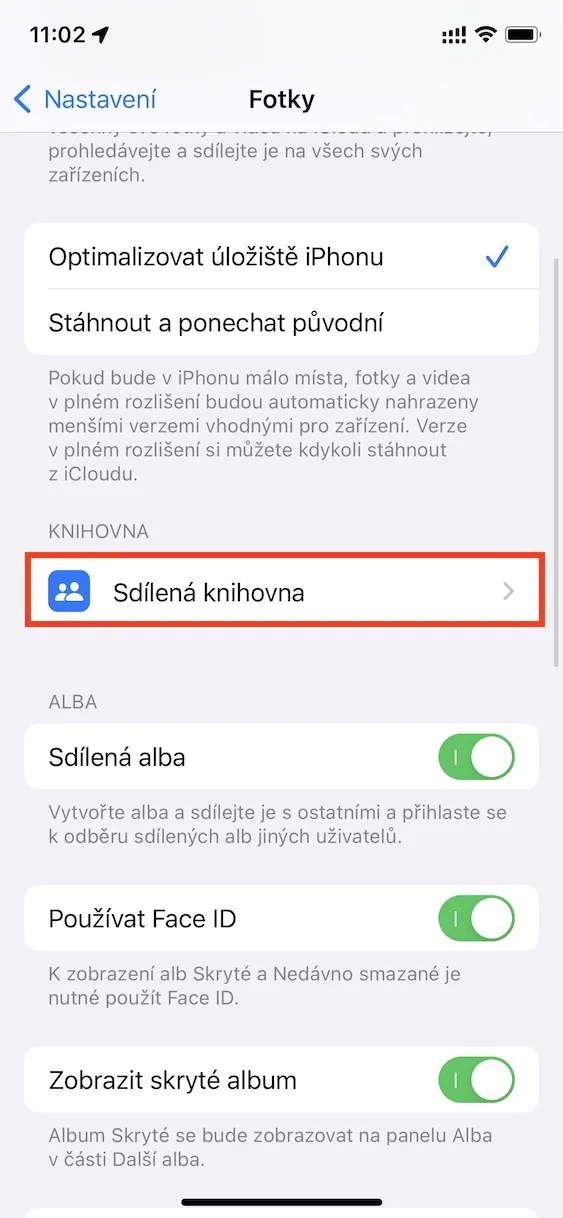
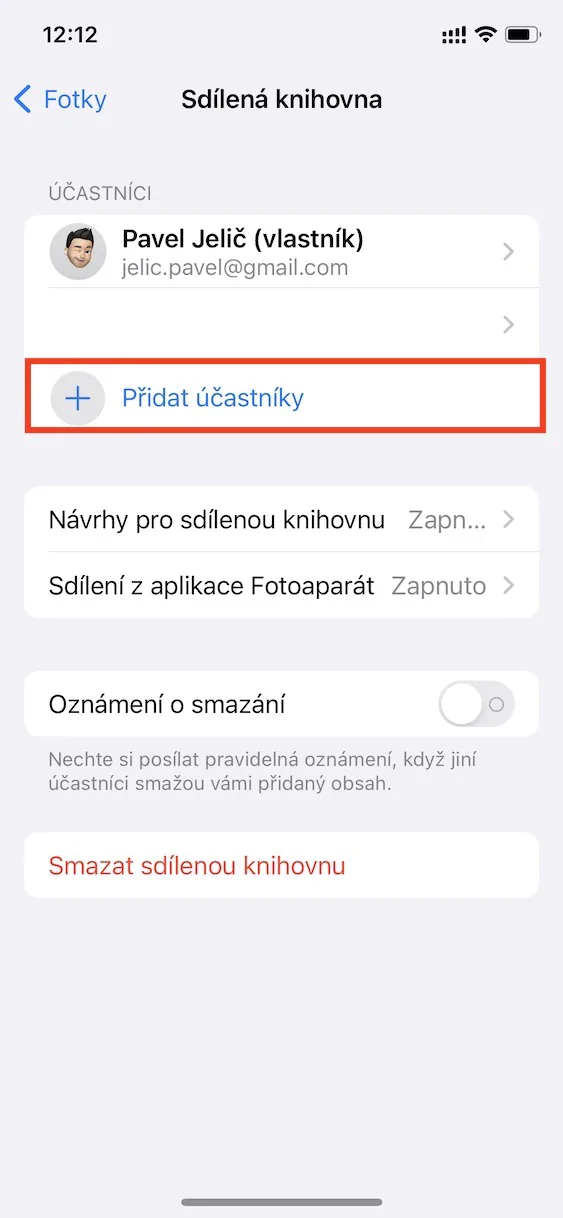
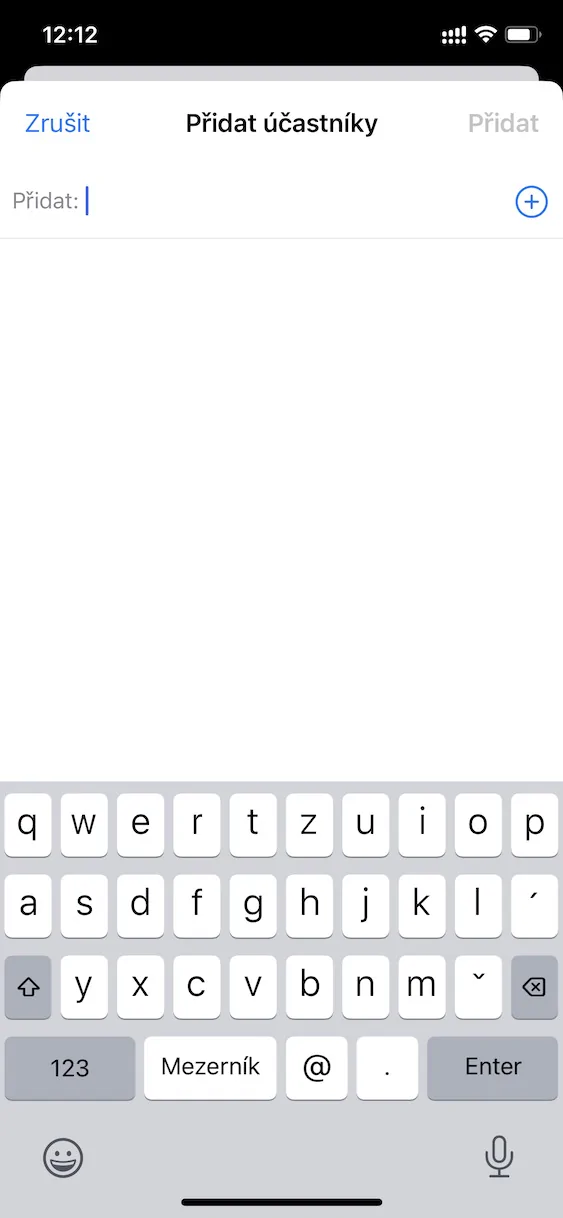
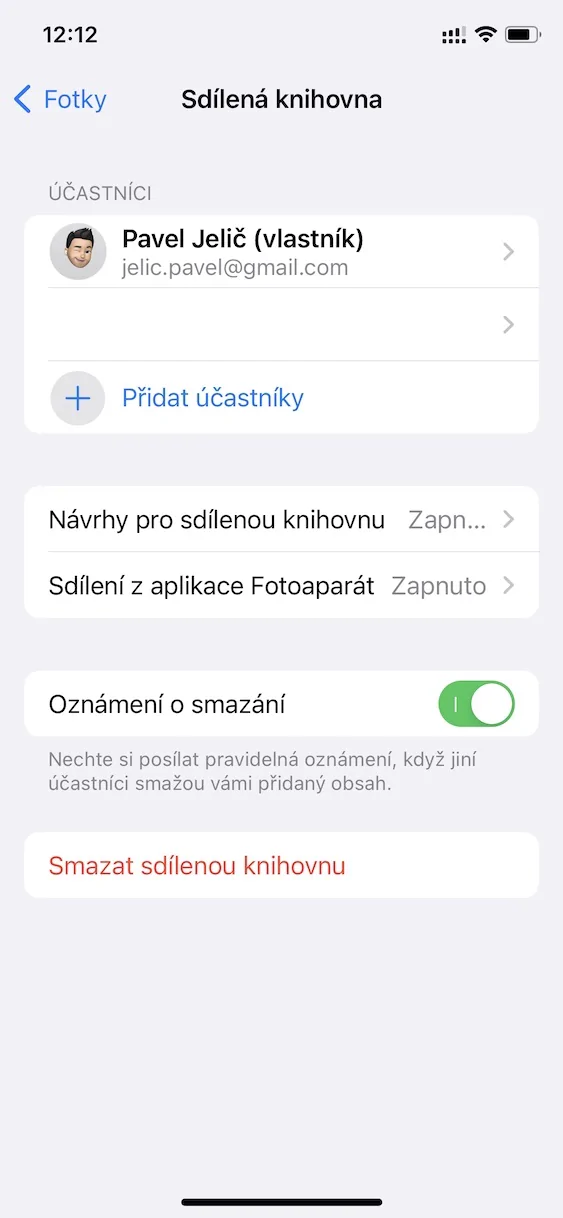
When you enable and set up a shared library, you can choose which users you want to share it with. However, if you forgot someone in the initial guide, you can of course add them later. Just go to Settings → Photos → Shared Library, where then click in the category Participants on option + Add participants. Then all you have to do is send the person in question an invitation, which they must accept.
Sharing settings from Camera
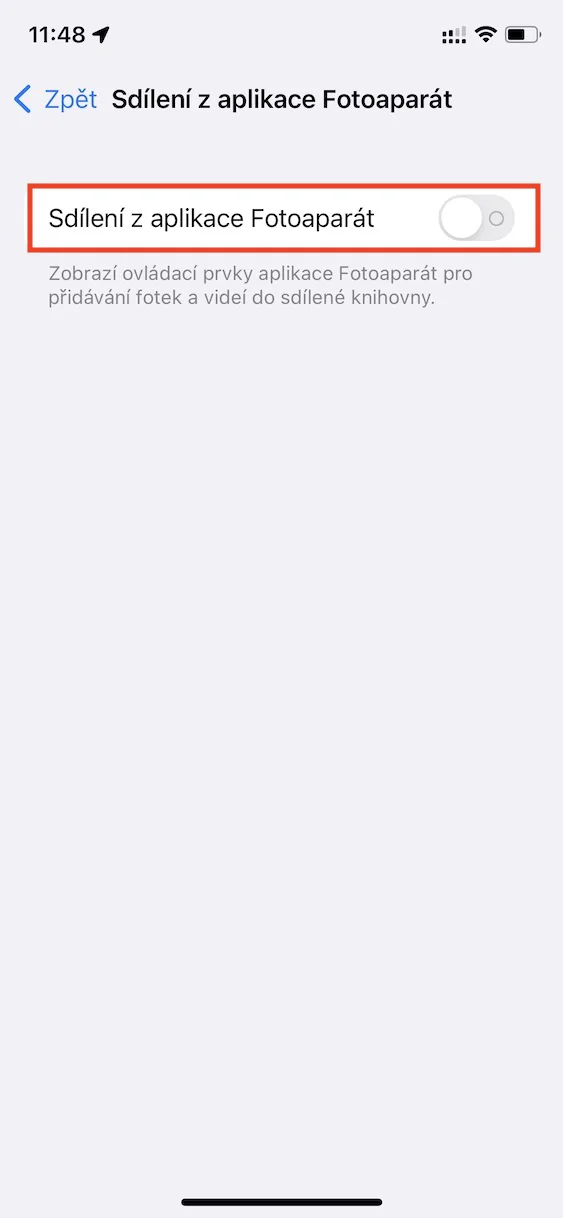
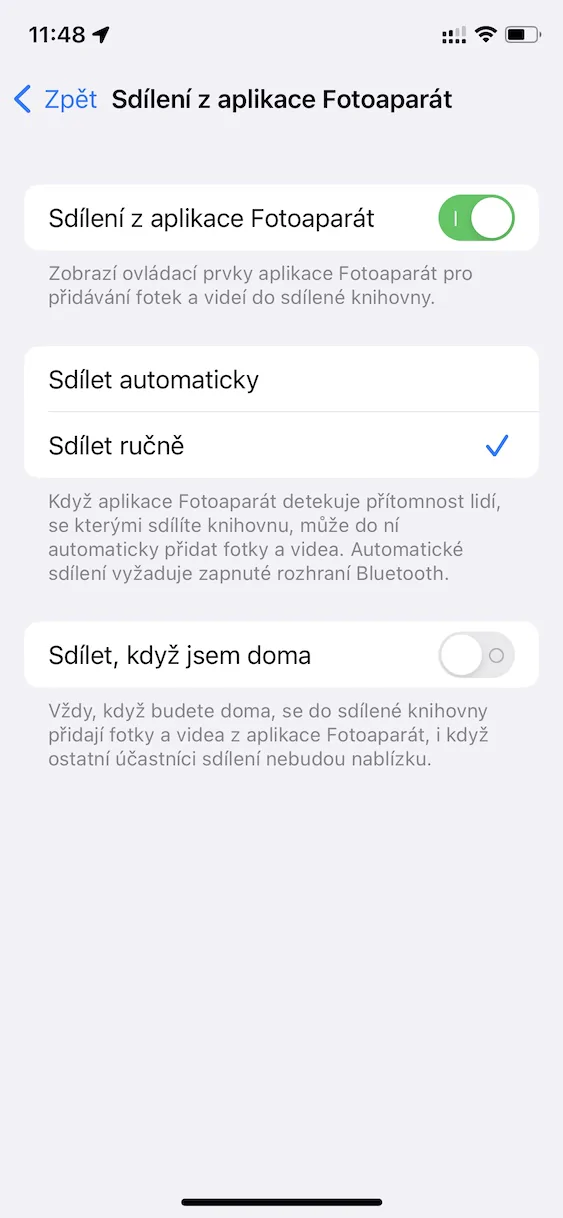
In the initial wizard for setting up the shared library, you can choose whether you want to enable the option to save photos from the Camera directly to the shared library. Specifically, you can set either manual or automatic switching, or it is possible to deactivate this option completely. To switch between the personal and shared library in the Camera, just tap on in the upper left stick figure icon. Complete sharing settings in Camera can then be changed in Settings → Photos → Shared Library → Sharing from the Camera app.
Activation of deletion notification
The shared library should only include users that you trust 100% - i.e. family or close friends. All participants of the shared library can not only add photos to it, but also edit and possibly delete them. If you are afraid that someone could delete photos from the shared library, or if the deletion is already taking place, you can activate a notification that will inform you about the deletion. Just go to Settings → Photos → Shared Library, where activate function Deletion notice.
Adding content manually
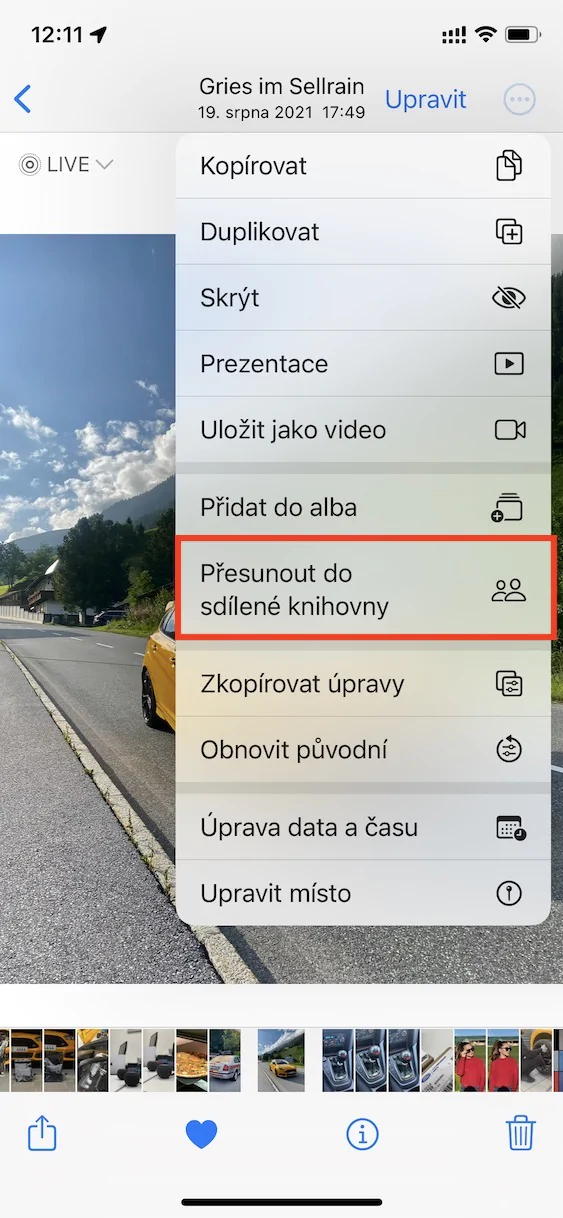
As I mentioned on one of the previous pages, you can add content to the shared library directly from the Camera application. However, if you do not have this option active, or if you want to retroactively add existing content to the shared library, you can. All you have to do is move to the app Photos, where are you find (and tick if applicable) content, which one you want here to move. Then in the top right click on three dots icon and in the menu that appears, tap the option Move to shared library.
Switch library in Photos
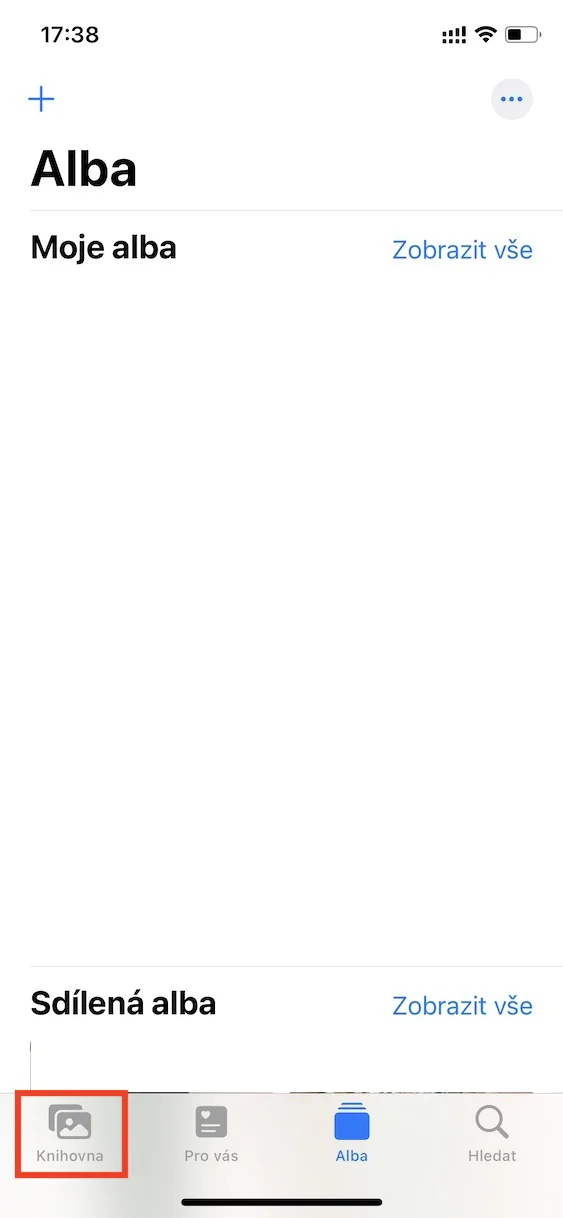
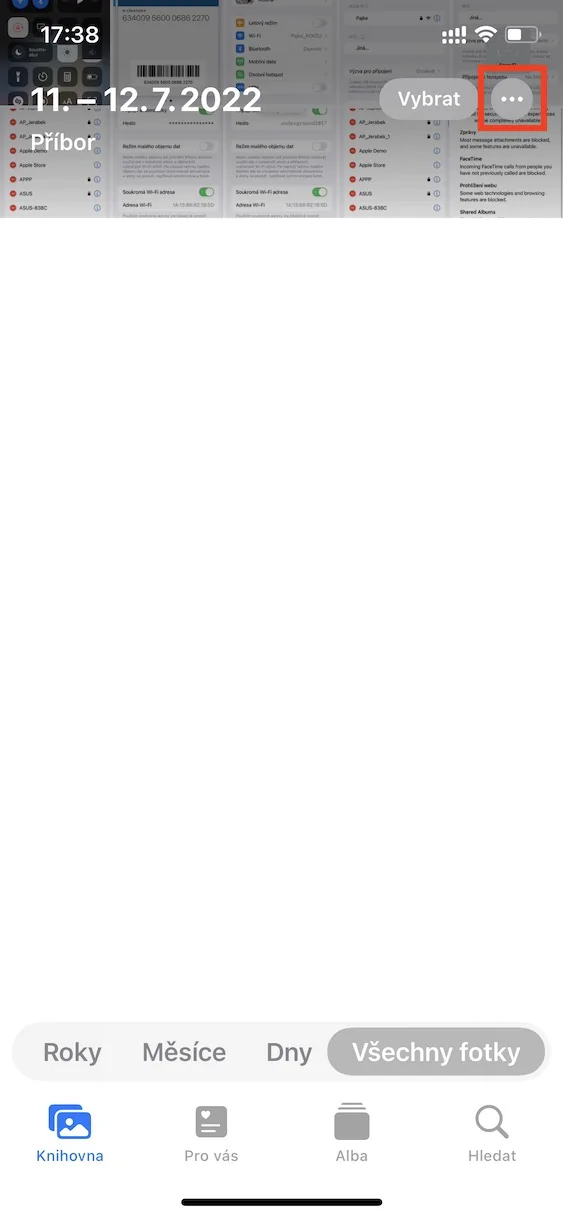
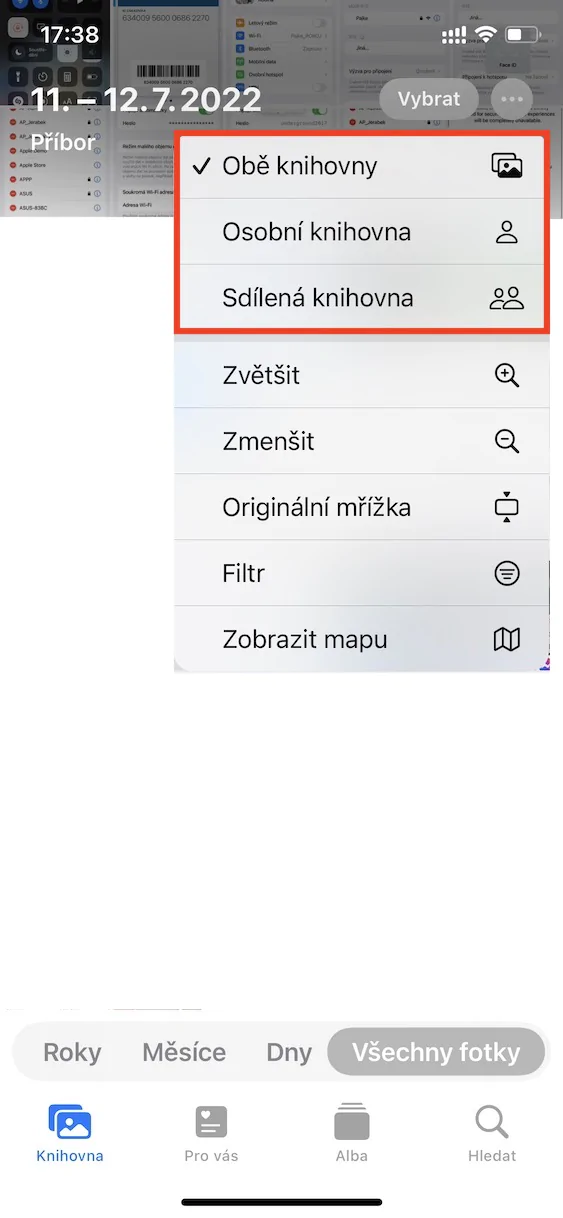
By default, after activating the shared library, both libraries, i.e. personal and shared, are displayed together in Photos. This means that all the content is mixed together, which may not always suit users. Of course, Apple thought of this as well, so it added an option to Photos that makes it possible to switch the display of the library. All you have to do is Photos moved to the section in the bottom menu Library, where then in the upper right click on three dots icon. Then all you have to do is choose the display Both libraries, Personal library or Shared library.
