Creating the first list
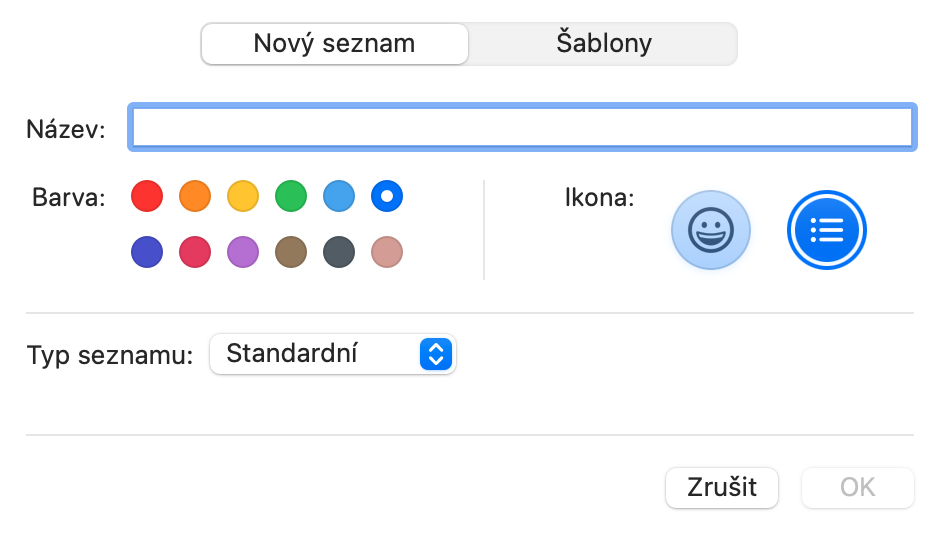
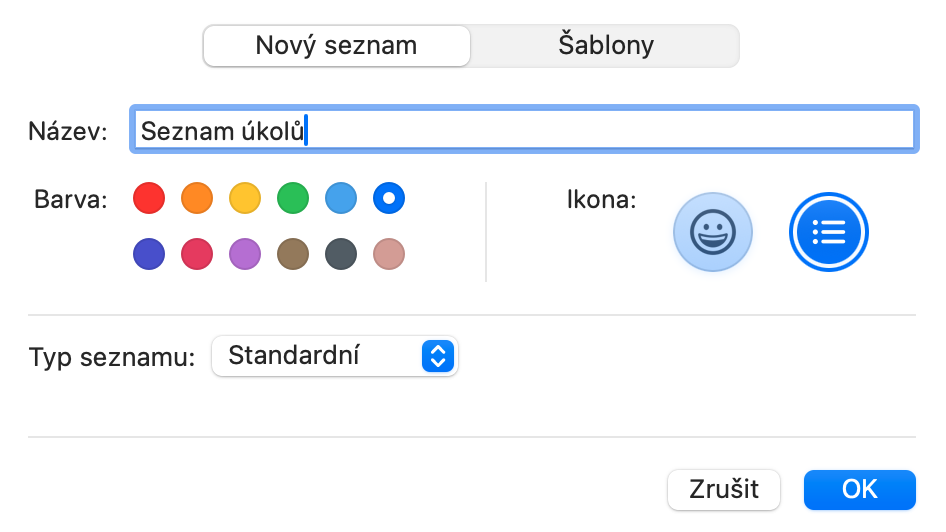
The list is not a reminder as such, but you can of course add reminders to its individual items. Click the button to create the first list + (plus sign) in the lower-left corner of the Reminders window. In the window that appears, name the list and select a color. Click OK when you're done.
Adding items to a list
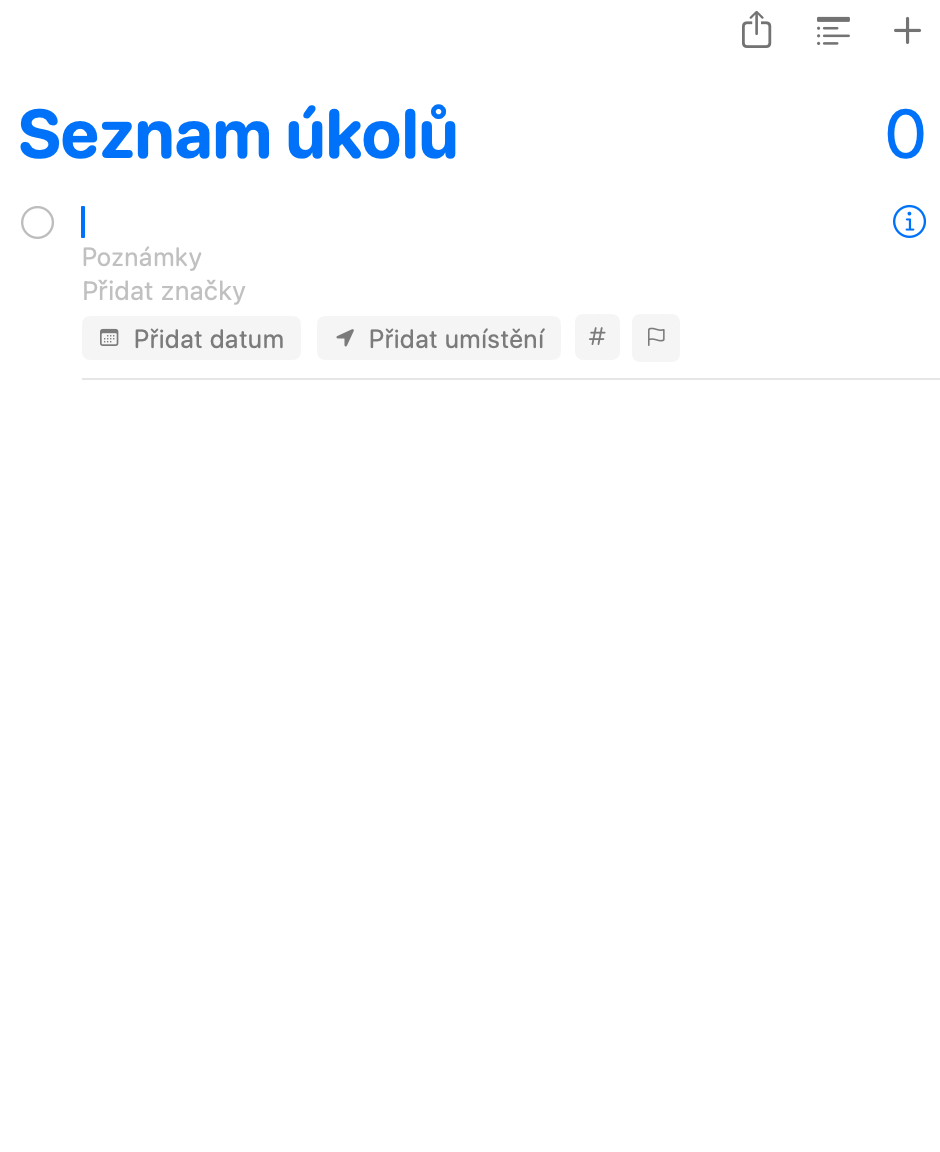
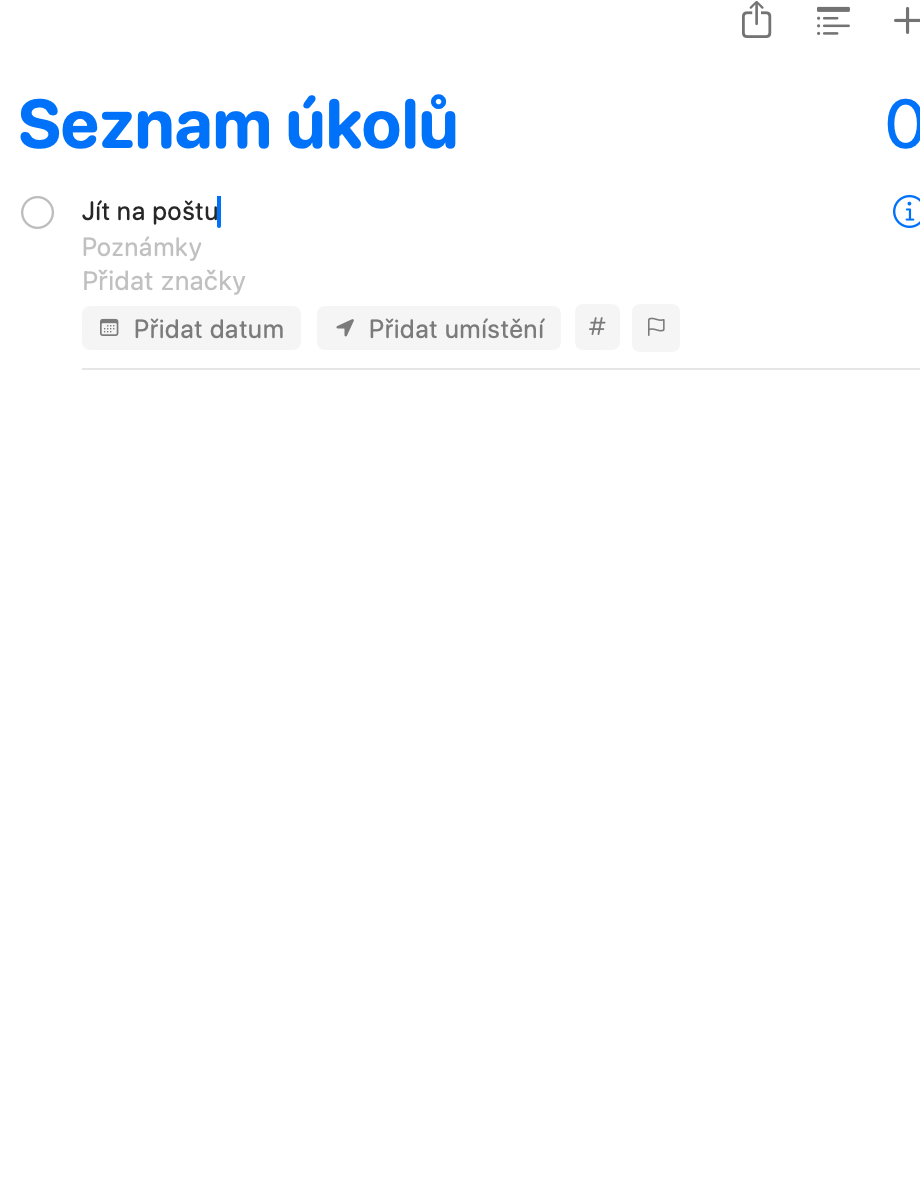
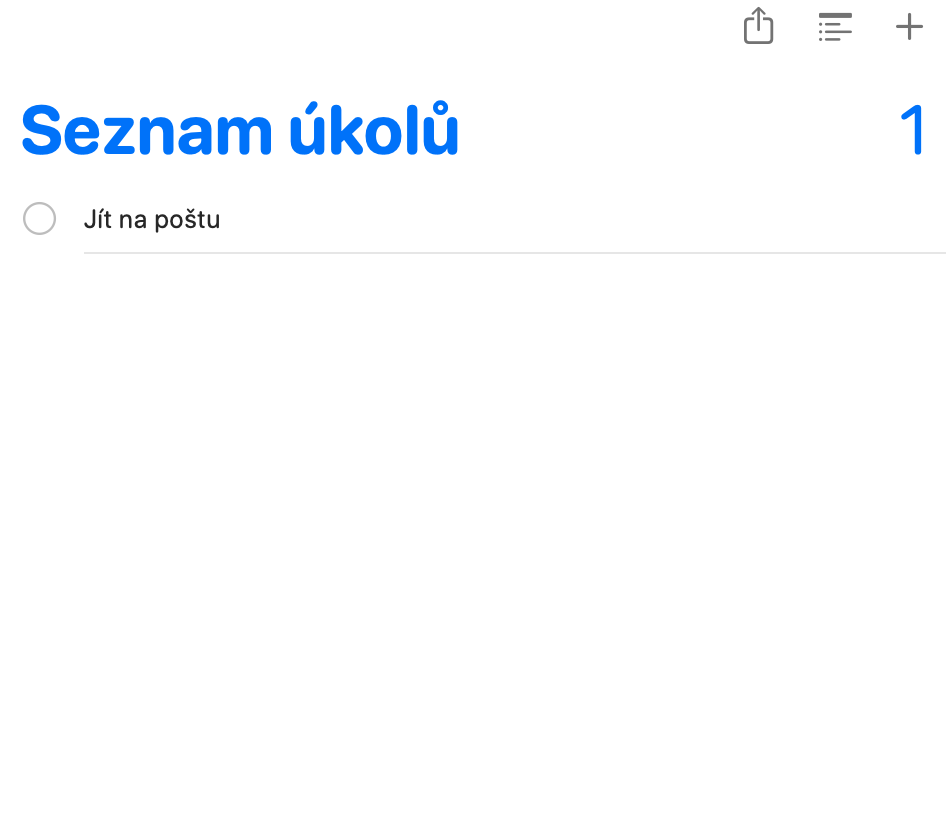
After creating a list, select it in the left panel of the Reminder window. To add a new item, click the + in the upper right corner, or click in the list, type the list item in the new bullet point, and press Enter to add another bullet point.
Add comments to items in the list
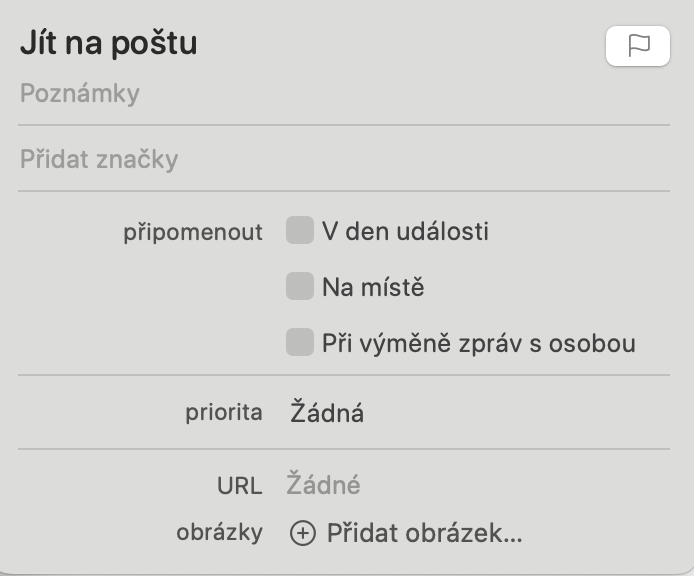
Let's say you have an item on your list that needs to be done at a certain time. Hover over this item and click ⓘ . A new popup will open where you can add a reminder, nested note, set a date or location, and even set the priority of the item.
Creating the reminder itself
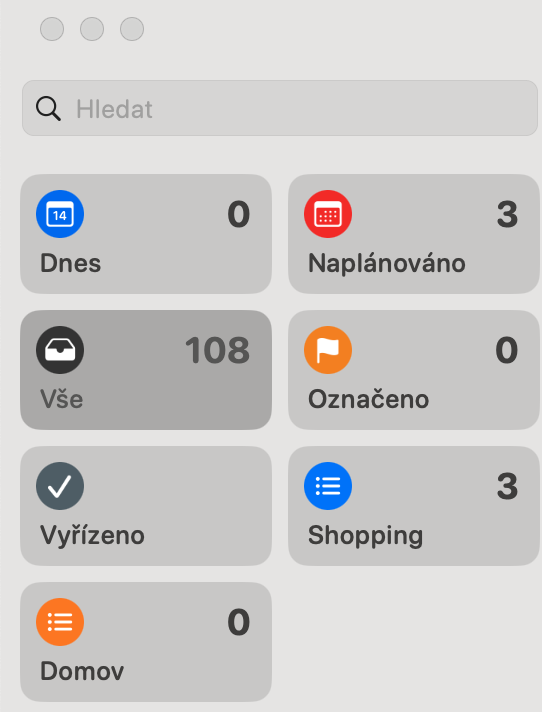
Adding a reminder is very similar to adding a list item. In the window My lists select an item All and click the button + in the upper right corner of the window. This will add a new bullet point for you to type your comment. Once you've added a new reminder, you can click the associated icon ⓘ to add a note, time or location reminder and set the priority.
It could be interest you
Templates and Smart Lists
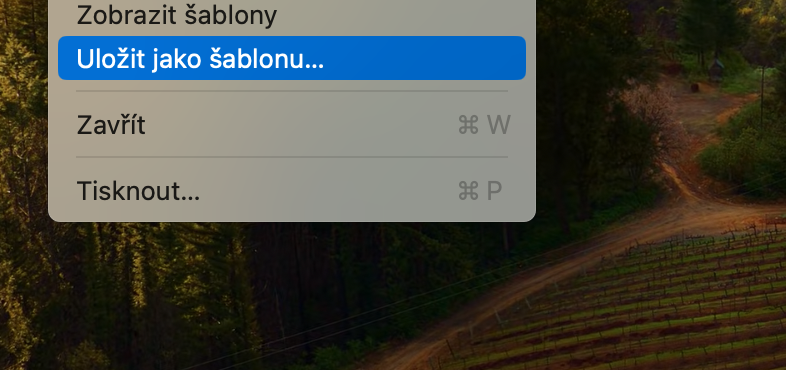
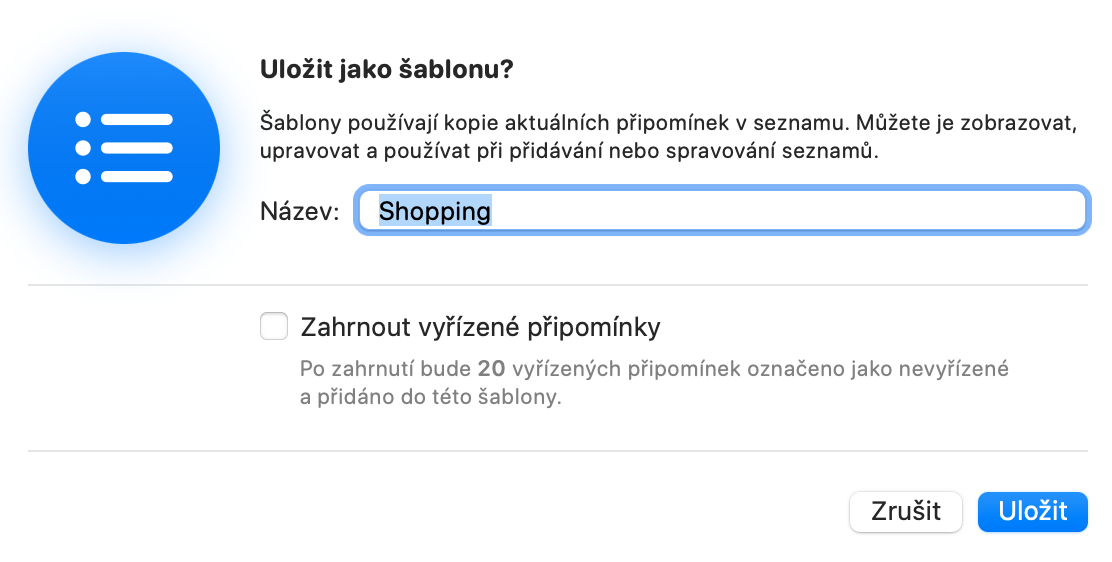
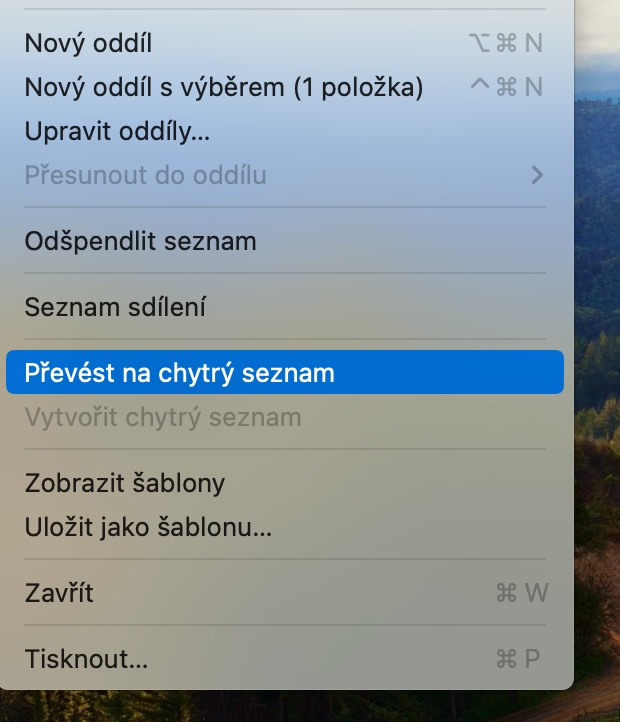
With a feature called Templates, you can create a list, save it as a template, and then create a new list based on the template. Just select the desired list, click on the menu bar at the top of the Mac screen File and choose Save as template. Using Smart Lists is the only way to add tags to Reminders, so you need to convert your lists to Smart Lists if you want to use this feature. To complete this process, select the appropriate list and click the option File > Convert to Smart List.
