There are quite a few ways to create presentations on a Mac. You can use either applications such as Keynote or PowerPoint, or an online tool called Google Slides. This platform is completely free and offers a lot of different interesting features. In today's article, we will introduce four tips and tricks that will help you master Google Slides on Mac even better.
It could be interest you

Play with the text
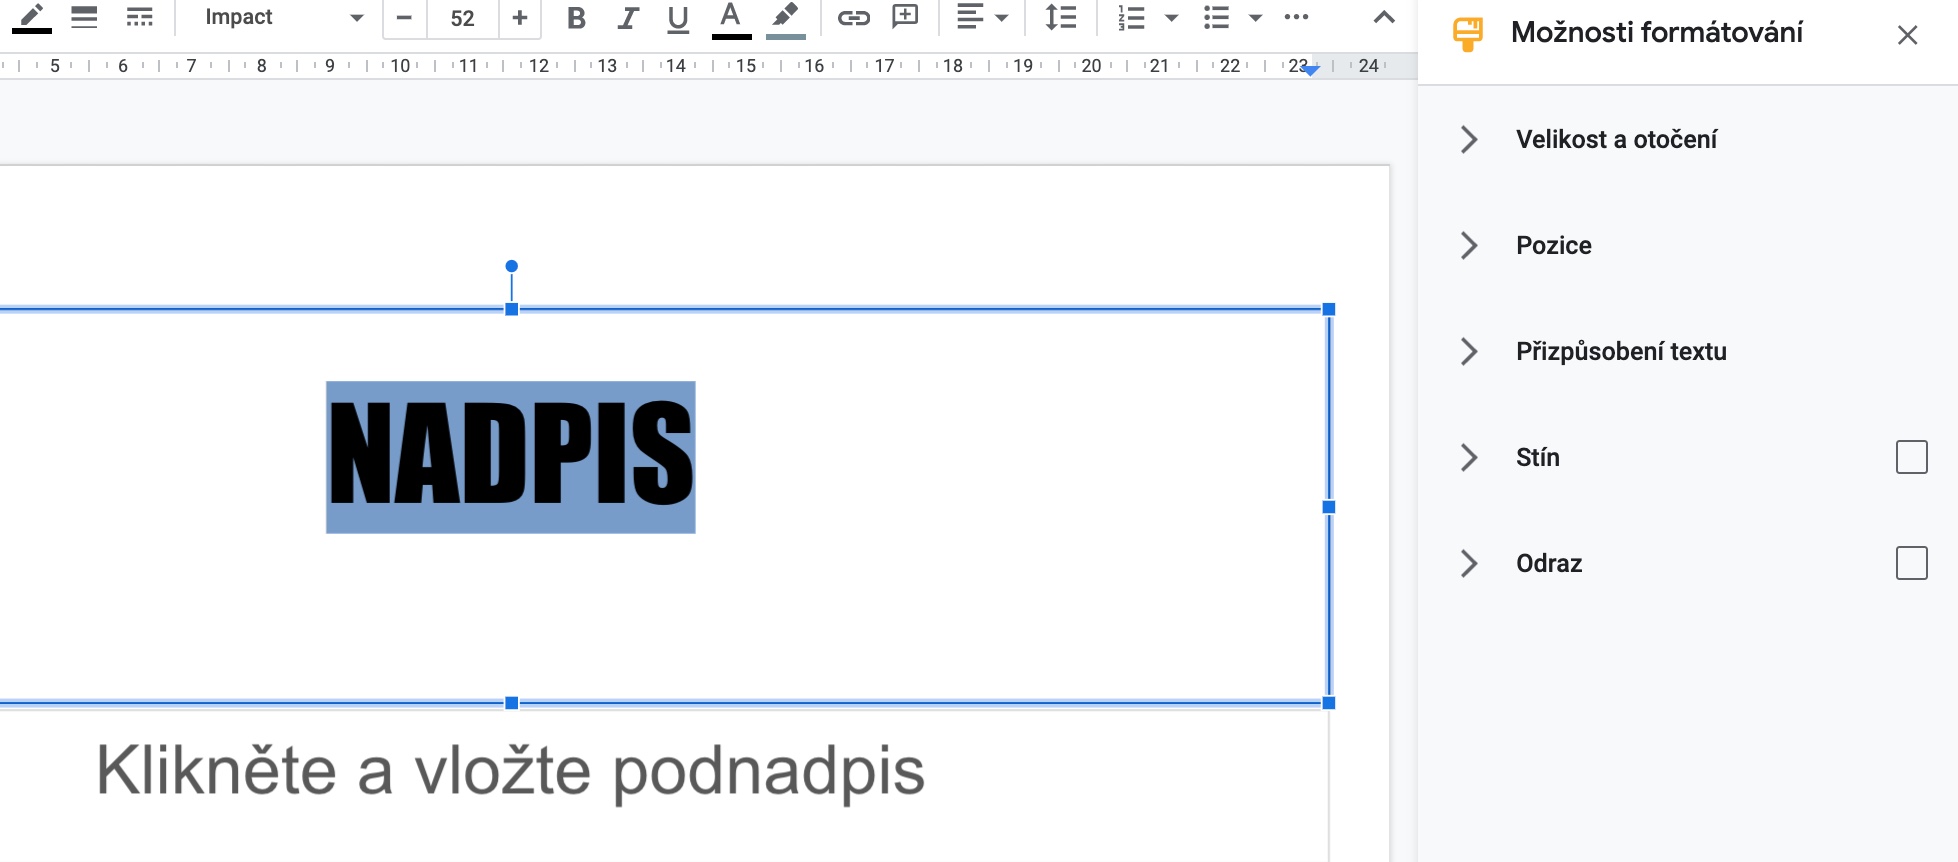
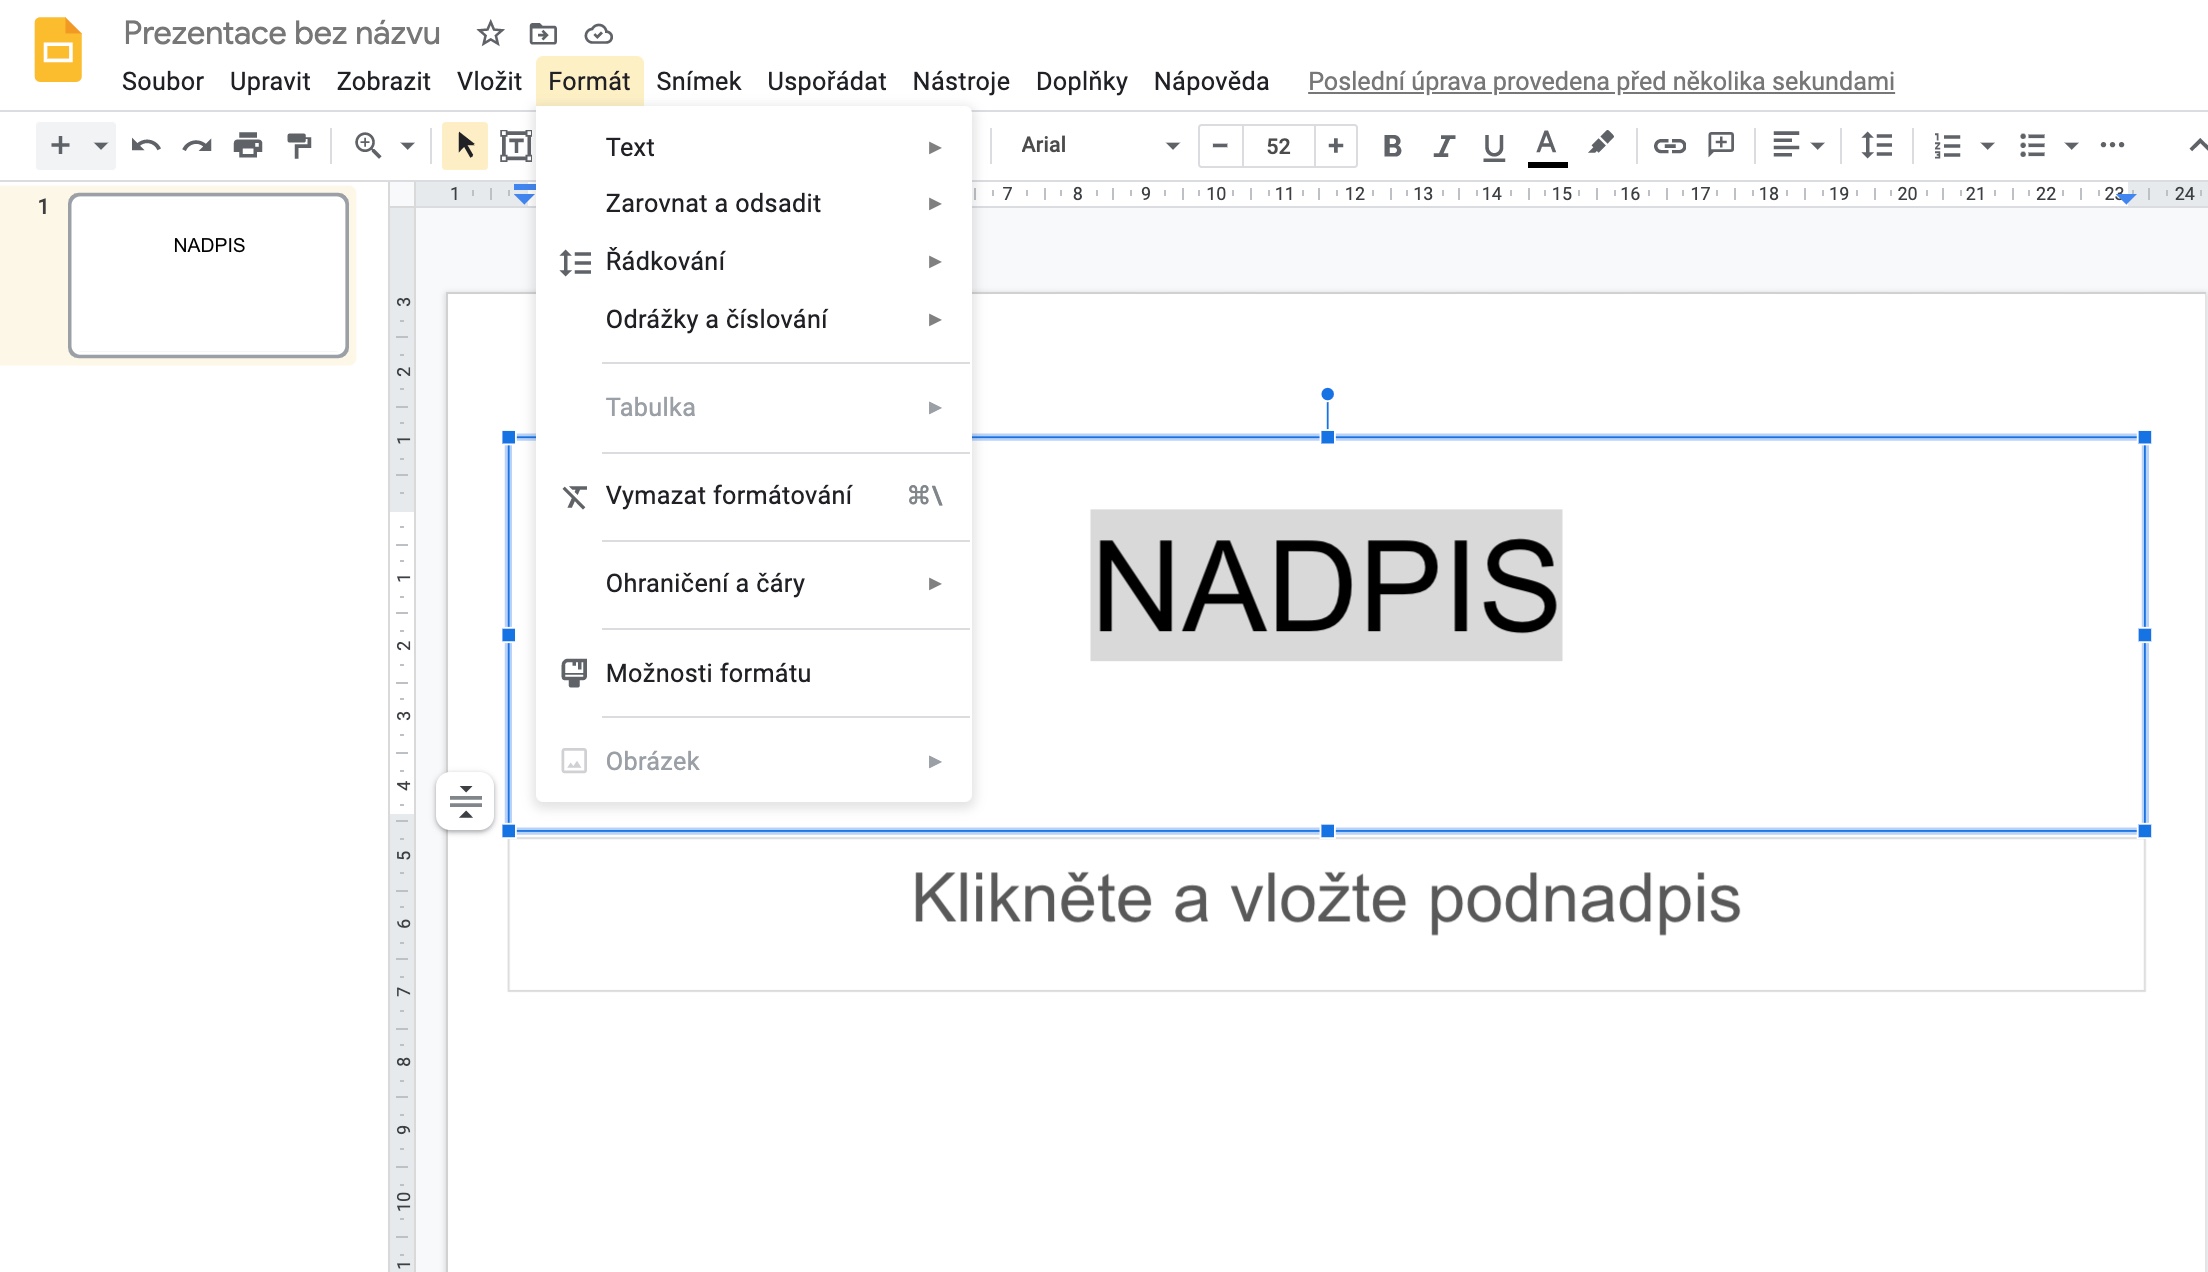
If, like the author of this article, you grew up in the 1990s, you may have also experienced wild experiments with WordArt in Word on the family computer. Google Slides gives you quite a few options to play around with text. First create a headline and then in upper part of the window click on Format. Edit the text to your liking. You also get more options after mark the formatted text, right-click on it and select Format options.
Use themes
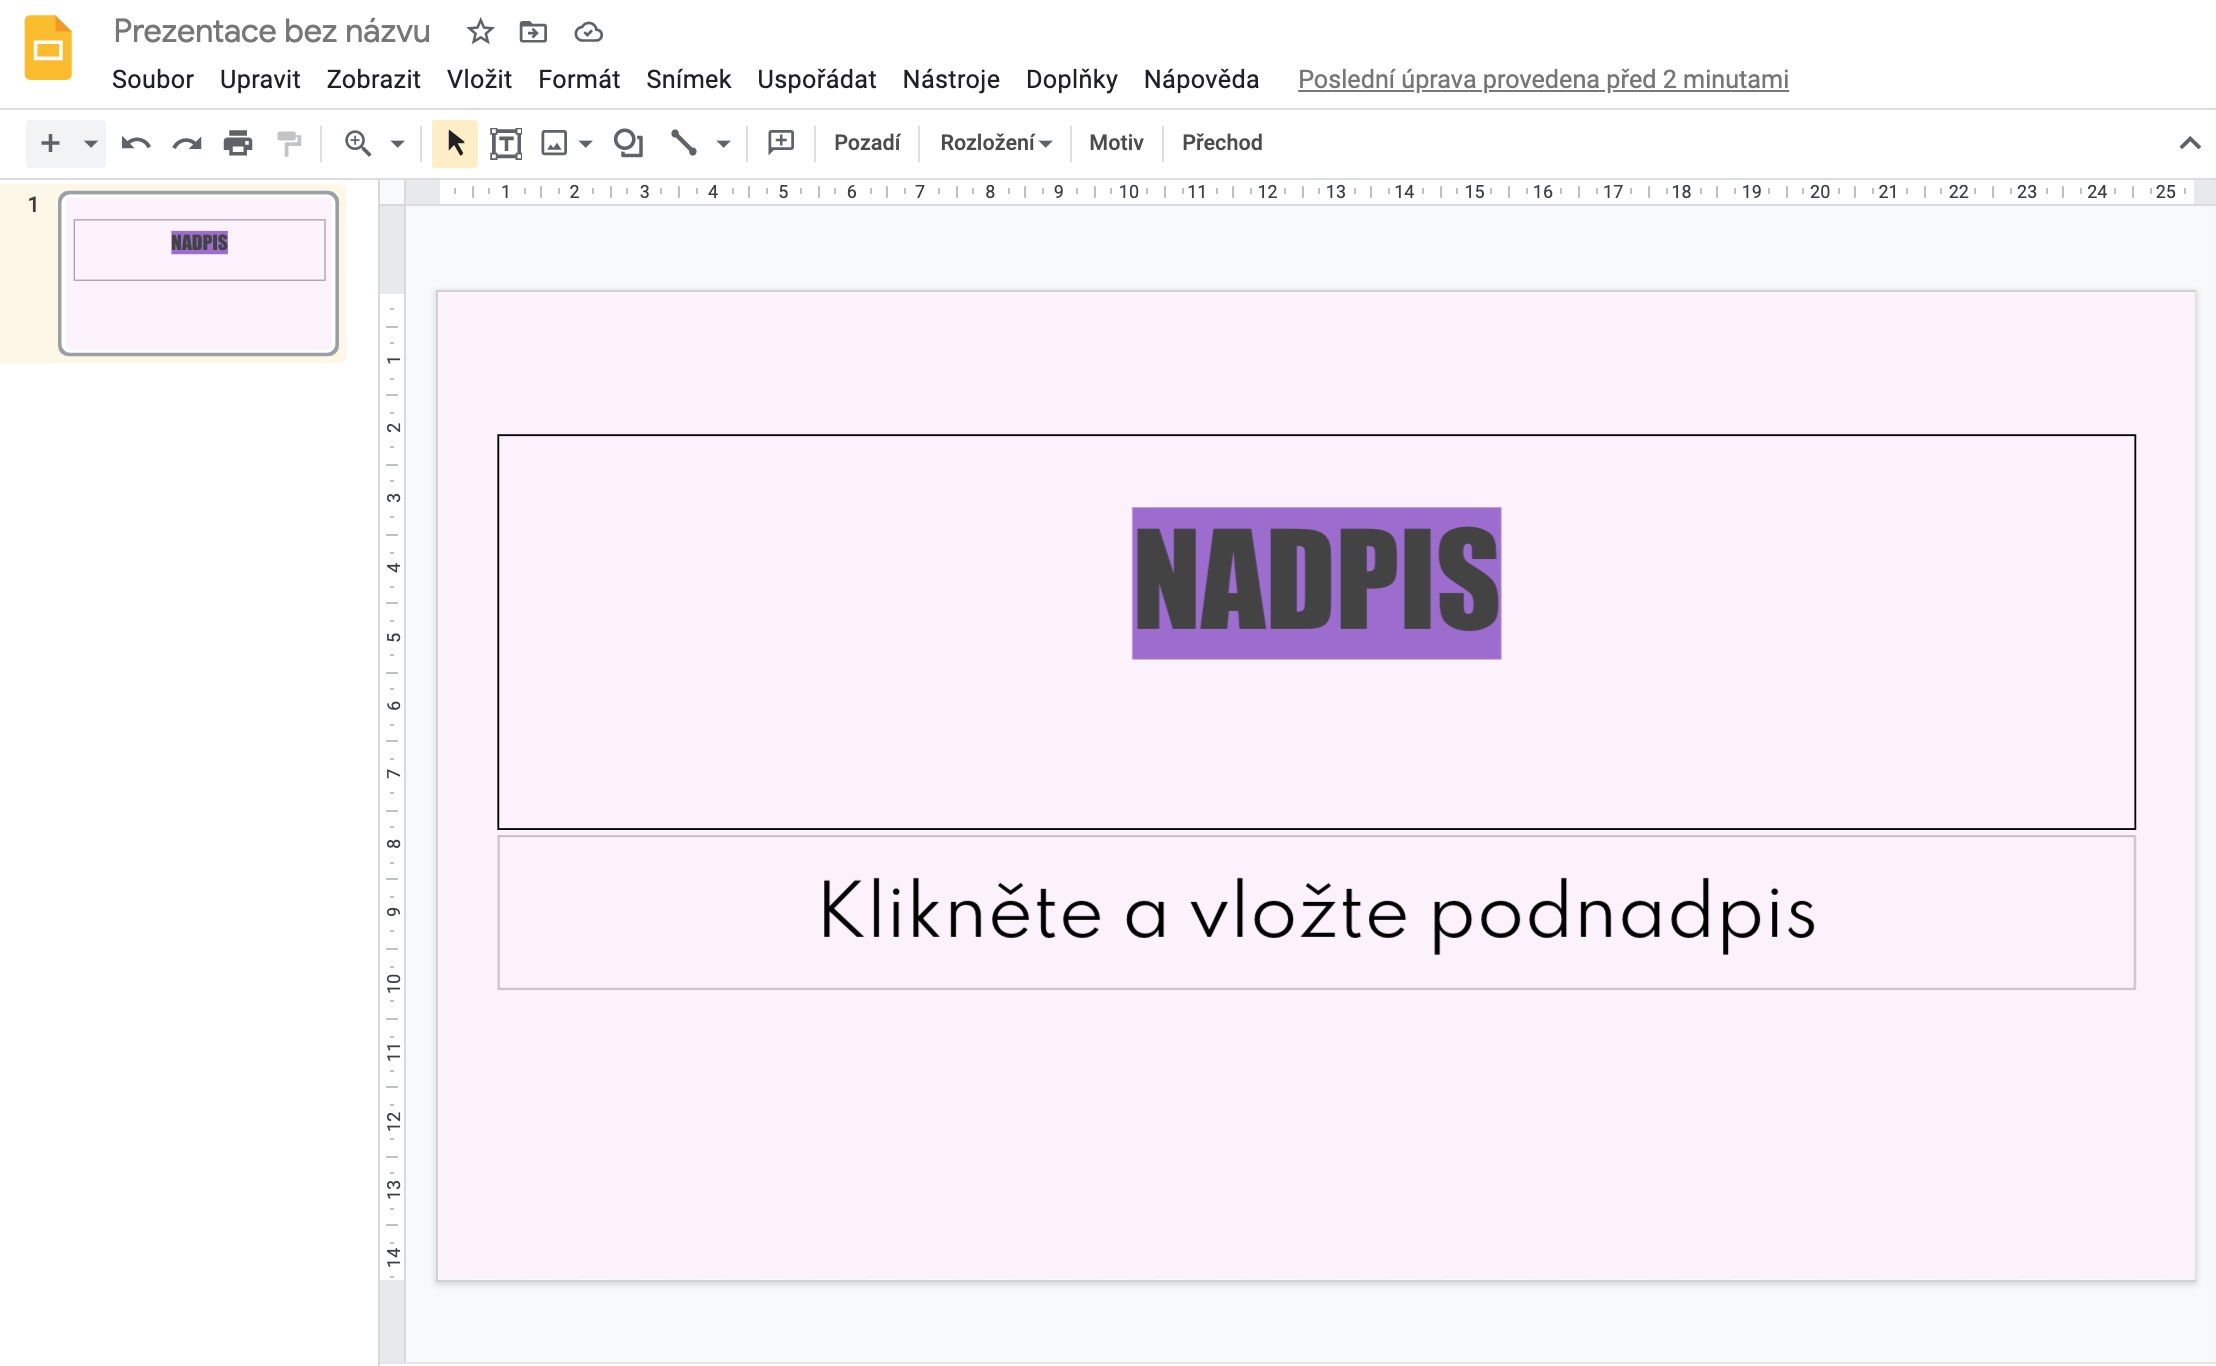
While working in Google Slides on Mac, you must have noticed the menu of themes in panel on the right side of the window. But did you know that you don't necessarily have to rely only on this offer? On the Internet there are k available for download and other interesting motifs. First, choose a theme download to your Mac, return to Google presentation and then in lower part of the motif panel click on Import theme. After that, just select the desired theme and add it to the menu.
Download add-ons
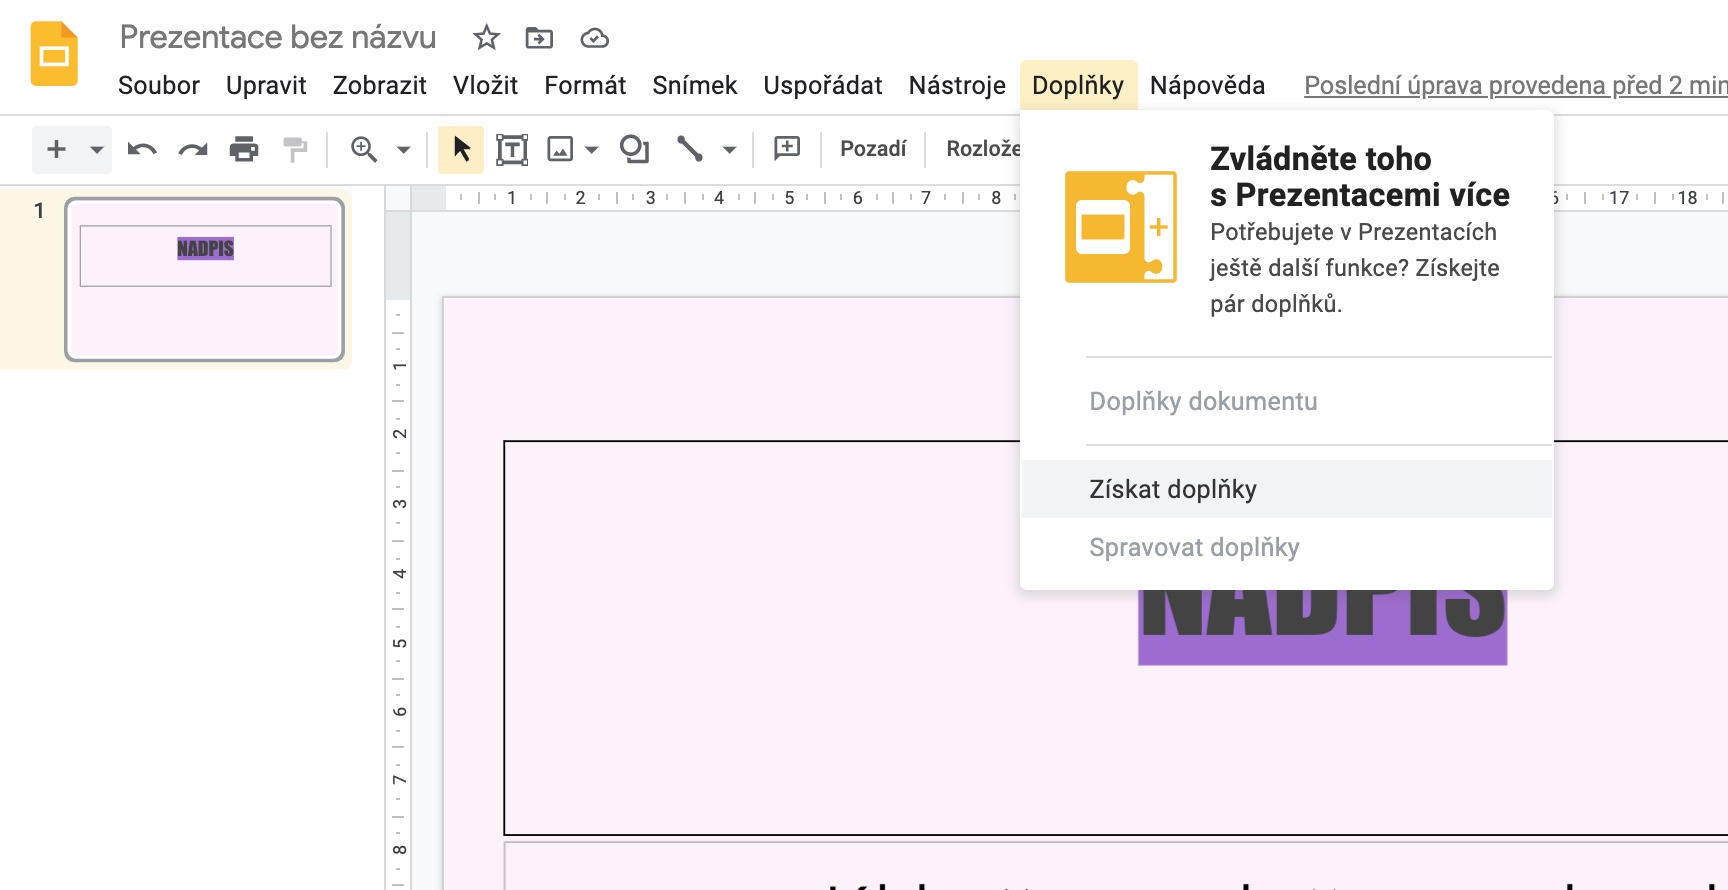
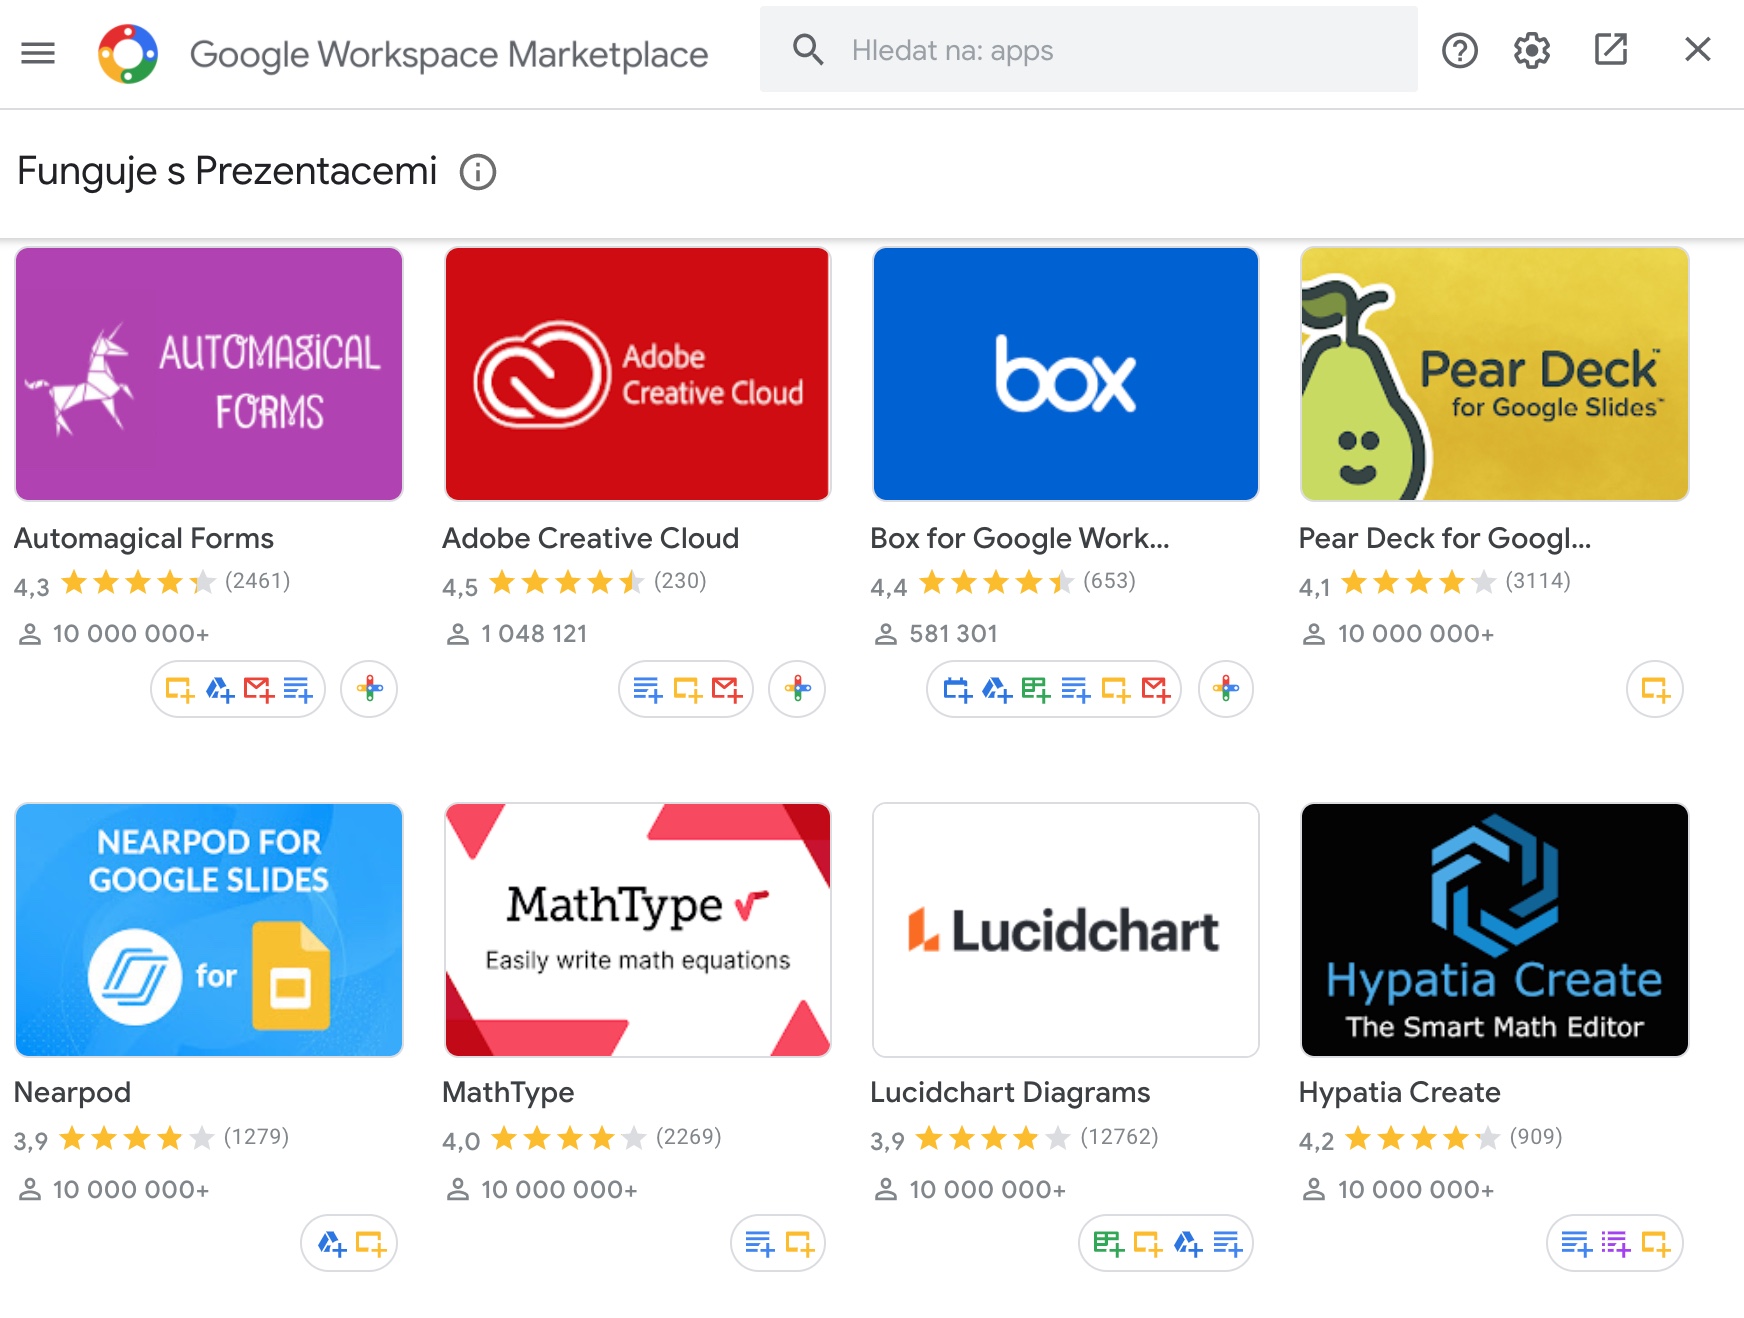
As with other applications of Google's online office suite, you can also purchase a variety of useful add-ons for better work efficiency in Google Presentations. On toolbar at the top of the window click on Add-ons -> Get add-ons. A window will open Google Chrome Store, where you choose the tool you need for your job.
Add notes
Do you want to have your own notes for each of the slides in your presentation, but don't want to write them in a notebook? You can add them directly to the presentation. Select an image, to which you want to add your notes, and drive all the way down. Under the main image window will be displayed to you text field, in which you can put everything you need.







Who on earth would want to run Google presentations on a Mac where Keynote is. He would have to be really desperate :D