A Mac or MacBook is an absolutely perfect device that can simplify your daily functioning. It is said that Apple computers are primarily intended for work, but the truth is that this statement is no longer valid. The latest Apple computers will offer so much performance that even some more expensive competing laptops can only dream of. In addition to work, you can also play games on your Mac, or just surf the Internet or watch movies without worrying about the battery draining quickly. The macOS operating system that runs on all Apple computers is full of great options and features. In this article, we'll take a look at 10 of them that you might not even know your Mac can do.
It could be interest you

Zooming in on the cursor when you can't find it
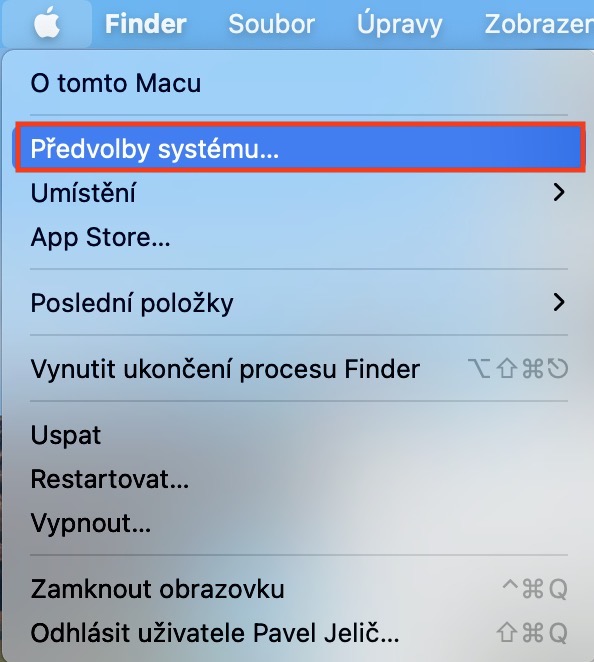
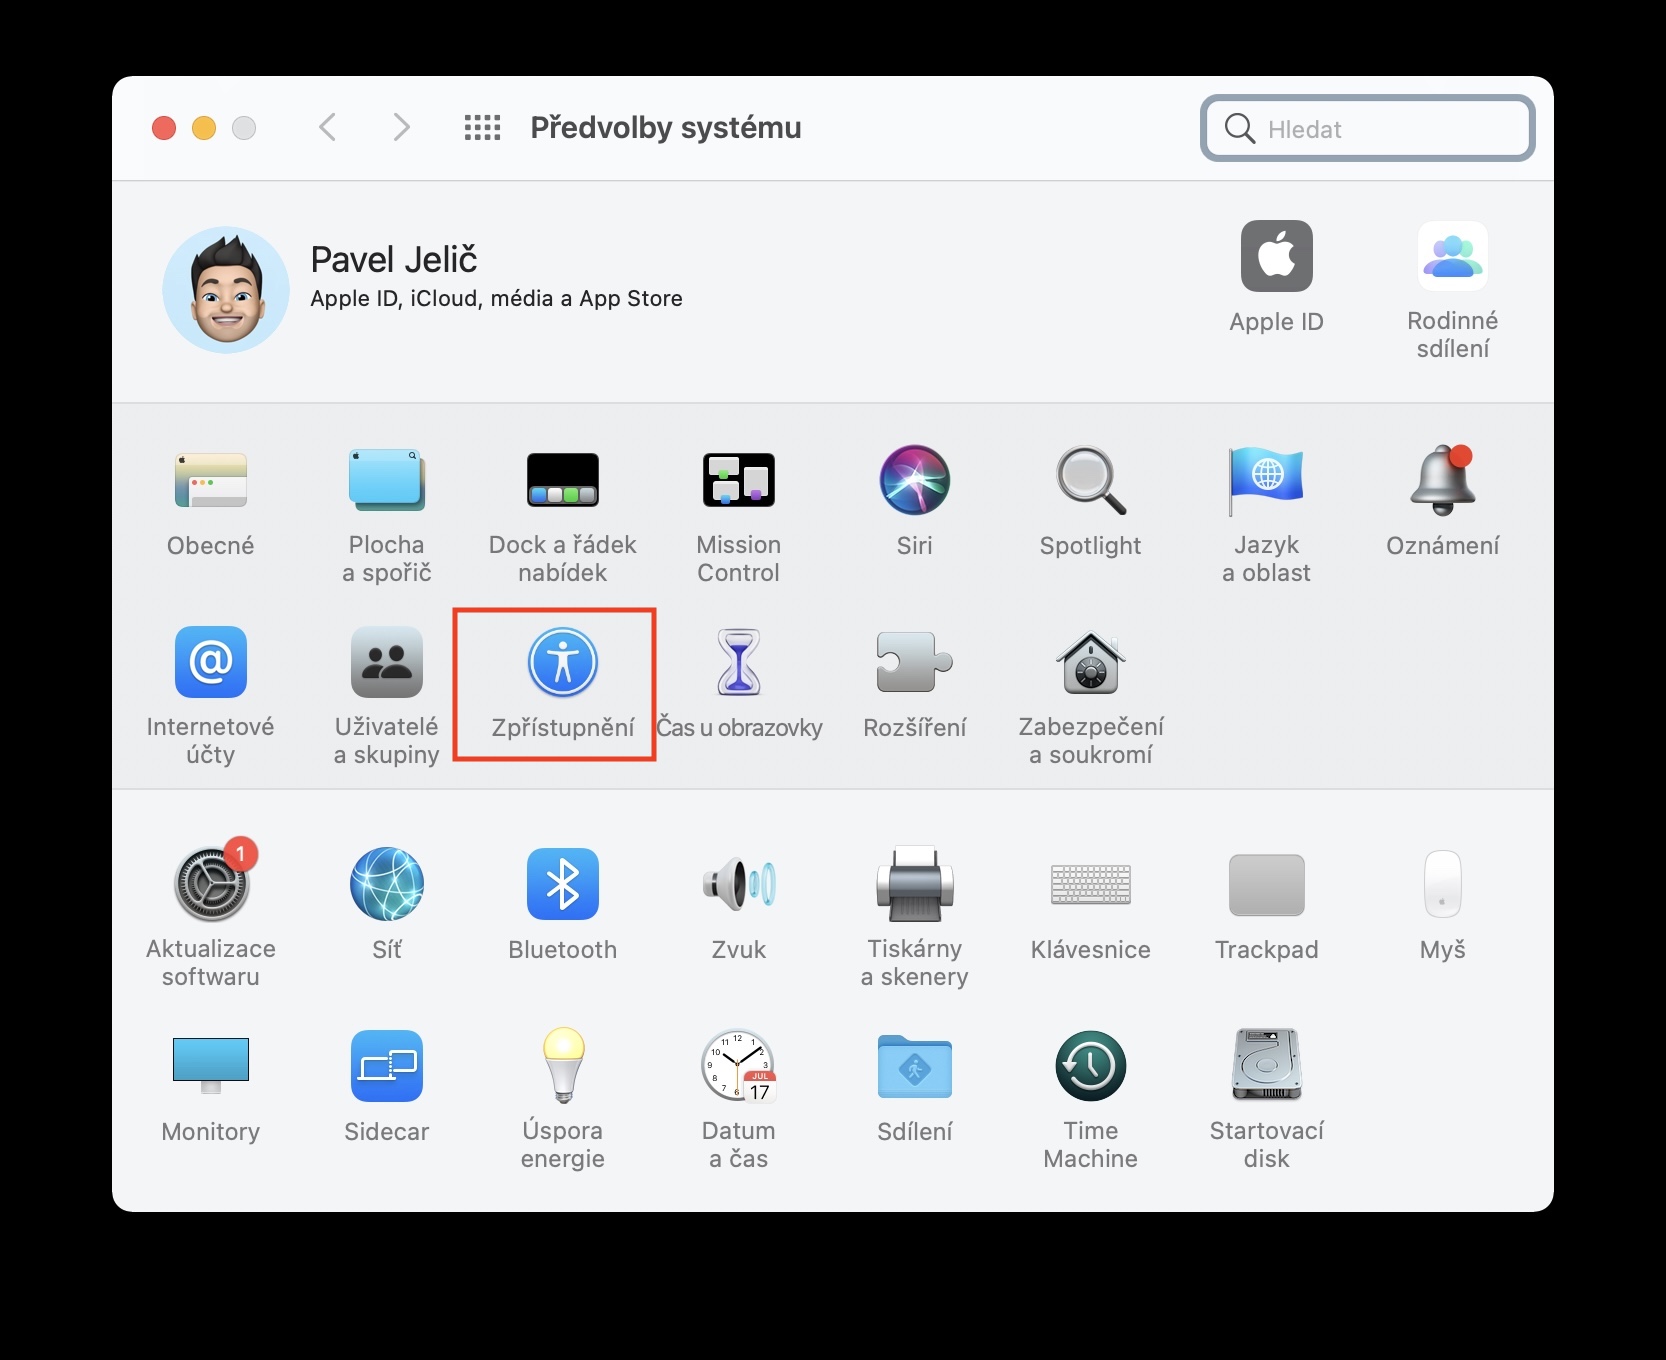
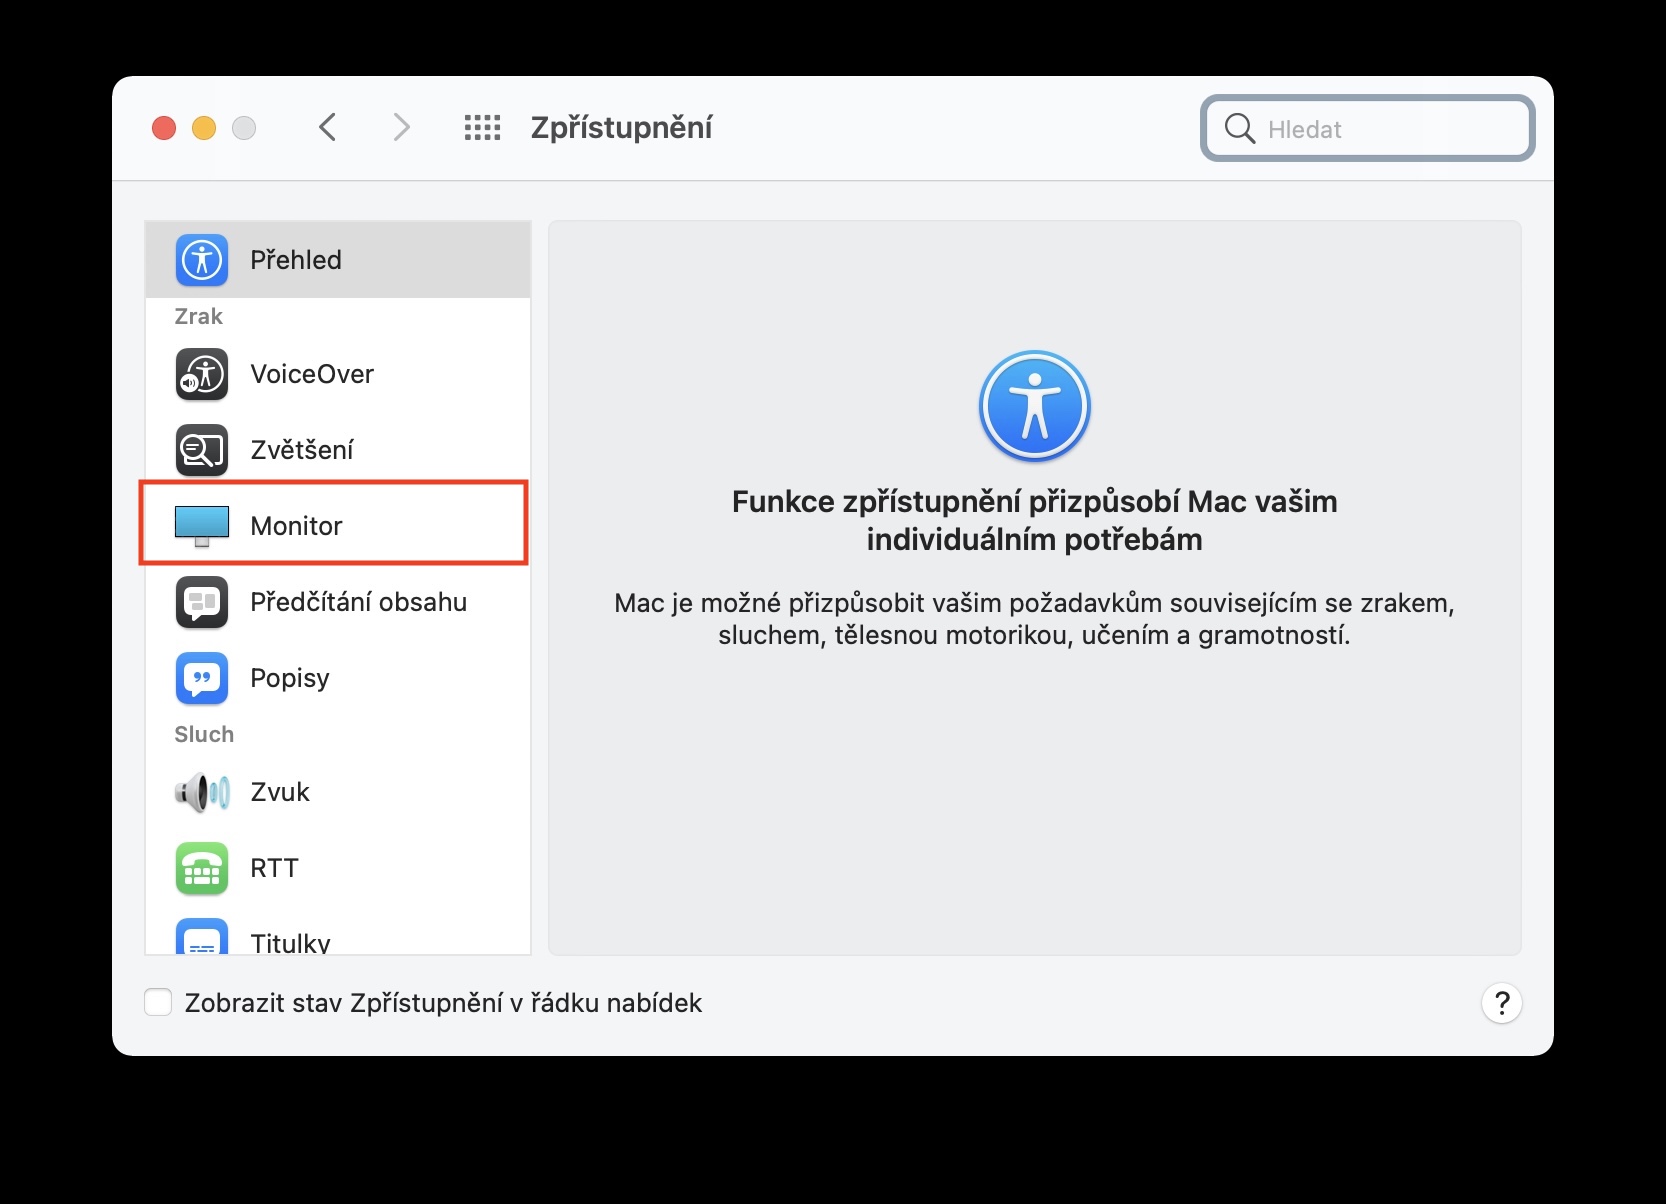
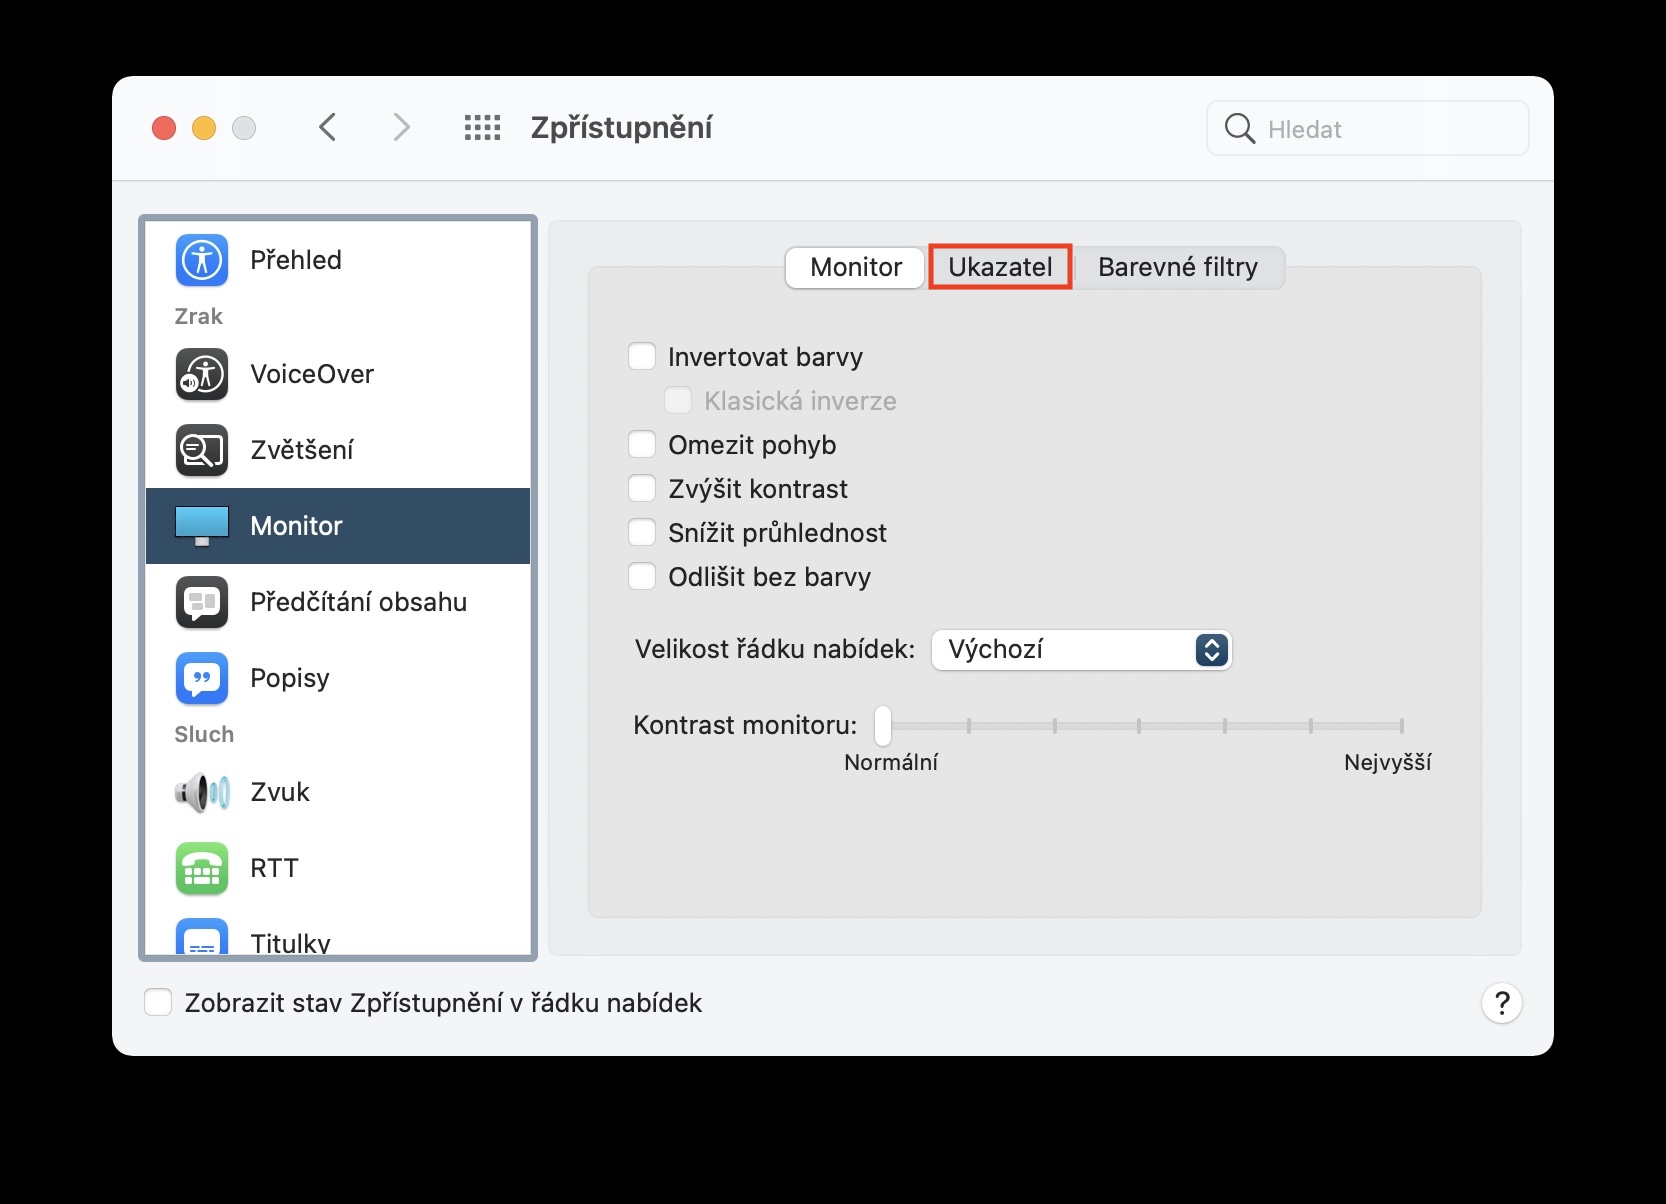
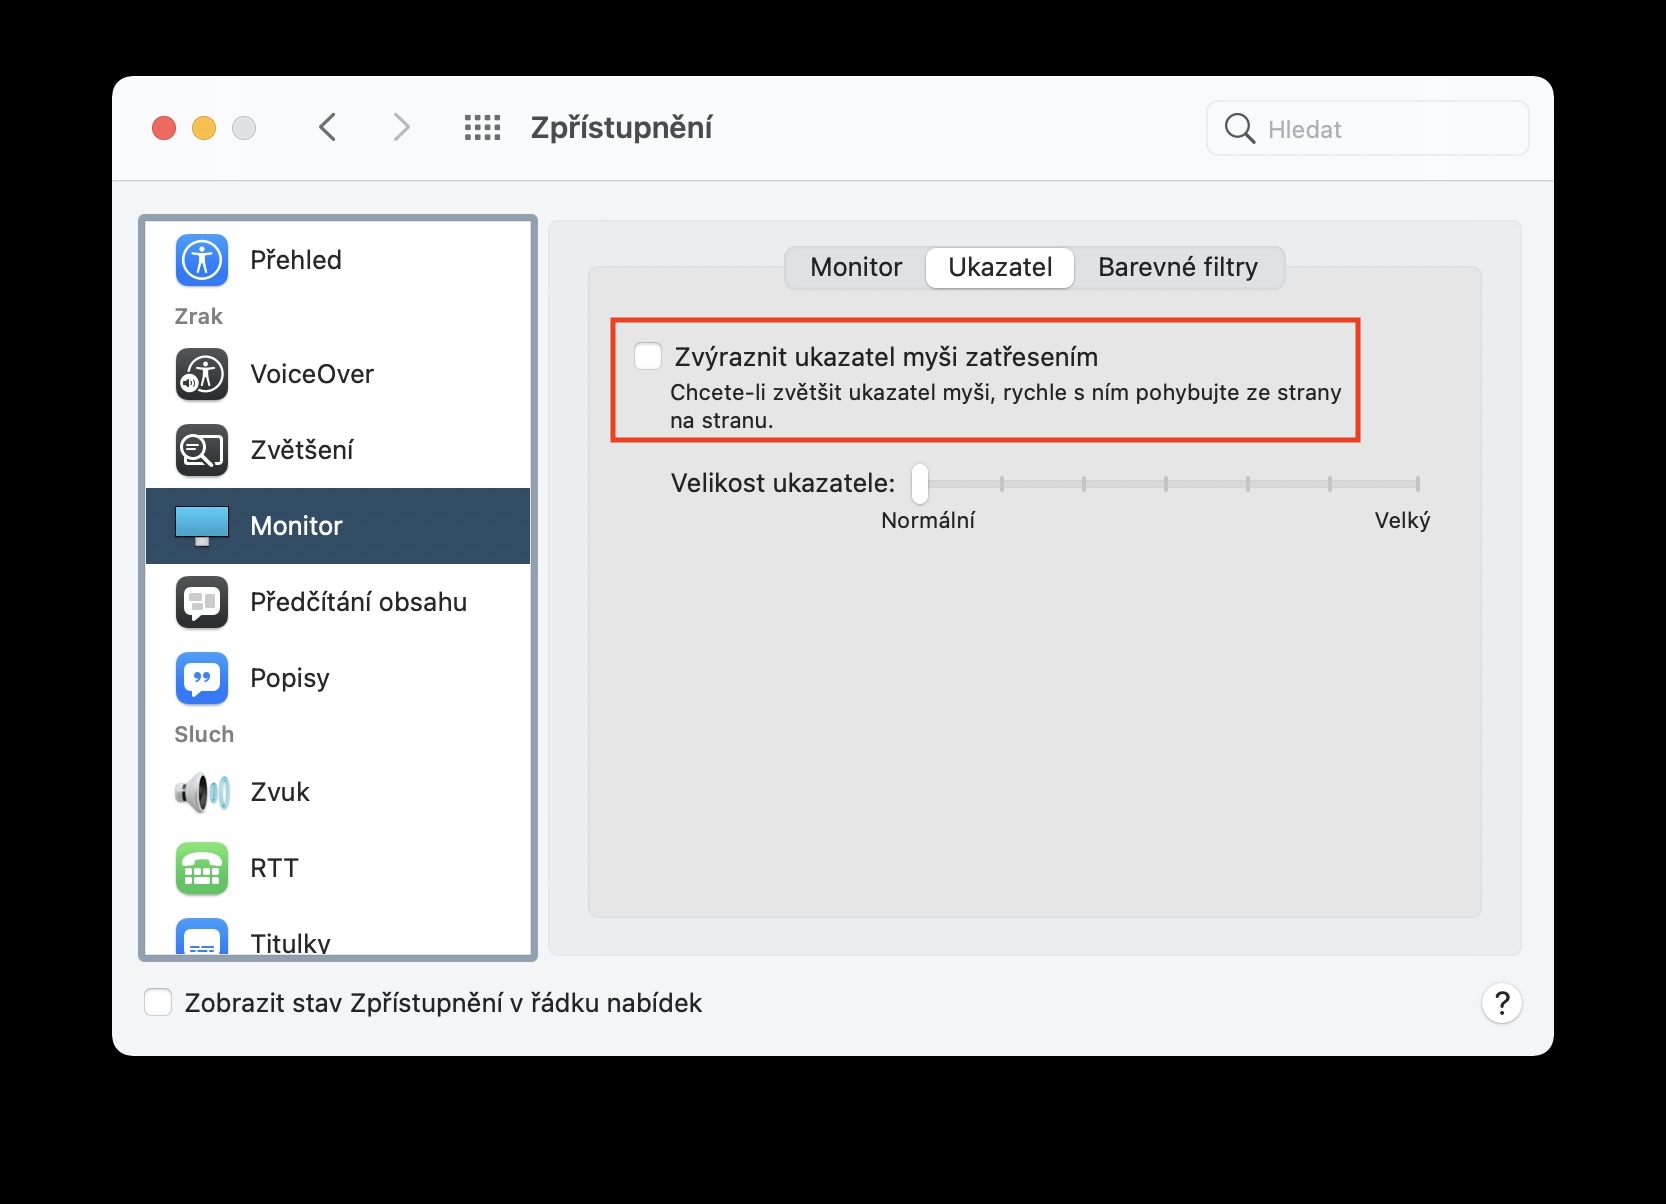
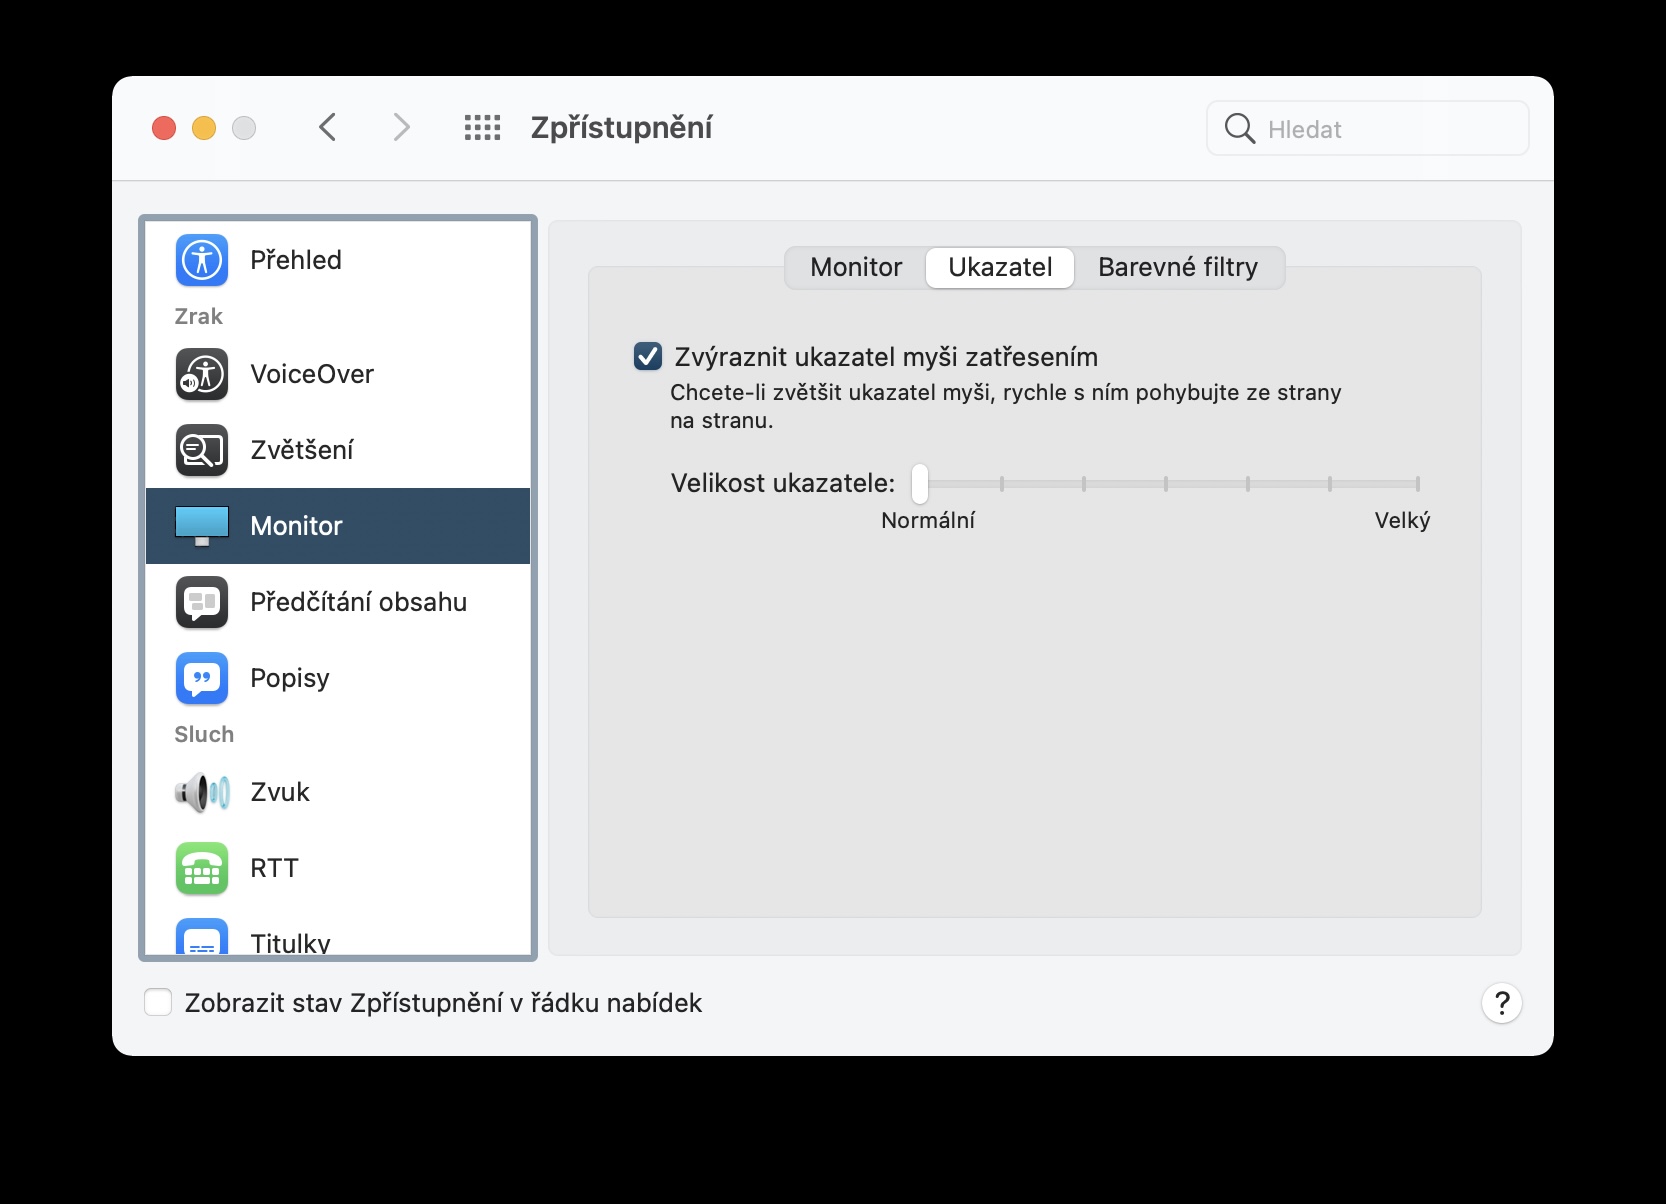
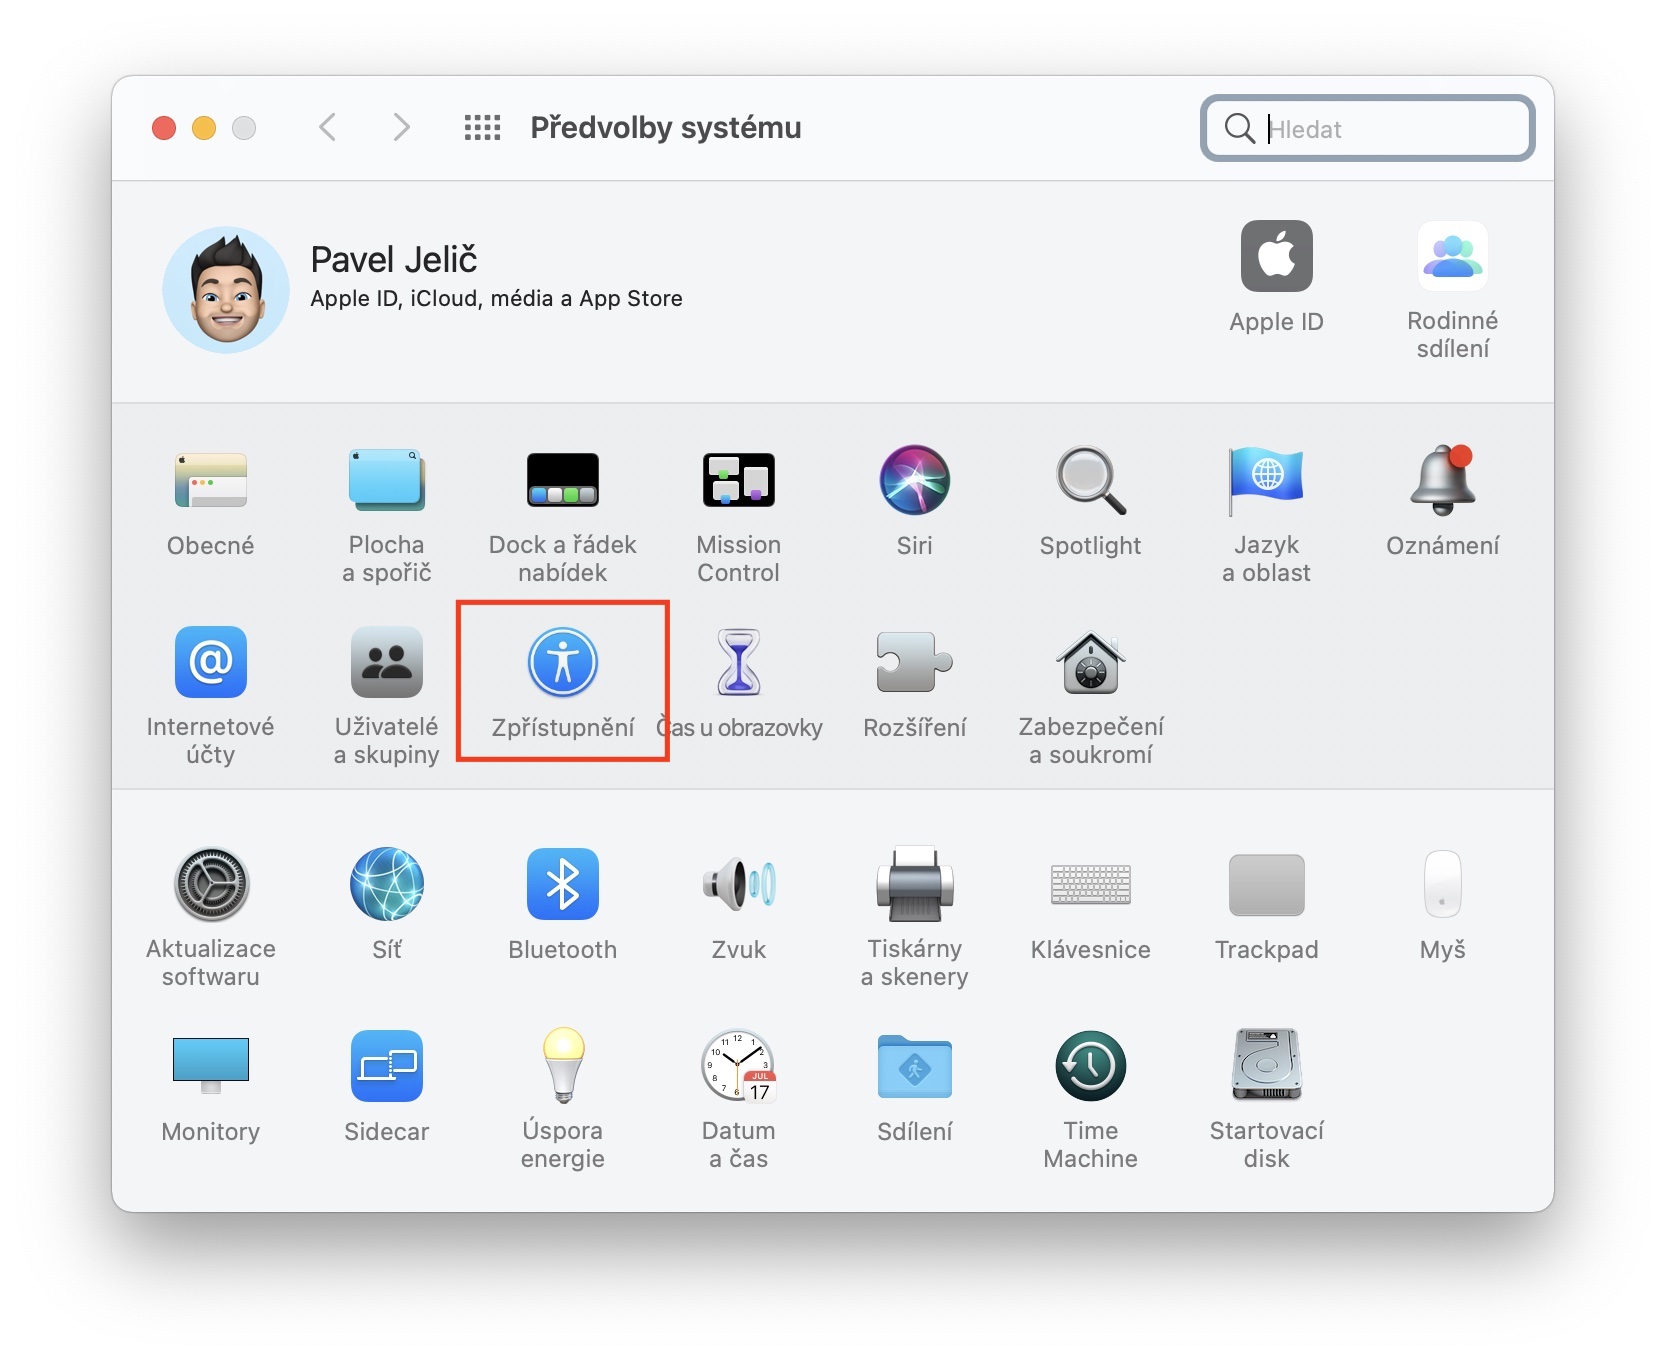
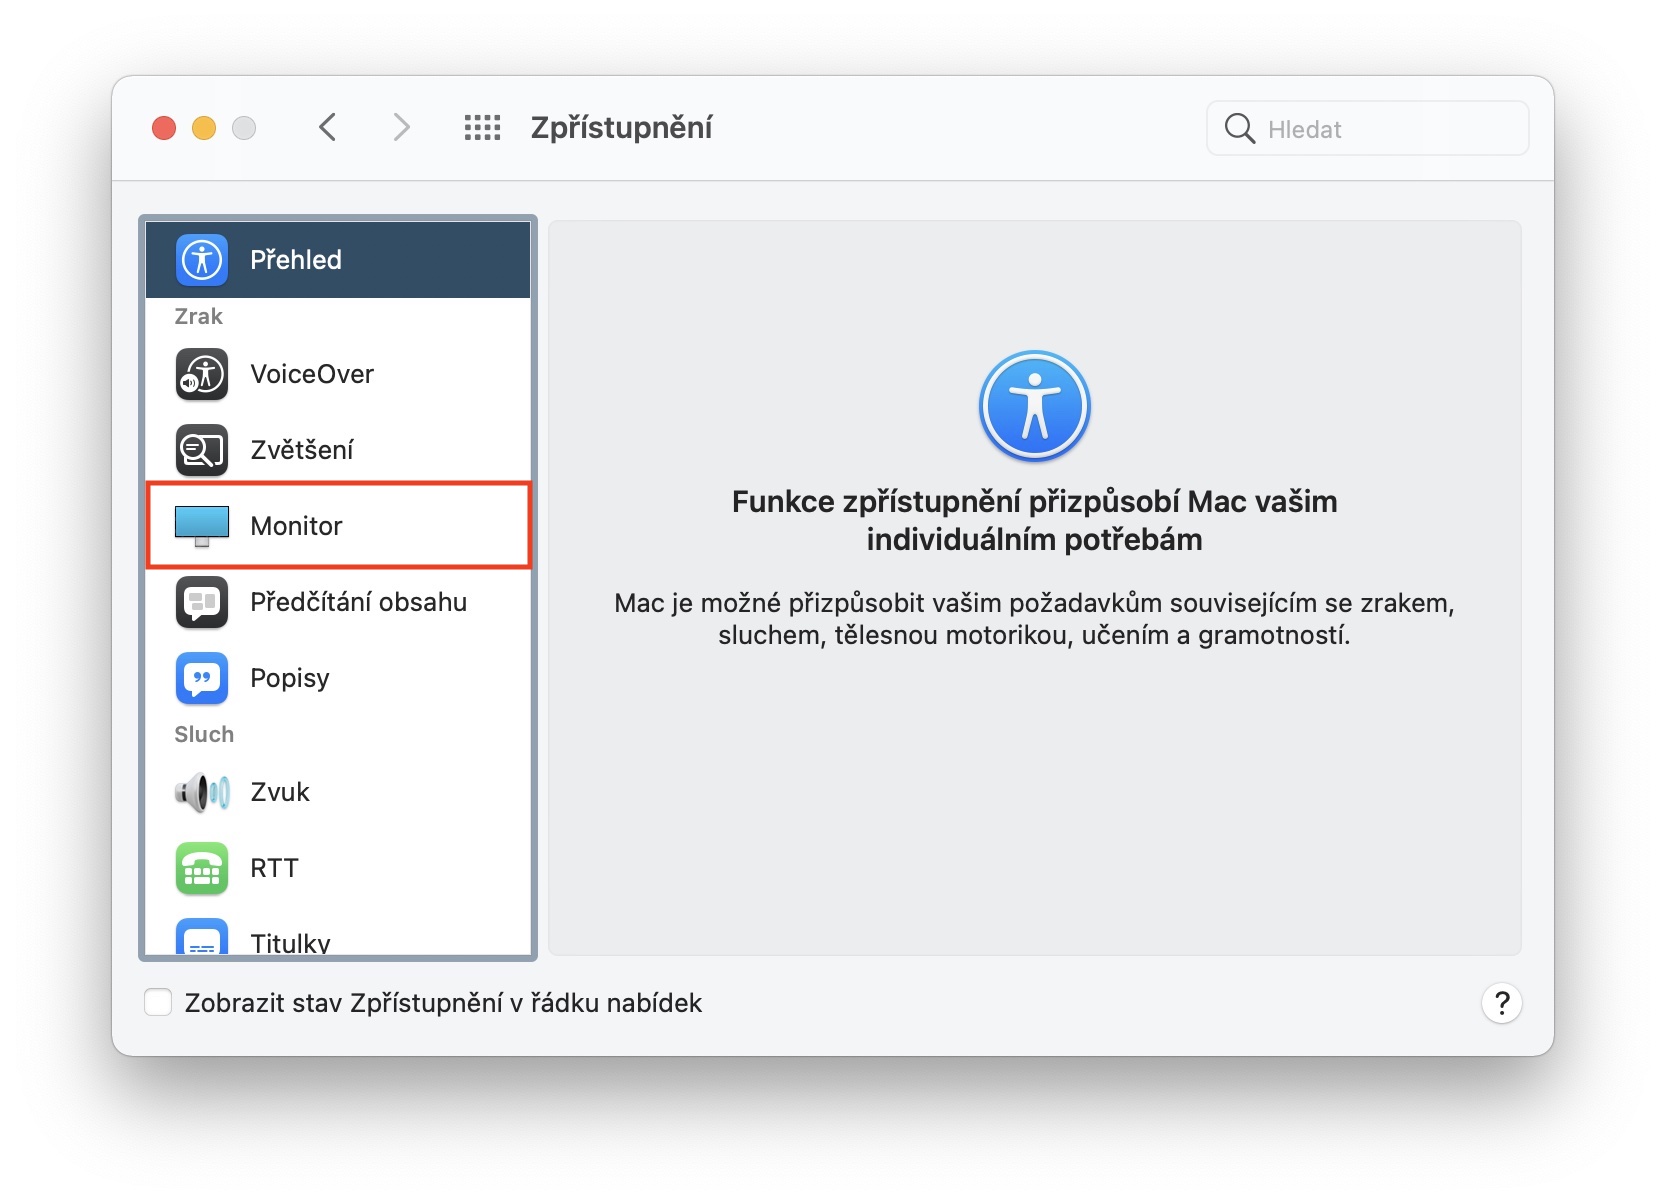
You can connect external monitors to your Mac or MacBook, which is ideal if you want to enlarge your desktop. A larger work surface can help in many ways, but at the same time it can also cause slight harm. Personally, on a larger desktop, I often find that I can't find the cursor, which simply gets lost on the monitor. But the engineers at Apple thought of this too and brought a function that makes the cursor several times larger for a moment when you shake it quickly, so you'll notice it right away. To activate this feature, go to → System Preferences → Accessibility → Monitor → Pointer, where activate possibility Highlight the mouse pointer with a shake.
Live Text on Mac
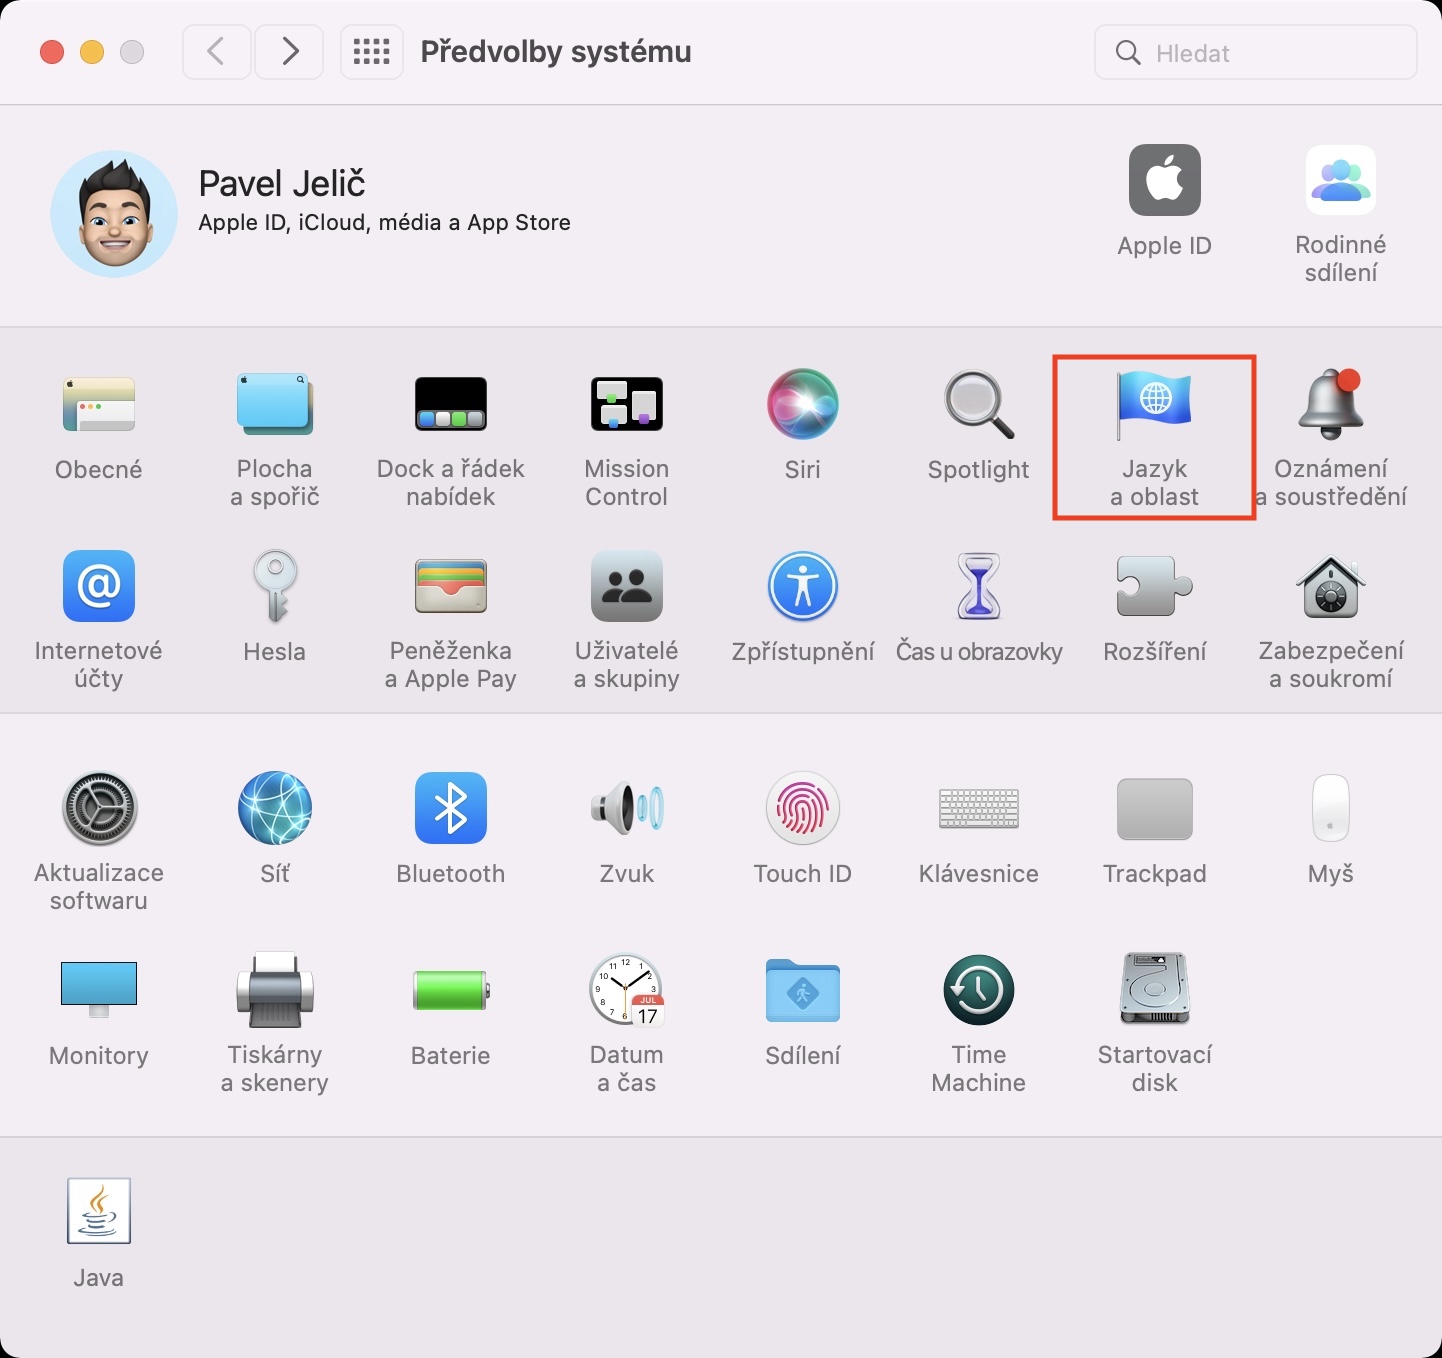
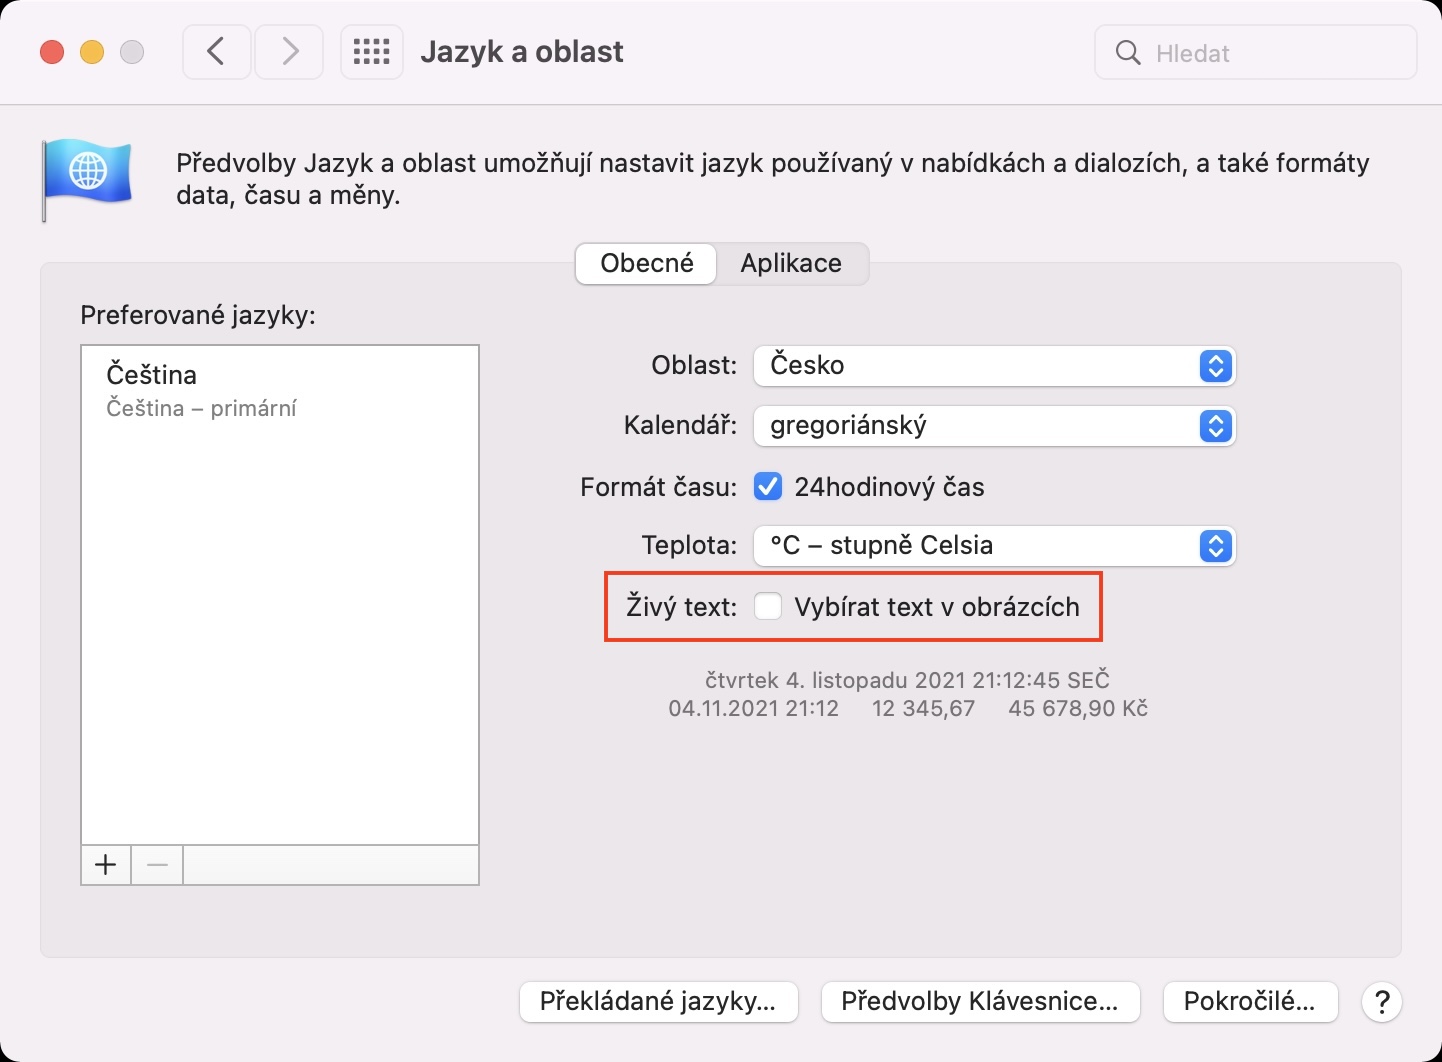
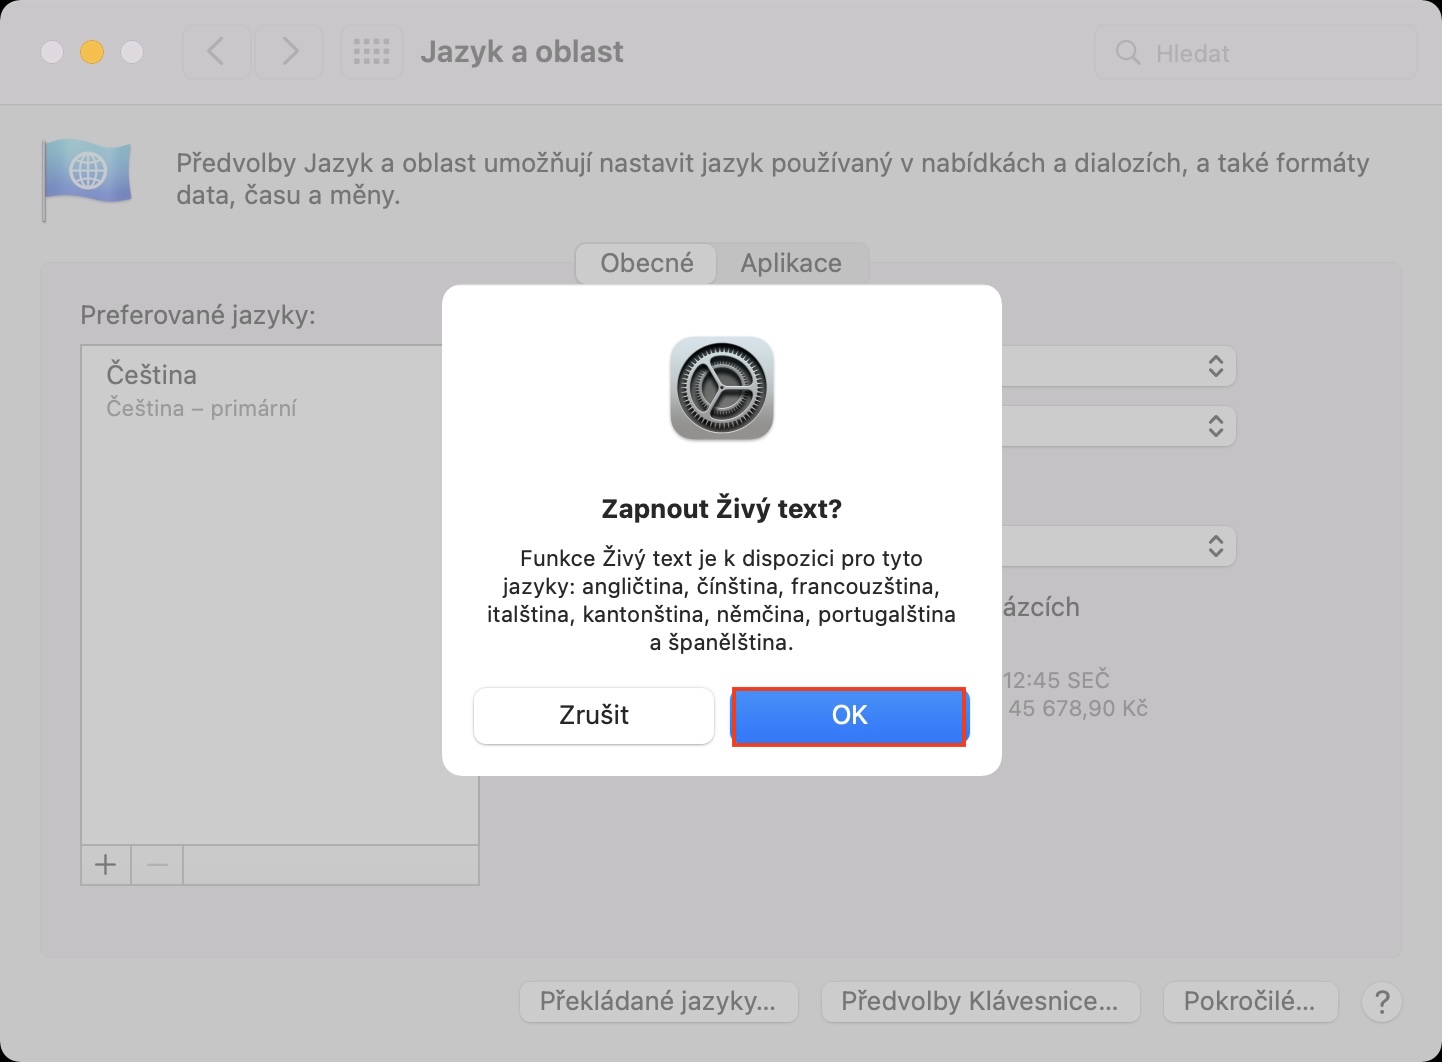
This year, the Live Text function, i.e. Live text, became part of Apple's operating systems. This function can convert the text found on a photo or image into a form in which it can be easily worked with. Thanks to Live Text, you can "pull" any text you need from photos and images, along with links, e-mails and phone numbers. Most users use Live Text on iPhone XS and later, but many users have no idea that this feature is also available on Mac. However, it is necessary to mention that on apple computers you have to activate it before using it, which you can do in → System Preferences → Language & Region, where tick possibility Select text in images. Then Live Text can be used, for example, in Photos, then in Safari and elsewhere in the system.
Deleting data and settings
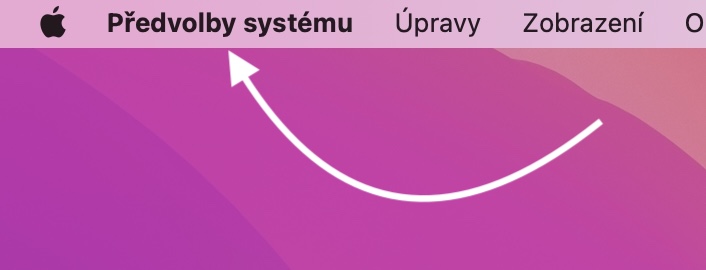
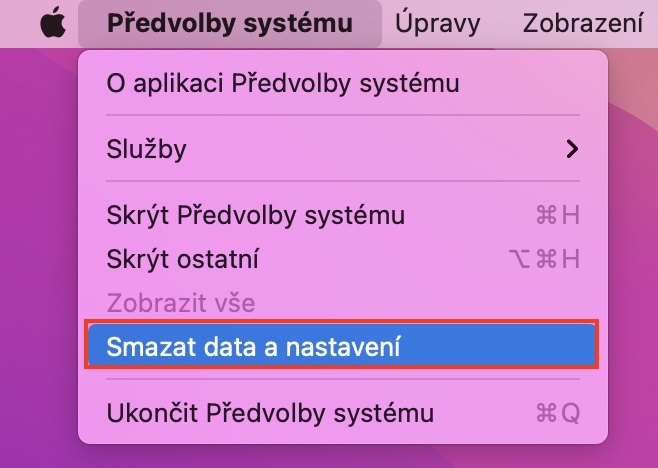
If you decide to sell your iPhone, all you have to do is turn off Find My iPhone, and then do a factory reset and erase data in Settings. This can be done with just a few taps and you don't have to worry about anything. In the case of a Mac, until recently, this process was more complicated - first you had to turn off Find My Mac, and then go into macOS Recovery mode, where you formatted the drive and installed a new macOS. But this procedure is already a thing of the past. Apple engineers came up with a very similar option for deleting data and settings on Macs as on iPhones or iPads. It will now be possible to completely erase the Apple computer and restore it to factory settings by going to → System Preferences. This will bring up a window that may not interest you in any way right now. After opening it, tap on in the top bar System Preferences. Just select from the menu Erase data and settings and go through the guide until the very end. This will completely erase your Mac.
Active corners
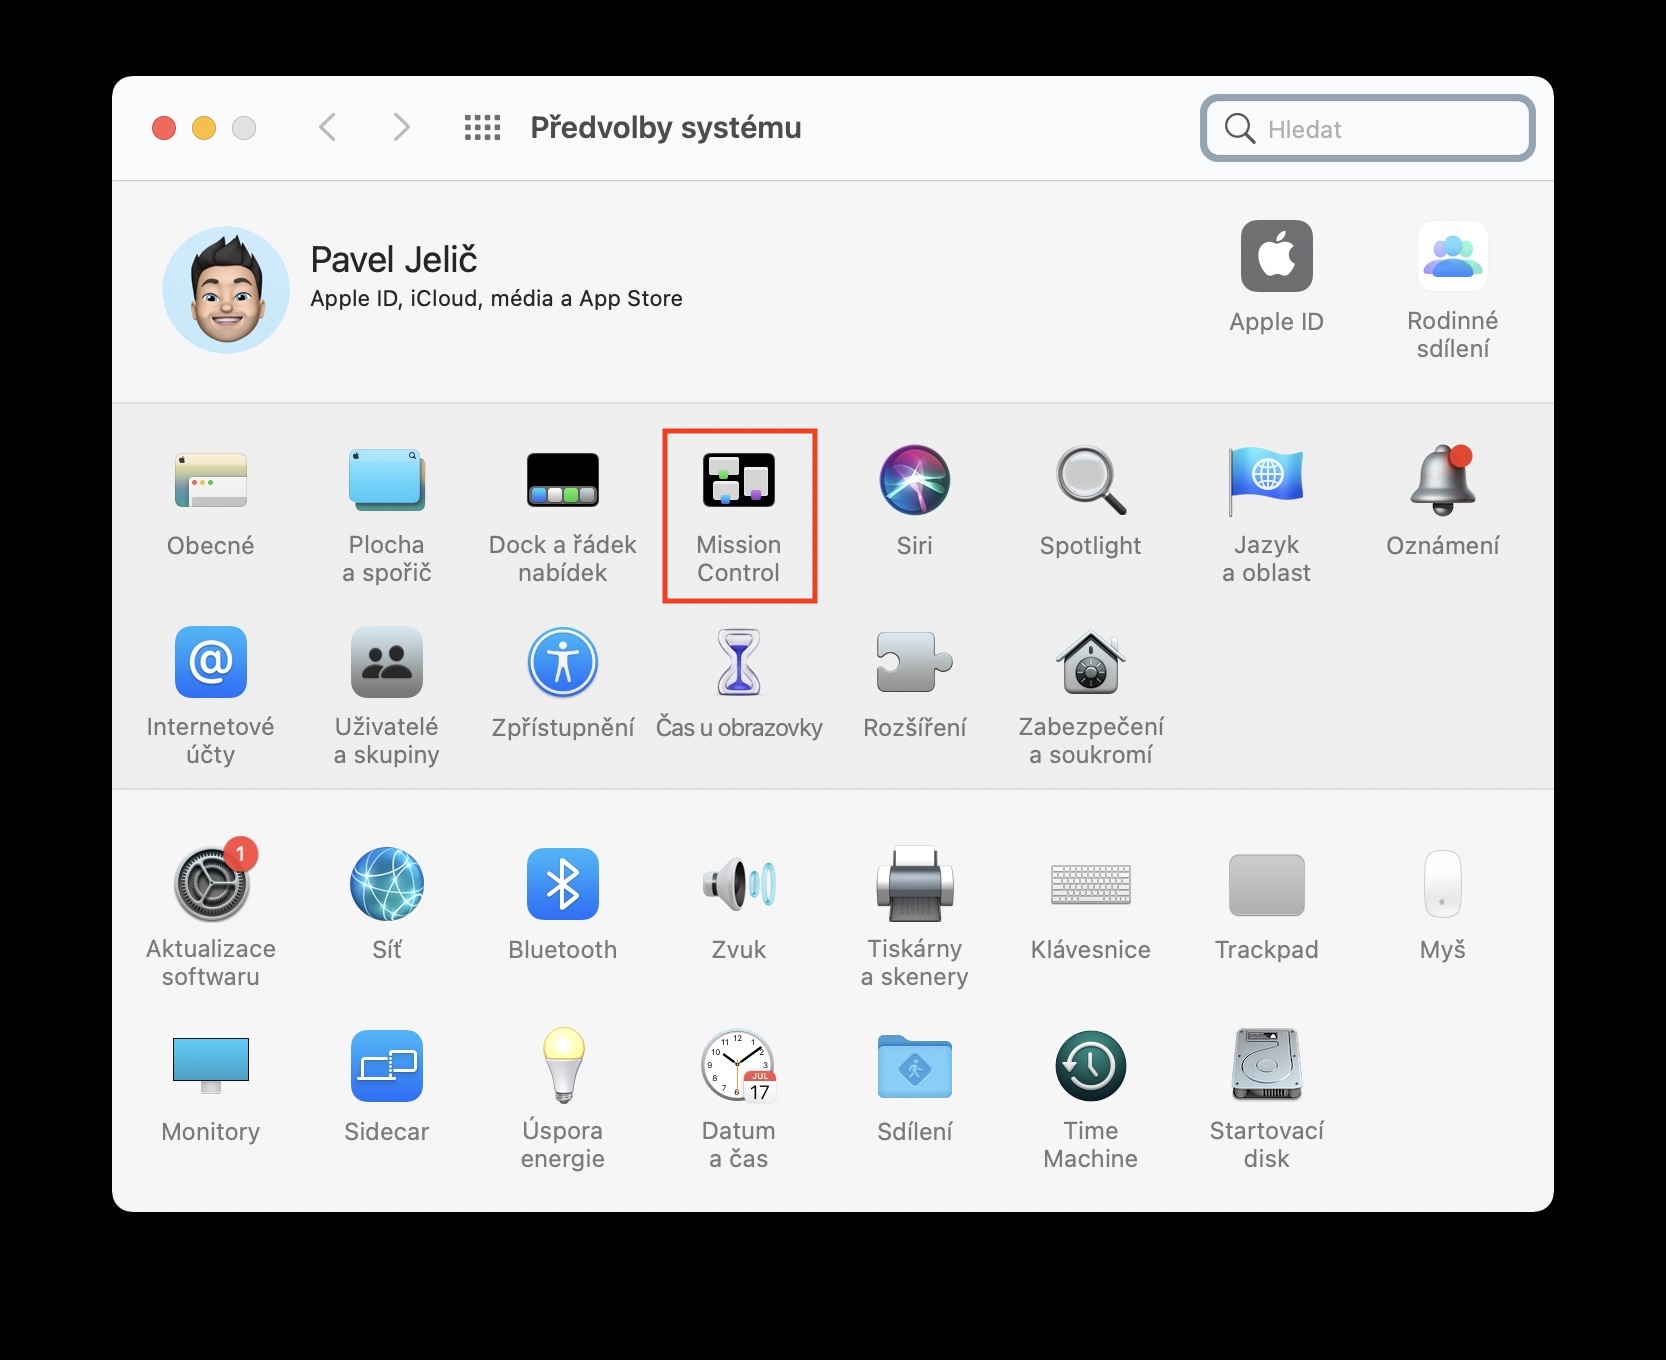
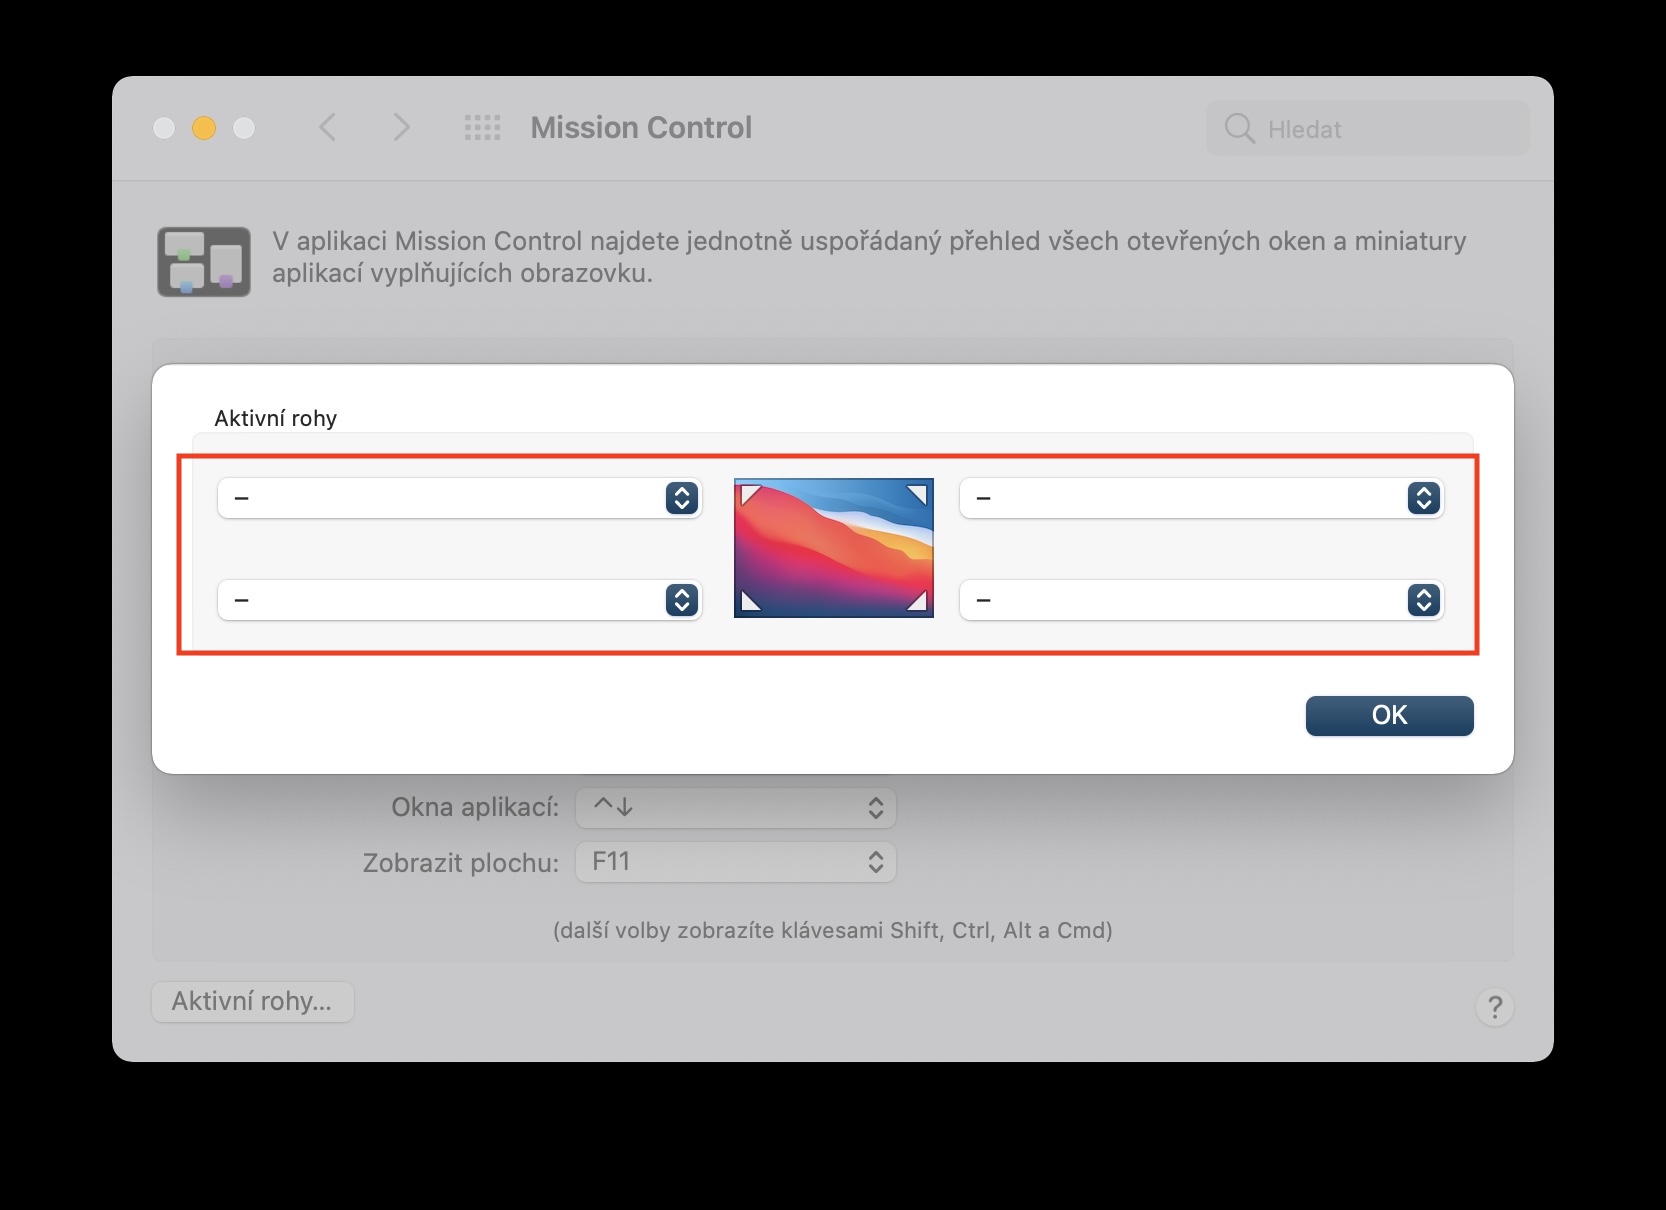
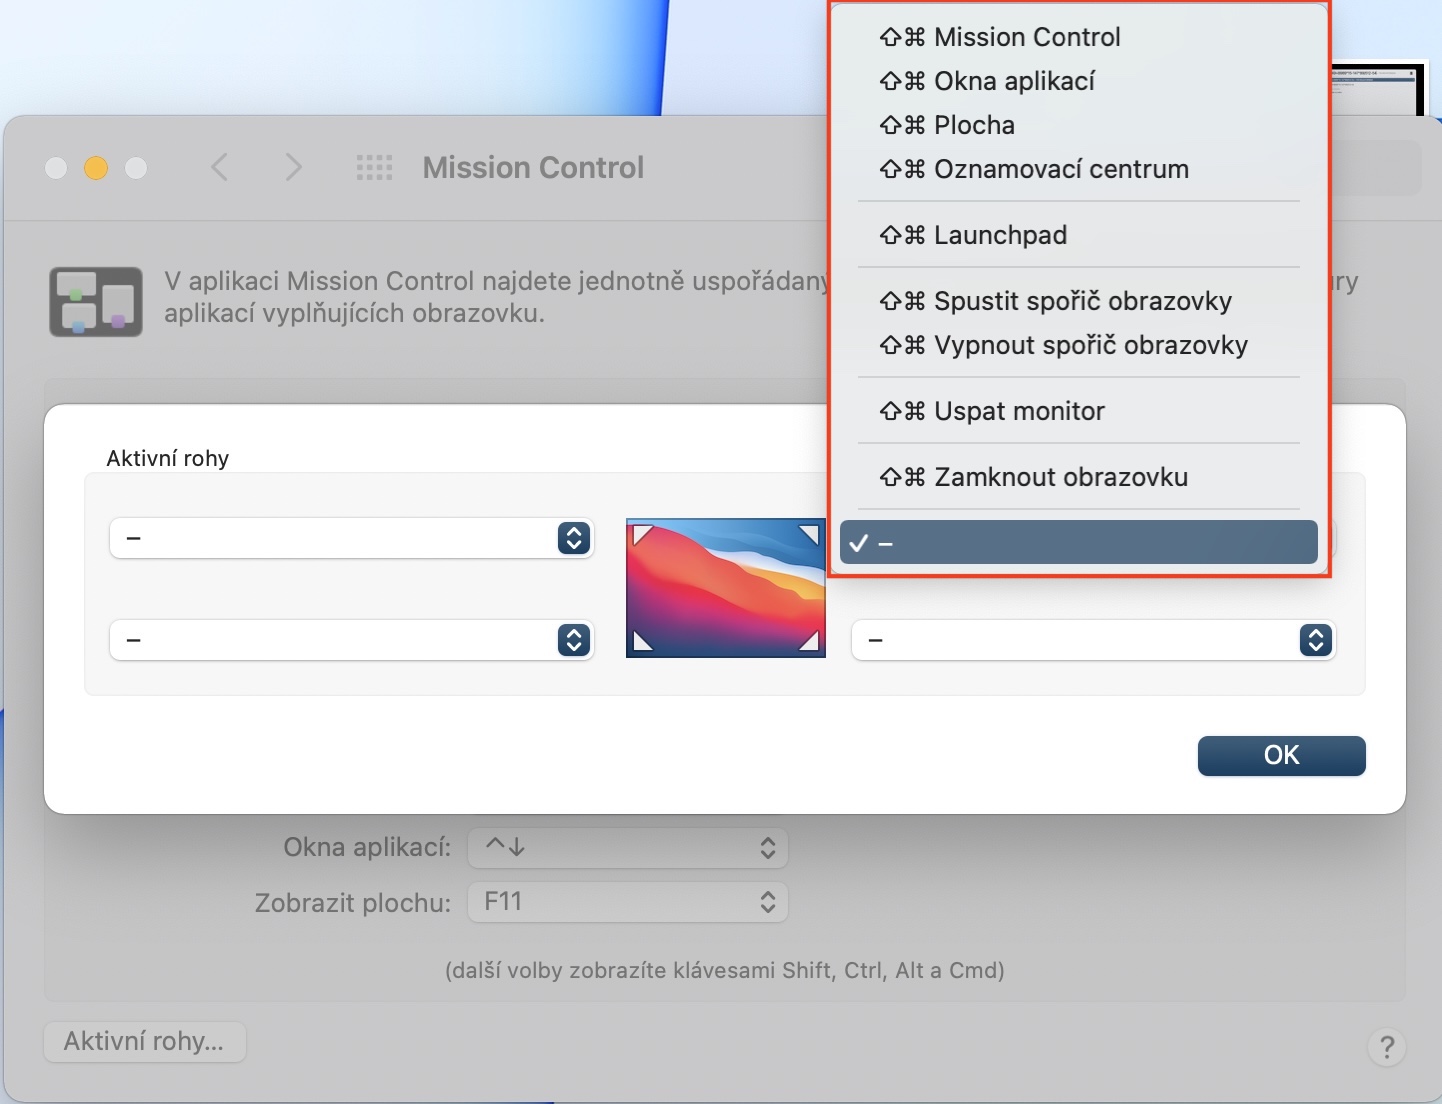
If you want to quickly perform an action on your Mac, you can use keyboard shortcuts, for example. But few people know that you can also use the Active corners function, which ensures that a pre-selected action is performed when the cursor "hits" one of the corners of the screen. For example, the screen can be locked, moved to the desktop, Launchpad opened or the screen saver started, etc. To prevent it from being started by mistake, you can also set the action to start only if you hold down the function key at the same time. Active corners can be set in → System Preferences → Mission Control → Active Corners… In the next window, that's enough click the menu a select actions, or hold down the function key.
Change the color of the cursor
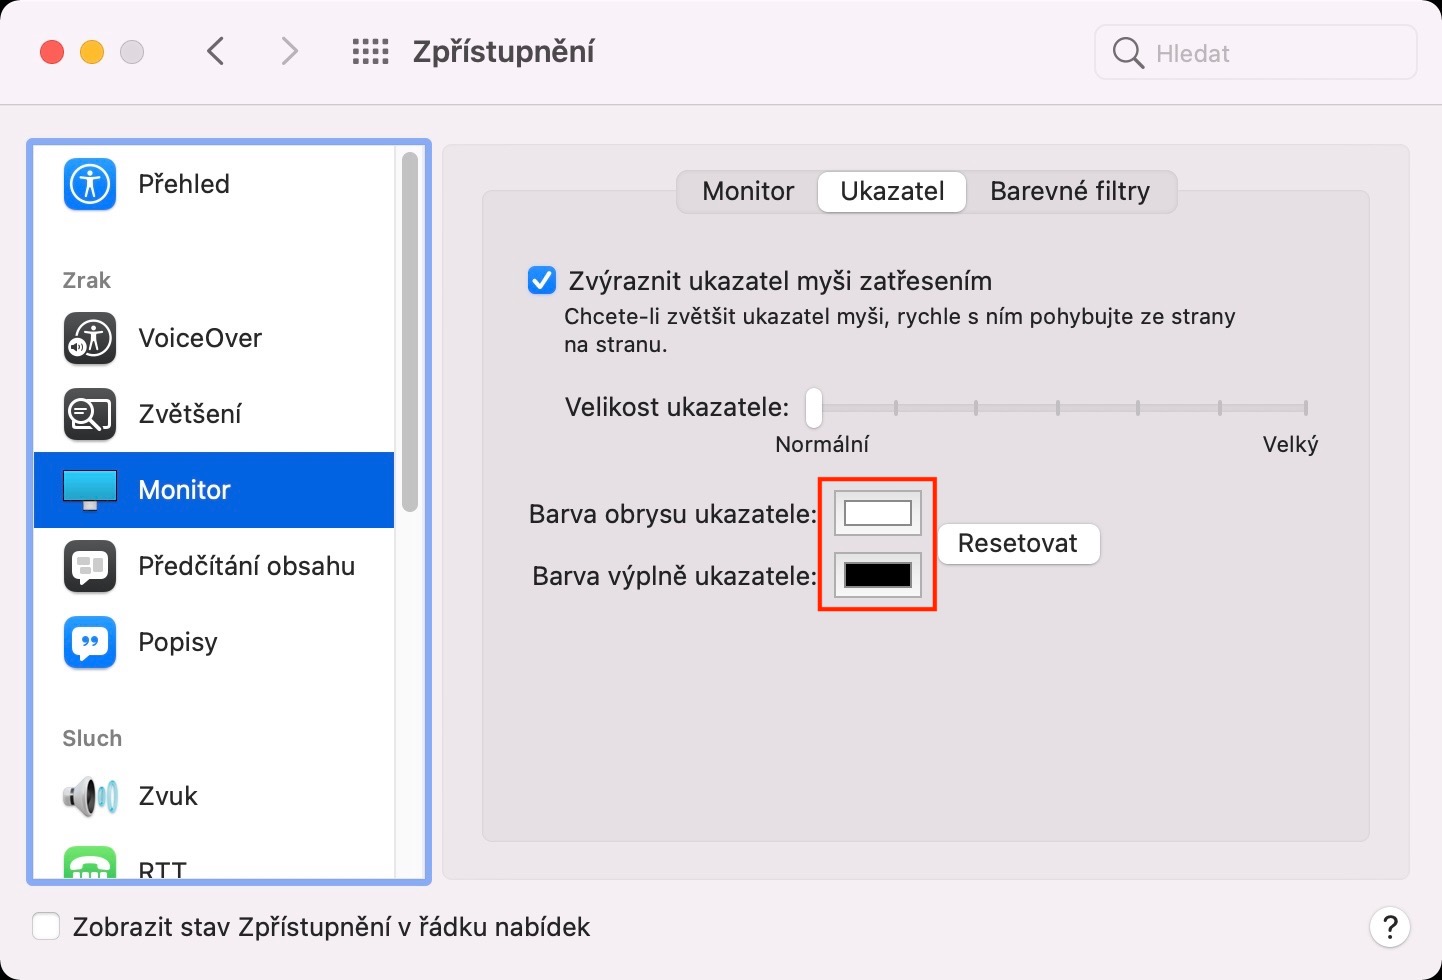
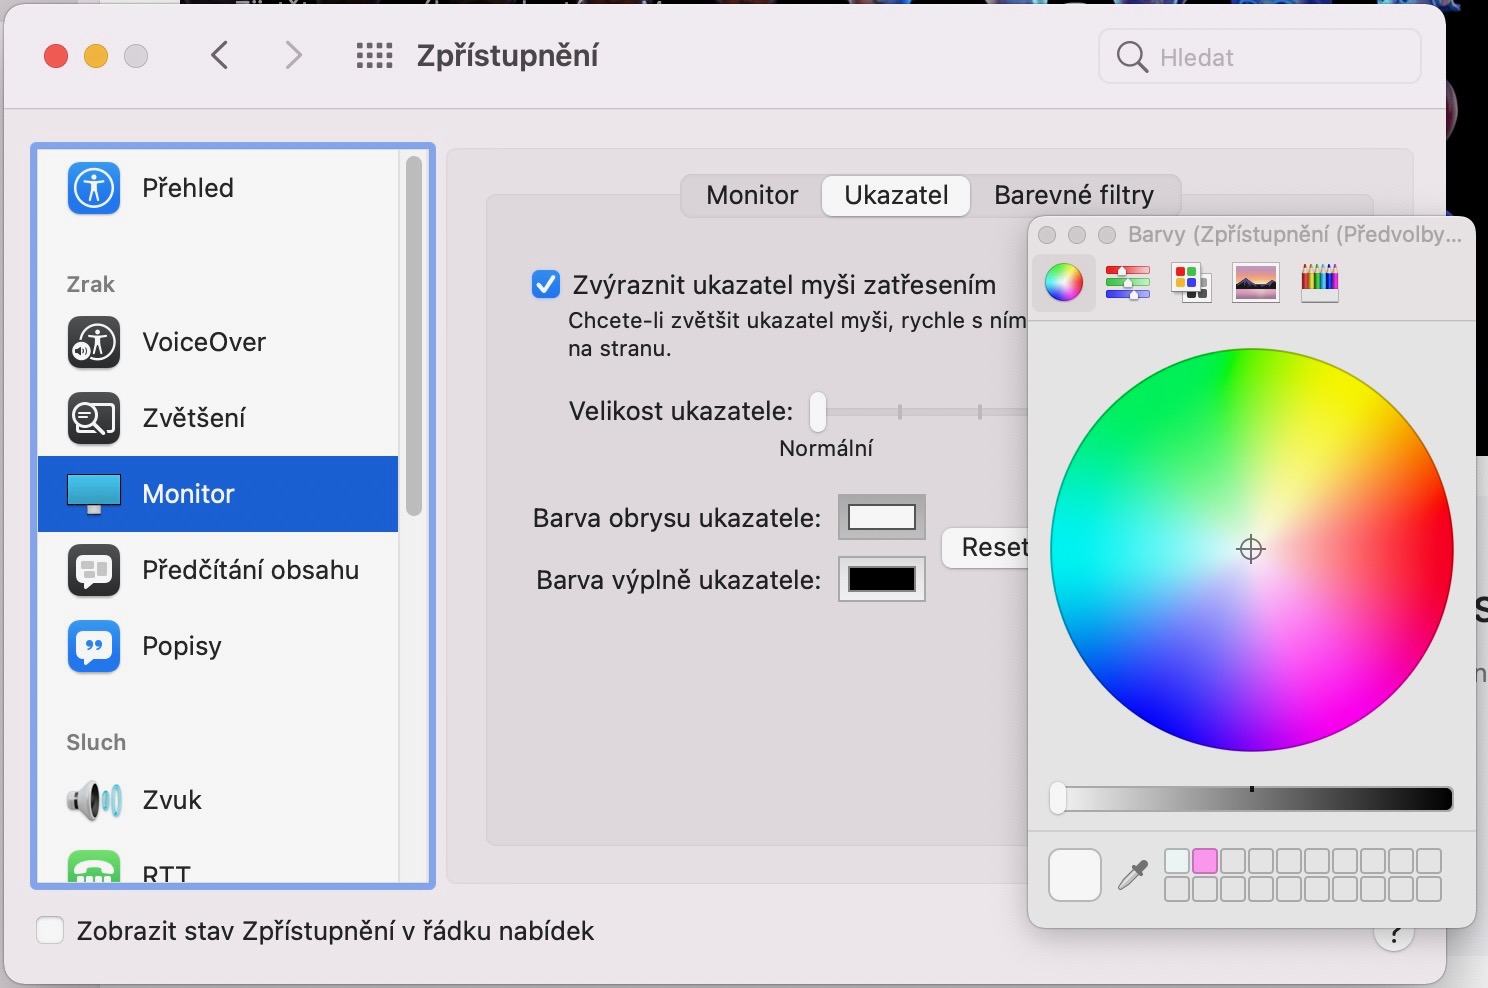
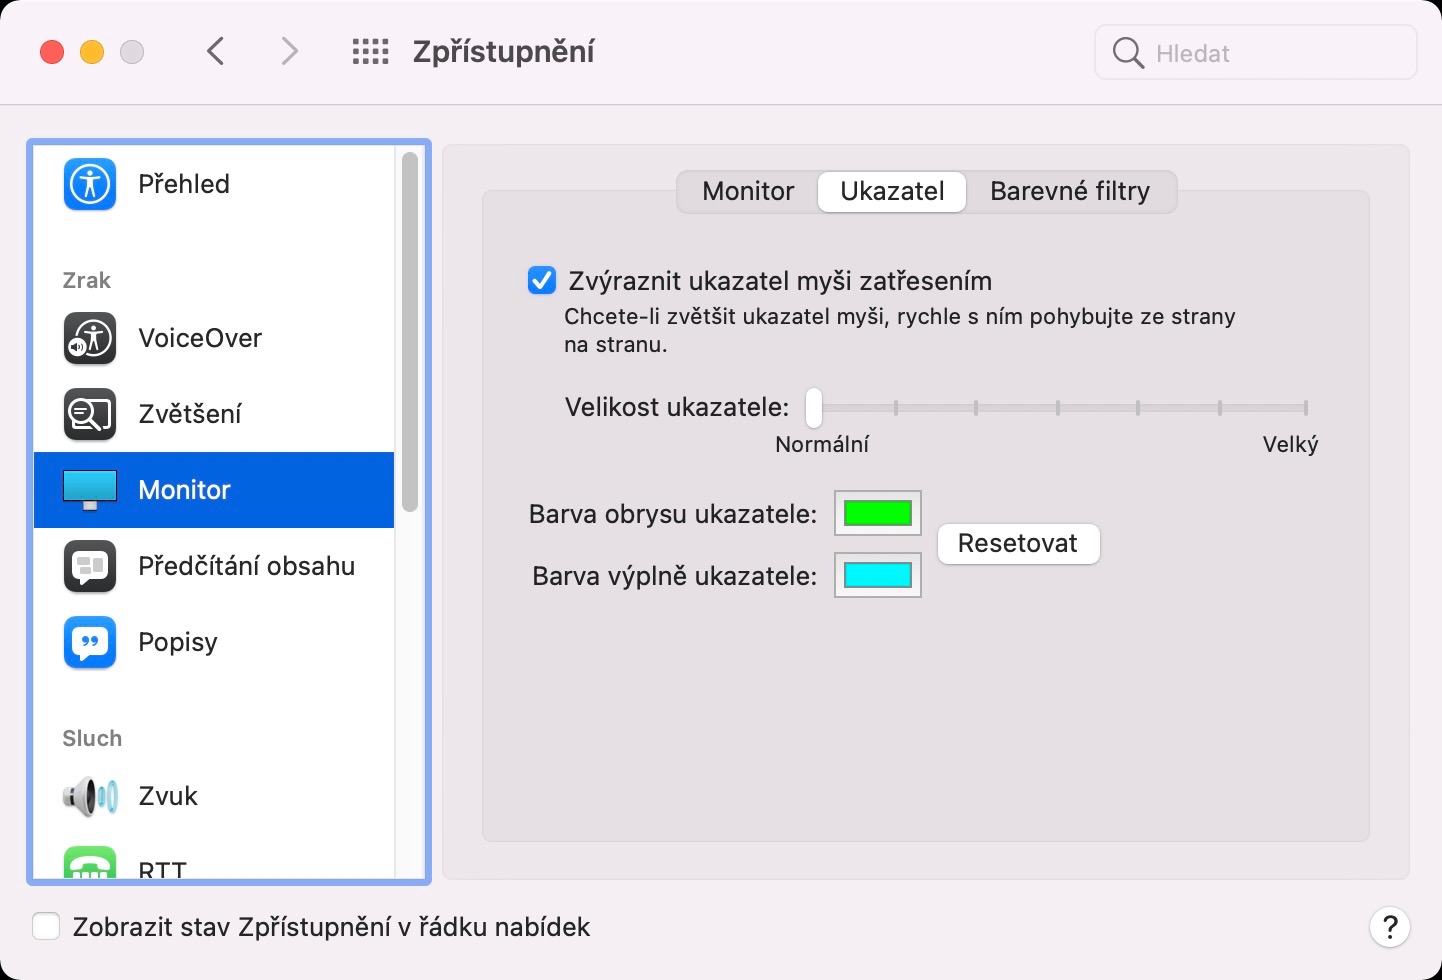
By default on a Mac, the cursor is black with a white border. It's been this way for a long time, and if you don't like it for some reason, you were simply unlucky until recently. Now, however, you can change the color of the cursor, i.e. its fill and border, on Apple computers. You just need to first move to → System Preferences → Accessibility → Monitor → Pointer, where you can already find the options below Pointer outline color a Pointer fill color. To select a color, just tap on the current color to open a small selection window. If you would like to return the cursor color to the factory settings, just tap on Reset. Note that sometimes the cursor may not be visible on the screen when setting the selected colors.
Quick reduction of photos
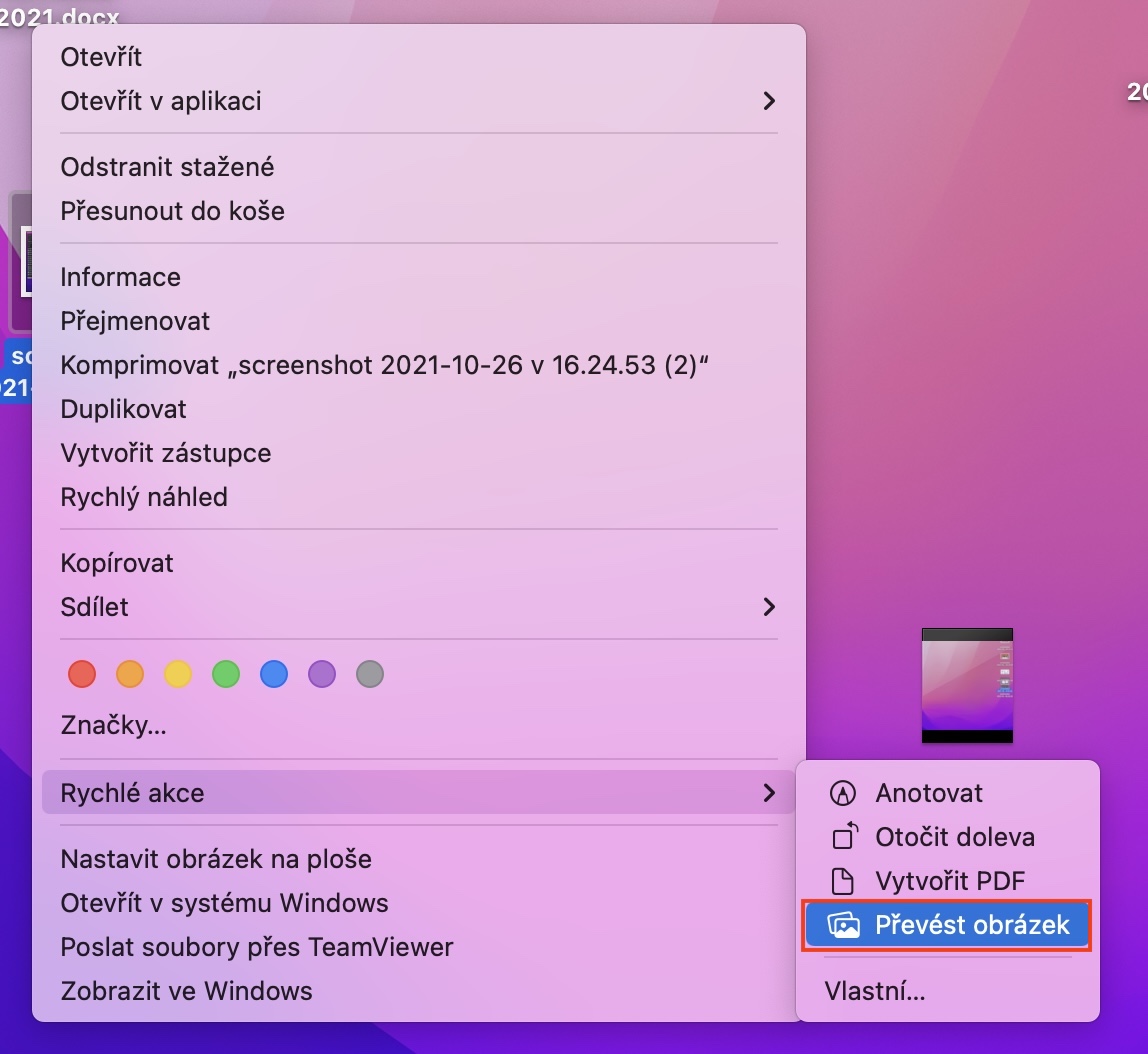
From time to time you may find yourself in a situation where you need to reduce the size of an image or photo. This situation can occur, for example, if you want to send pictures via e-mail, or if you want to upload them to the web. To quickly reduce the size of photos and images on Mac, you can use the function that is part of quick actions. If you want to quickly reduce the size of photos in this way, first save the images or photos to be reduced on your Mac find. Once you've done that, take pictures or photos in the classic way mark. After marking, click on one of the selected photos right click and from the menu, move the cursor to Quick Actions. A sub-menu will appear in which press an option Convert image. This will open a window in which you can now make settings parameters for reduction. After selecting all the details, confirm the conversion (reduction) by clicking on Convert to [format].
Sets on desktop
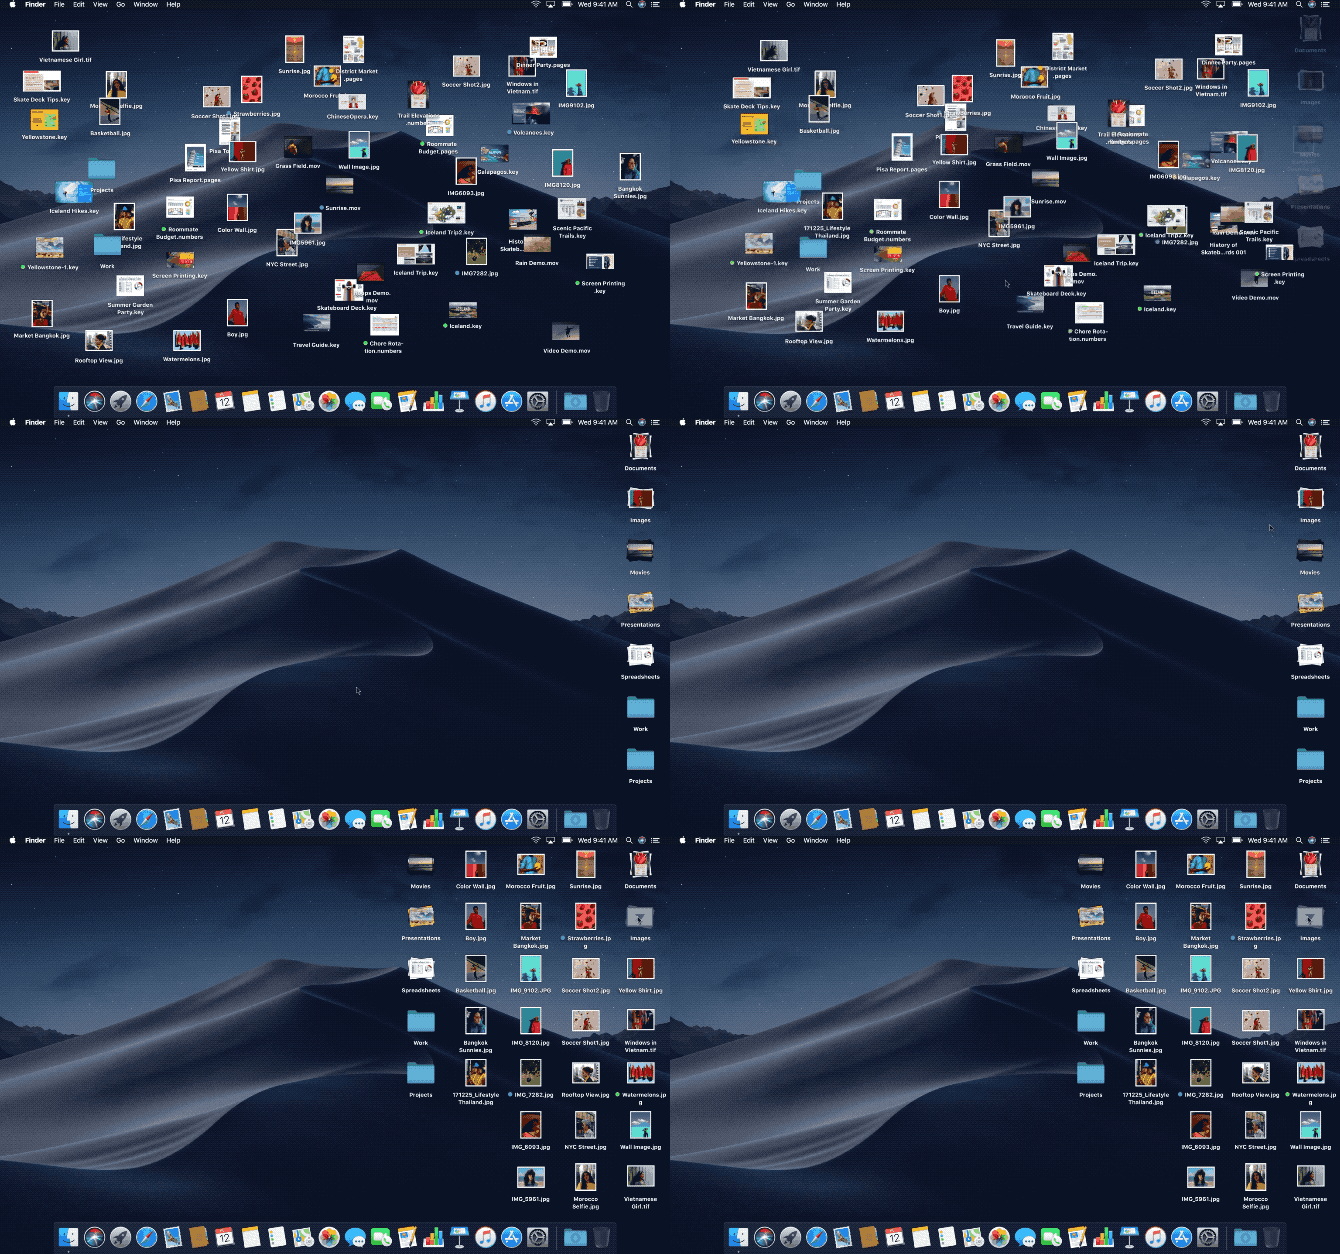
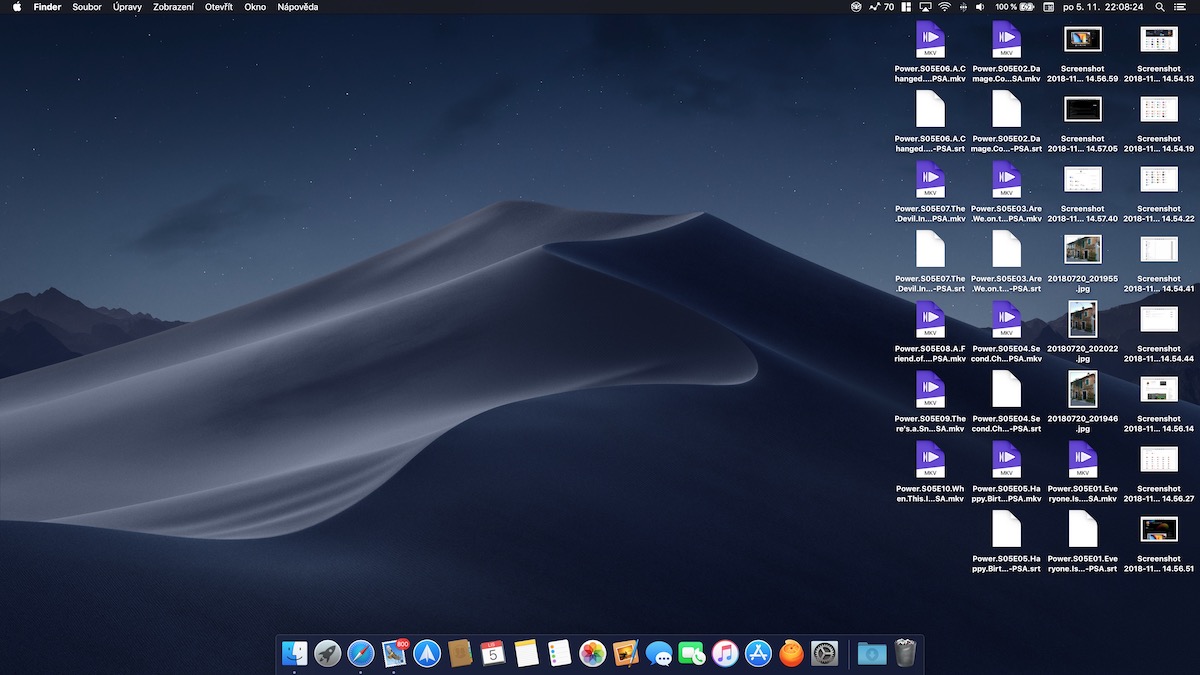
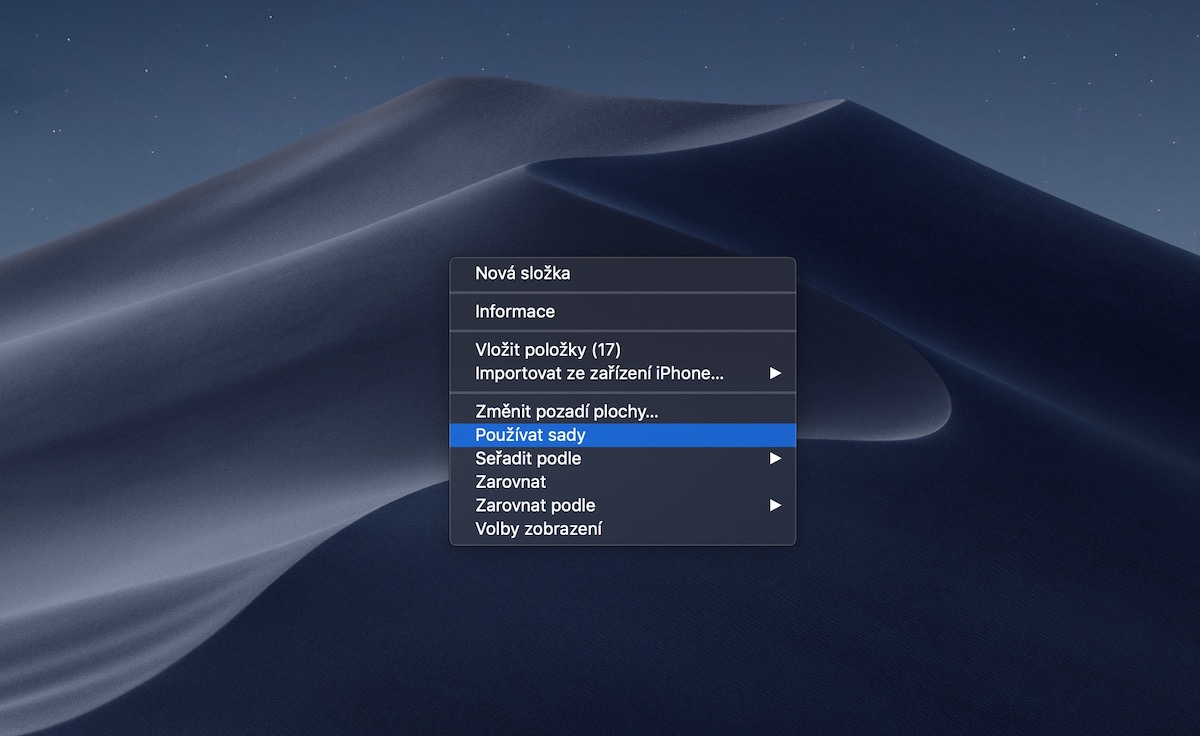
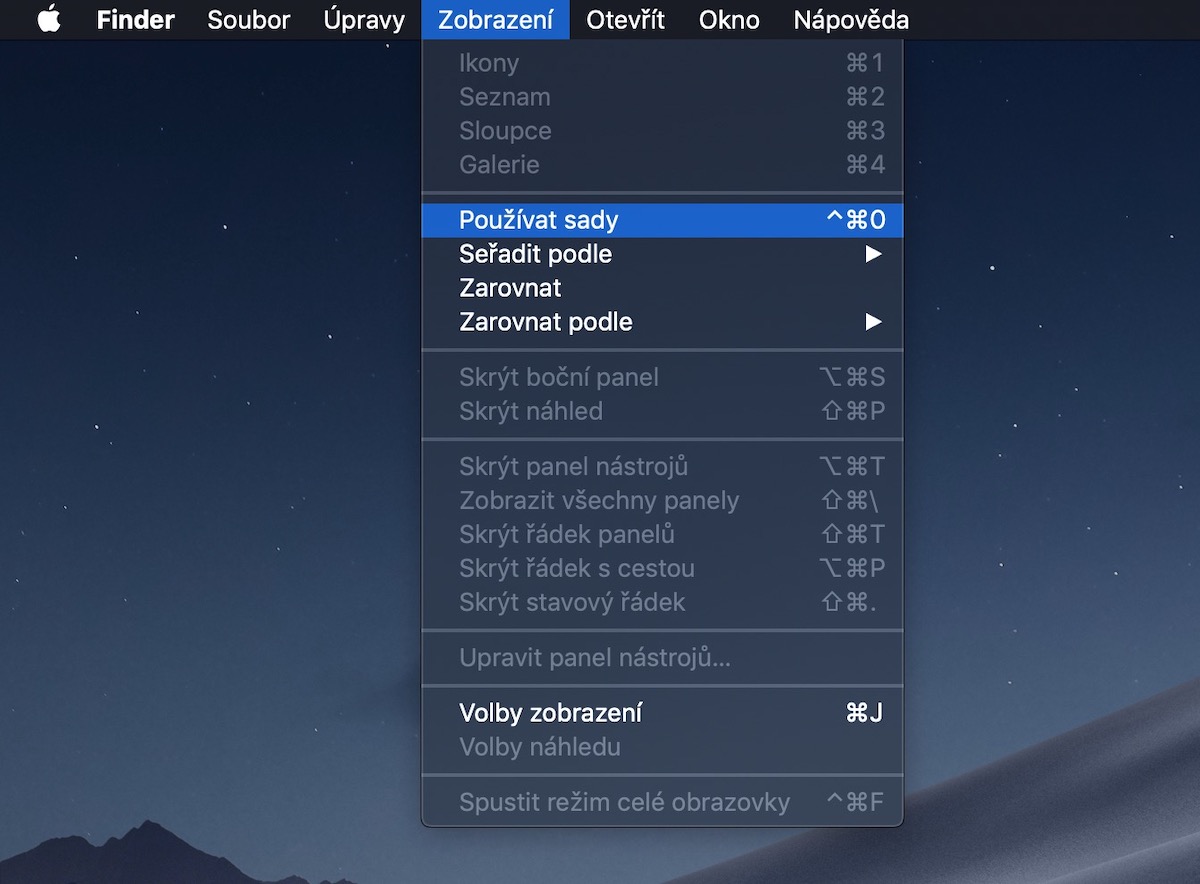
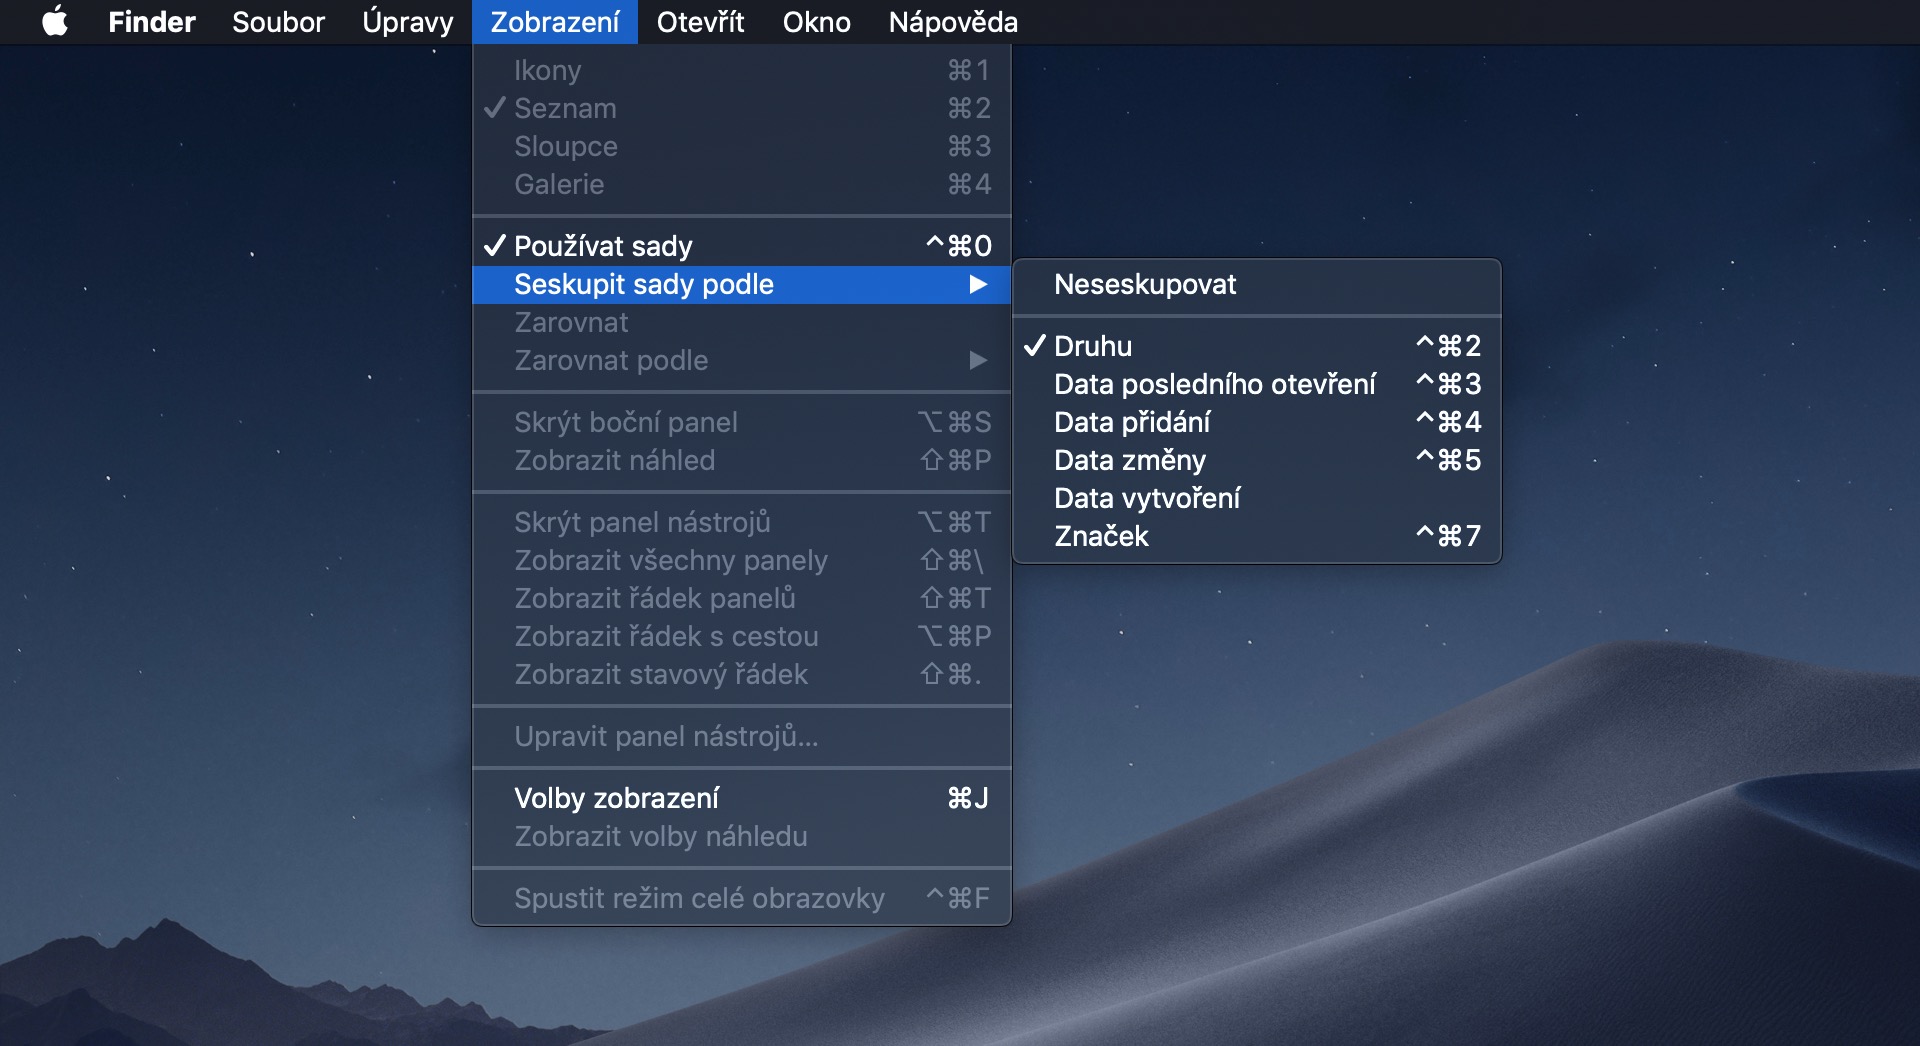
It's been a few years back when Apple introduced the Sets feature that can be used on the desktop. The Sets function is primarily intended for individuals who do not keep their desktop tidy, but would still like to have some sort of system in their folders and files. Sets can divide all data into several different categories, with the fact that once you open a certain category on the side, you will see all the files from that category. This can be, for example, images, PDF documents, tables and more. If you would like to try the Sets, they can be activated by pressing the right mouse button on the desktop, and then selecting Use Sets. You can deactivate the function in the same way.
Low battery mode
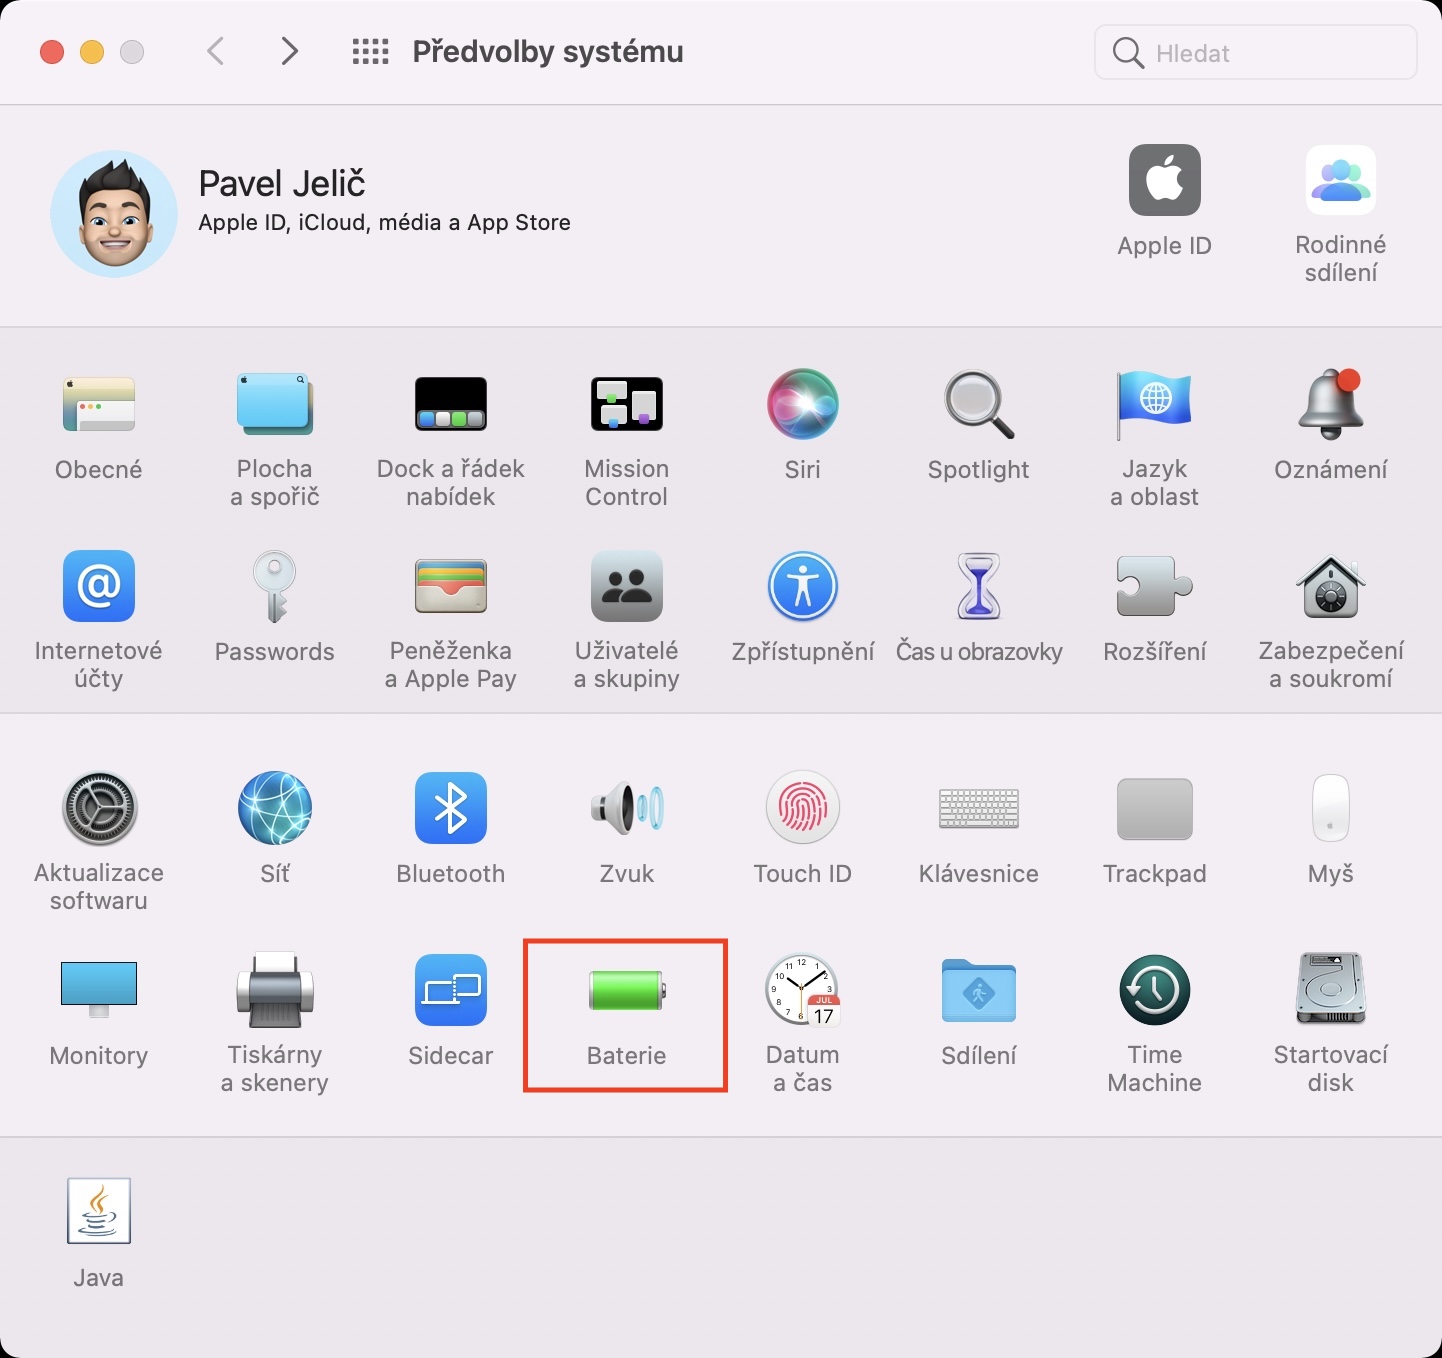
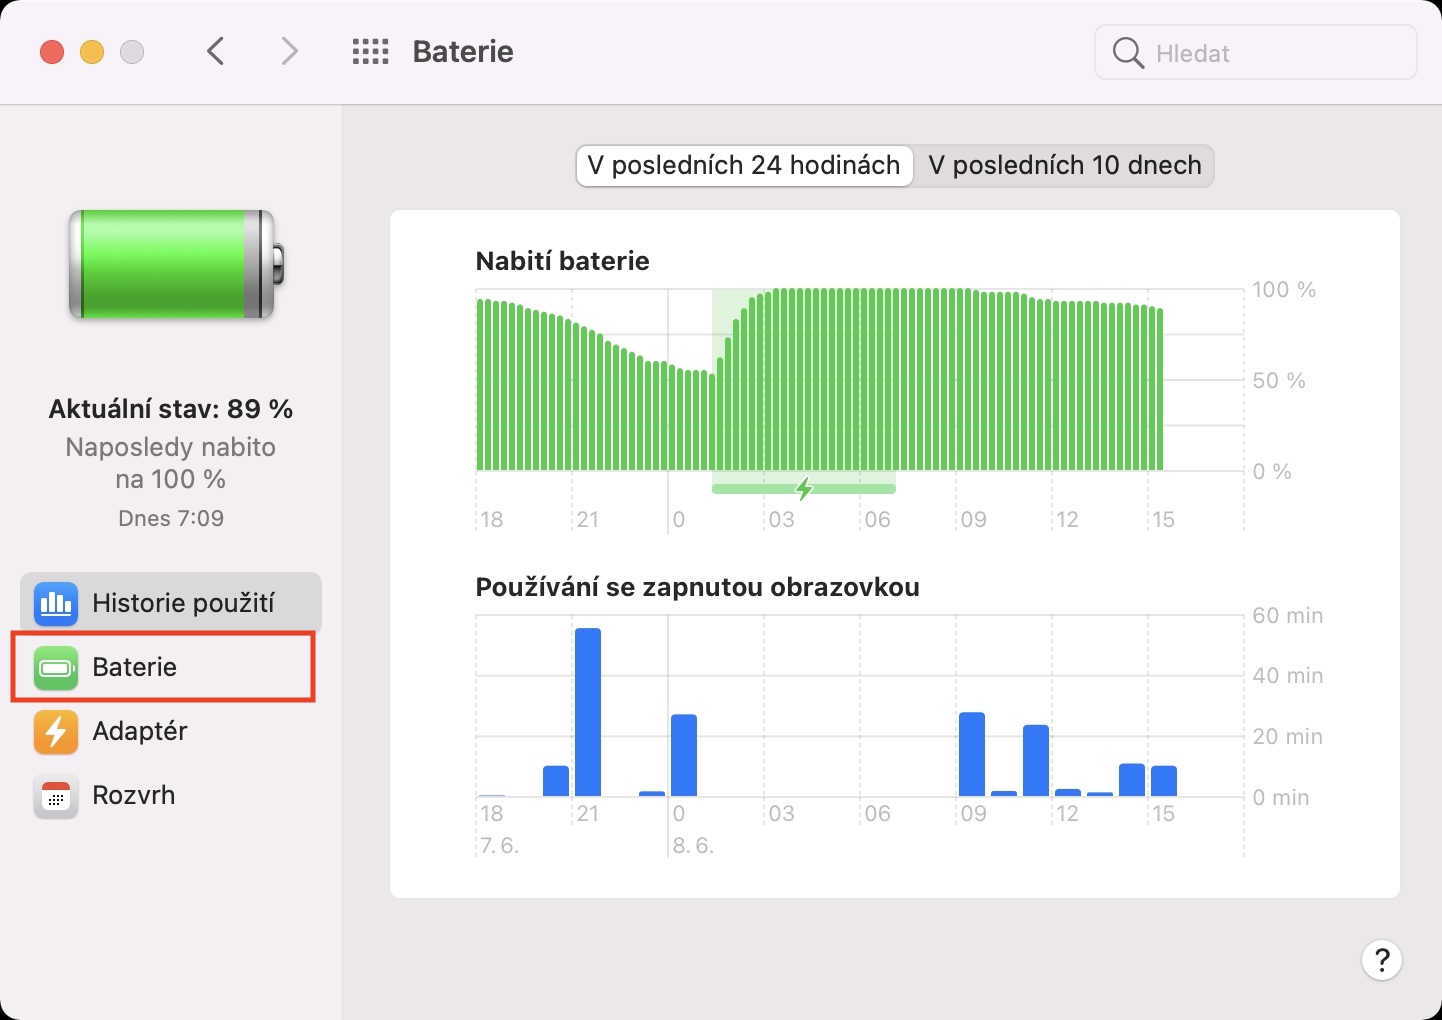
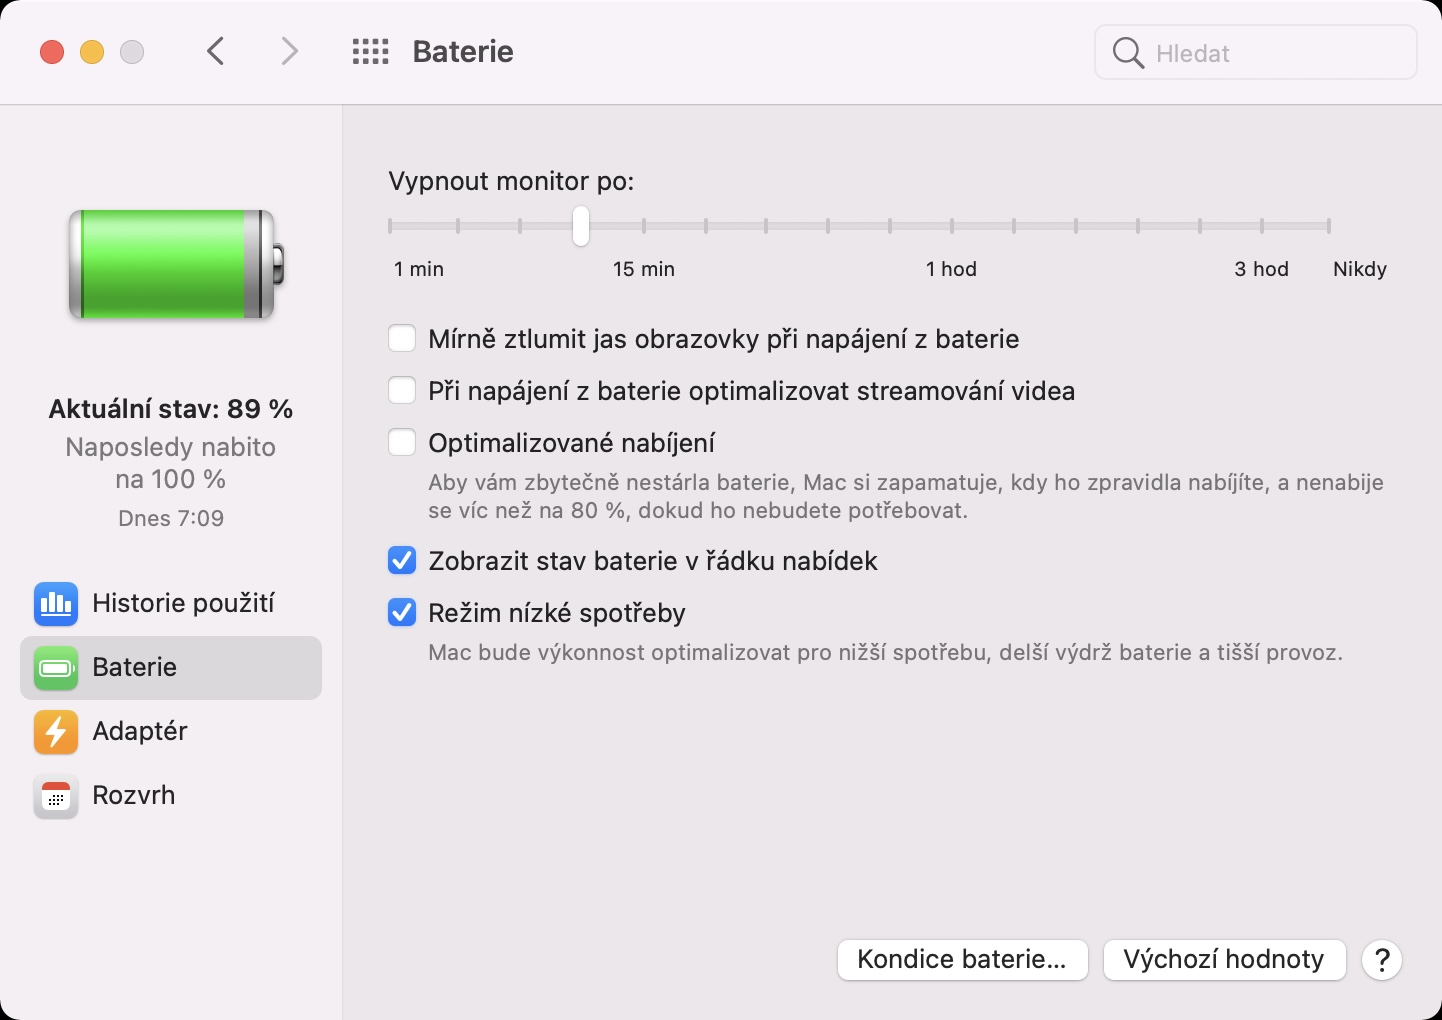
If you are one of the owners of an Apple phone, you surely know that iOS has a low battery mode. You can activate it in several different ways - in Settings, through the control center or through dialog windows that appear when the battery charge drops to 20% or 10%. If you wanted to activate the same low-power mode on an Apple computer a few months ago, you wouldn't have been able to because the option simply wasn't available. But that changed, as we saw the addition of low battery mode to macOS as well. To activate this mode, you need to go to on a Mac → System Preferences → Battery → Battery, where check Low Power Mode. Unfortunately, for the time being, we cannot activate the low-power mode in a simple way, for example in the top bar or after the battery runs out - hopefully this will change soon.
AirPlay on Mac
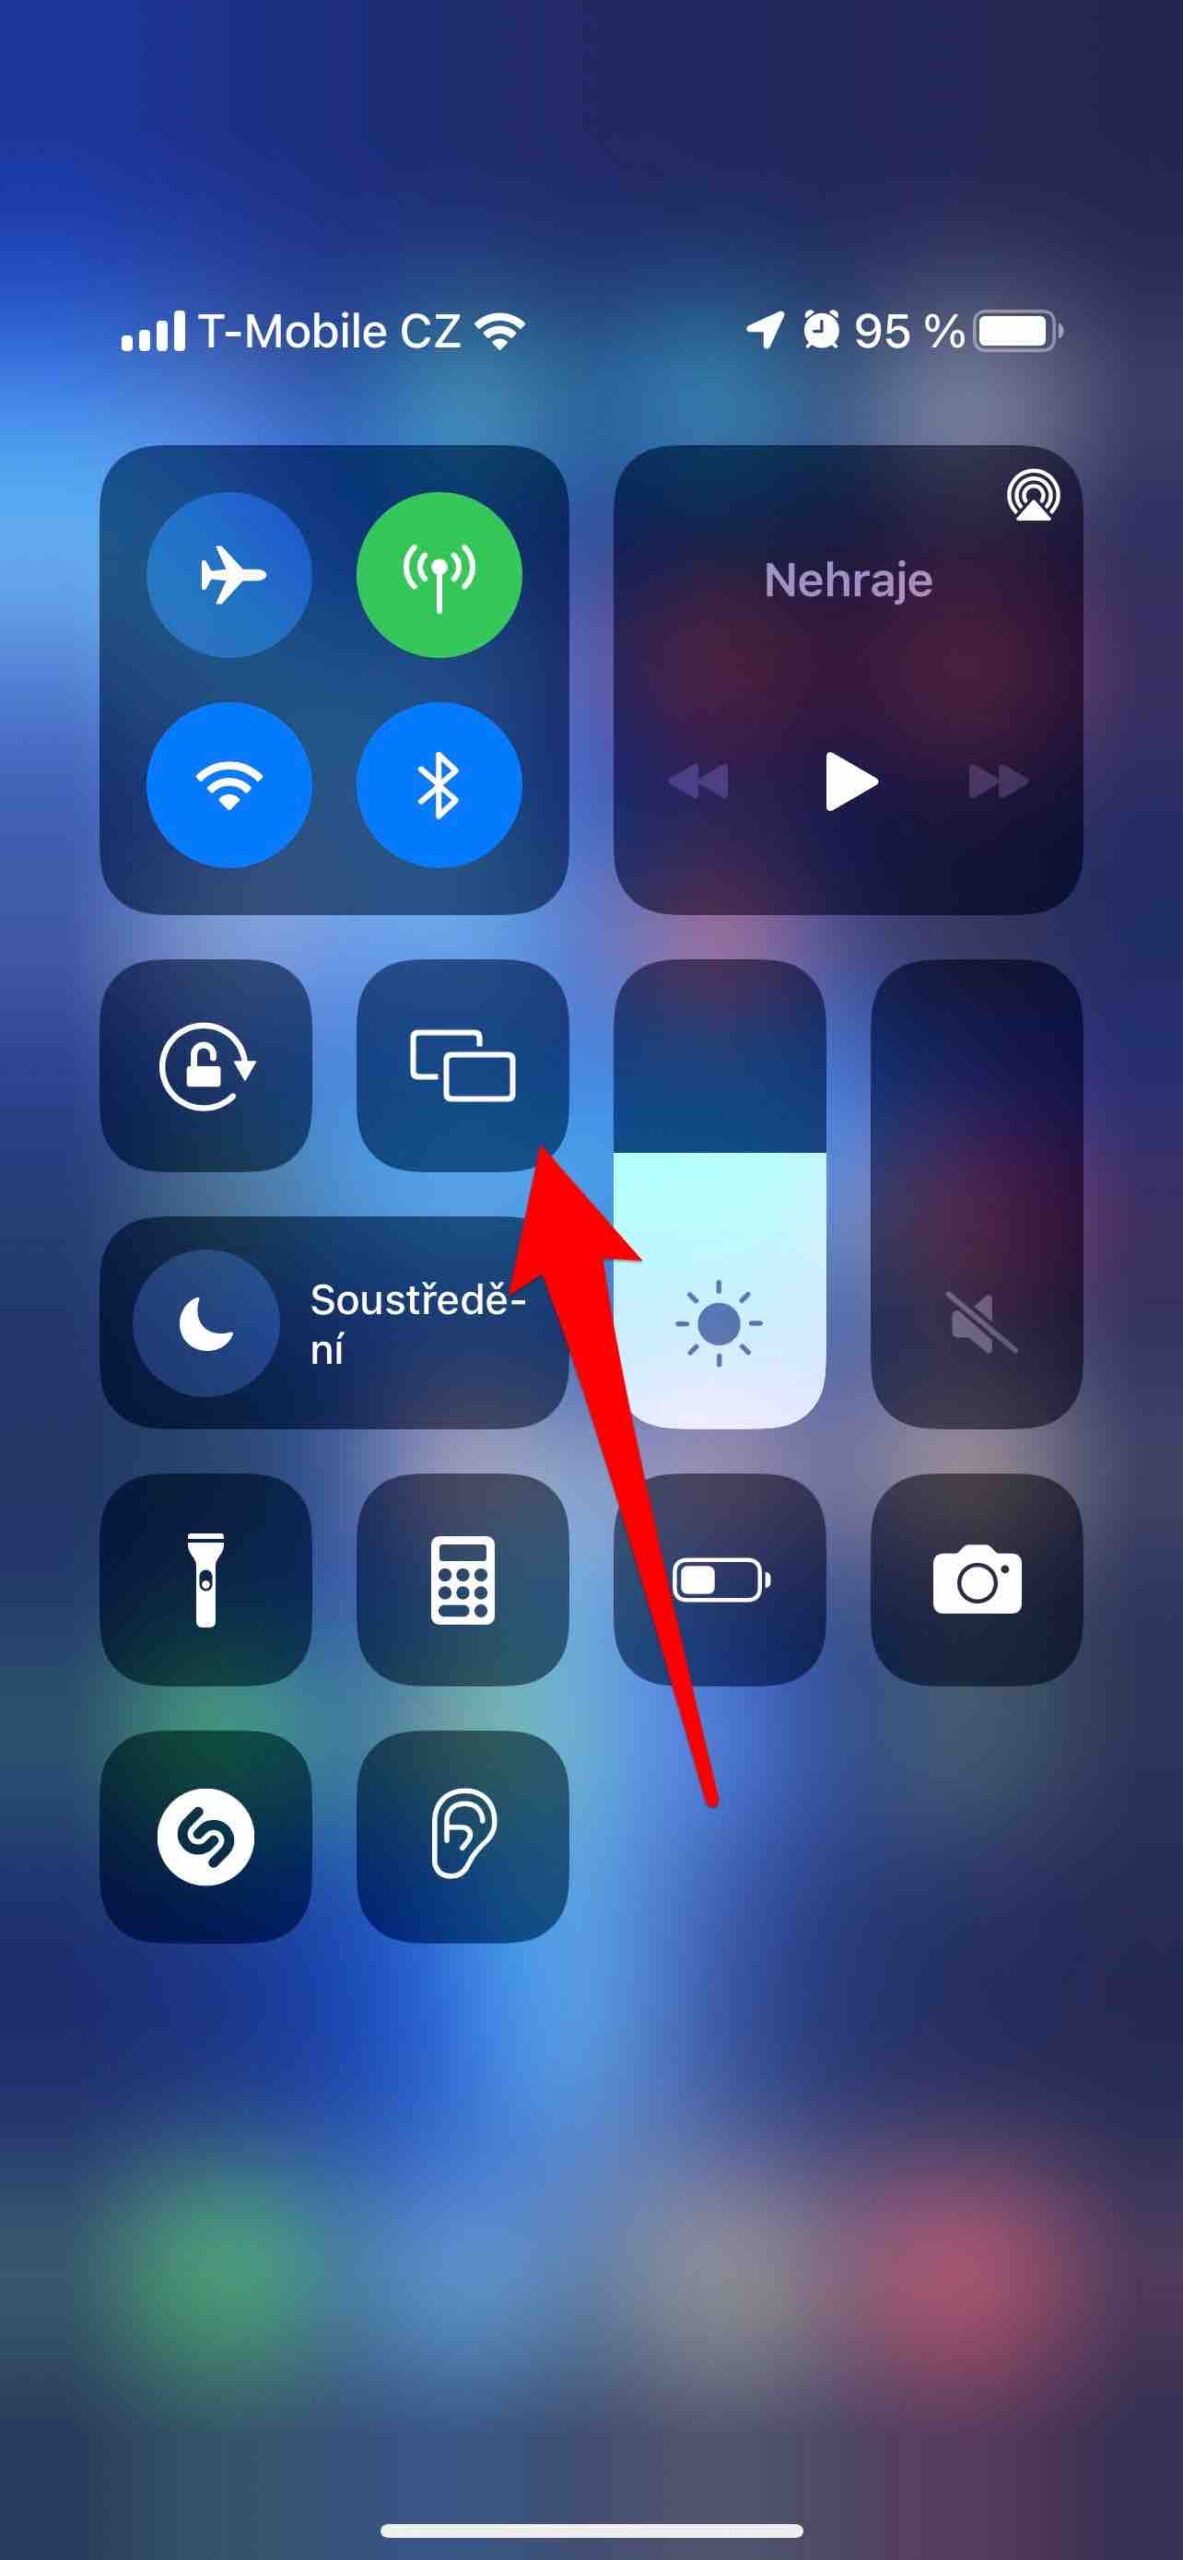
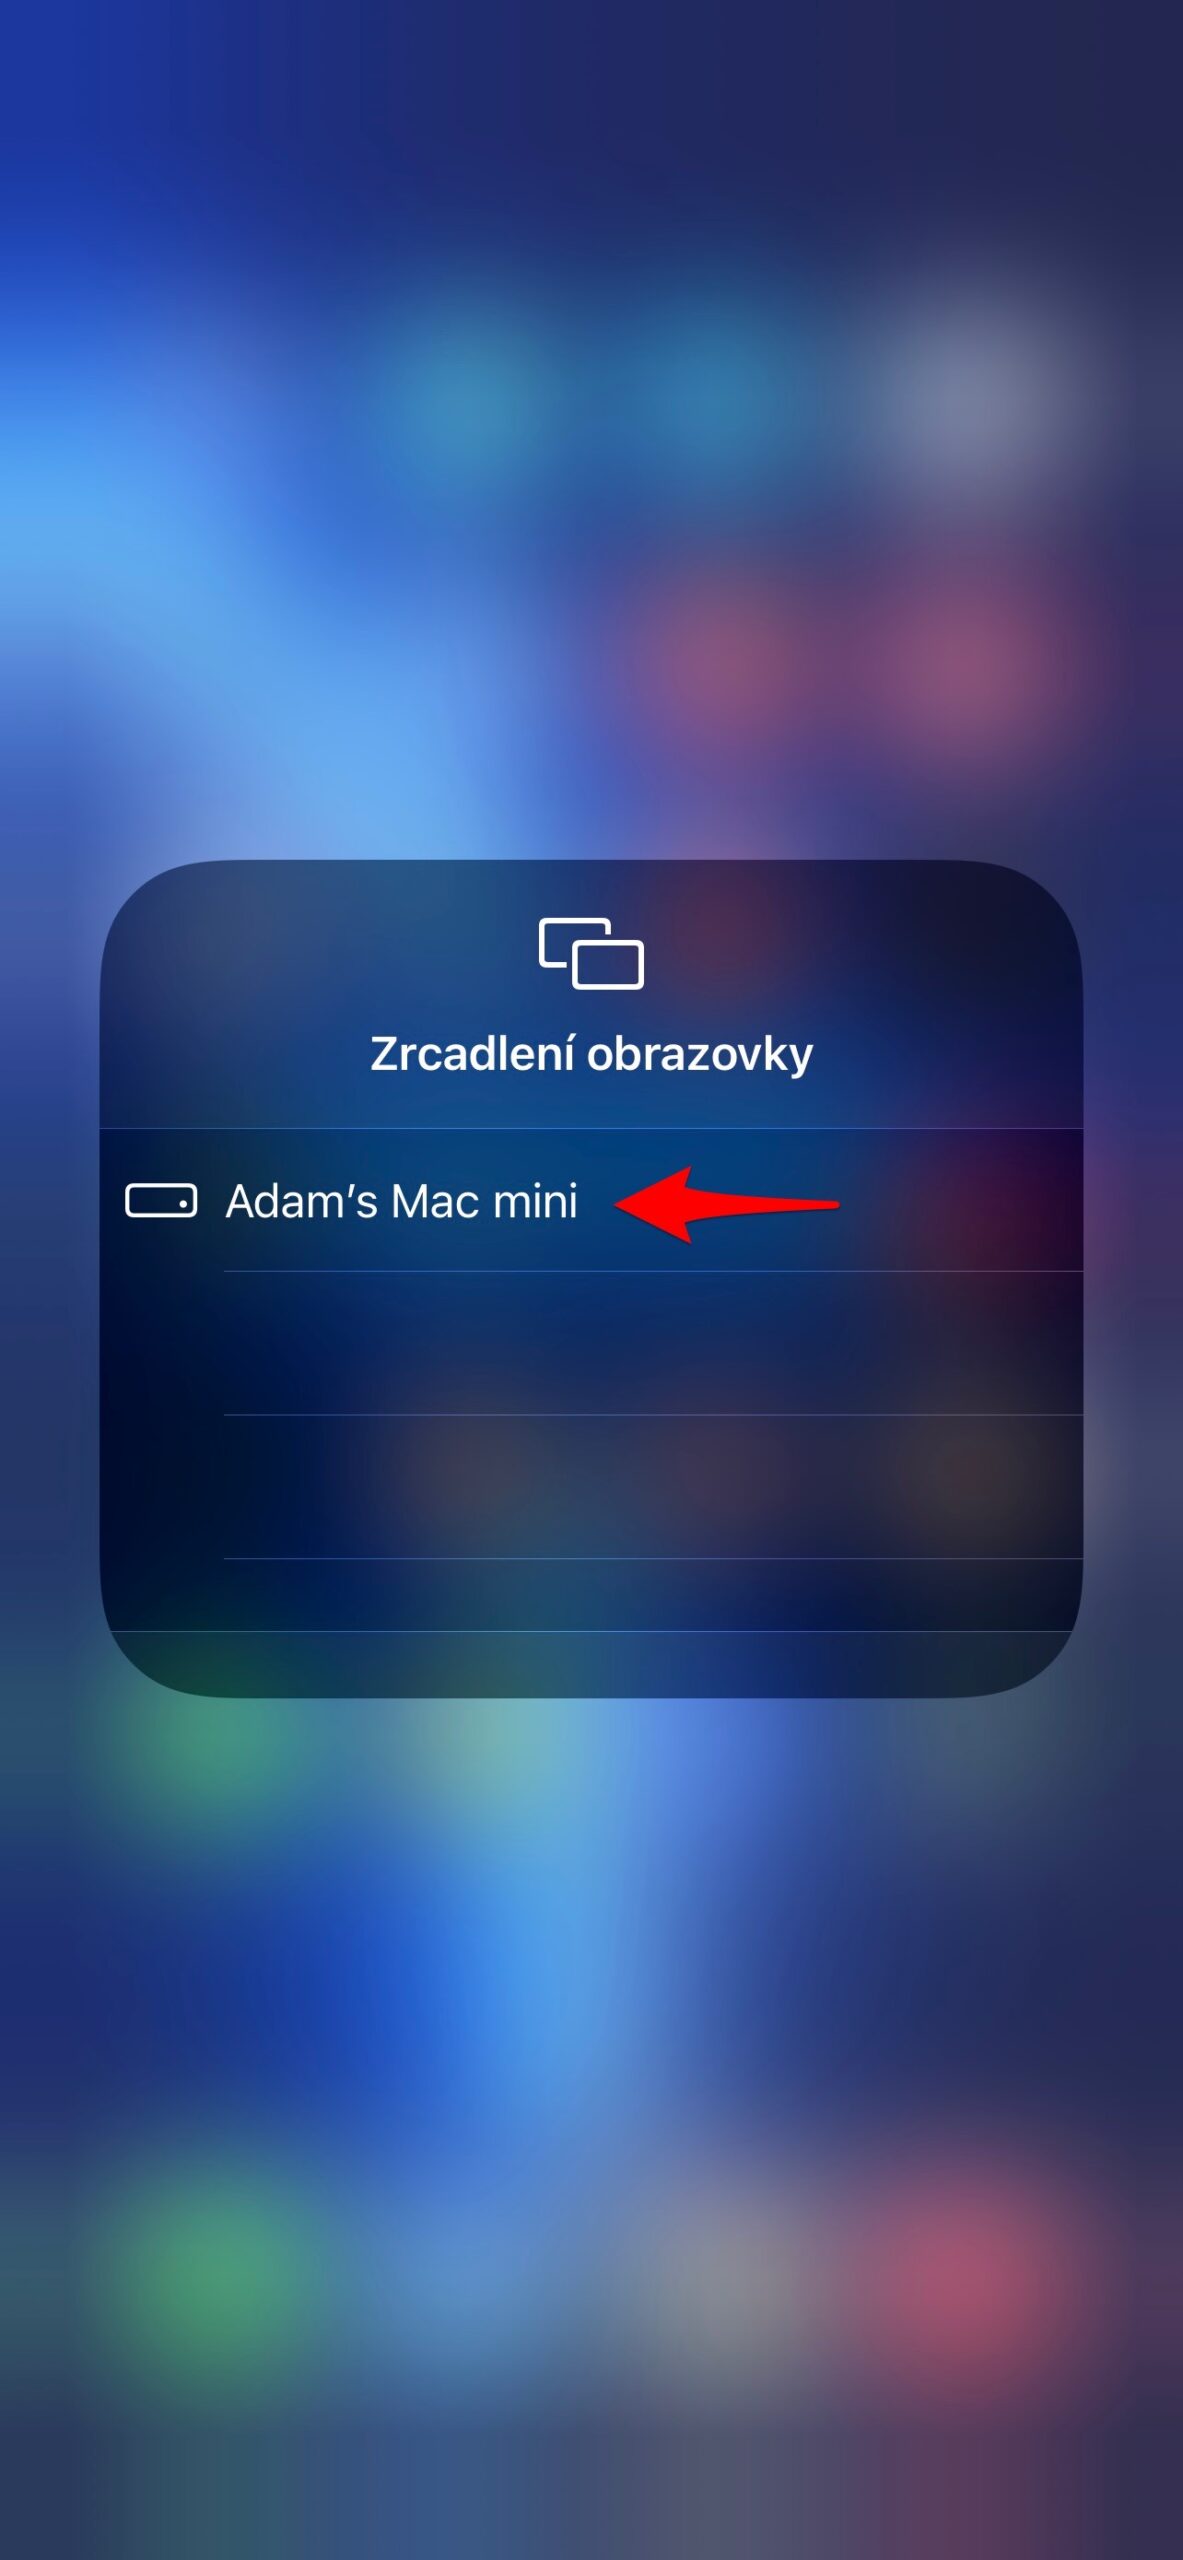
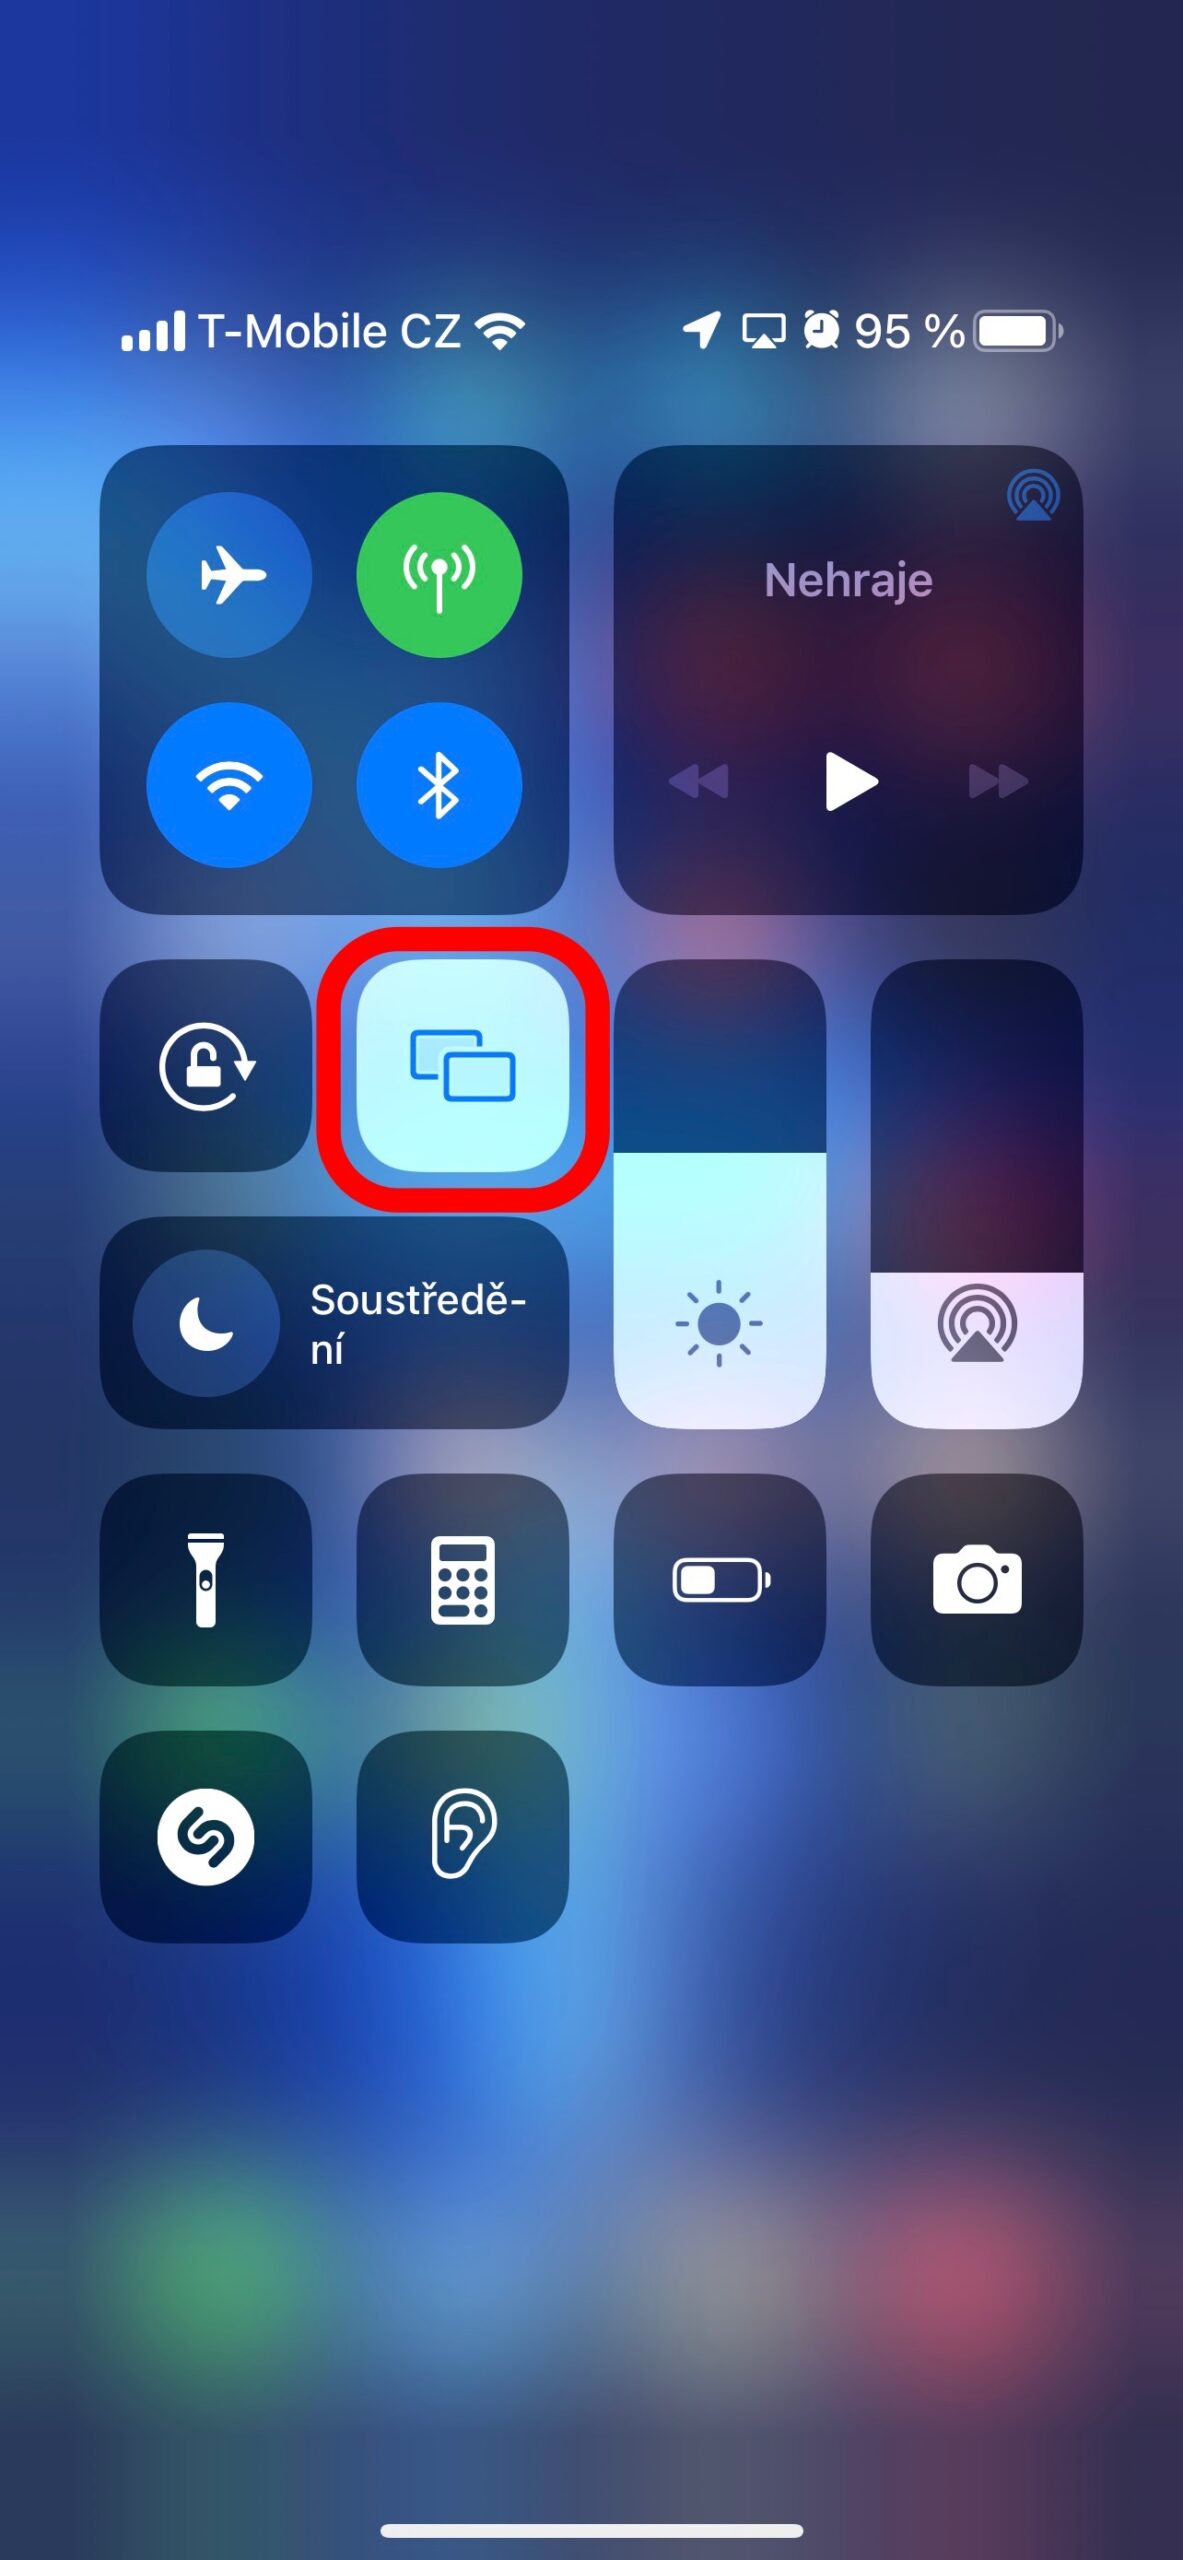
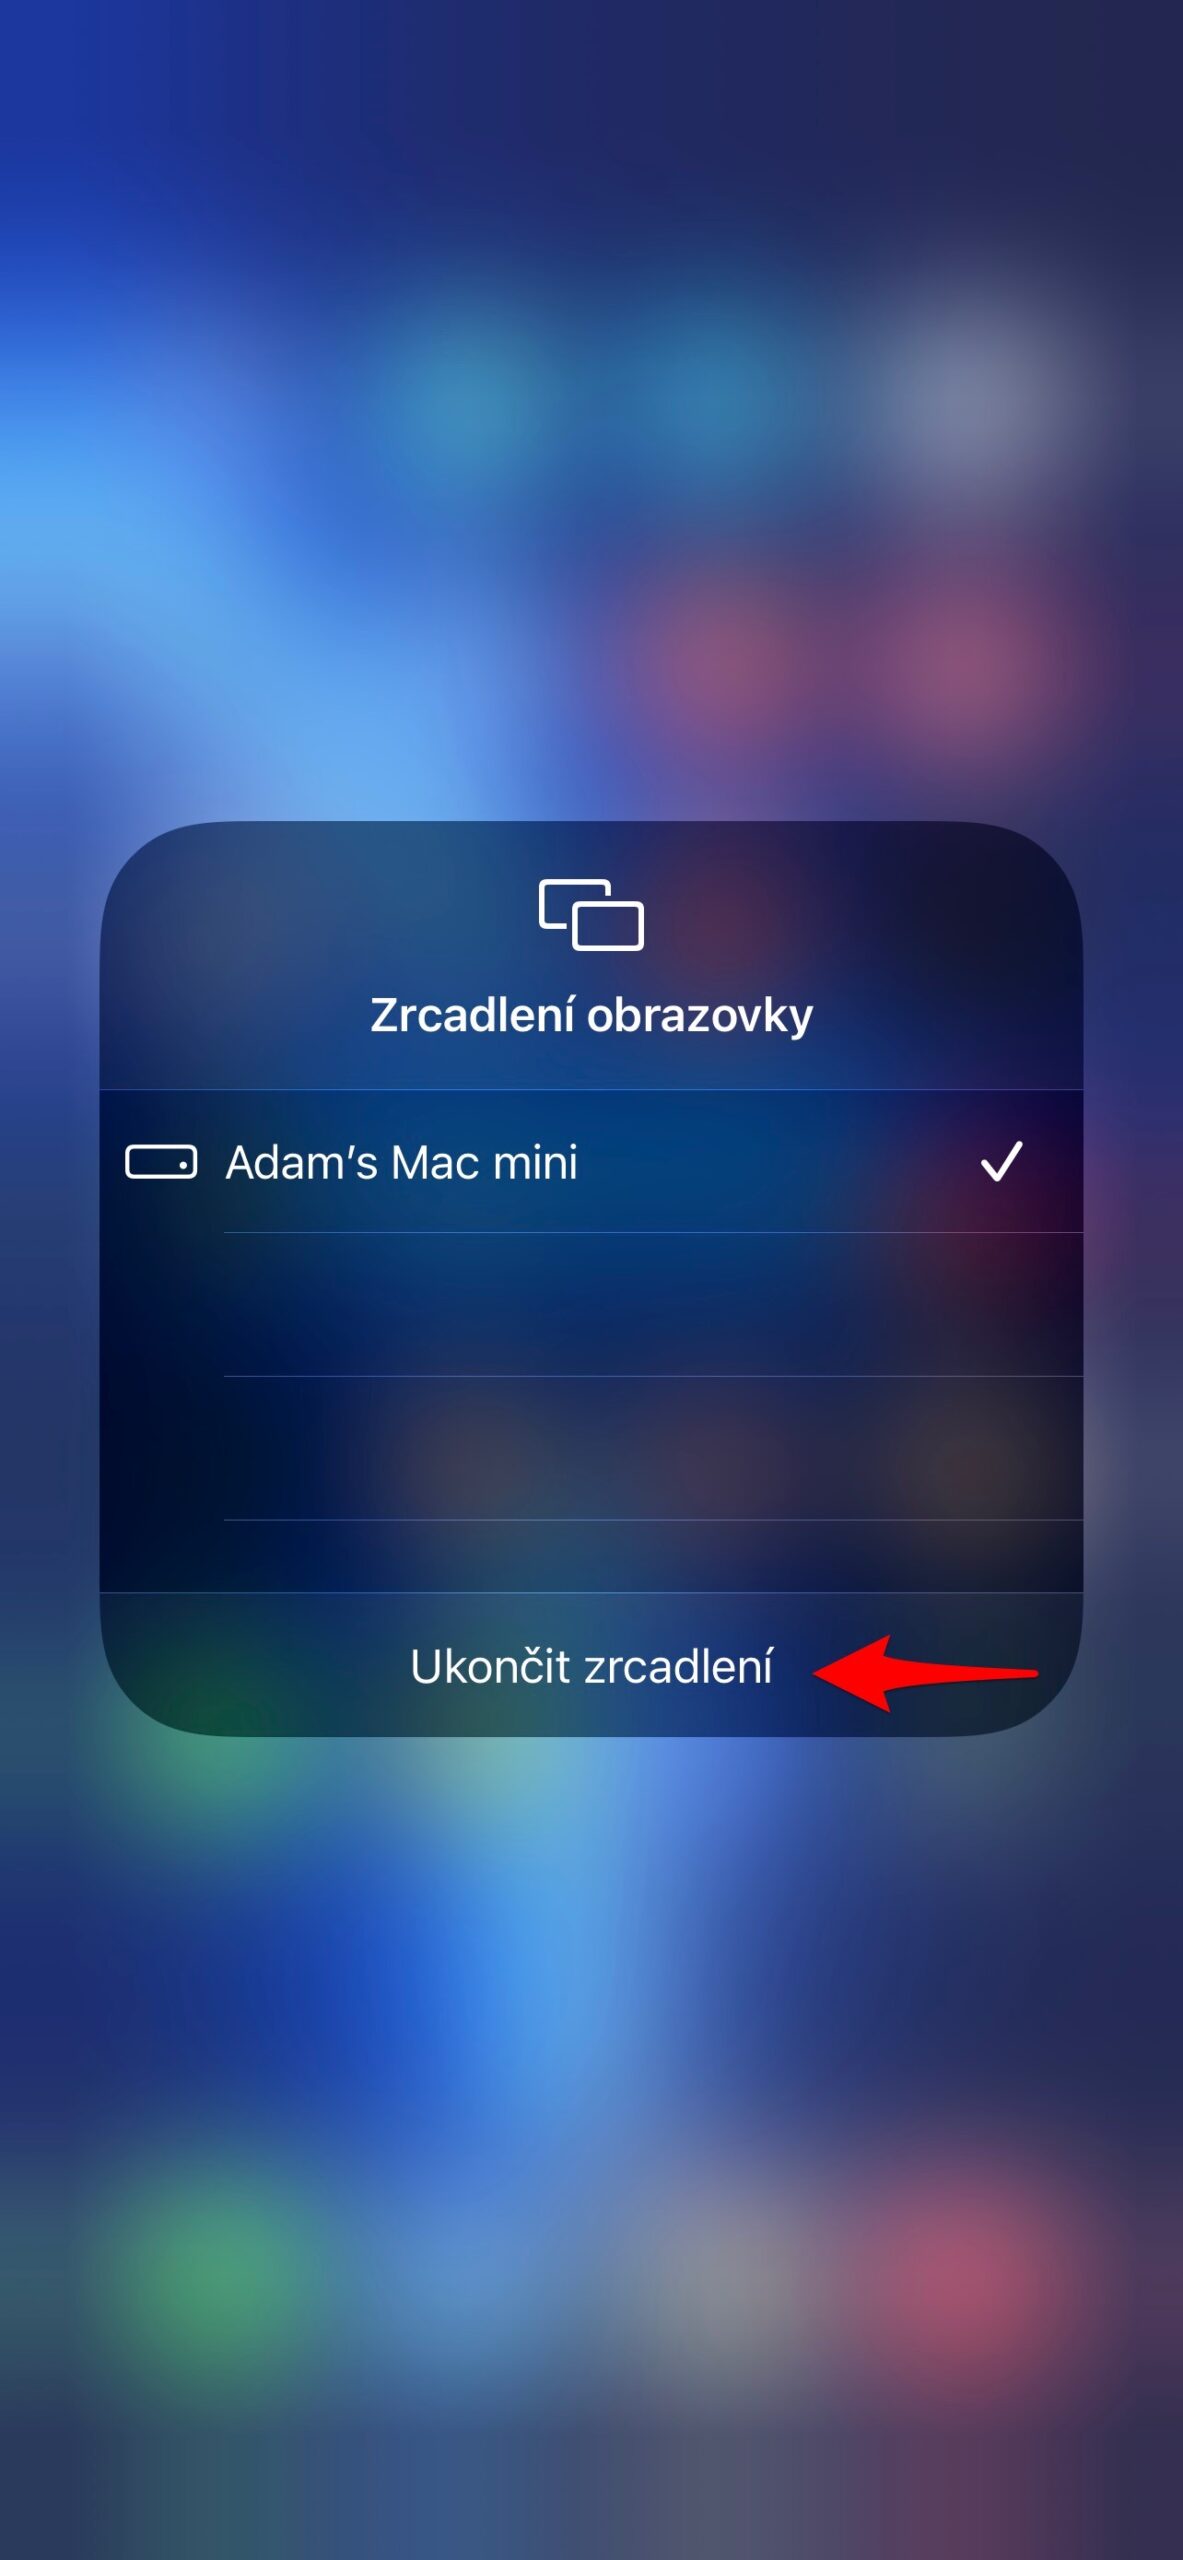
If you want to start playback of some content on a larger screen from your iPhone, iPad or Mac, you can use AirPlay for this. With it, all content can be displayed wirelessly, for example on the TV, without the need for complex settings. But the truth is that in certain cases you could use AirPlay to your Mac screen. Let's face it, the Mac's screen is still bigger than the iPhone's, so it's definitely better to project photos and videos on it. This feature was not available for a long time, but we finally got it. If you would like to display content from your iPhone or iPad using AirPlay on your Mac screen, all you need to do is have all the devices with you and connected to the same Wi-Fi. Then on iPhone or iPad open control center, click on screen mirroring icon and subsequently select your Mac from the list of AirPlay devices.
Password management
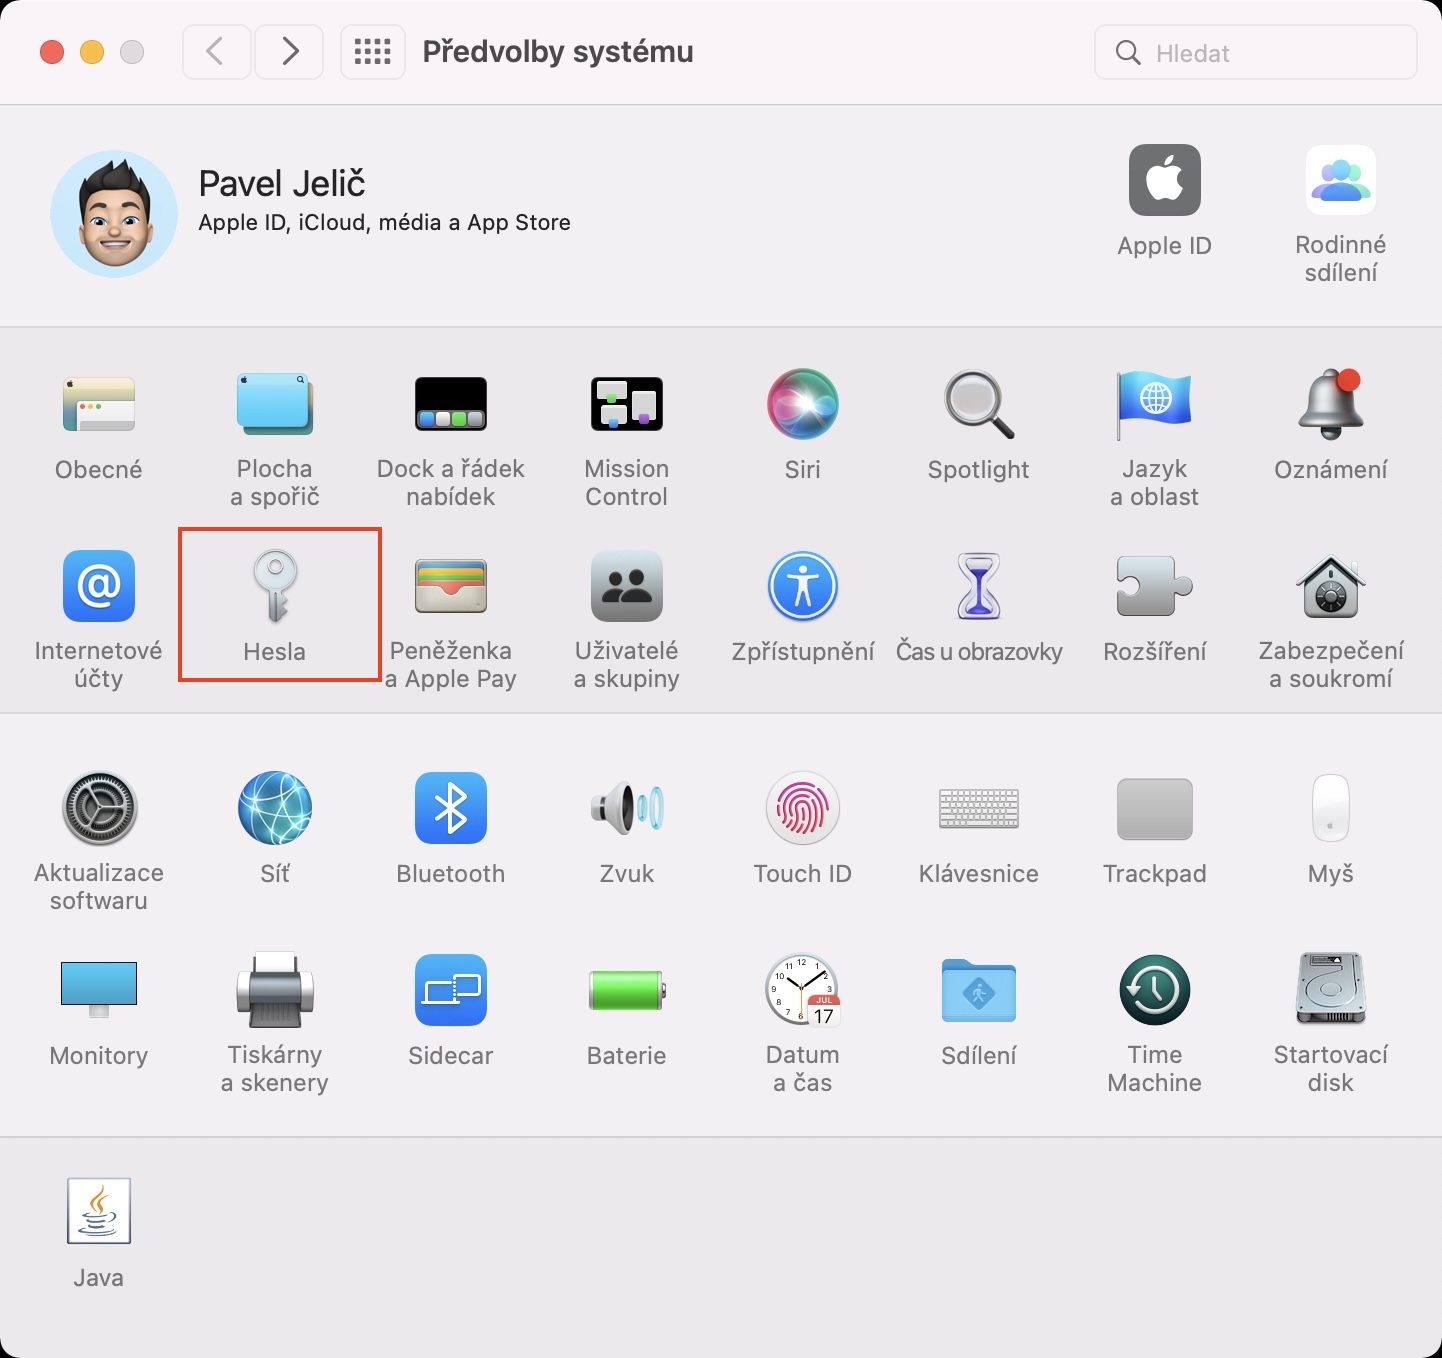
Any passwords you enter anywhere on your Apple devices can be saved to iCloud Keychain. Thanks to this, you don't have to worry about remembering passwords - instead, you always authenticate with your account password or code, or with Touch ID or Face ID. The keychain can also generate and automatically apply saved passwords, so it is practically impossible for you to remember the generated secure passwords. Sometimes, however, you may find yourself in a situation where you need to display all passwords, for example because you want to share them with someone, or enter them on devices that are not yours. Until recently, you had to use the confusing and unnecessarily complex Klíčenka application for this. However, a new password management section is also relatively new on the Mac. Here you can find in → System Preferences → Passwords. Then it's enough authorize, all passwords will be displayed at once and you can start working with them.












Oh no
Quantity over quality... shame to say.
I bought my first Mac less than a year ago. Other things to explore, just out of interest, but I use this thing a lot, there are a lot of things attached to it, because of which I think that Apple probably won't be around today, because I consider those things to be outdated, and I don't think it's productive the world tolerated for a long time. Anyway, why am I writing this? The vast majority of those "hidden or terrible functions" are three clicks during the initial setup, or ten seconds of reading the various instructions that pop up after the first launch. If you are already a narrowly focused website, please do not make fools of your readers in this way, one might then think that you represent the community.
Because they really make a good day out of readers and they need to sell advertising :)
After all, there were times when here, and on the sister lsa, there were articles about how to change the wallpaper on a Mac and the ringtone on an iPhone. And there was also the demented talk like "maybe you didn't know" etc.
On the contrary, "hidden" but useful things like dragging with three fingers (which, on the other hand, many readers would appreciate, because it is rather illogically hidden in the facilitation) will not be listed here, because it would mean finding similar things and writing them down, not just making a stupid lesson from the tutorial, which appears when you turn on your Mac :)
hello, screen mirroring from IPHONE to MAC is not working for me. For both the current version of the system and connected to the same wi-fi.? Is there any way to set it up to work? Thank you.