Apple thinks about users with all kinds of disabilities or limitations in the Accessibility feature for its devices. The company also adapts the functions of its products to those who, for example, have problems touching the display of their device or manipulating physical buttons. Users with these types of disabilities are greatly helped by the AssistiveTouch function, which we will introduce in today's article.
It could be interest you

Basics and uses
As part of Accessibility, you can use AssistiveTouch not only on your iPhone, but also on your iPad or iPod touch. When properly set up and used, you can practically replace the AssistiveTouch function with buttons to increase or decrease the volume, lock the screen, or turn off or restart your iOS device. In practice, the AssistiveTouch function looks like this: after its activation, a virtual button appears on the screen of your iOS device, the functions of which you can fully customize. You can conveniently drag this button to any of the edges of the screen, where it will remain until you move it anywhere else.
Activating AssistiveTouch
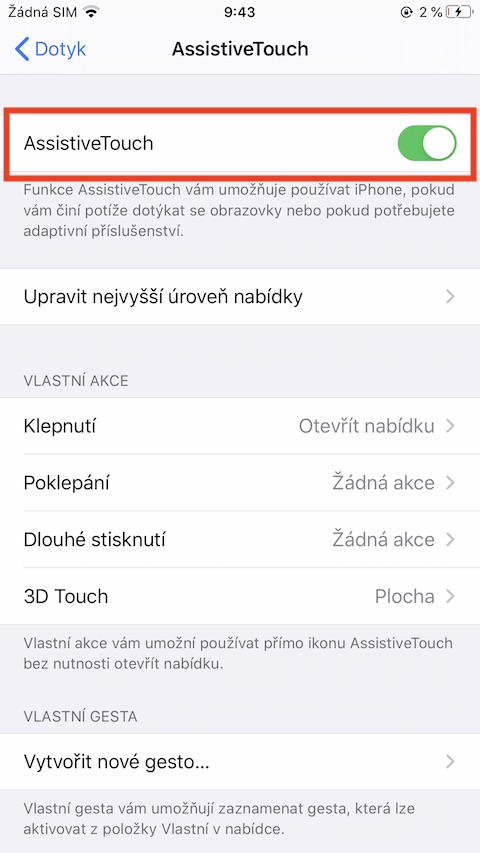
You can activate AssistiveTouch in Settings -> Accessibility -> Touch, where you tap on AssistiveTouch. For iOS devices with a home button, you can set AssistiveTouch activation by triple-pressing the home button in Settings -> Accessibility -> Accessibility Shortcut. For iOS devices without a home button, the given shortcut will be activated in this way by pressing the side button three times.
It could be interest you

Using AssistiveTouch
As we already wrote in the beginning of this article, the AssistiveTouch function on your iOS device can replace gestures, handling classic buttons and other actions. As part of gestures, you can use AssistiveTouch for these purposes:
- Activating the Control or Notification Center
- Activating Spotlight
- Home application control
- Switching between individual applications
- Function to read the contents of the screen
Using AssistiveTouch instead of buttons:
- Screen lock
- Volume control
- Activation of the Siri voice assistant
- Taking a screenshot
- Restart your iOS device
- Replacement for the “Back” action with a shake
Customize AssistiveTouch
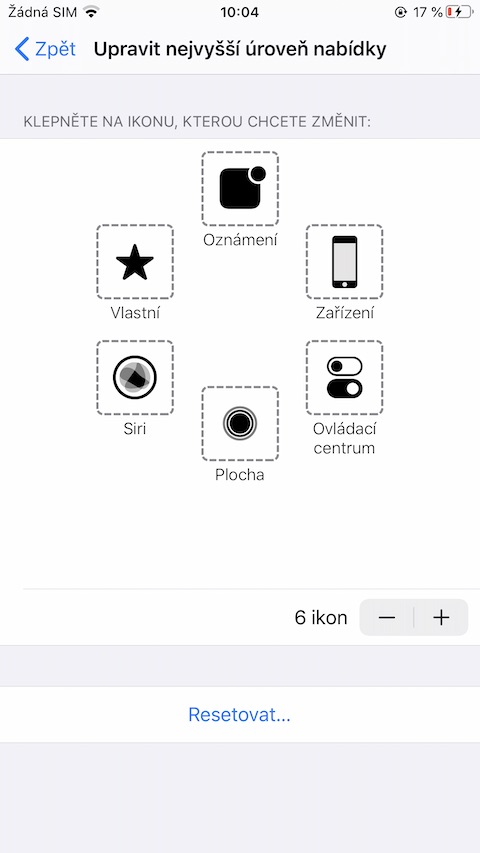
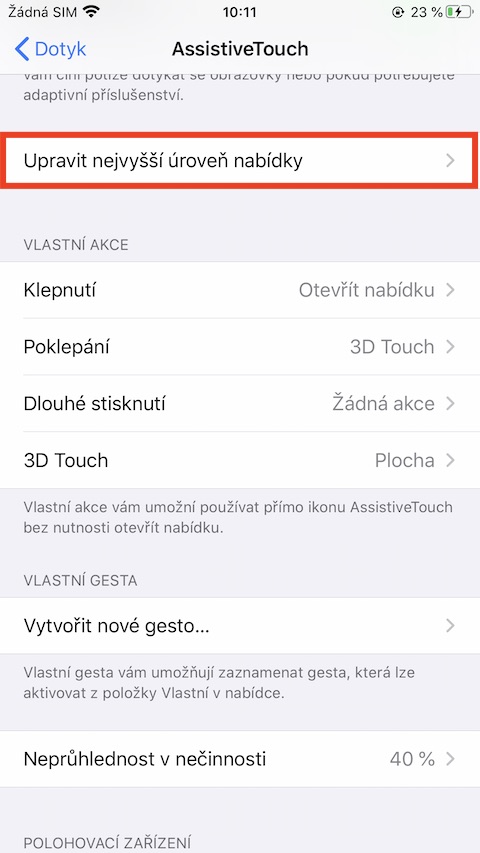
In Settings -> Accessibility -> Touch -> AssistiveTouch, click on "Edit top level menu". Here you can add up to eight different icons for control using the AssistiveTouch function. Individual icons can be added to the menu by clicking the "+" button in the bottom bar, and removed by clicking the "-" button. By clicking on individual icons in the menu, you can replace individual functions with others.
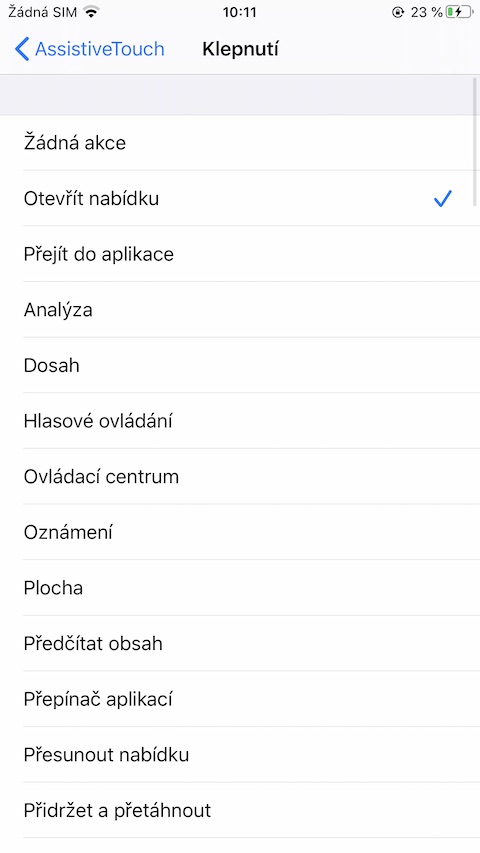
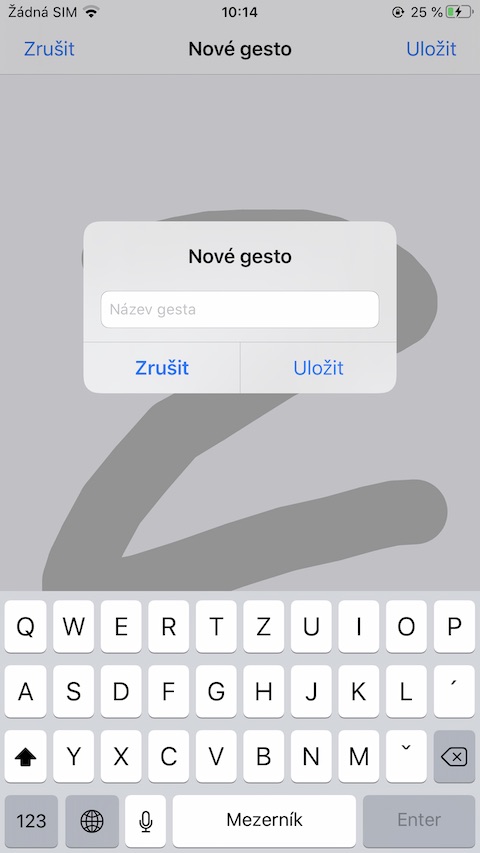
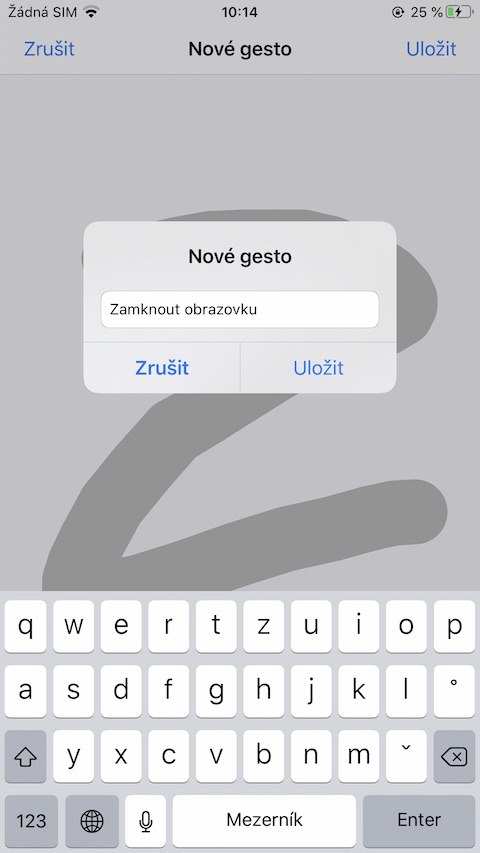
In the "Custom Actions" section in Settings -> Accessibility -> Touch -> AssistiveTouch, you can set custom actions that will allow you to use AssitiveTouch without having to activate the main menu. To set individual functions, always click on the selected item and then select the desired action from the menu. You can also assign your own gestures to AssistiveTouch. In Settings -> Accessibility -> Touch -> AssistiveTouch, navigate to the "Custom Gestures" section and tap Create New Gesture. On your iOS device's touchscreen, perform the gesture you want to assign the function to. To make sure you really like this gesture, tap Play in the lower left corner. To record a gesture, click Save at the top right and name the gesture.
If you have created some shortcuts in the native Siri Shortcuts application, you can also assign them to the AssistiveTouch function - all available shortcuts can be found in the menu after tapping on individual actions.
