In the fifth part of the series Getting started with engraving, we looked together at how you can prepare and import an image that is intended for engraving. In addition, we talked more about engraving settings, i.e. setting the size, strength and speed of engraving. If you got to this sixth part without reading the previous parts, then you should definitely read them - most likely, that is, if you are among the beginners, you will not be completely familiar with the program. In this part, we will look together at how you can focus on the object and start engraving.
It could be interest you
Laser focus and targeting
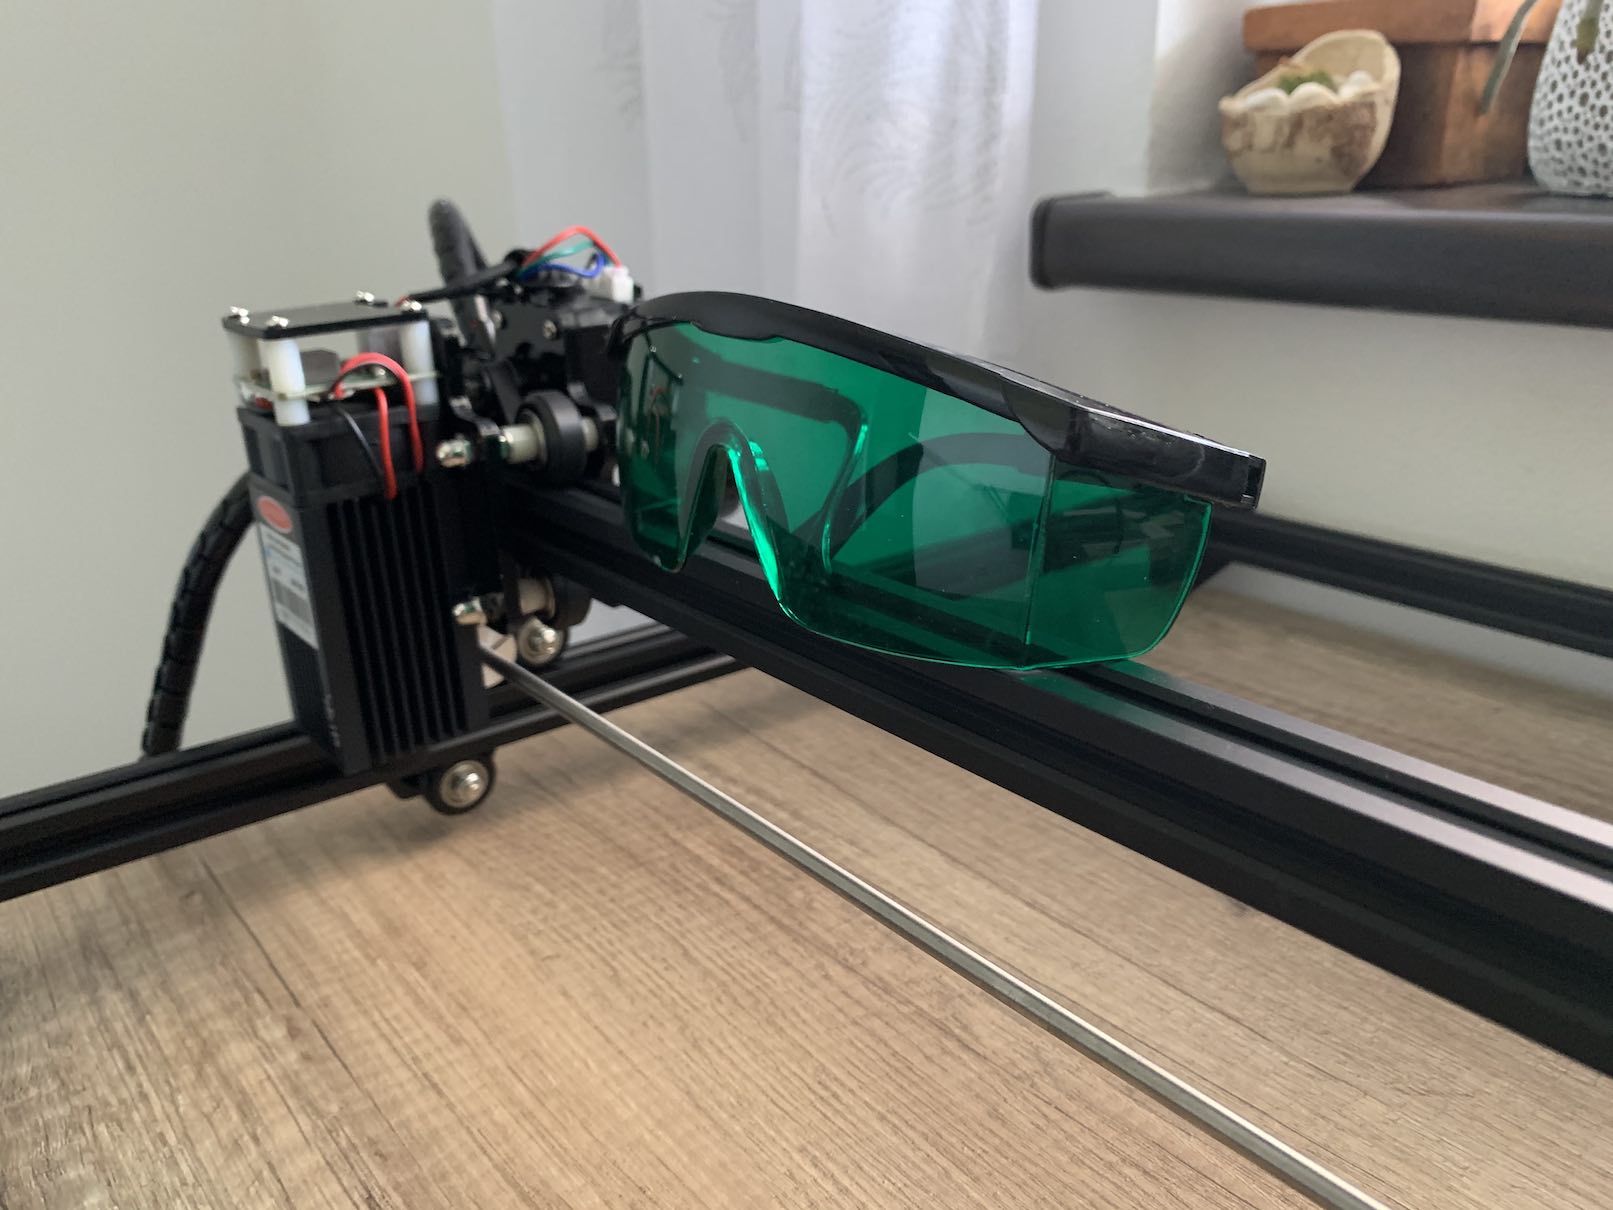
If you already have the image you want to engrave inserted in the LaserGRBL program and you have set the parameters, then there is nothing left to do but focus on the management laser measure the object you want to engrave. To focus the laser, it is ideal to put on the enclosed protective glasses on your eyes, thanks to which you can see the laser beam only in the place where it hits. So first take the object you want to focus on and then put it in the engraver field. Now you need to manually move the laser over the object itself. After inserting and preparing the image, click on the bottom toolbar sun icon with the smallest rays, which sets the lowest laser power, which will not fire anything yet. Then tap to turn on the beam laser beam icon (to the left of the sun), this is the fifth icon from the left. This will trigger the laser beam and make it visible.

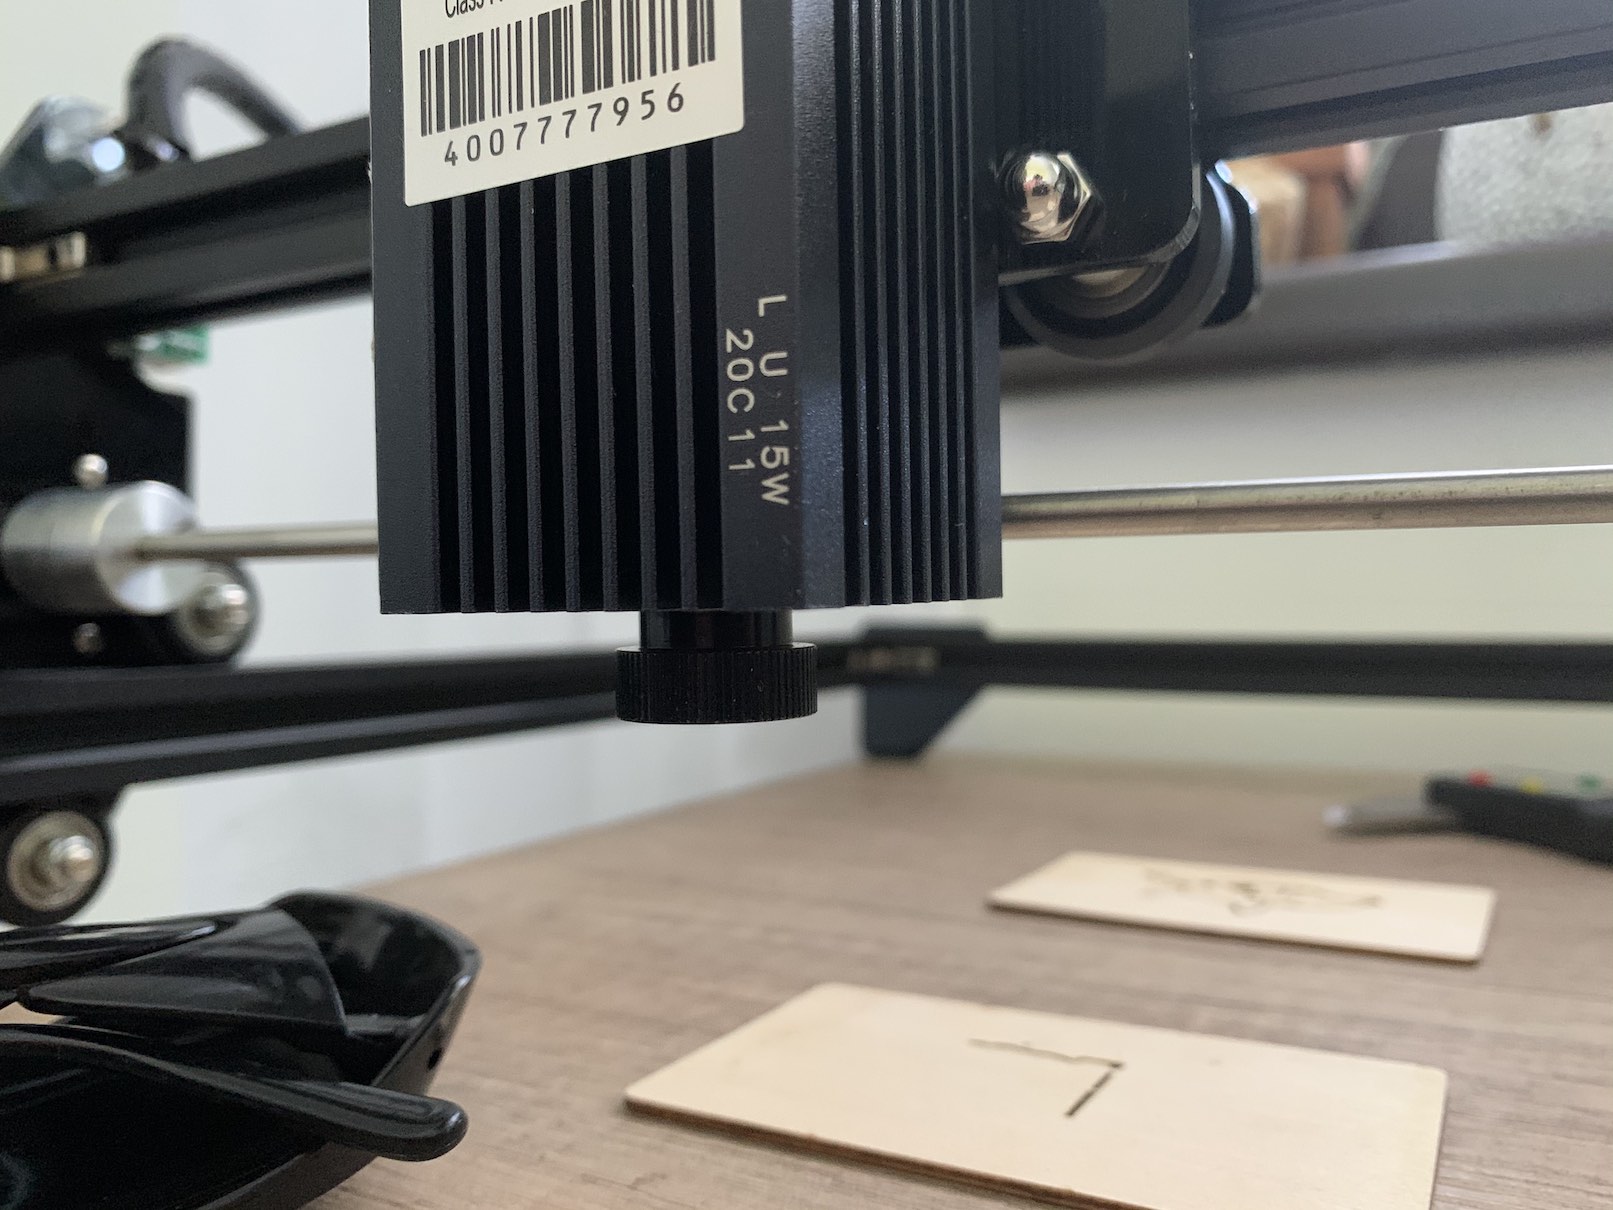
When it comes to focusing the laser, your goal is to set it so that the laser dot on the object itself is as small as possible. The laser is really easy to focus, similar to how you would focus on an SLR camera. All you have to do is grab the wheel at the very end of the laser with two fingers and move it clockwise or counter-clockwise. As already mentioned, you will be able to monitor the focus best after using protective glasses. The laser beam itself will not harm you in this case, as it is set to the lowest power and more or less only shines. Focusing the laser is very important indeed, for the greatest possible accuracy and power utilization. If you managed to focus the laser perfectly, you are ready for engraving. Focusing should ideally always be done after using an object that has a different height. The laser will automatically turn off after a few tens of seconds of inactivity for safety reasons - in this case, just tap the lock icon, and then the sun and laser beam icon again. Now let's look at the orientation of the object itself.
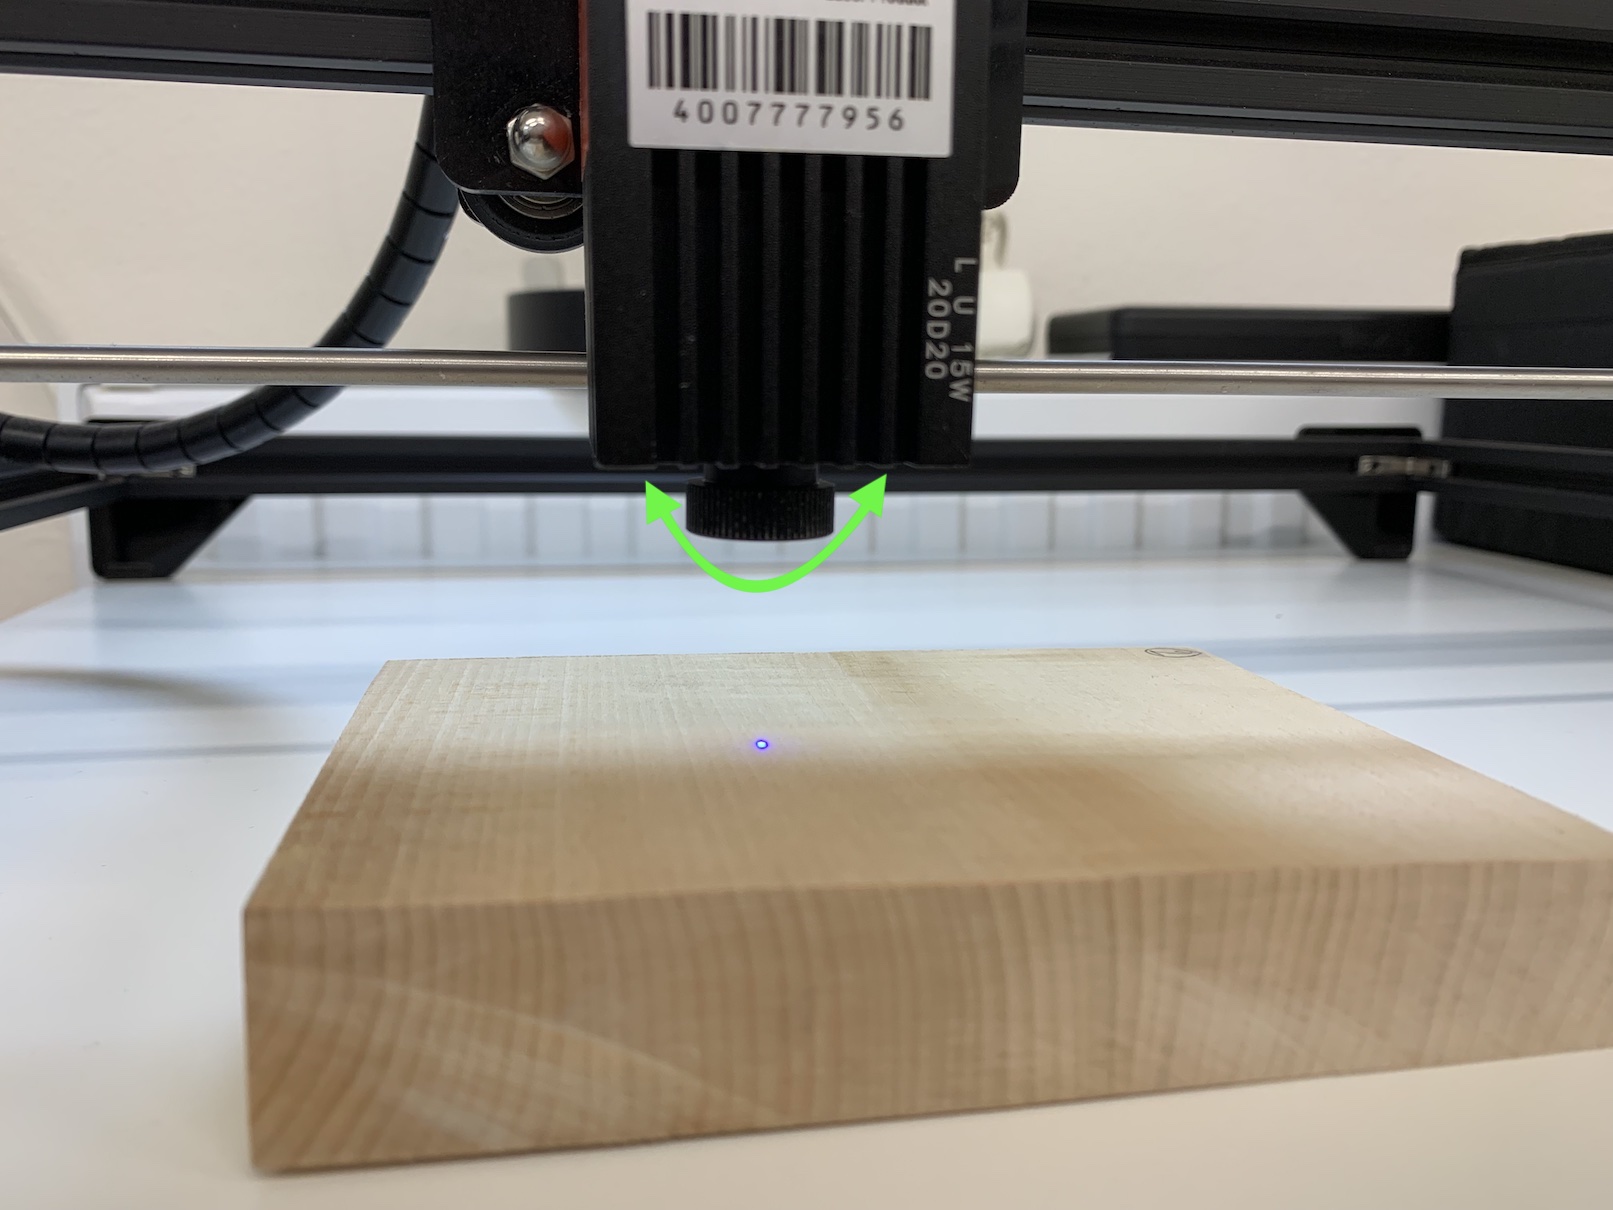
Object focus
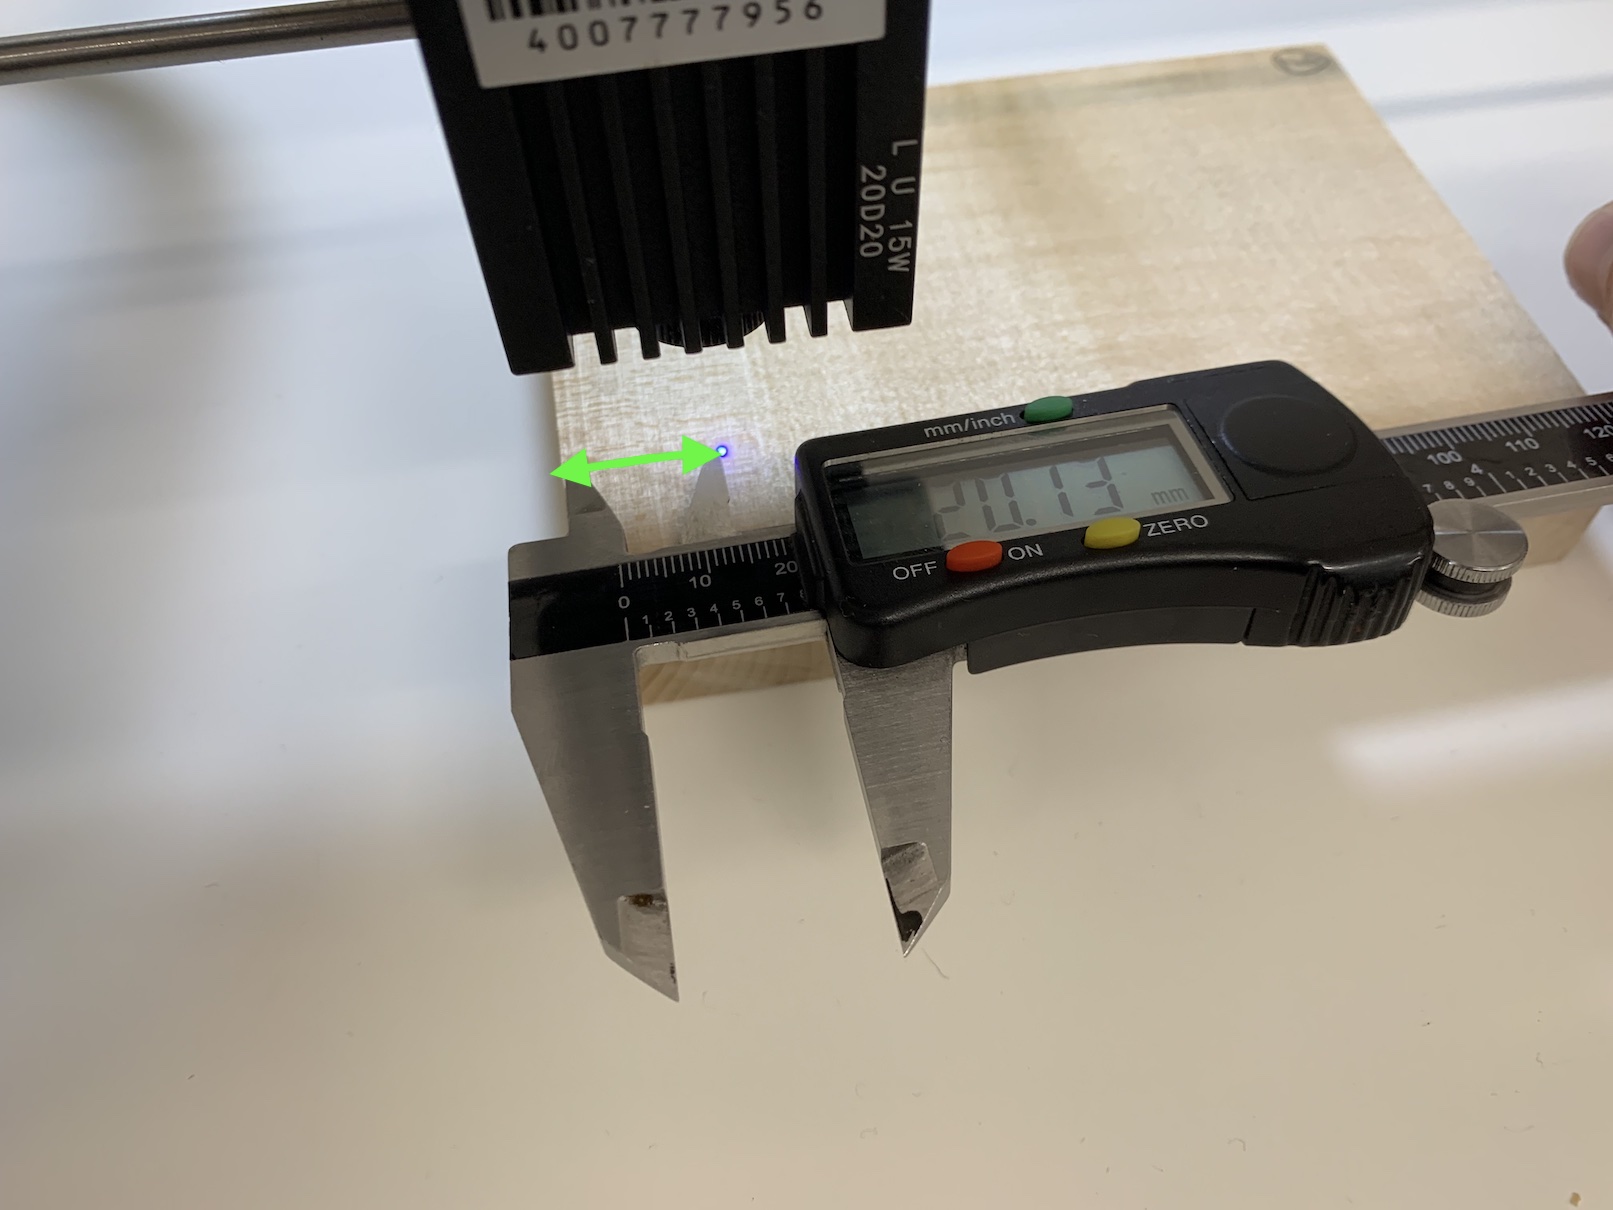
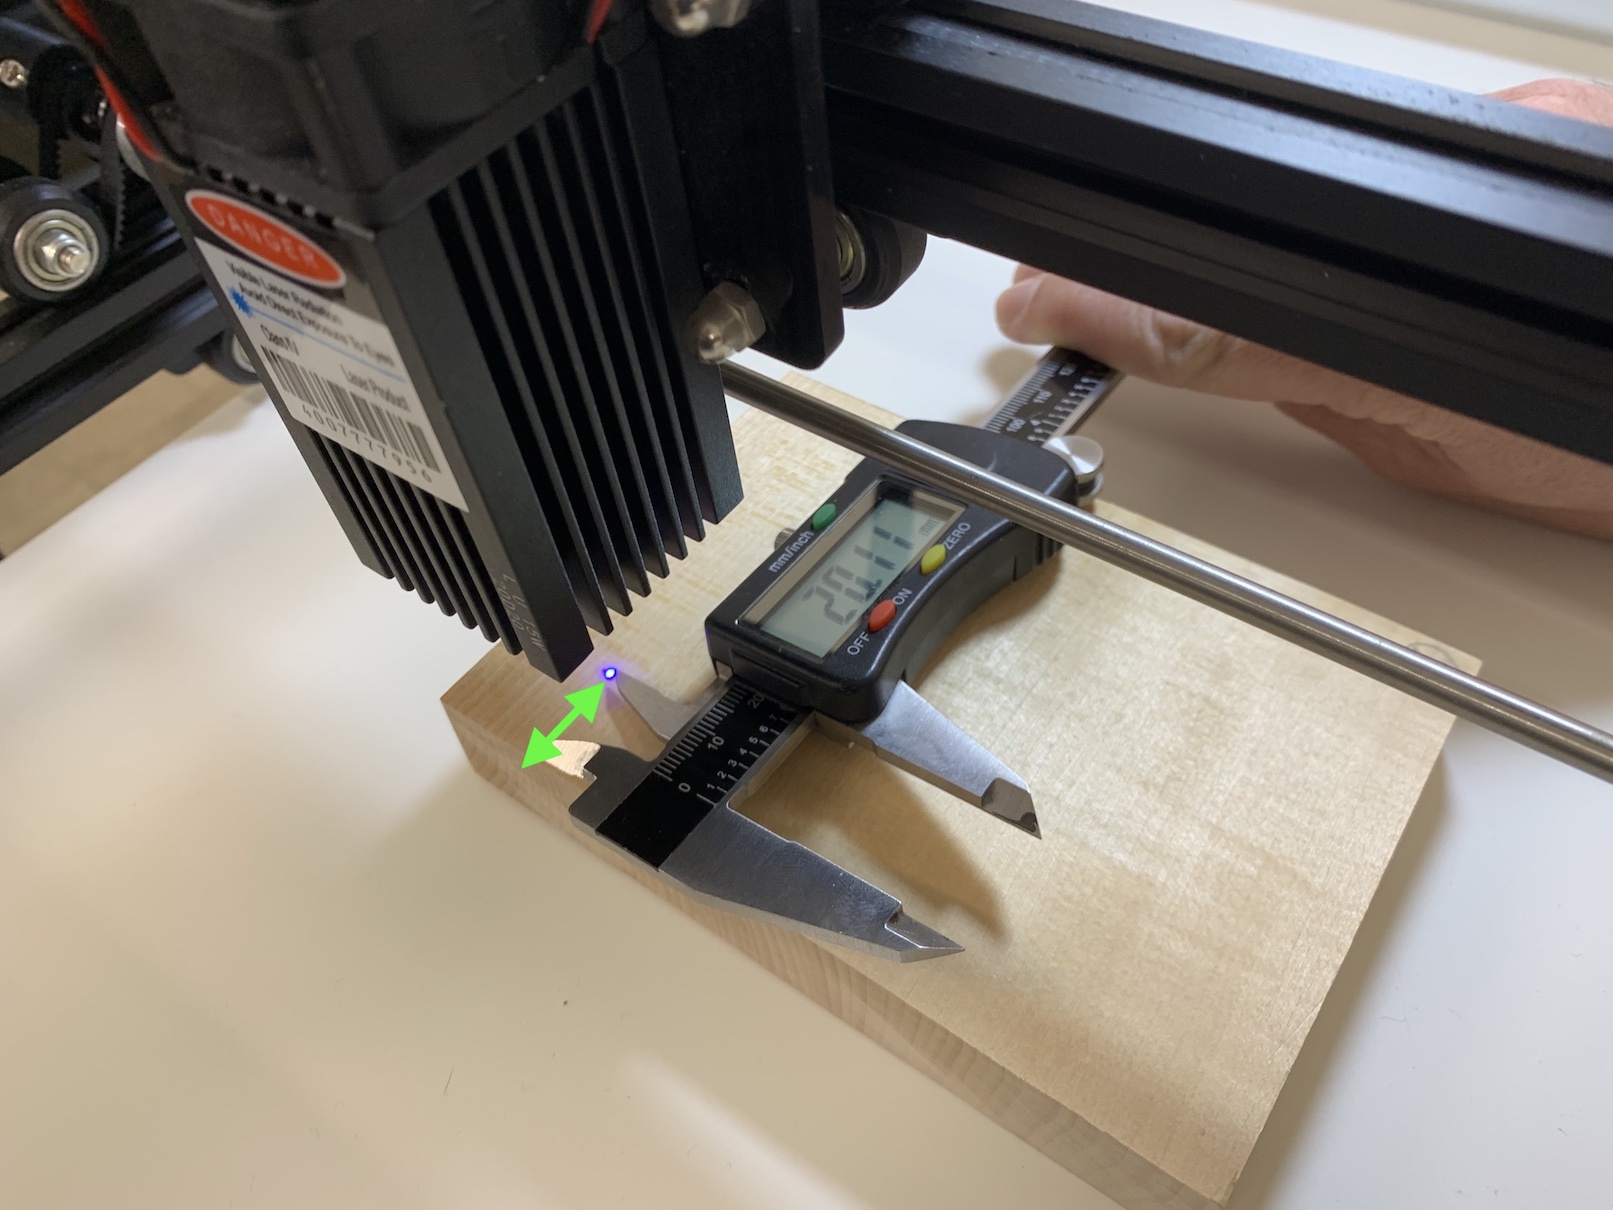
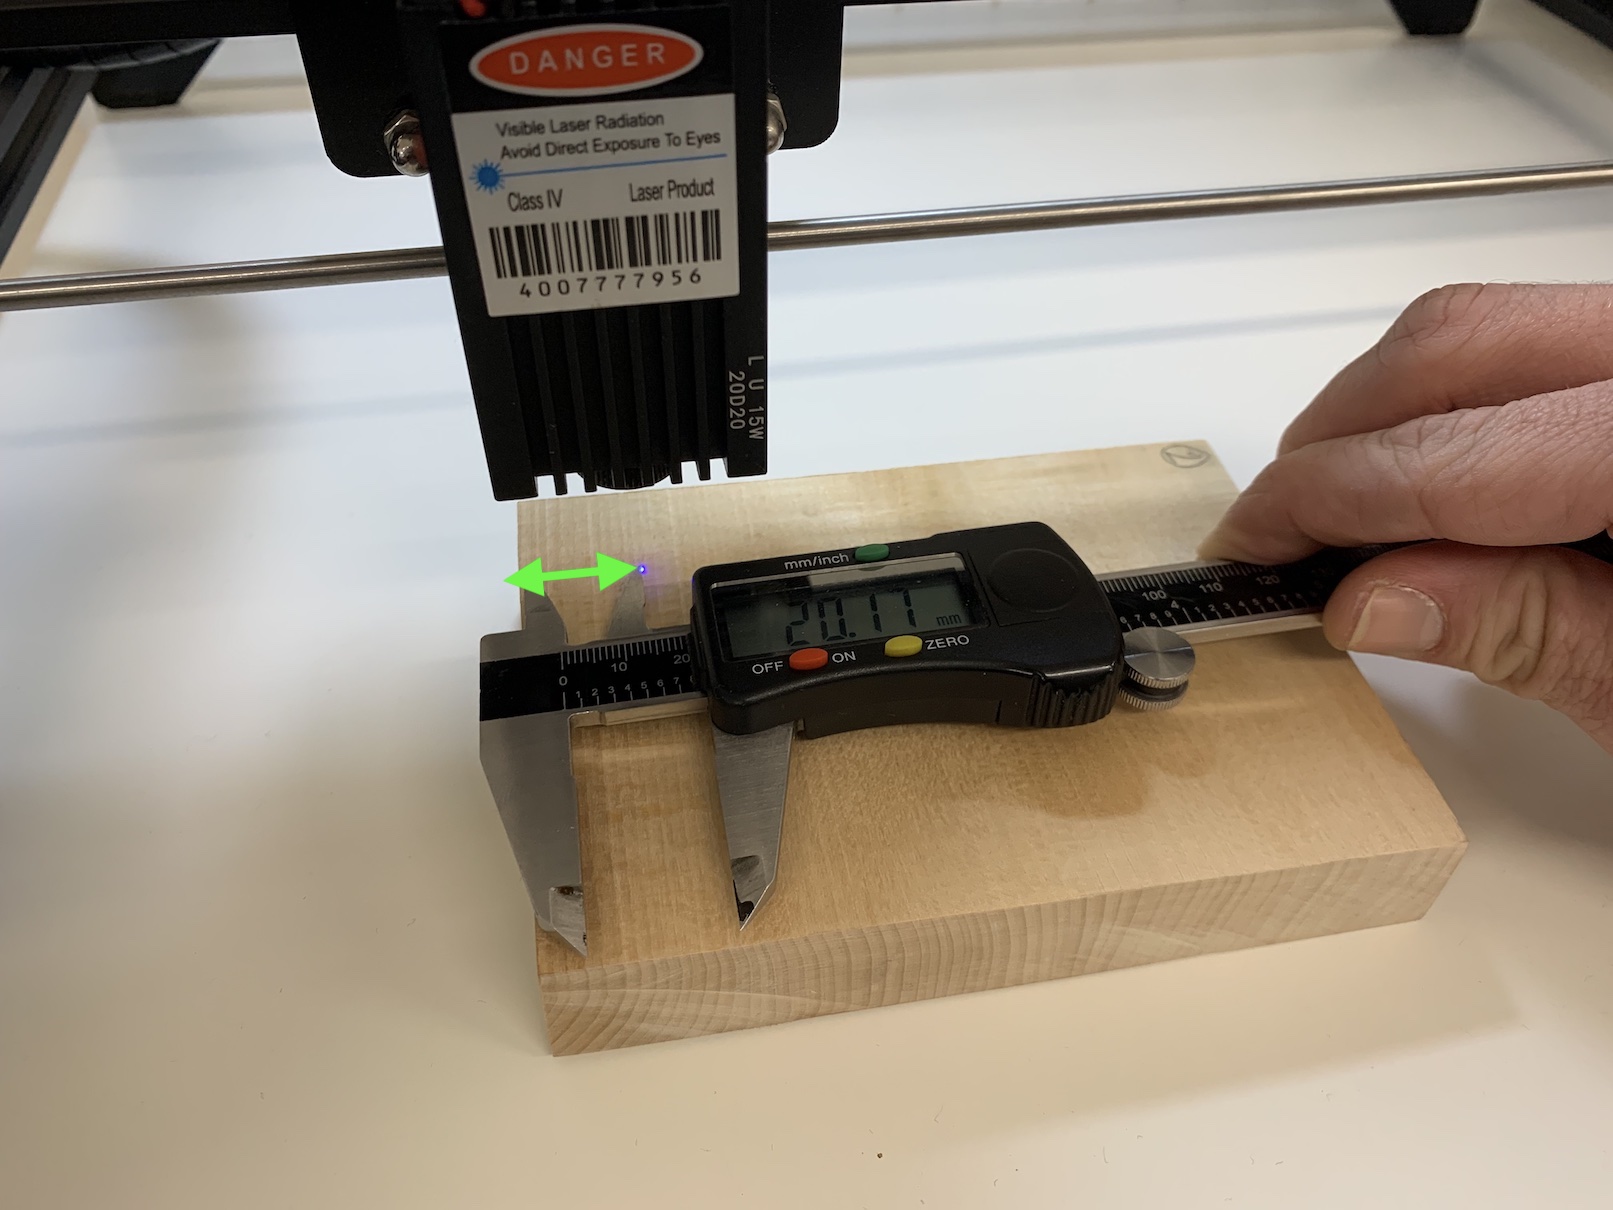
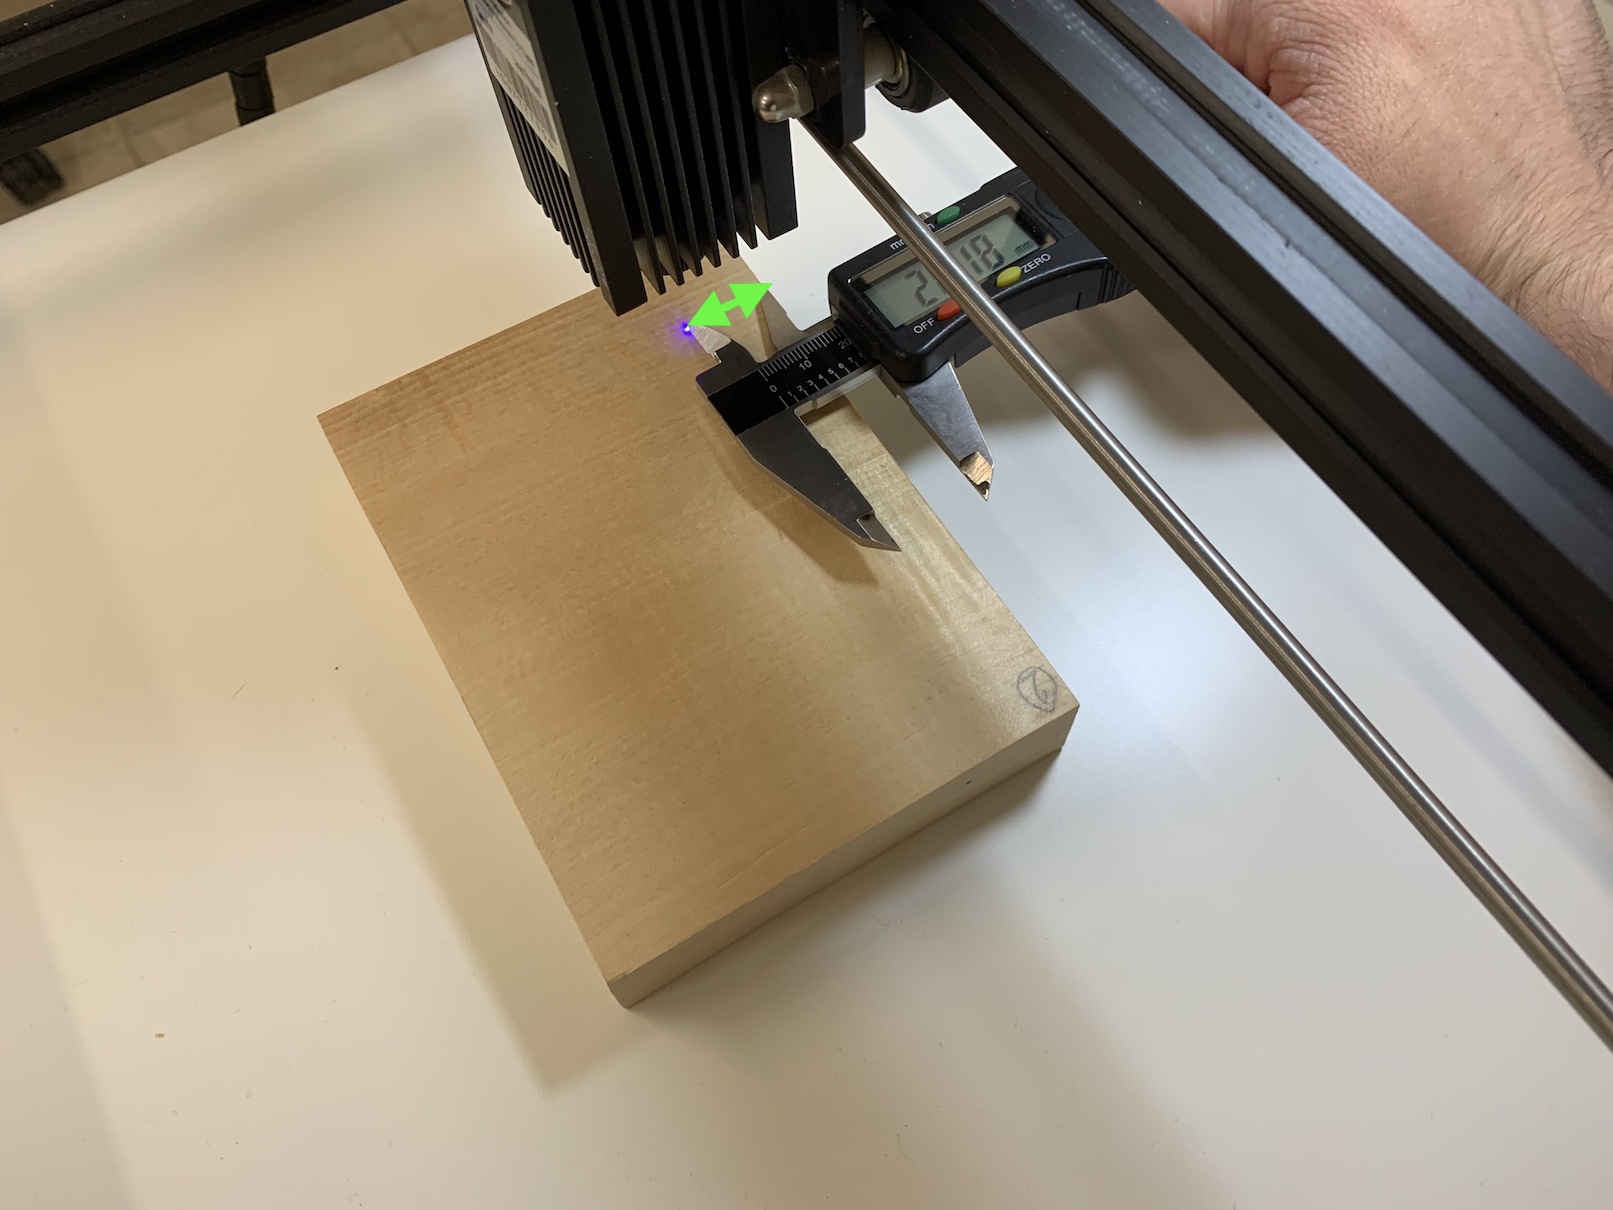
As I mentioned in the previous part, for a complete transfer it will be necessary for you to purchase a digital meter, i.e. a "supler". Of course, you can also use a ruler for larger patterns, so you can use it anyway if you don't need the resulting engraving on an object to be accurate to tenths of a millimeter. After successfully focusing the laser, fire it again so that the beam is visible and move the arm to where you want to start. The engraver always starts engraving from the lower left corner, so move the laser to where the lower left corner of the image should be on the object. Arrows in the lower left corner you can then use the window to move the laser for aiming. Left slider then serves for laser scroll speed, right slider for settings distance, by which the beam moves. So move the laser gradually and focus the image using a digital gauge or slide - example below.
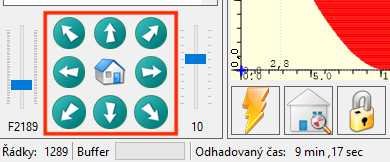
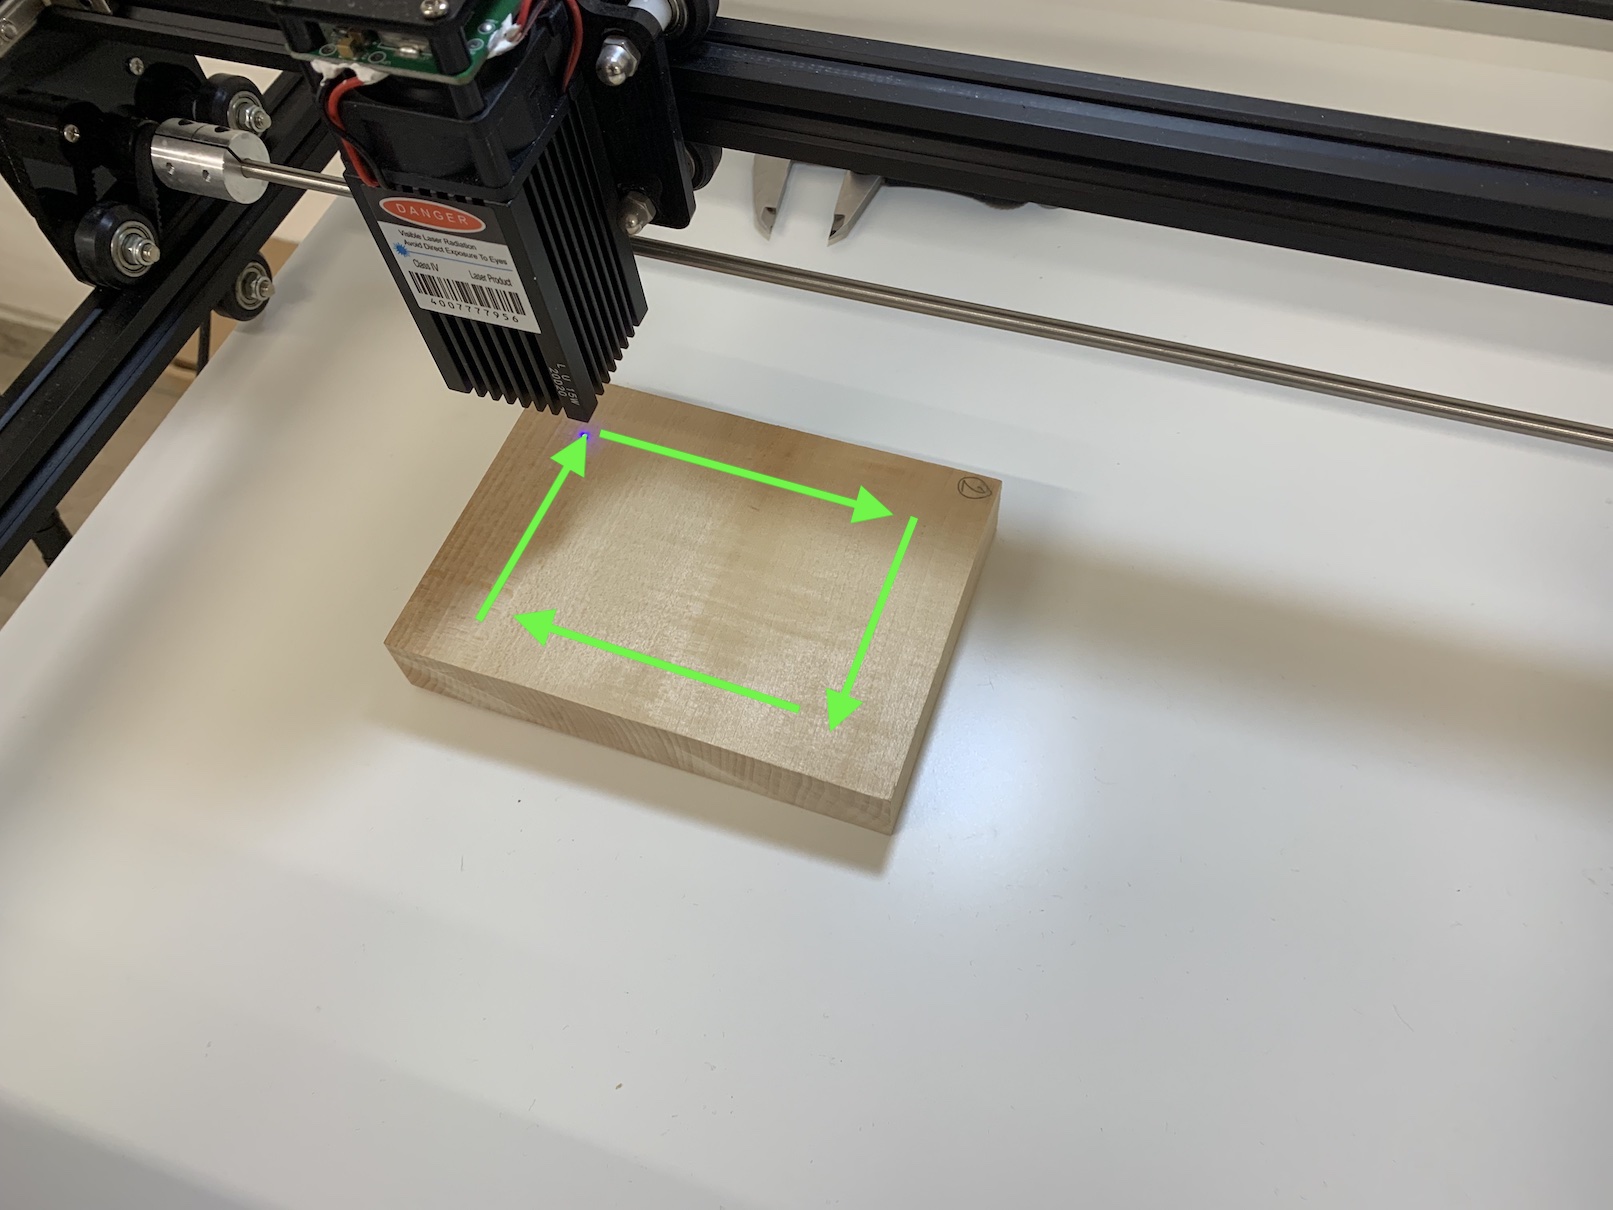
Let's say you have a 30 x 30 millimeter image. A shift of 1 point within the application means a shift of 1 mm. If you want the image to be in the center of an object - for example 50 x 50 millimeters in size - then you need to measure the distance from the perimeter of the image towards the edges of the object. This means that on each side the image should be 20 mm from the edge. So start at the bottom left corner by measuring the distance from the laser beam to the left and down. Both of these distances must be 20 mm, if they are not, move the laser by hand where needed, or adjust the position of the object. After the first successful focus, move up 30 units (ie millimeters) and measure the distance from the beam to the left and up - again the distance should be 20mm. Then repeat this process to the right, down and left, i.e. around the perimeter, bringing you back to the starting point. The house button is then used to move to the starting point. You can find a complete overview of the controls in the fourth part.
Engraving
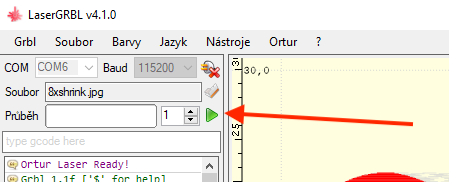
We've all been waiting six long episodes for this point - and it's finally here. If you are 100% sure that you have the object precisely focused and that you have a focused laser, then all you have to do is press the button to start engraving. But before you do so, watch your eyes put on safety glasses – this is very important. At the same time, you should not be in the same room, or at least nearby, at the time of engraving. Engraving is a kind of burning, and when something burns, of course, an unpleasant smell is produced. From a health point of view, you should definitely not inhale the smoke and smell. So make sure you have an open window in the room and ideally use a fan to blow the smell out. At the same time, do not have objects in the room that can "sniff" - for example, curtains. Tap to start engraving green play icon in the upper left part of the window. At the bottom, you can then track the estimated engraving time.
záver
The series We start with engraving is slowly coming to an end. As part of the first parts, we first looked together at how to choose and build an engraving machine, gradually we worked on working with the LaserGRBL program, into which we imported images and set up the engraving. As part of this part, we then dived into the engraving itself. I would like to devote the following part(s) to your possible questions. Many of you have already emailed me and I've tried to reply to the vast majority of you - of course this offer still stands.


Hello after a long time. I have a problem from the very beginning of the engraving. If I start engraving and need to stop engraving for a short time, I press the stop icon (hand). Then when I want to continue, I press rune. The head of the engraver does start to move, but the diode does not light up, so it does not fire. I can't figure out what's wrong. Does anyone have the same experience and how to fix the error?
I have also found that any pause during burn will cause when I press continue the LED will not light up but the engraver head will move. I've tried this, for example, by specifying a cooldown after 2 minutes and a new move after one minute. After 2 minutes it stopped, but after another minute it started, but the diode did not light up. BIG PROBLEM.