V past work series We start engraving we shared some information together about how to choose the right engraver (thanks to Mr. Richard S. from the discussions for this name :-)). Right at the beginning, I would like to respond to a few comments that appeared in the last part - especially after that regarding pruning and practical experiences. I would like to point out that I am really an amateur and a layman in this field, and I am not able to distinguish with what force, for example, a birch tree can be cut through. However, don't be afraid that in one of the other parts we will not list some exact settings that are suitable for engraving or cutting different materials. I'd like to keep this series chronological and write everything sequentially so we don't jump from one topic to another.
It could be interest you
Folding is not a piece of cake!
This third part is intended for all users who ordered the engraver some time ago and are waiting for its delivery, or for those users who have already received it and want to find out how to assemble it correctly. Even though assembling the engraver according to the instructions may seem like a very simple matter, believe me, it is definitely not that simple. I can tell you right now that you should take another family member or maybe a friend to help you assemble the engraver correctly and accurately, the time required for construction and "adjustments" is then within hours. So let's get straight to the point and let's take a look together at how to assemble the engraver correctly.
You can't do without a guide
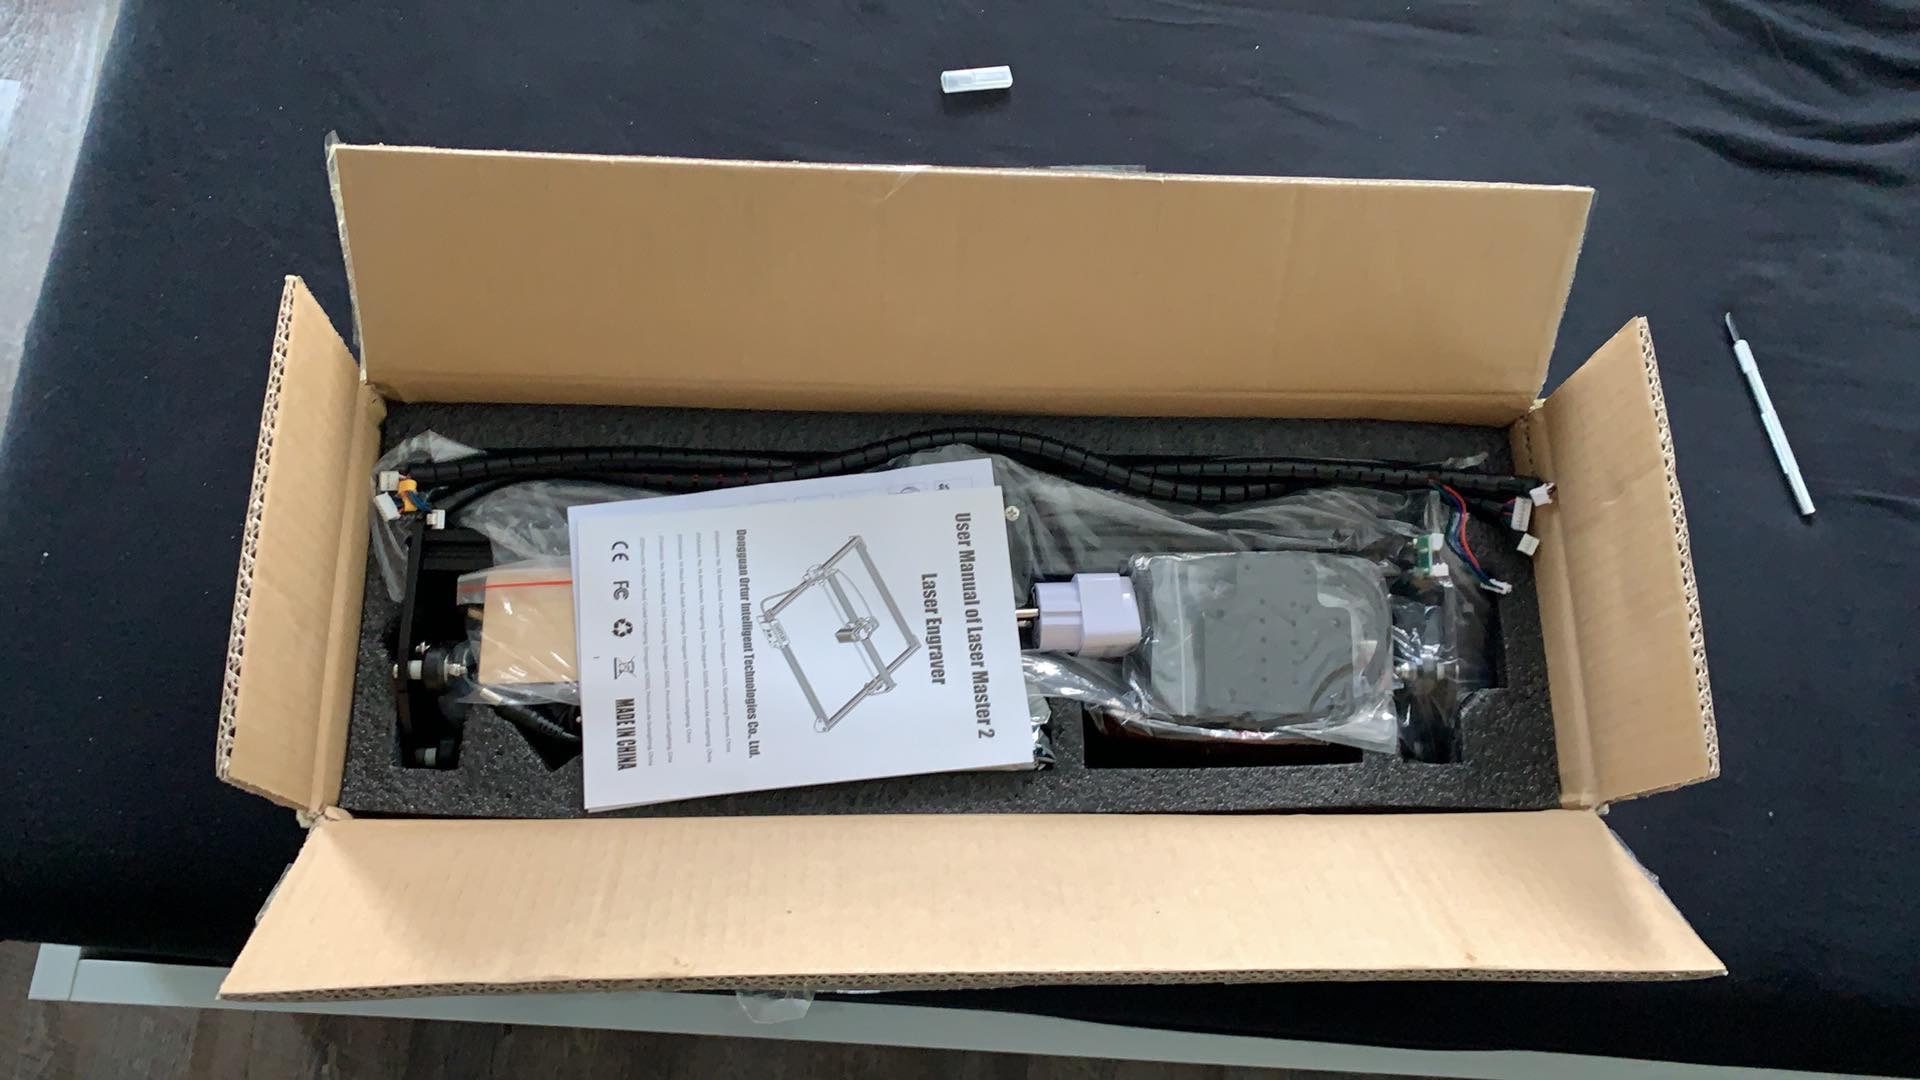
Since every engraver is different, it is of course necessary that you prepare the instructions, which you cannot do without in this case. Practically all engravers come to you unfolded in oblong boxes, as they might not survive the trip across the world in folded form. Therefore, open the box carefully in the classic way, take all the parts out onto the table, open the box or bag with the connecting material and prepare the basic tools - you will definitely need a Phillips screwdriver, but also, for example, a small wrench. Now you need to try to see what the different parts are for - because if you have an idea, the engraving will go together much better. Feel free to look at the already assembled engraver on the Internet, it will definitely help you a lot.
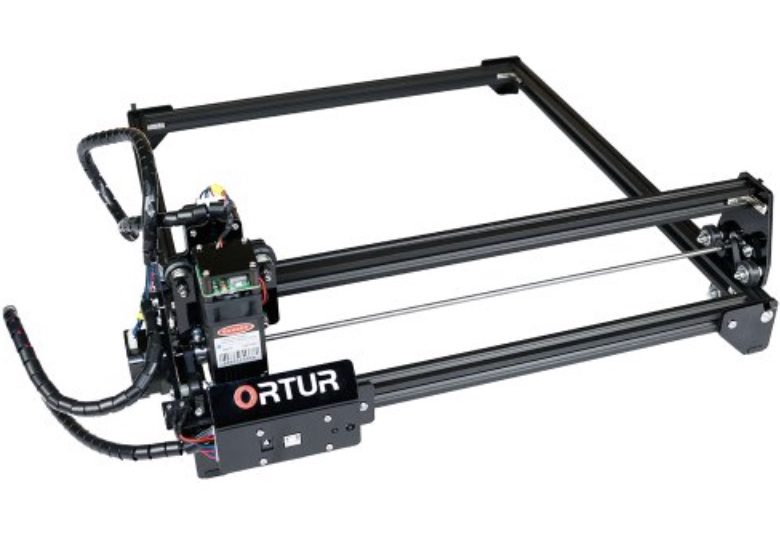
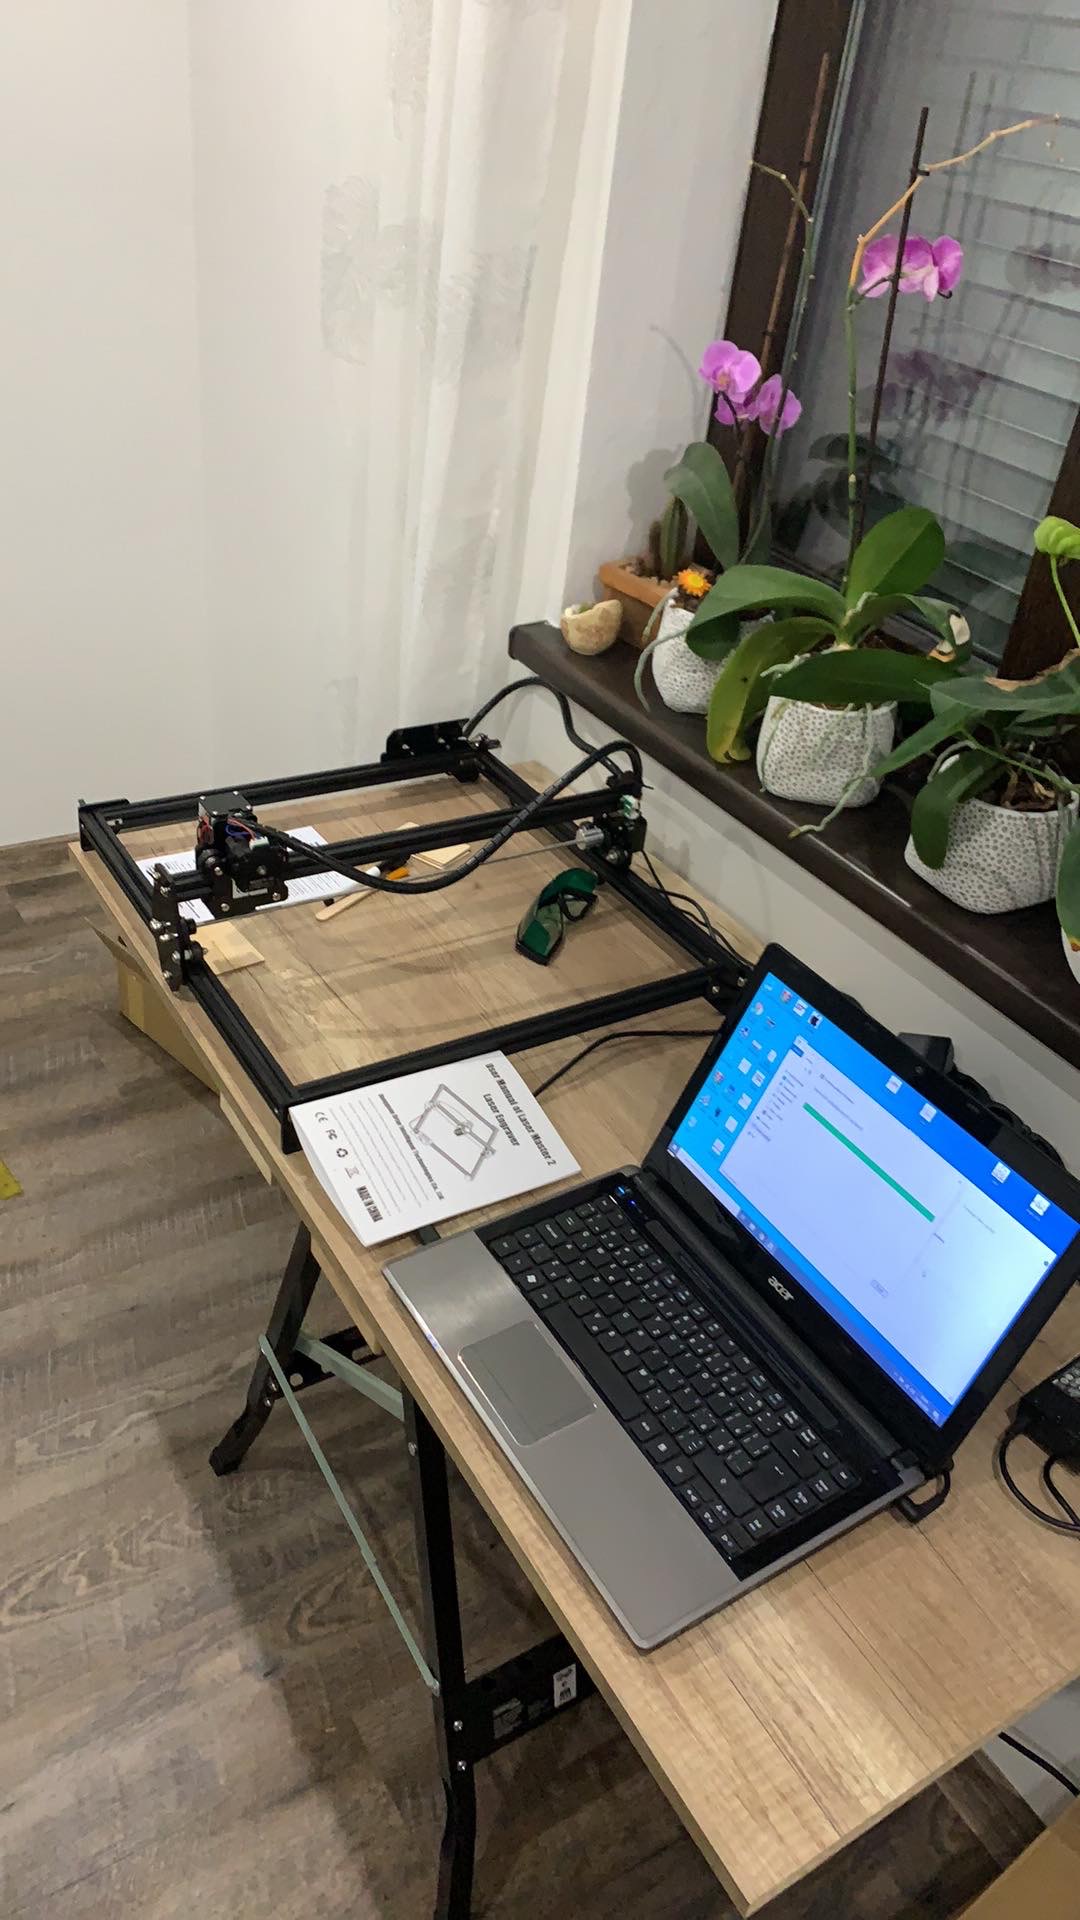
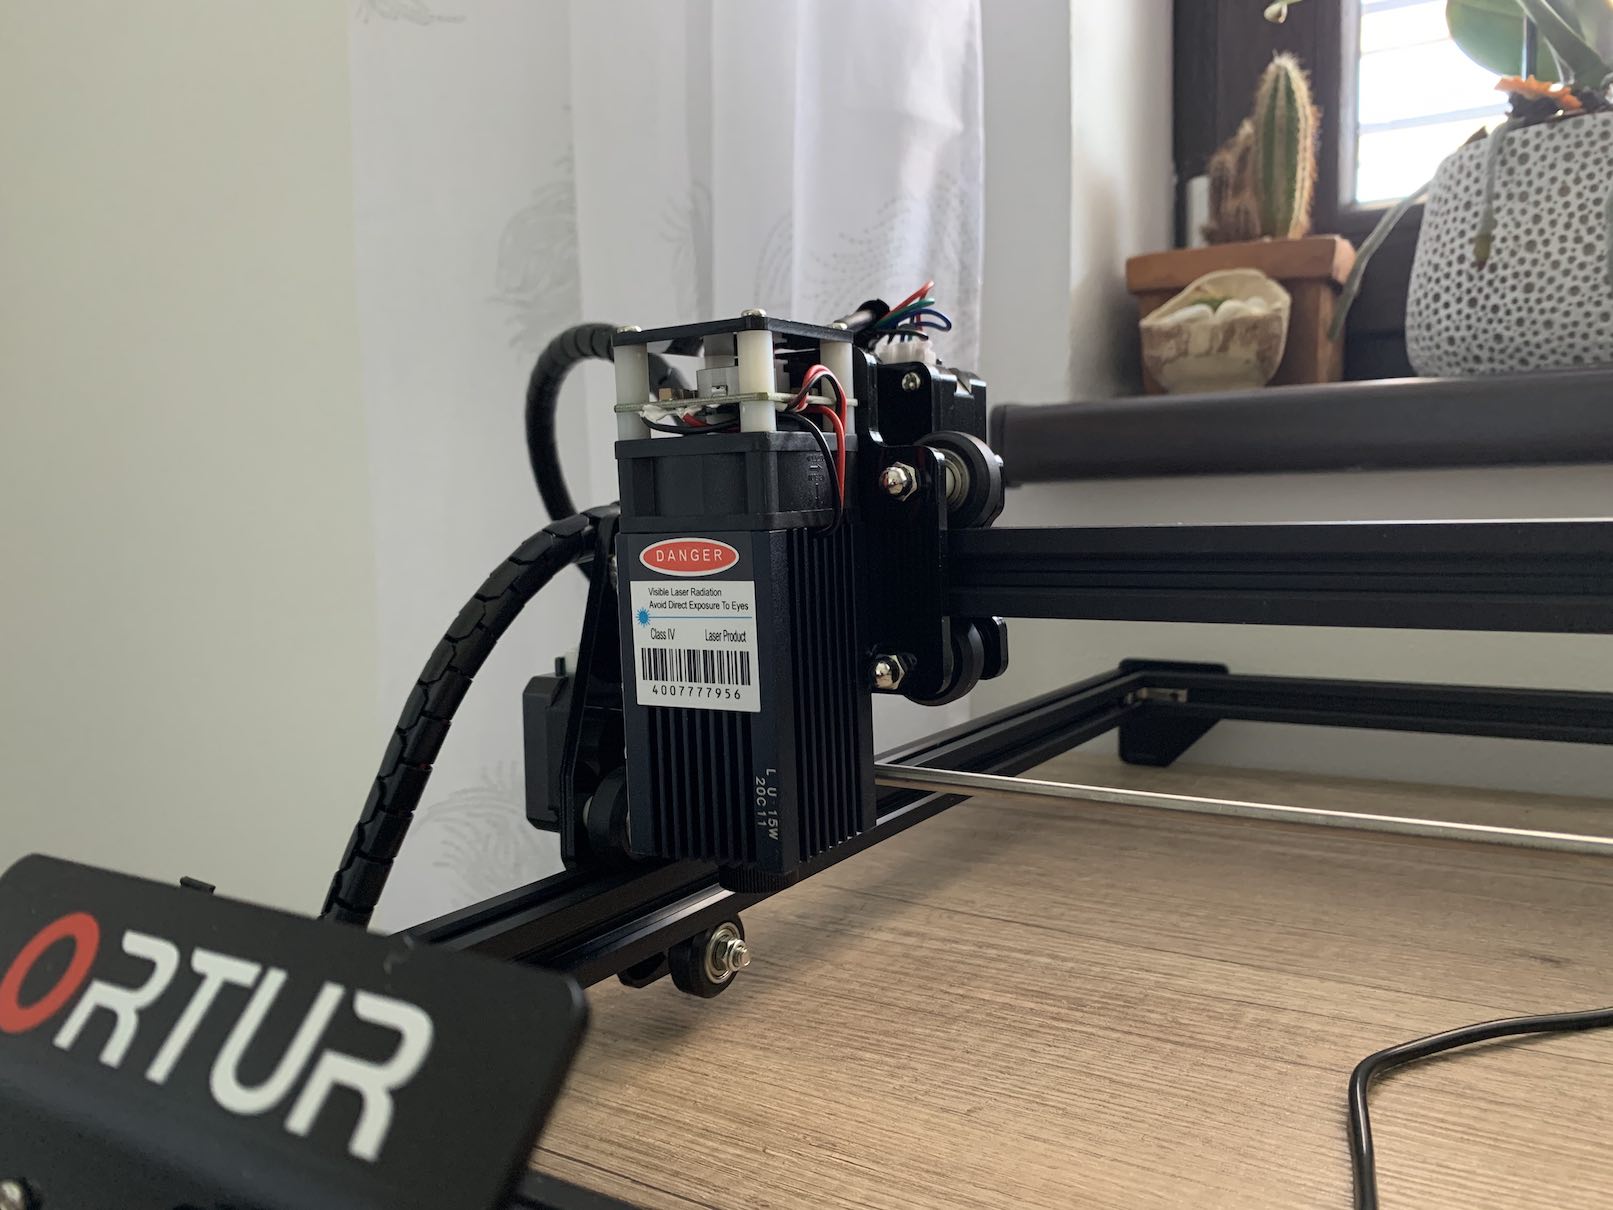
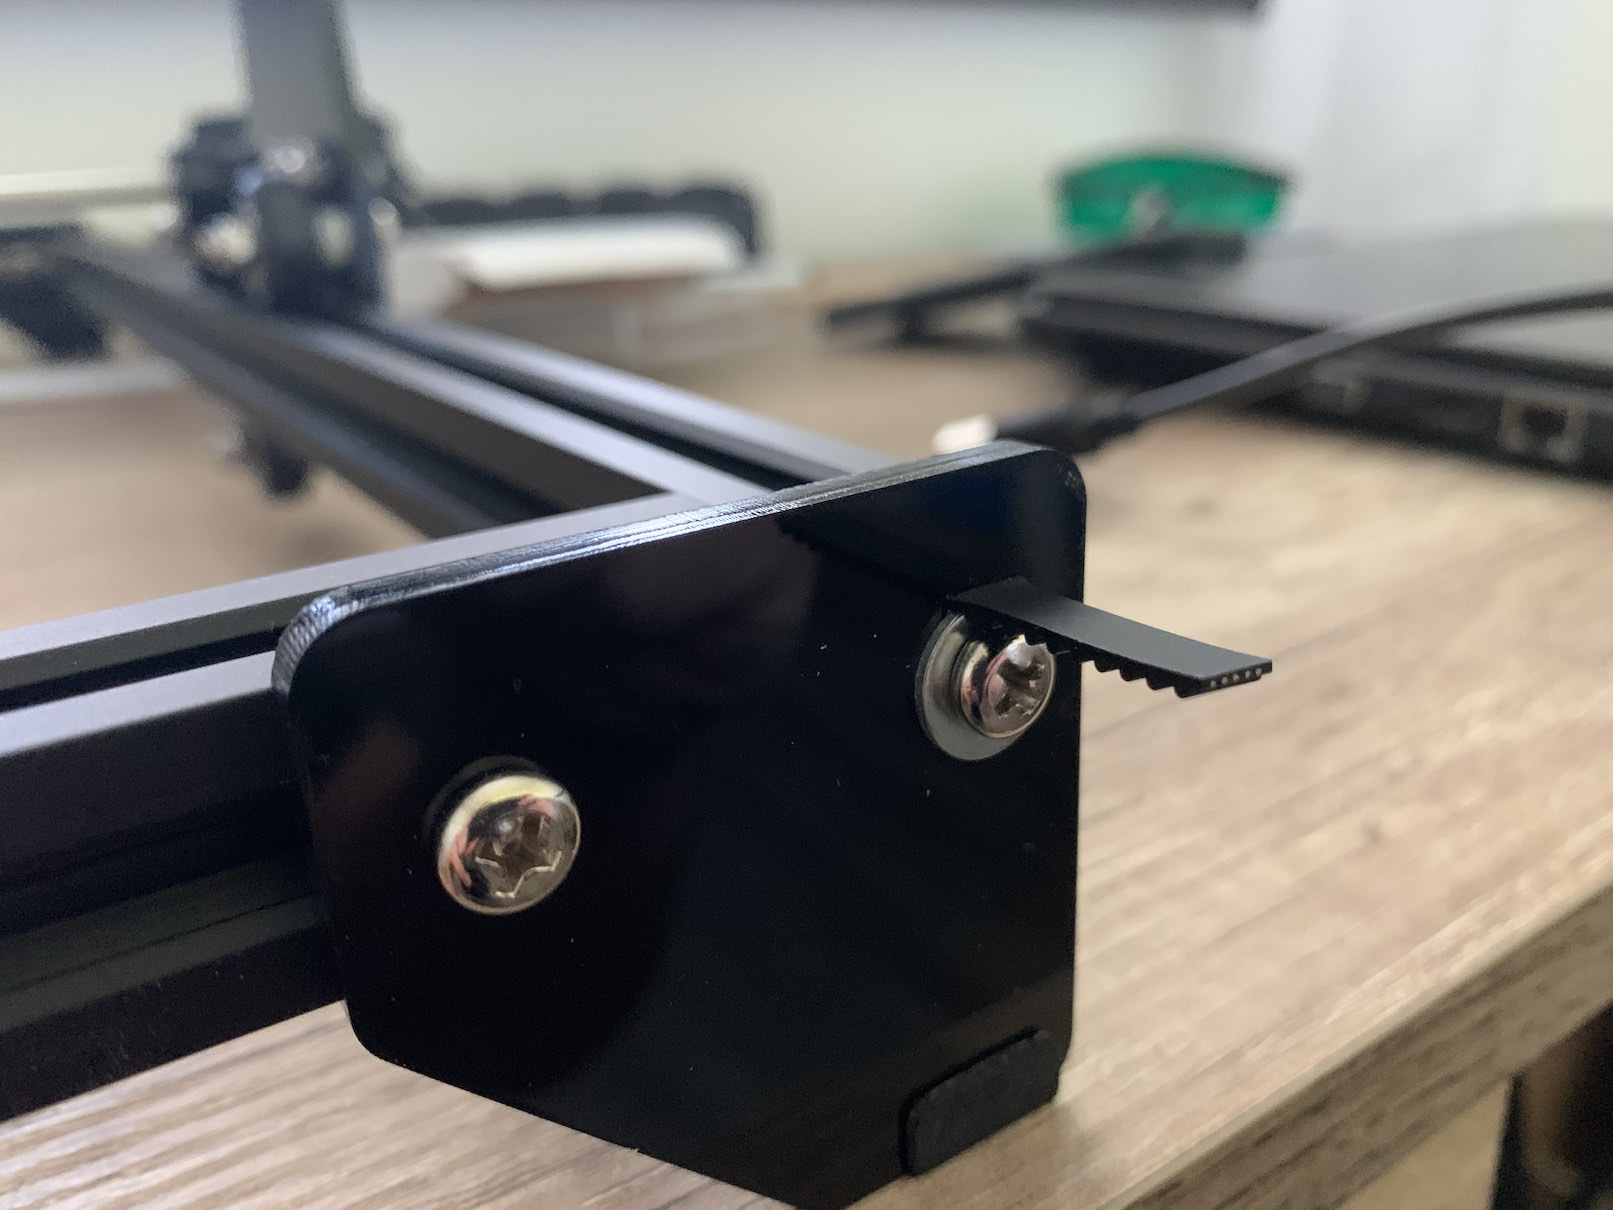
In the case of my new engraver, which became the ORTUR Laser Master 2, the instructions were a little confusing at certain points, so be prepared to definitely have to go back a few steps a few times and disassemble the engraver slightly. However, as soon as you get the right "drive", the whole building will be easy for you. Simply try to stick to the attached instructions and also use common sense, which will help you fill in any gaps in the manual. The engraver most often consists of an aluminum frame, which you have to screw together with so-called L connectors. Of course, there are plastic legs on which the entire frame stands, runners along which the entire engraver moves, the laser itself, and also cabling. In this case, I probably can't help you with the construction of the entire machine, but I can give you a few tips that will help you avoid reassembling.
Tips for the right composition
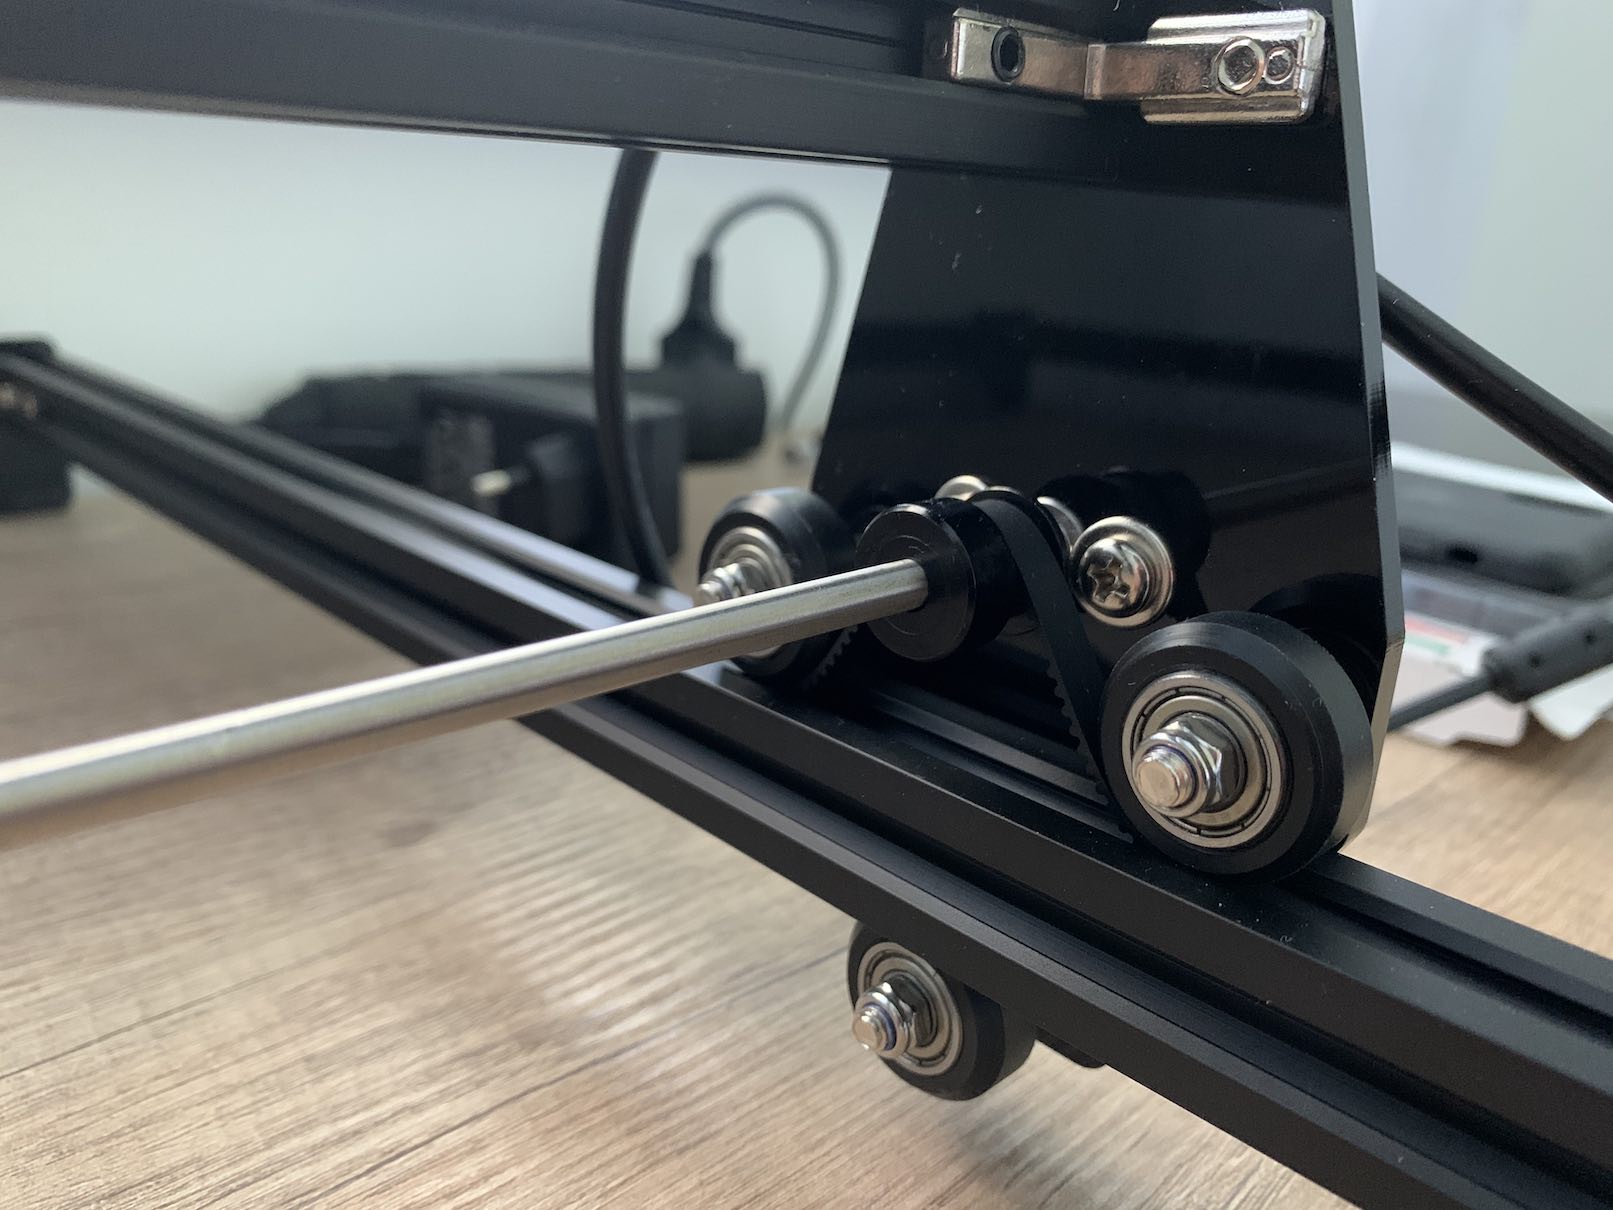
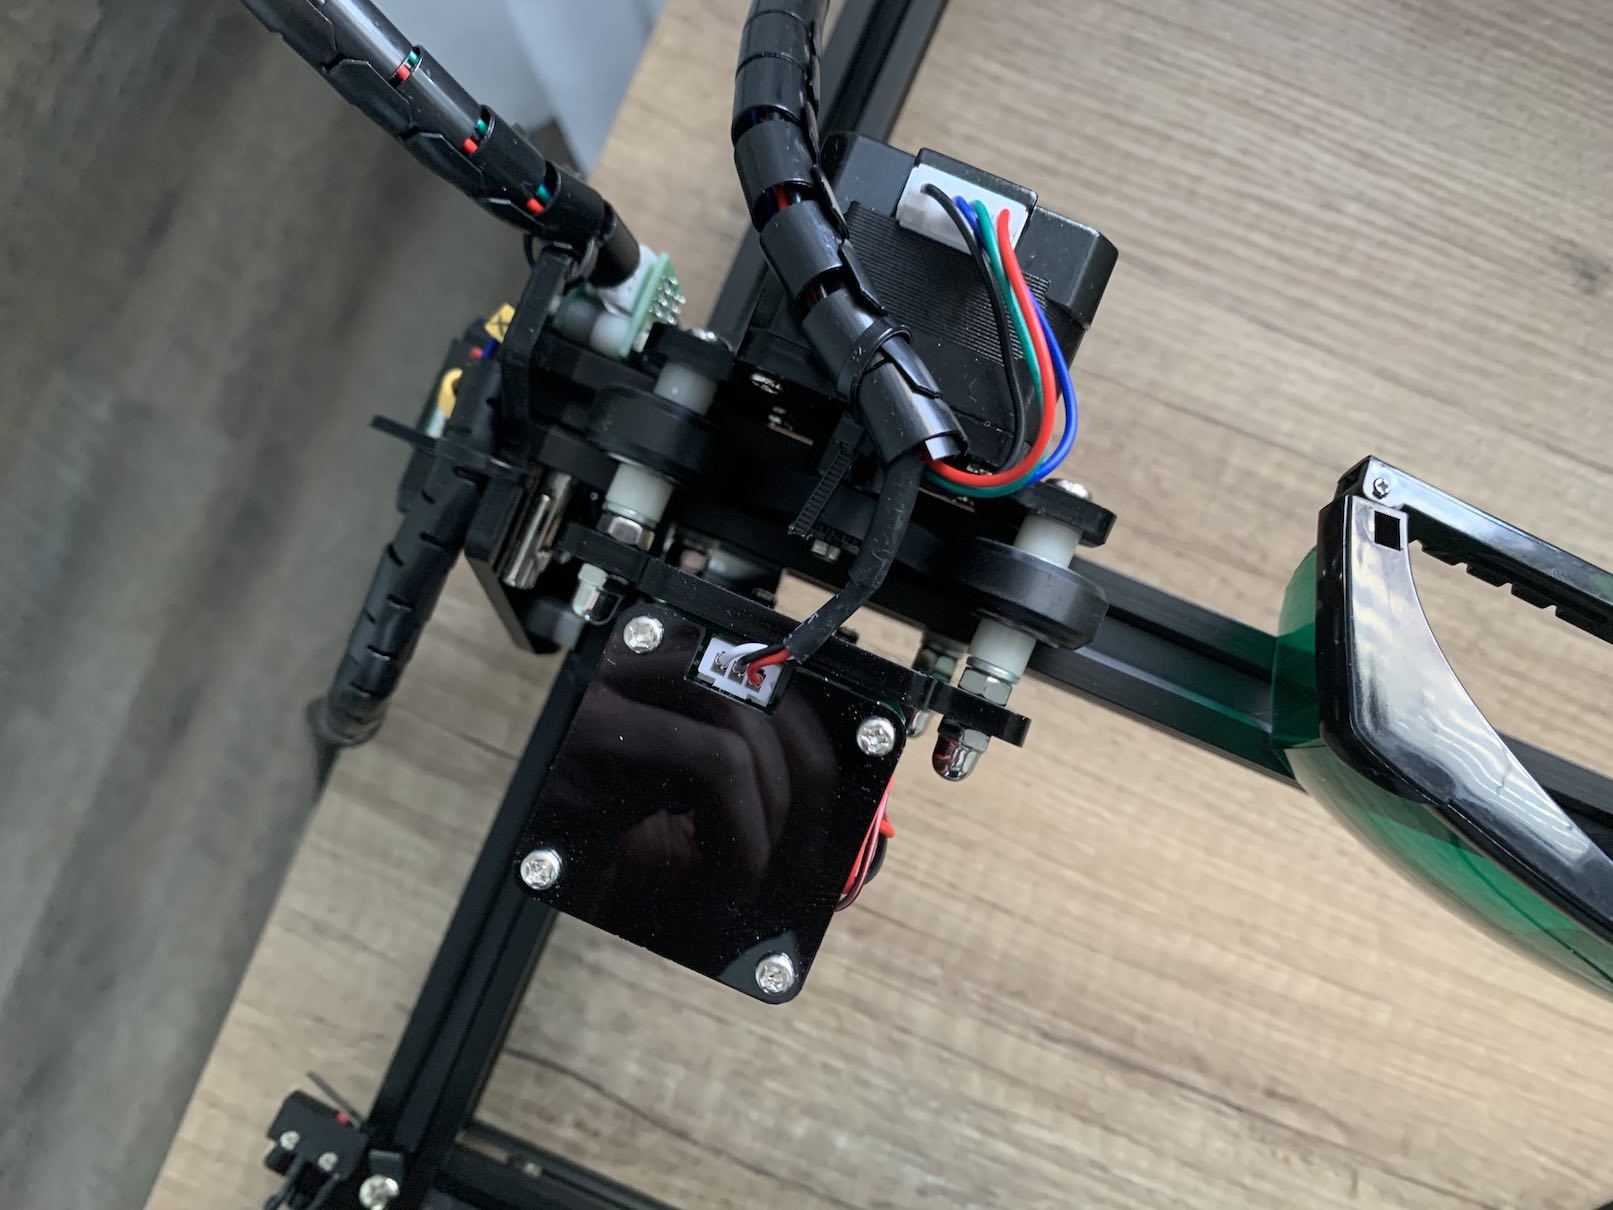
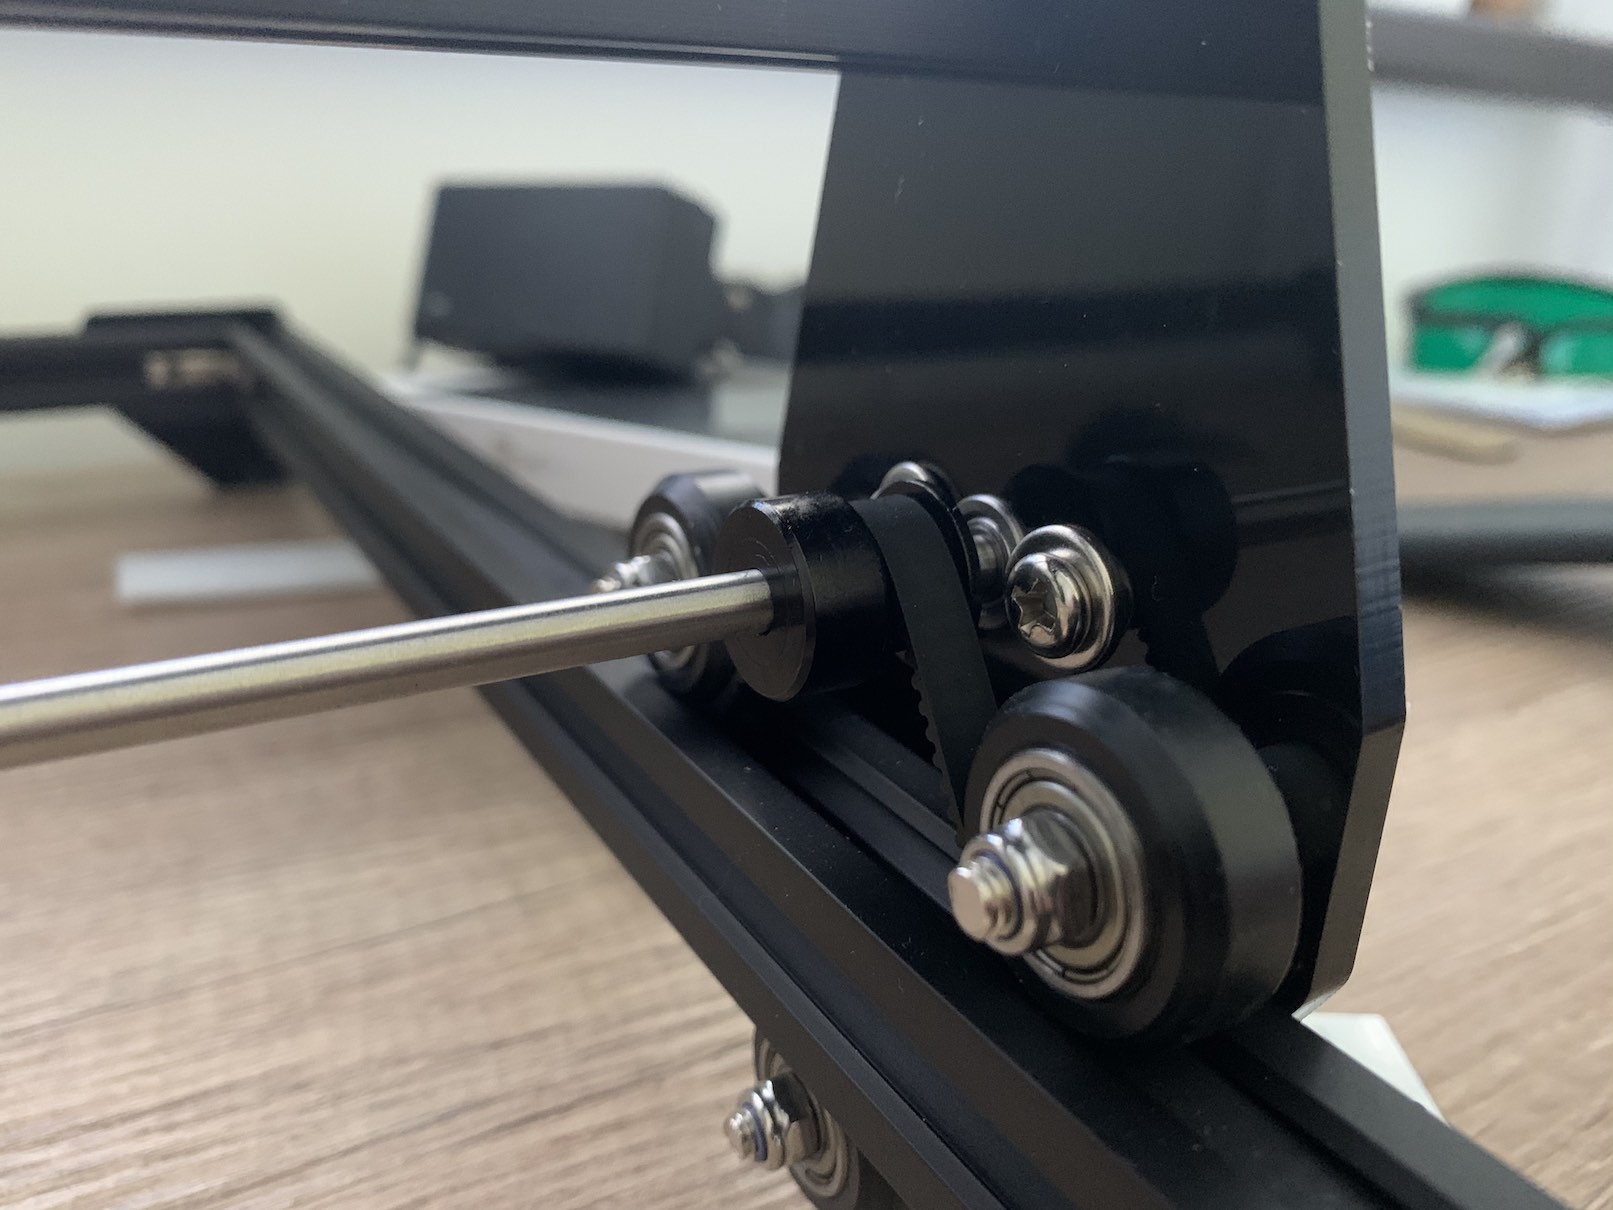
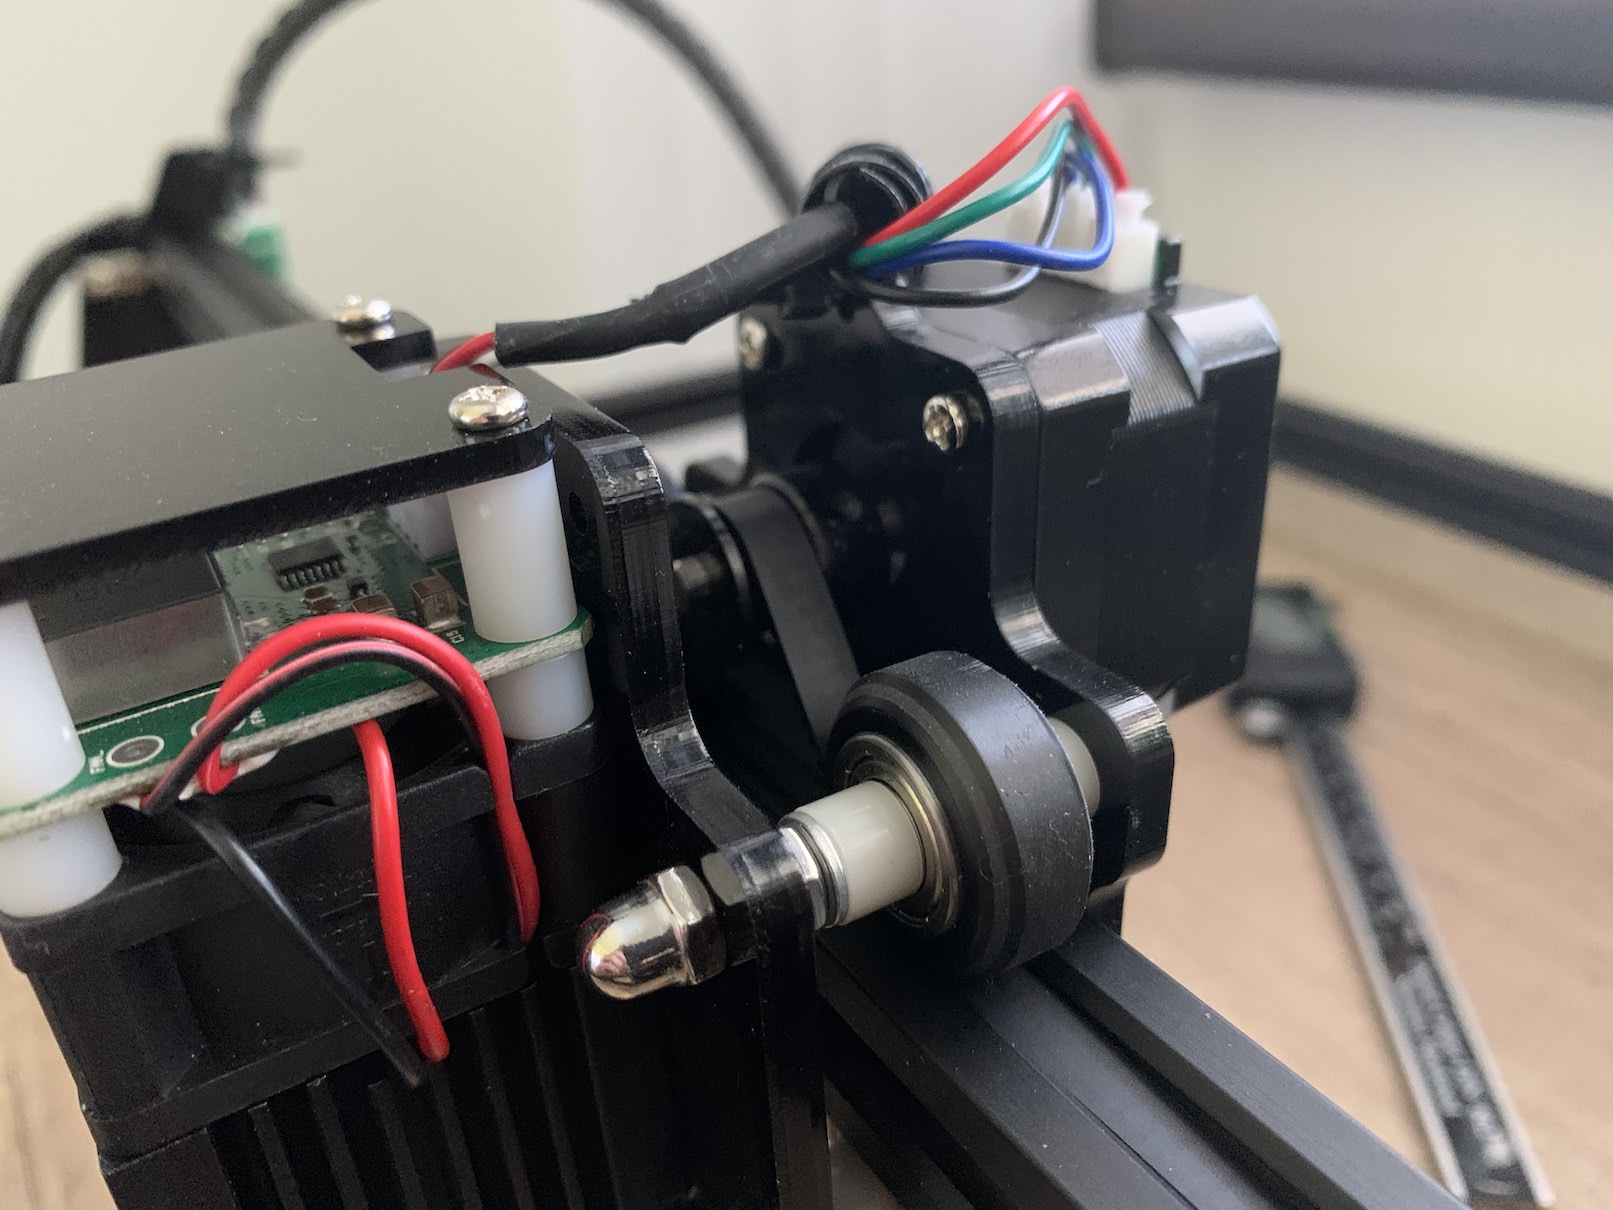
Most of us are used to the fact that we should not, for example, tighten screws and all parts of furniture completely "to the fest", that is, that we should tighten them, but not with all our strength and even more so. But that does not apply in this case. If you are going to assemble an engraving machine, keep in mind that the body and the drives are what determine the accuracy of the machine. I personally struggled for several days with the fact that the engraver was engraving inaccurately, returning to the original place and simply not going as it should. While I was looking for a problem in the software and was already ready to complain about the engraver, I managed to find information about the need to tighten everything properly. In addition to the aluminum body, it is imperative that you tighten as much as possible, and then secure the carriages that the engraver runs on with screws and nuts. In this case, a second member of the family will come in handy, where you can, for example, stretch the carriages and the other member tightens the screws and nuts. Furthermore, it is necessary to firmly screw the laser module to the moving part to avoid artifacts and inaccuracies during engraving. Of course, do not try to "tear" the screws to the stop in the case of plastic parts, but only for aluminum and stronger materials.
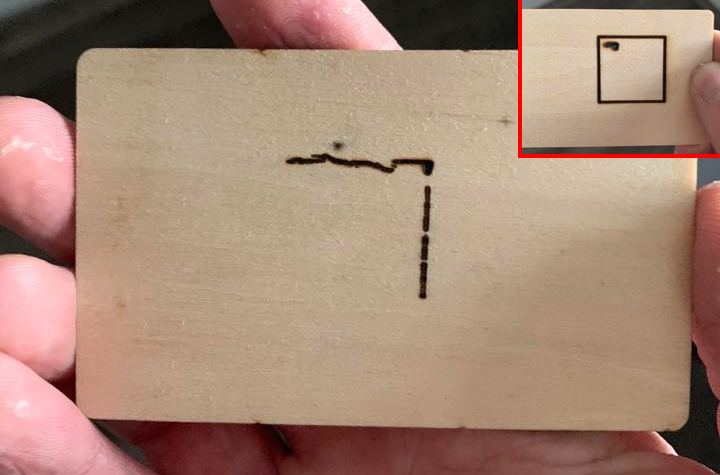
If you want to see for yourself that the correct assembly of the engraver is really very important, I have attached a picture below of how the engraver burned a square for me after the first engraving, when the engraver was not assembled correctly. Once all the parts were reassembled and tightened, the square was engraved perfectly.
Manual focus
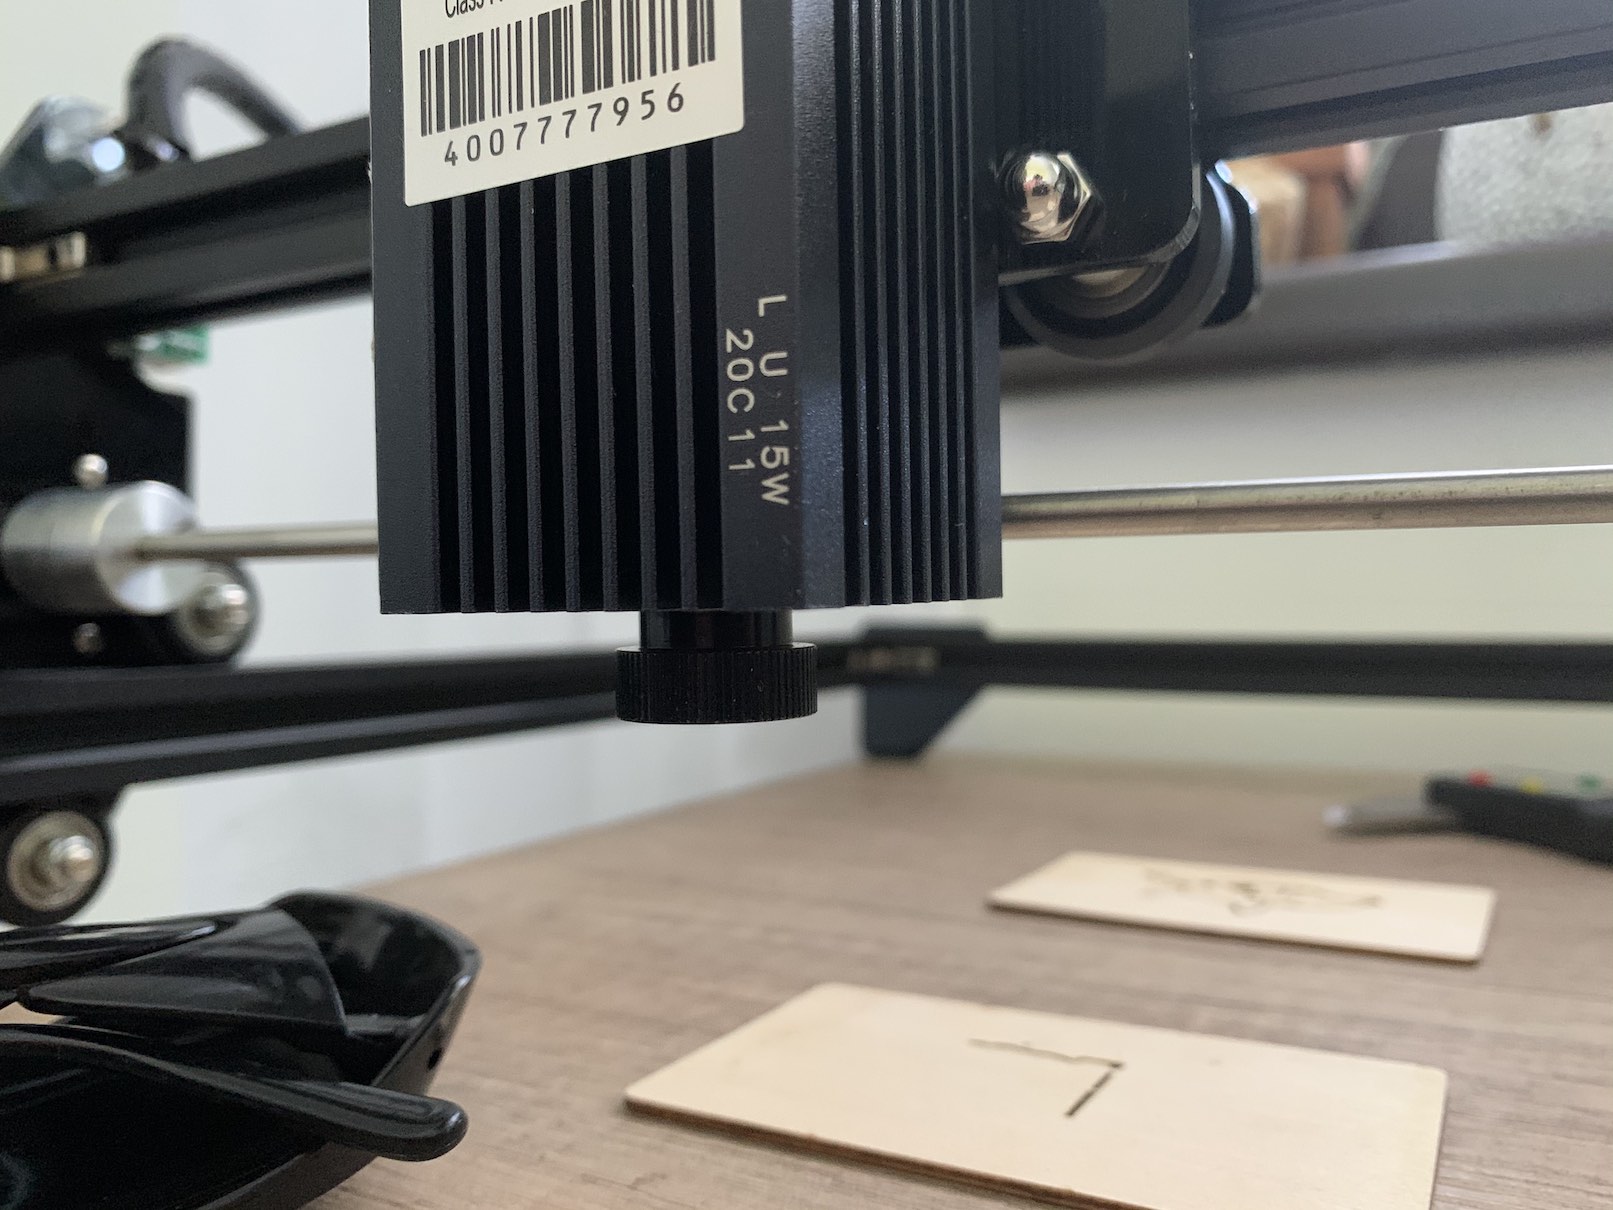
Laser engravers also have the option of manually focusing the laser. Depending on how far the object you are engraving is from the laser, it is necessary to focus the laser. You can achieve this by simply turning the end of the laser. Definitely don't do this while the engraver is running! The laser beam could leave an unsightly tattoo on your hand. It is enough to start the laser at the lowest power and try to set the end of the beam so that it is as small as possible on the object. Protective glasses with a color filter will help you a lot when focusing, thanks to which you can see the end of the beam much more accurately than if you were to look at it with your eyes.
Controlling the engraver
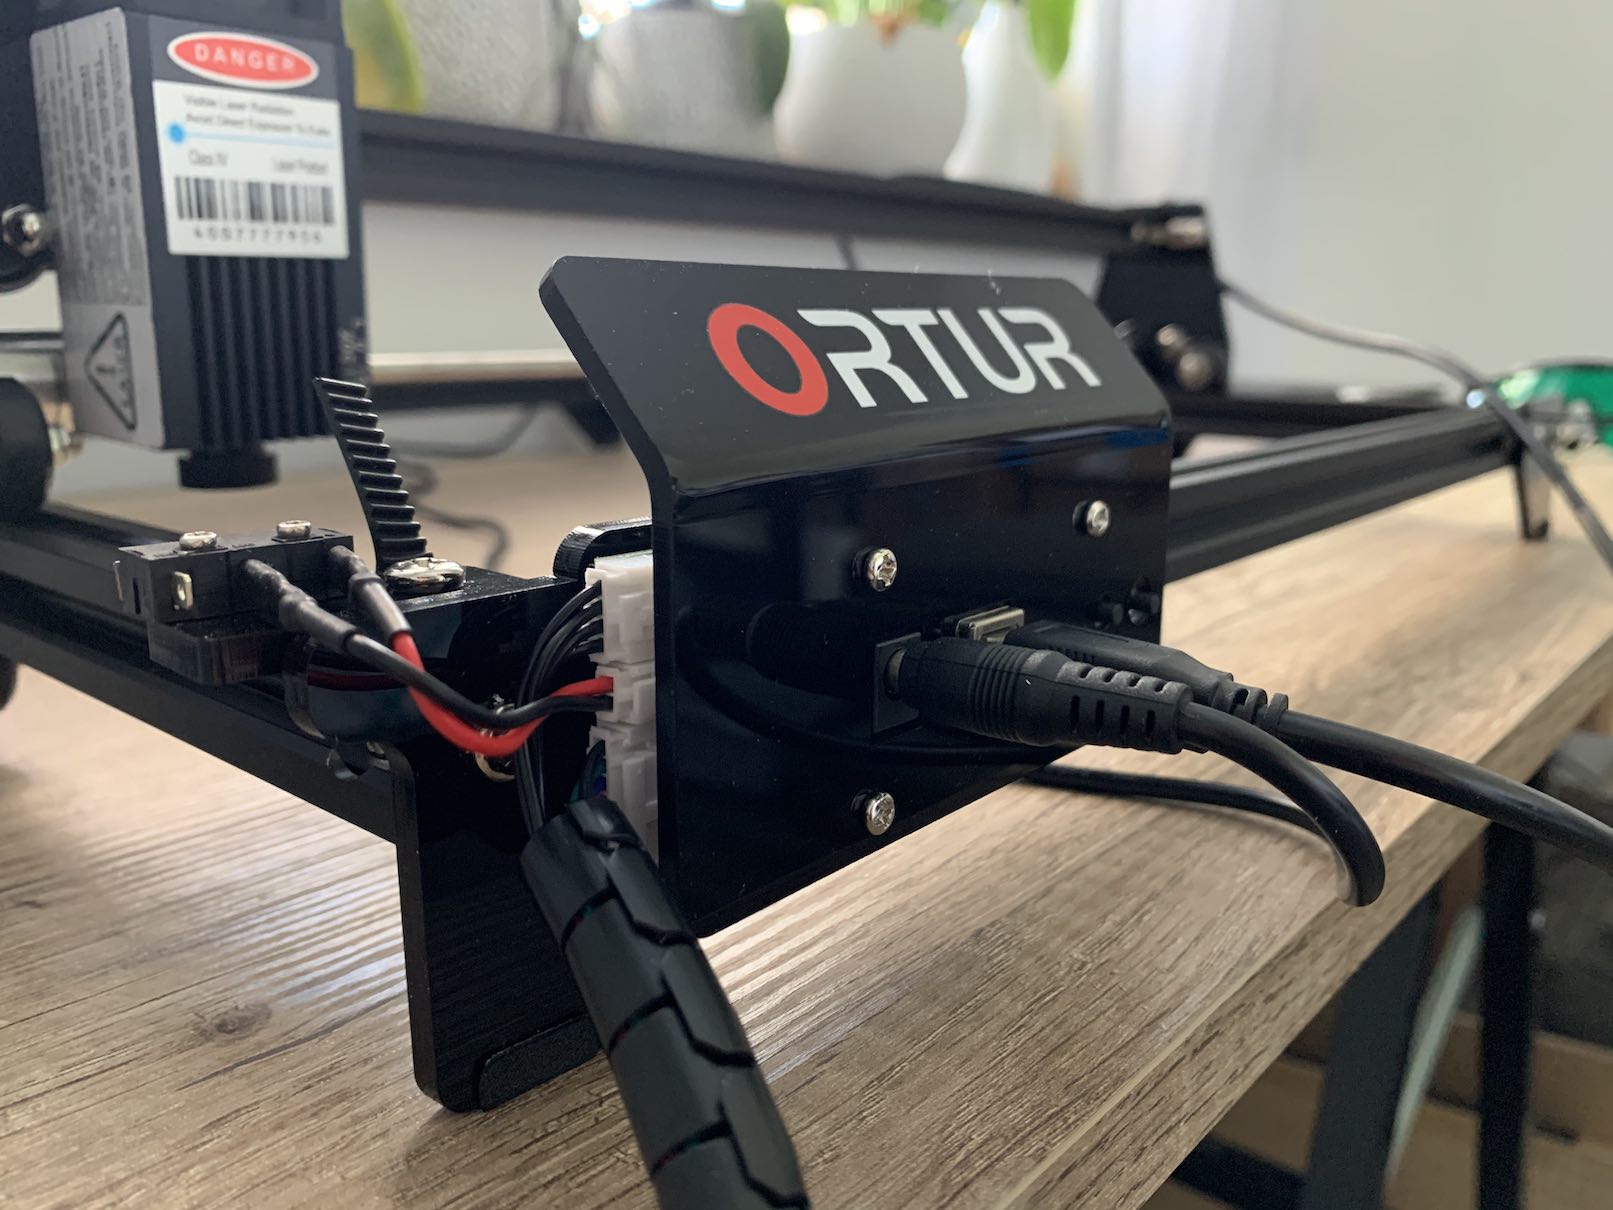
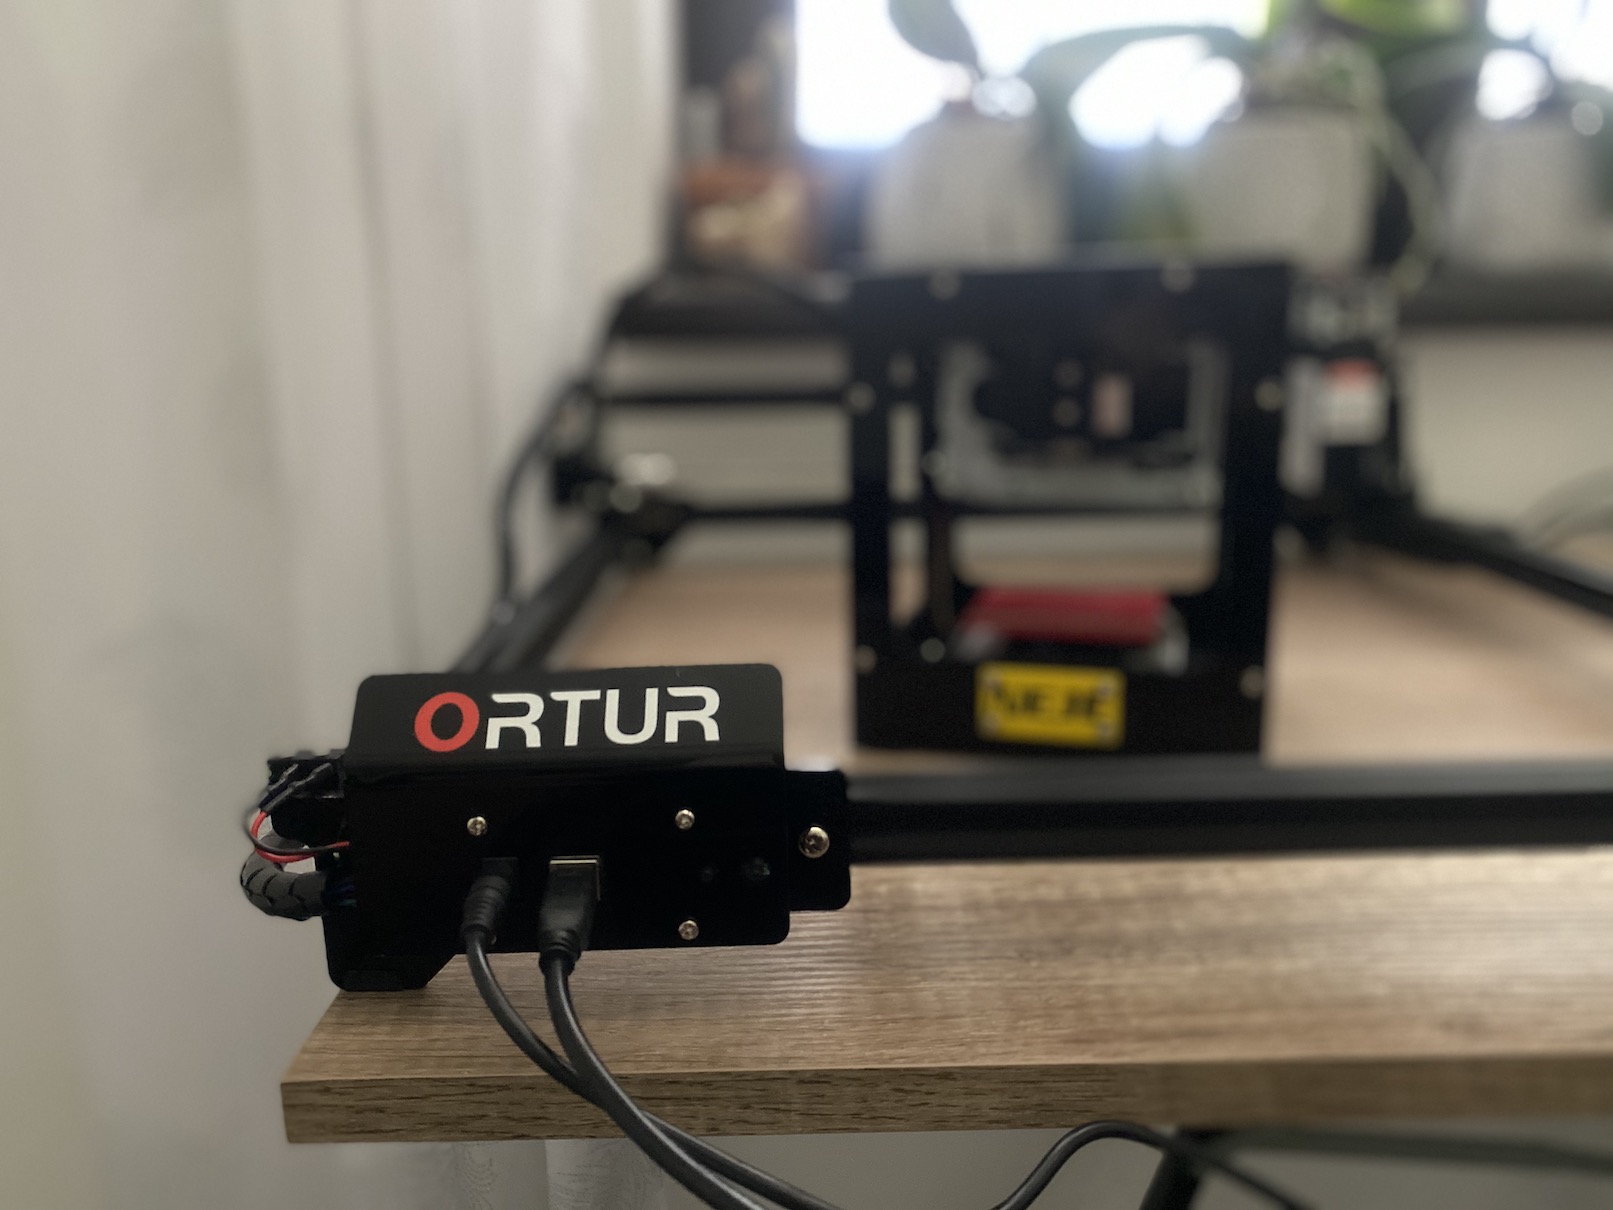
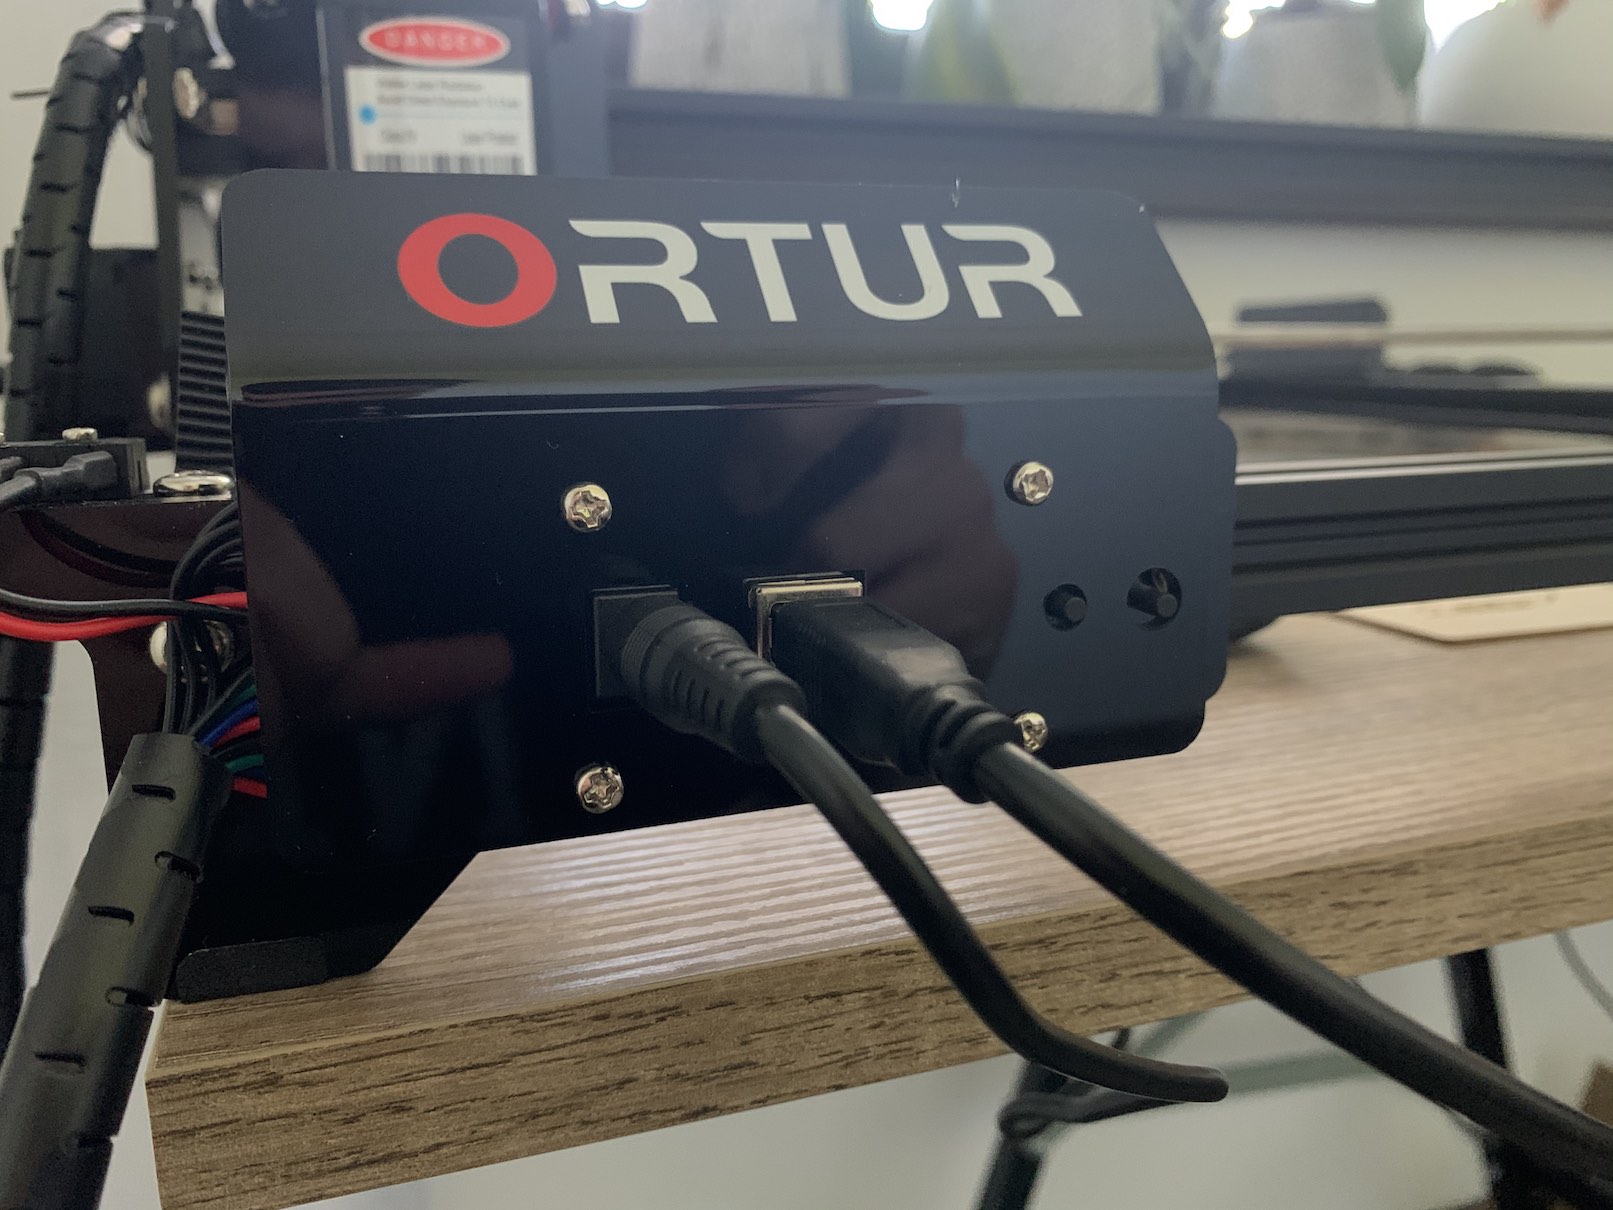
As for controlling the engraver, i.e. turning it on, off or restarting, with most machines you perform these operations on the front panel. There are most often two buttons on it, one of which is used for switching on and off (mostly the button must be held down), the second button is then used for restart or the so-called emergency STOP - immediate shutdown. In addition to these buttons, you will also find two connectors on the front panel - the first is USB and is used to transfer data, the second is a classic connector for supplying "juice". Both of these connectors are important and must be connected during the entire engraving process. So try to avoid touching them while engraving - in some cases the connection may be lost and the engraving will be interrupted. Although some engravers are able to resume their work where they left off, it is still an unnecessary and risky process.
záver
In the next part of this series, we will look together at other tips for engraving and finally we will also show the software and its environment in which most similar engraving machines are controlled. If you have any questions or insights, don't be afraid to write them in the comments. I will be very happy to answer them, that is, if I know the answer, and possibly mention them in other articles. Finally, I will mention that safety is very important when engraving - so always use safety glasses and ideally also hand protection. Then again sometime and good luck with the engraving!


Hello, will the series continue?
Hello, yes, we are planning a sequel.
I look forward to
Hello, after reading this article I bought ortur master 2, unfortunately it does not listen to the commands from the LaserGrbl program, do you have any advice?
Hello, do you have the drivers installed?
Good day. I definitely don't have it, it arrived without a CD or manual
I had all the necessary files and drivers on the CD that was included. Otherwise you can download the contents of the CD using this link, these are the official files of the manufacturer: https://www.dropbox.com/s/1o76v7d1rkqcb2j/LaserMaster2.zip?dl=1
Many questions are also answered in the comments, I recommend taking a look at them as well. Quite possibly other readers will have the same problem as you :)
Hello, I have an Ortur master 2 at home and the paper started to burn right away during the test sample. Probably exactly what you are writing about. Wrong distance from the material. However, I guess I didn't quite understand how you meant that it shouldn't be set when cutting, and then you write that it should be set at low power. I tried sw Lightburn and it can't even be set there :(. Could you please advise me again how to correct it correctly? Thanks a lot E
Hello, please write to me at pavel.jelic@letemsvetemapplem.eu and try to describe the problem a little better and more. Anyway, I'm working in LaserGRBL, so if you're working in LightBurn, I probably won't be able to advise you at all.
Good day. I can ask where the problem could be if I start the engraving and during the program it suddenly starts to create nonsensical tracks and drive elsewhere. Thank you
I need advice. I put together the Ortur 15w, it started burning into wood without any problems. But I wanted to try to burn something into an agate stone, i.e. smoothed mineral slice. It's basically quartz. The burning did not manifest itself in any way, but when I then wanted to burn into wood, the settings were OK, the beam did shine, but it no longer burned. Maybe just 1%. Just a light shadow. Is it possible that the lens, laser or whatever could be damaged by using this firing material? d Otherwise, I can only think of ordering a new component that comes in 15w for 99 usd. thanks for any experience..
I have a question, I have everything assembled and installed, but after turning on the engraver, it does not even refer to the original settings. Where will the error be please?
Is there a sequel to this series?
I worked on a laser and cut blanks into iron, and there was also an engraving function, but only on metal materials. It was an interesting job and I would be quite interested in the connection with tattooing, if in the future laser tattoos could also take place, if there is already such a thing https://odstraneni-tetovani-laserem.cz/ laser tattoo removal.