In the previous, third part of our series Getting started with 3D printing, we looked together at the first launch of a 3D printer. In addition to the start-up as such, we also went through the introductory guide, within which the printer can be tested and mainly set up. If you haven't started the 3D printer yet, or if you haven't gone through the guide, I definitely recommend that you do so as soon as possible. The introductory guide also includes the calibration of the first layer, which is extremely important - and we will cover it in the fourth part of this series.
It could be interest you
As mentioned above, the first layer of filament is extremely important when printing - but some of you may not know why. The answer to this question is simply easy. The first layer can be taken as the basis of the entire print. If the first layer is not well calibrated, it will show sooner or later during printing. It is important that the filament in the first layer is pressed as well as possible on the heated pad, which you can achieve by correctly setting the height of the first layer. If the first layer was printed very high, it would not be properly pressed on the mat, which would subsequently result in the printed model coming off the mat. On the contrary, printing too low means that the nozzle will dig into the filament, which of course is also not suitable.
Why is the first layer so important?
It is therefore important that the first layer is printed neither too high nor too low. So we have to find the exact point which is the best. At the very beginning, I would like to point out a few things that are connected with the calibration of the first layer. The first thing is that you definitely need to be patient if you are among the beginners and novices. It can take several times longer for them to set the first layer correctly. Second, it's important to mention that once you've done a good first-layer calibration, it's not a game-changer. For management, the calibration of the first layer should be carried out again calmly before each new print, which, of course, many individuals do not do, purely for reasons of time. What I mean by this is that you will definitely be calibrating the first layer several times. Over time, however, you will learn to estimate the correct setting, and thus the calibration will be faster.
How to run the first layer calibration?
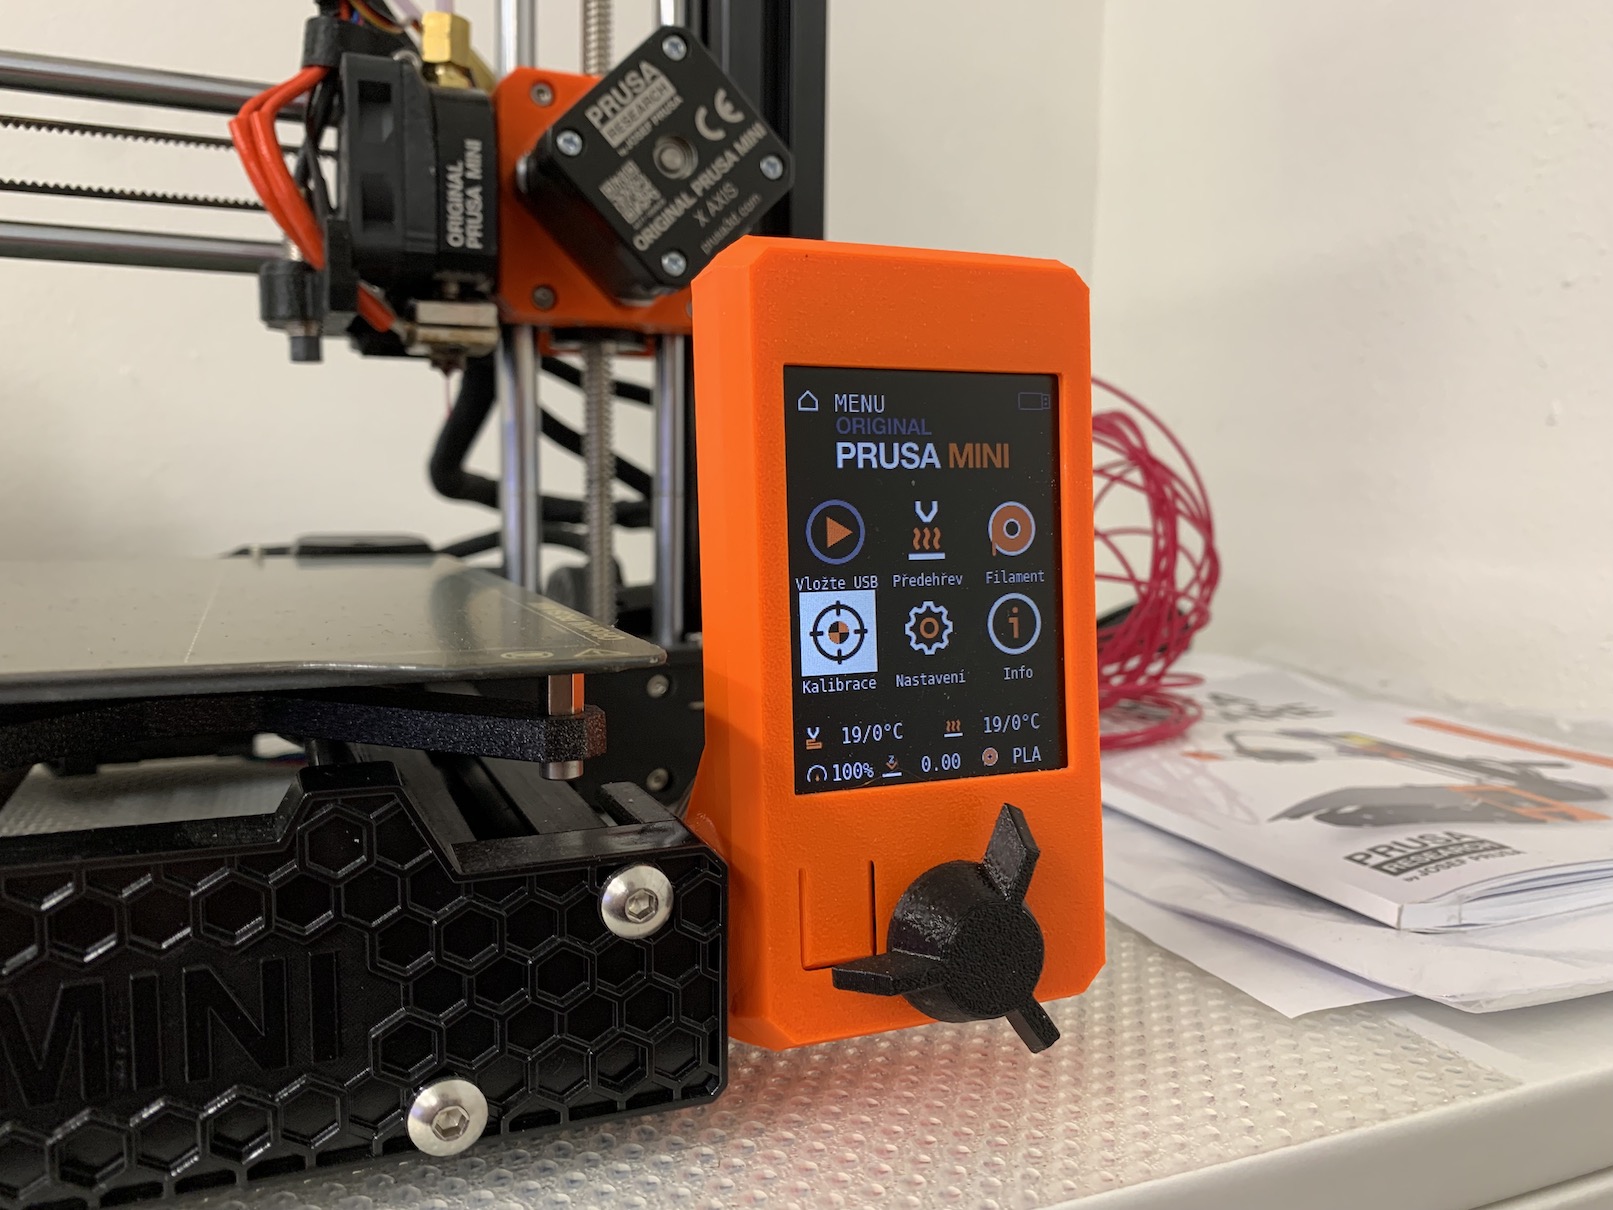
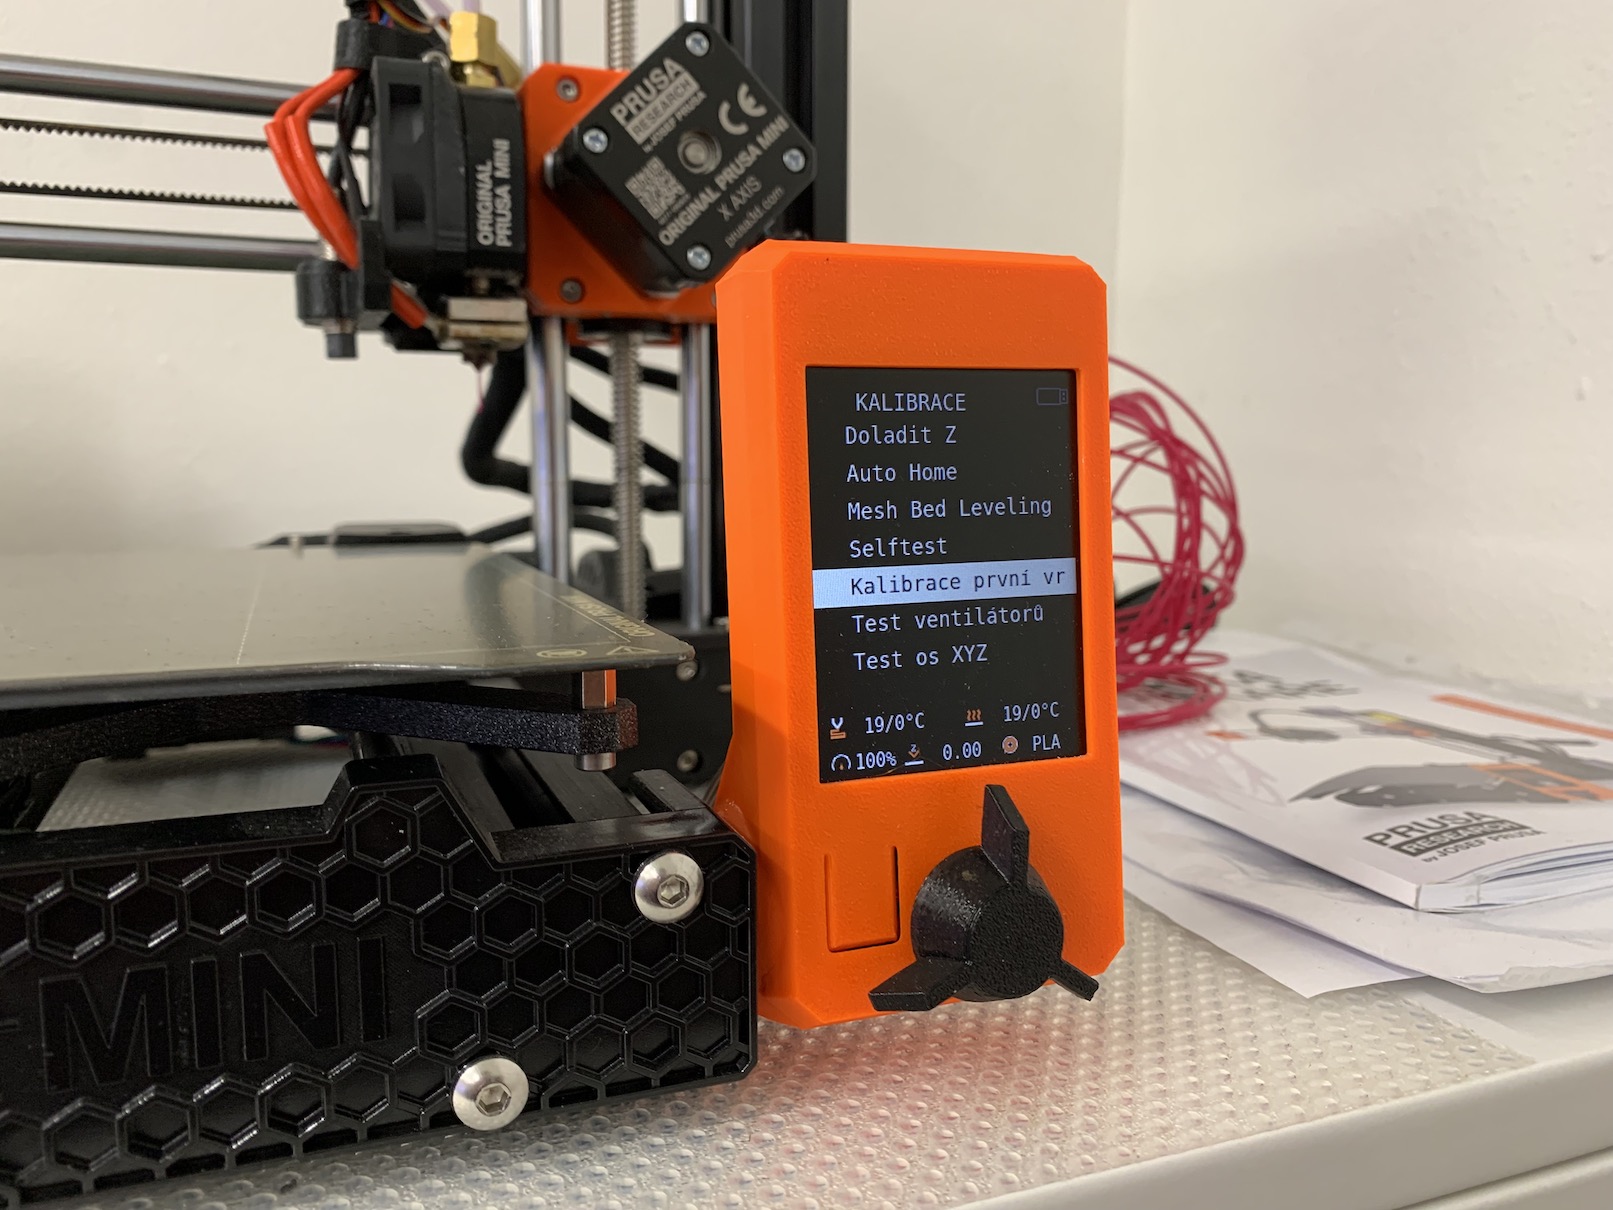
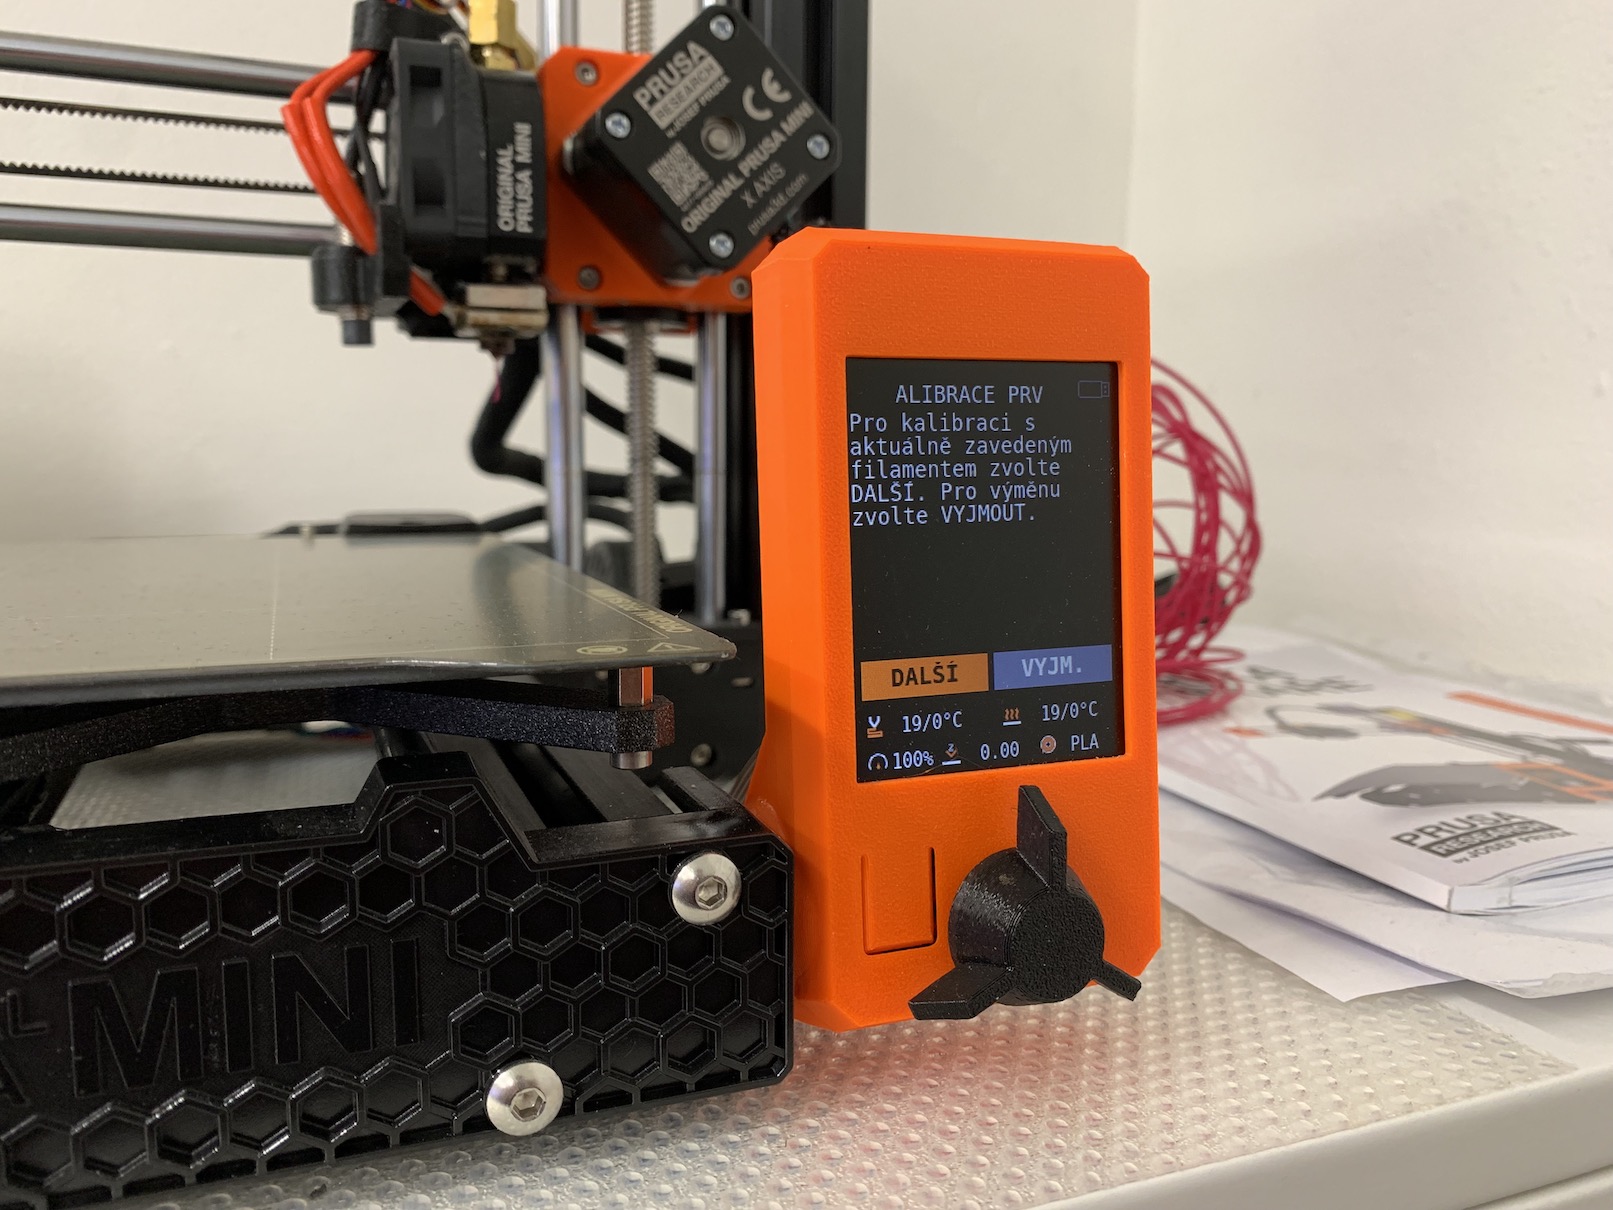
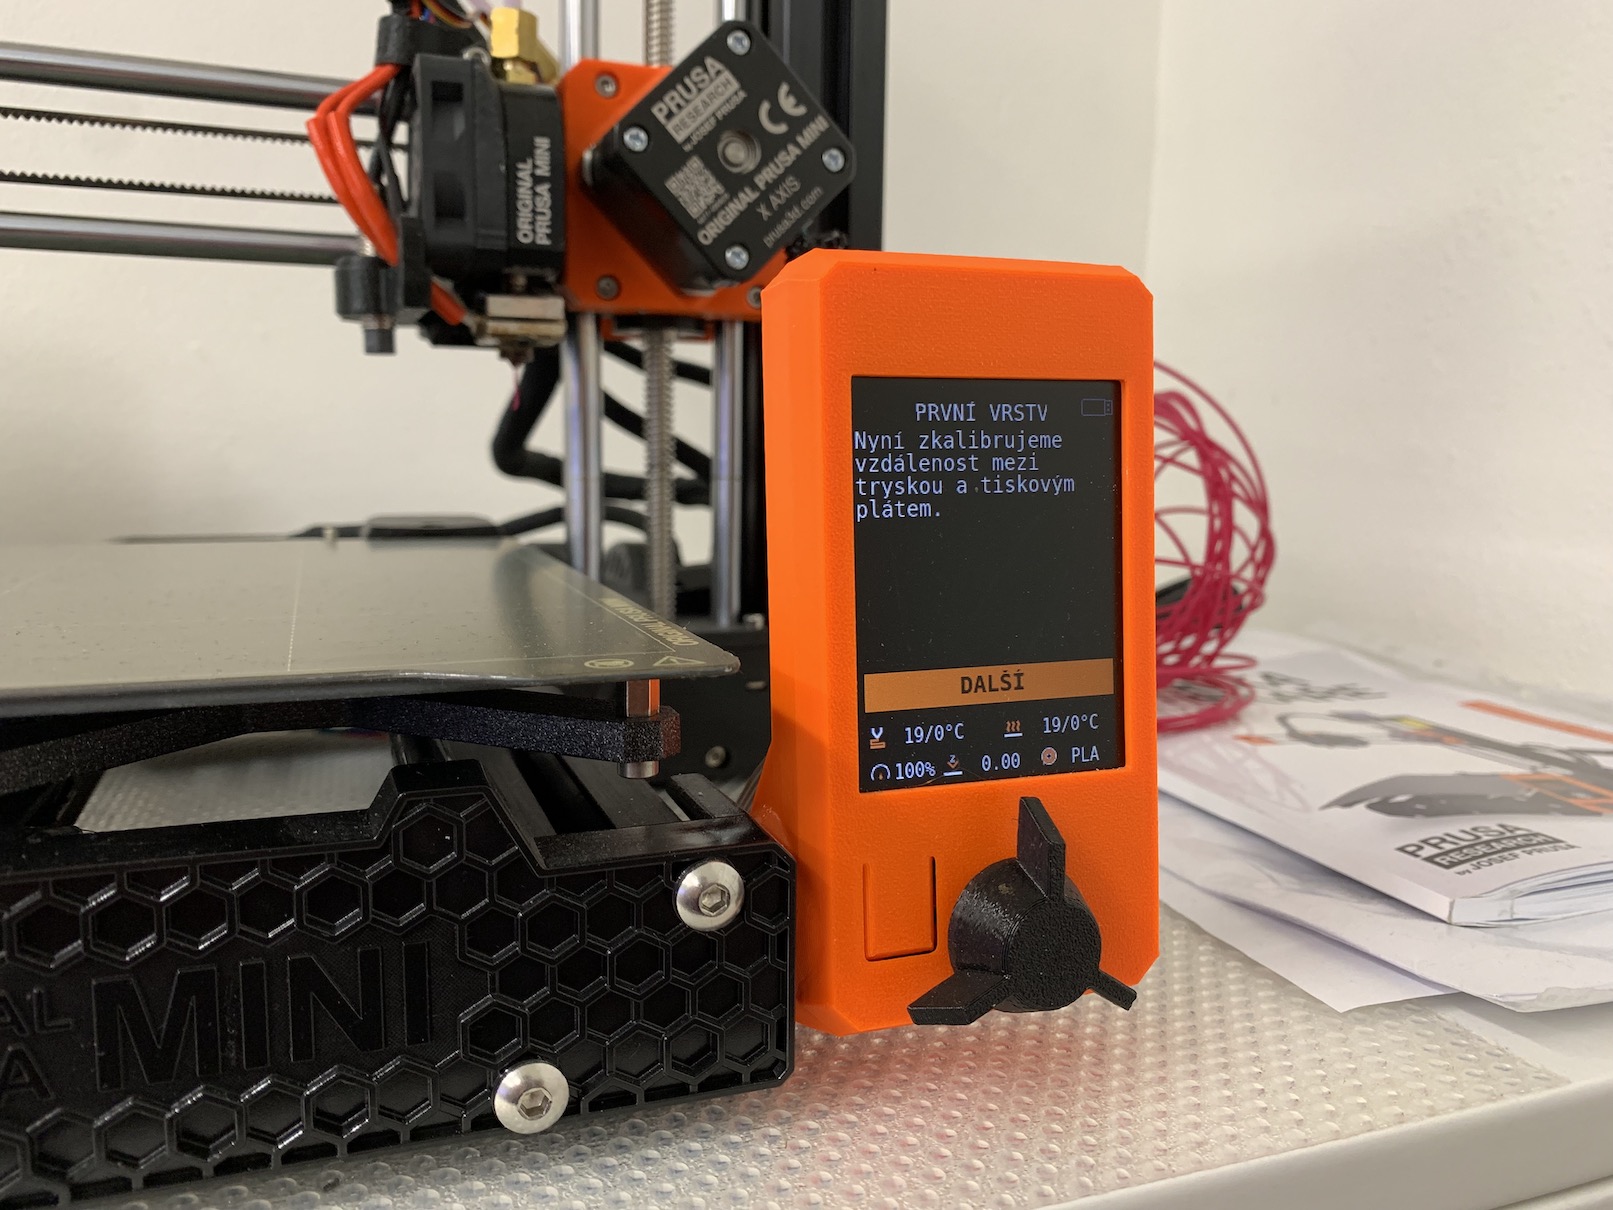
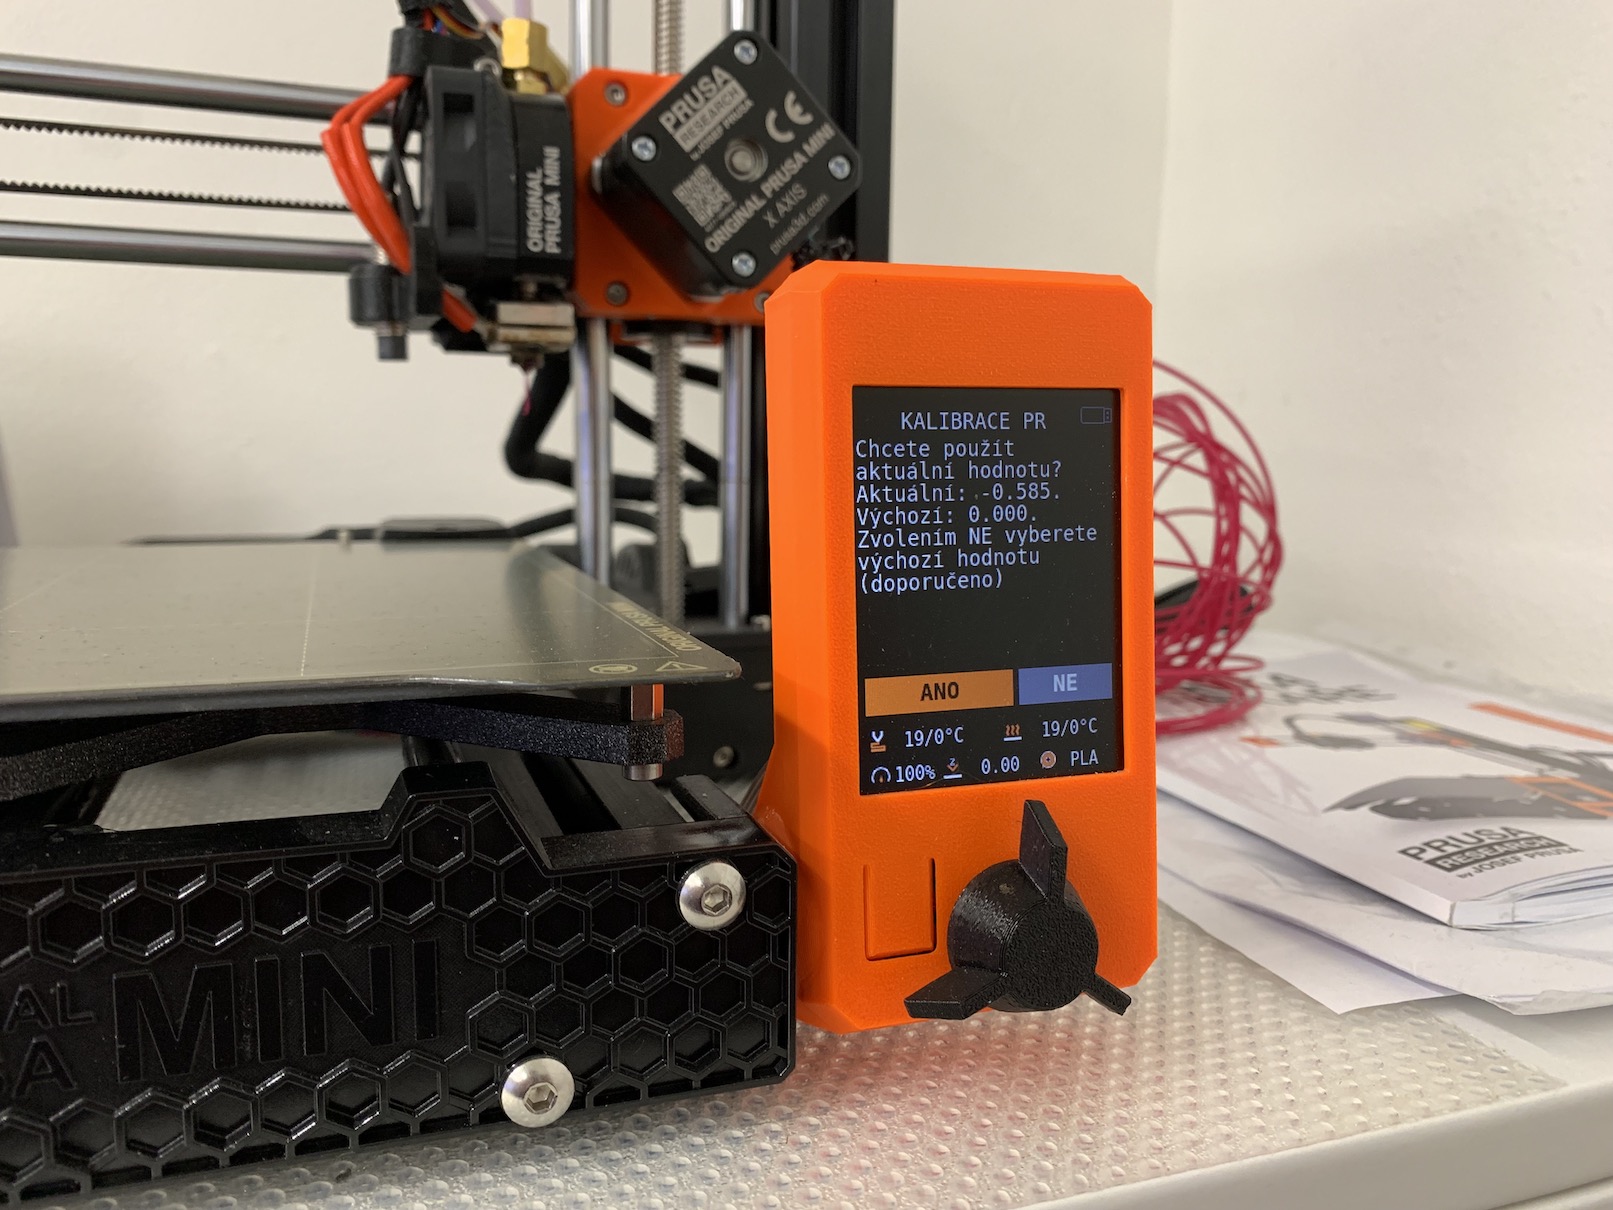
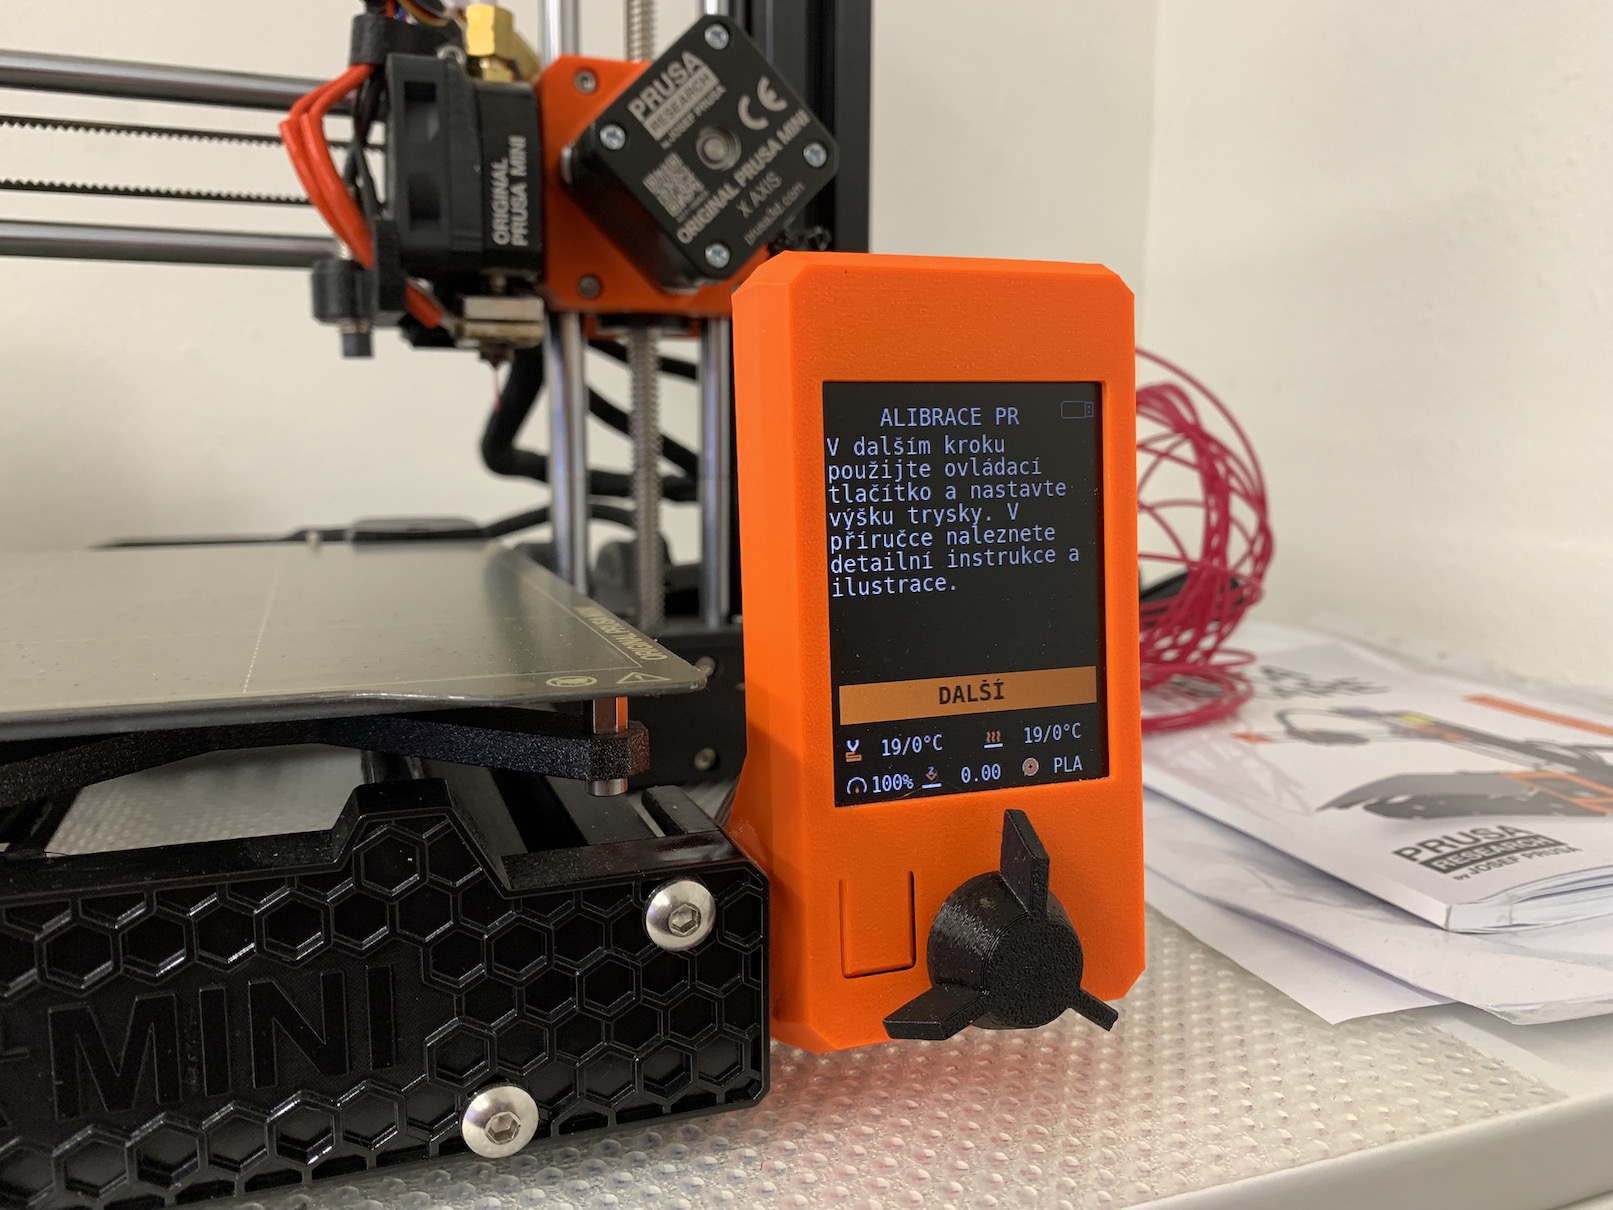
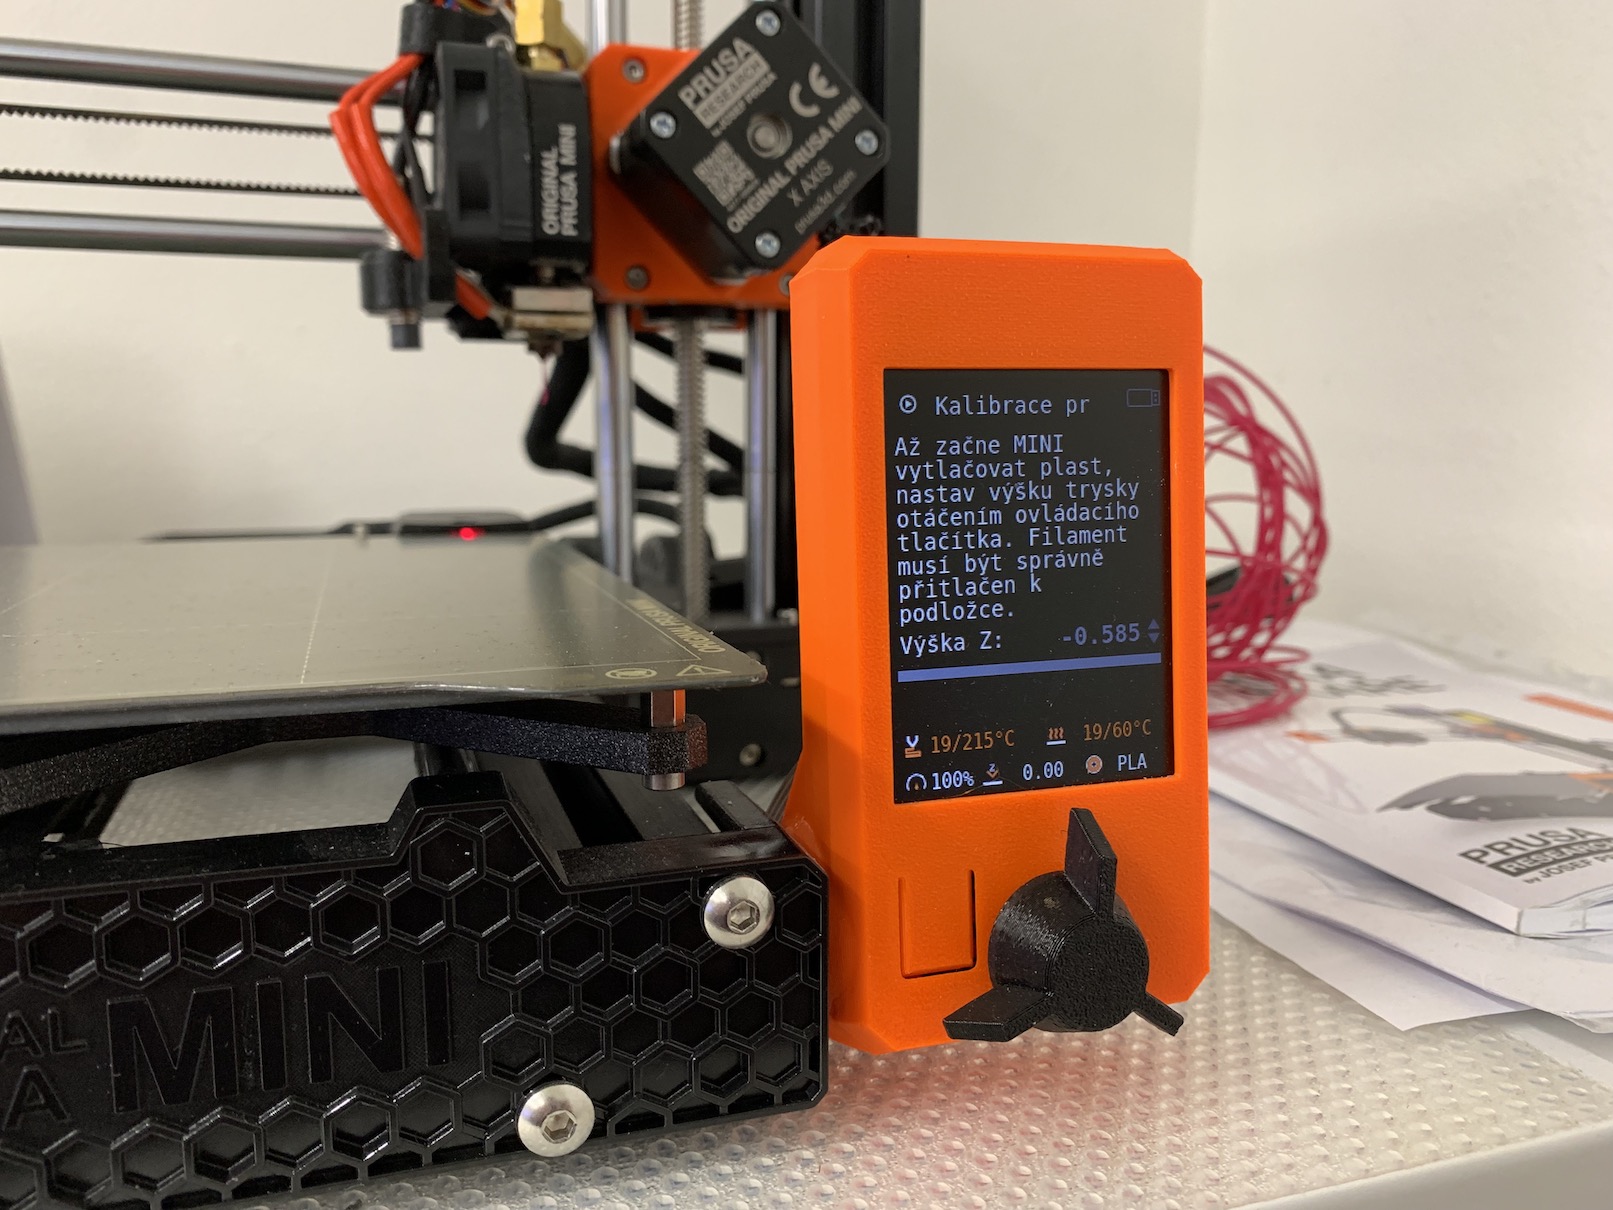
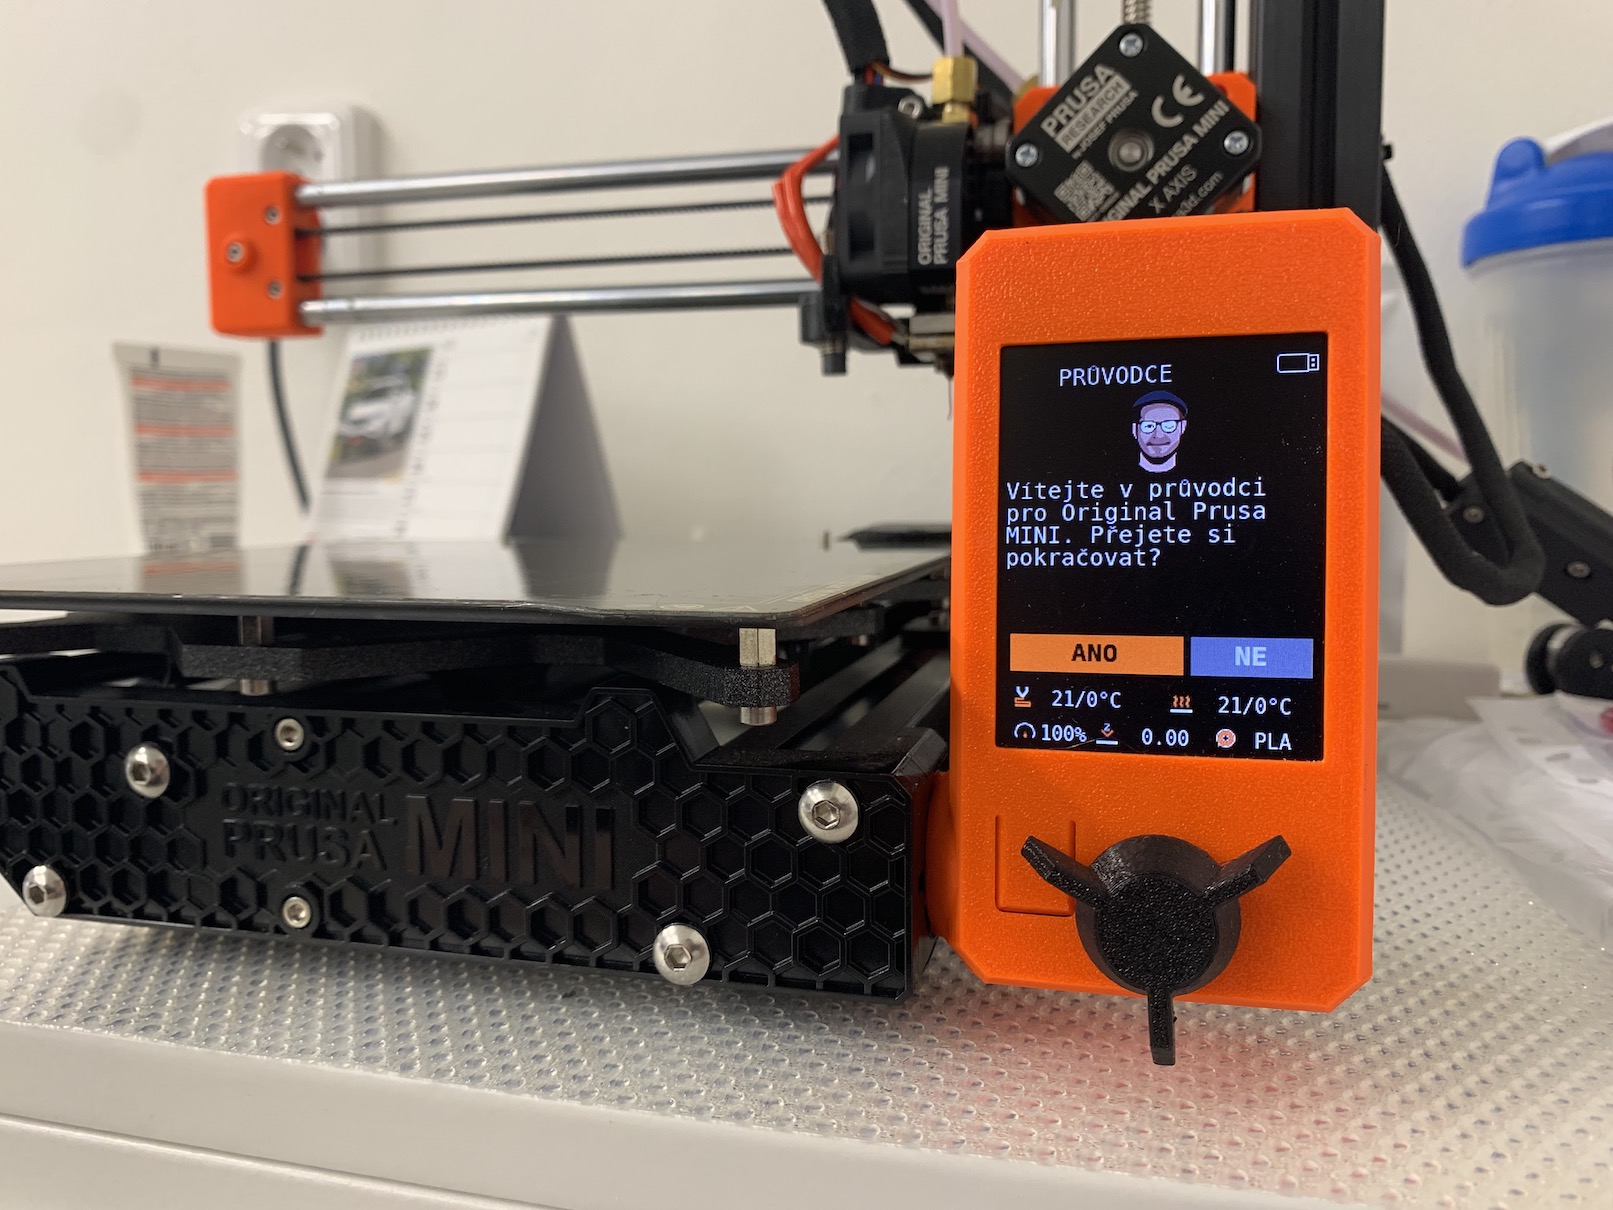
We discussed above why the first layer is so important when printing. Now let's tell together where it is actually possible to start the calibration of the first layer on PRUSA printers. It's nothing complicated - first, of course, turn on the 3D printer, and once you've done so, go to the Calibration section on the display. Here you need to go down a bit and click on the item Calibration of the first layer. Then choose whether you want to calibrate with the already installed filament or with another one. Subsequently, the printer will ask you if you want to use the original settings of the first layer - this option is useful if you only want to fine-tune the first layer. In the opposite case, i.e. if you want to perform the calibration from scratch, do not use the original values. Then all you have to do is wait for the printer to heat up to the desired temperature and start printing. When printing, it is necessary to turn the control wheel under the display, with which you adjust the distance of the nozzle from the pad for the first layer. You can also monitor the distance on the display, but do not be guided by it in any way - this value is different for each printer. Somewhere it can be bigger, somewhere smaller.
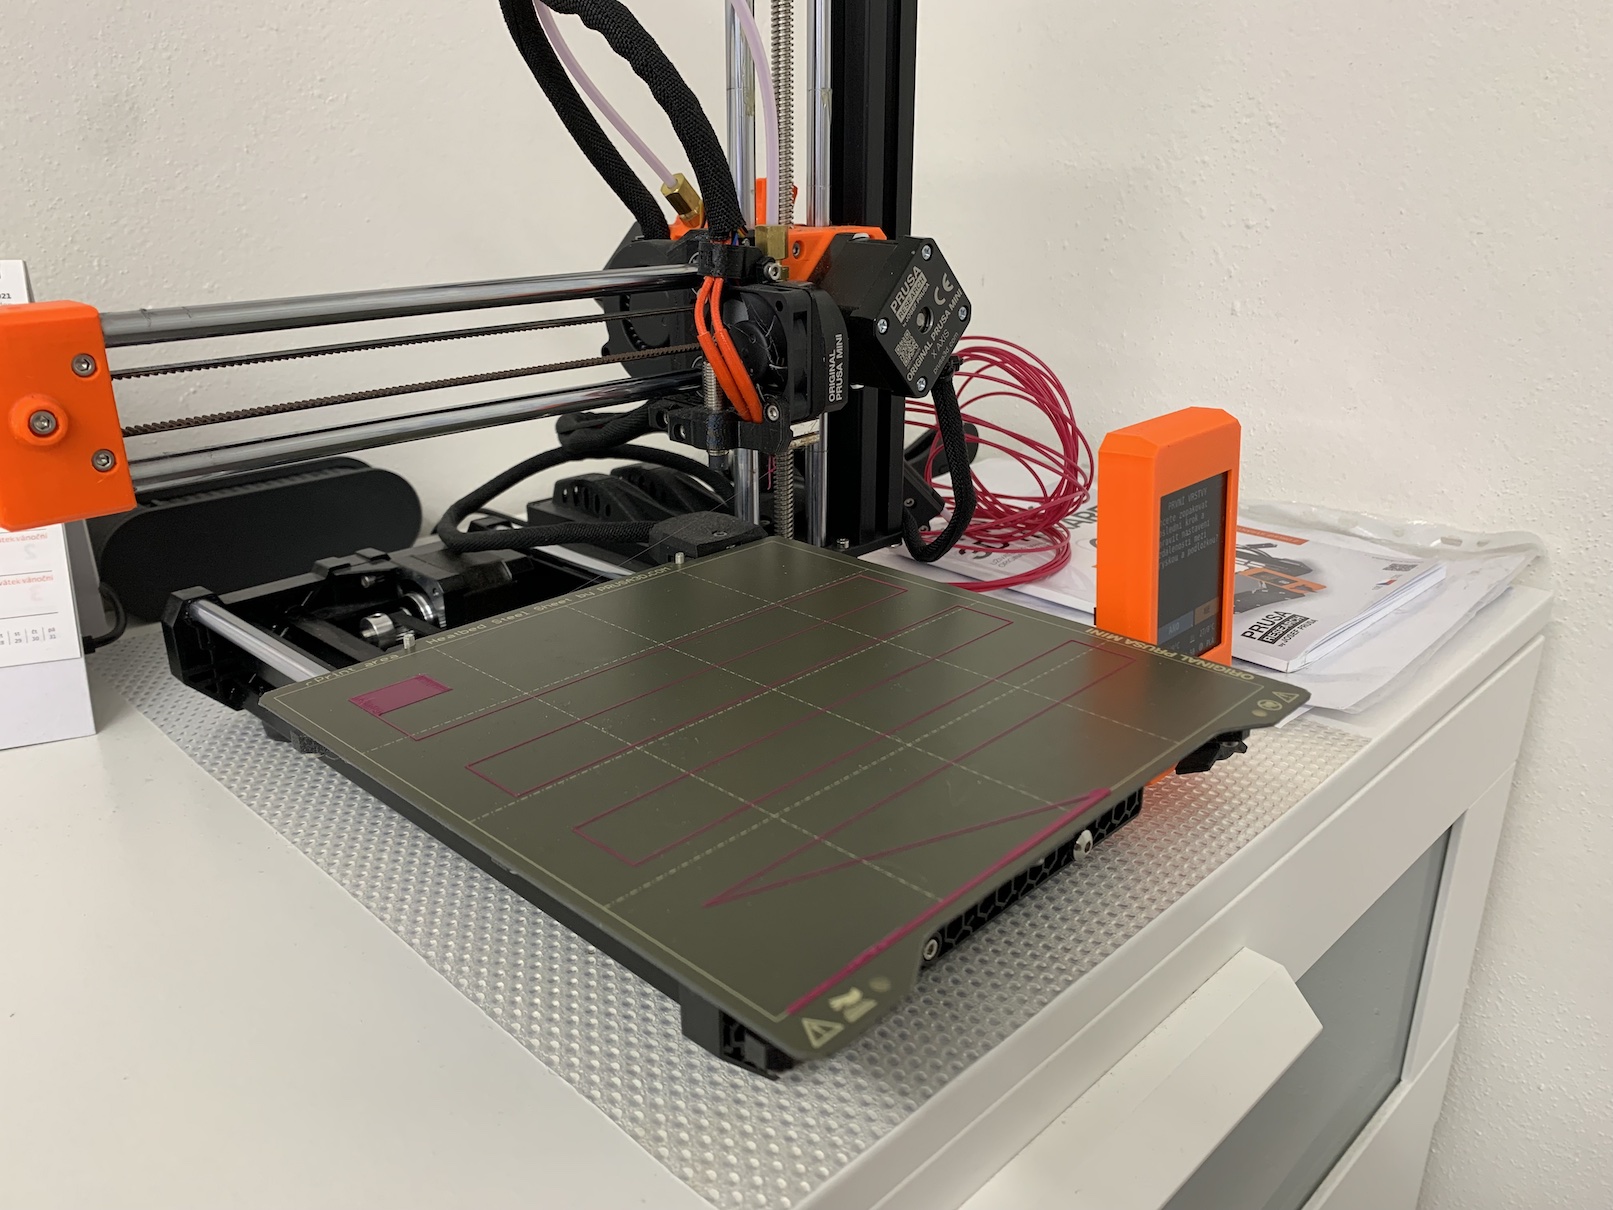
Now you know how to start the calibration of the first layer. But what good would it be if you didn't know what the first layer should look like? There are quite a few different guides and tutorials to help you set up the first layer - many of them can of course also be found in the PRUSA 3D Printer Guide, which you get for free with every printer. But if you prefer to read from the website, you can of course find out everything you need here. The calibration of the first layer is done by the printer first making a few lines, and then at the end it creates a small rectangle that it fills with filament. Both on these lines and on the resulting rectangle, the height setting of the first layer can be monitored.
What should the correctly set height of the first layer look like?
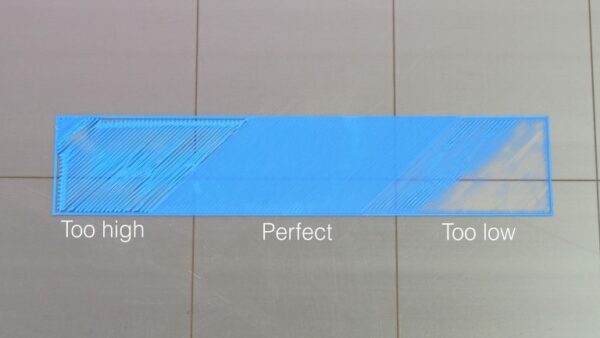
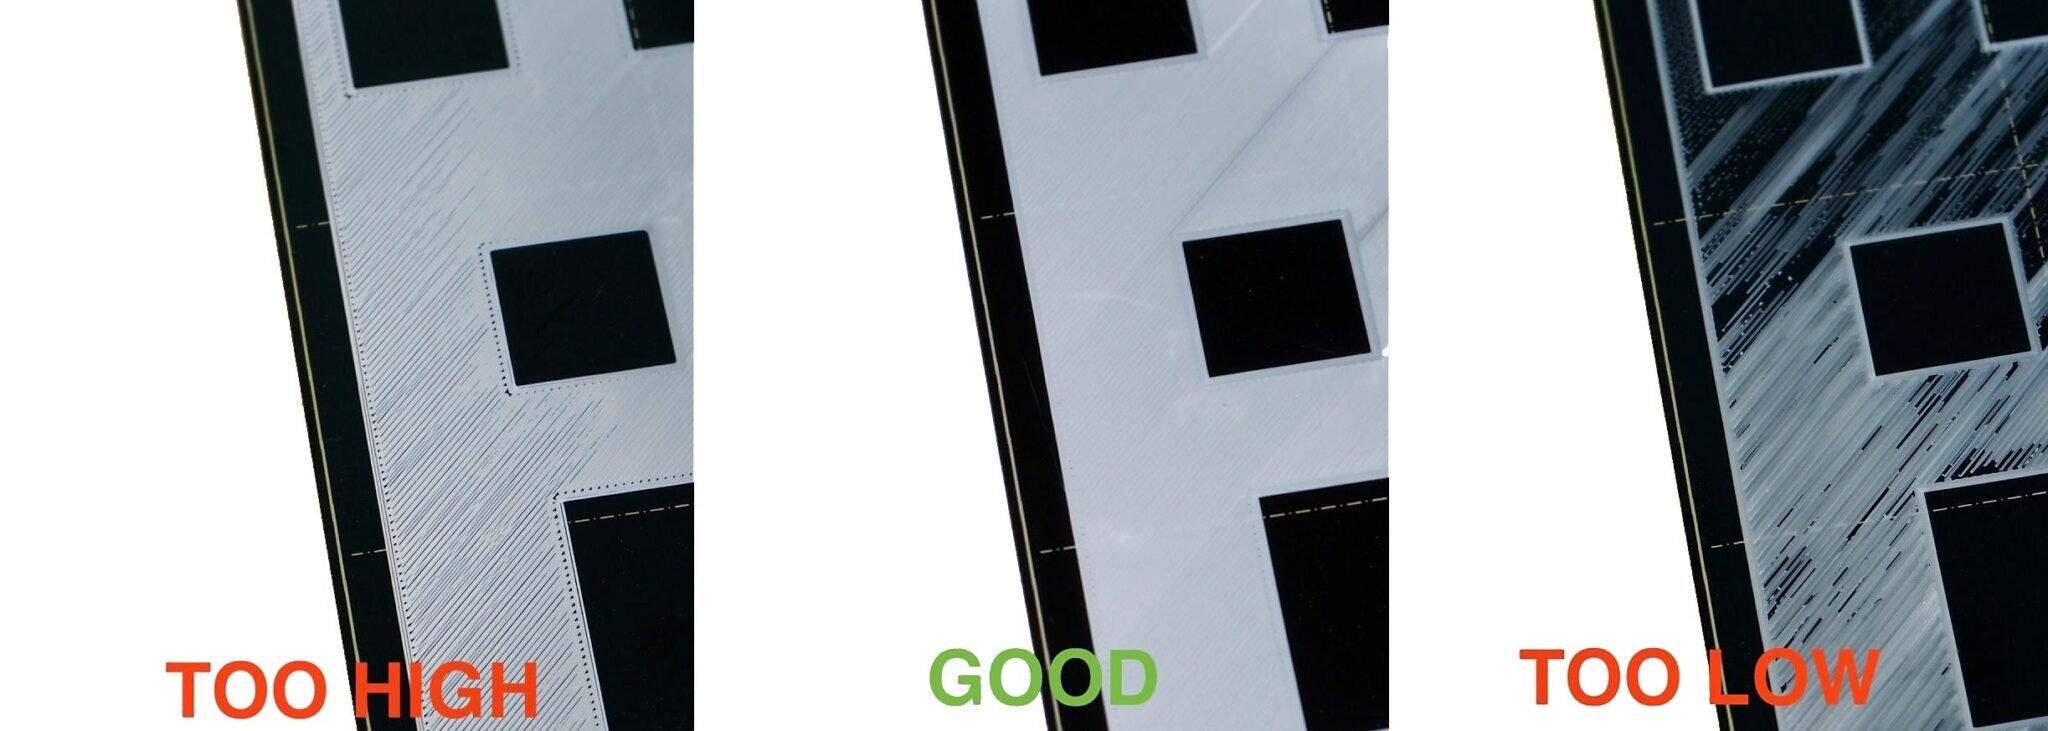
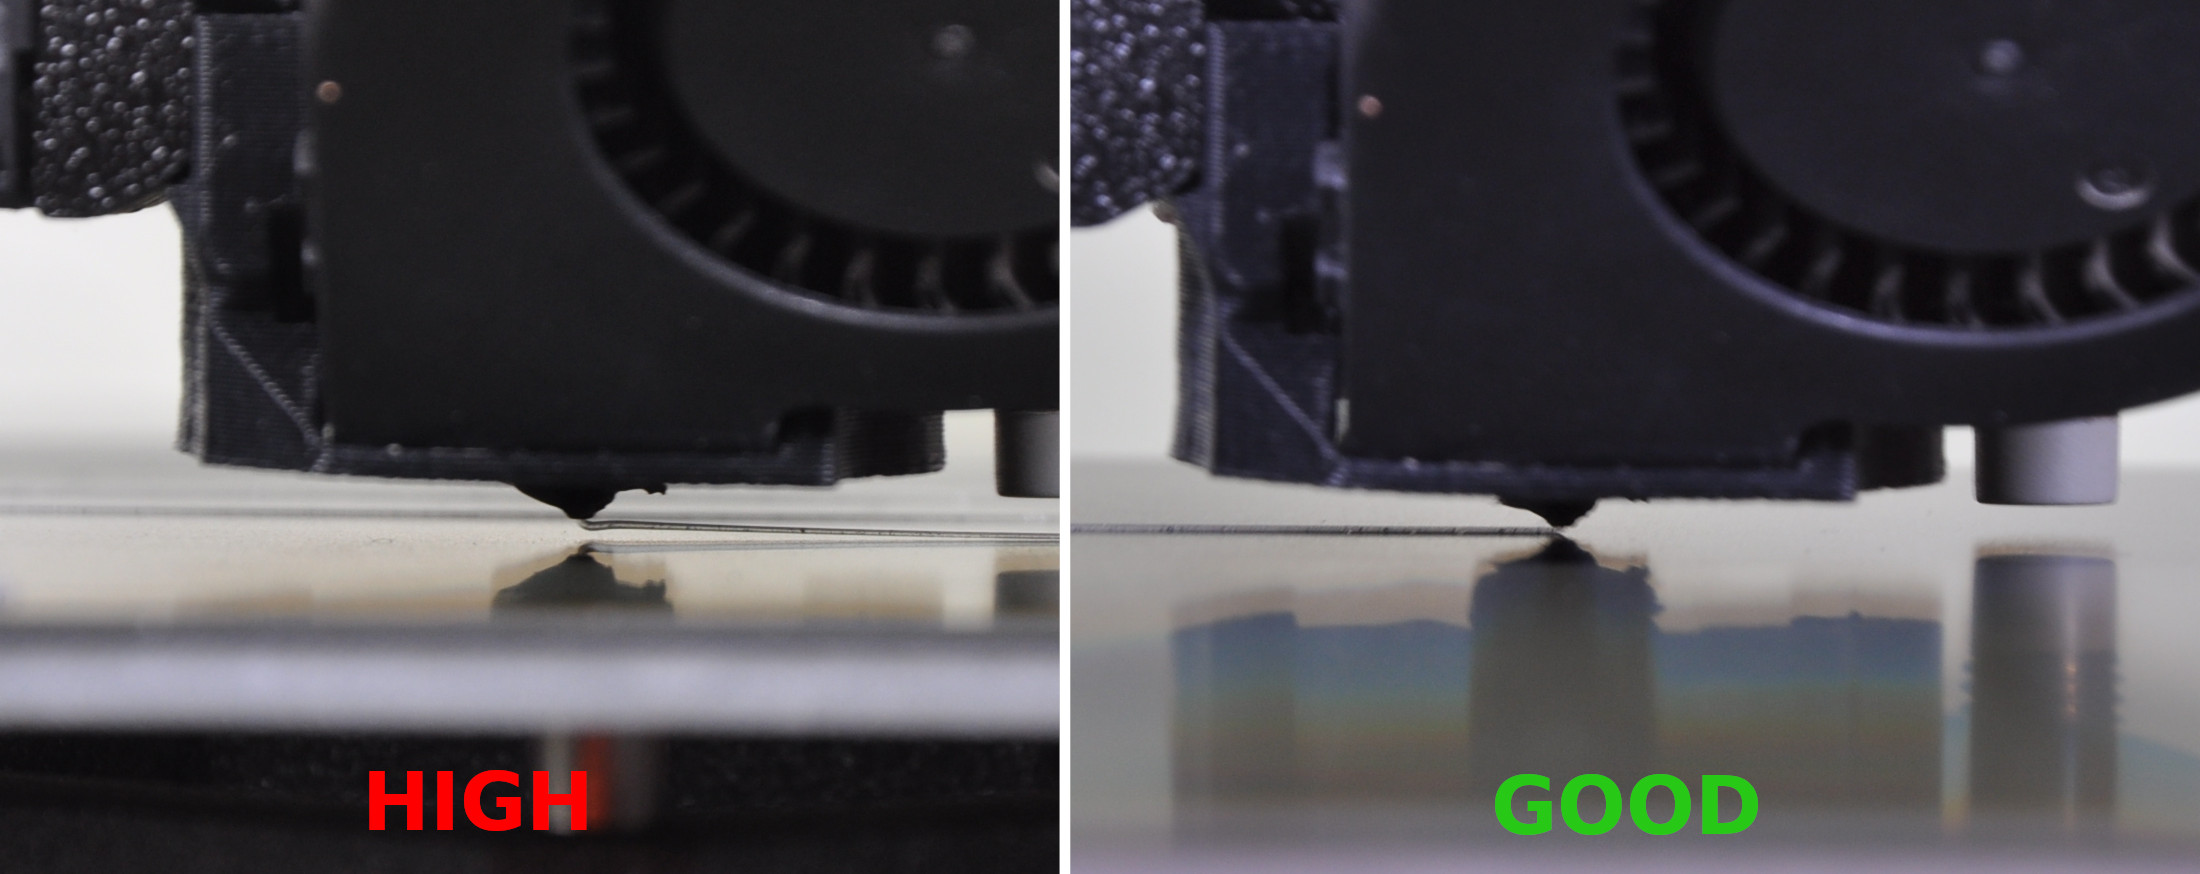
You can tell the optimal height of the first layer at the beginning, when the printer makes the lines, by the height and "flattening" of the filament. It is undesirable for the first layer to be very high and have the shape of a narrow cylinder. The first layer looking like this means the nozzle is too high. In this way, the filament does not press against the substrate, which can also be recognized by the fact that the filament can be peeled off very easily. At the same time, you can recognize the nozzle placed too high in the first layer in the final rectangle, where the individual lines of the filament will not be connected to each other, but there will be a gap between them. When printing the first layer, it is possible to recognize a nozzle placed too high even with the naked eye, as you can see that it prints in the air and the filament falls on the mat. I have attached a gallery below where you can easily check the differences between the height settings of the first layer.
If, on the other hand, you set the nozzle of the first layer very low, you can recognize it in the first lines by the fact that the filament is again too flat - in extreme cases, it is possible to watch how the filament is pushed next to the nozzle and an empty space remains in the middle. If you place the nozzle too low when printing the first layer, you also risk the first problem, namely clogging of the nozzle, because the filament simply has nowhere to go. When measuring the ideal height of the printed filament, you can help with the classic paper that you can attach to it - it should be roughly the same height. In the case of the final rectangle, you can tell if the nozzle is set too low by the fact that the filament starts to overlap itself by extrusion. In some cases, it may also happen that the printer will "skip", i.e. that there will be no filament at all in some places, and this means clogging. At the same time, care must be taken to ensure that the nozzle, which is set too low, does not damage the substrate.
PRUSS support
If you run into any problems, don't be afraid to use PRUSA support, which is available 24 hours a day, 7 days a week. PRUSA support can be found on the website prusa3d.com, where you just need to tap on Chat now in the lower right corner, and then fill in the necessary information. Many individuals "spit" on PRUSA printers, due to their higher price. It should be noted, however, that in addition to the printer as such and clear materials, the price also includes non-stop support that will advise you every time. In addition, you have access to other documents, instructions and other supporting data, which you will find on the website help.prusa3d.com.
