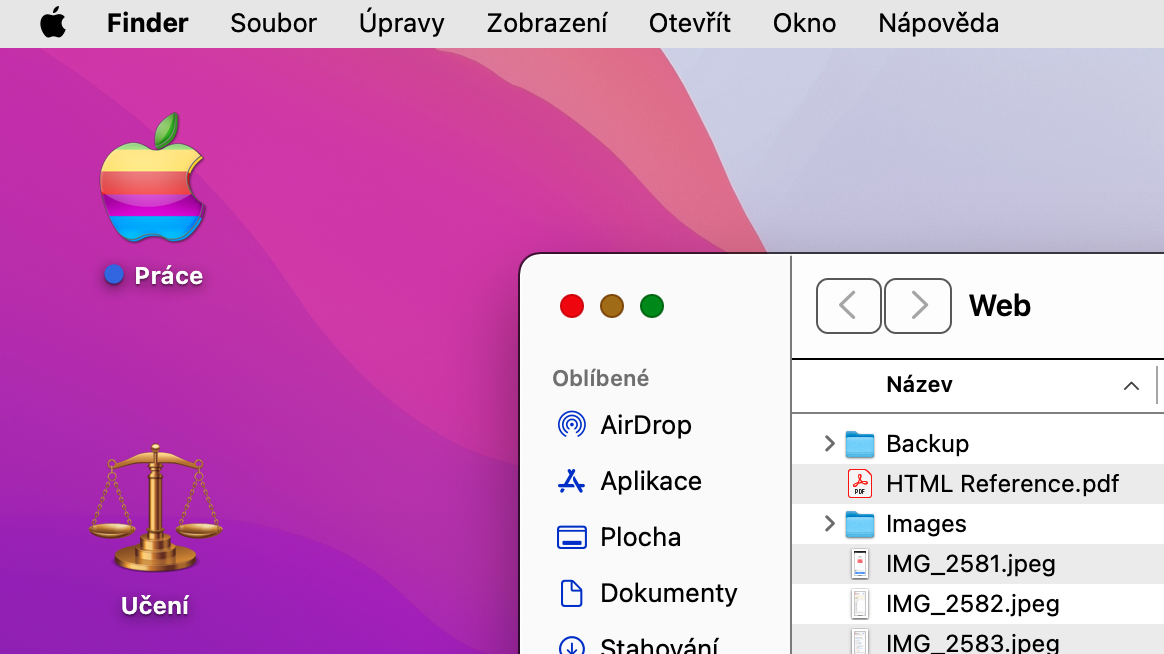
Among other things, the macOS operating system is characterized by relatively easy and intuitive control, which also applies to the native Finder and working with files and folders. Apart from the basic use here though. you can also use various tricks that will make working with files and folders on your Mac faster and more efficient. Let's imagine five of them.
Bulk renaming
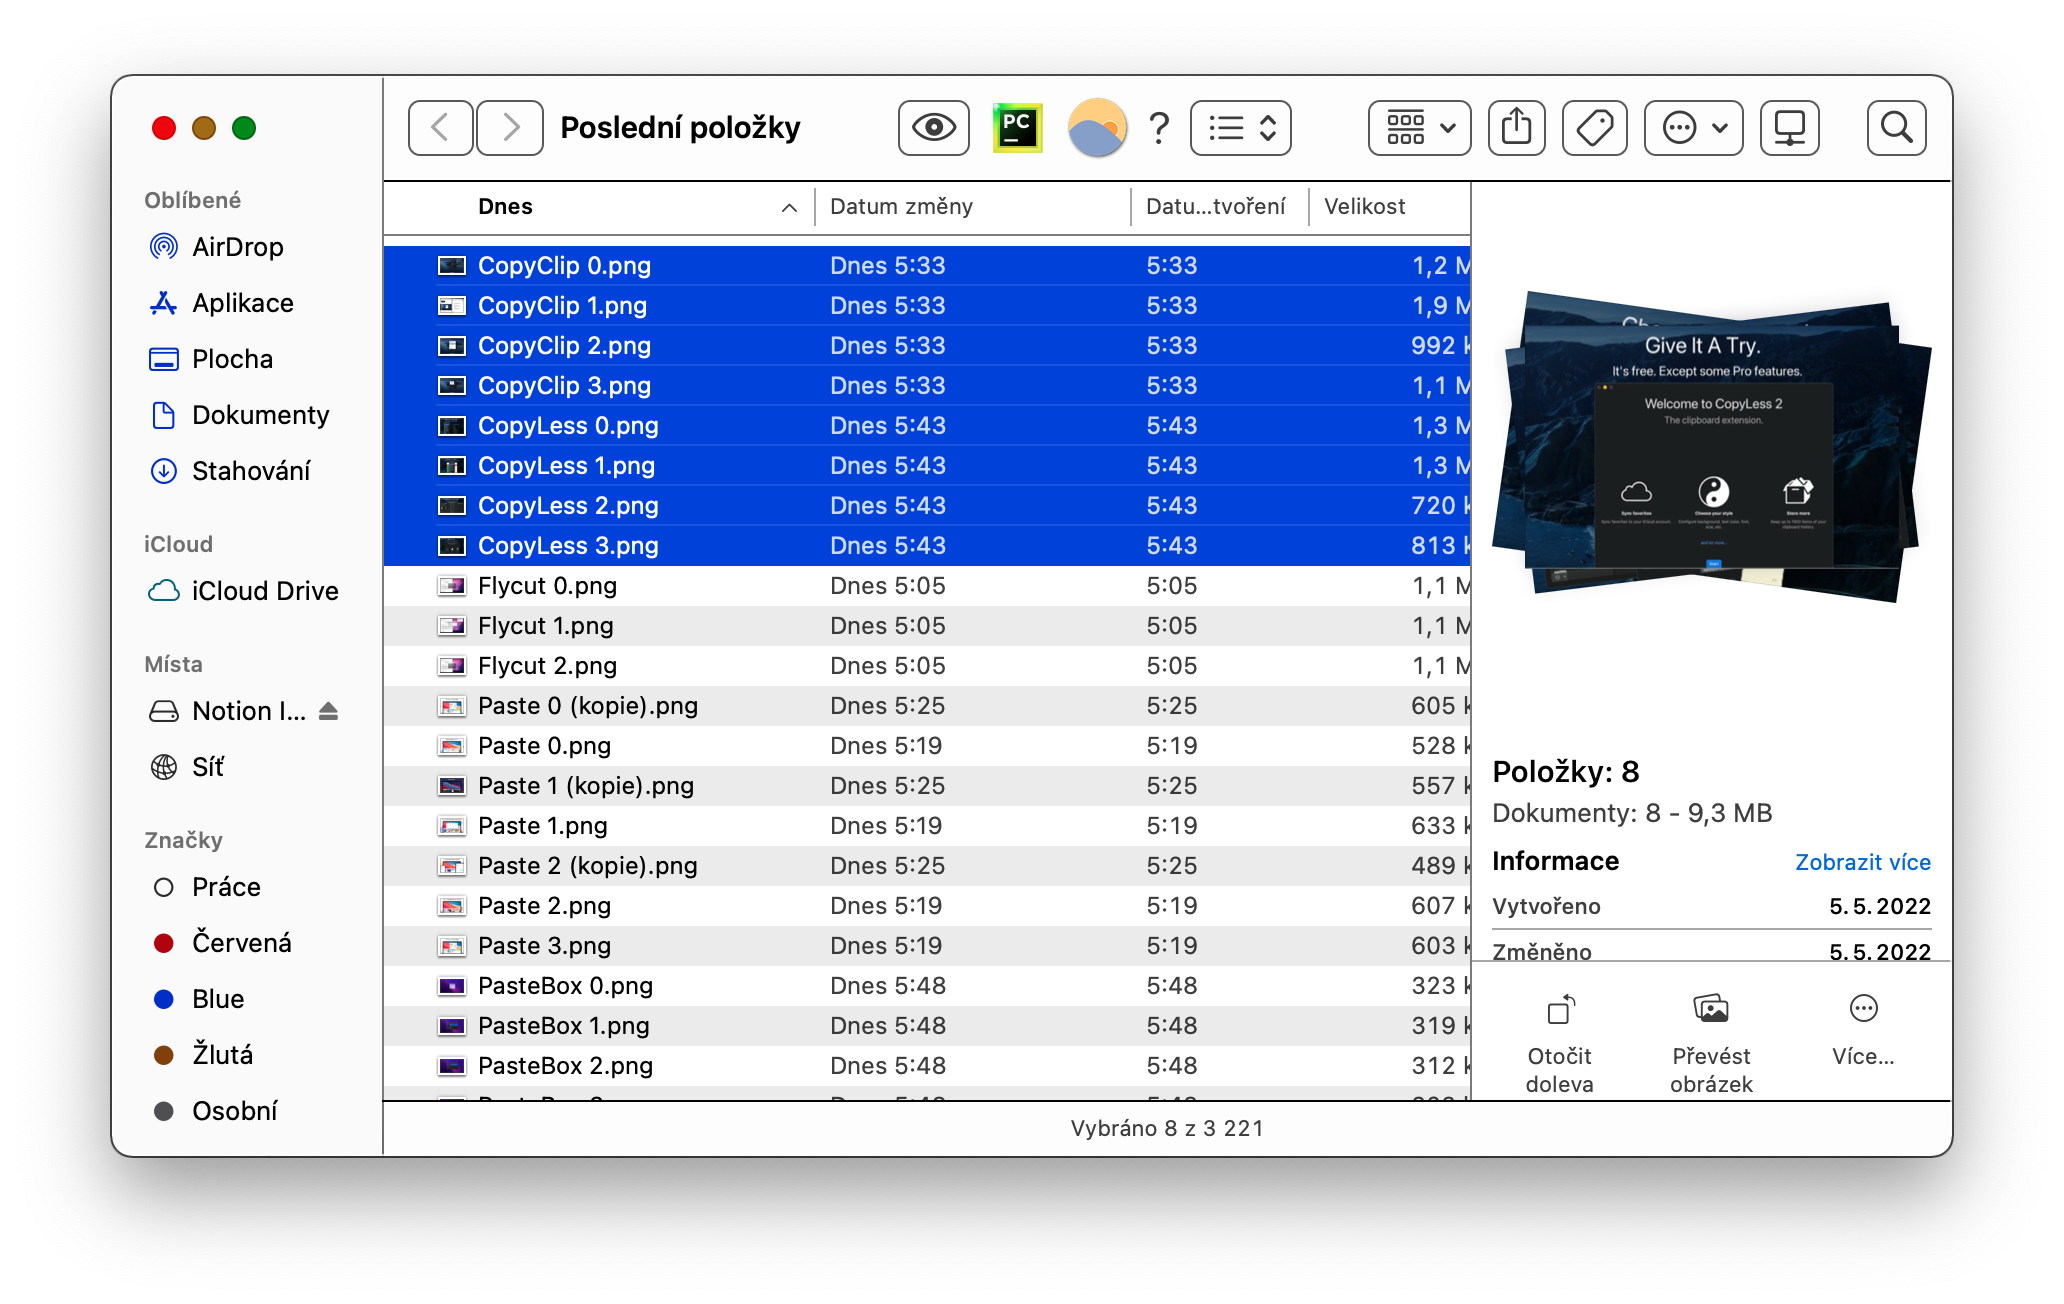
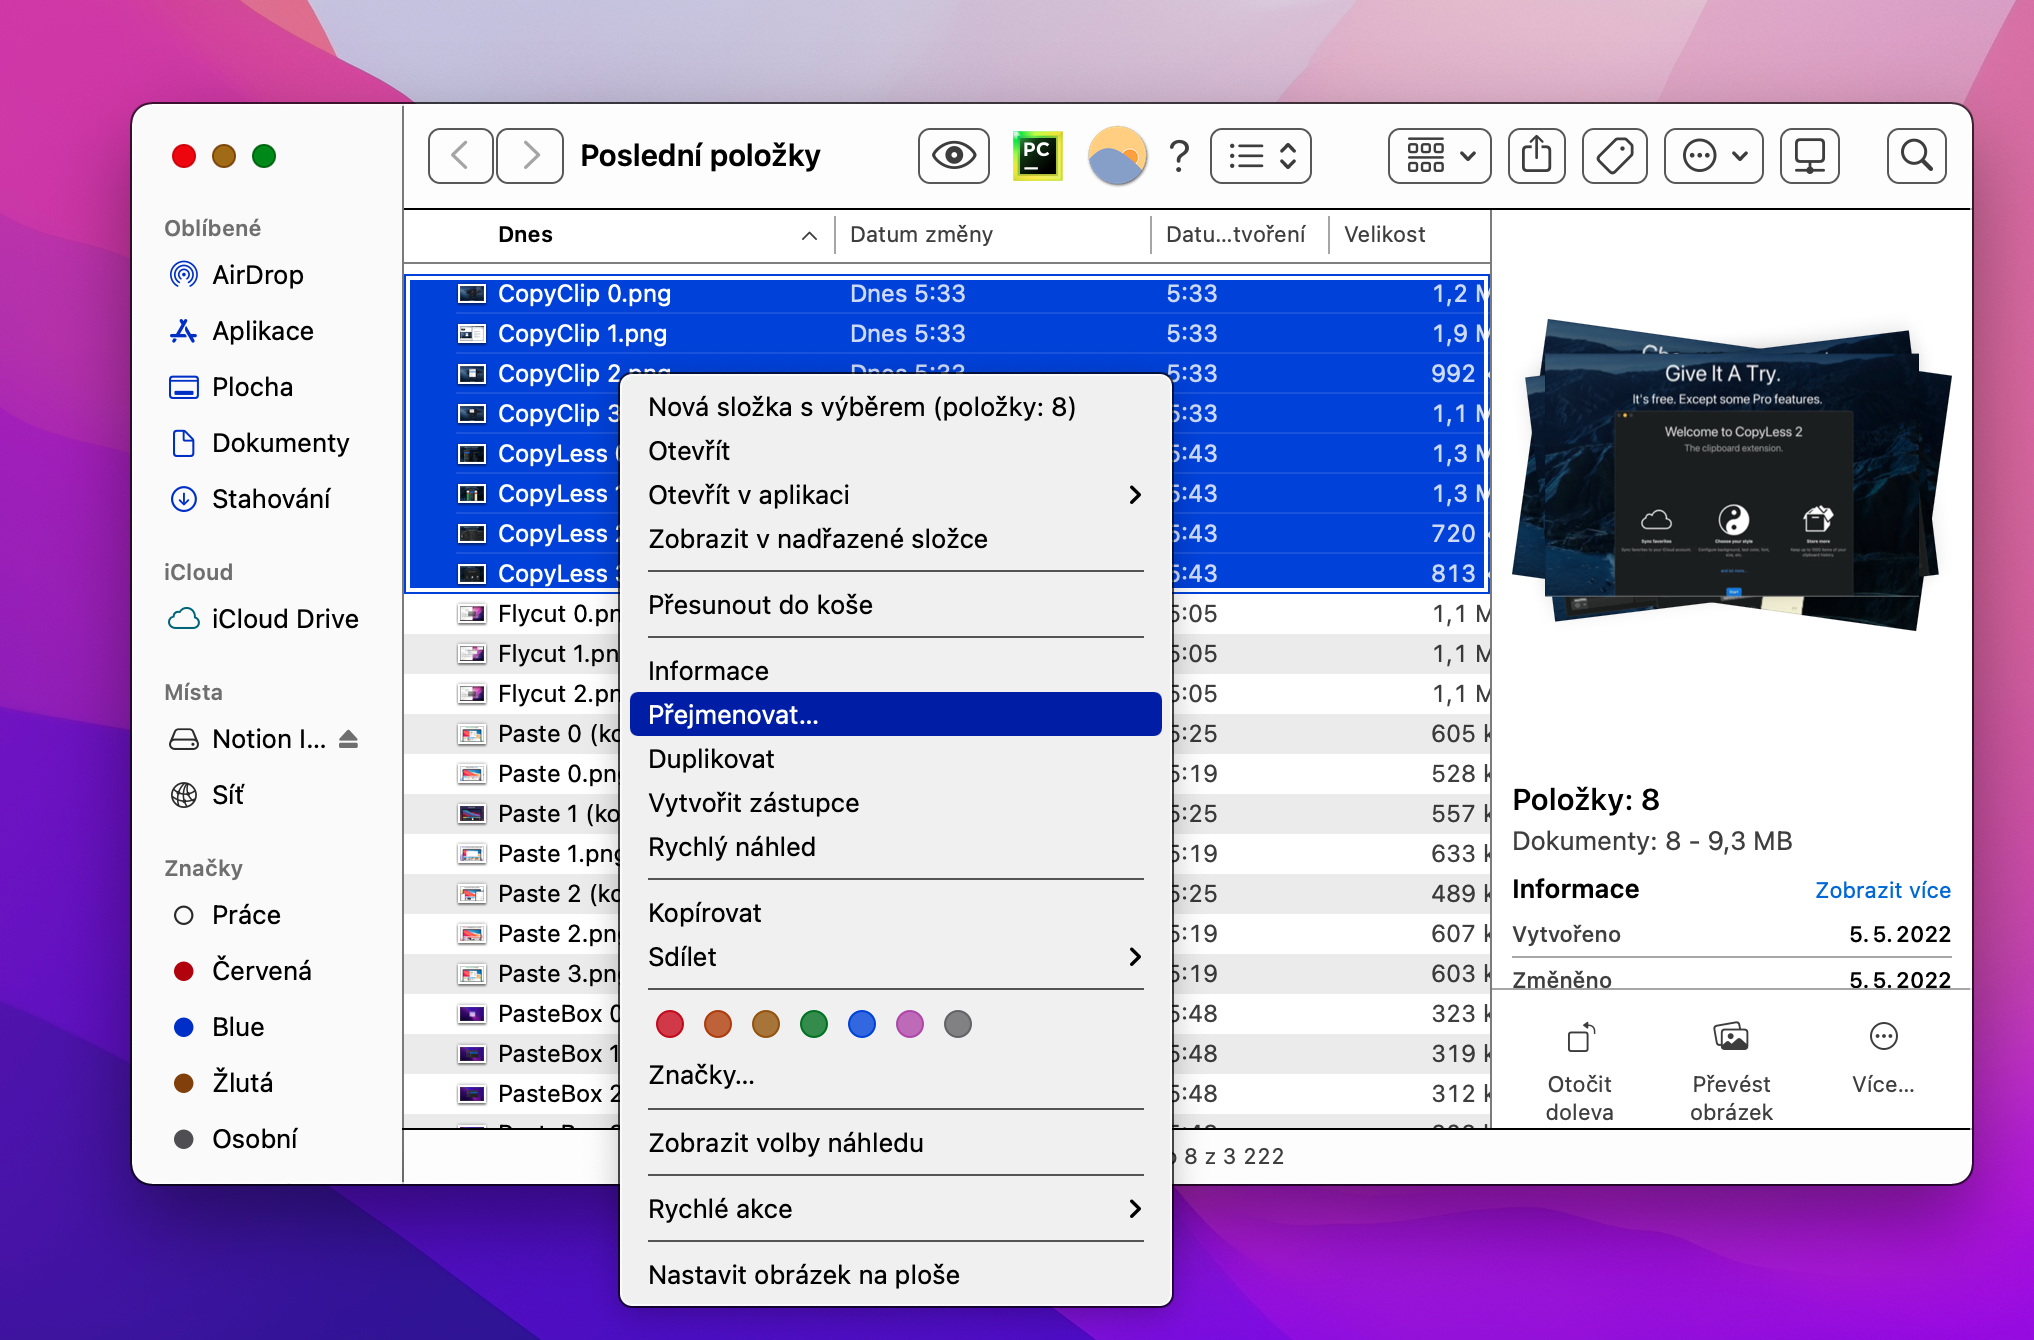
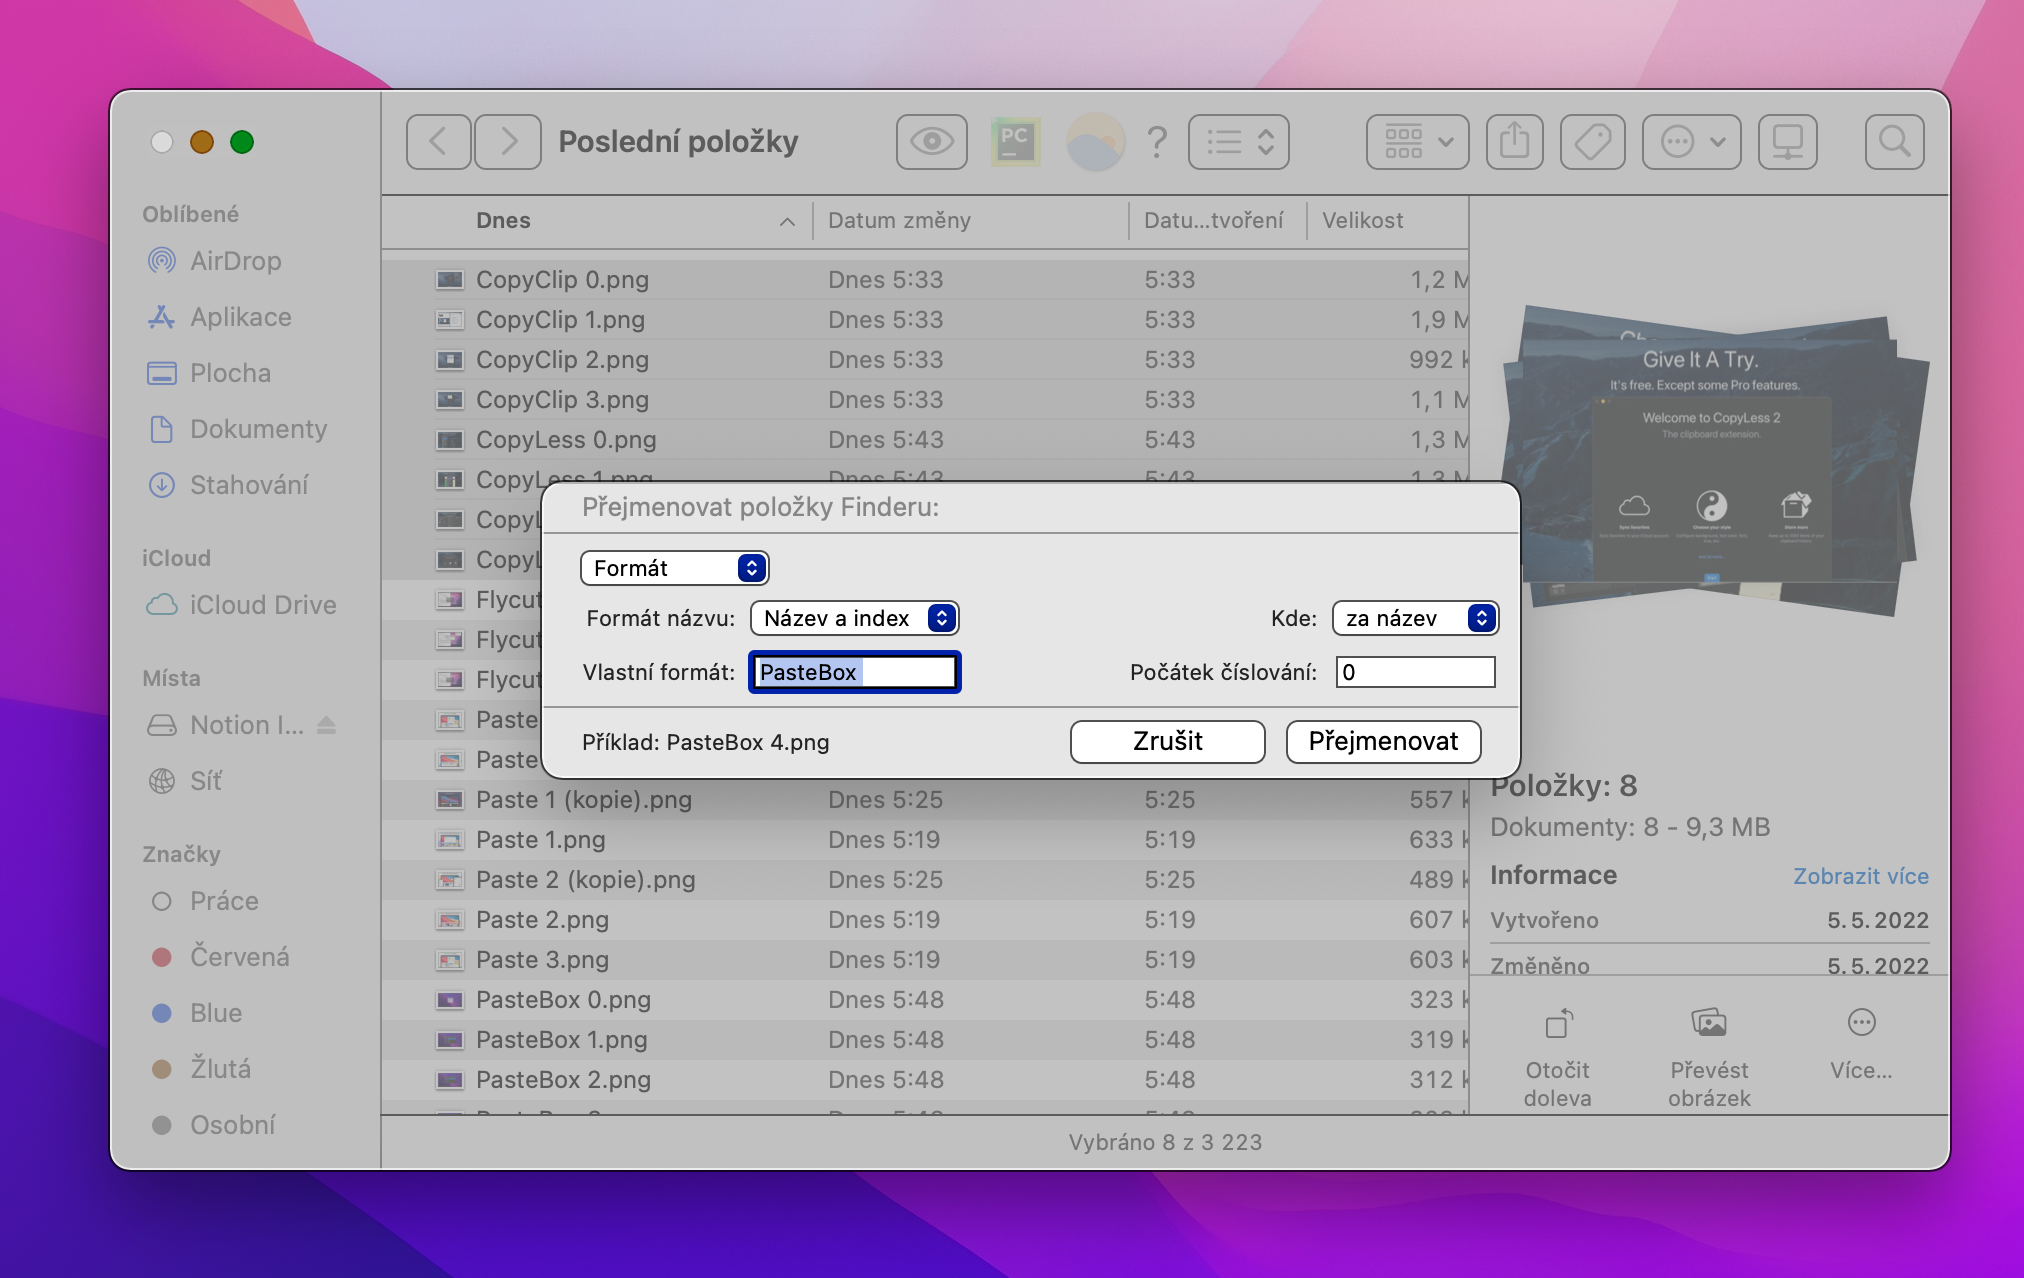
When working on a Mac, it can sometimes easily happen that you need to rename multiple items at once in the "Same Name + Number" style. However, manually renaming each item separately is of course unnecessarily lengthy and complicated. Instead, first select all items and right-click on them. In the menu that appears, just choose Rename, and then enter all the necessary parameters in the following window.
Lock folders
If you have multiple people working with your Mac and you're worried that someone might accidentally delete one of your folders or an important file, you can lock those items. It is also not possible to add new items to the locked folder without entering the admin password. Select the desired folder and right-click it. Choose Information and then just check the Locked item in the information window.
It could be interest you

Hide file extensions
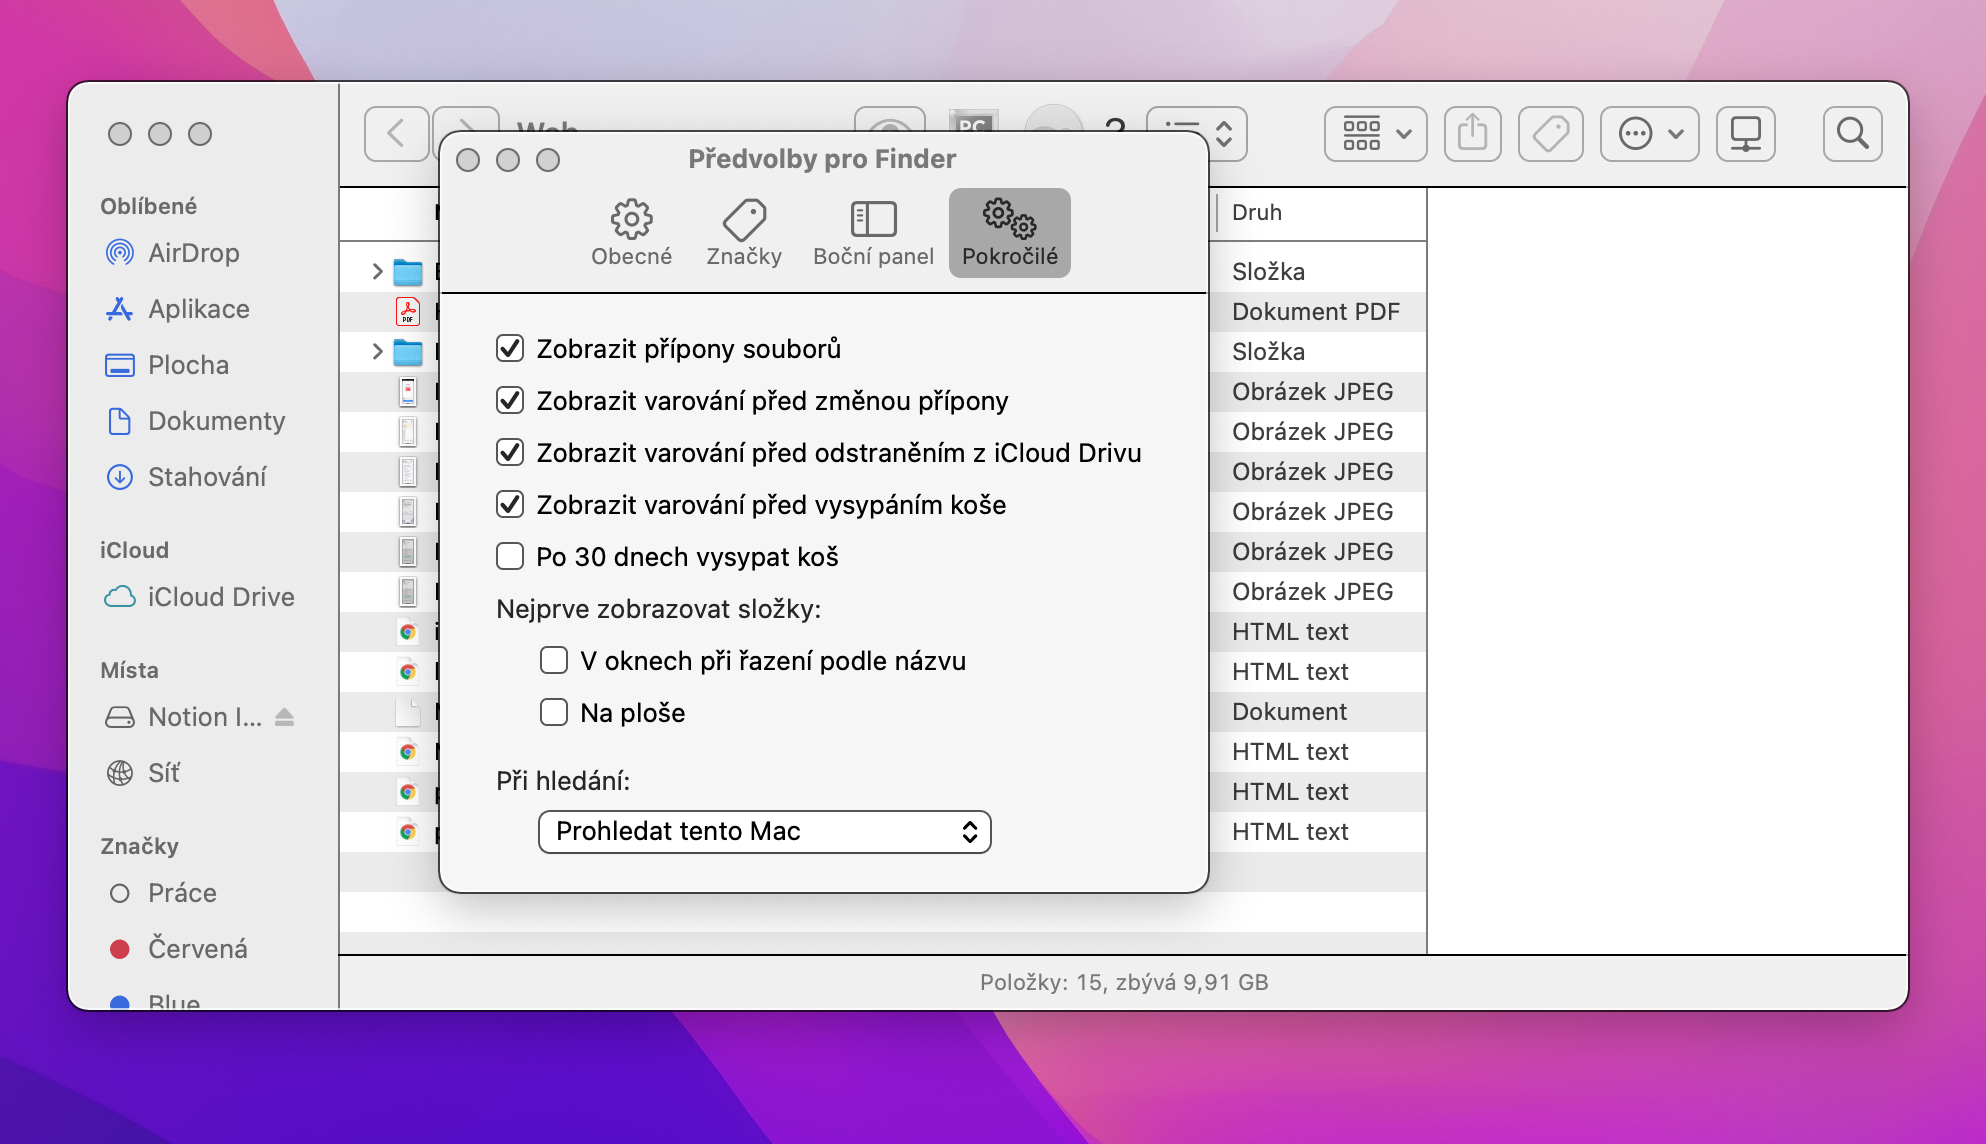
The Finder on Mac offers different options for displaying items, and among other things, it also allows you to hide or show the extensions of individual files. To manage the display of file extensions, launch the Finder and in the toolbar at the top of your Mac screen, click Finder -> Preferences -> Advanced and check Show File Extensions.
Sets on desktop
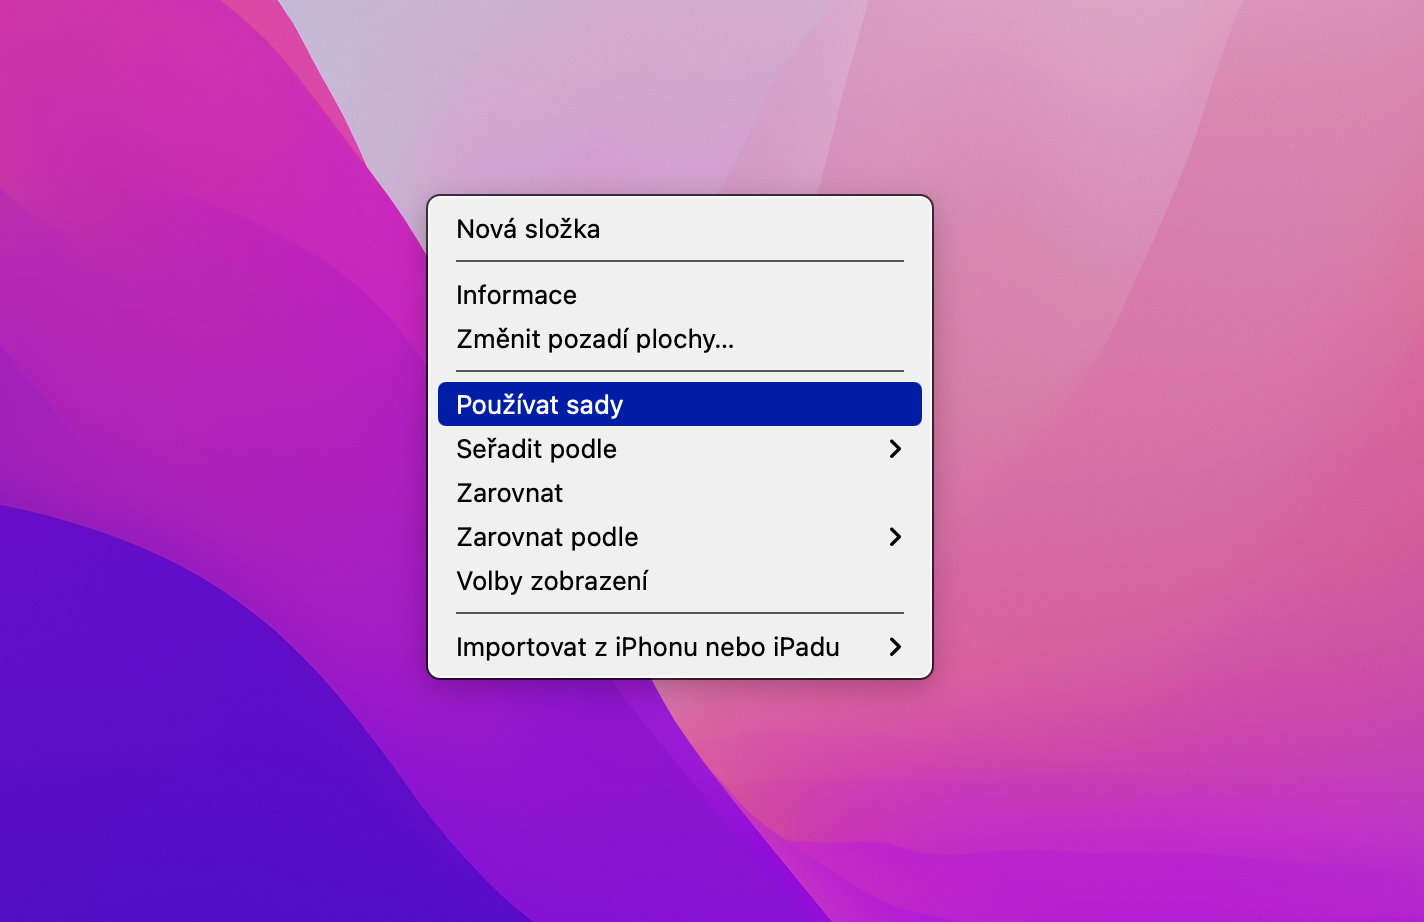
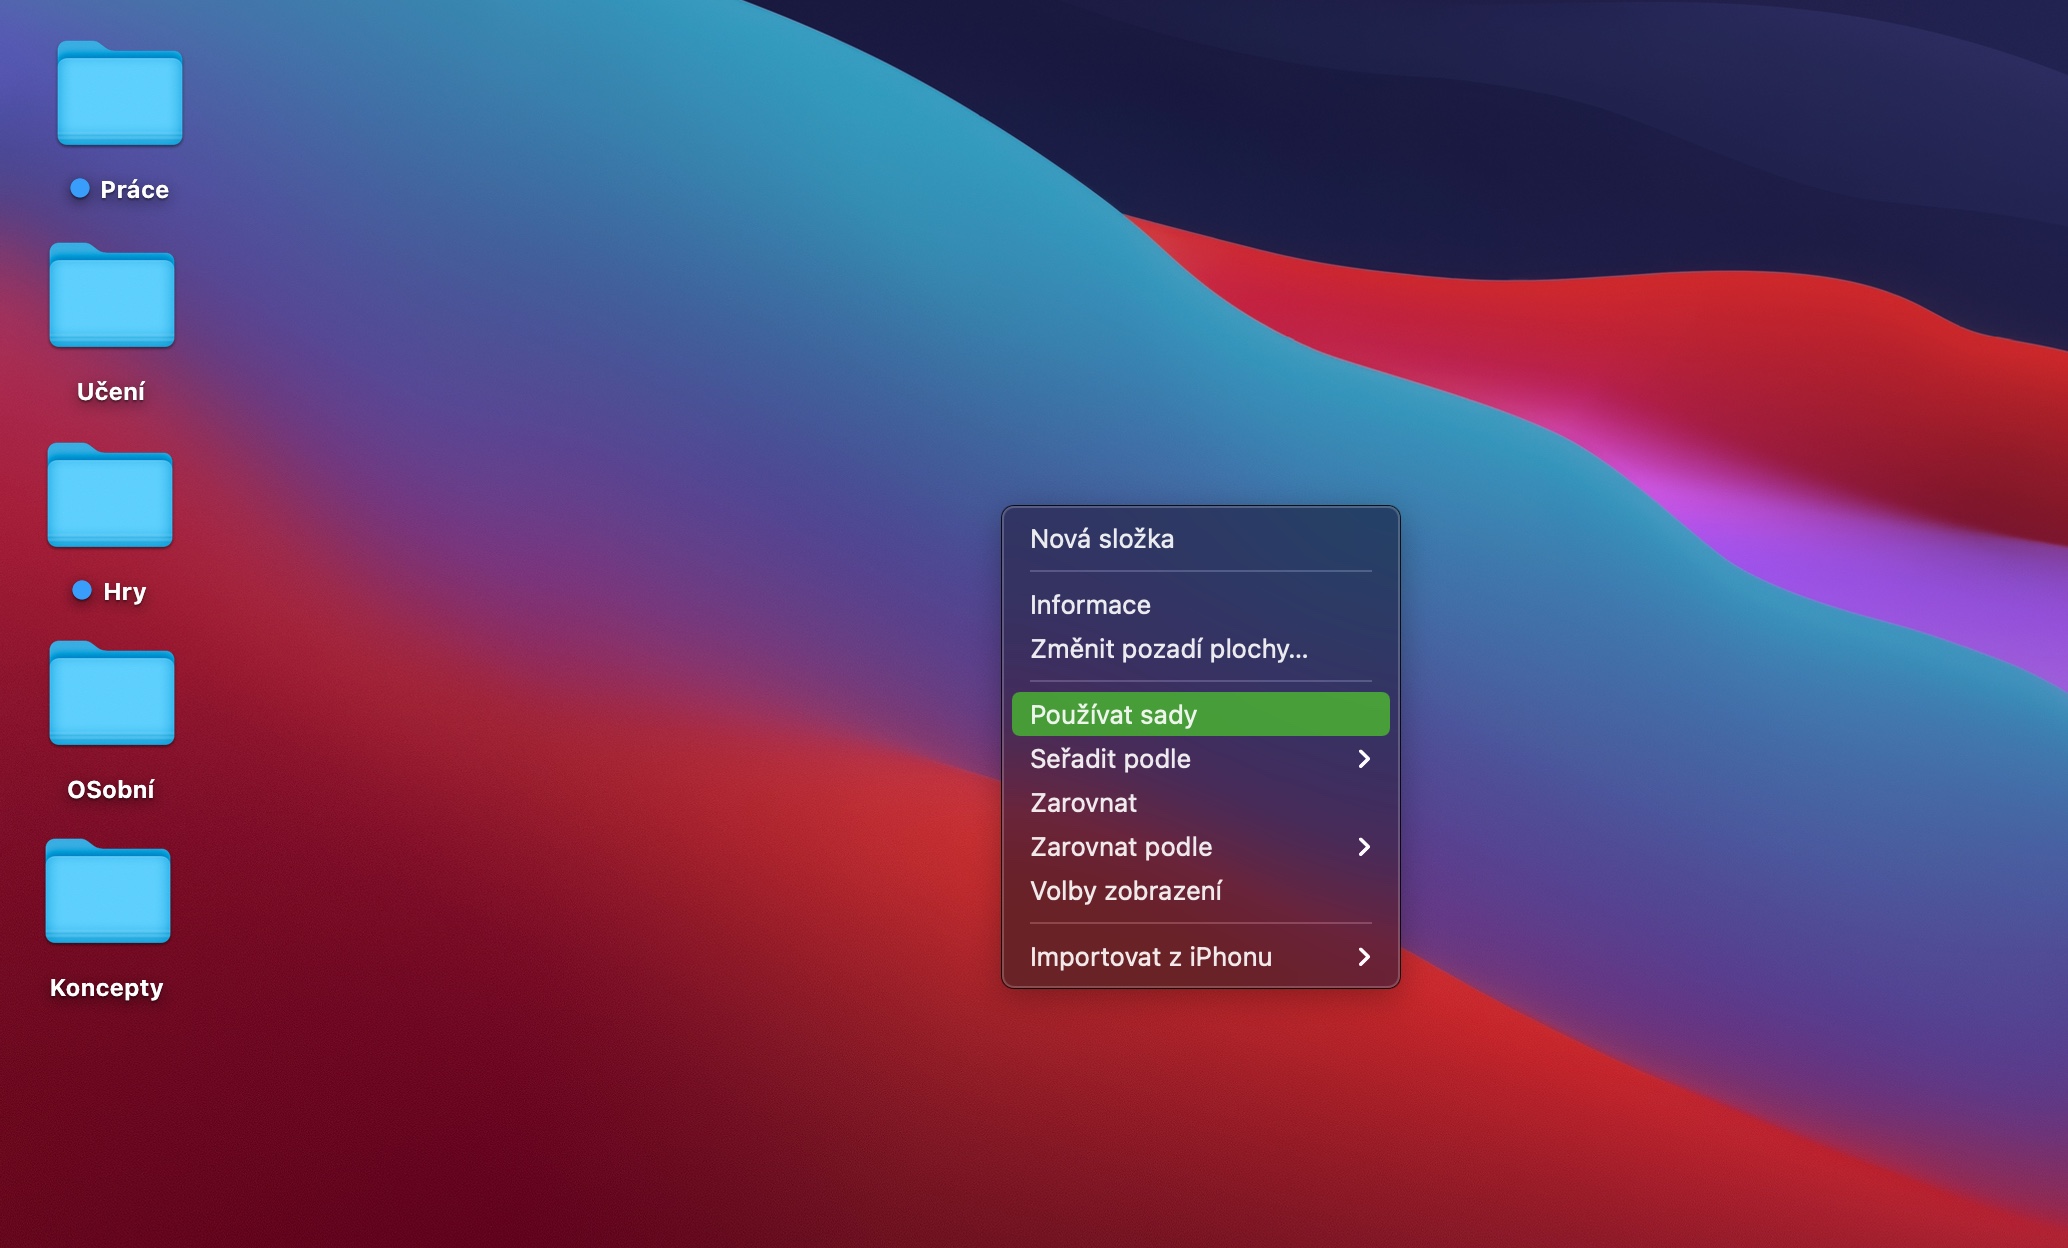
If you have a habit of placing files and folders on your Mac's desktop as well, it can easily happen after a while that the desktop becomes cluttered and you lose your orientation in the displayed content. In such cases, you might find it useful to create so-called sets on the desktop, thanks to which items are clearly grouped automatically by type. To activate the Sets feature, right-click on the desktop and click Use Sets in the menu that appears.
View hidden files via Terminal
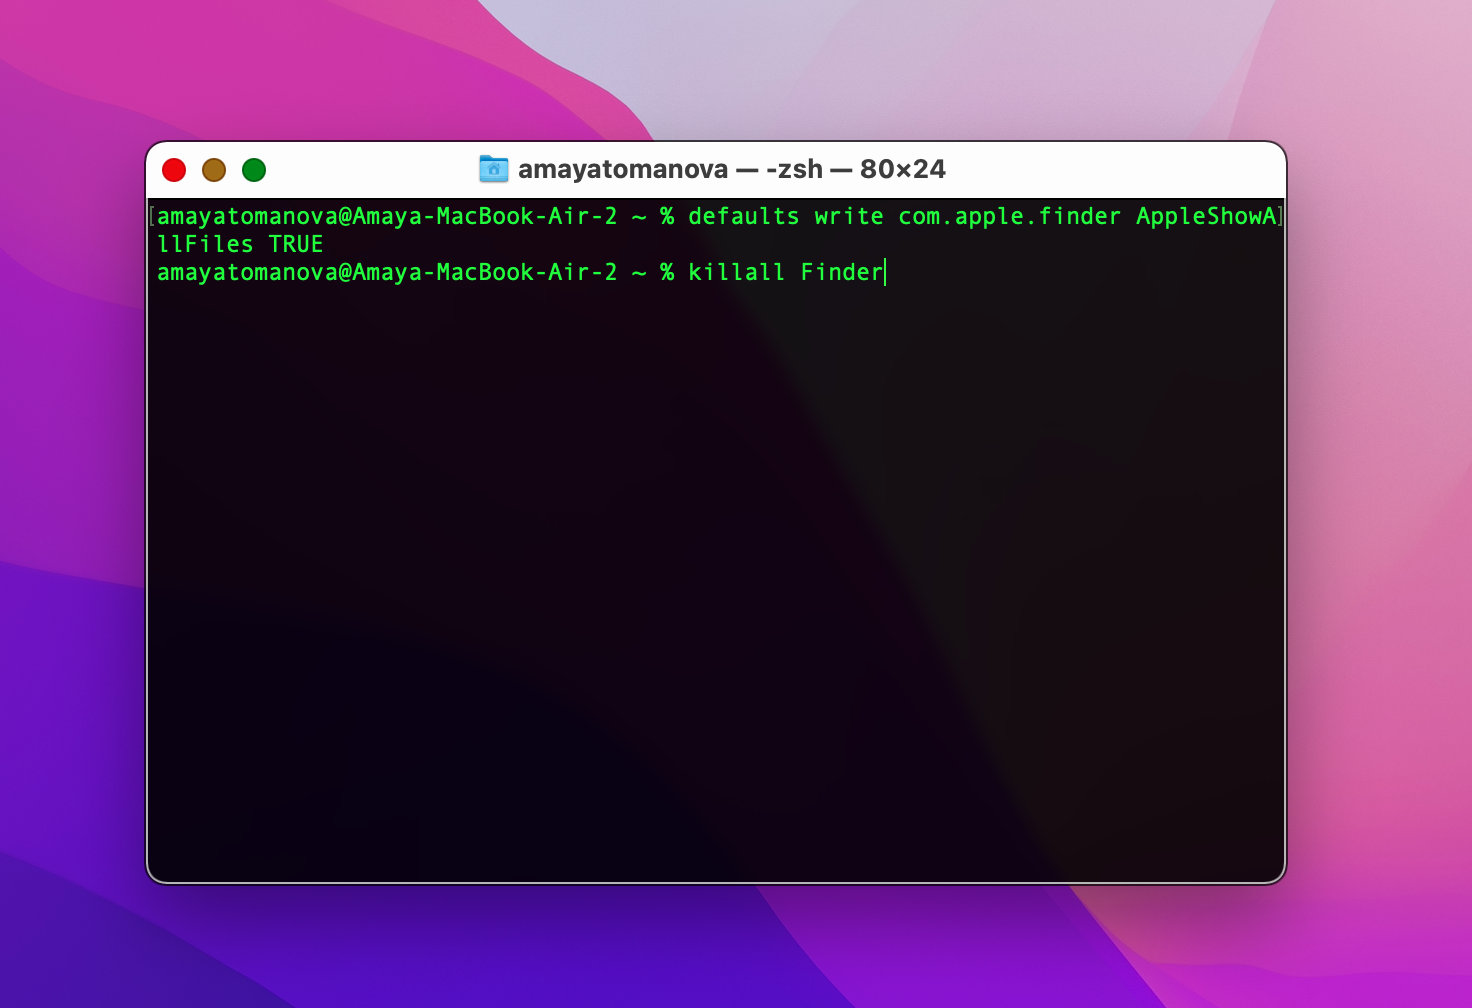
In Finder, of course, in addition to normally visible files, there are also items that are hidden by default, so you won't normally see them at first glance. If you want to view these hidden files, Terminal will help you. First, launch the Terminal and then enter the command in the command line defaults write com.apple.finder AppleShowAllFiles TRUE. Press Enter, enter killall Finder and press Enter again. Hidden files will then be displayed in the Finder.
