Creating vector images can be a real chore in many cases. Often it's not even that you don't have an idea, there are usually enough of them. However, much more usual is that the program in which you are trying to process the vector is too complex. Honestly, I personally use Adobe Illustrator, but I have to say that it took me a really long time to get used to it. I even tried several times to use other alternatives, but they lacked some functions. In general, I was used to Adobe programs, so I simply had to learn Illustrator.
If you too are struggling with Adobe programs and would like to use some simpler alternatives, now you can. Not long ago, a vector creation program called Dinners. It will please you right from the start because it is available for a one-time fee worth 499 crowns. So you don't have to subscribe to the program, as in the case of Adobe. So you simply pay five hundred, download the program and you can start creating. In the editorial office, we managed to contact the developers of the Amadine program, i.e. the company BeLight Software, and we got the opportunity to try the Amadine vector program. So let's take a look together in this review to see why you should start using Amadine.
There are tons of tools available
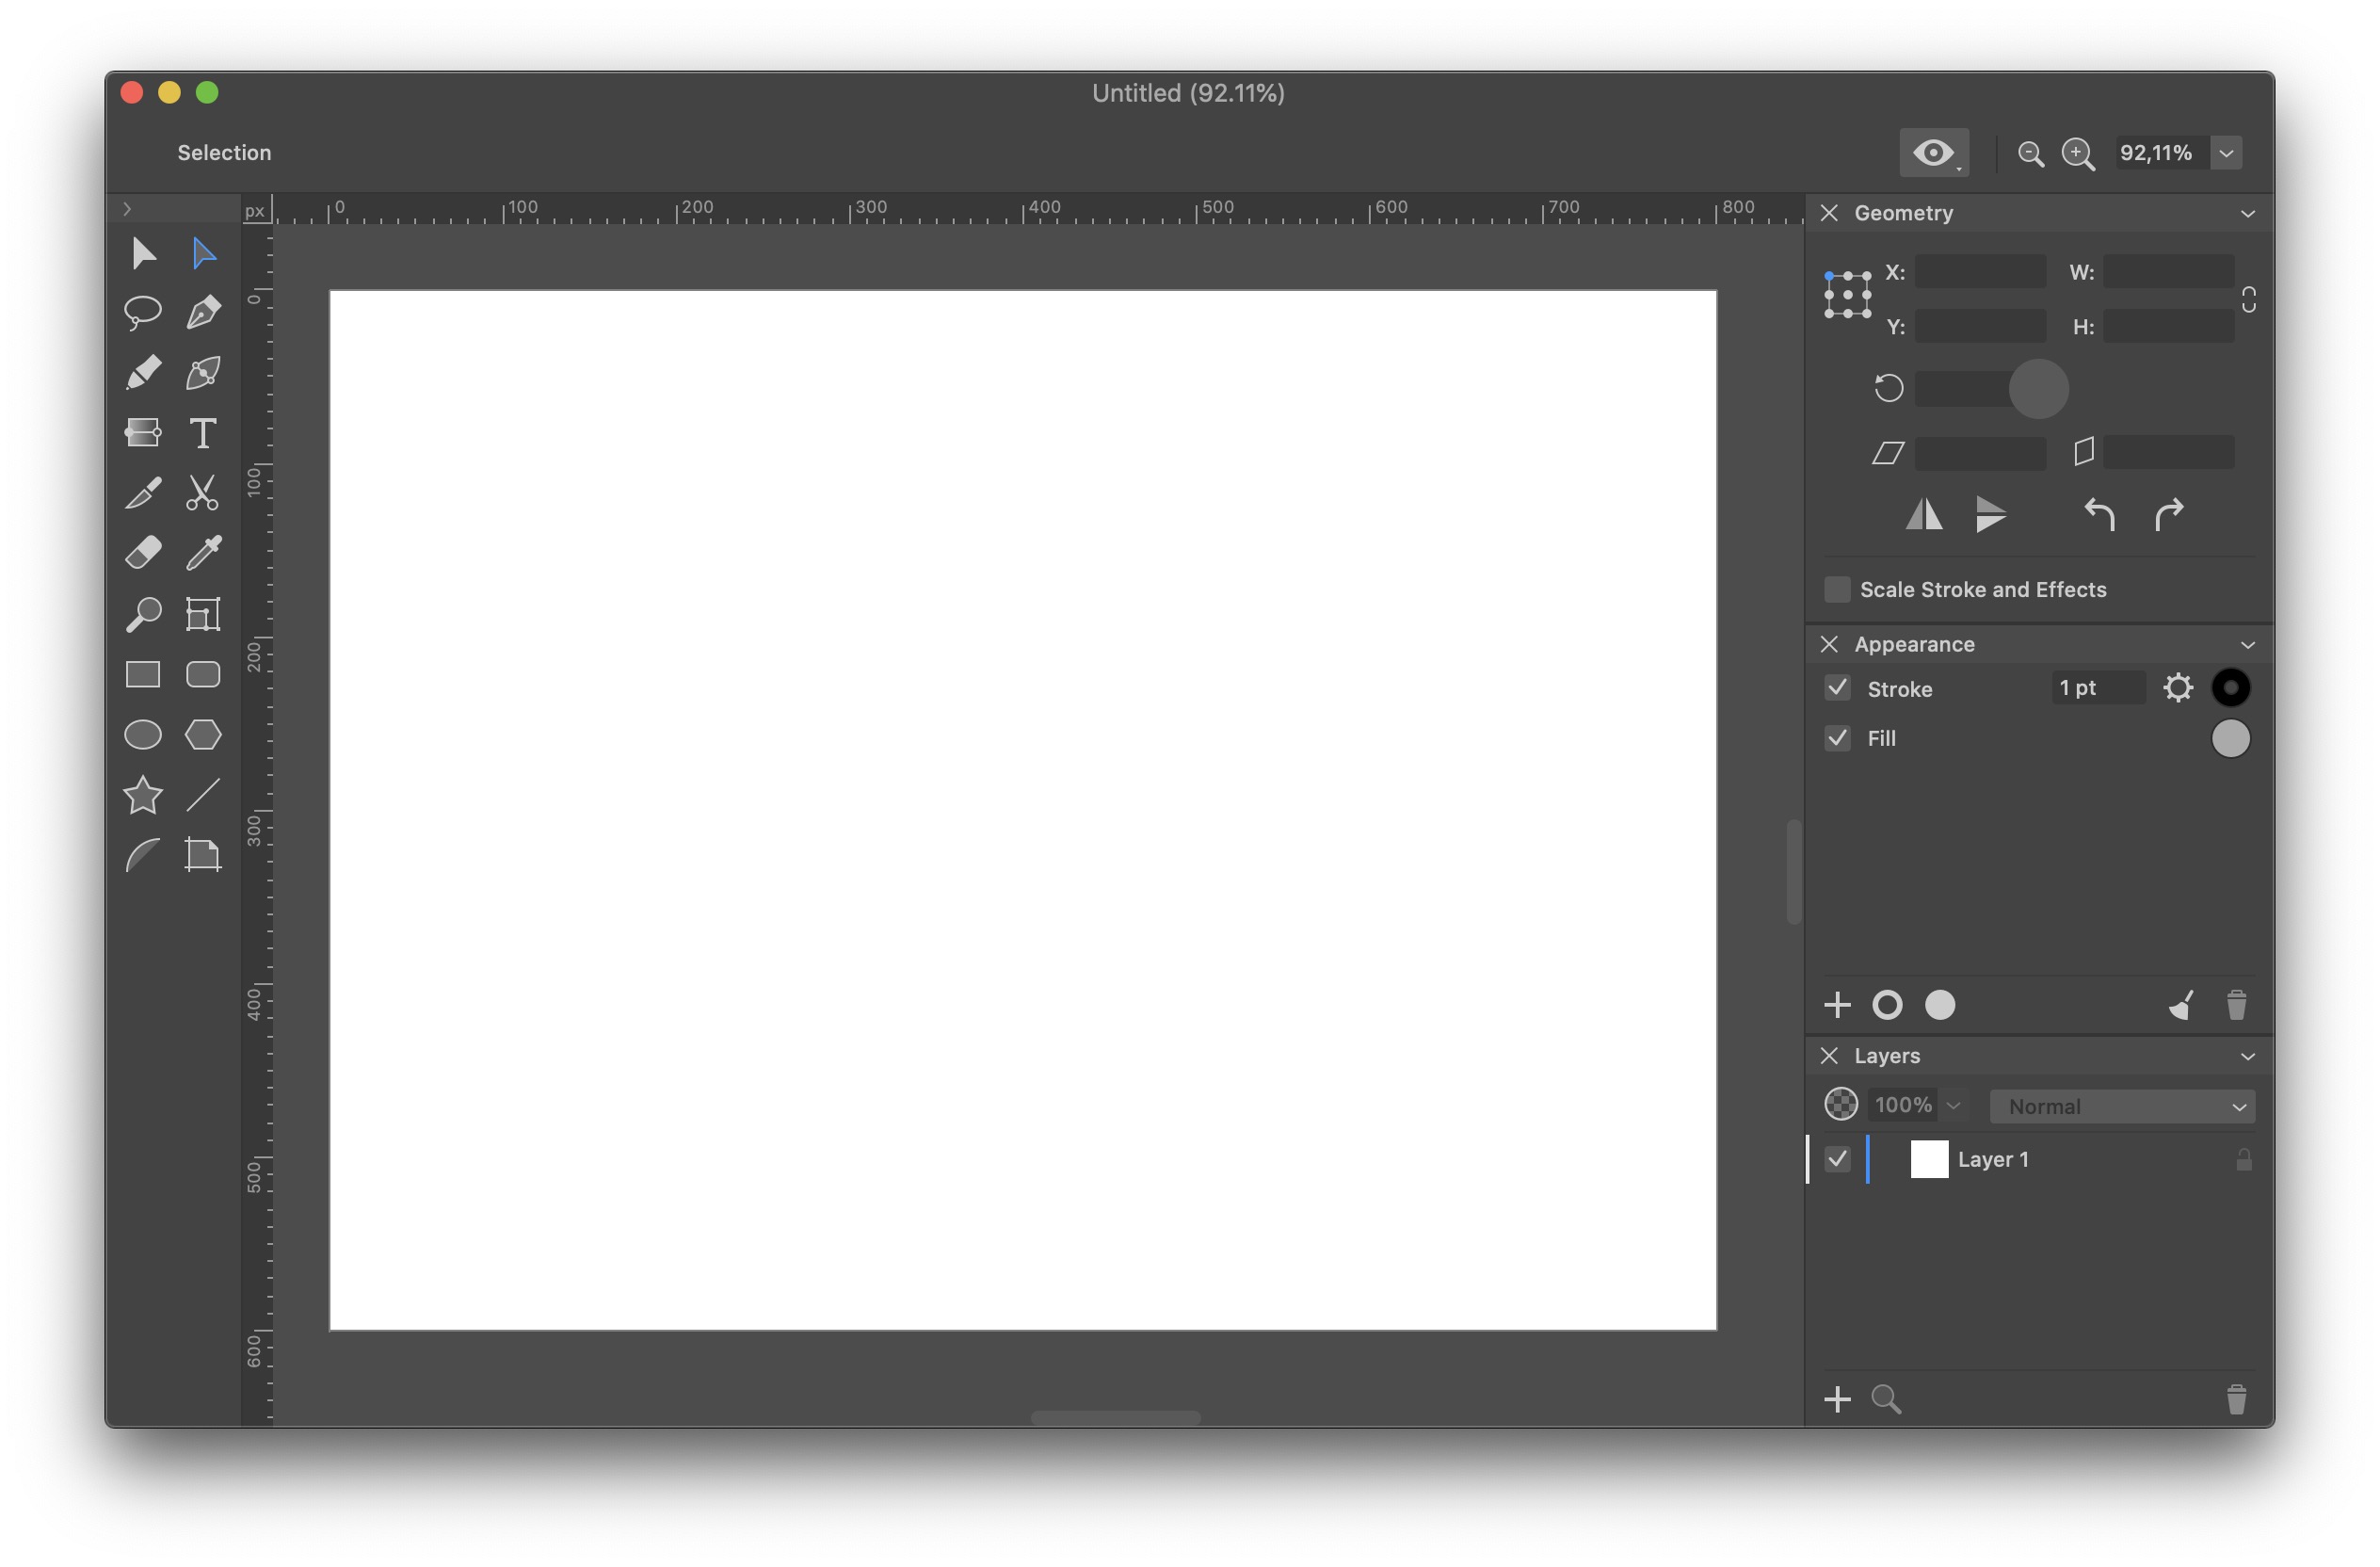
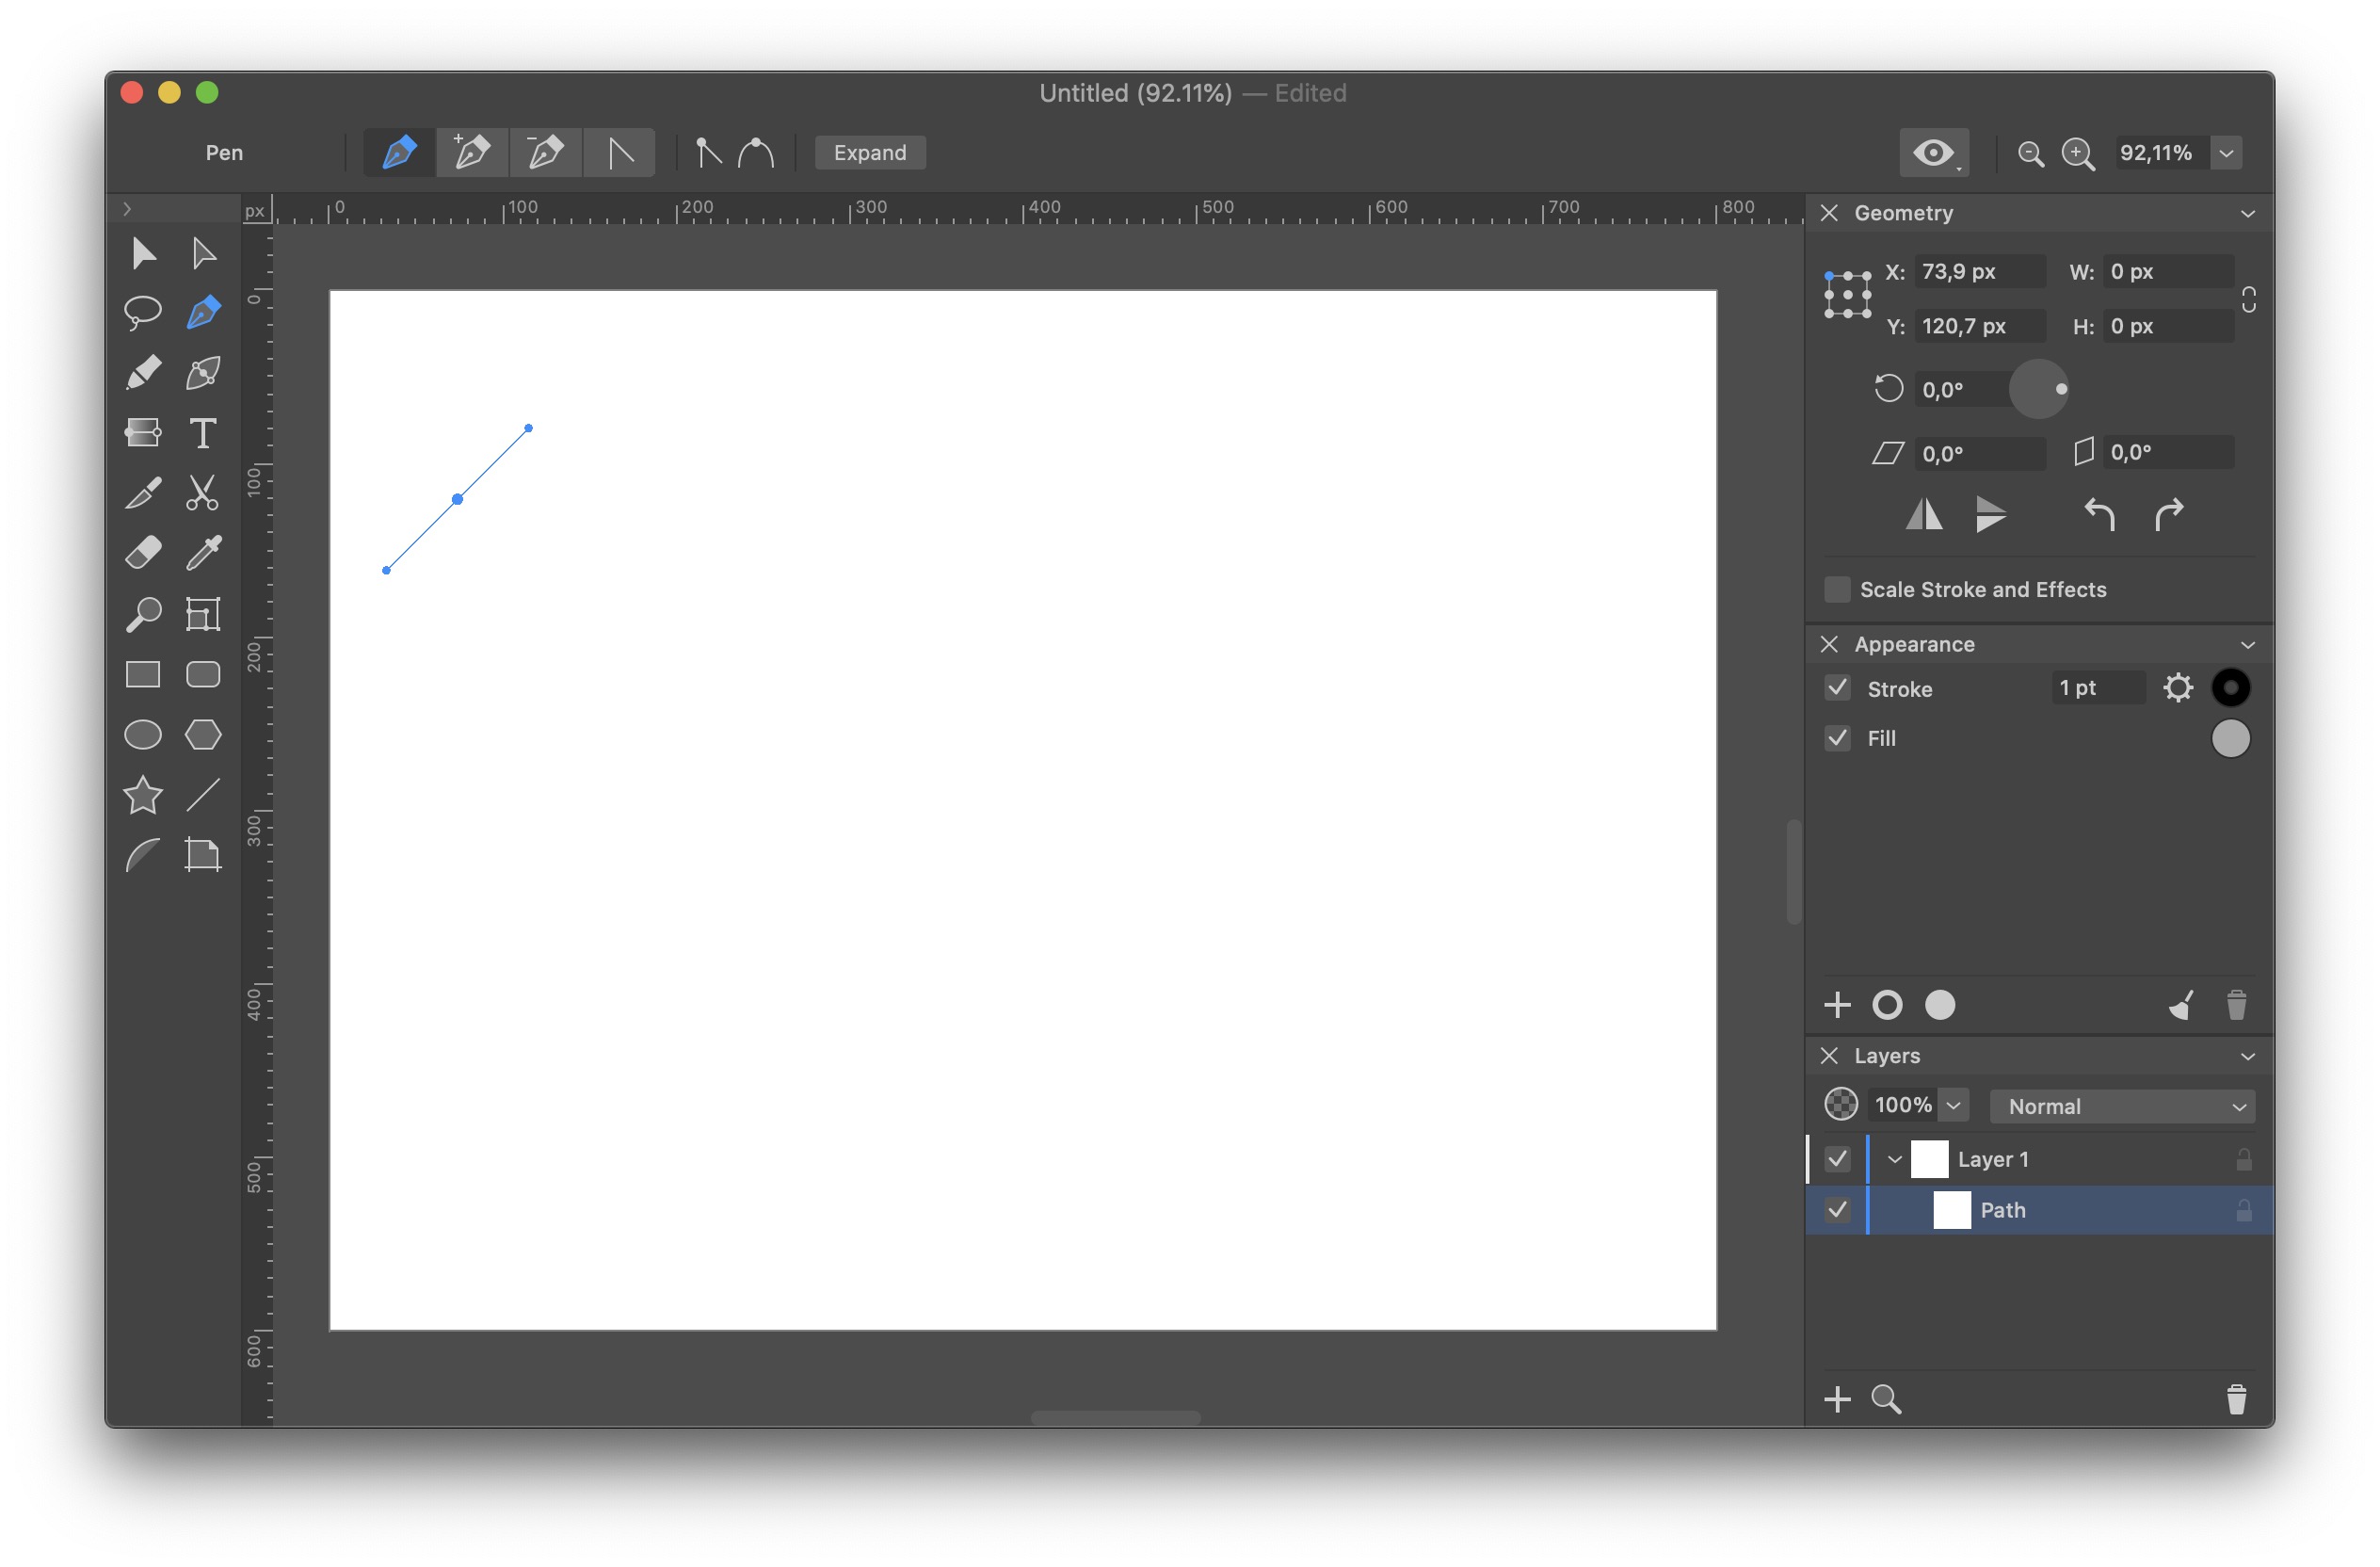
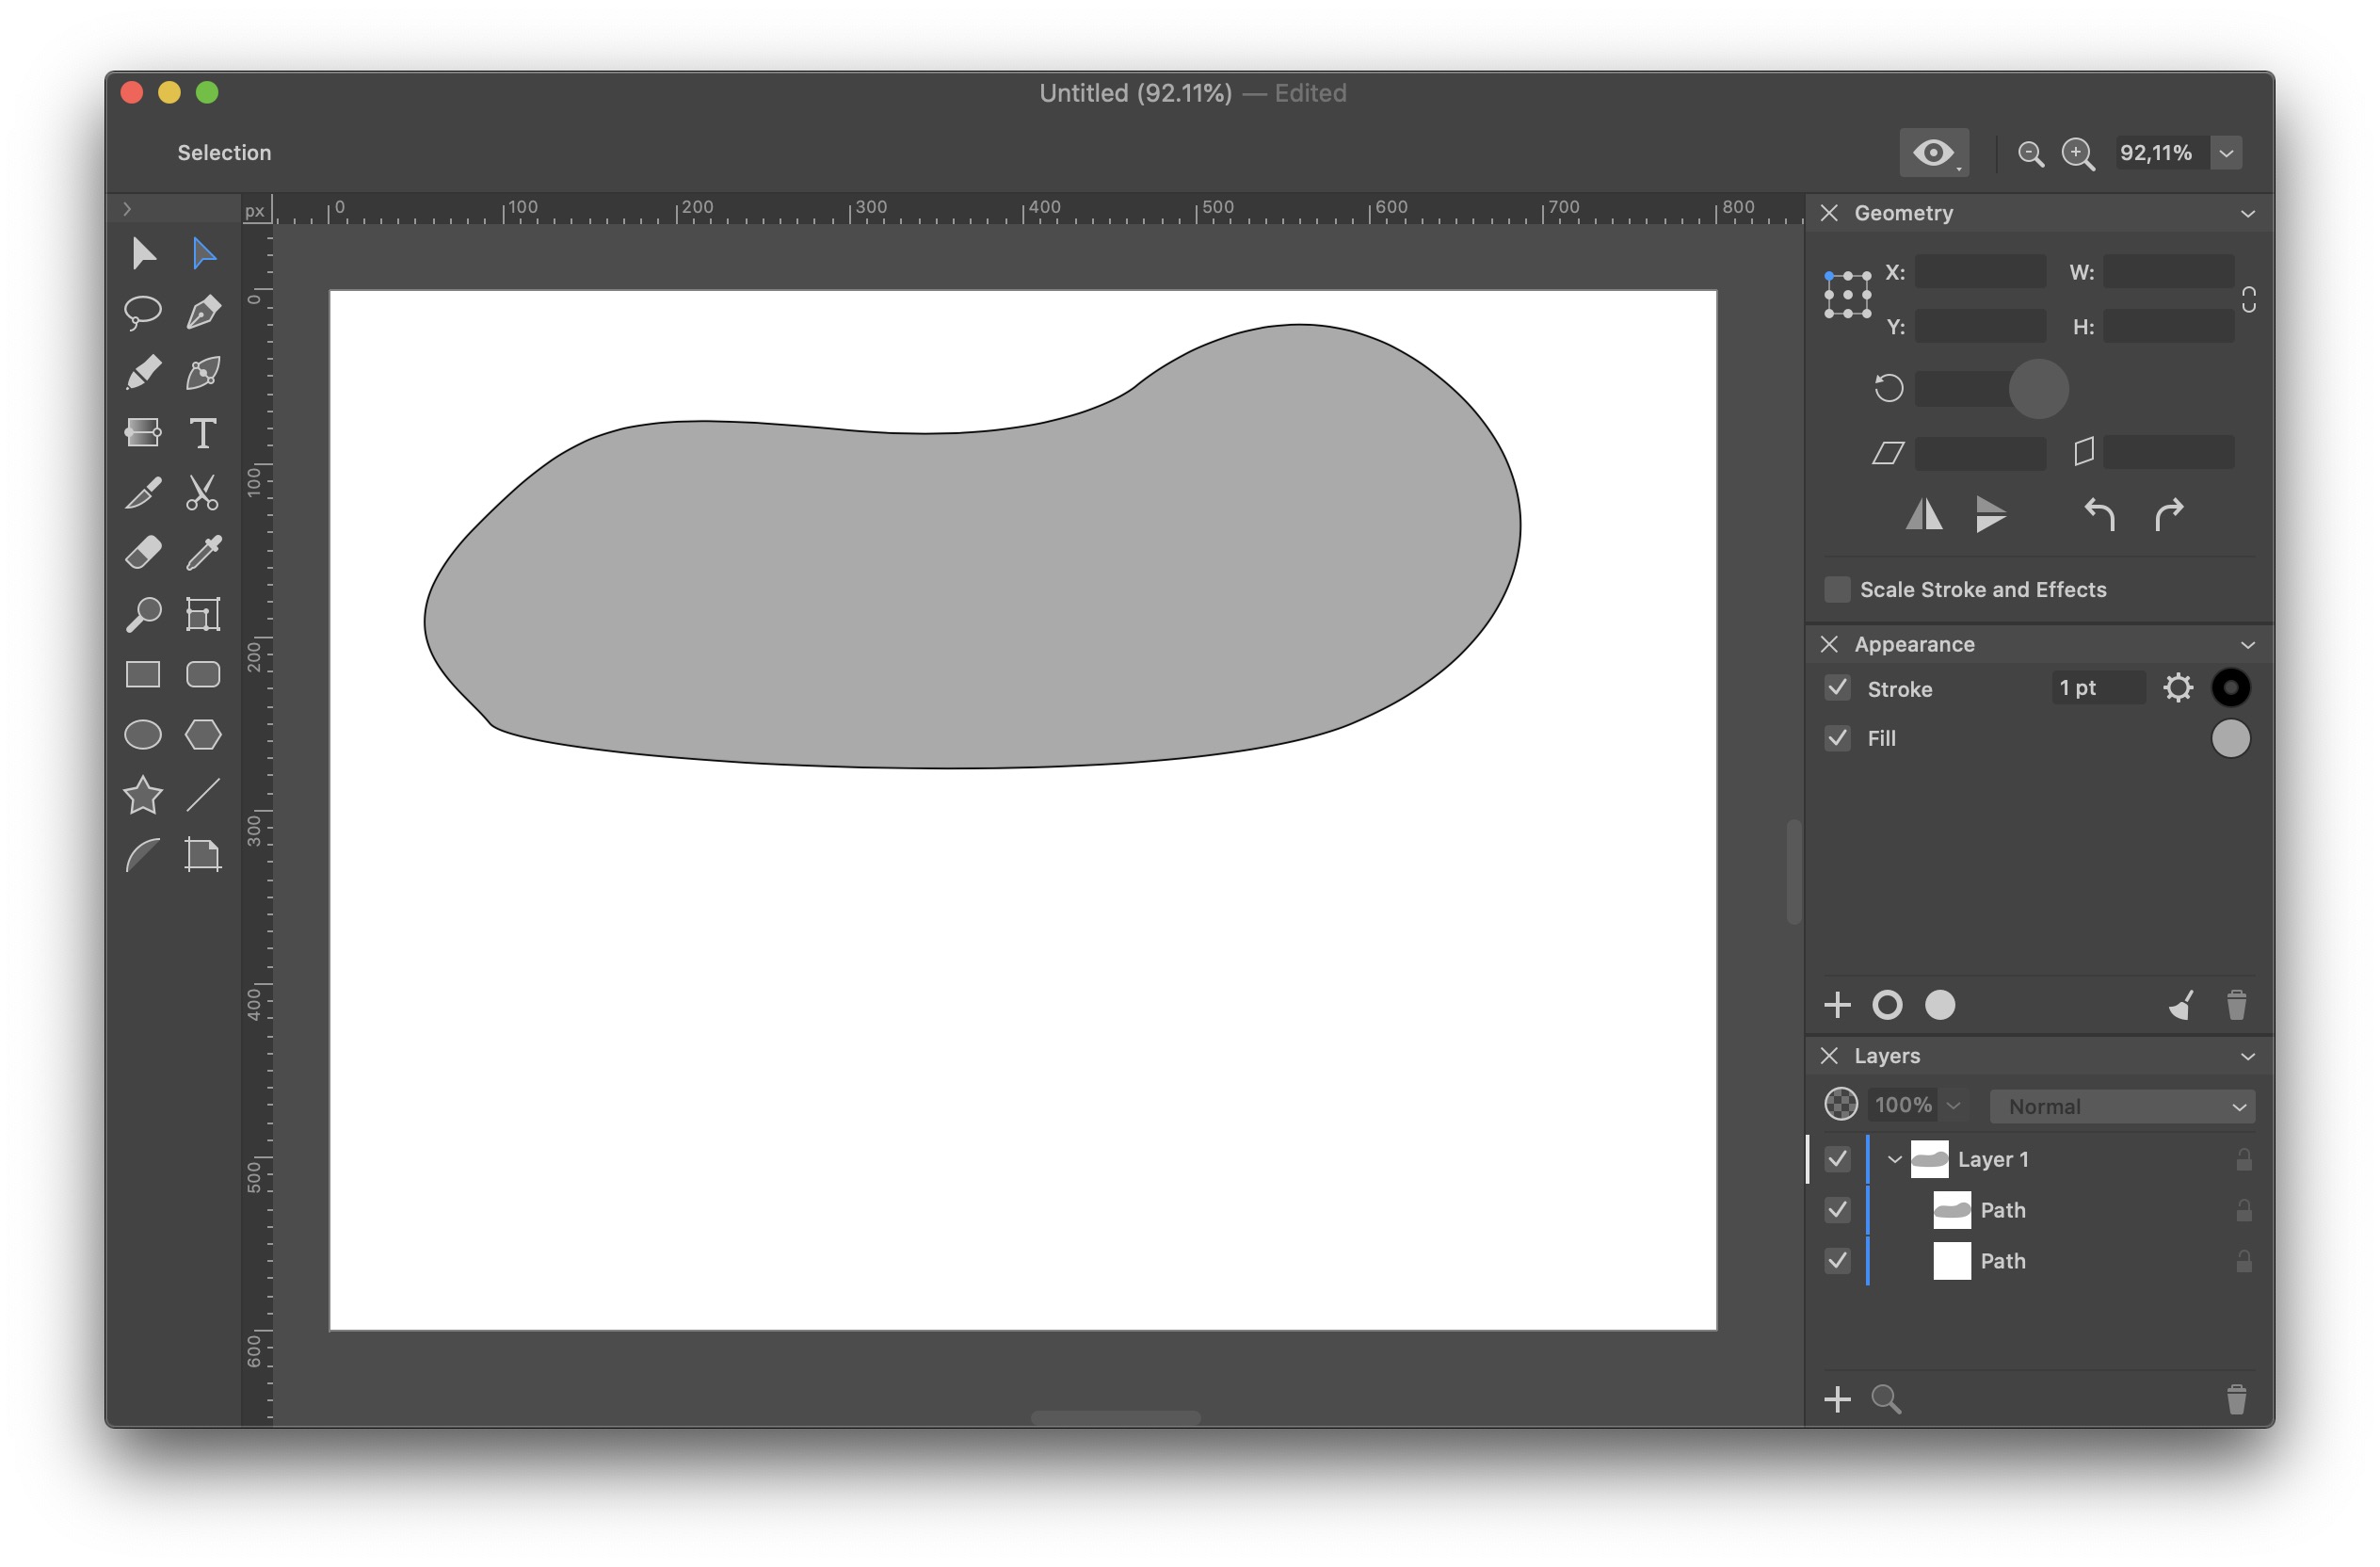
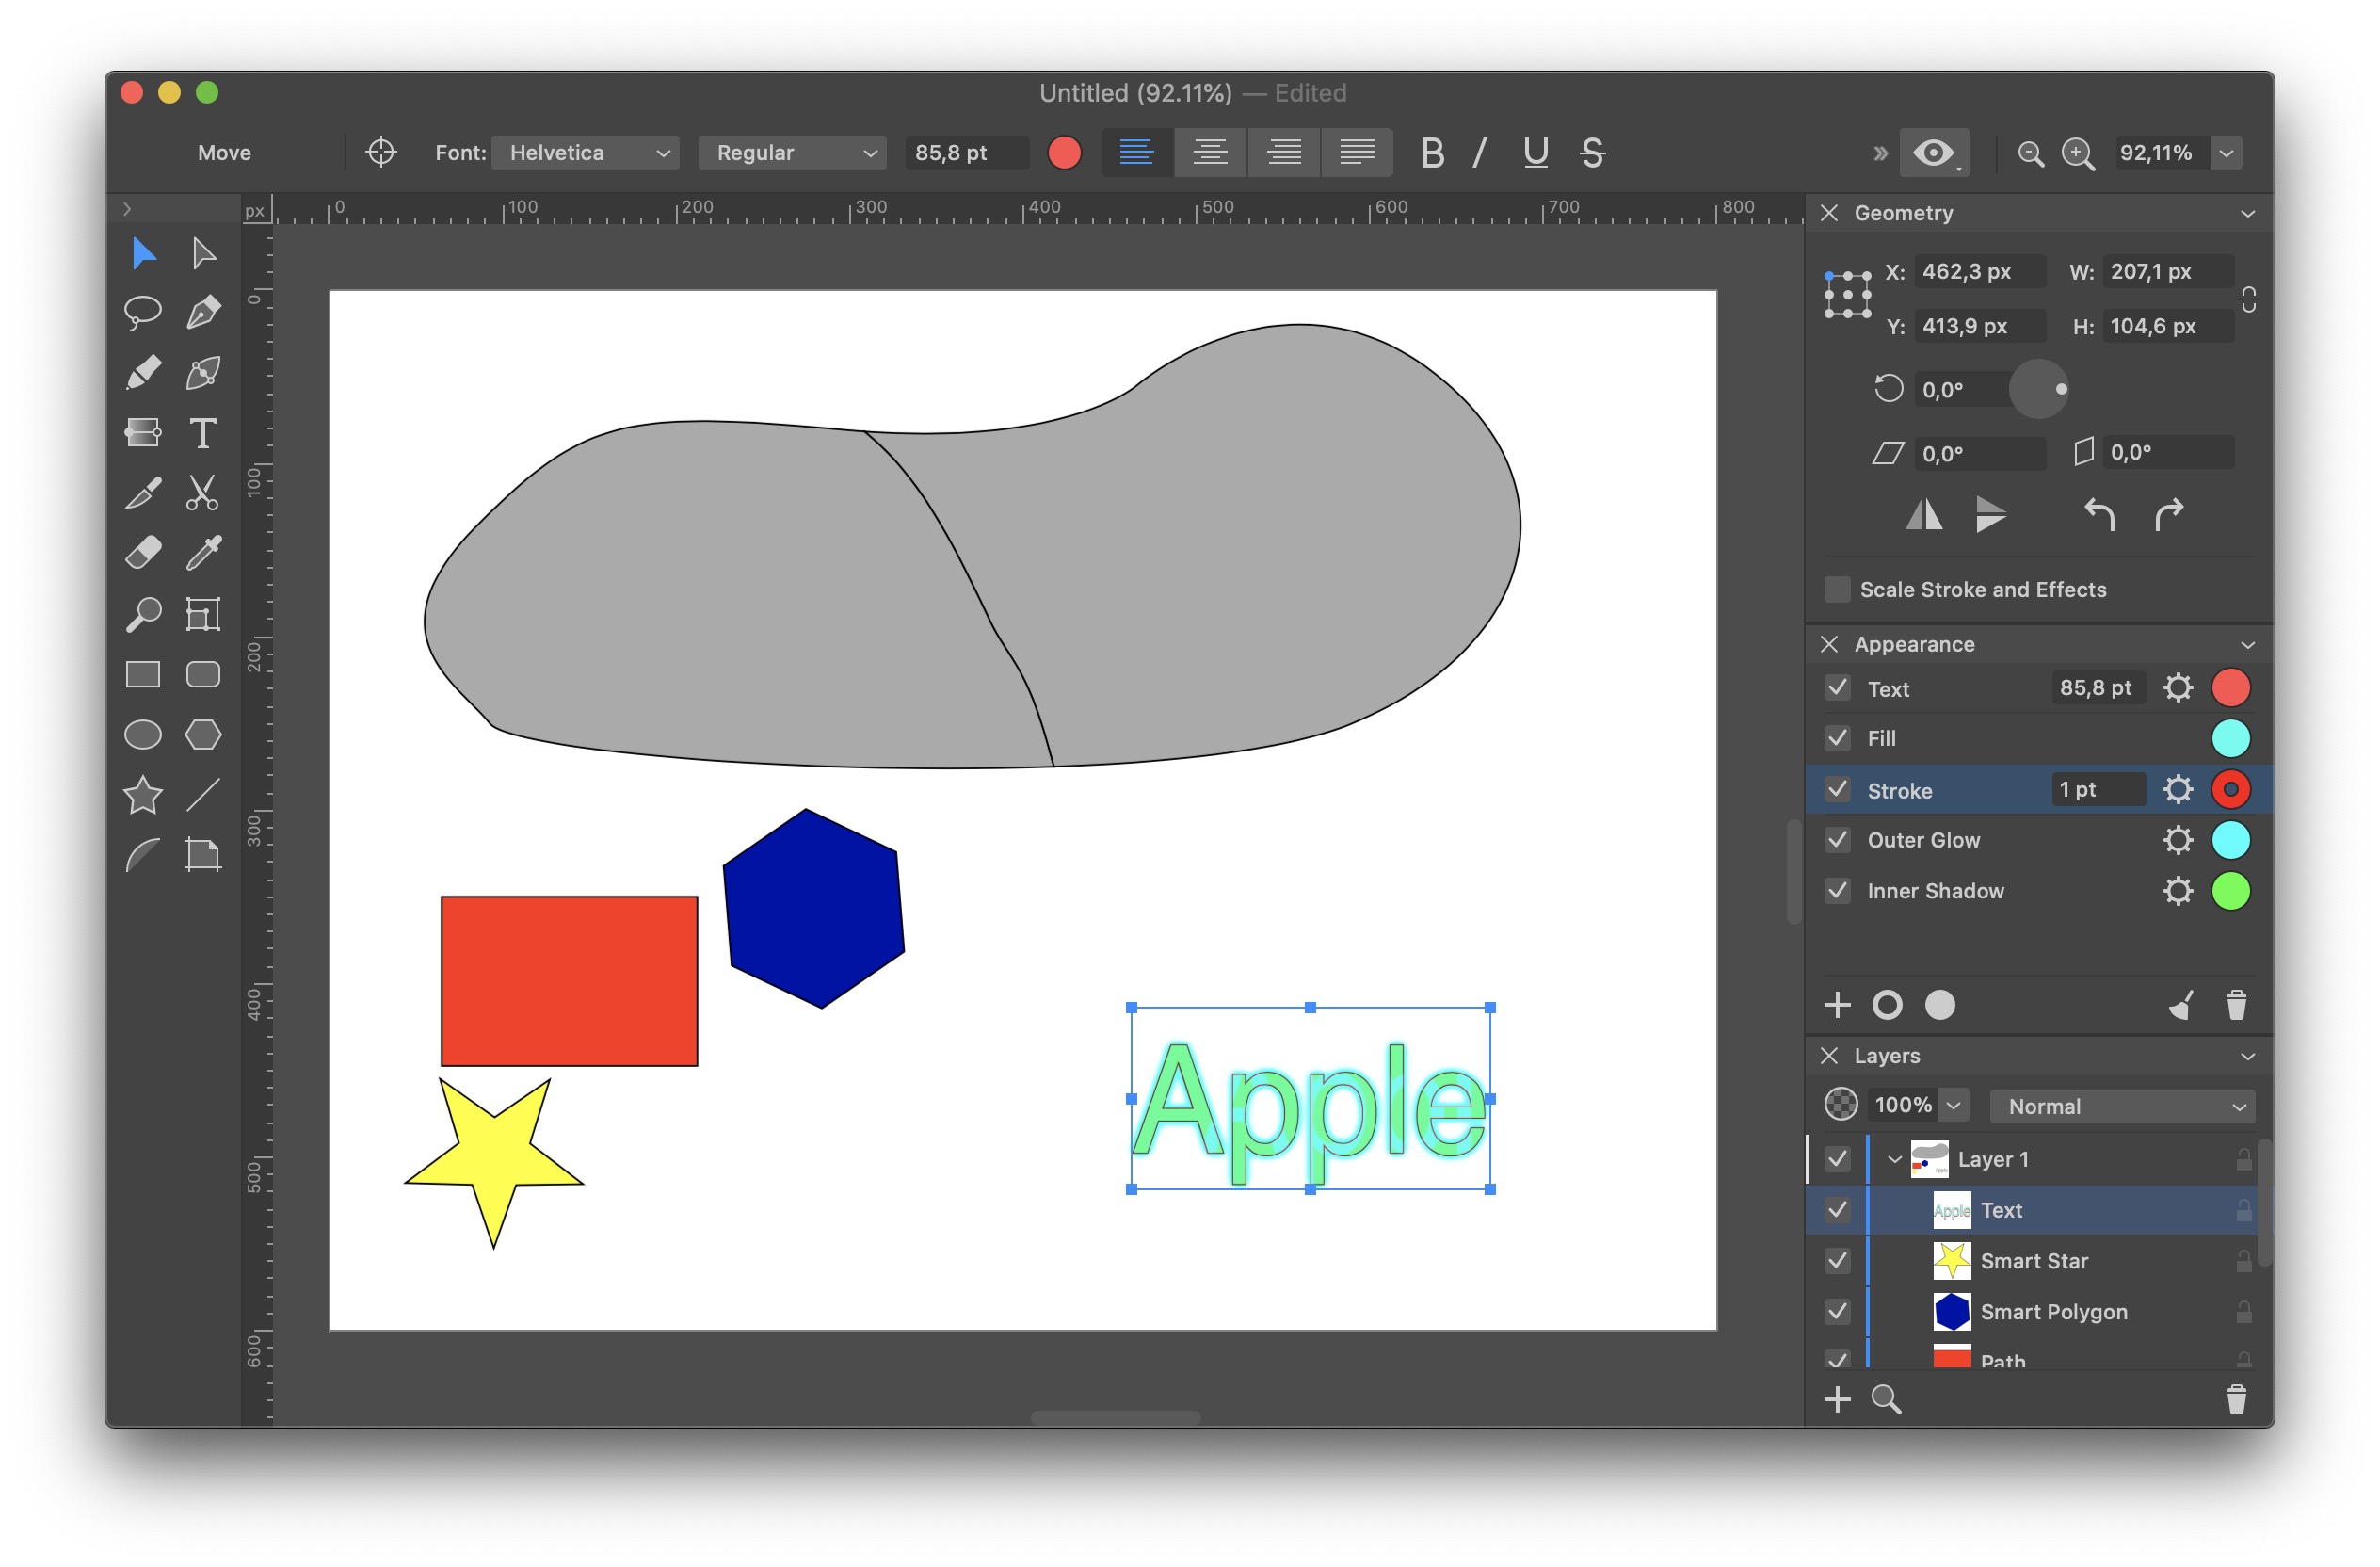
Amadine offers all the tools a graphic designer could need. Most often, of course, you will work with the pen tool, which in this case has been redesigned to be much more accurate, but at the same time easy to use. The Draw tool is also a great tool. With it, you can simply use your mouse to draw any shape and Amadine will then convert it into more rounded vector shapes. So you can use this tool perfectly to convert a part of a photo into a vector. Of course, you can also use the pen afterwards for this purpose, but this is more suitable for creating logos and other vector images. These are basic tools that you simply cannot do without.
From the classic ones…
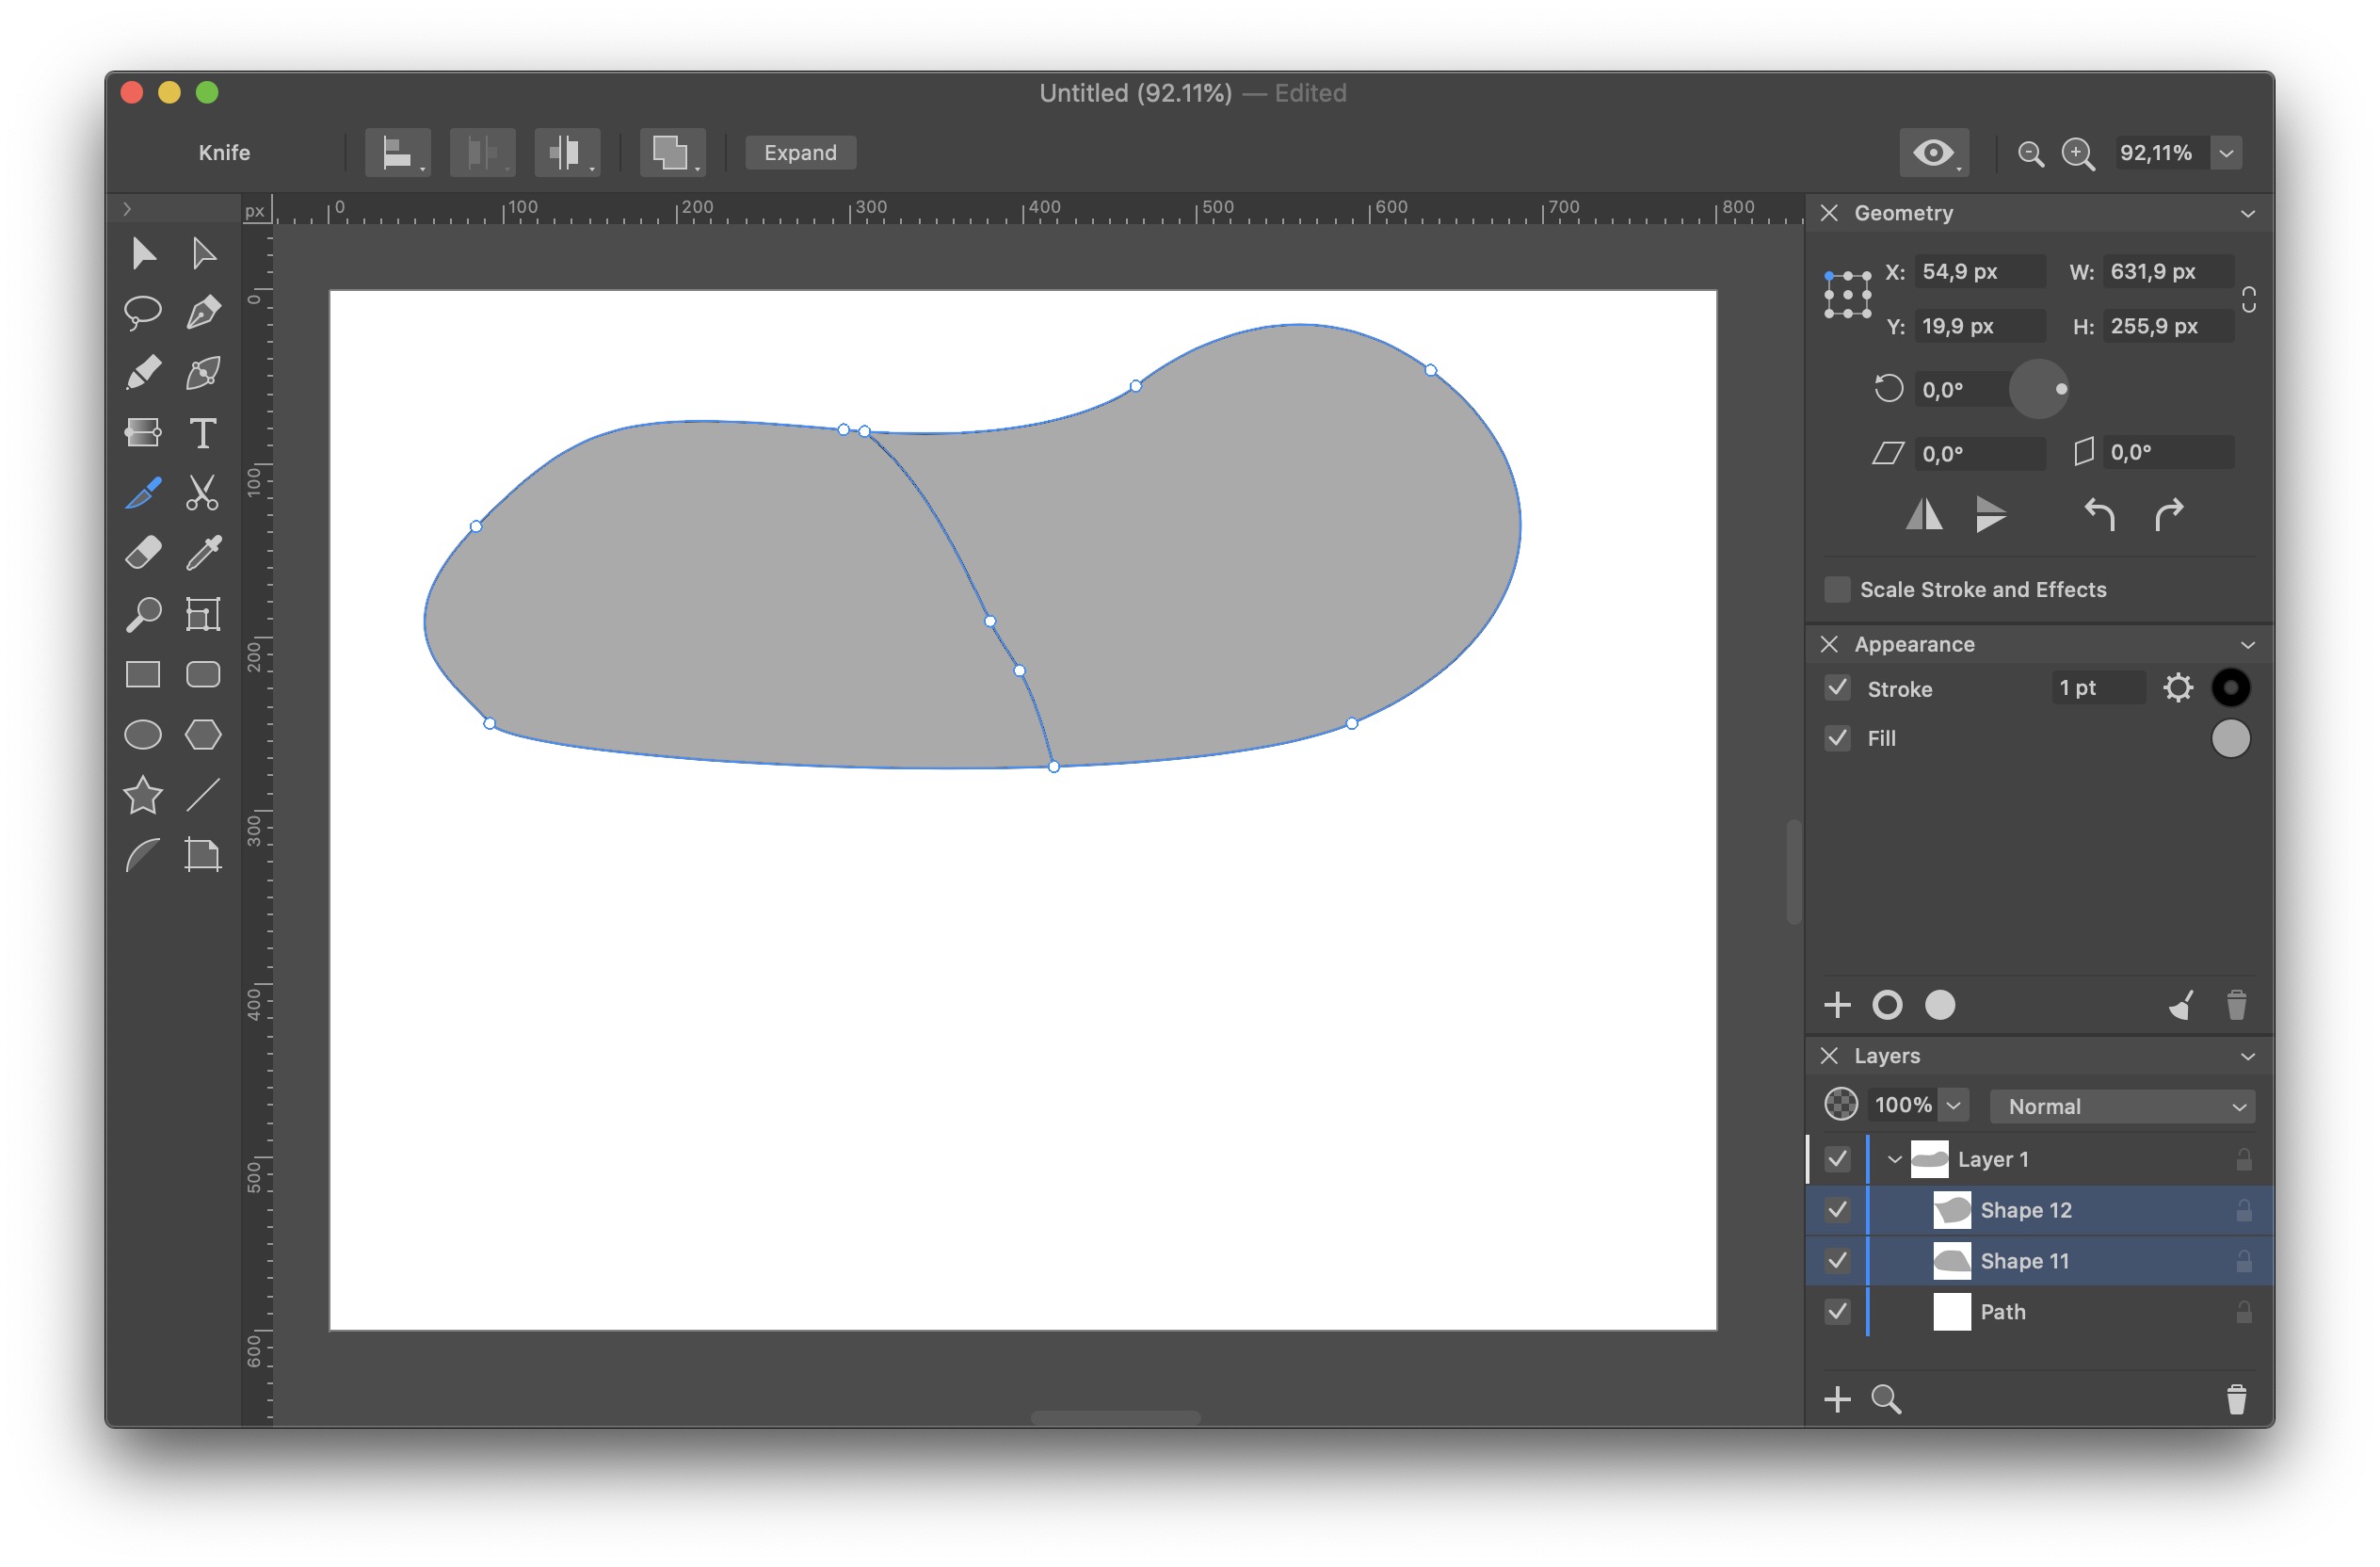
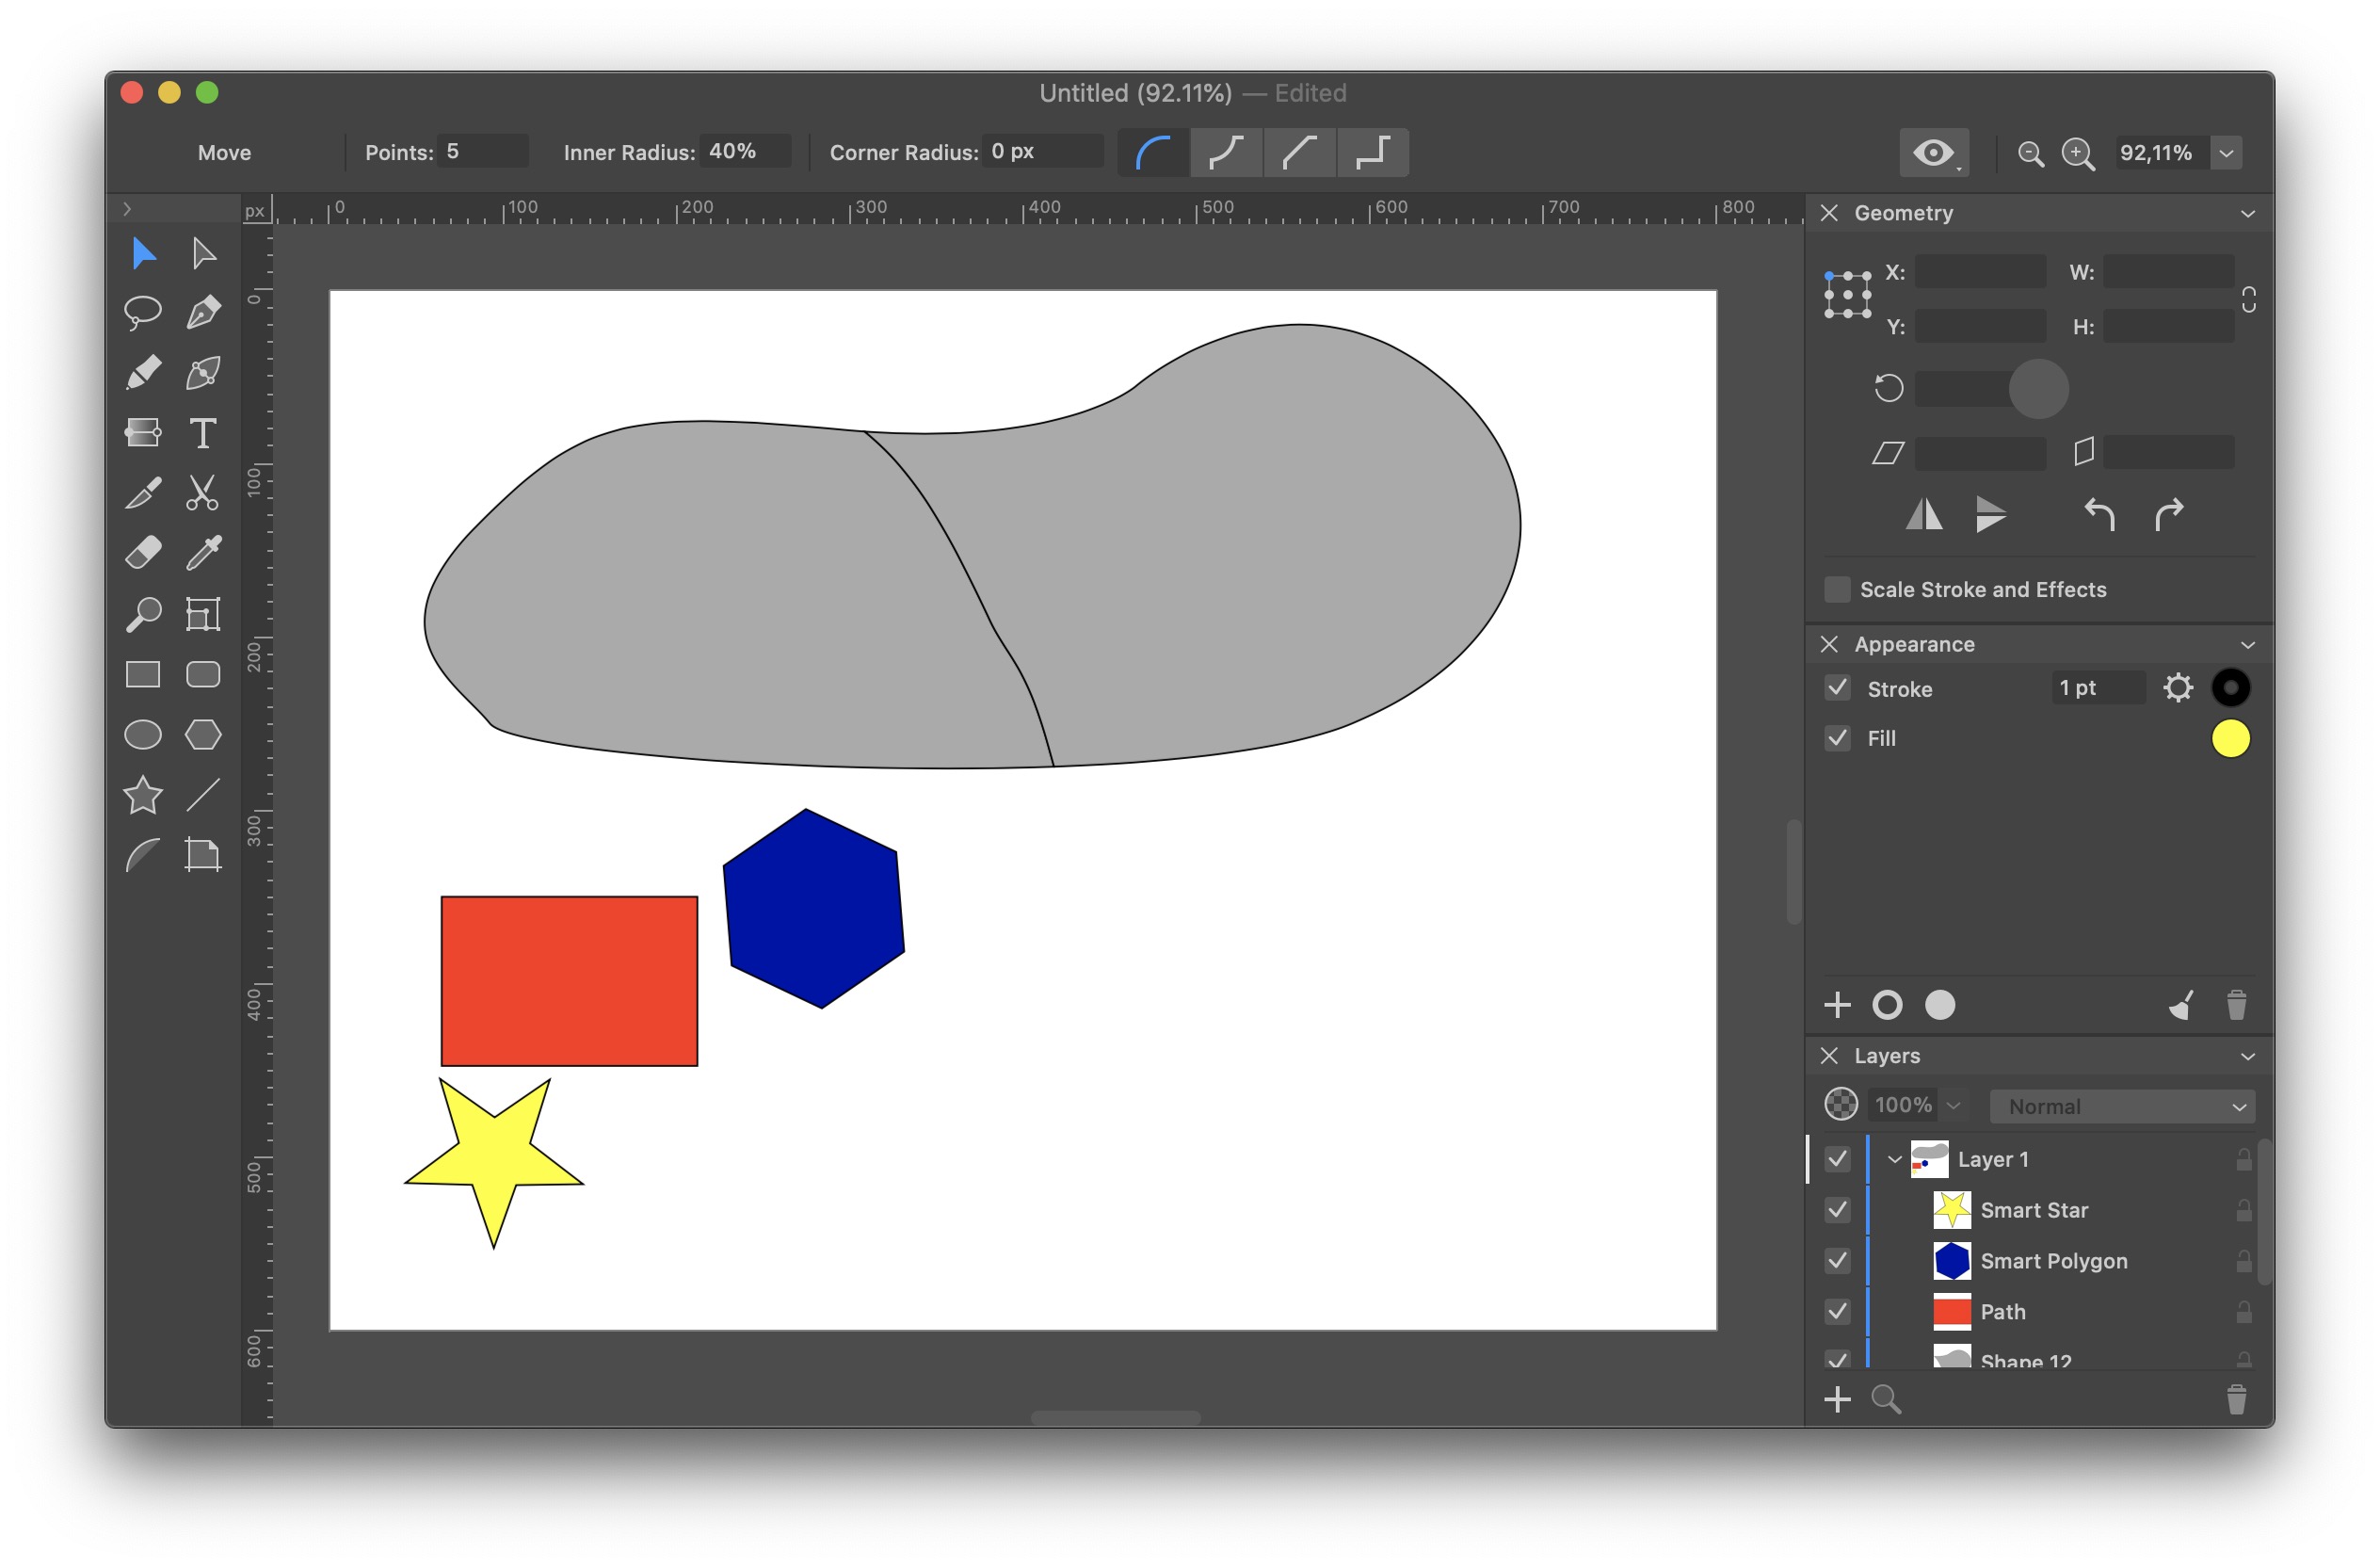
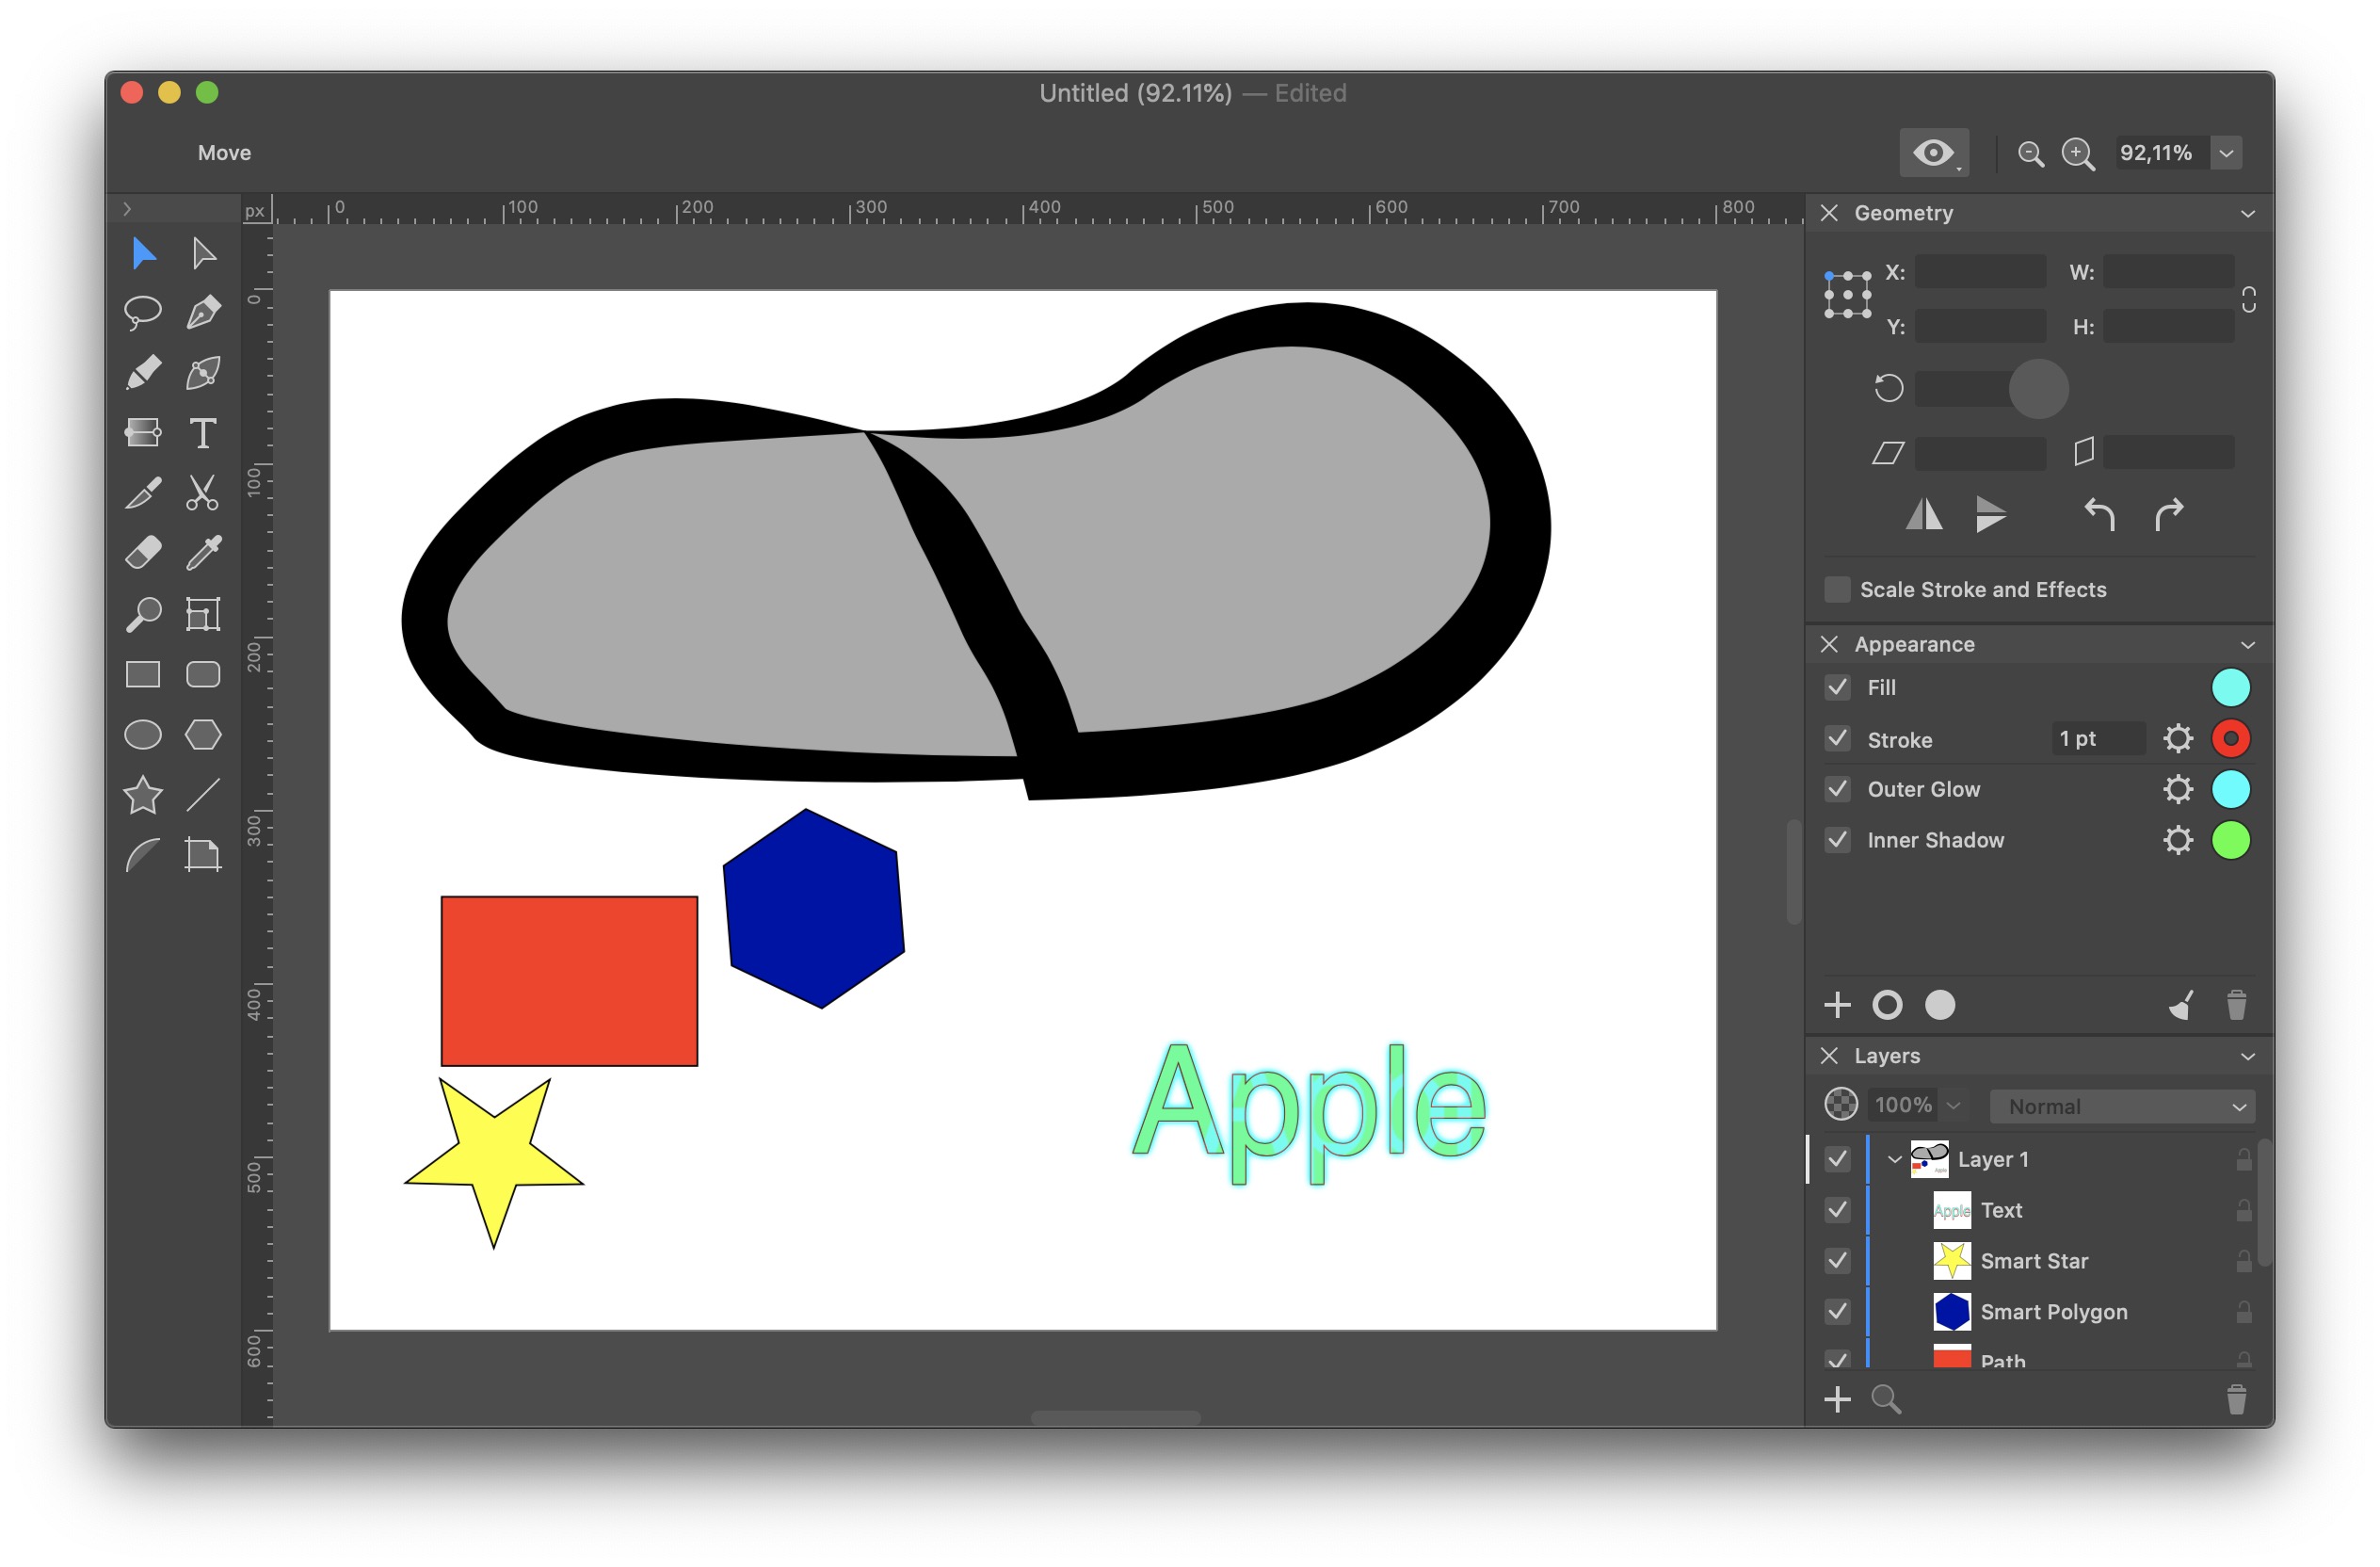
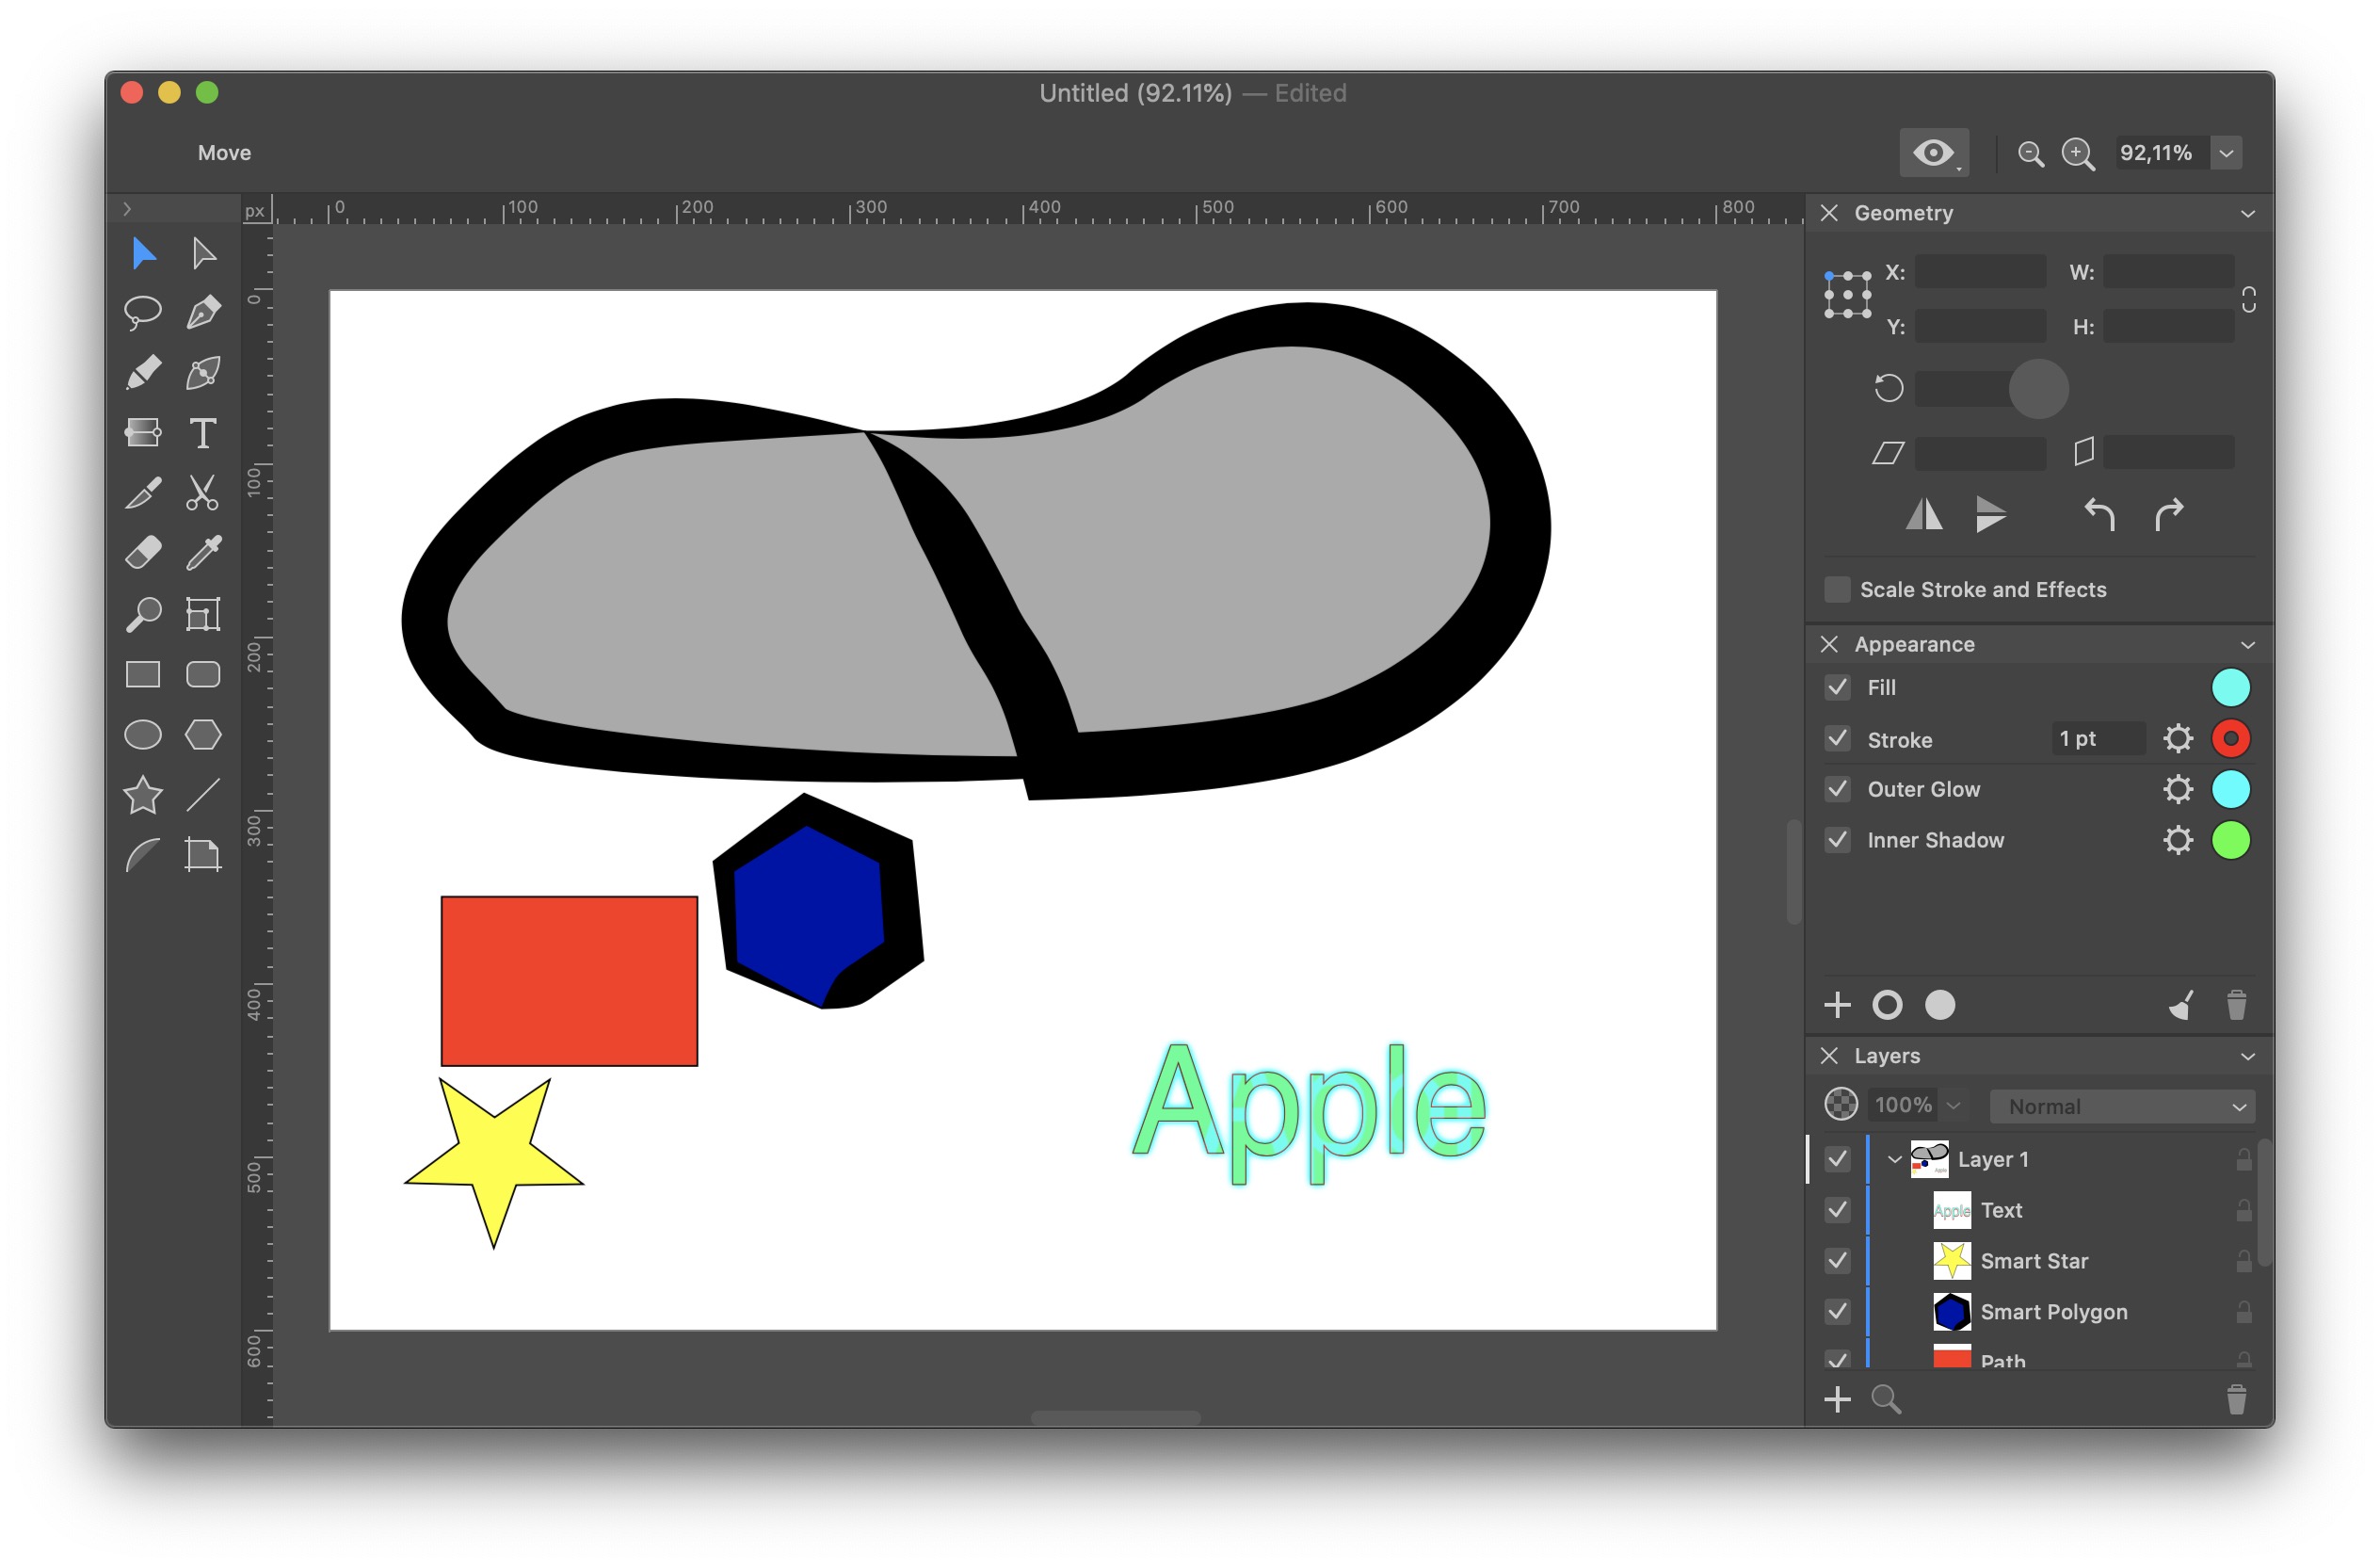
After that, of course, other tools are available, which should not be missing in any vector program. For example, this is the gradient tool to create a gradient fill. In addition, there is of course a rubber or a razor to separate one part of the object from the other. There are also classic tools for inserting objects, i.e. square, circle, polygon and more. I was also interested in a tool called Path Width, or rather a tool that determines the width of a pen stroke or other tool. The classic width can of course be set in the right part of the window in the parameters. But this tool is used to give a certain "artistic style" and flair to a certain object by changing the width of the stroke depending on the angles. The result then looks as if you took a classic pen and wrote with it on paper.
... up to the more special ones
There is also the option of adding text to the vector. Here again, you can use several options to add text to the image. Either you add it in the classic way, or you use writing on an already created move. With this tool you can, for example, make any line that will be a kind of "line" for the text. After that, you just need to click on this line, write the text, and it will then be formatted into a line shape. It is also possible to write text inside the object. As the name suggests, with this tool you can mark the object in which you want to write text. This is then formatted to fill the area inside the object. Of course, all these tools are part of other applications as well, but it is very easy to use them in the Amadine program. Competing apps often take forever to get to that option. In many cases, the function is also unnecessarily complicated, which of course is not a threat in this case.
Effects, dimension and layer settings
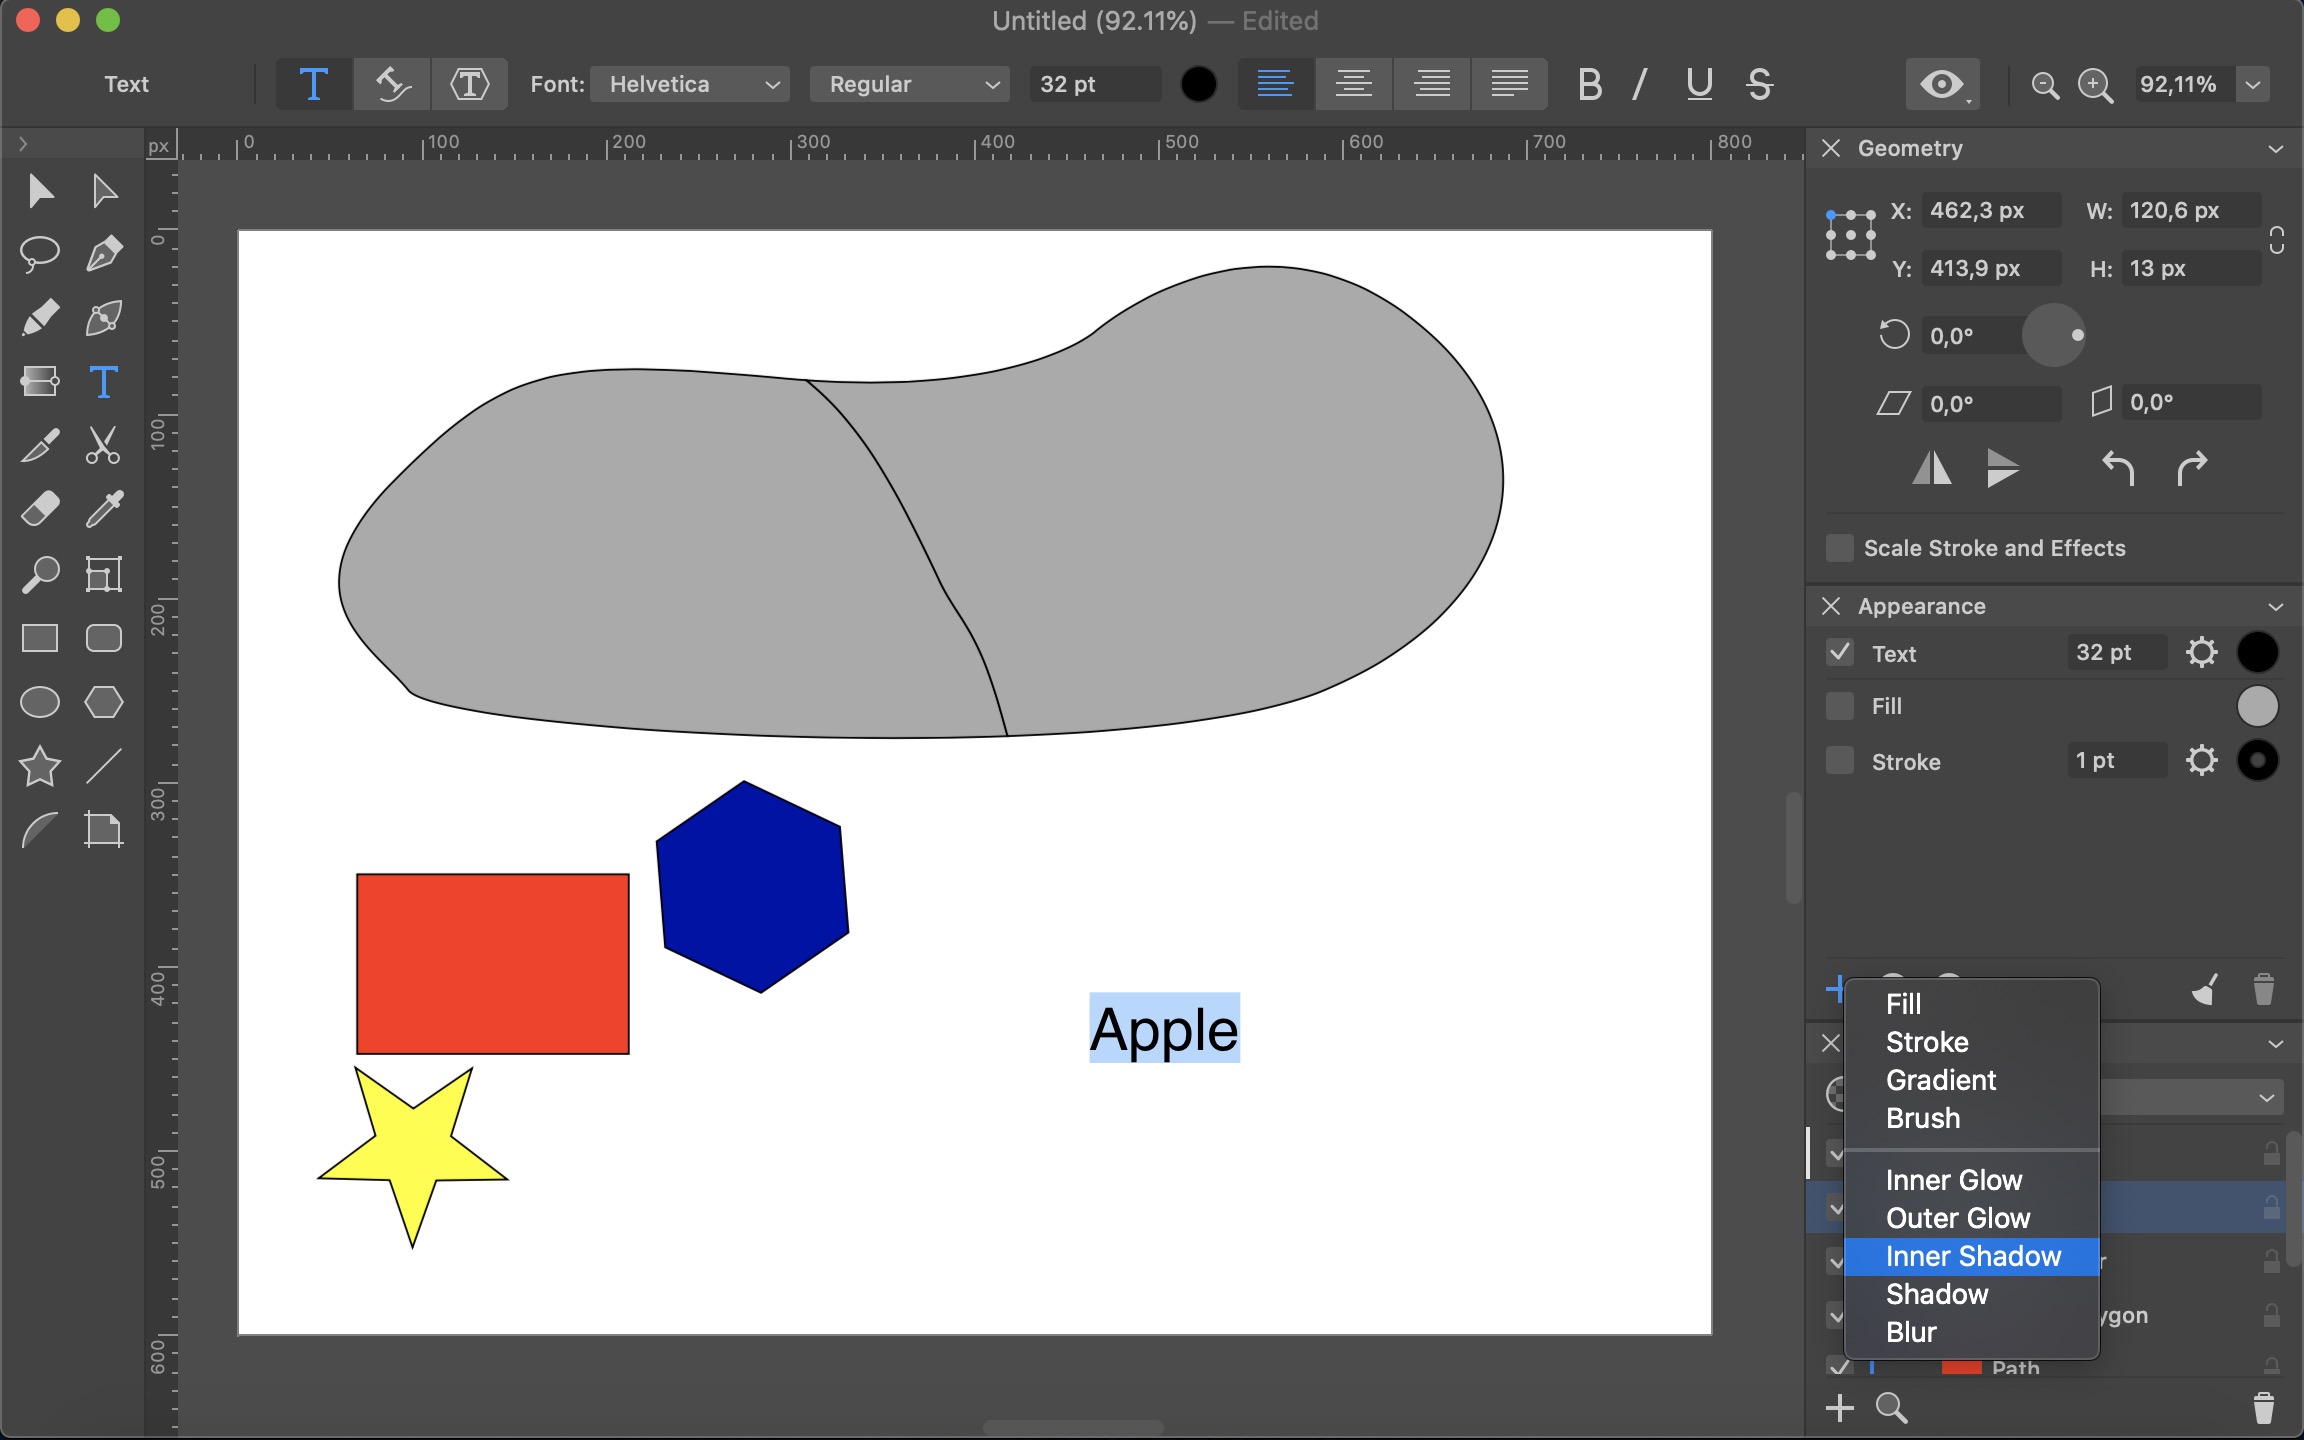
In addition, you can apply various effects to the created object, such as a shadow or glow in the foreground or background. Just click on the plus icon in the Appearance section in the right part of the application. You will then see a list of all possible applicable effects. At the same time, you can also set other elements of objects or strokes here. In the upper right part of the window, you can then find the dimensions settings, where you can choose the size of a certain object, or perform various actions with it - for example, rotate or flip it. In the lower right part, as usual from competing applications, there are layers that you can, of course, move around and work with.
Free tutorials
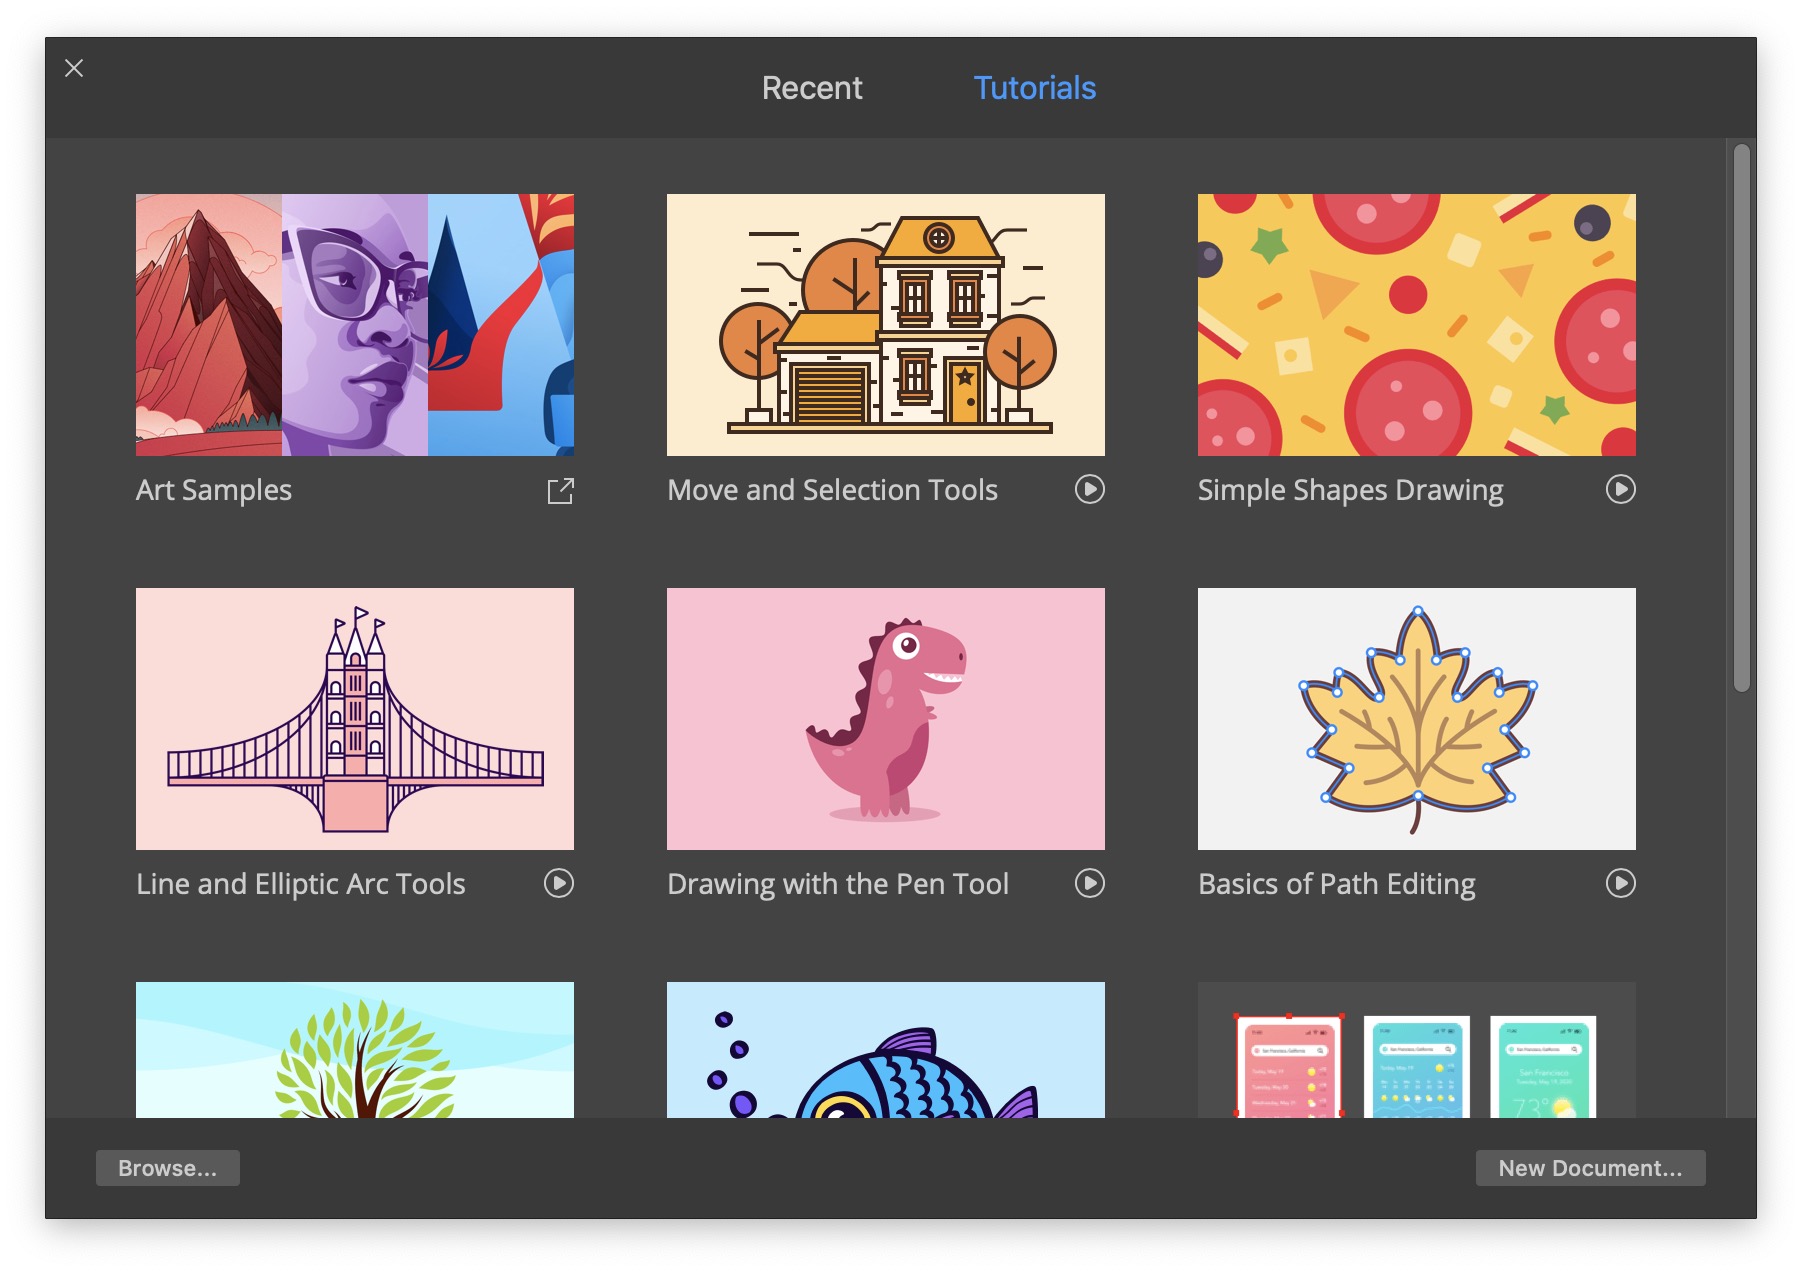
Learning to work with Amadin is really very simple. If you have ever worked with a vector program, I can assure you that Amadin will be a breeze for you. For those less skilled who would like to learn vector programs, I can definitely recommend Amadin. It's easy to use, and BeLight Software itself, the company behind this app, makes great video guides and tutorials on their YouTube channel that will definitely help you out. The videos are of course in English, but I think that this is not a big problem nowadays. You can view the tutorials in the playlist I have attached below.
záver
As I mentioned above, I can recommend the Amadine program to all users who want to learn to work with vectors, or to those users who do not want to pay huge sums for competing vector programs and the simpler Amadine is enough for them. Although I work with vectors quite often, they are never world creations. I had the chance to try Amadine for my last project and I have to say that I finished it much faster than in Illustrator. If I have to work with vectors again in the future, I will definitely use Amadine.
About BeLight Software
Of course, BeLight Software will continue to work on the Amadine program. Alex Bailo, the company's project manager, says that he will listen to user requests and try to make everything work as it should. Other successful applications of BeLight Software include, for example, Swift Publisher for simple publishing, Art Text focused on working with typography, Get Backup Pro for managing backups, or Live Home 3D, which is very popular and is available on both macOS and Windows and iOS.
affinity designer