It's been a few days since we brought you the fifth part of the Profi iPhone photography series. Specifically, in this piece, we looked at photo editing within the Adobe Lightroom application. Since the part itself was already really long, I decided to divide it into two parts. While the first part of this article was published a few days ago, today we bring you its second part. Today we will look at the presets mentioned in the last part, other photo editing options, and finally I will share with you a great package of presets, together with the procedure for importing them. We've got enough going on, so let's get straight to the point.
It could be interest you
Editing with Presets
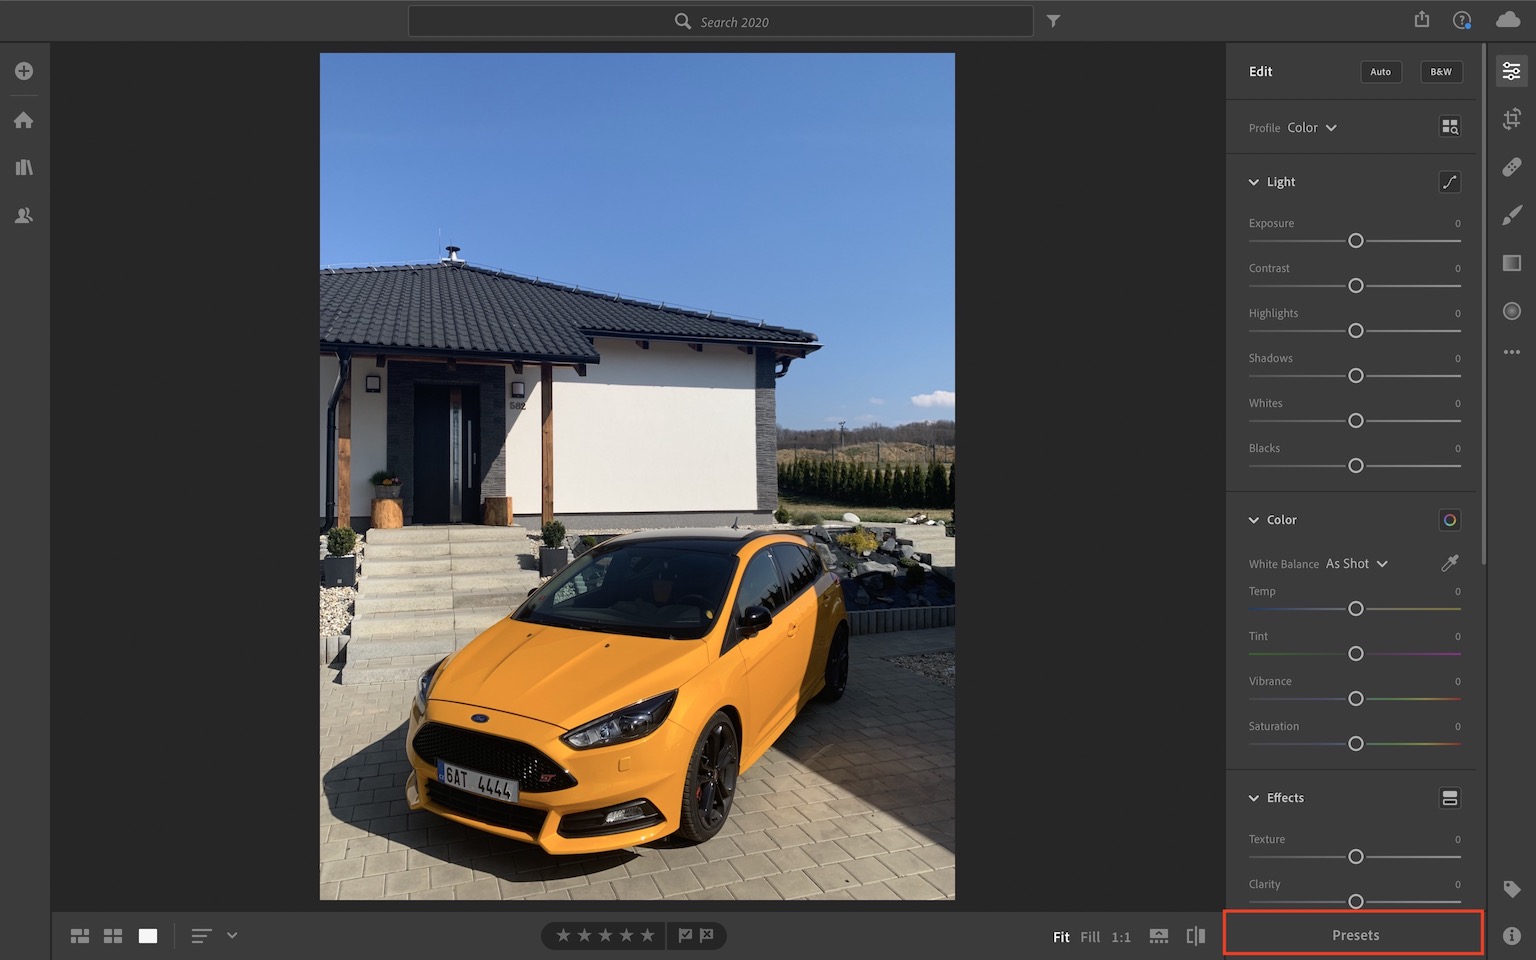
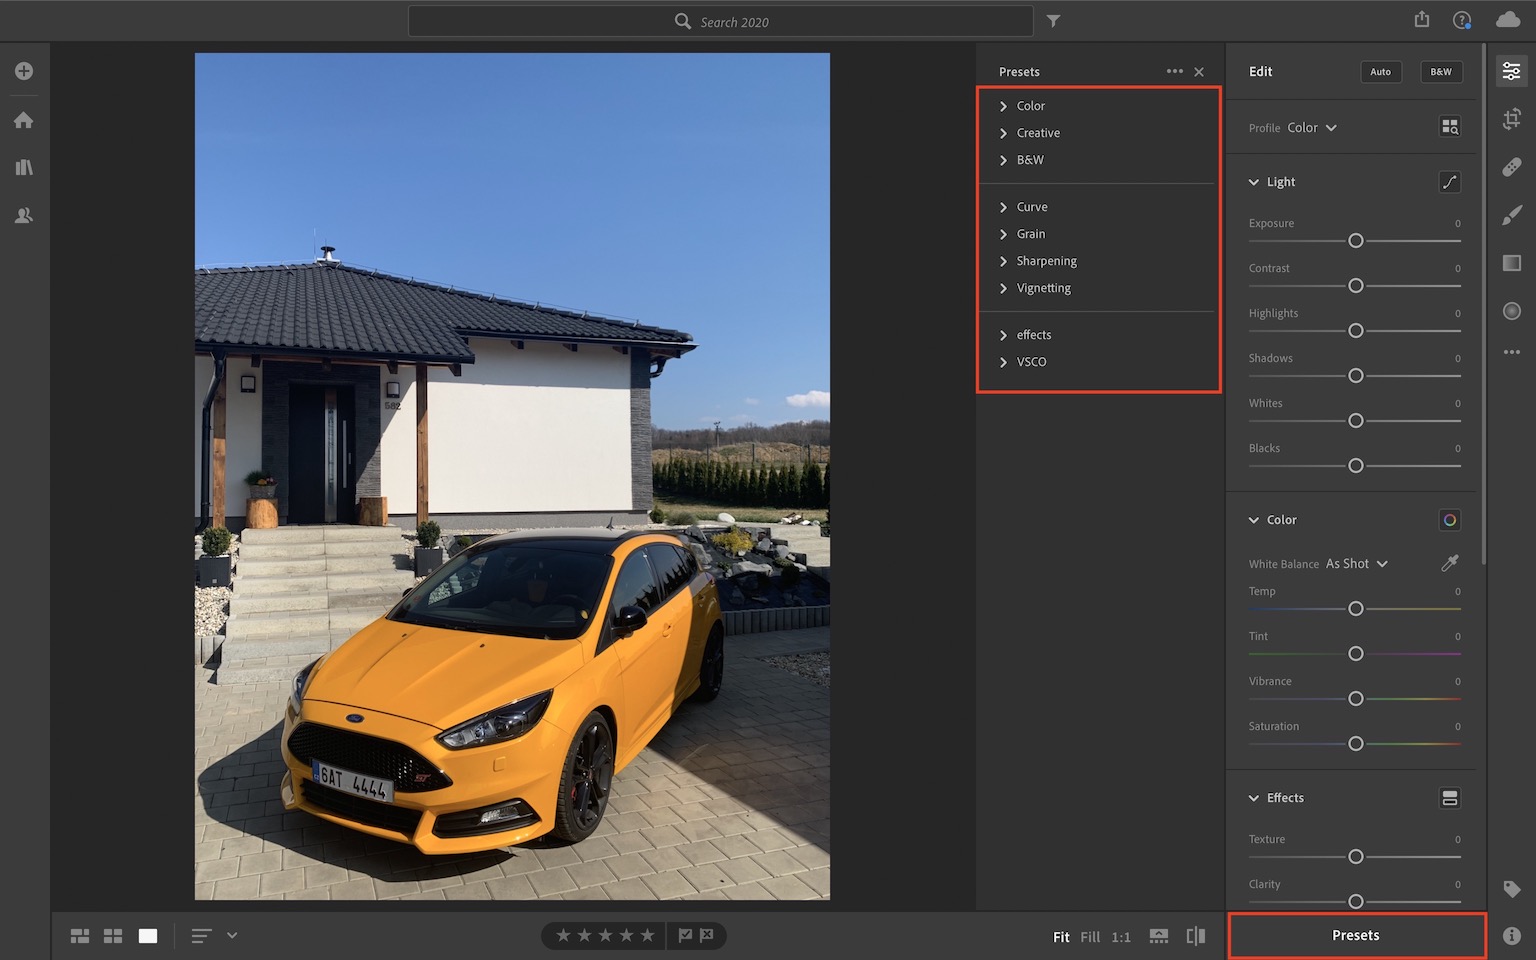
As I mentioned in the last part, one of the easiest and most popular options for editing photos in Adobe Lightroom is Presets. These are sort of preset editing "templates" that can be applied to edited photos. Of course, not every preset is suitable for every photo, which is why it is necessary to carefully choose the one that will suit the photo the most. To view the available presets, just tap the big button at the bottom Presets. Once you do so, a second sidebar will appear on the right side of the screen. In it, you just need to click on the corresponding group of presets. If you want to view a certain preset on your photo, just hover over it with the cursor. If you like it, you apply it by tapping. Of course, you can change the preset settings using the mentioned sliders for adjusting the exposure, etc.
Additional editing tools
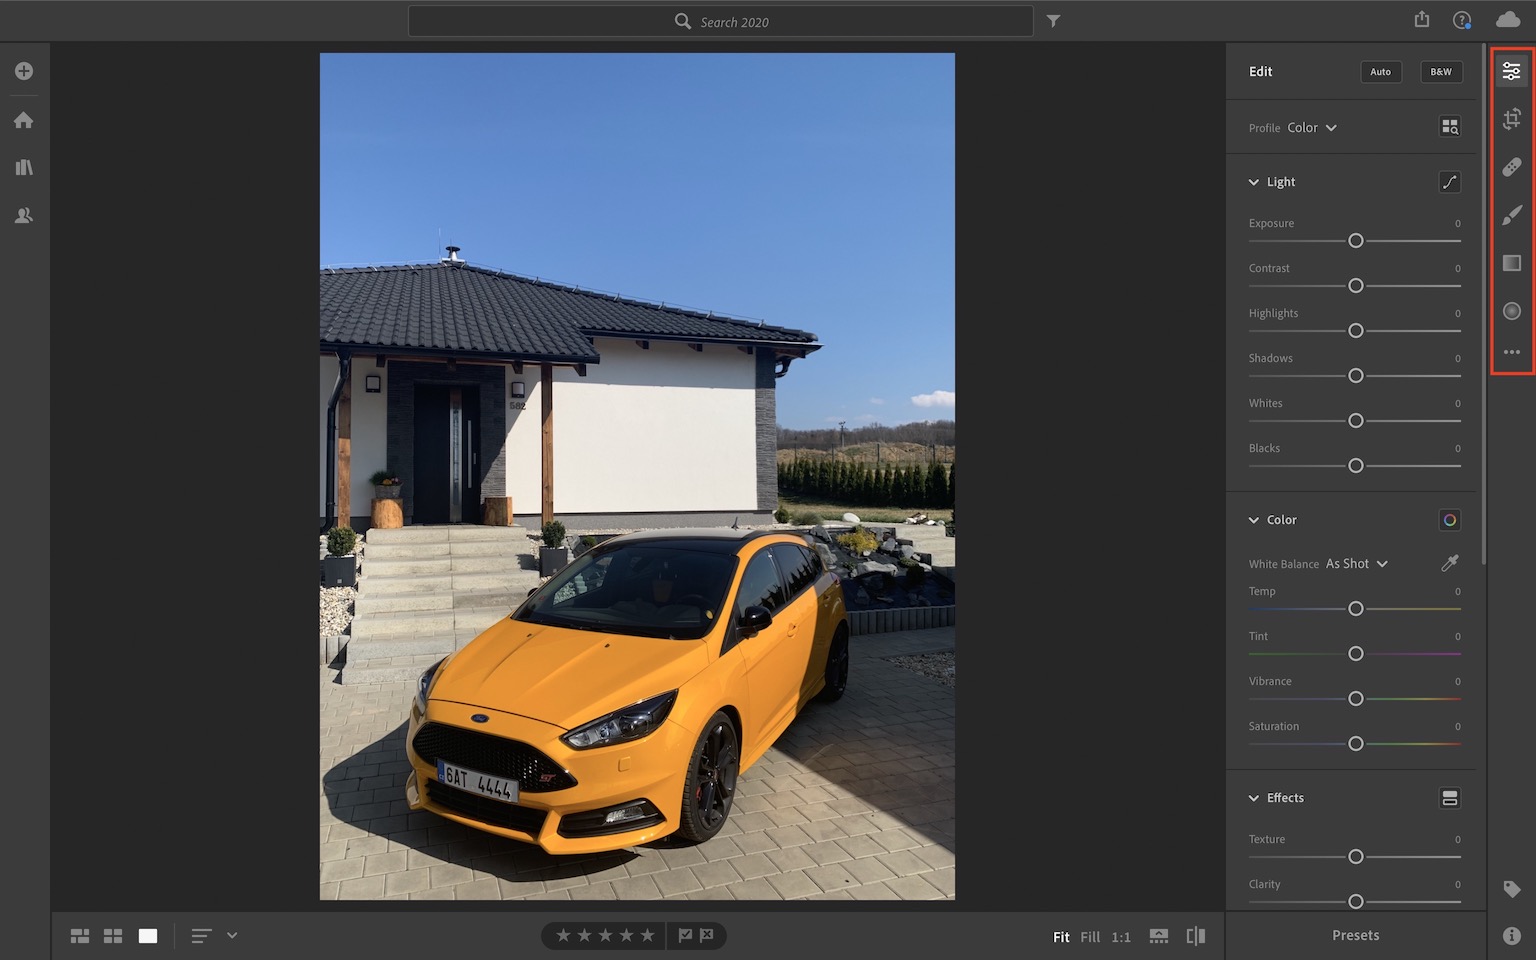
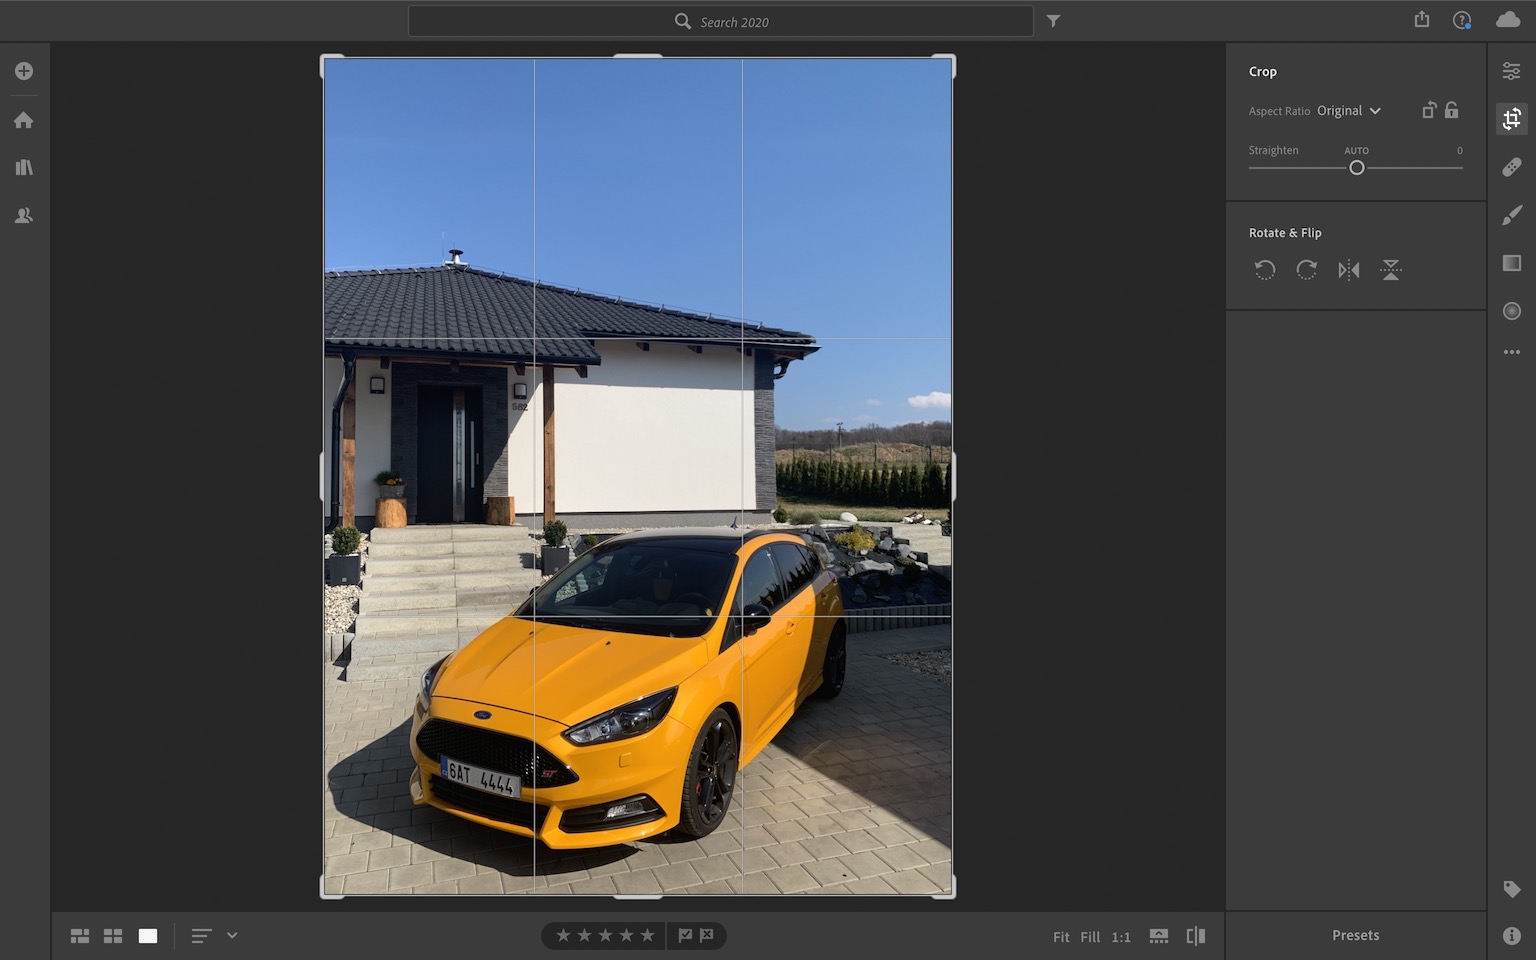
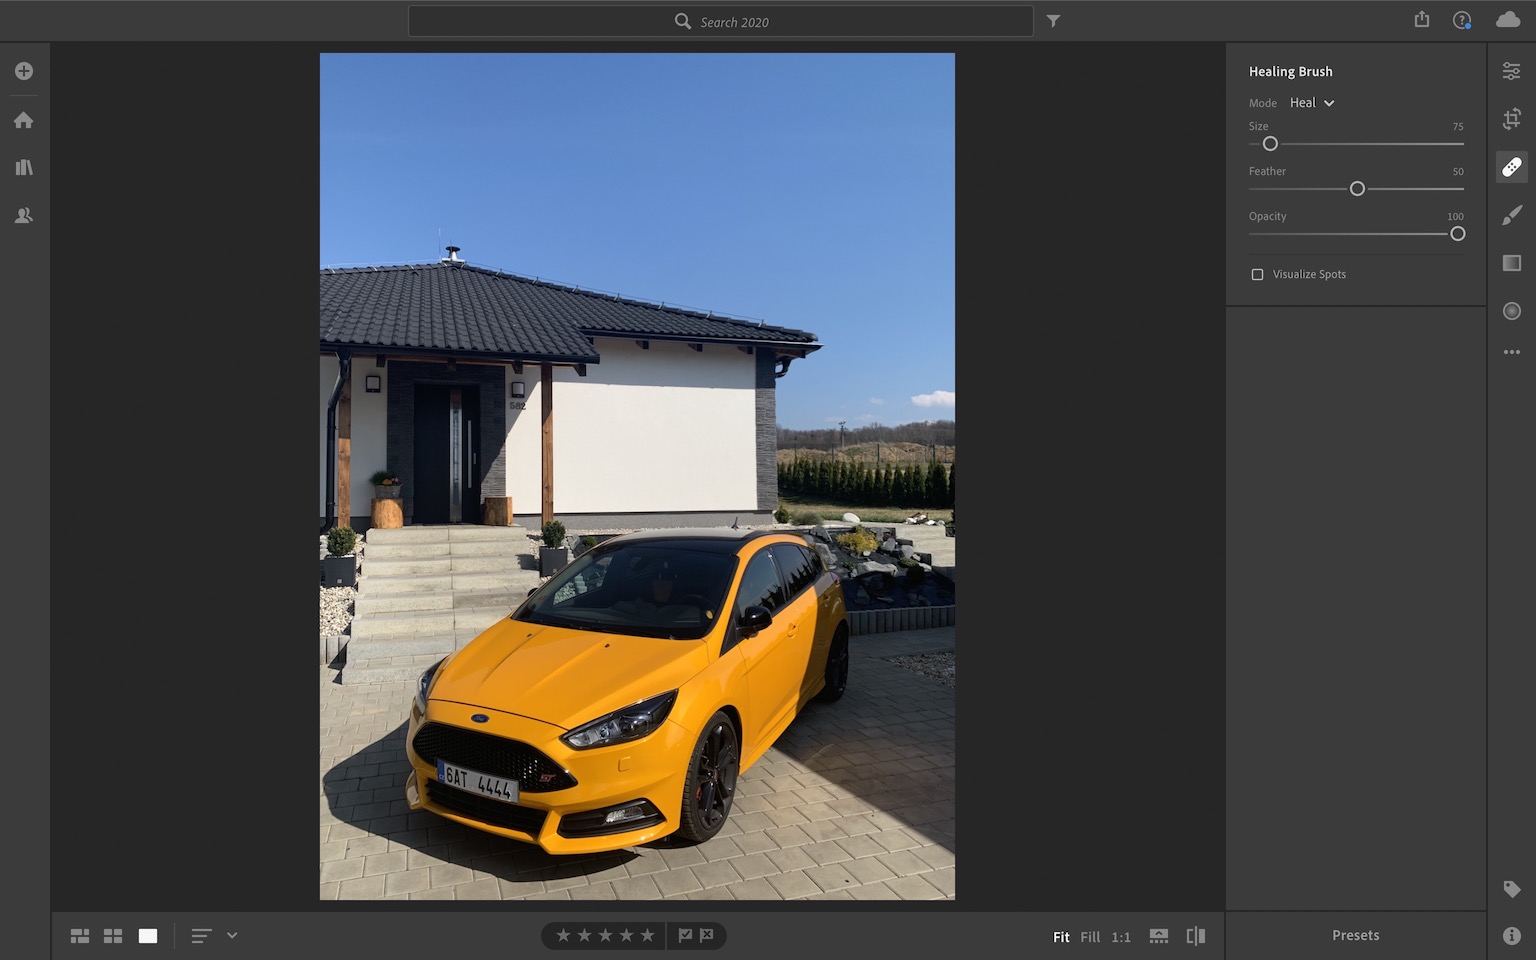
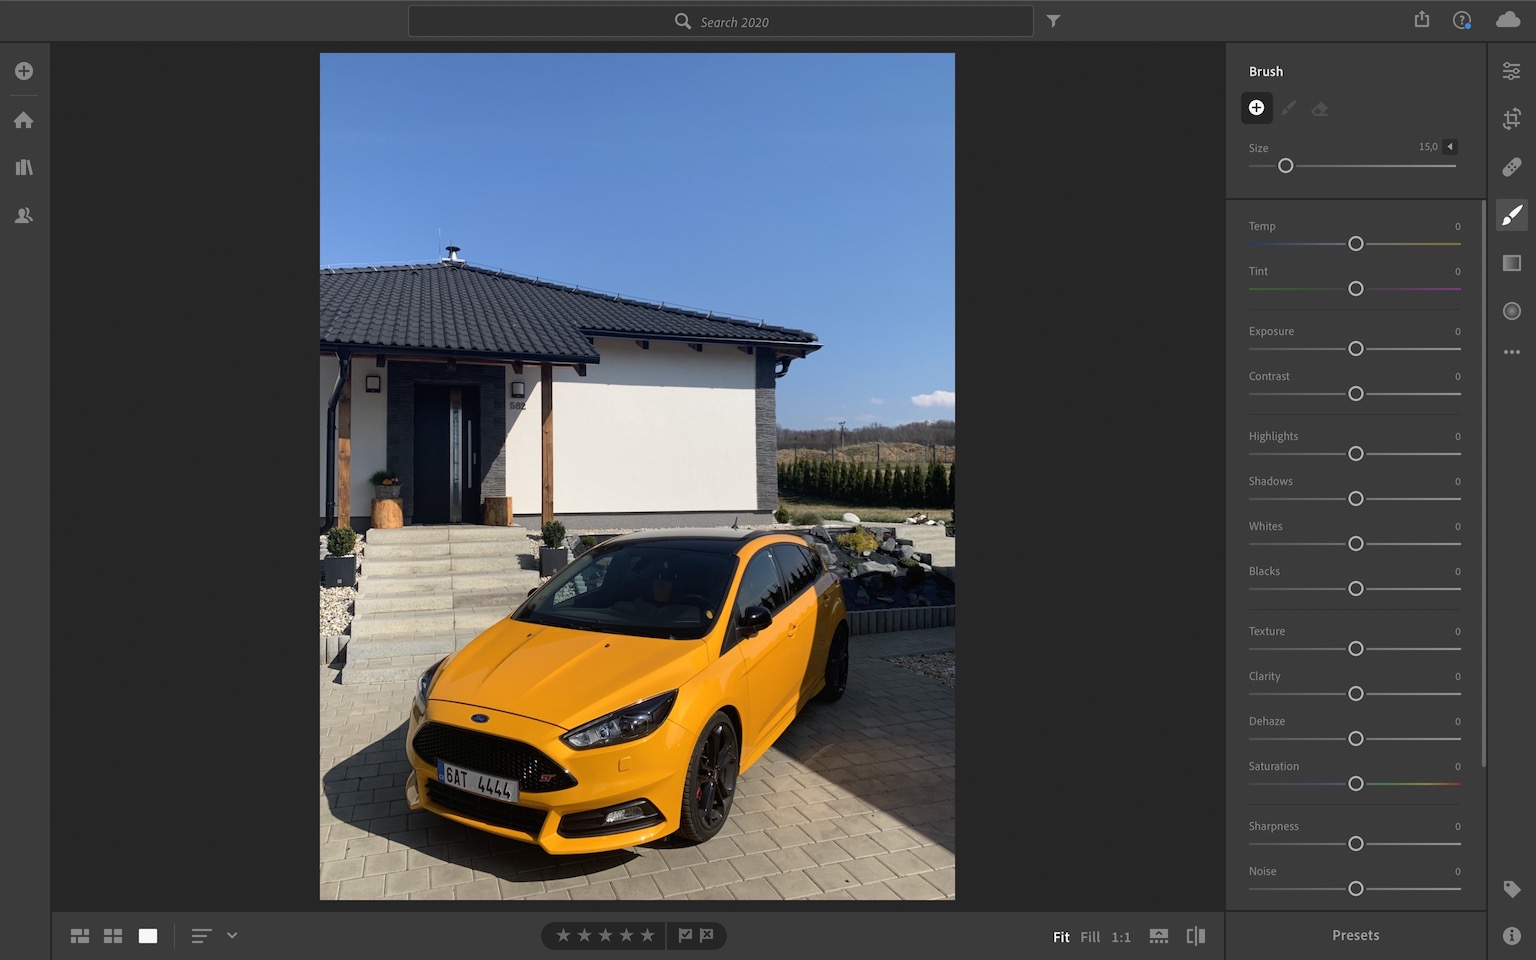
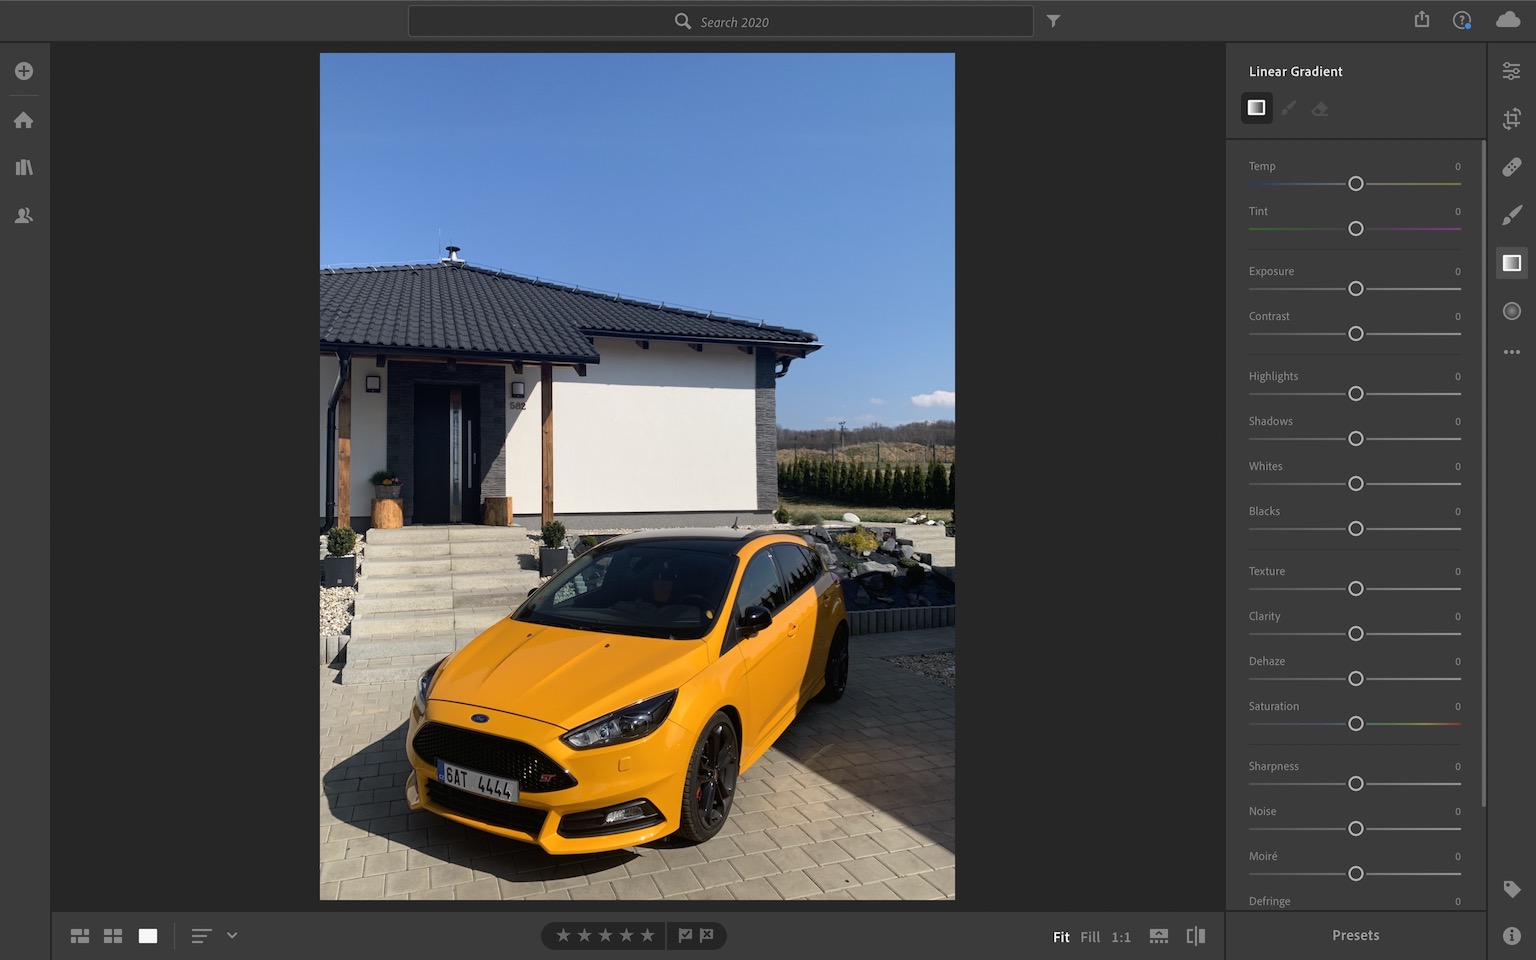
There are also other photo editing tools available within Adobe Lightroom. You can move between them using icon at the top right of the screen. Of course, the rotate and crop icon is used to easily crop your photo to a certain format, or you can rotate or flip it here. If you click on the patch icon, you will find yourself in the Healing Brush tool environment, thanks to which you can perform retouching with a brush. In the side panel, you only need to set the size, strength and coverage. If you switch to the Brush section at the top right, you can use the sliders to set the adjustments that the brush will "carry". Where you then swipe the brush, the adjustment settings will be reflected. Additionally, tools for adding transitions are available on the right. After clicking on the three dots icon, you can see other options, such as viewing the original photo without editing, etc.
Presets package + import instructions
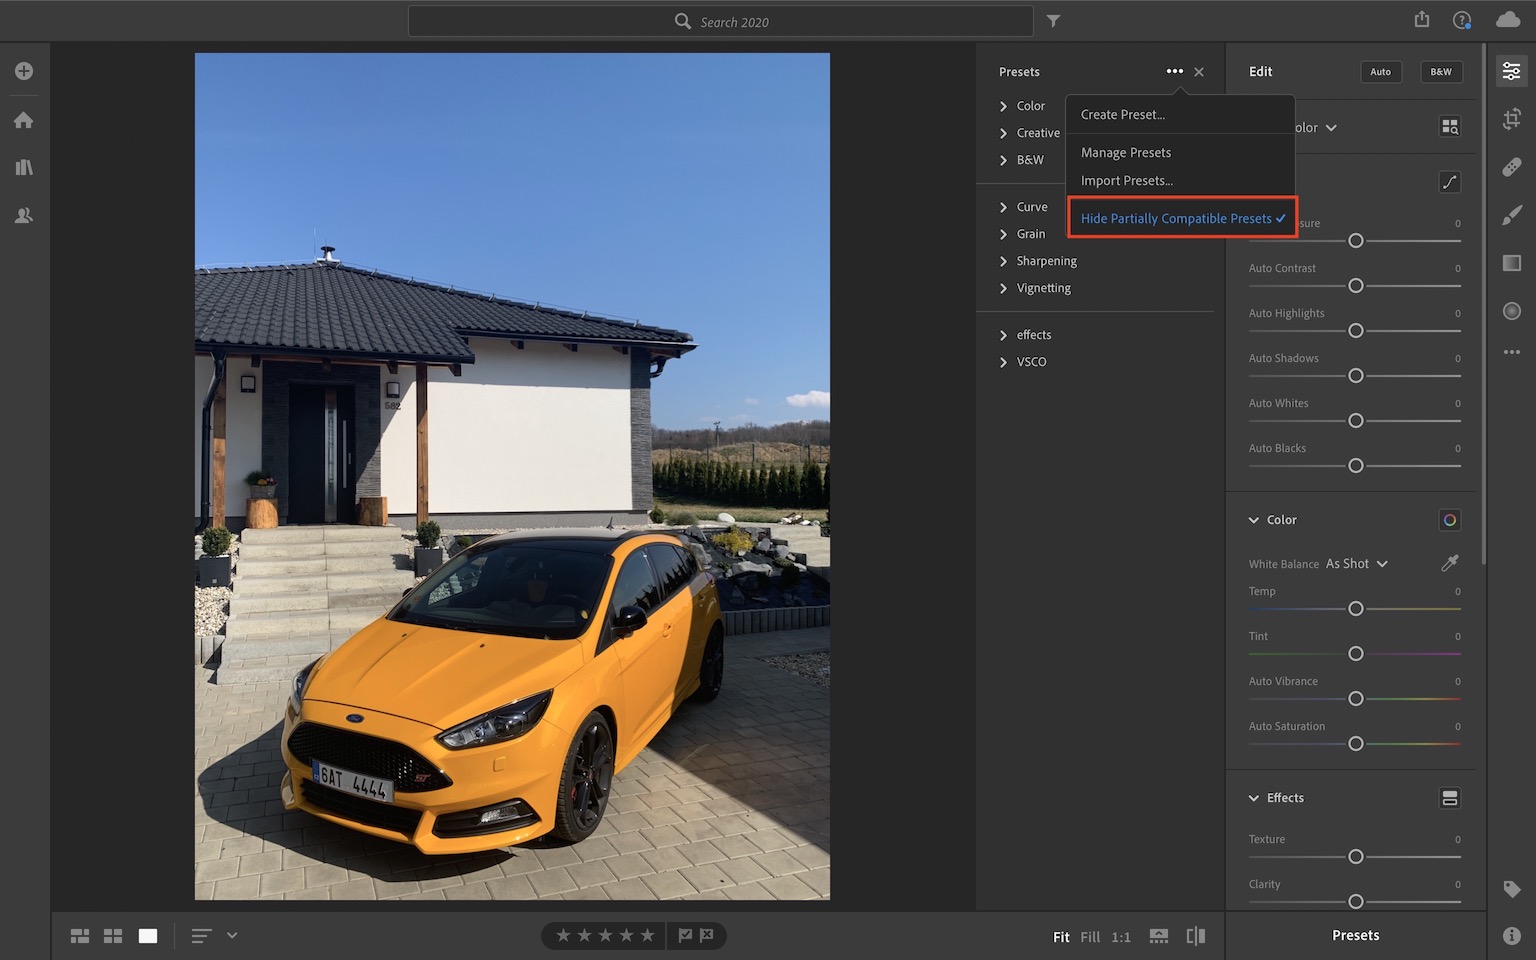
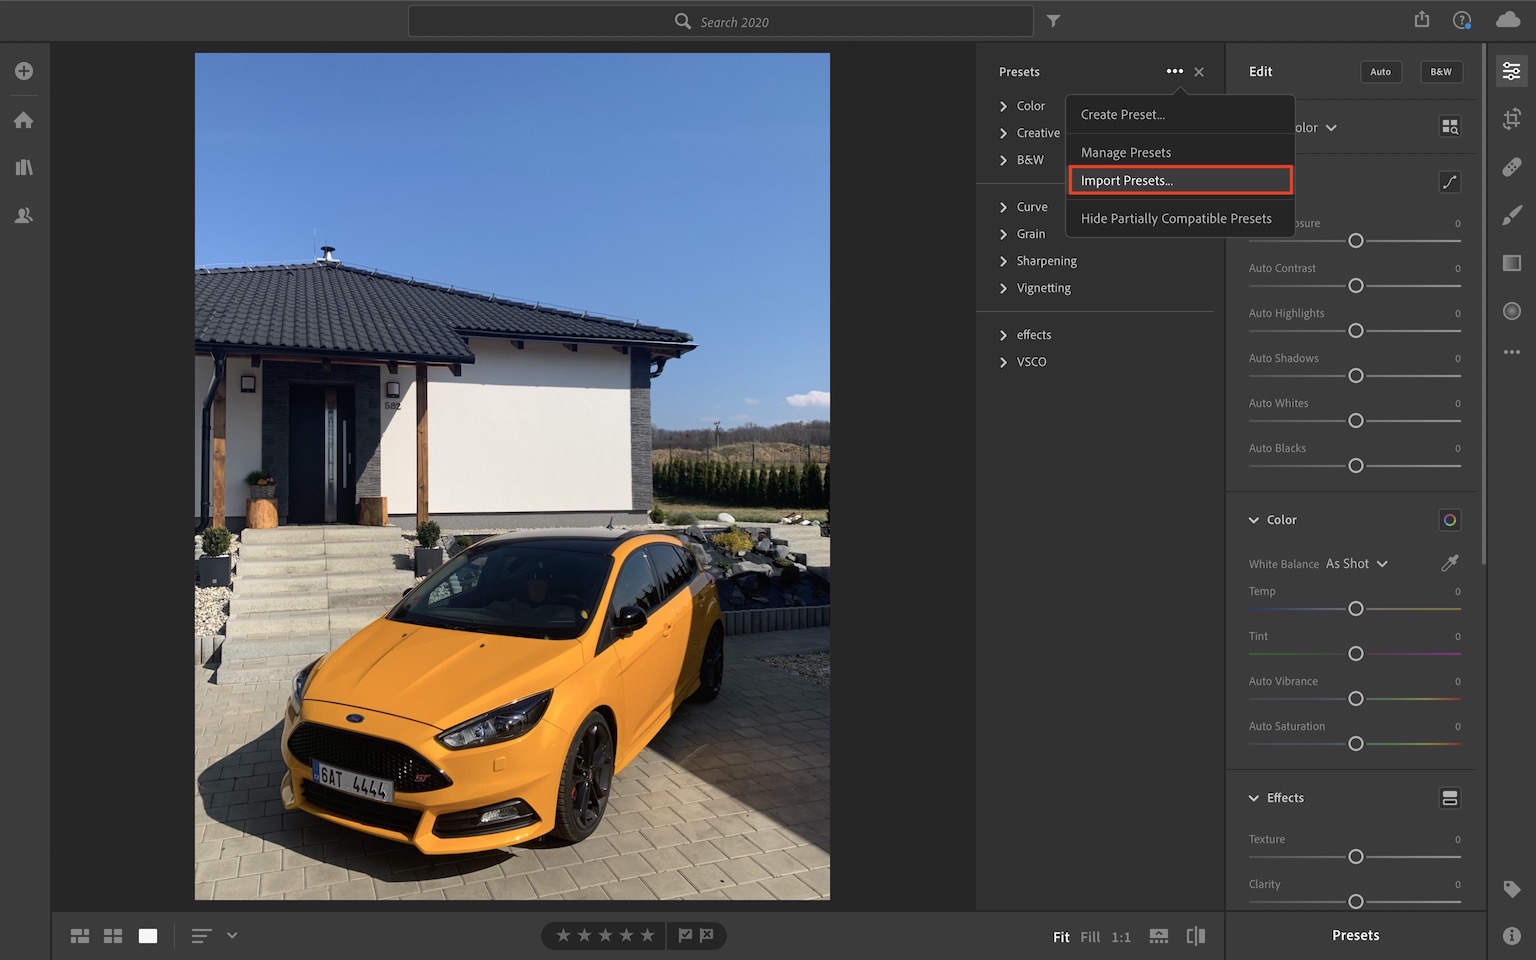
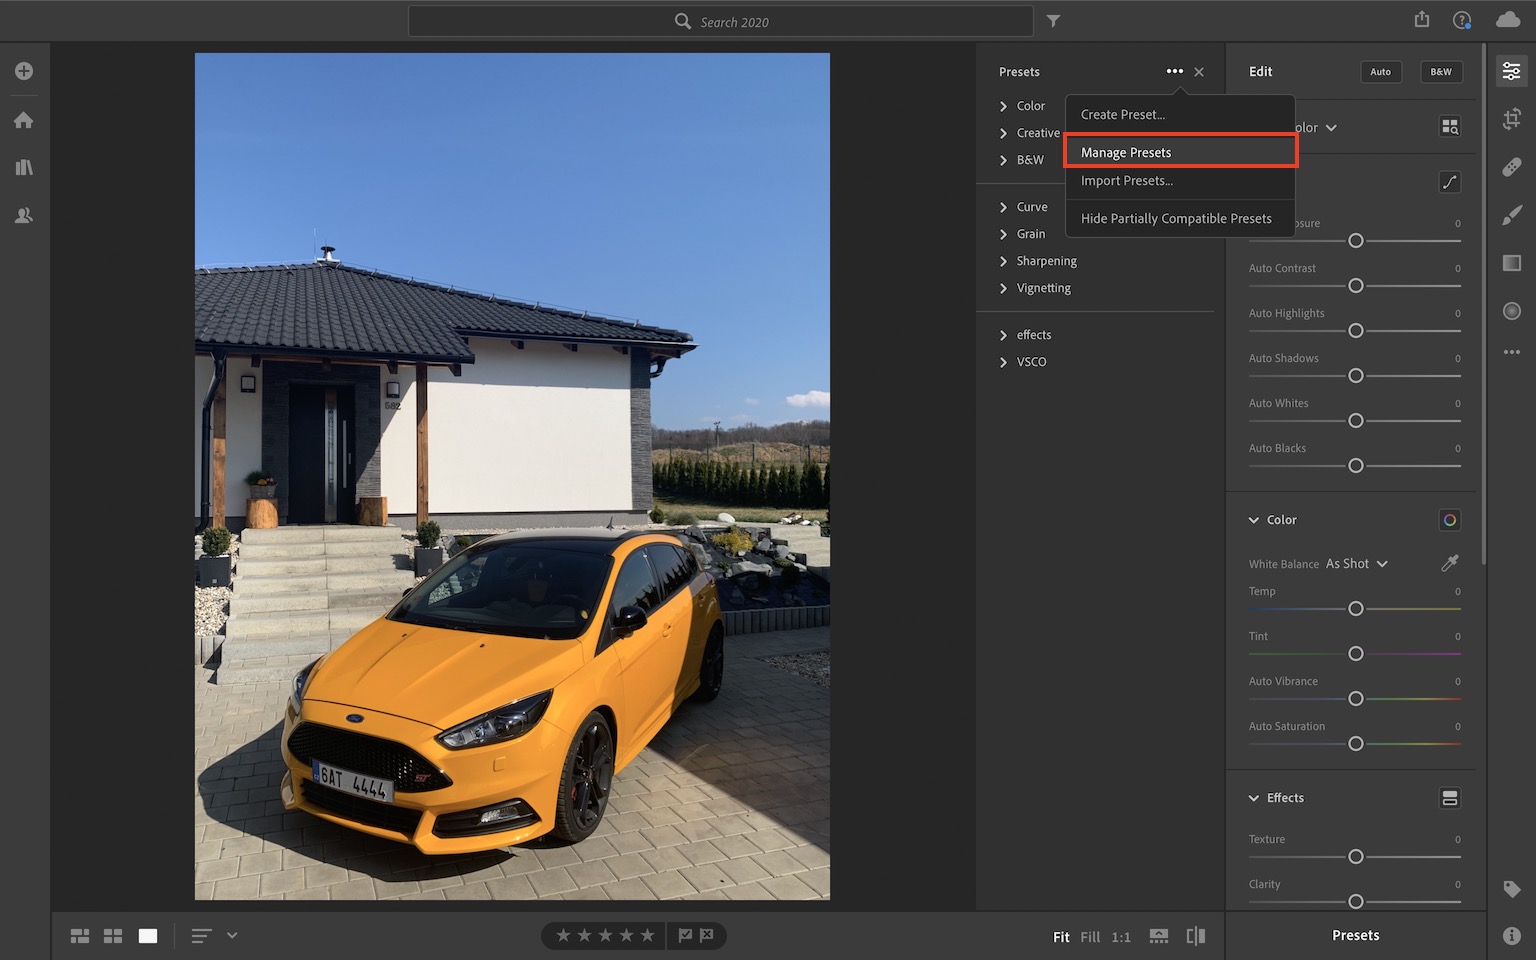
As I promised in the last and in this work, I also do. I decided to make available to you my own package of presets that you can insert into Lightroom and use freely. Just download the presets package from here - after downloading, all presets must be located in one folder. In Lightroom, then click on the Presets button at the bottom right and disable the Hide Partially Compatible Presets option in the top right of the sidebar. Then click on Import Presets… here, locate the downloaded presets folder, and then click on Import. The presets should then appear in the sidebar under VSCO, if you don't find them there, click the three dots icon, choose Manage Presets… and check VSCO. If you still don't see the presets, restart Lightroom.
záver
As you may have guessed by now, the Profi iPhone photography series is slowly coming to an end. This sixth volume is the penultimate volume of this series. In the following, i.e. the last, part, we will look together at applications that you can use to edit photos directly on the iPhone or iPad. This option is suitable for all users who do not want to pay for Adobe Lightroom, or for all users who need to edit photos somewhere on the go. So you definitely have something to look forward to in the last episode as well.
