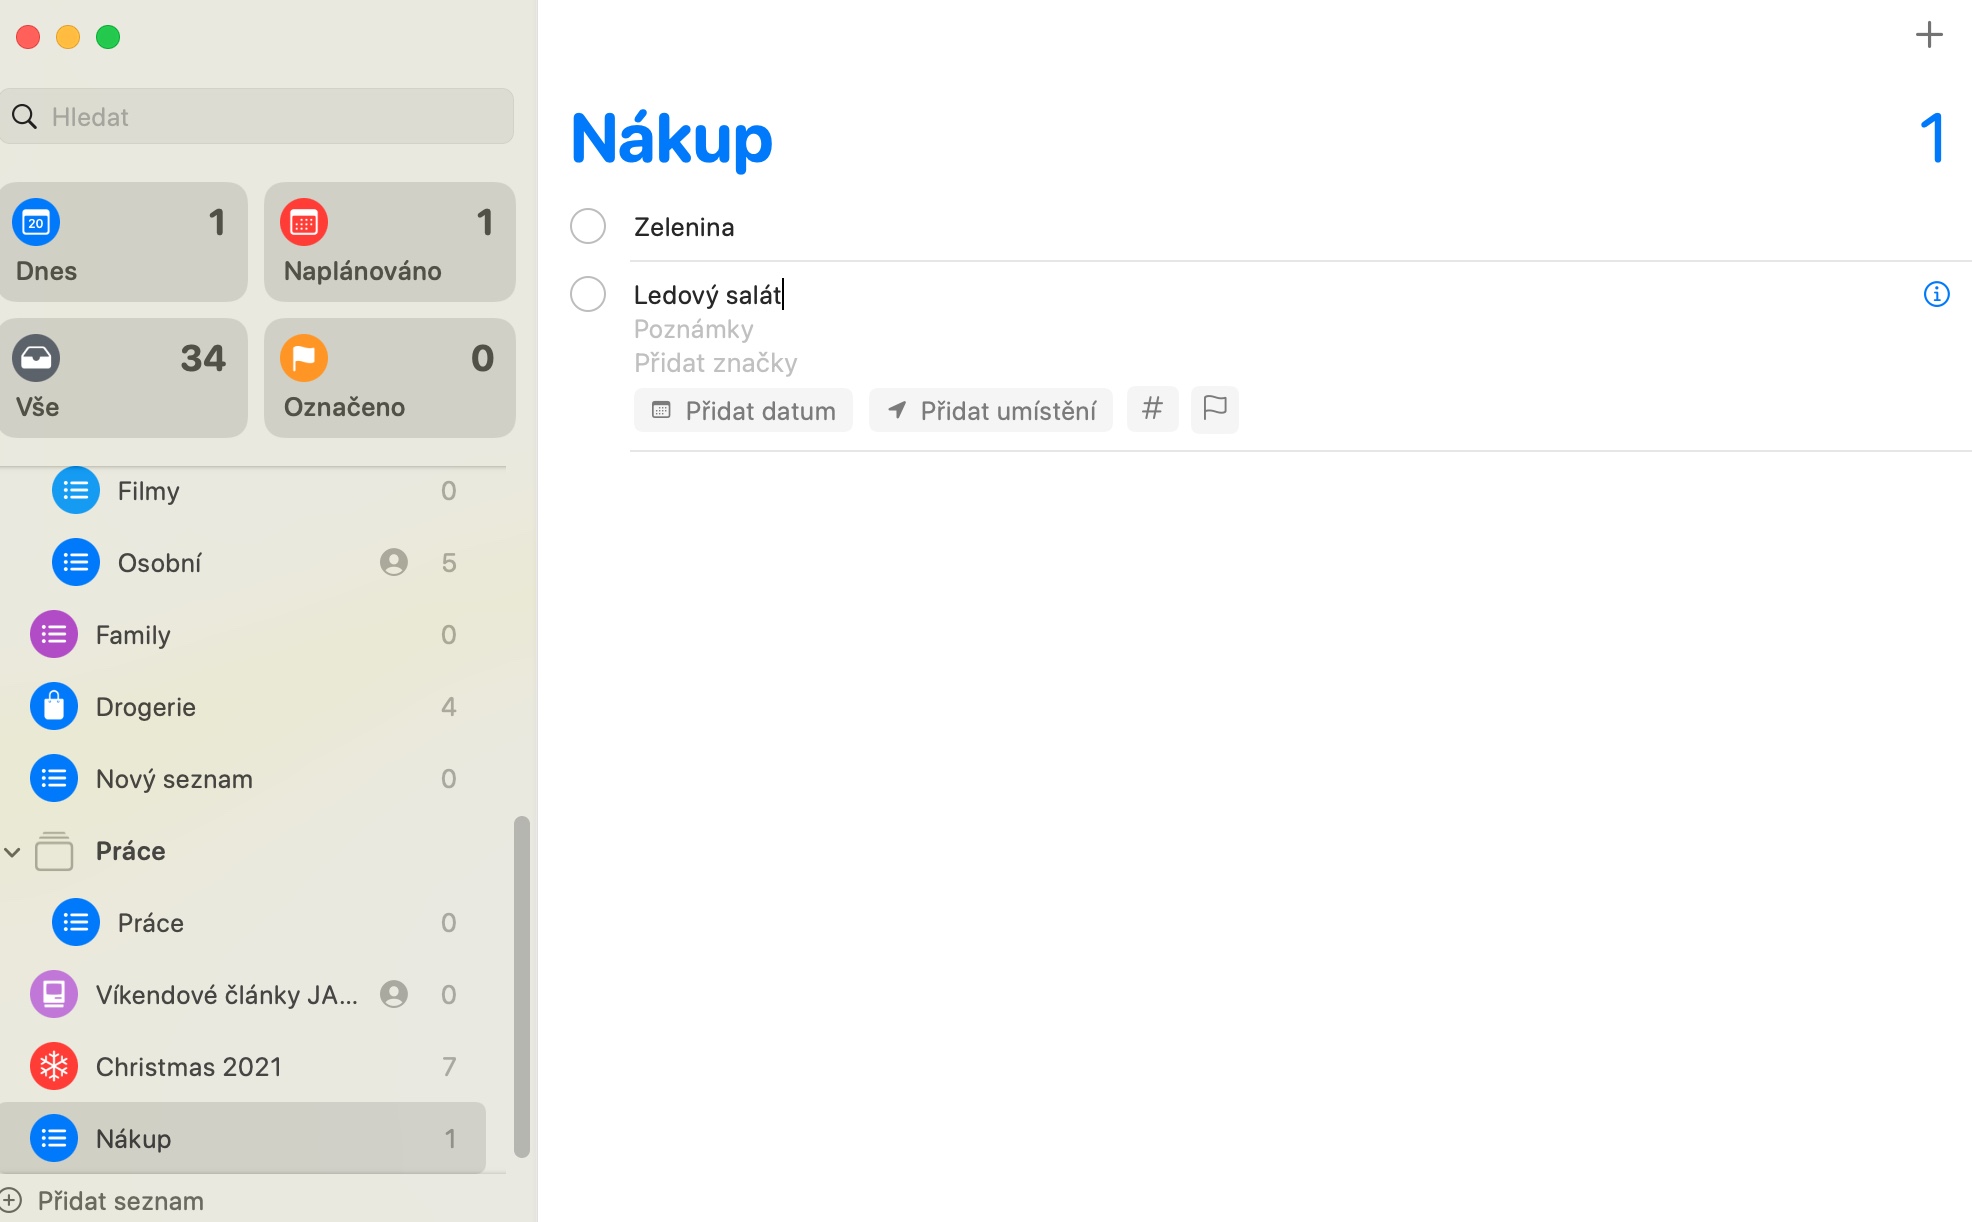
A large number of users use the native Reminders app especially on their iPhones, often in conjunction with the Siri voice assistant. However, you can also use reminders effectively in the environment of the macOS operating system. In today's article, we'll introduce you to five tips that will make you fall in love with Reminders on Mac.
It could be interest you

Adding more accounts
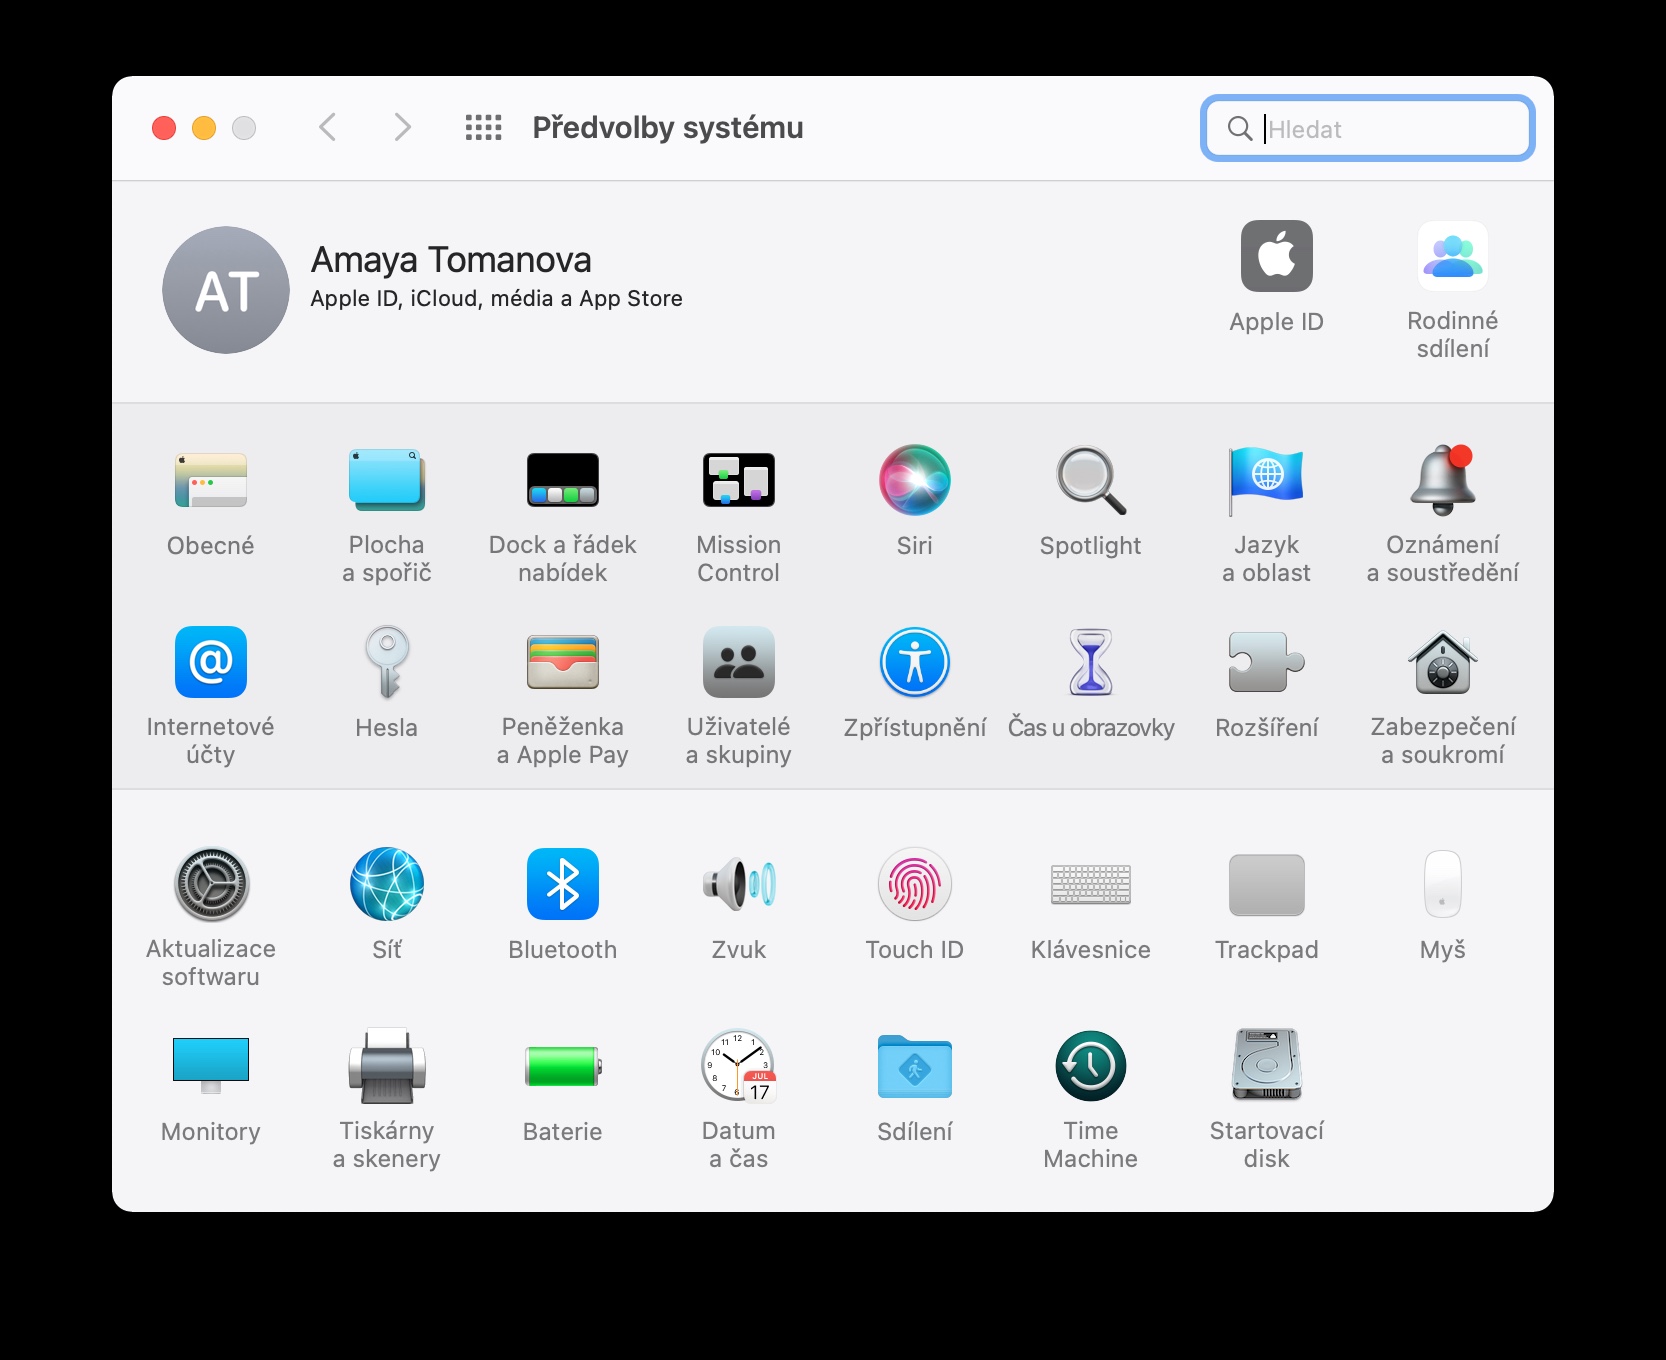
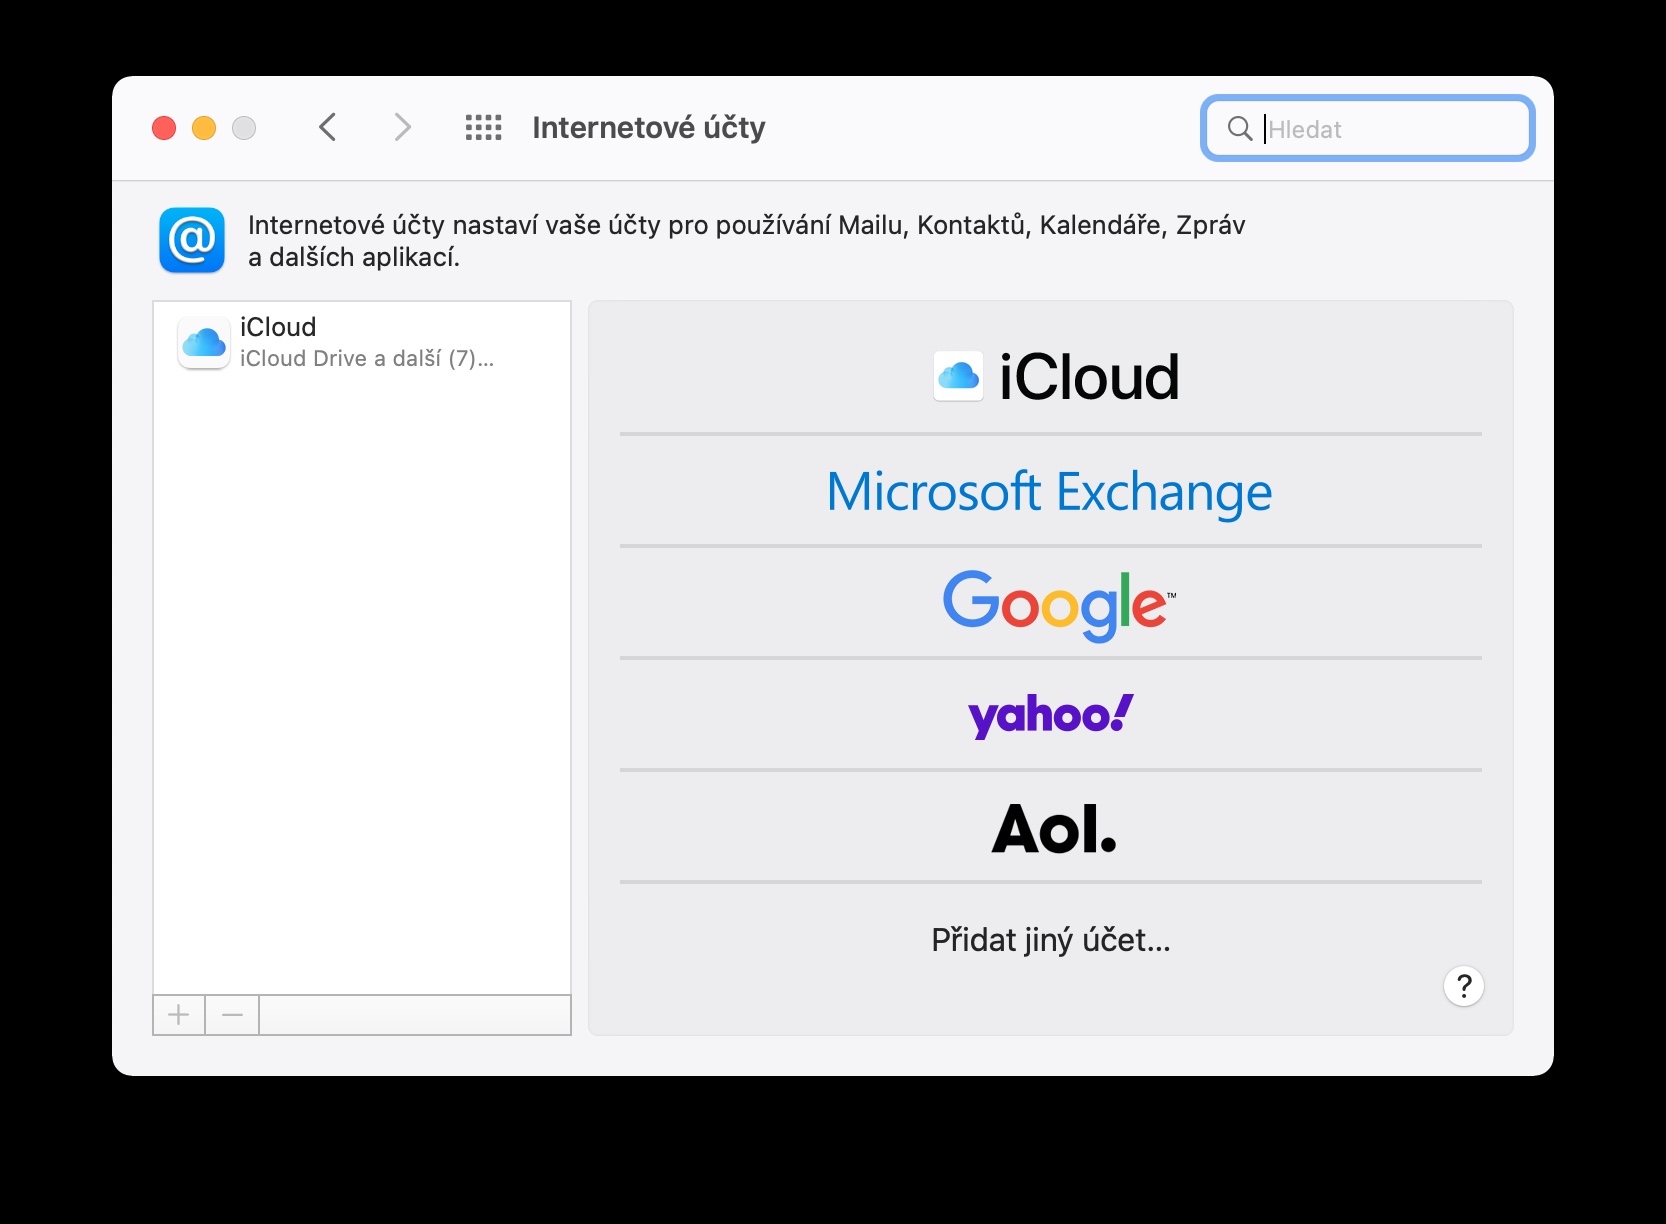
You can also use native Reminders on your Mac with multiple accounts, such as from Yahoo and other providers. If you want to add another account to Reminders besides your iCloud account, first click on the menu -> System Preferences -> Internet Accounts in the upper left corner of your Mac screen. Select and click the account you want to use with Reminders from the list in the panel on the left side of the window. If the provider of this account offers support for Reminders, then just check the Reminders item in the main part of the window.
Widgets in the Notification Center
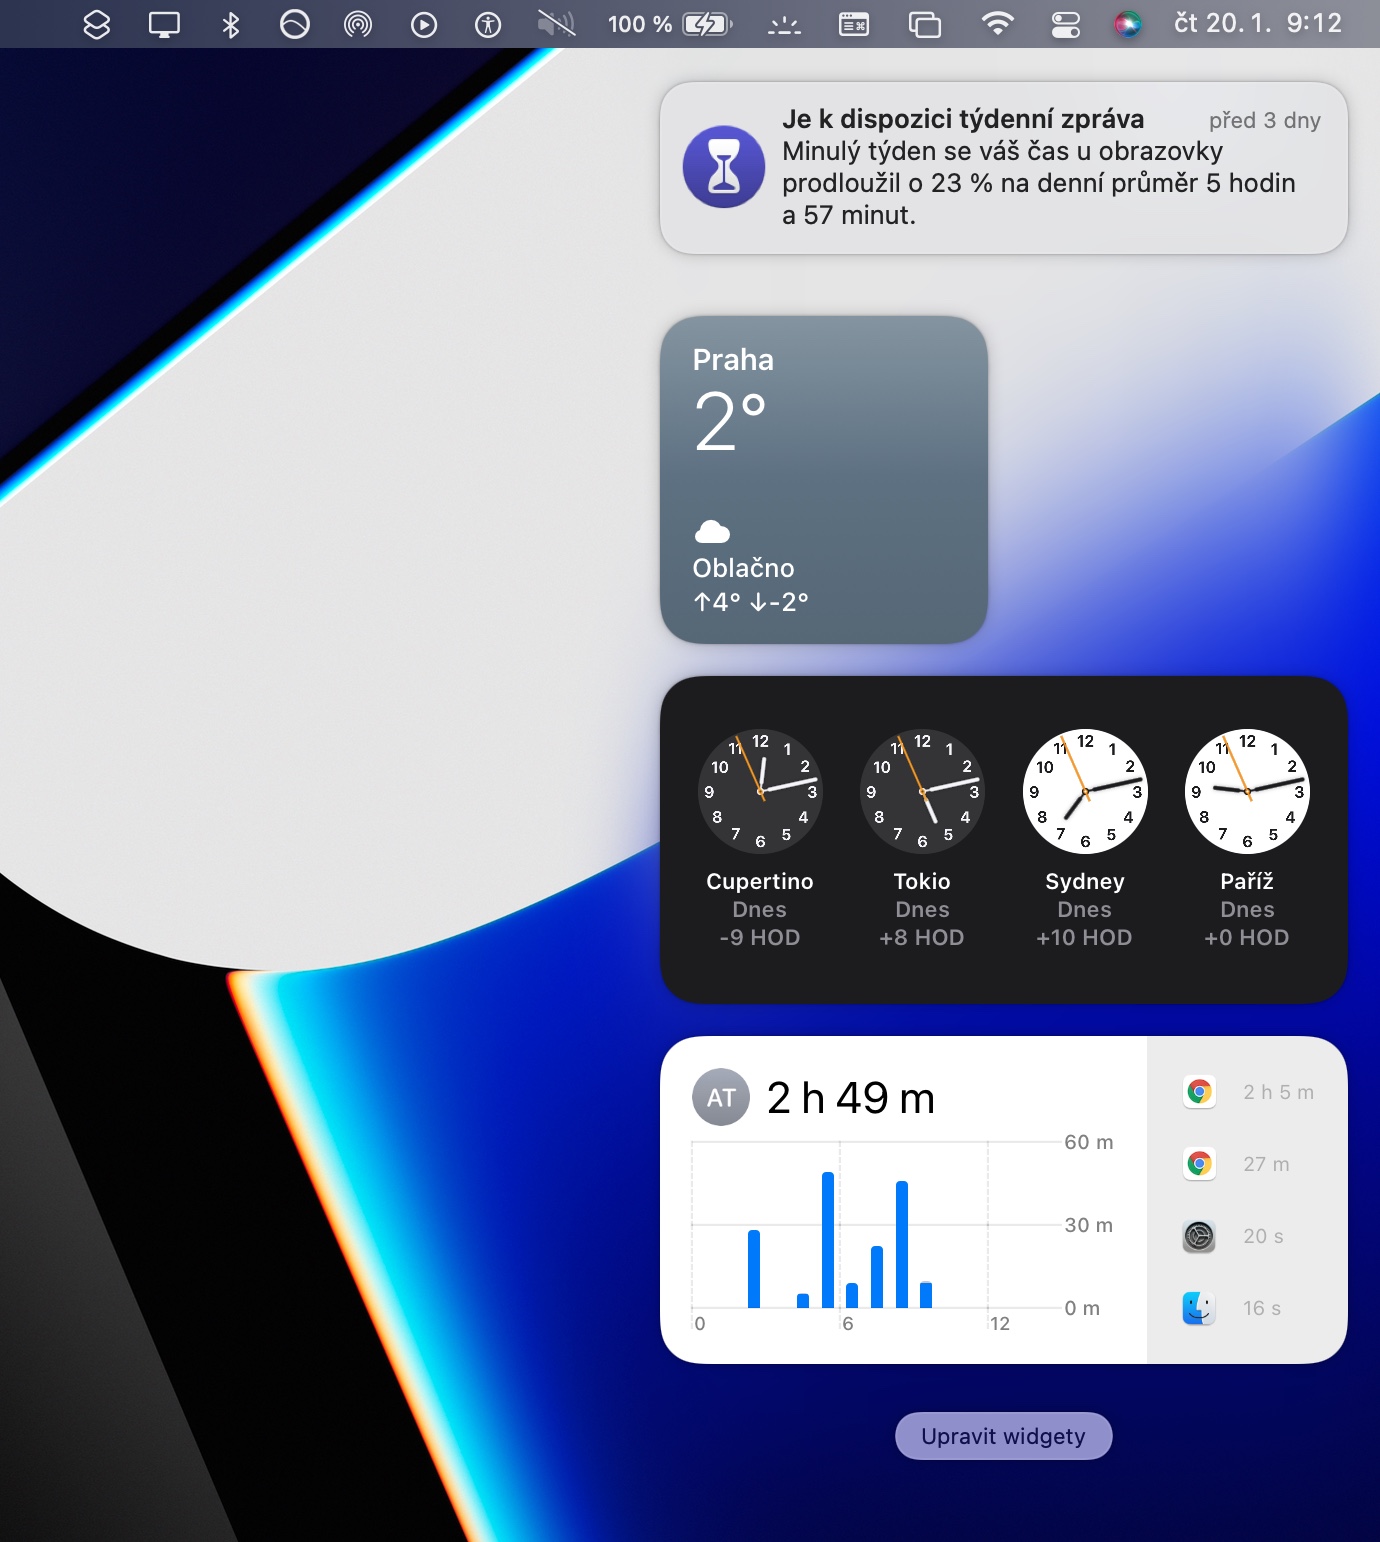
If you have a Mac with a newer version of the macOS operating system, you can also add a native Reminders widget to the Notification Center to keep a better overview of all your tasks and records. First, click on the date and time in the upper-right corner of your Mac's screen. Then click Add Widgets at the bottom of the Notification Center, select Reminders from the list of apps, and finally, just choose the desired widget size and add it to the Notification Center by clicking the green icon in the upper left corner of the widget.
Smart lists
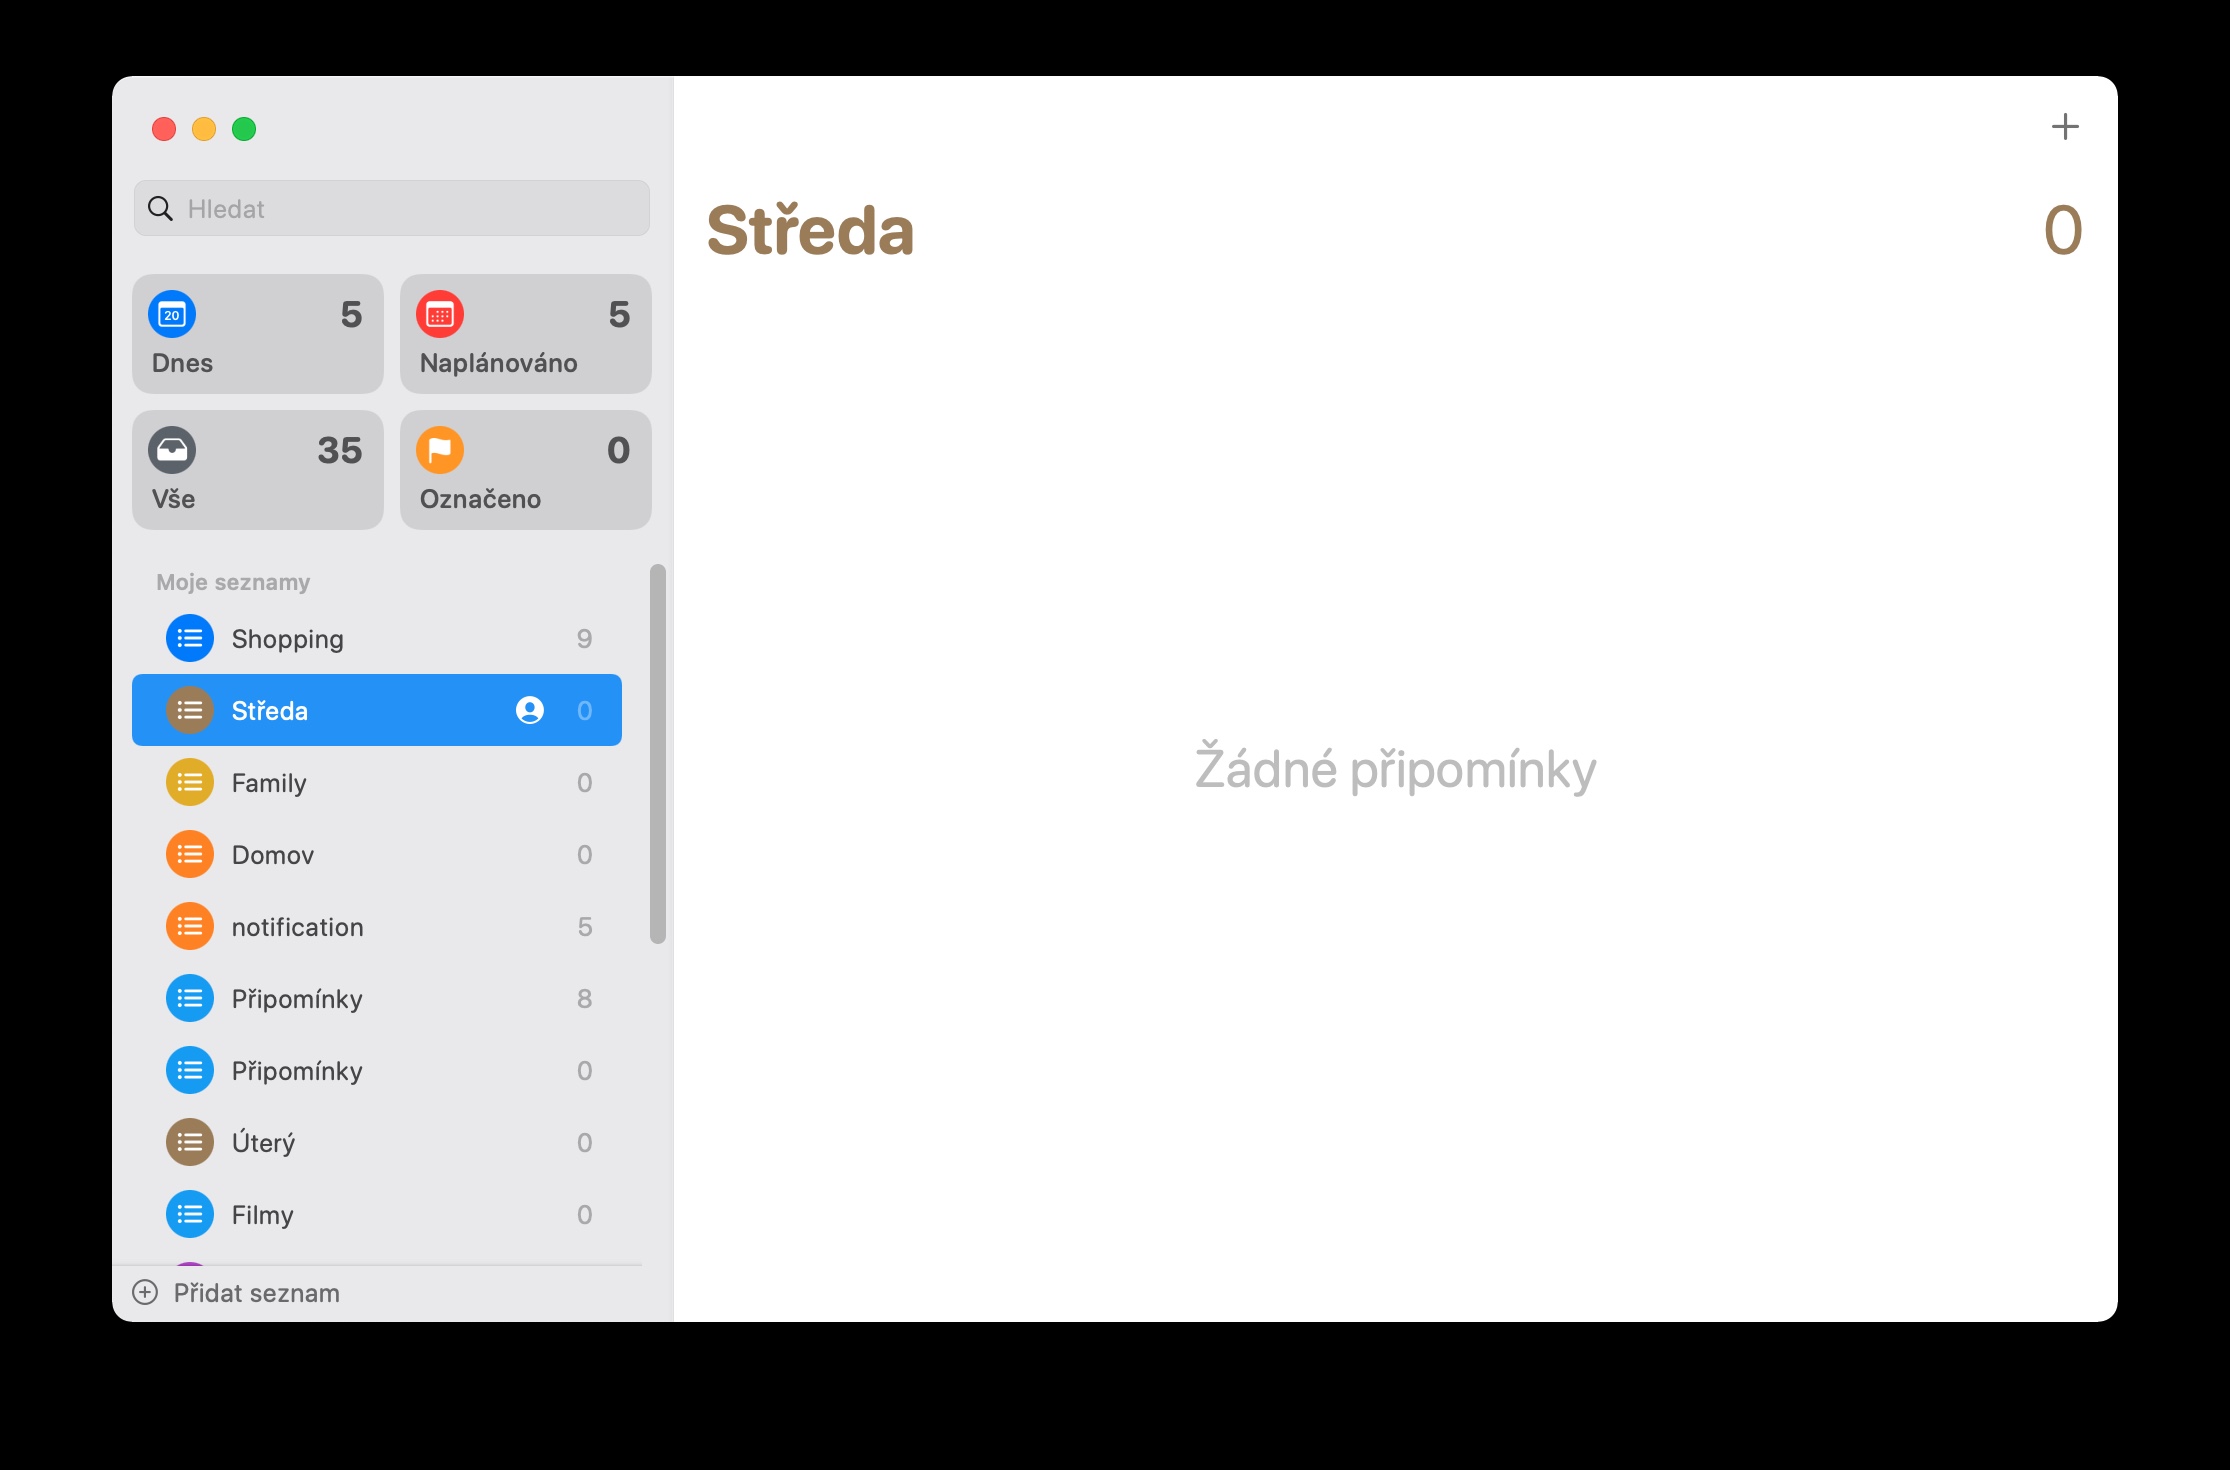
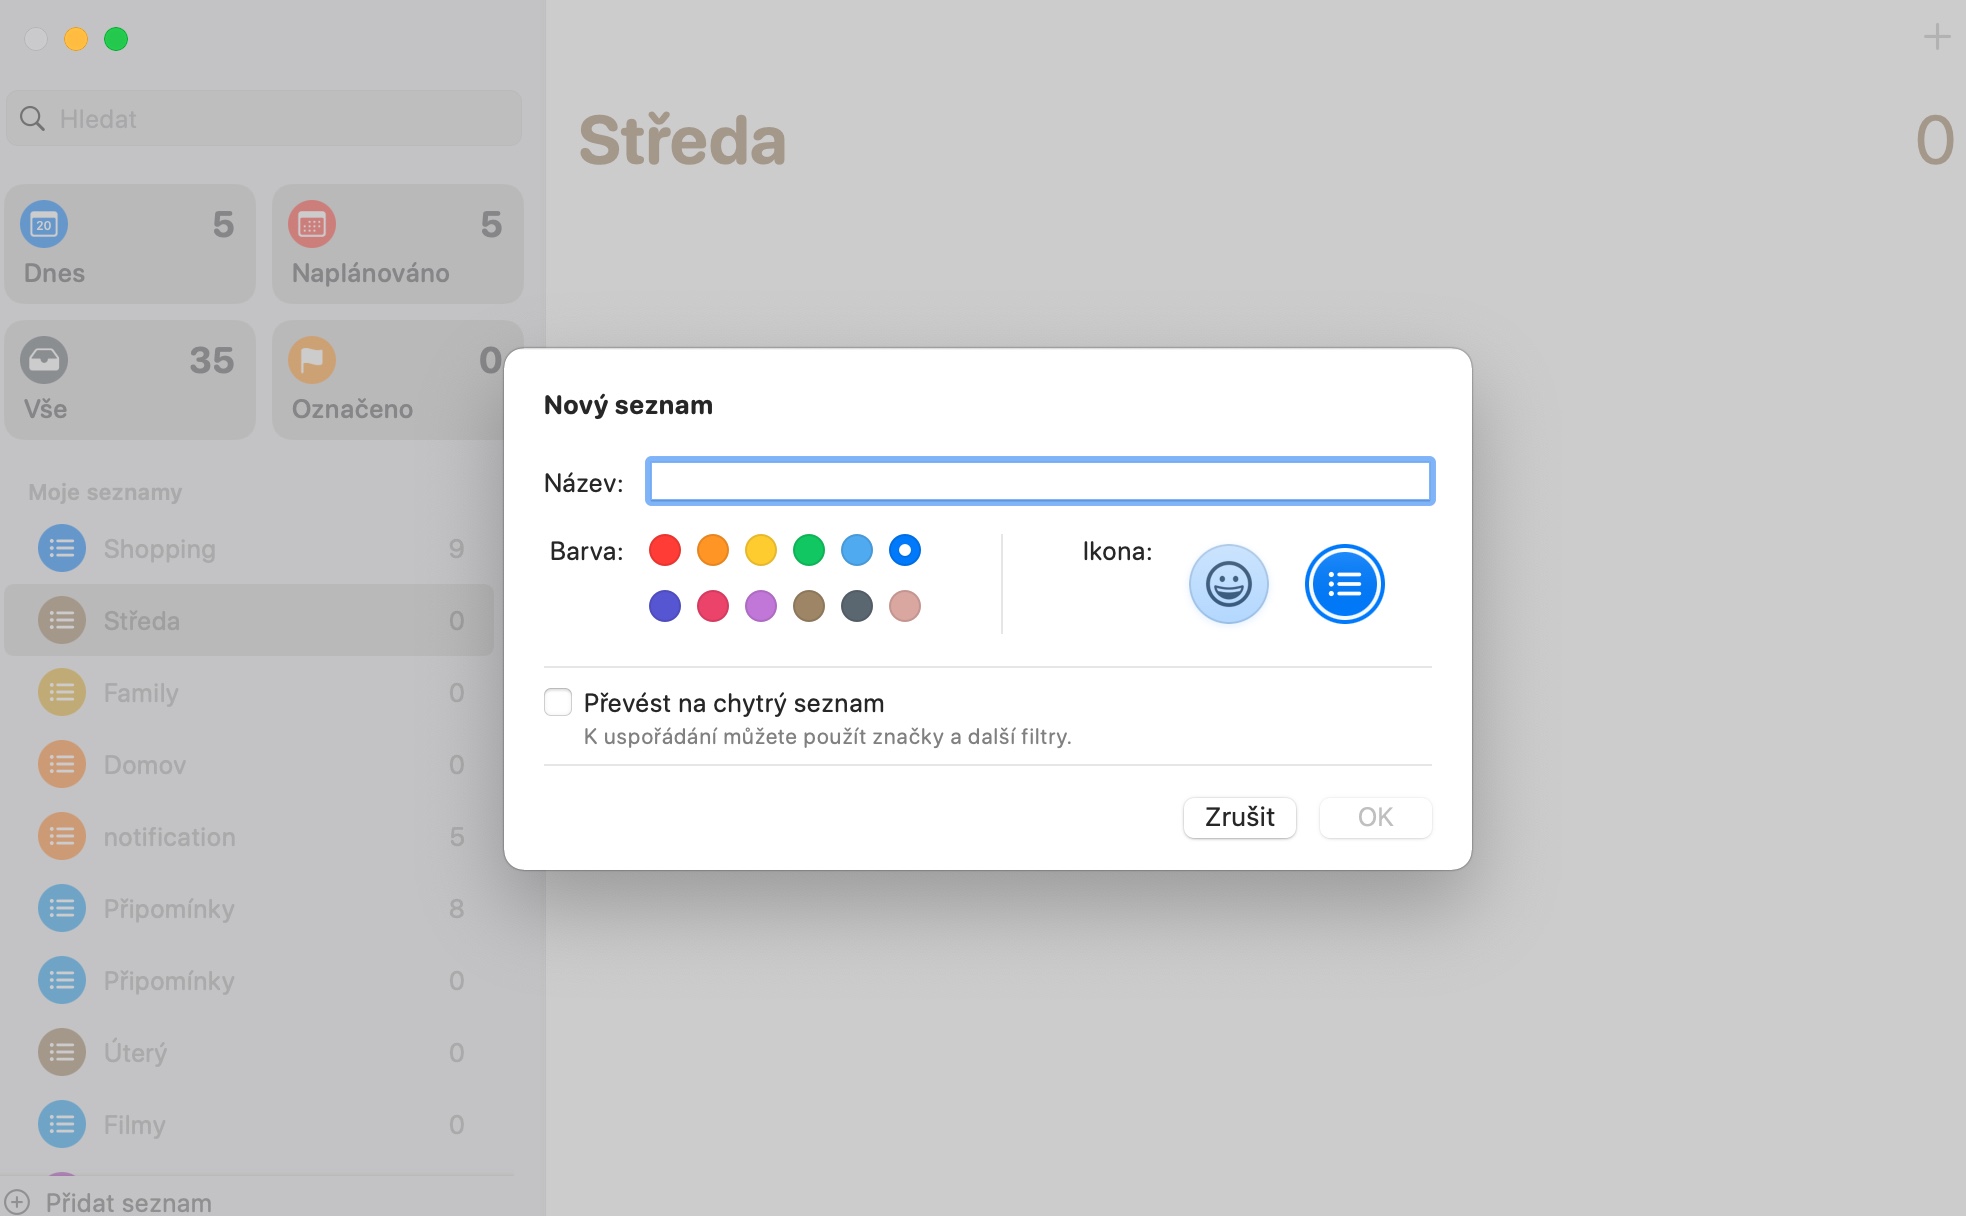
In Reminders in the macOS operating system, you can also create so-called smart lists, thanks to which you can sort your reminders based on the parameters you enter. To create your own smart list, first launch the native Reminders on your Mac and click Add List in the bottom left. Name the list, select an icon, then check Convert to Smart List at the bottom of the panel. Finally, all you have to do is enter all the parameters.
Sharing comments
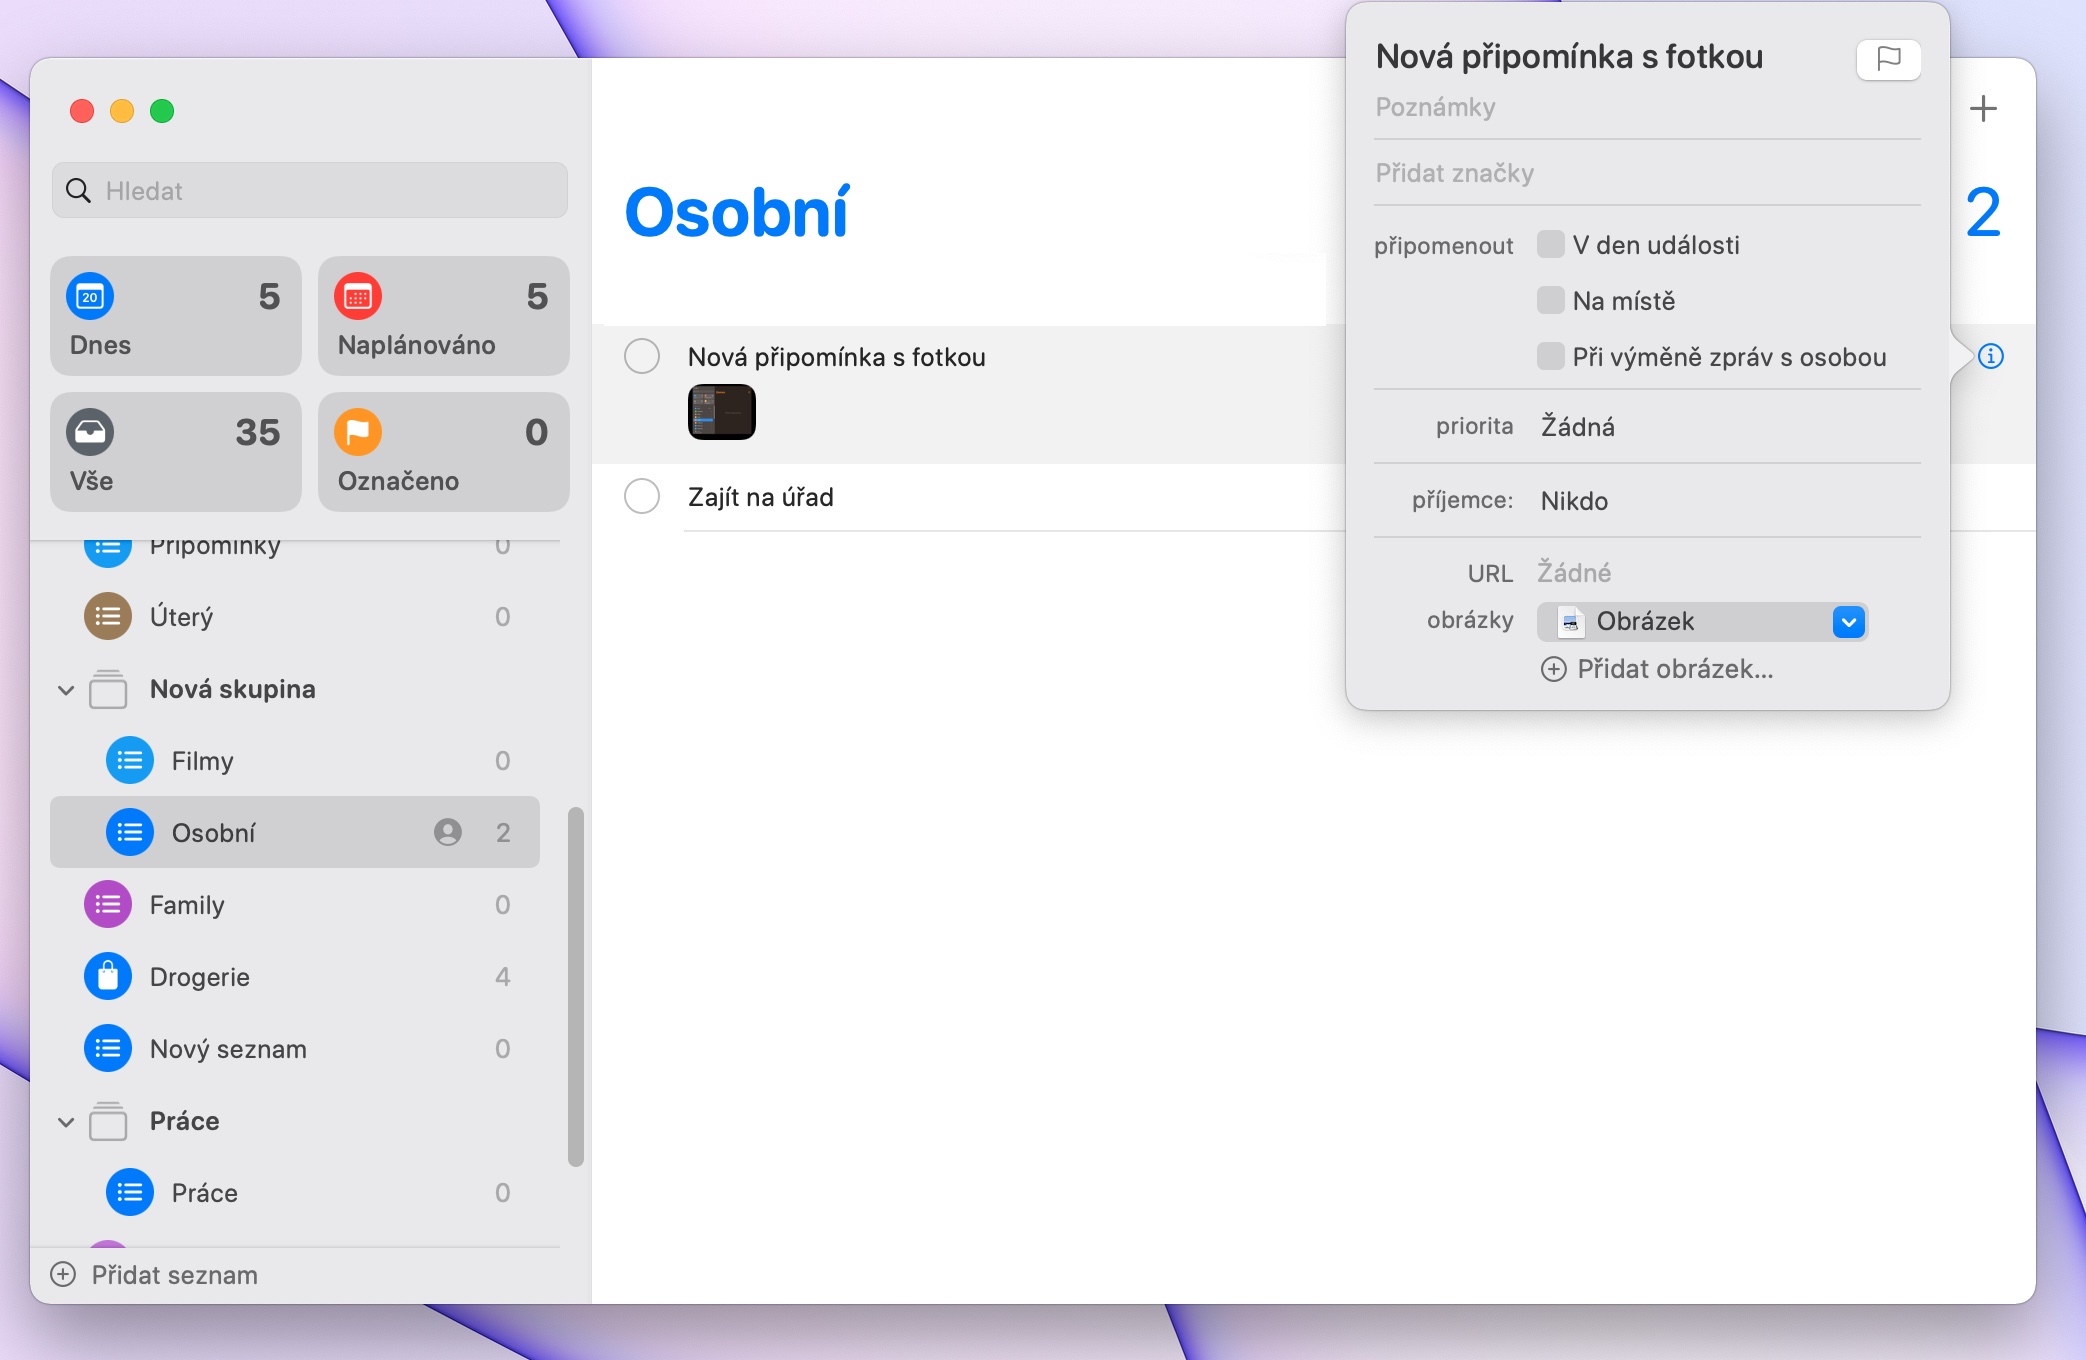
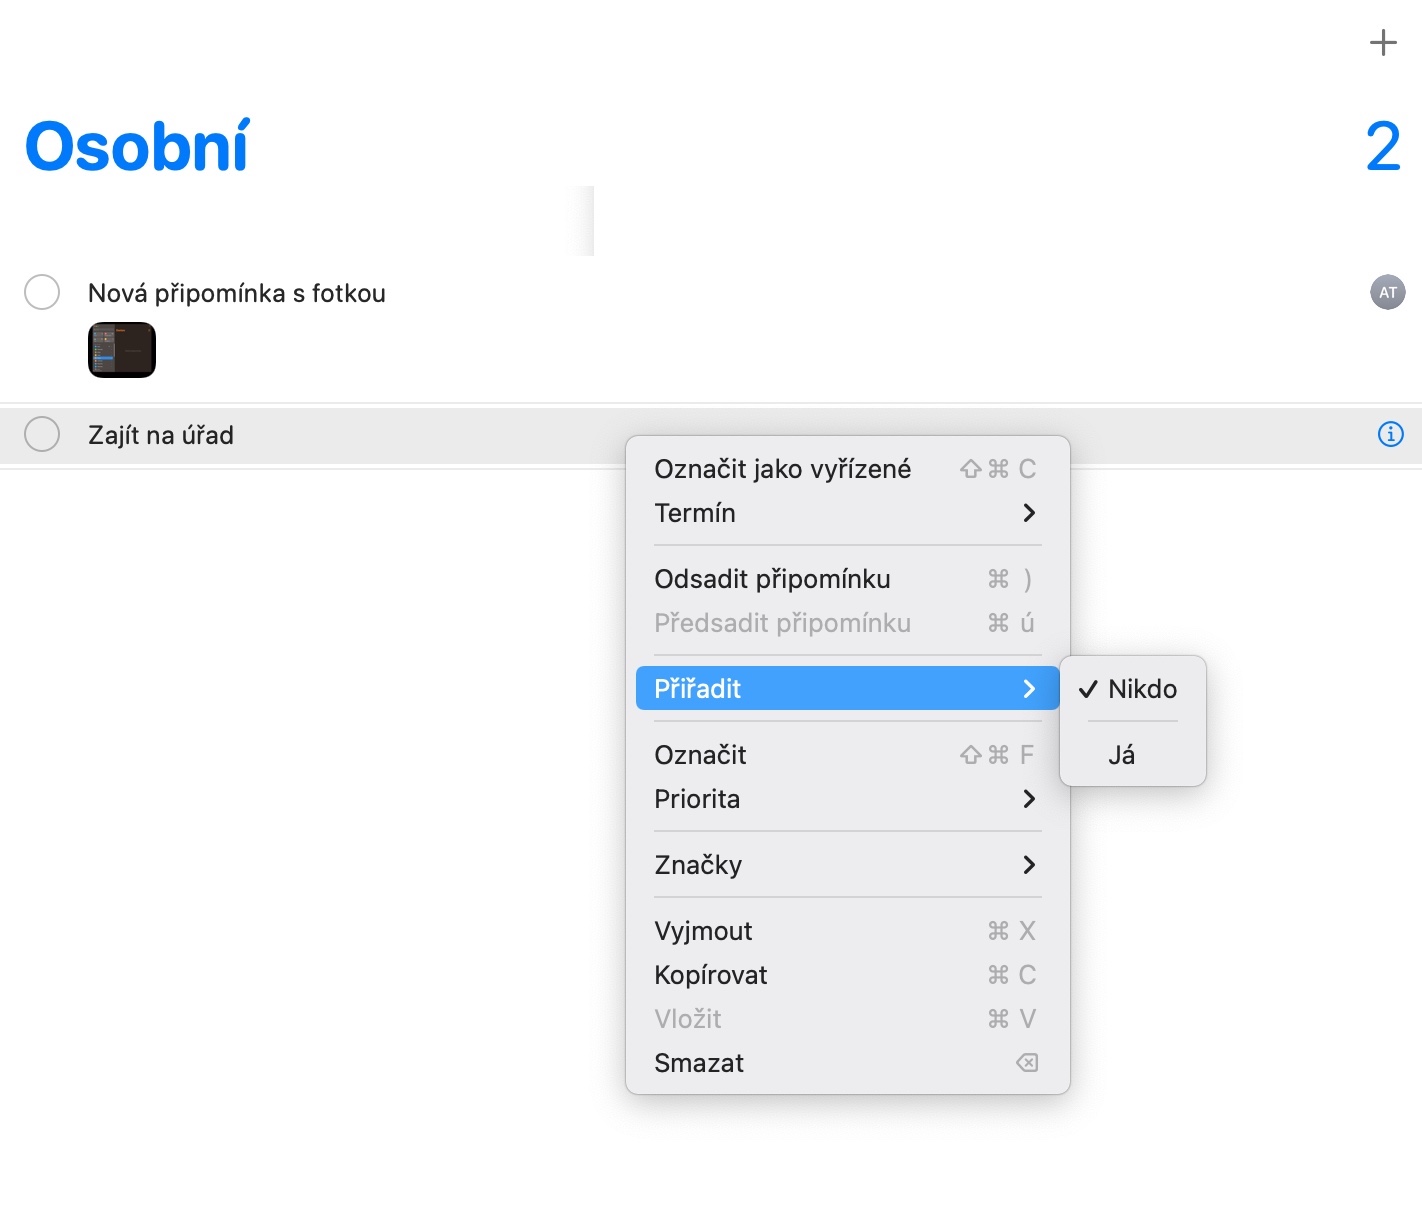
You can also use the native Reminders app (not only) on Mac as a means of assigning tasks from shared lists to other users. To assign a selected reminder, first select a shared list in the panel on the left. For the selected task, click on the small "i" in the circle to the right of its name, click on the Recipient field and select the desired person from the list. Another option is to hold down the Ctrl key, right-click on the selected reminder, and then select Assign from the menu.
Nested tasks
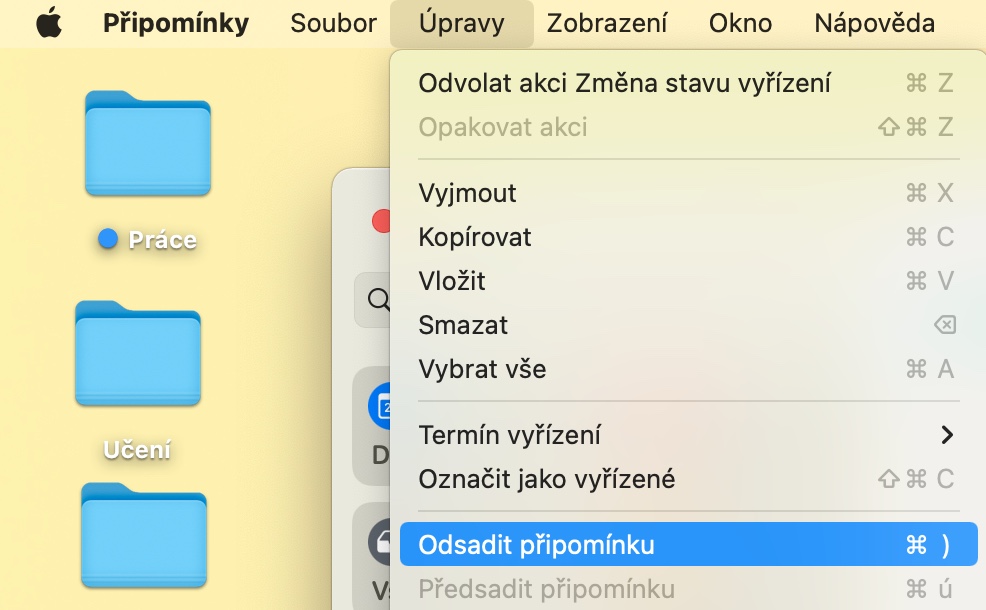
You can also create nested tasks in the native Reminders on Mac, which is definitely handy for creating lists of all kinds. If you've been using Reminders for a long time, you've probably already mastered the principle of creating nested tasks. If you're new to Reminders, know that you can create a nested task on your Mac by either dragging a selected reminder onto another, or choosing Edit -> Indent Reminder from the bar at the top of your Mac screen.

