The Numbers application offers a really wide range of possibilities for working with tables, from simple data entry to advanced functions. In today's part of our series, we will focus on the absolute basics in the field of creating tables, in the next installments we will also tackle more advanced functions.
It could be interest you

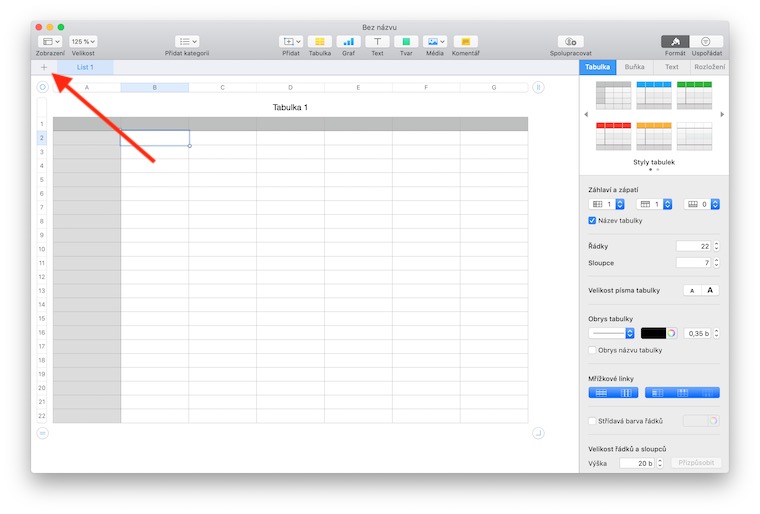
Similar to the other applications of the iWork package, Numbers also offers the possibility of creating your own table and using various templates or working with ready-made tables. The advantage of templates is the presence of mock-ups, which you no longer have to create yourself, but you can customize them to your liking. After launching Numbers, you can either select one of the templates in the menu, or click on the template named Blank to start creating your own spreadsheet. You can add your own text and data to the table, but you can also work with other tables, frames, shapes or images - you can find the relevant buttons in the toolbar at the top of the application window. At the top of the window you will also find a list of sheets with tables. You can change the order of the sheets by dragging, you can add a new sheet by clicking on the “+” button.
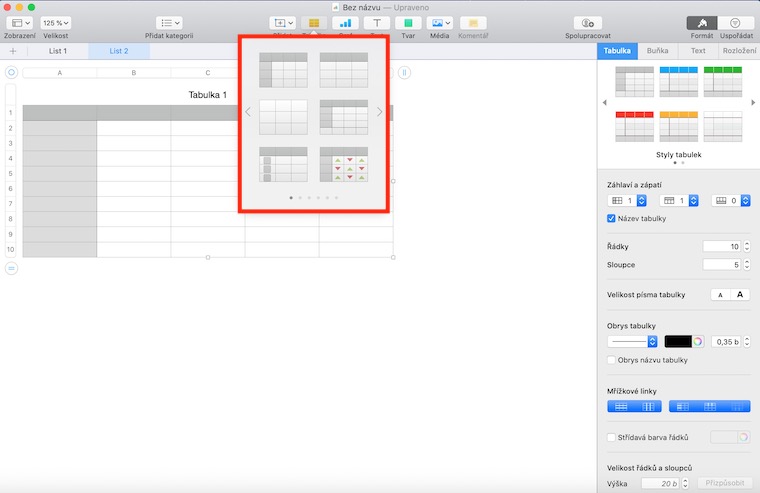
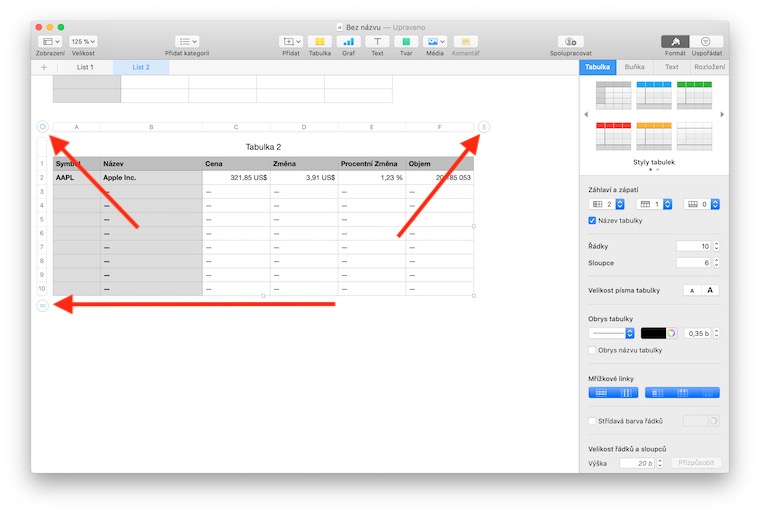
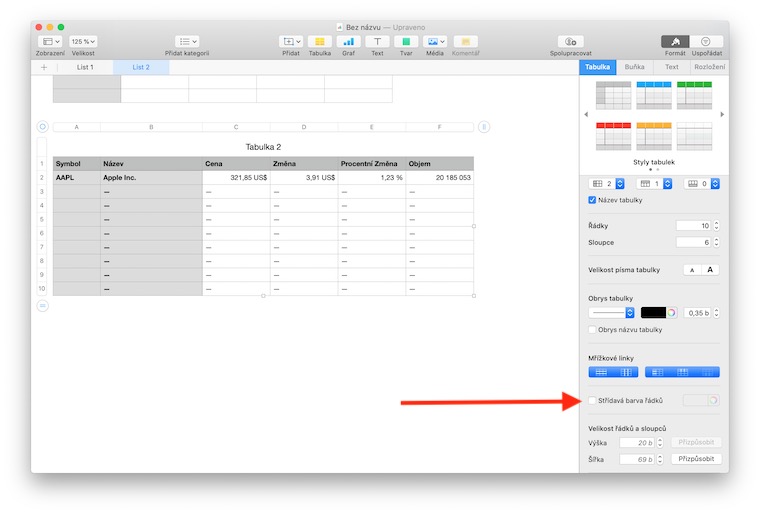
You can choose the style of the table by clicking on the table icon in the toolbar. To drag a table, click on the table, then click the wheel icon in the upper right corner and drag to move. You can either add or delete rows in the table by clicking on the icon in the lower left corner, you can change the size by clicking on the wheel icon in the upper left corner and dragging the white square in the lower right corner while holding down the Shift key. You can customize the appearance of the table by clicking on Format at the top of the panel on the right side of the window, where you can choose a table style, customize headers and footers, set outlines and shading, or set alternate row color.
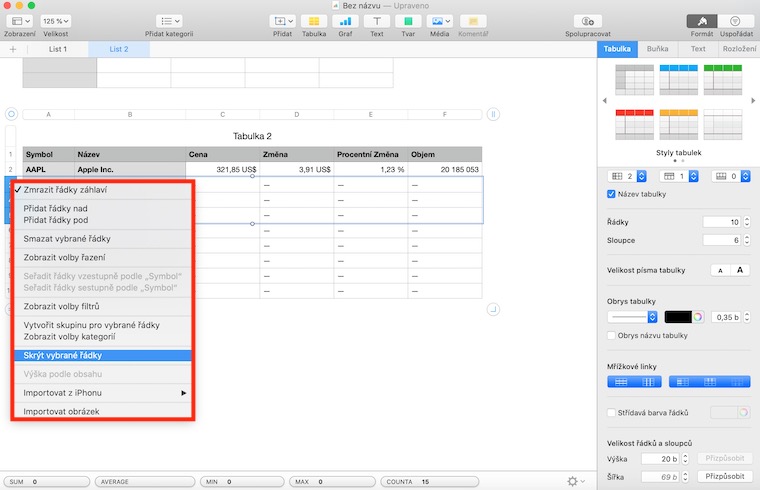
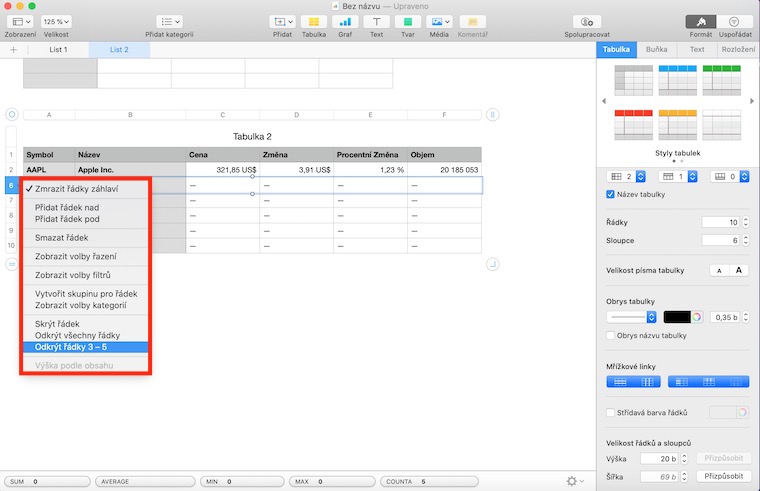
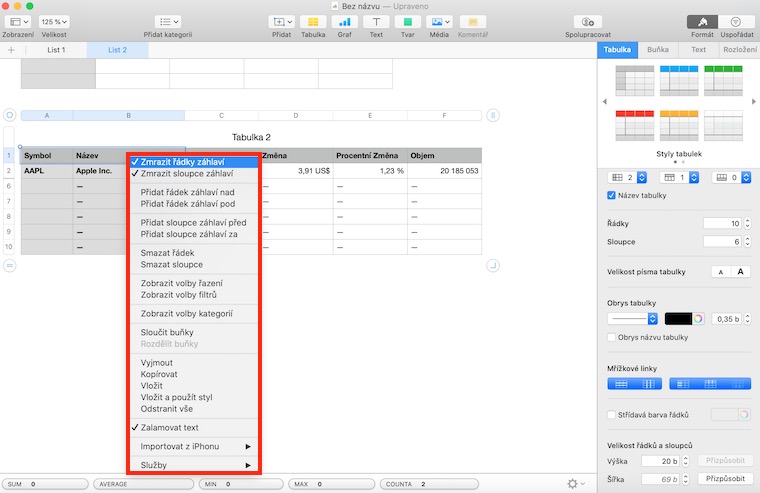
In addition to adding and deleting rows, you can also freeze rows and columns. If you freeze the rows or columns of the table headers, they will be permanently visible when scrolling the contents of the table. In the sidebar, click Format at the top, select the Table tab, and then click the Header and Footer pop-up menu. Then all you have to do is check the option Freeze header rows or Freeze header columns. If you want to hide selected columns or rows in the table, select them by clicking on the number or letter of the row or column. If you are selecting multiple columns or rows, hold down the Cmd key while selecting. Right-click the selection and choose Hide Rows / Columns. To display again, right-click on the nearest row or column and select Unhide. To clear the contents of cells in a Numbers spreadsheet, first select a range of cells. To remove the content while keeping the data format and style, press the delete key, to remove all data, format and style, click Edit on the toolbar at the top of the screen and select Remove All.

